
Perfect Wall Panelling: The Complete Math & Spacing Guide
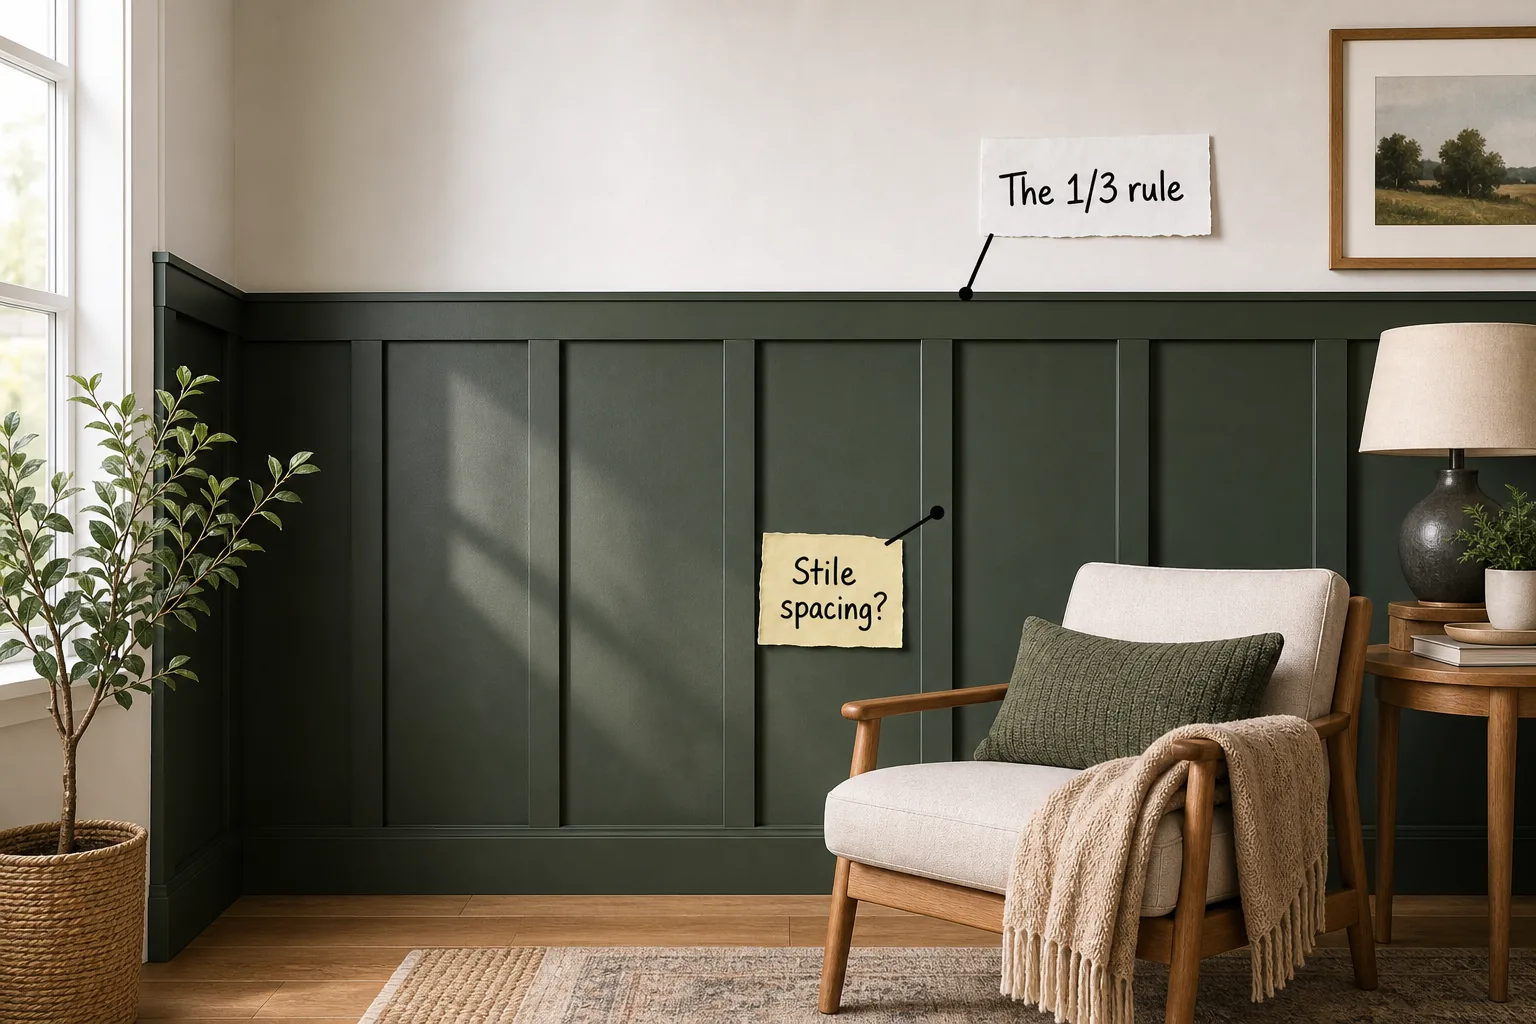
Mastering the math behind perfect wall panelling transforms a blank, featureless room into a highly custom architectural space. This comprehensive panel spacing and layout guide provides the exact formulas to calculate stile gaps, proportion your walls, and seamlessly integrate existing baseboards.
Setting Proportions with the 1/3 Rule
The foundation of any panelling project relies heavily on the classic 1/3 rule to prevent visually cutting the room in half. For a standard 8-foot ceiling, a mathematically perfect one-third proportion lands exactly at 32 inches up from the floor.
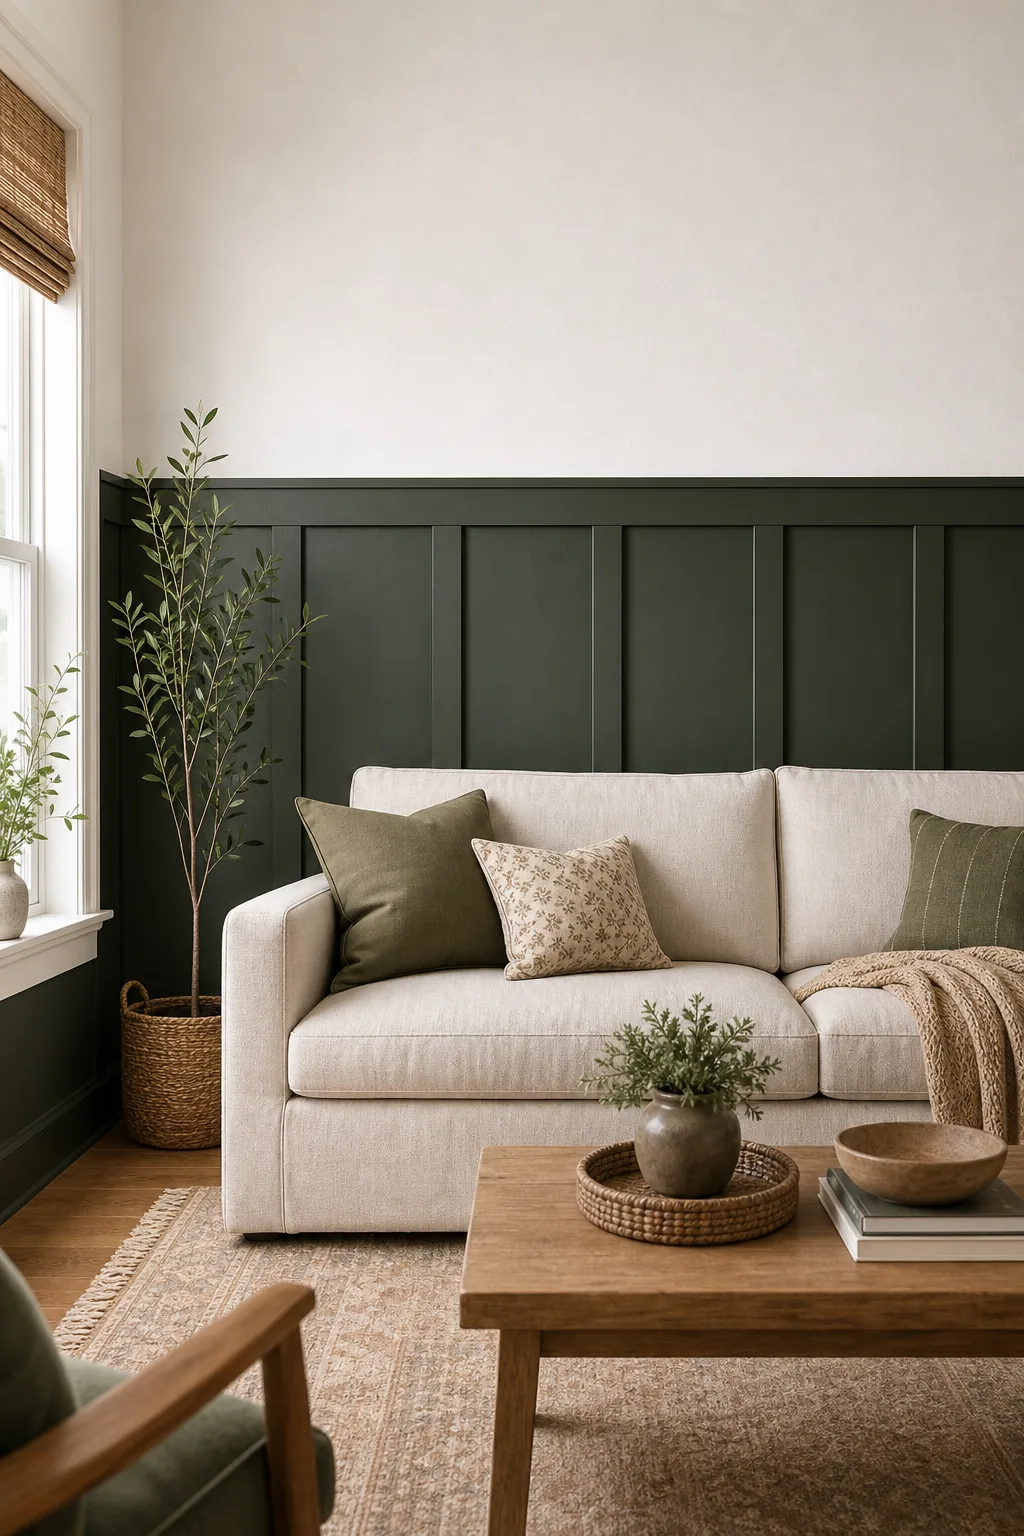
Adjusting this strict measurement slightly upward to a 36 or 40-inch height often yields a significantly better aesthetic. This subtle lift allows the horizontal top rail to comfortably clear the backs of standard living room sofas and heavy upholstered armchairs.
Adapting for Tall Ceilings
Rooms featuring 10-foot or vaulted ceilings require dramatically scaling the panelling height to successfully maintain proper architectural balance. Applying a two-thirds height ratio instantly draws the eye upward, creating a dramatic, grounded foundation perfect for large dining rooms and entryways.
The Stile Spacing Formula
Calculating the exact distance between vertical battens requires focusing entirely on the remaining negative space rather than the total wall span. A 12-inch to 18-inch gap provides the most balanced, traditional aesthetic for standard living spaces and long hallway corridors.
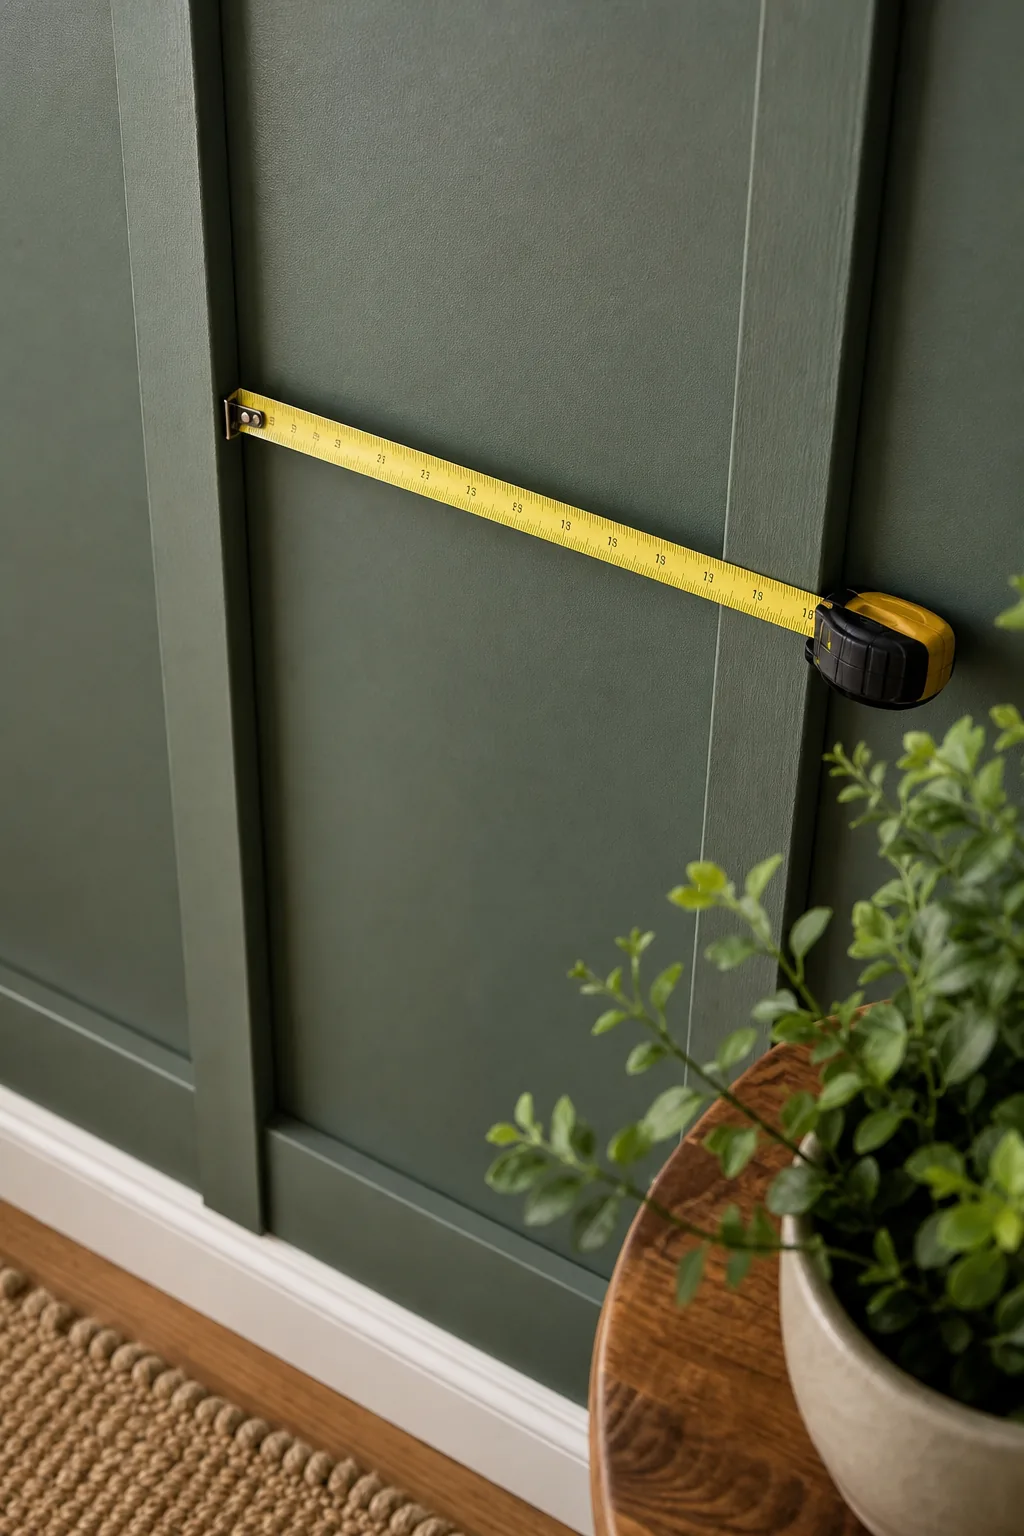
To find your perfect measurement, subtract the combined width of all planned stiles from the overall wall width. Divide that remaining number by the total number of desired gaps to reveal your exact, perfectly uniform stile spacing for the room.
Gathering Your Room Measurements
Accurate spacing formulas rely entirely on precise initial room measurements taken directly from the drywall surface. Baseboard lengths often differ slightly from the true wall-to-wall drywall span due to thick corner joints, uneven plaster, and years of heavy caulk buildup.
Adjusting for Wall Outlets
Standard spacing formulas frequently place a vertical batten directly over an existing electrical outlet or light switch. Attempting to notch a 3/4-inch MDF board around a live receptacle creates a dangerous, visually messy junction that ruins the clean architectural lines.
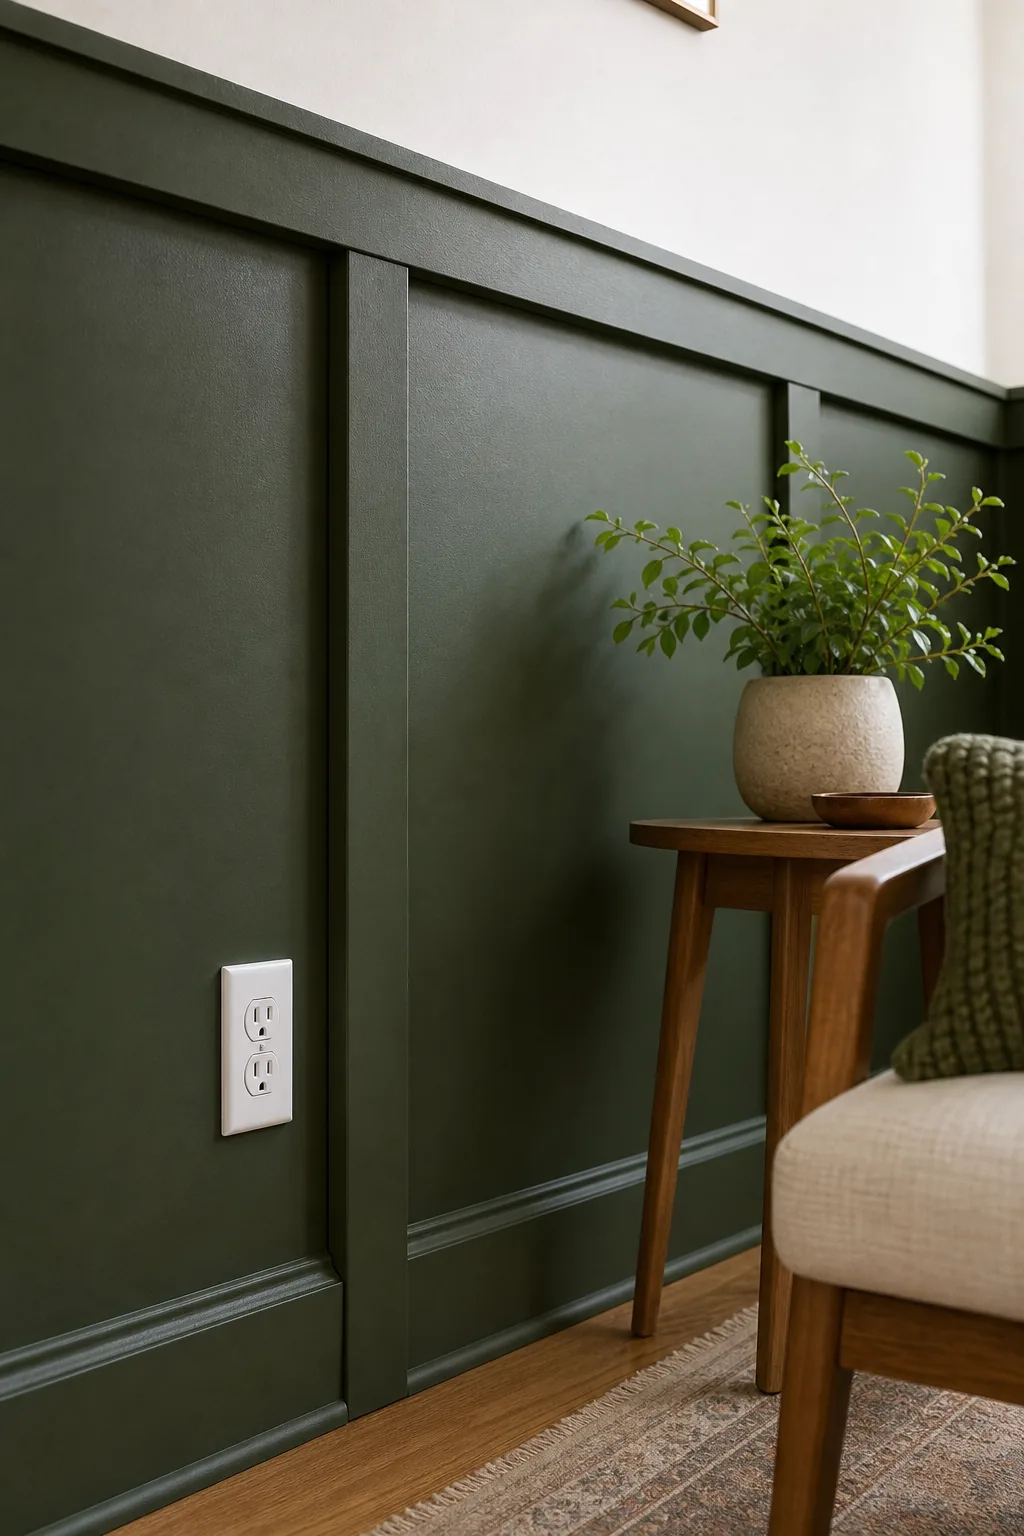
Shifting the entire batten layout by just 1 to 2 inches easily bypasses the switchplate without requiring any complex carpentry. Once the room is fully furnished, this slight deviation from mathematical perfection remains completely invisible to the naked eye.
Securing Battens to Drywall
Vertical MDF stiles require strong mechanical fastening to remain perfectly flush against slightly bowed or uneven drywall. Relying solely on construction adhesive risks the rigid boards popping loose during seasonal temperature shifts and natural home settling over the years.
- Apply a thick zigzag bead of construction adhesive to the back of the stile.
- Press the board firmly against the drywall using a heavy-duty laser level.
- Shoot 2-inch brad nails through the stile directly into the wooden wall studs.
Sizing the Top Rail
The horizontal top rail width clearly defines the upper boundary of the panelling while serving as a functional display ledge. A standard 1×3 or 1×4 MDF board provides a crisp, substantial cap that beautifully grounds the entire vertical installation.
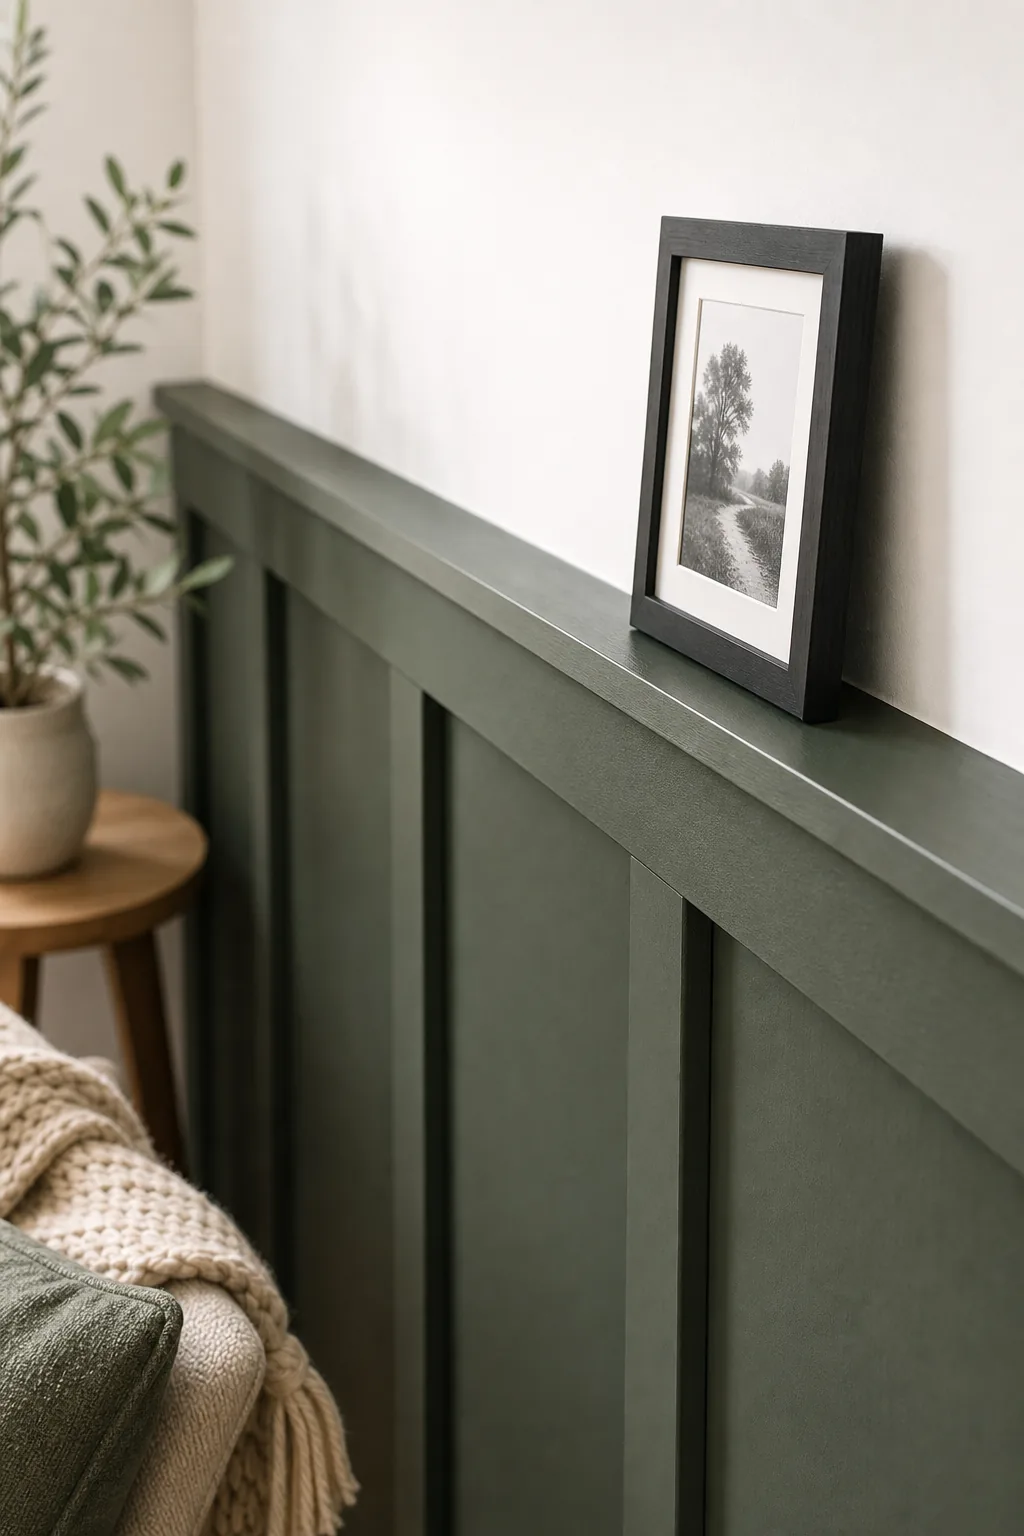
Leaving a deliberate 1/2-inch overhang past the vertical stiles creates a highly pronounced, professional shadow line. This slight projection also leaves adequate physical room to seamlessly install a decorative cove molding underneath the ledge at a later date.
Finalizing the Panel Count
Running the spacing formula multiple times with different panel counts helps you visualize the final layout before cutting any expensive wood. Testing these mathematical layouts on paper actively prevents awkward, narrow panels from landing at the far edges of the room.
| Wall Width | Panel Count | Stile Width | Resulting Gap |
|---|---|---|---|
| 120 inches | 7 panels | 3.5 inches | 13.6 inches |
| 120 inches | 8 panels | 3.5 inches | 11.7 inches |
| 120 inches | 9 panels | 3.5 inches | 10.1 inches |
Managing the Baseboard Lip
Installing new panelling directly over existing trim often creates an awkward baseboard lip where the thick stile overhangs the thin baseboard. Ripping out original baseboards risks severe drywall damage and significantly increases the overall project timeline and material budget.
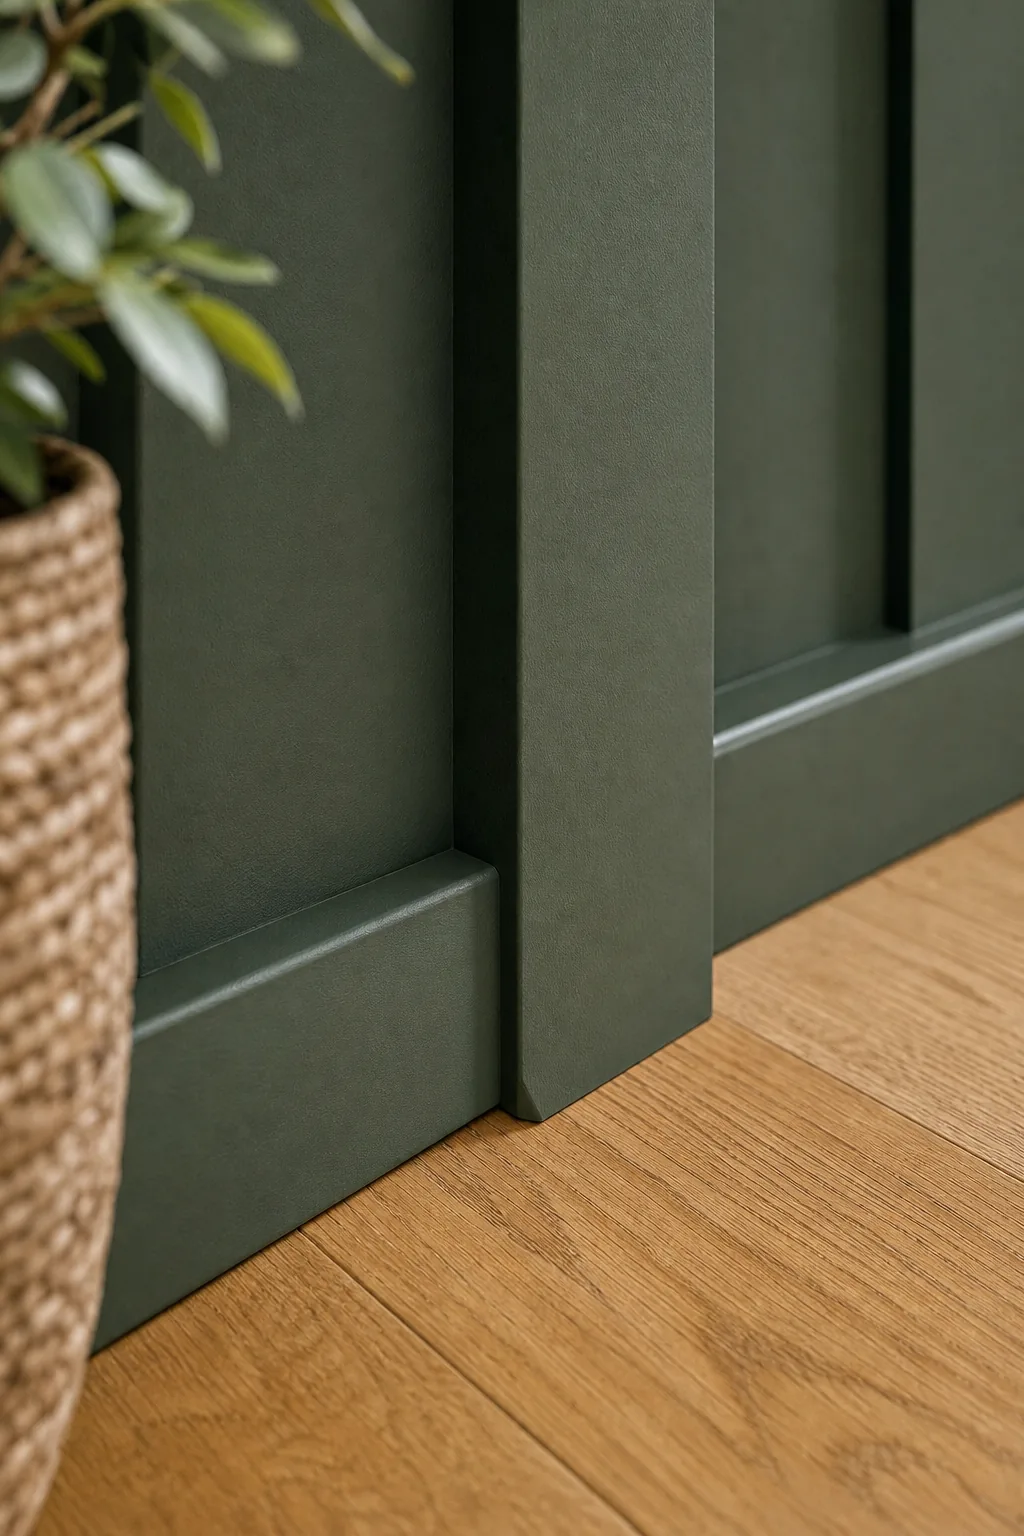
Cutting a sharp 45-degree chamfer on the bottom inch of the vertical stile solves this thickness discrepancy immediately. This simple angled cut neatly tapers the 3/4-inch MDF into the standard 1/2-inch baseboard below, creating a highly intentional, finished transition.
Planning Around Window Casings
Terminating a board and batten layout against a window frame requires careful thickness matching to maintain a professional appearance. If your vertical stiles protrude past the existing window casing, the raw edges will remain highly visible and prone to catching.
- Install a subtle backband molding around the window to bridge the depth difference.
- Route the edge of the stile with a chamfer bit to soften the transition.
- Replace the window casing entirely with thicker 1×4 MDF boards to match.
Sealing the Caulk Zone
The inner corner seam where the rigid MDF stiles meet the flat drywall forms the critical caulk zone. Using a high-quality, fully paintable acrylic latex caulk ensures these joints seamlessly mimic built-in, historic millwork rather than applied weekend trim.
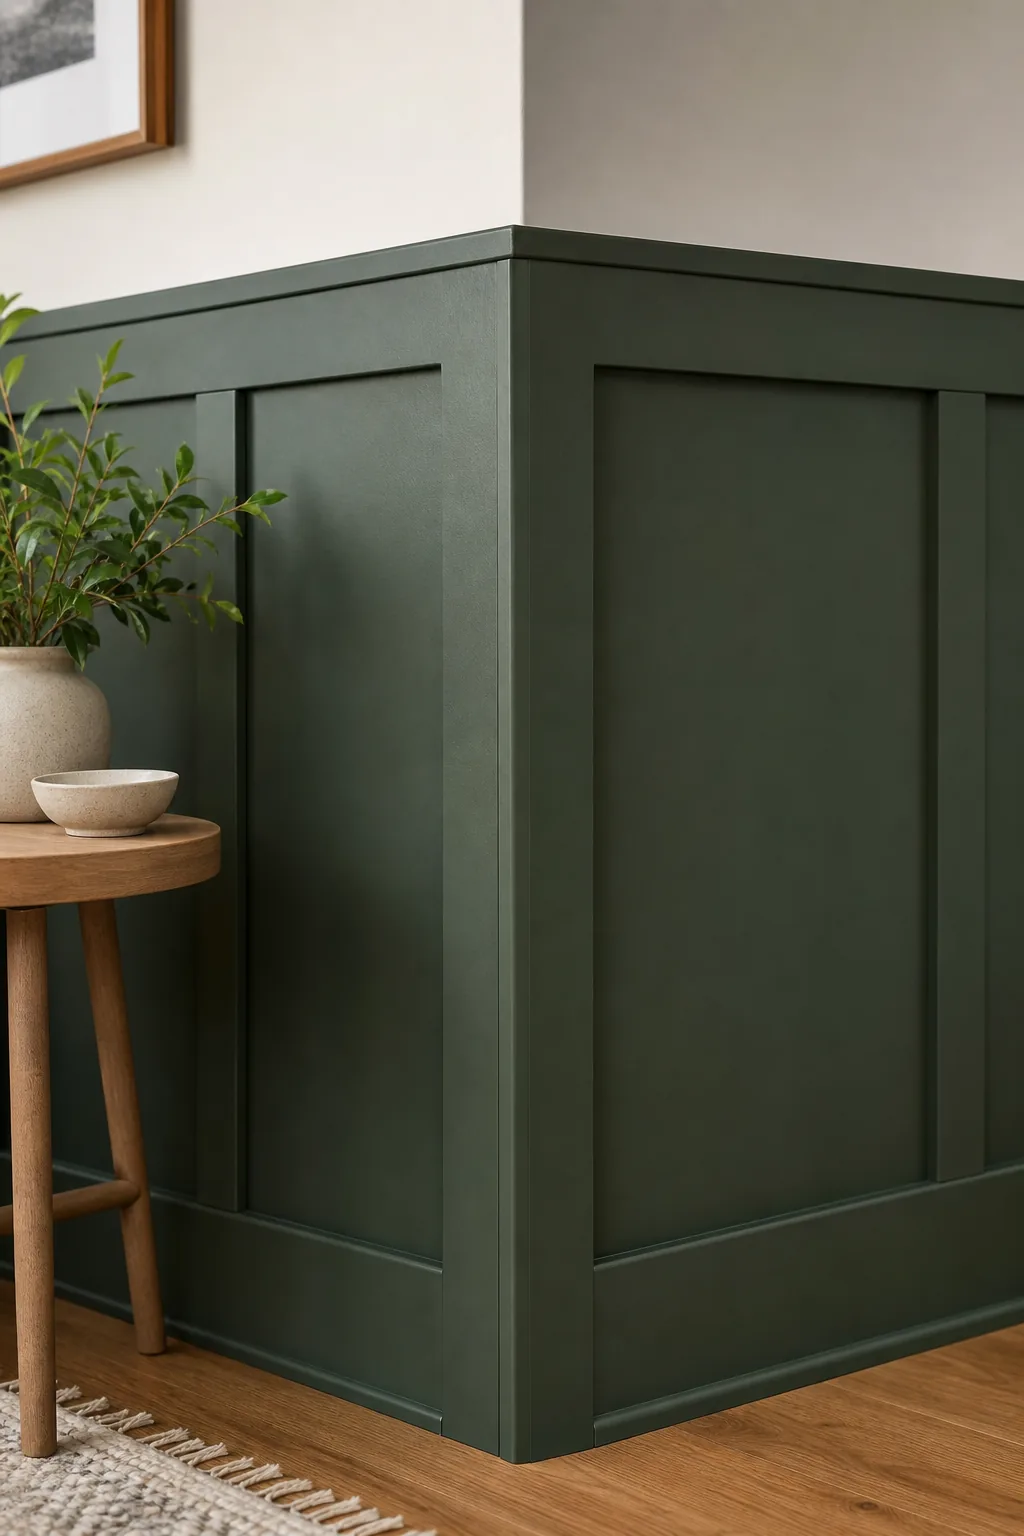
Applying too much product is the single most common mistake in this transition zone, but a simple modification to your application tools keeps the seams perfectly crisp.
Filling Nail Holes
Every single brad nail leaves a minor surface indentation that must be meticulously filled before the final paint application can begin. Overfilling these tiny holes slightly with a shrinking wood filler allows you to sand the surface perfectly flush once completely dry.
Handling Inside and Outside Corners
Transitioning panelling around the perimeter of a complex room requires distinct joinery techniques for different structural wall angles. For inside corners, push one vertical stile tightly against the drywall and carefully scribe the adjacent board to achieve a seamless fit.
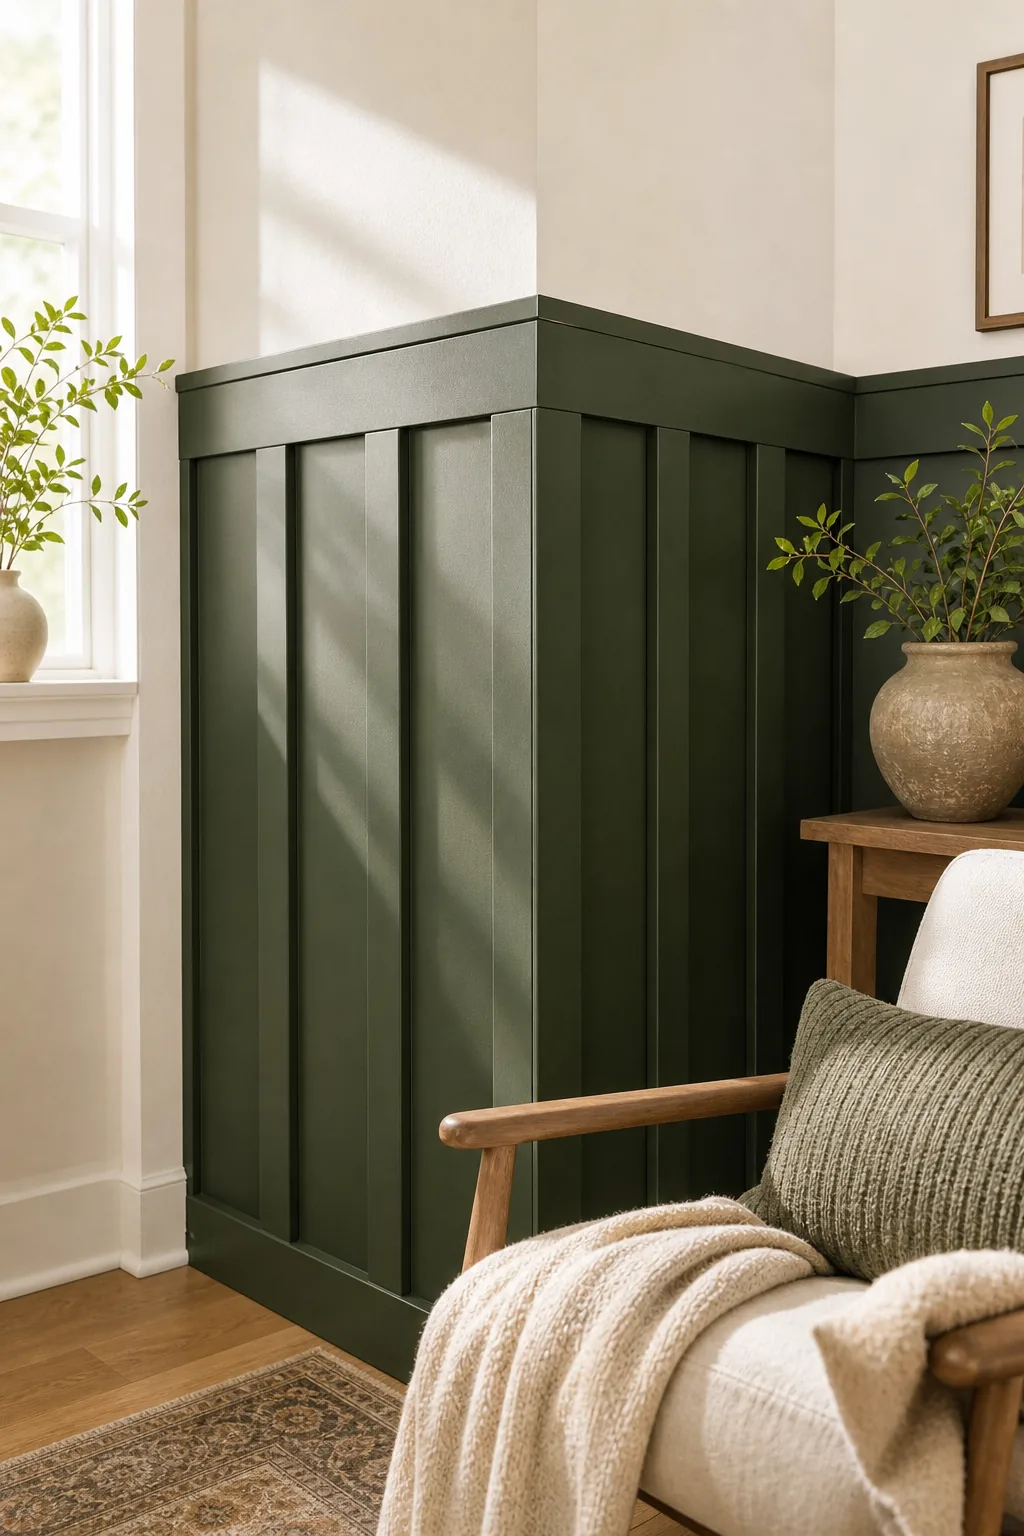
Outside corners strictly demand a 45-degree miter joint rather than a standard, flat butt joint. This angled connection successfully hides the porous, rough core of the MDF, leaving only the smooth, paint-ready factory edges exposed to the room.
Priming MDF Edges
The freshly cut edges of MDF boards absorb moisture rapidly and will noticeably swell if painted without proper surface preparation. Sealing these raw edges with an oil-based primer or a thin layer of drywall mud creates a glass-smooth surface that perfectly matches the factory face.
Choosing the Right Paint Finish
Applying a dark, moody color like deep green requires a highly thoughtful sheen selection to maximize the final architectural impact. A standard flat paint absorbs too much ambient light and makes the lower, high-traffic portion of the wall incredibly difficult to clean.
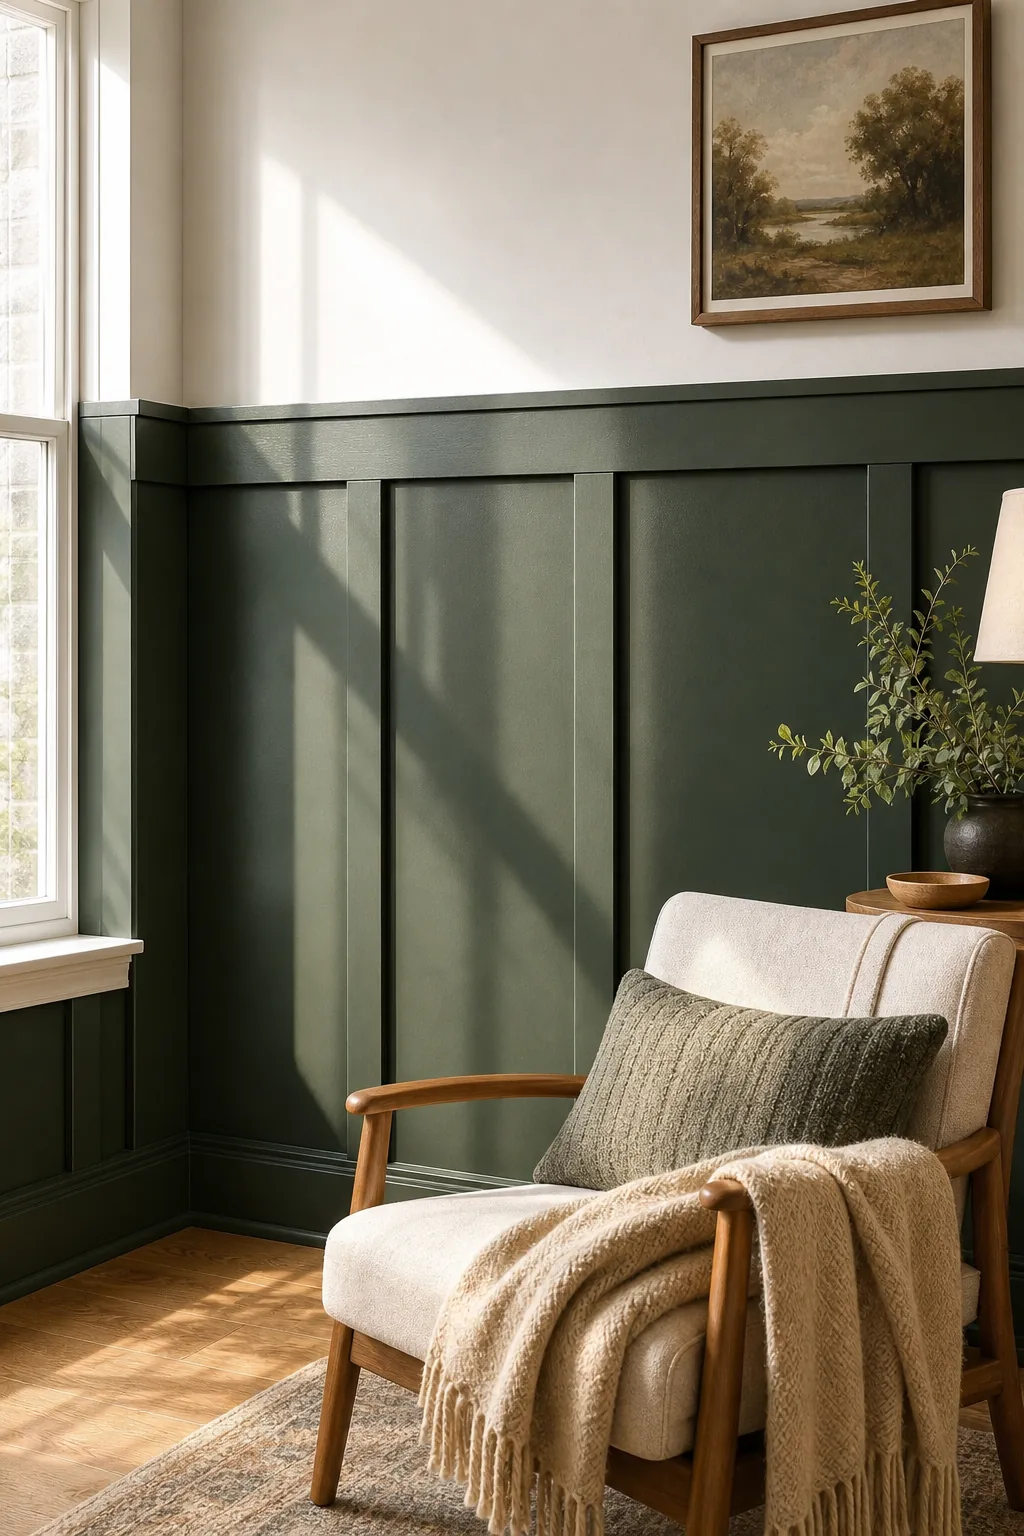
Selecting a satin or semi-gloss finish provides a subtle, highly elegant contrast against a flat-painted upper wall. The higher sheen beautifully reflects natural light, deeply emphasizing the three-dimensional shadows and structural depth cast by the vertical battens.