
The Perfect Entryway Setup: A Complete 5-Zone Guide
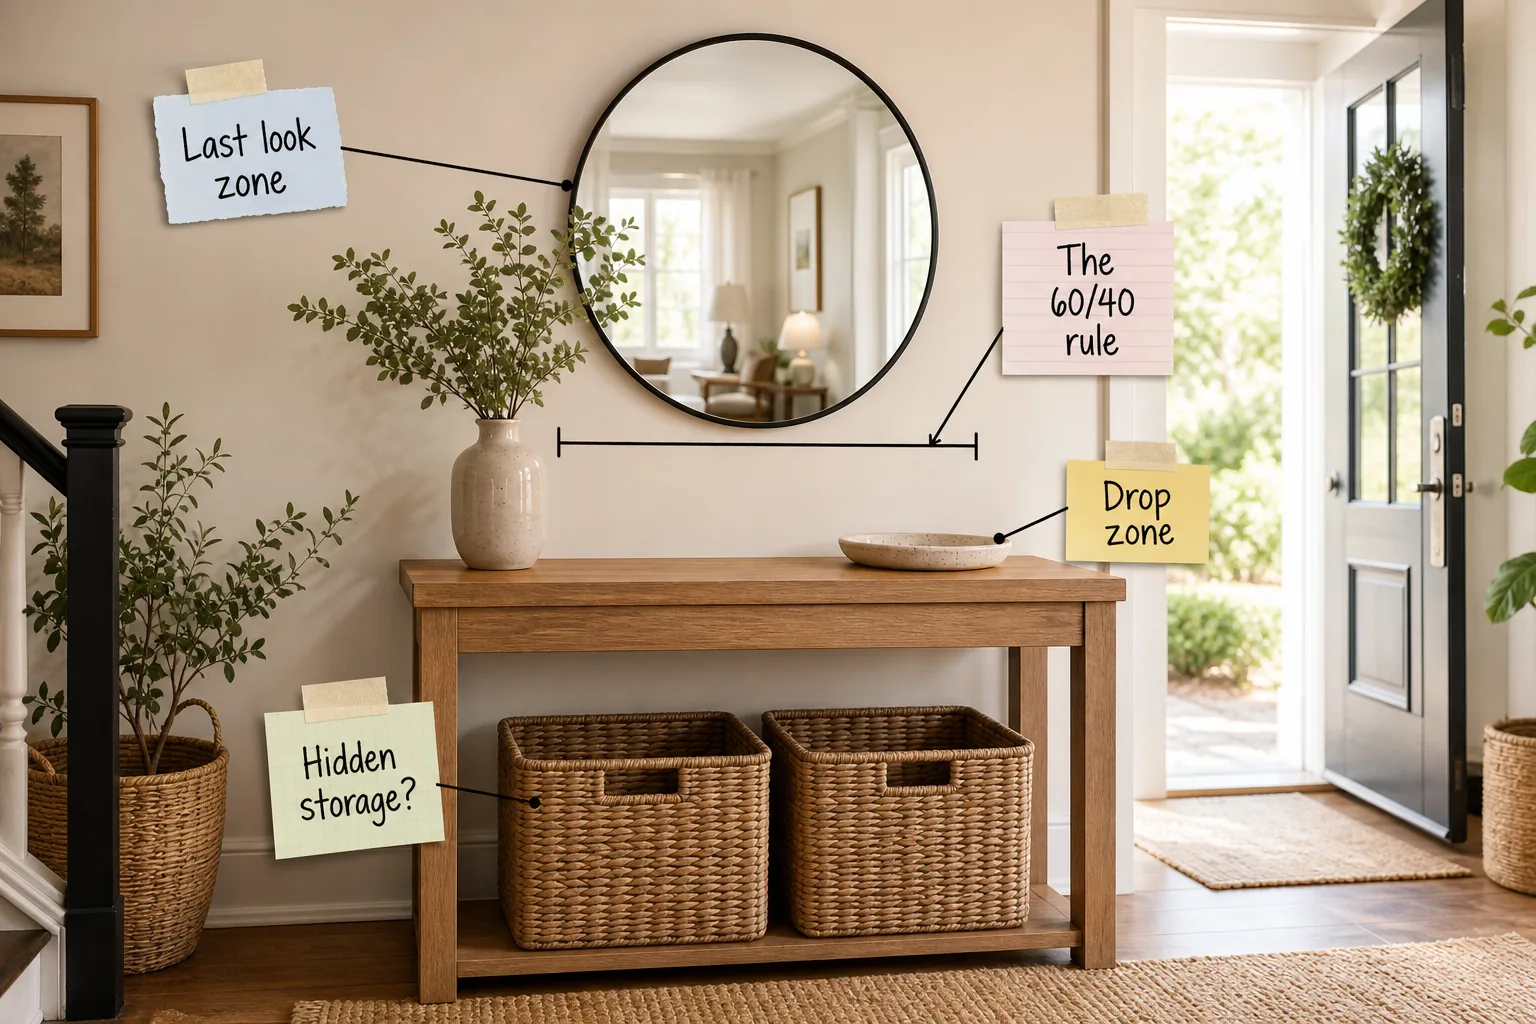
Welcome to your 5-Zone Entryway Setup Guide, where you will learn exactly how to arrange your console table, mirror, and storage using our step-by-step formula. You will be able to build a functional, beautiful entryway that welcomes you home and keeps clutter hidden.
Choosing Your Anchor Piece
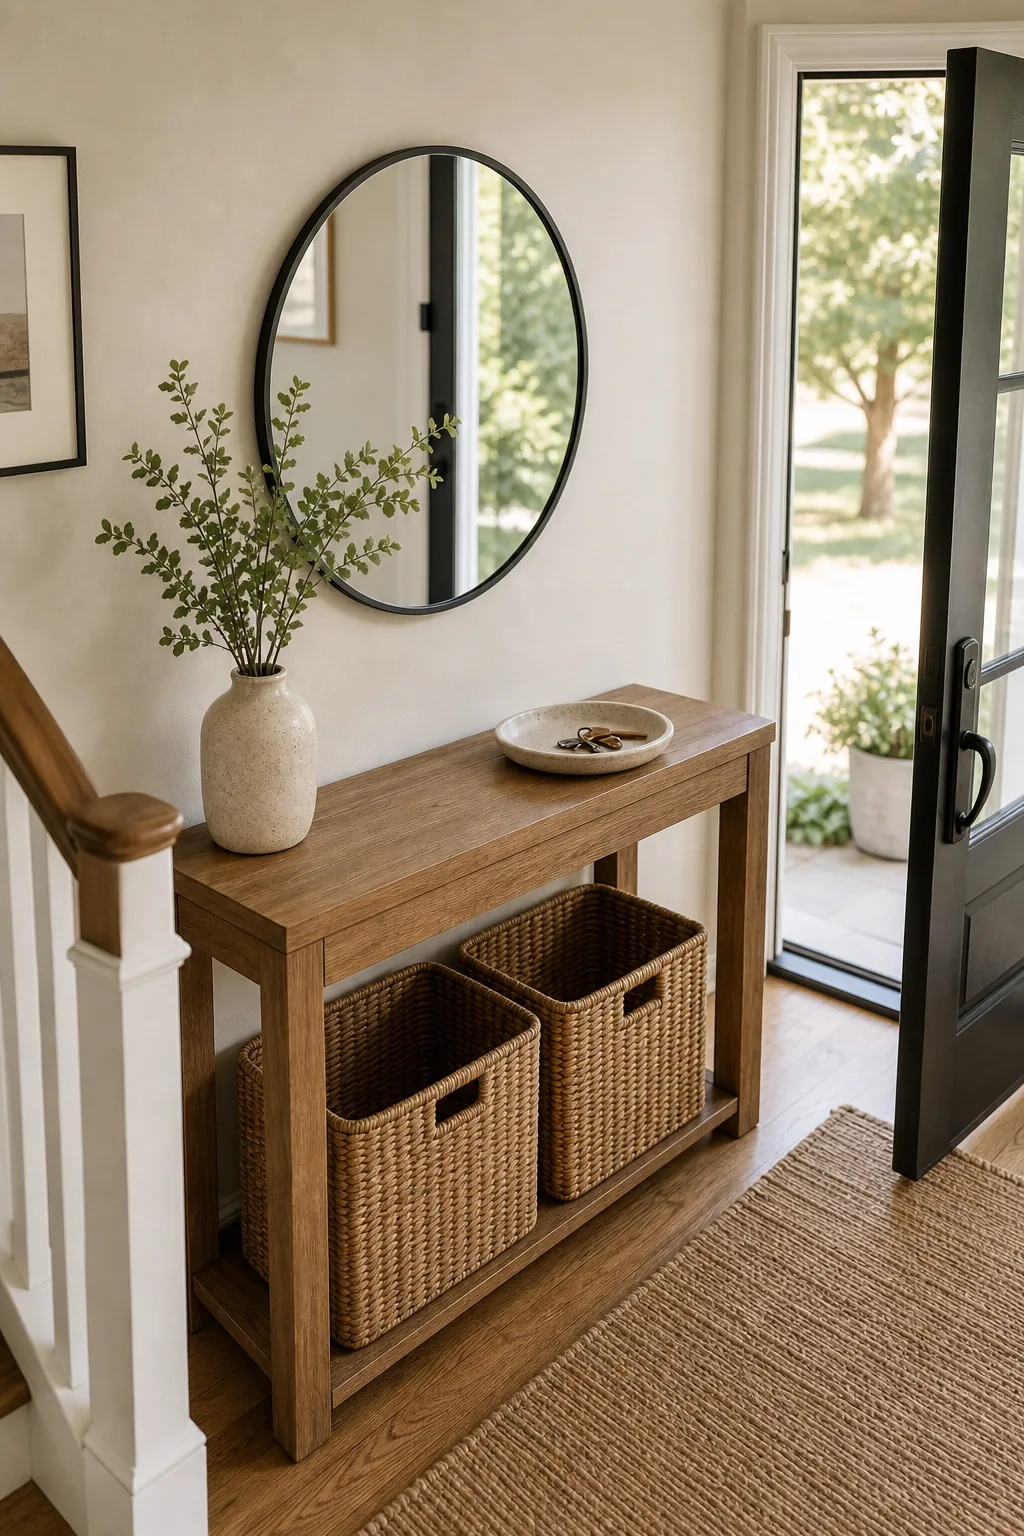
Start with a slim wood console table as the foundational anchor piece of your entire entry space. This primary furniture item establishes the visual weight of the room, dictates where all subsequent layers belong, and sets the welcoming tone for guests.
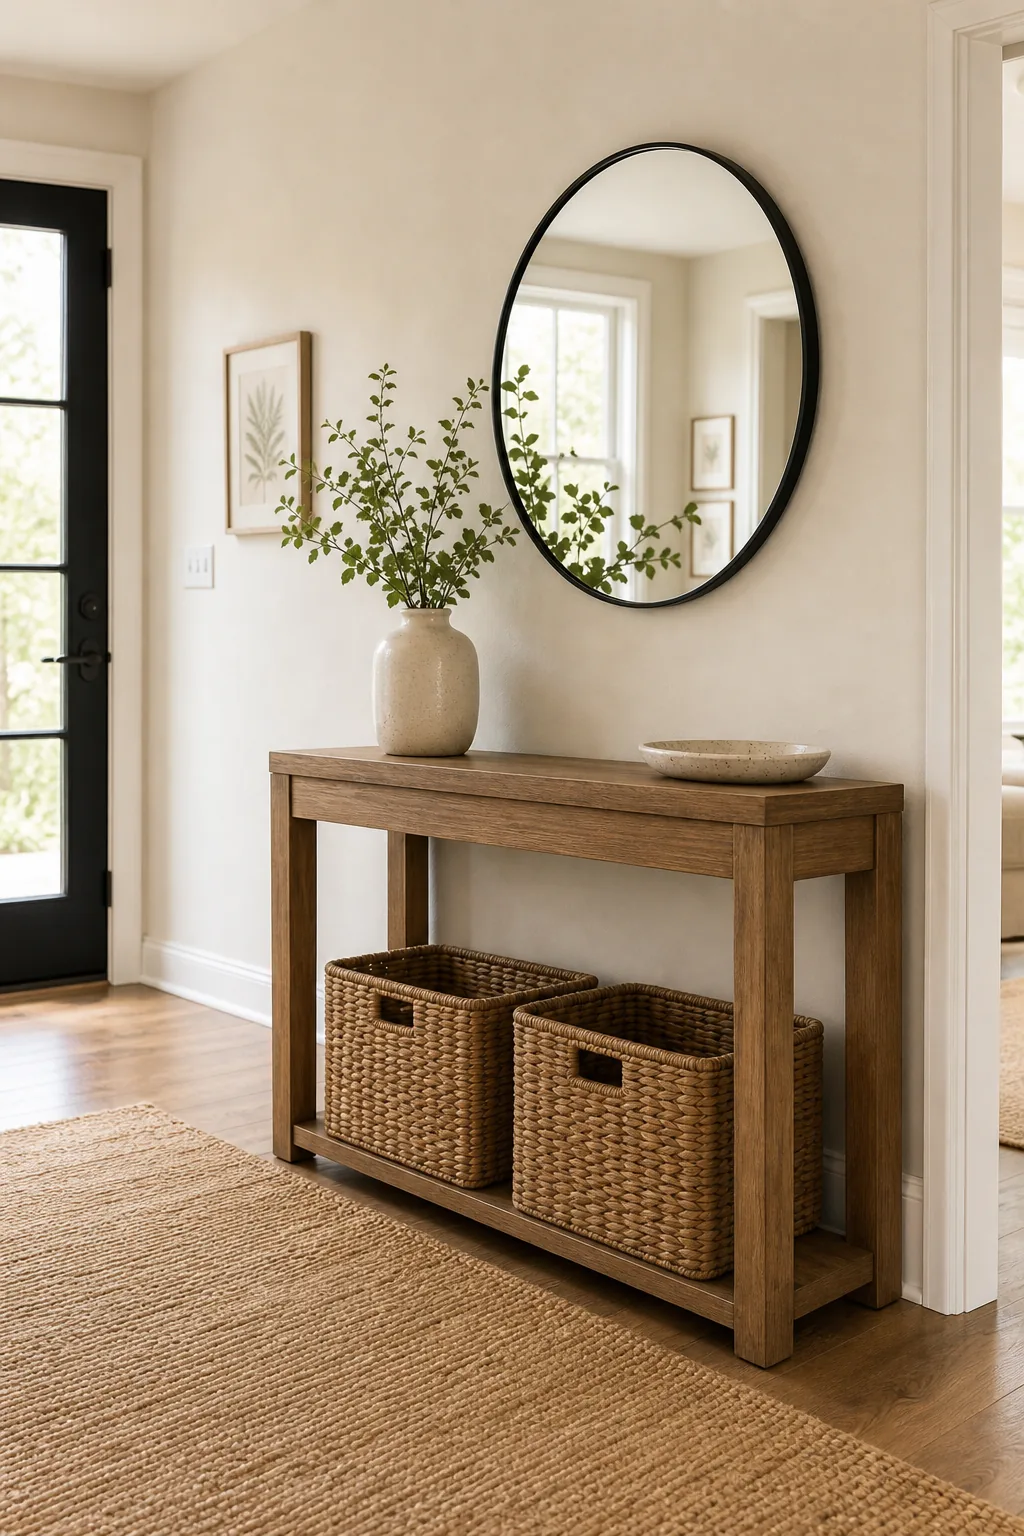
Look for a piece between 10 and 14 inches deep to ensure it provides enough surface area for daily items without blocking the walkway. A lighter wood tone naturally keeps the hallway feeling bright, open, and incredibly inviting throughout the day.
Standardizing Console Table Dimensions
Selecting the correct furniture proportions prevents your entryway from feeling cramped or overwhelmed by oversized pieces. Compare these standard console table measurements against your available wall space before making a final purchase to guarantee a perfectly tailored fit for your home.
| Hallway Width | Max Table Depth | Ideal Table Length | Clearance |
|---|---|---|---|
| 36 to 42 inches | 10 inches | 32 to 36 inches | 32 inches |
| 48 to 54 inches | 12 inches | 36 to 48 inches | 36 inches |
| 60+ inches | 14 inches | 48 to 60 inches | 46+ inches |
Always measure your specific baseboards and note the location of any nearby heating vents before finalizing your layout. These permanent architectural features will significantly reduce your usable floor depth by several inches, requiring a slightly narrower table profile.
Maximizing Hidden Storage
Utilize the negative space beneath the console table to add essential hidden storage for bulky everyday items. Slide two matching woven baskets underneath to conceal shoes, umbrellas, and seasonal accessories completely out of sight.
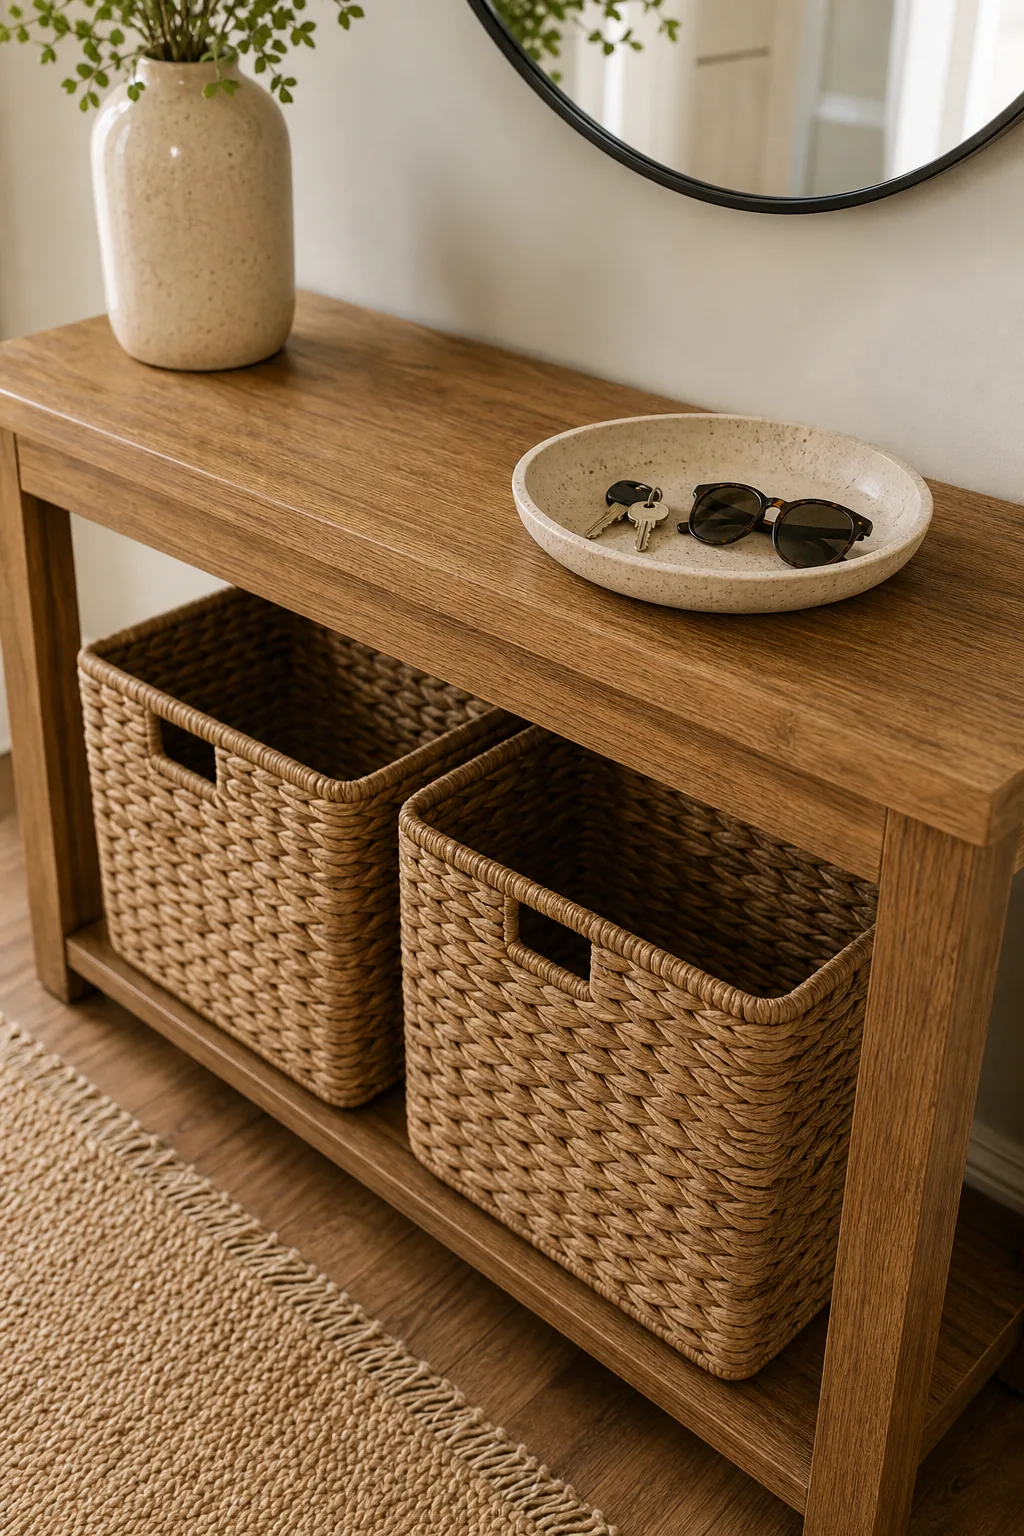
This lower zone is the absolute perfect place to tuck away heavy items that would otherwise clutter the floor and create tripping hazards. The organic material of the baskets also adds warm, inviting texture to the lower half of the arrangement, balancing the heavy wood above.
Sequencing Your Entryway Assembly
Building a cohesive entryway requires layering your items in a specific, proven sequence to maintain strict visual balance. Follow this structural method to ensure your anchor piece and decorative accessories align perfectly without requiring endless frustrating adjustments.
- Position your console table precisely in the center of your available wall space.
- Slide your matching storage baskets underneath to establish the heavy base weight.
- Mount your wall decor above the table before adding any tabletop accessories.
- Place your functional catch-all trays on the side closest to the door.
Completing the heavy structural elements first makes it significantly easier to judge the correct scale and placement for your smaller items. This logical workflow prevents you from having to move delicate decor pieces out of the way while shifting heavy furniture.
Creating a Dedicated Drop Zone
Designate a specific spot for daily pocket items to create a highly functional drop zone that prevents surface clutter. Place a shallow ceramic catch-all tray near the edge closest to the door for keys, sunglasses, and loose change.
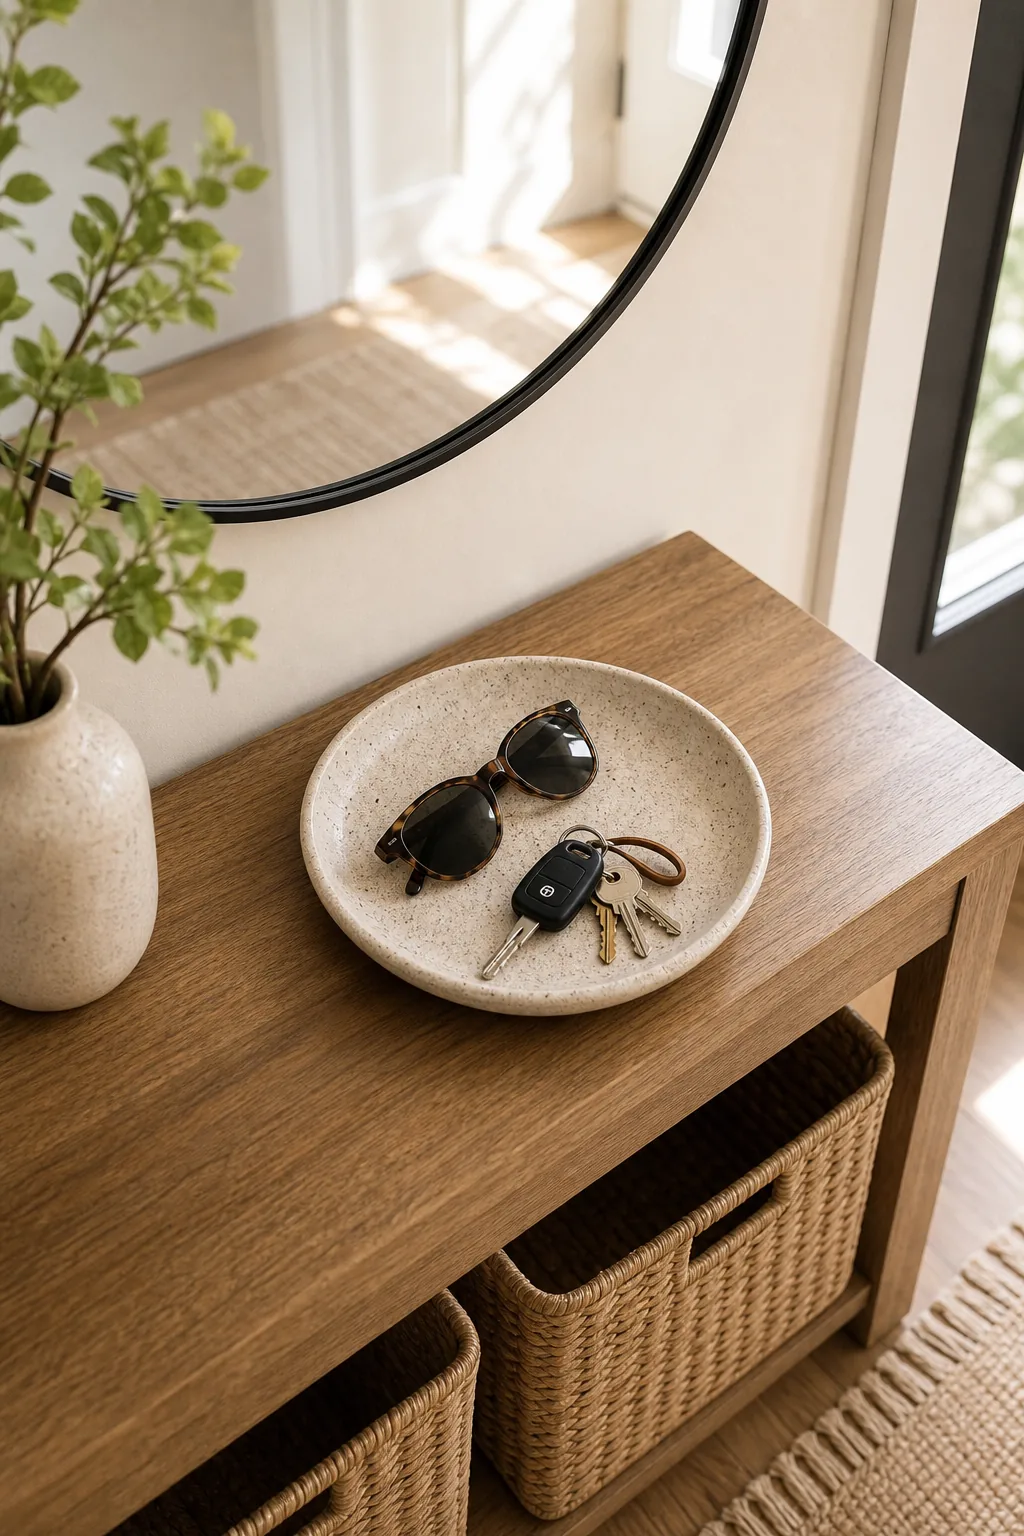
Giving your daily essentials a permanent home immediately stops them from migrating throughout the house and getting lost. This strategic placement ensures you can empty your hands immediately upon walking inside, keeping the rest of the table completely clear.
Protecting Your Furniture Surfaces
Daily use of your drop zone can quickly damage the delicate finish on your wood console if you are not careful. Implementing protective layers and smart habits preserves your expensive furniture investment for many years to come.
Establishing these simple routines ensures your entryway remains pristine regardless of how much heavy traffic passes through your front door each day.
Setting Up the Last Look Zone
Mount a round wall mirror directly above the console table to establish your highly functional last look zone. This reflective surface actively bounces natural light around the room and makes a narrow, dark entry corridor feel significantly larger.
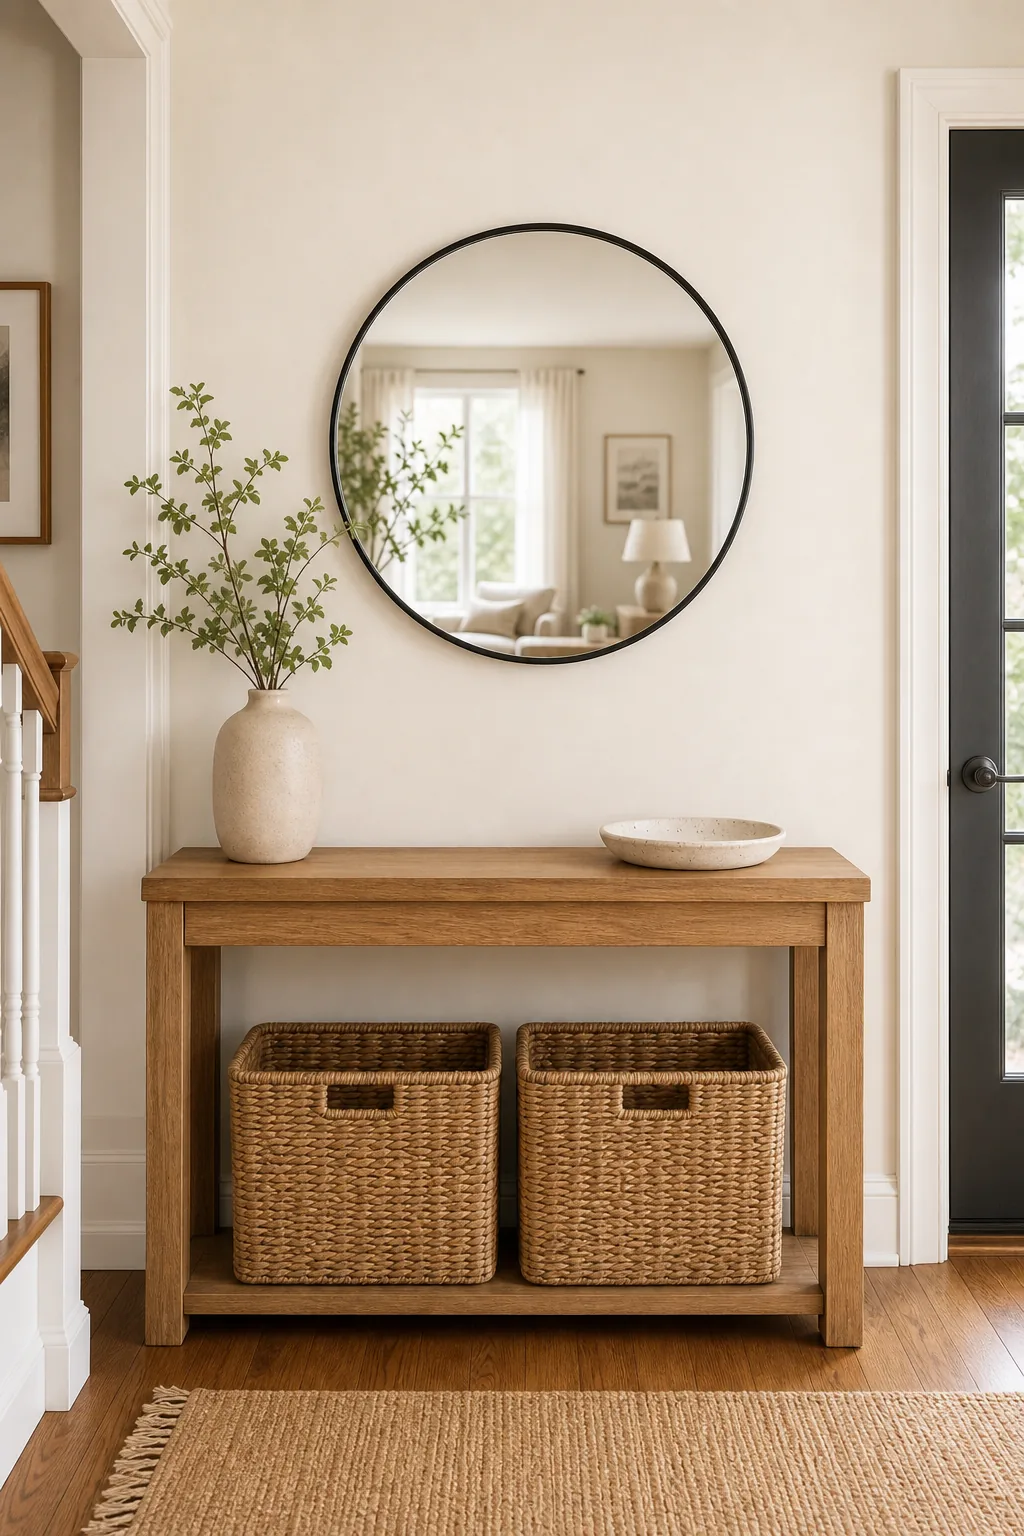
Position the exact center of the mirror roughly 60 inches from the floor to accommodate most adult heights comfortably. This specific height ensures the mirror functions perfectly for quick outfit checks before you head out the door each morning.
Bouncing Natural Entryway Light
A well-placed mirror does much more than just check your appearance; it actively brightens dark corridors by reflecting light from adjacent windows. Angling the mirror slightly toward the nearest light source can dramatically transform the entire ambiance of a windowless front hall.
Mastering the 60/40 Rule
Ensure your wall decor feels completely proportionate to your furniture by applying the 60/40 rule to your layout. The total width of your round mirror should be approximately 60 percent of the console table’s overall width for optimal balance.
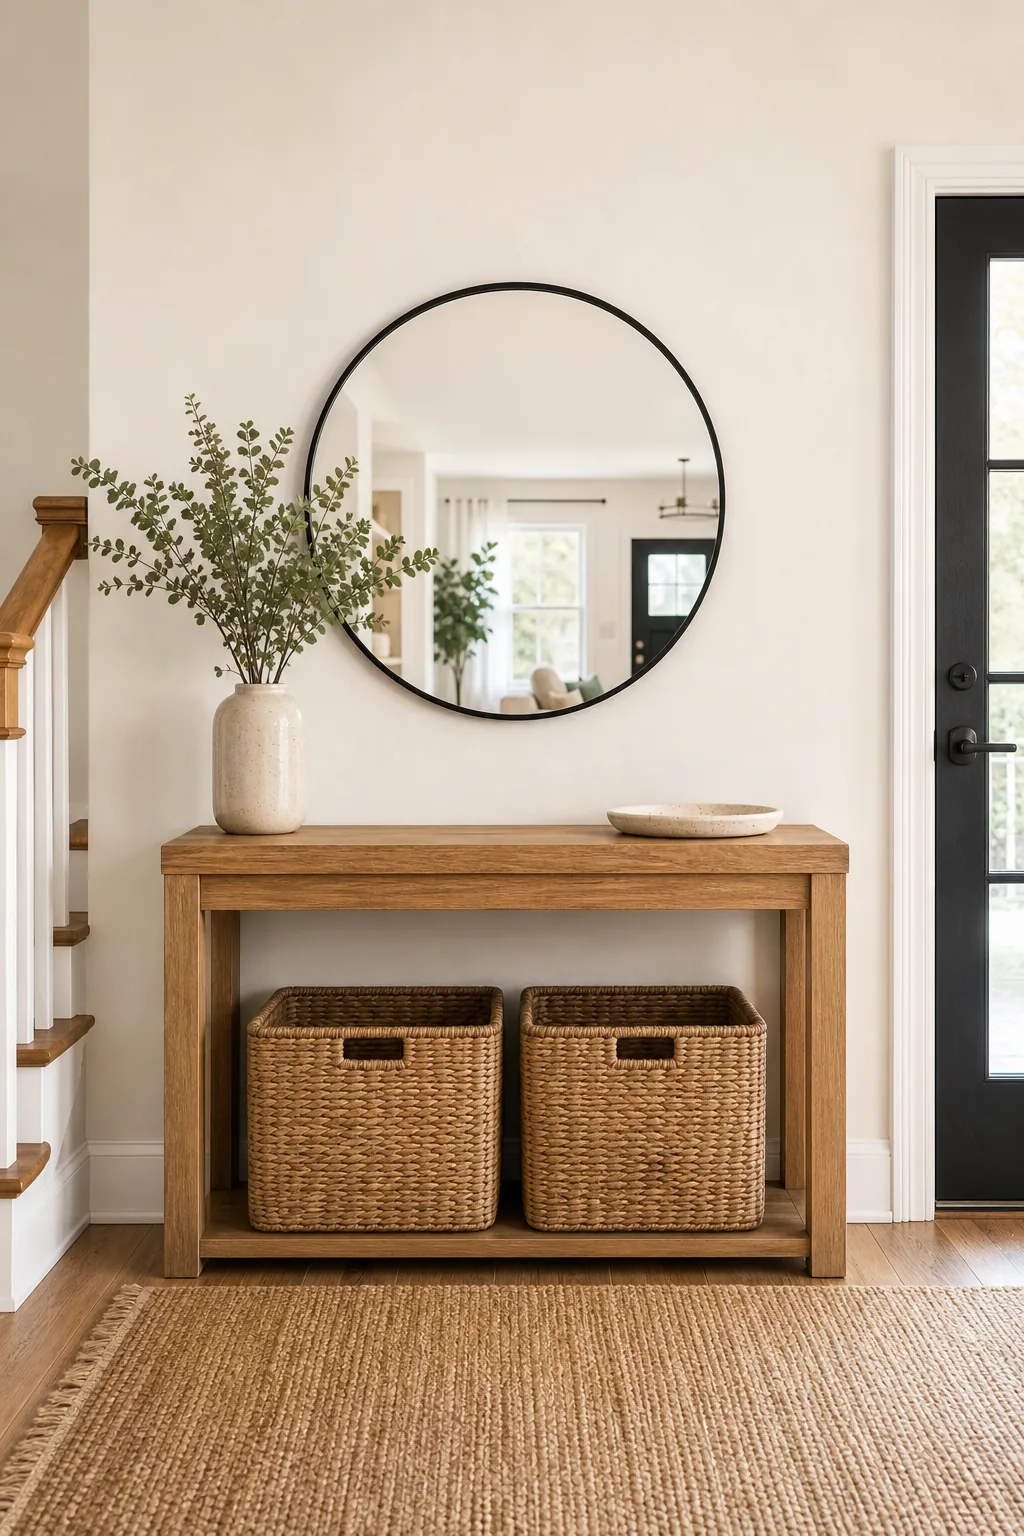
Getting this specific scale right is the absolute secret to an entryway that looks professionally designed rather than haphazardly pieced together. When the proportions are correct, the entire arrangement feels instantly grounded, intentional, and visually soothing to the eye.
Balancing Asymmetrical Decor Layouts
If you prefer a more modern aesthetic, you can intentionally offset your mirror to one side to create an asymmetrical layout. When using this technique, balance the visual weight by placing a tall, heavy lamp or a large sculptural vase on the opposite side.
Softening with Organic Textures
Break up the hard geometric lines of the wood console and glass mirror by introducing natural elements into your styling. Add a textured ceramic vase with tall faux or fresh greenery to bridge the empty visual gap between the tabletop and the mirror.
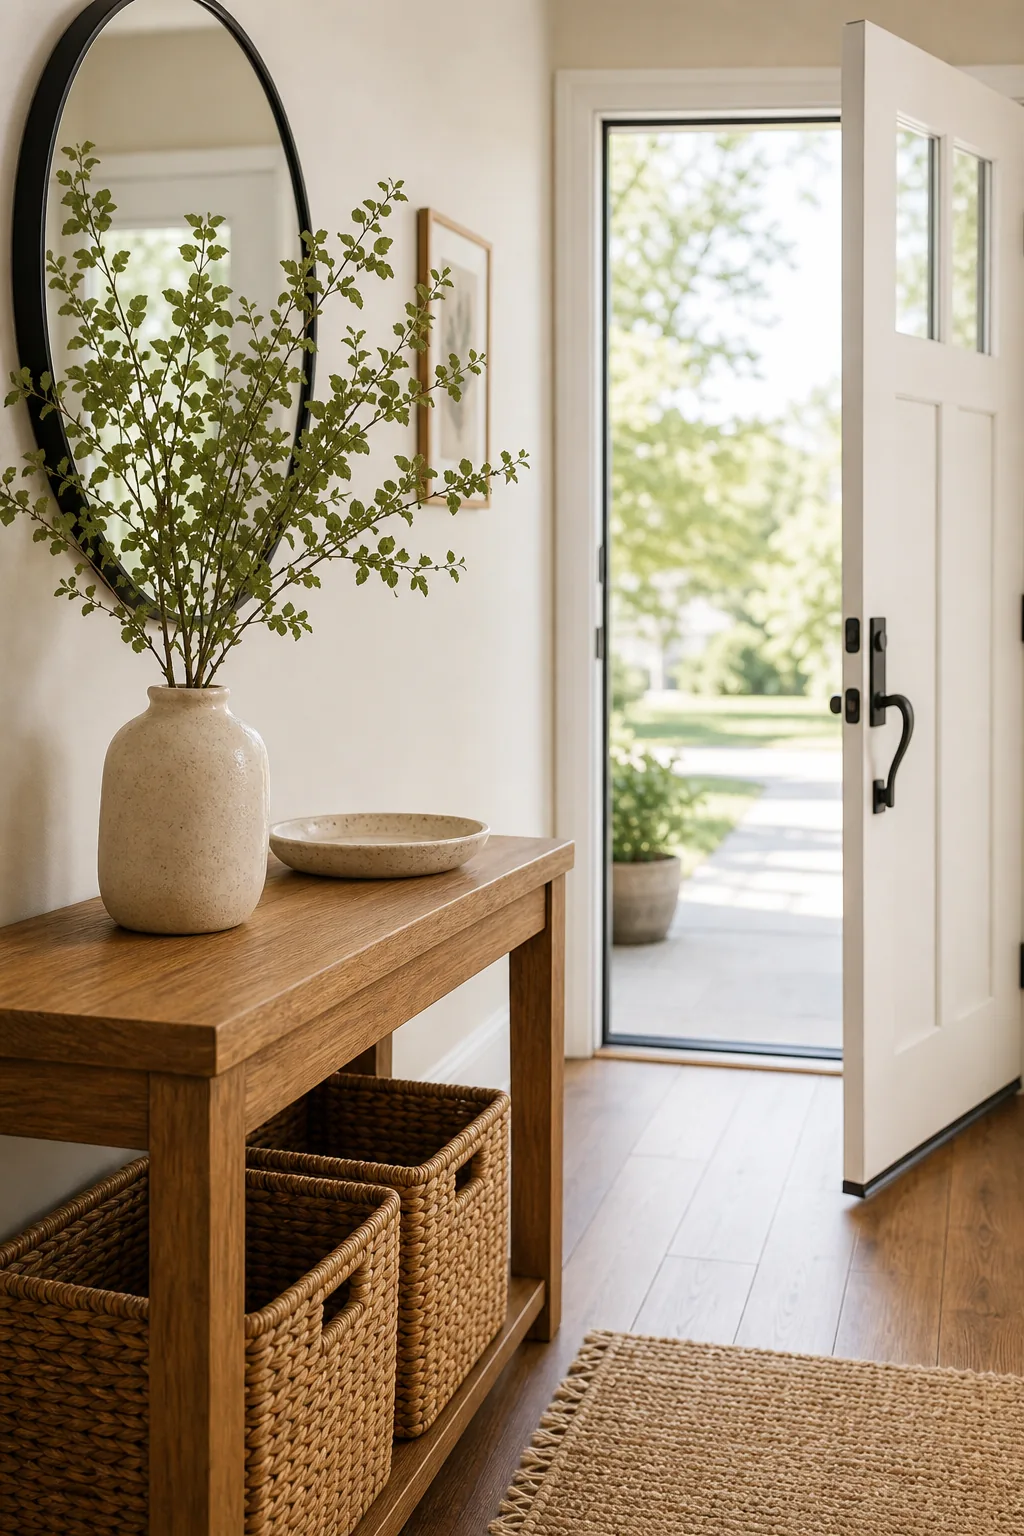
Adding organic shapes prevents the functional zones from feeling too rigid, sterile, or overly utilitarian in a welcoming home. The vertical height of the branches successfully draws the eye upward and seamlessly connects the different design layers.
Selecting Low-Maintenance Greenery
Choosing the right branches for your entryway vase ensures the space always looks fresh without requiring daily watering or constant maintenance. Preserved eucalyptus, dried olive branches, or high-quality faux stems provide lasting volume and subtle color that survives perfectly in low-light hallways.
Managing Entryway Walkways
Test the physical flow of your completed setup by opening the front door fully to check for potential traffic bottlenecks. Maintain a strict minimum clearance of 36 inches between the front edge of the console table and the opposite wall.
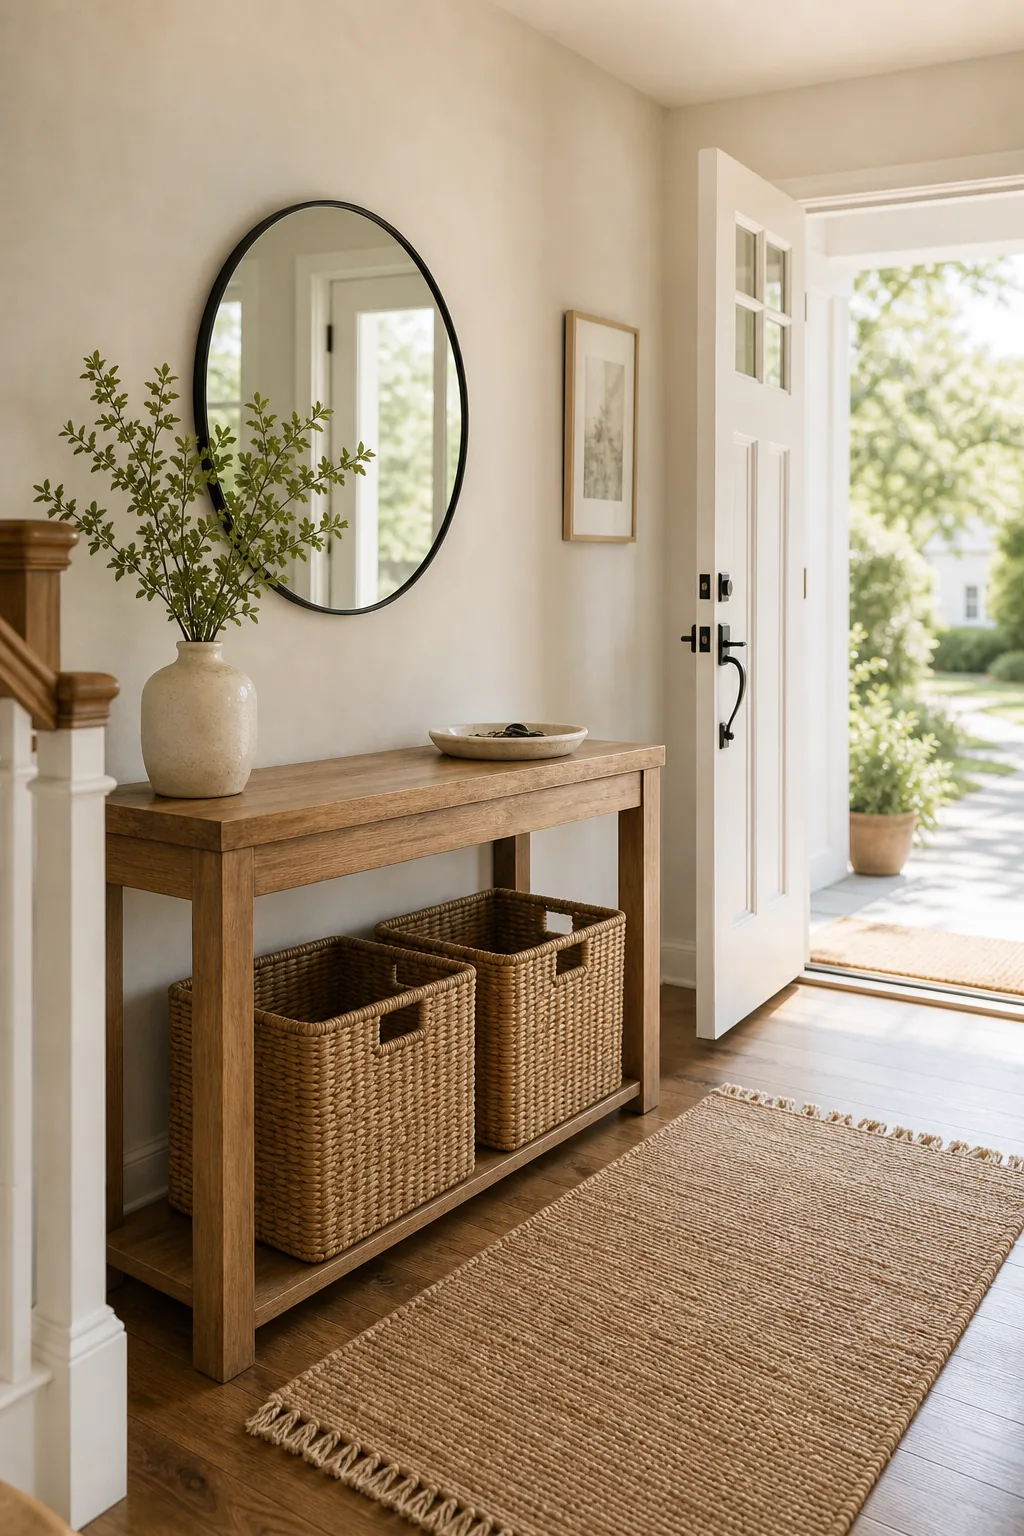
A beautifully styled arrangement quickly loses its appeal if you constantly bump into the furniture while carrying heavy groceries. This standard building spacing guarantees comfortable, safe passage for guests carrying bags or wearing bulky winter coats during the colder months.
Accommodating Front Door Swings
Always factor in the exact arc of your front door when finalizing the permanent placement of your anchor piece. Keep the edge of the table at least six inches away from the door’s maximum open position to prevent accidental impact damage.
The Complete 5-Zone Setup Guide
Bring all the design elements together to finalize your space using the structured, zone-by-zone approach we have built today. This methodical layering ensures your anchor piece, hidden storage, drop zone, and overall visual proportions are perfectly aligned and highly functional.
Before you consider your entryway finished and ready for daily use, run through this final structural review. Checking these specific measurements guarantees every functional zone is operating correctly and your space remains entirely clutter-free.