
DIY Stock Tank Pool: The Complete $800 Backyard Build Guide
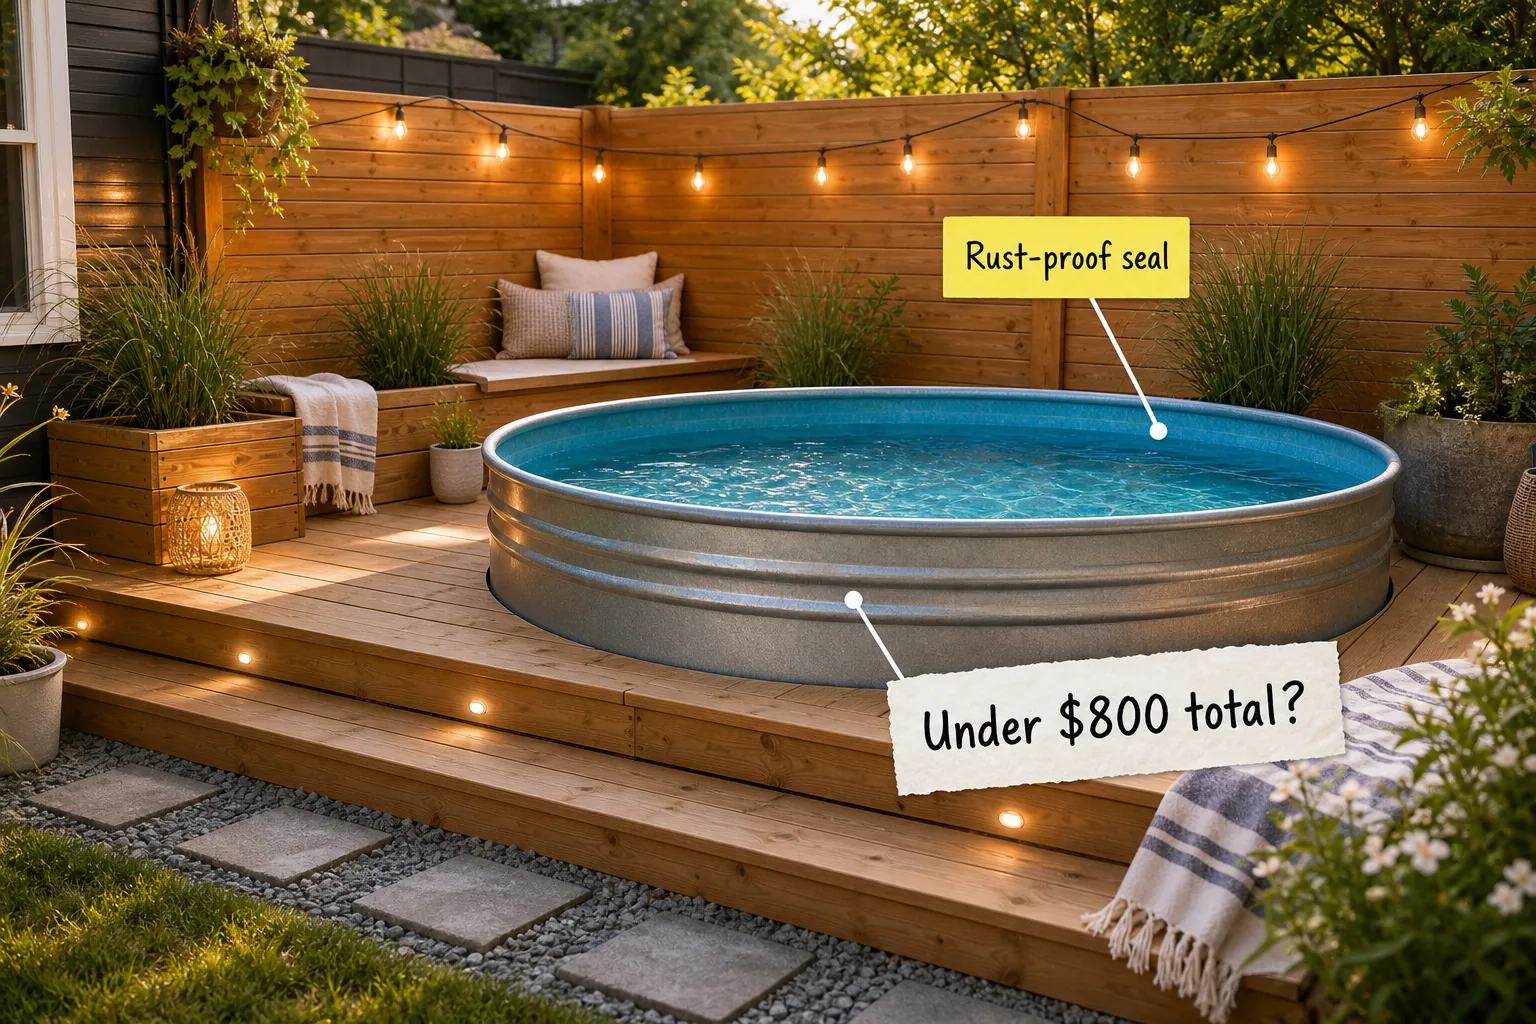
You can construct a custom backyard oasis, install a hidden pump, and track every dollar with this complete DIY stock tank pool build guide. Follow these step-by-step instructions and the fully itemized budget breakdown to complete your modern setup for exactly under $800.
Prepping the Leveling Base
Dig out the existing sod and lay a 2-inch layer of crushed stone to create a solid, level foundation capable of supporting the massive weight of a filled pool. Proper ground preparation prevents the heavy steel tank from settling unevenly over time.
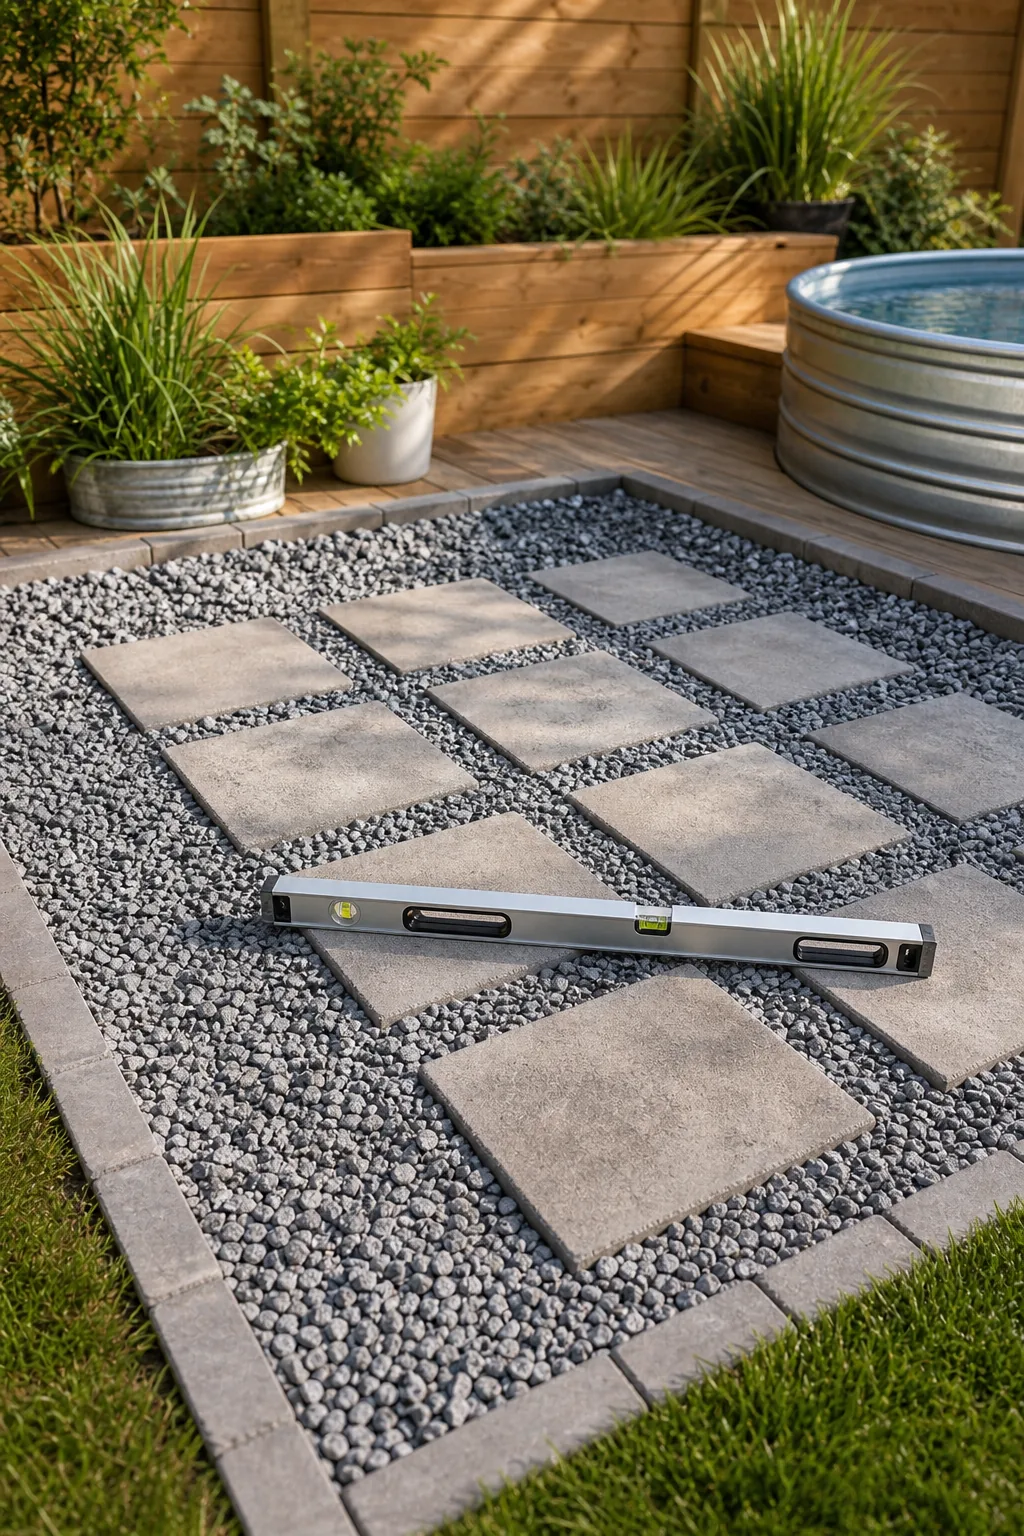
Before pouring the final layer of crushed stone, it is absolutely crucial to verify that your underlying dirt foundation is perfectly flat across the entire cleared backyard footprint.
Selecting the Perfect Yard Location
Choose a backyard spot that receives ample morning sunlight to naturally warm the water, while avoiding low-lying areas that collect heavy rain runoff. Ensure the selected site sits at least ten feet away from any large tree roots that could complicate the initial digging process.
Sourcing the 8ft Stock Tank
Purchase an 8-foot diameter galvanized steel stock tank directly from a local farm supply store to completely avoid exorbitant freight shipping costs. These durable agricultural water troughs hold approximately 700 gallons of water and provide the perfect rigid structure for a backyard pool.
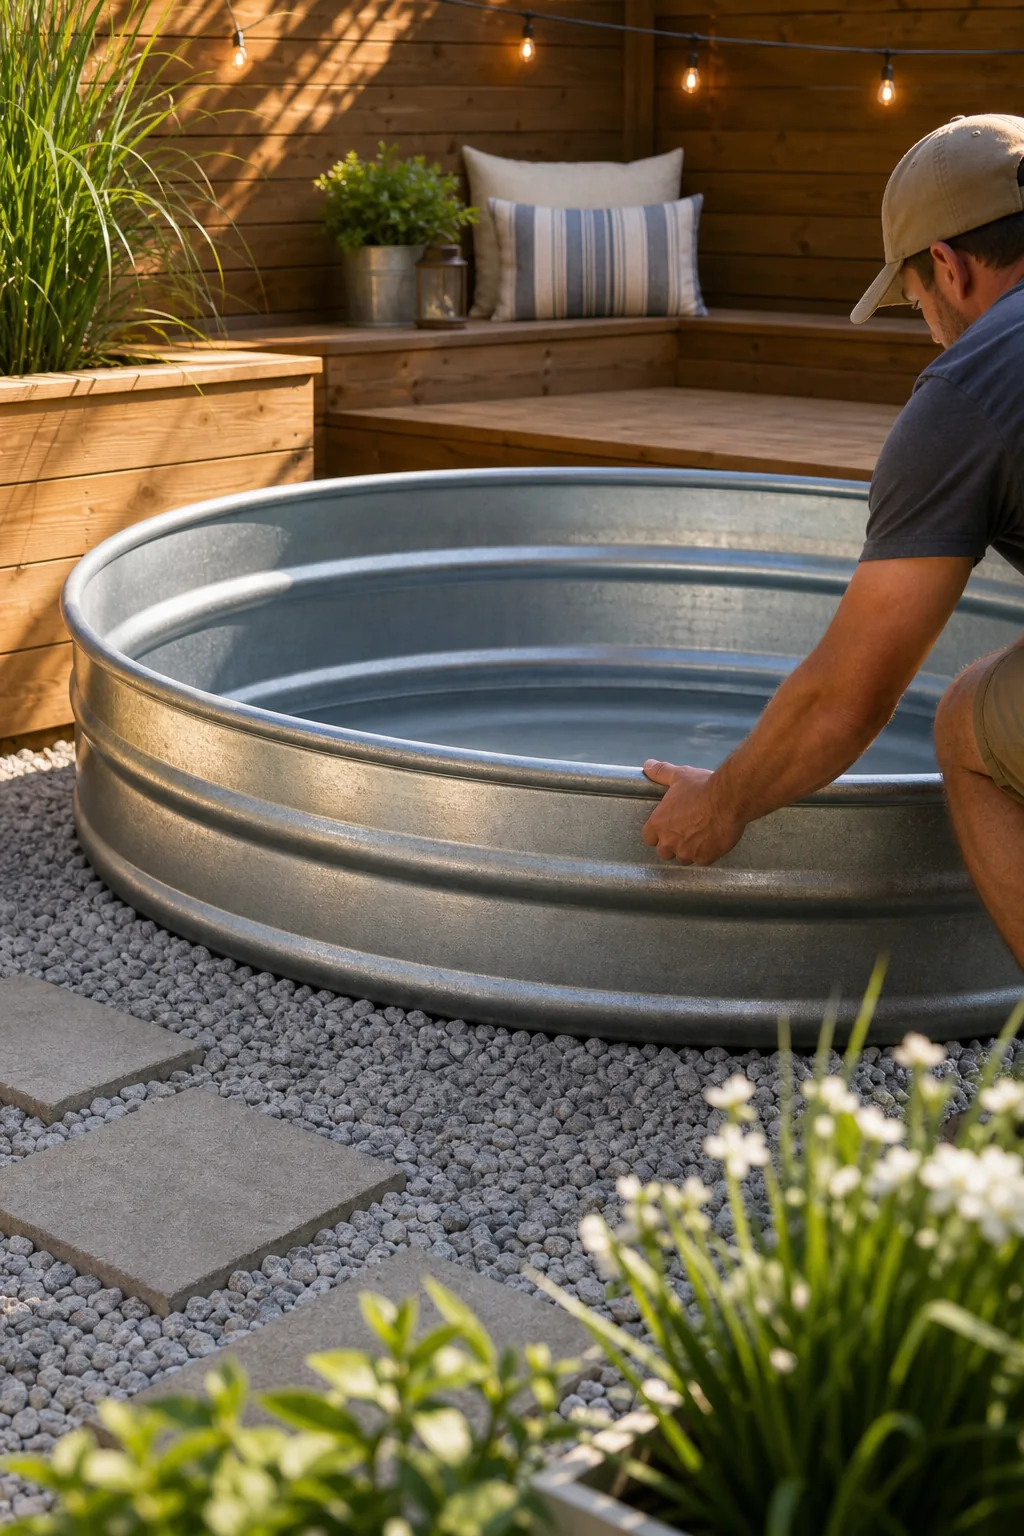
Transport and position the heavy tank carefully by rolling it across the yard using thick PVC pipes, which prevents the bottom metal surface from suffering deep scratches that could eventually rust.
Drilling the Filter Connections
Use a heavy-duty hole saw fitted with a metal-cutting blade to drill two precise openings through the galvanized steel wall for the inlet and outlet hoses. File the sharp metal edges completely smooth before installing the threaded rubber gaskets to ensure a watertight plumbing seal.
Applying the Rust-Proof Seal
Roll on a specialized rust-proof marine epoxy in thin, even layers to significantly extend the tank’s lifespan and create a pleasant, inviting blue finish. This protective coating blocks the chlorine from reacting with the raw zinc surface, preventing premature corrosion along the interior seams.
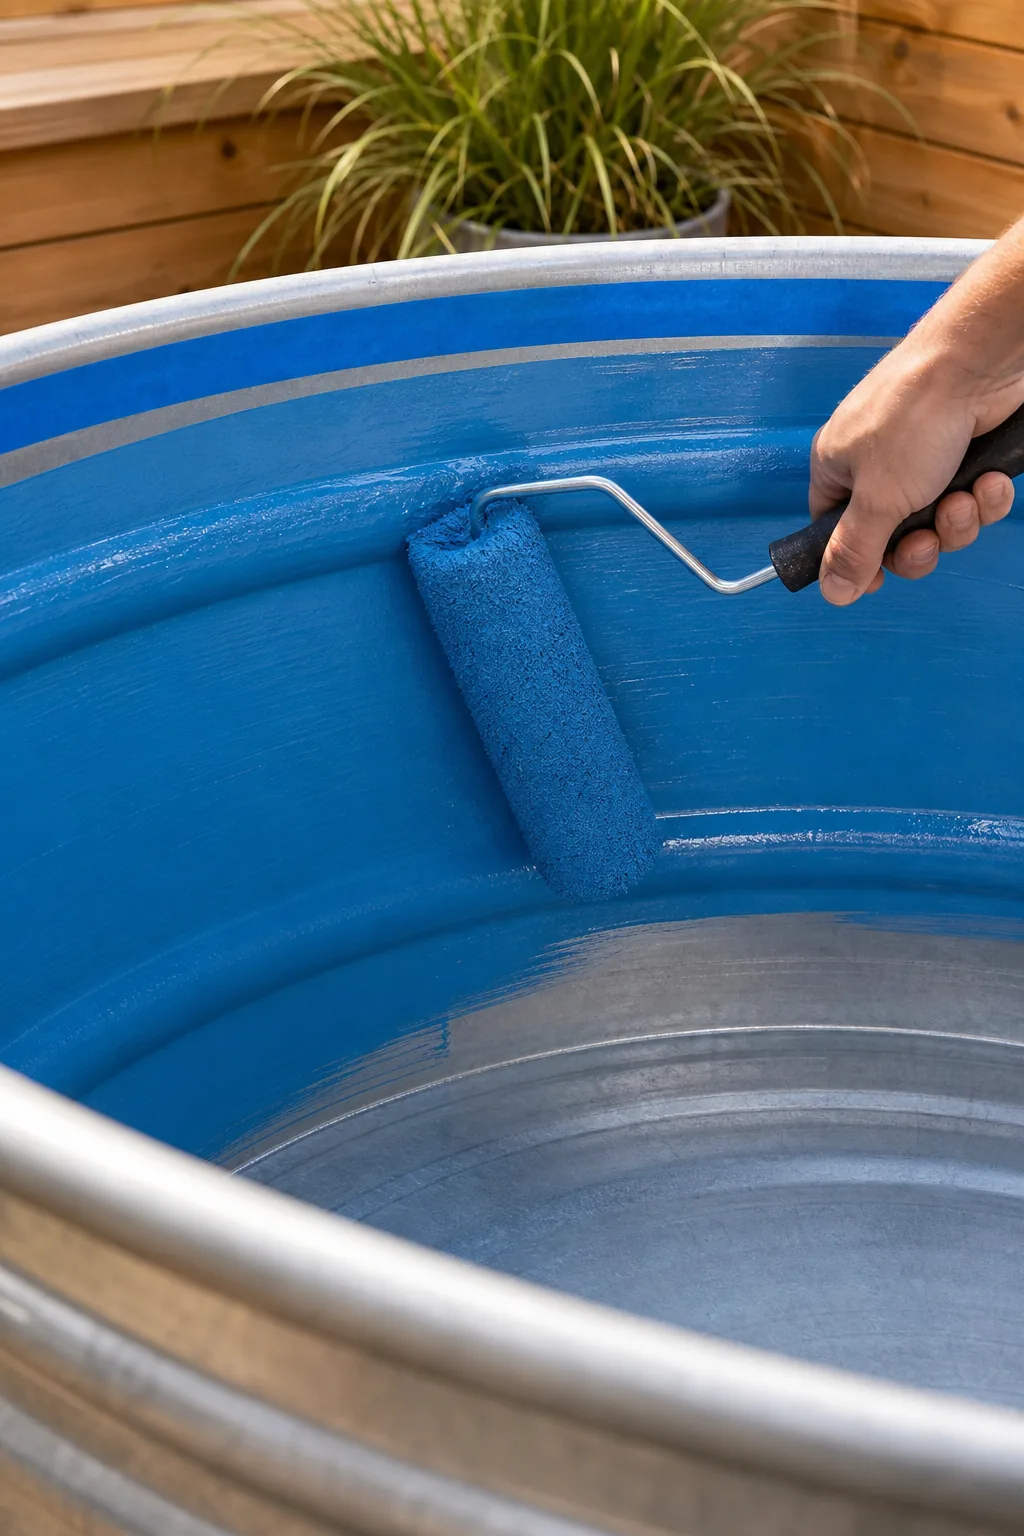
Prepping the galvanized metal correctly is just as important as the specific pool paint you choose, so carefully avoid these common application errors before starting.
Designing the Equipment Layout
Map out the exact path for the flexible pool hoses running from the newly drilled wall fittings to the external filtration system. Keeping the plumbing run as short as possible maximizes the water flow rate and reduces the overall strain on the small circulation pump.
Building the Hidden Pump Box
Construct a matching wooden bench box featuring wide ventilation gaps to prevent the enclosed pool pump from dangerously overheating during peak summer temperatures. Proper airflow is essential to maintain the longevity of the electrical equipment operating continuously beside the water.
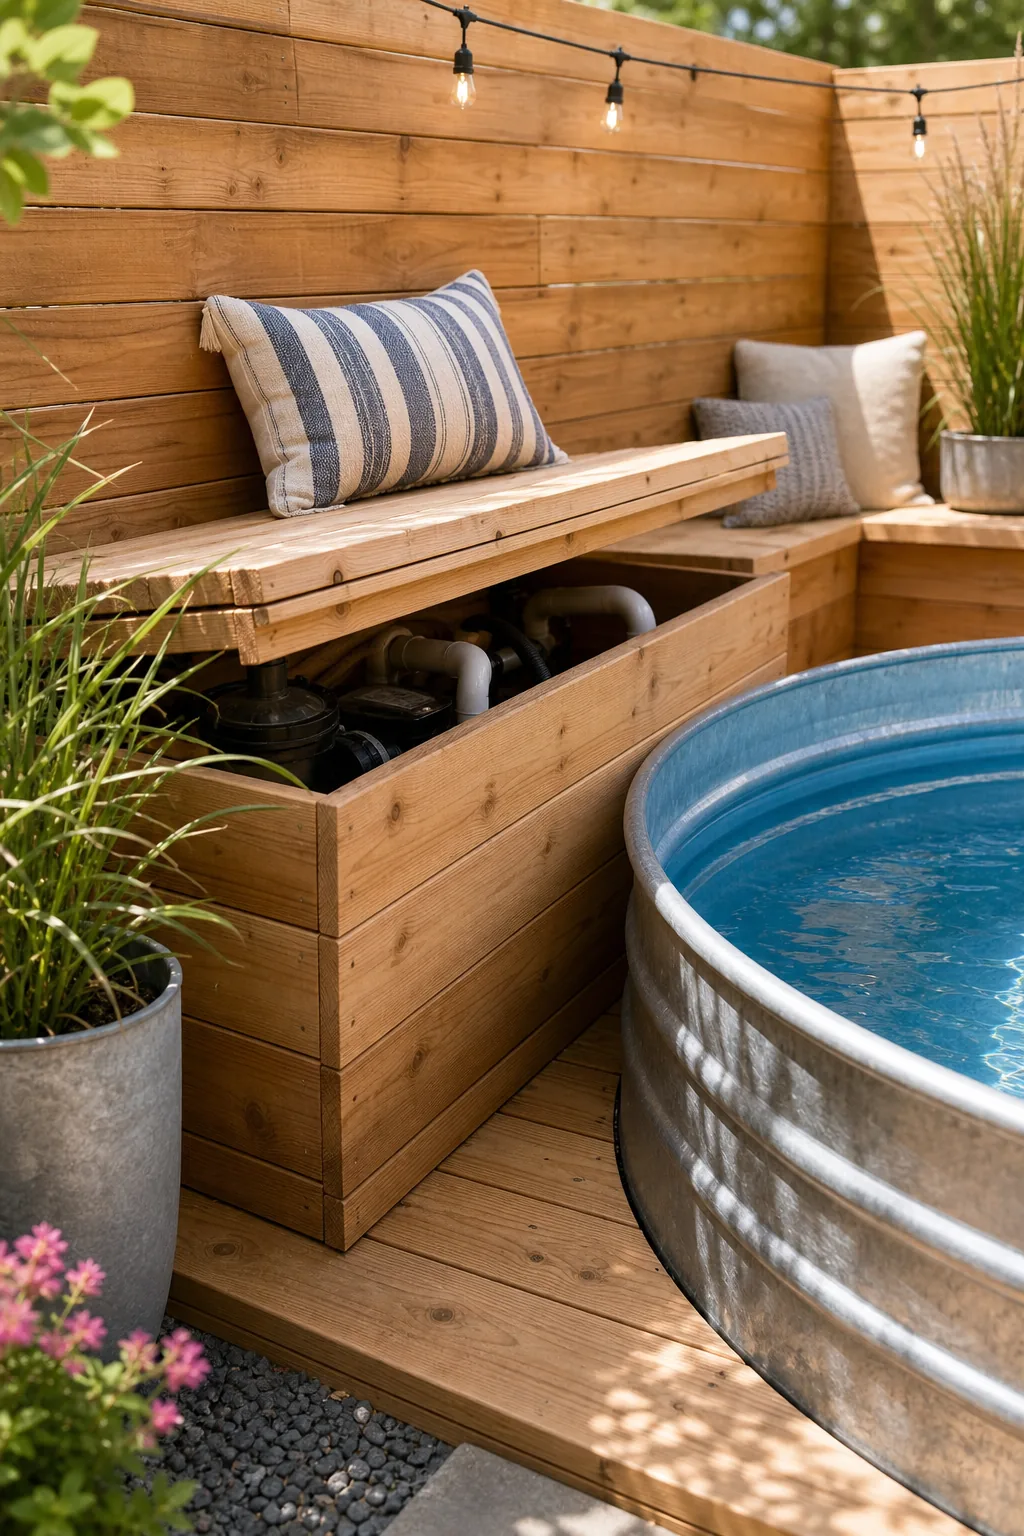
Size the interior dimensions just large enough to fully conceal the filter equipment, hoses, and power cords while doubling as sturdy, visually appealing poolside seating for your guests.
Securing the Box Hardware
Attach heavy-duty stainless steel hinges to the wooden pump box lid to guarantee easy daily access to the filter cartridge and power switch. Using exterior-grade rust-resistant hardware ensures the bench remains functional and visually appealing despite constant exposure to splashing water and seasonal weather elements.
Framing the Wrap-Around Deck
Scribe and cut the inner wooden deck joists with a jigsaw to perfectly match the distinct curved steel rim of the agricultural tank. Precision cutting allows the structural supports to hug the pool tightly without putting unnecessary pressure on the thin metal walls.
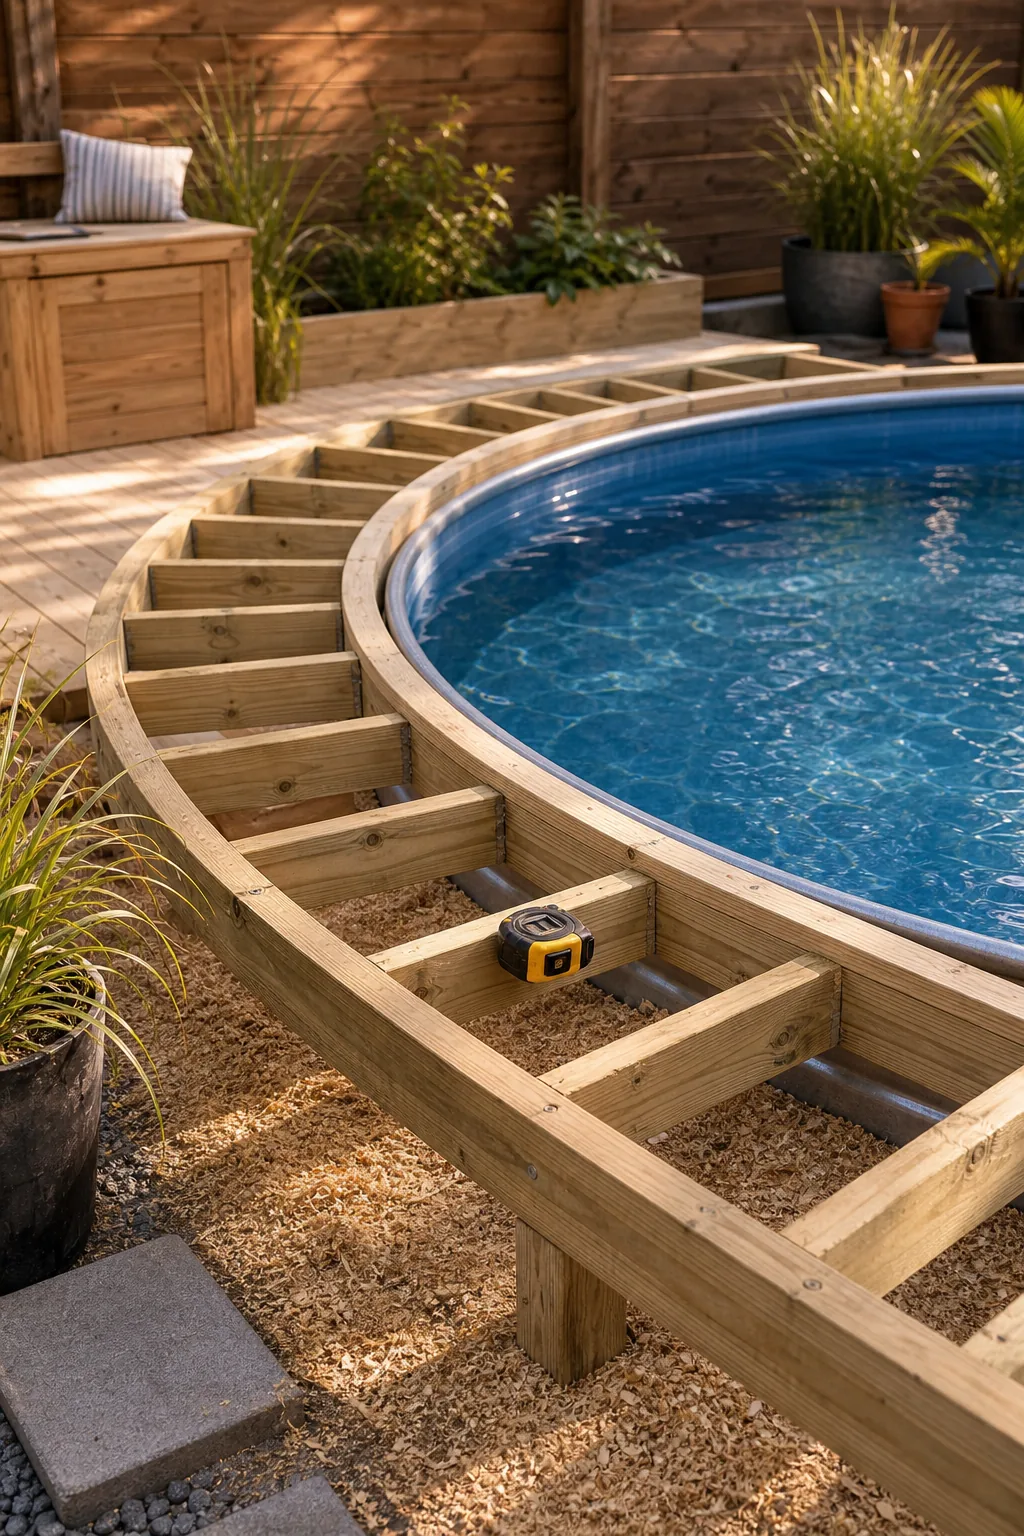
Outline the low, modern wooden deck frame using treated 2×4 lumber, purposefully leaving a 1-inch expansion gap between the rigid wood framing and the expanding metal pool wall.
Leveling the Joist Supports
Place additional concrete deck blocks under the mid-span of every wooden joist to eliminate bouncy spots and create a rock-solid walking surface. Checking each block with a laser level guarantees the finished deck will seamlessly align with the top rim of the metal pool.
Installing Deck Boards and Lighting
Wire the recessed low-voltage LED deck lights along the outer perimeter before permanently securing the final layer of beautiful cedar deck boards. Running the electrical cables through the open joist cavities beforehand hides all unsightly wires and protects them from accidental moisture exposure.
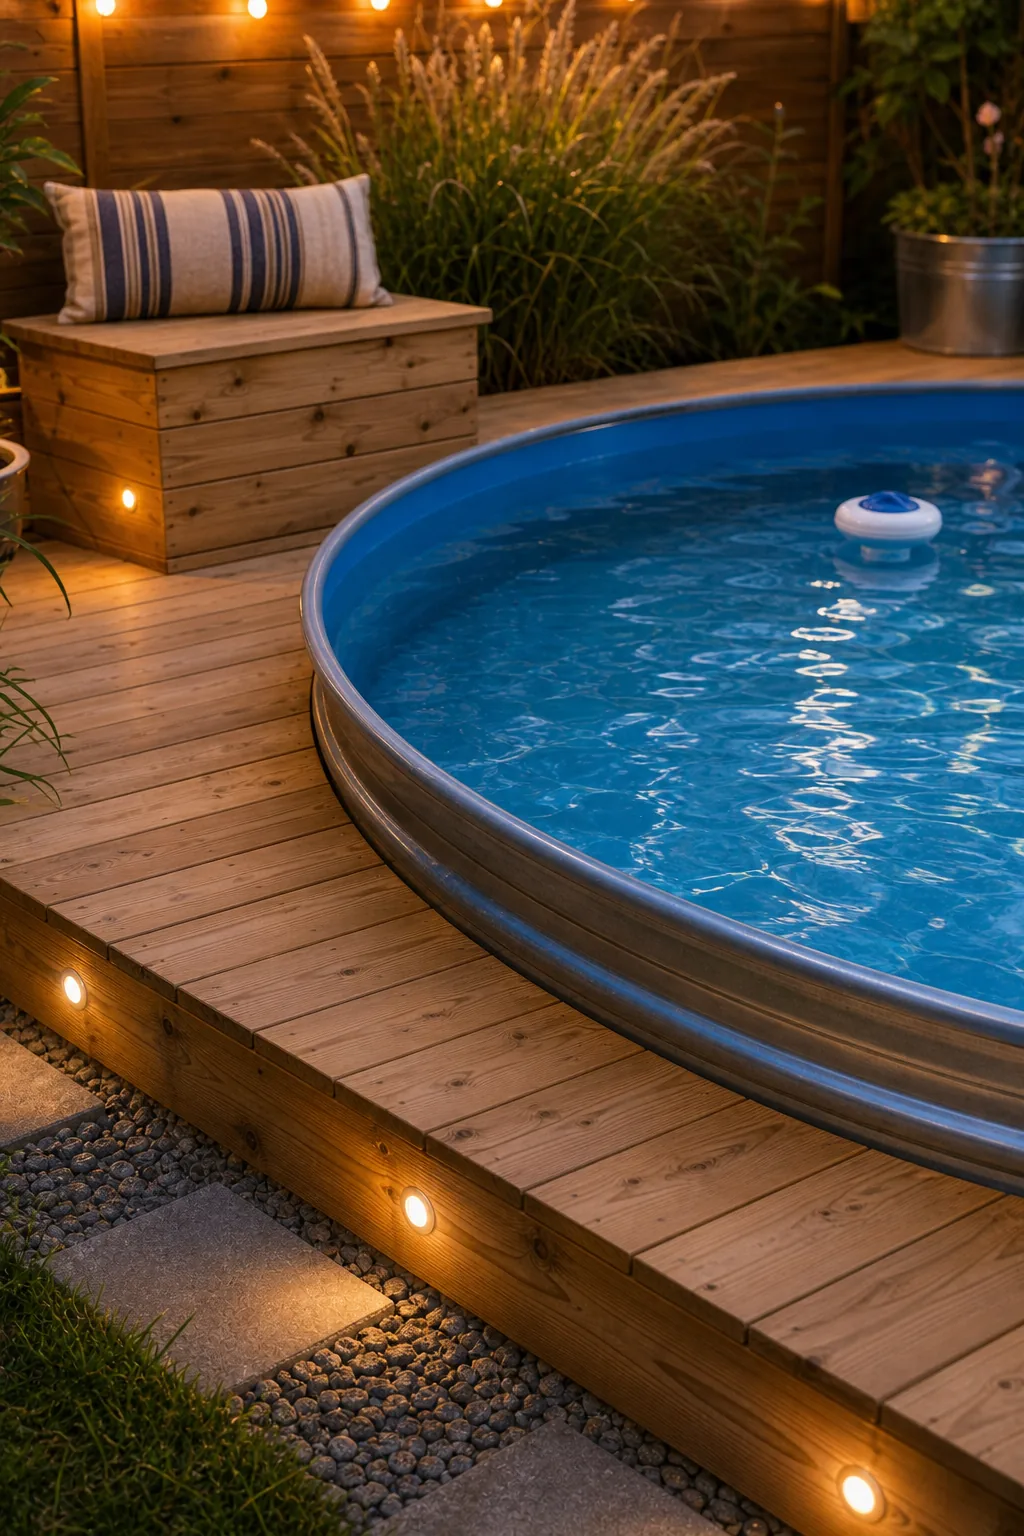
Attach the remaining cedar planks seamlessly around the curved edge and hang overhead string lights to create a warm, inviting evening ambiance that extends your swimming hours.
Sealing the Cedar Wood
Apply a high-quality penetrating timber oil to all exposed cedar surfaces immediately after assembly to lock in the rich natural color and repel constant water splashes. Reapplying this protective finish annually prevents the expensive decking boards from turning gray or splintering under harsh sunlight.
Essential Water Maintenance
Use a simple floating chlorine dispenser loaded with one-inch tablets to easily maintain safe, consistent water chemistry in a small volume pool. Monitoring the sanitizer levels closely prevents harmful algae blooms from quickly taking over the shallow, sun-warmed backyard oasis.
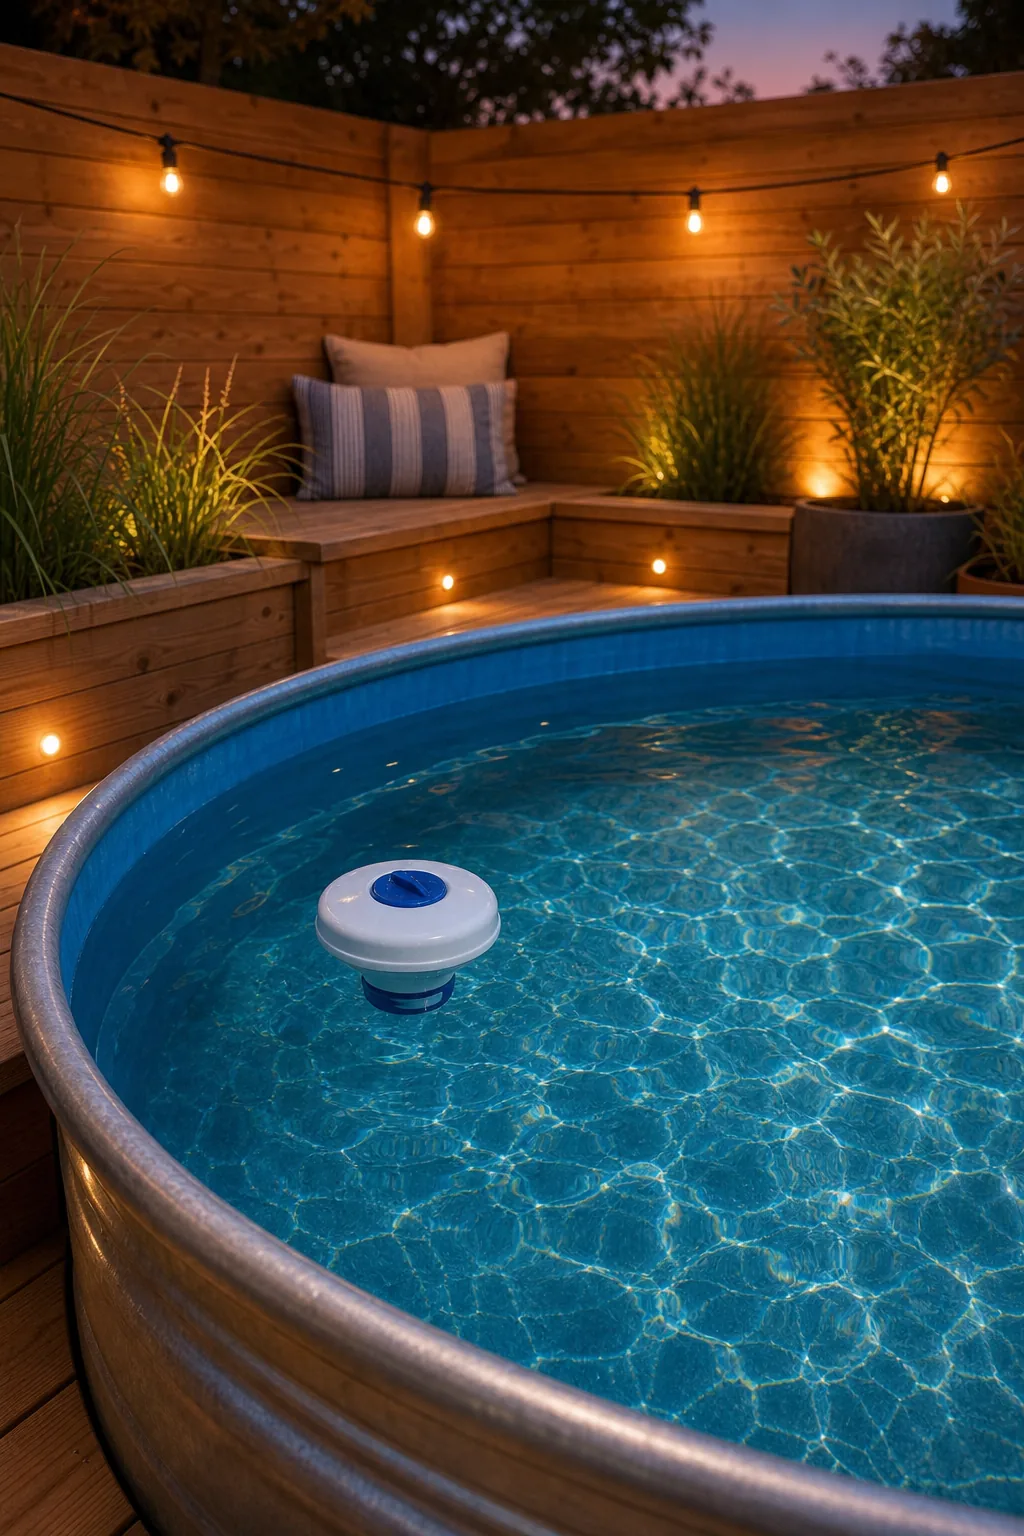
Keep the 700-gallon pool crystal clear by running the small cartridge filter for several hours daily and manually skimming floating leaves with a hand net.
- Test the pH balance every weekend using simple liquid indicator drops.
- Rinse the paper filter cartridge with a garden hose weekly to restore optimal flow.
- Shock the water after heavy rainstorms to eliminate excess organic contaminants.
Winterizing the Setup
Drain the water completely below the inlet valves before the first hard freeze and disconnect the external pump to store it safely indoors. Covering the empty metal tank with a tight-fitting waterproof tarp prevents heavy snow accumulation and keeps debris out until the next swimming season.
The Complete $800 Budget Breakdown
Review the final finished oasis to see exactly how a strict material budget translates into high-end, resort-quality backyard appeal for your family. Careful planning and strategic local sourcing make this stunning modern transformation possible without requiring expensive professional contractors or permanent excavation.
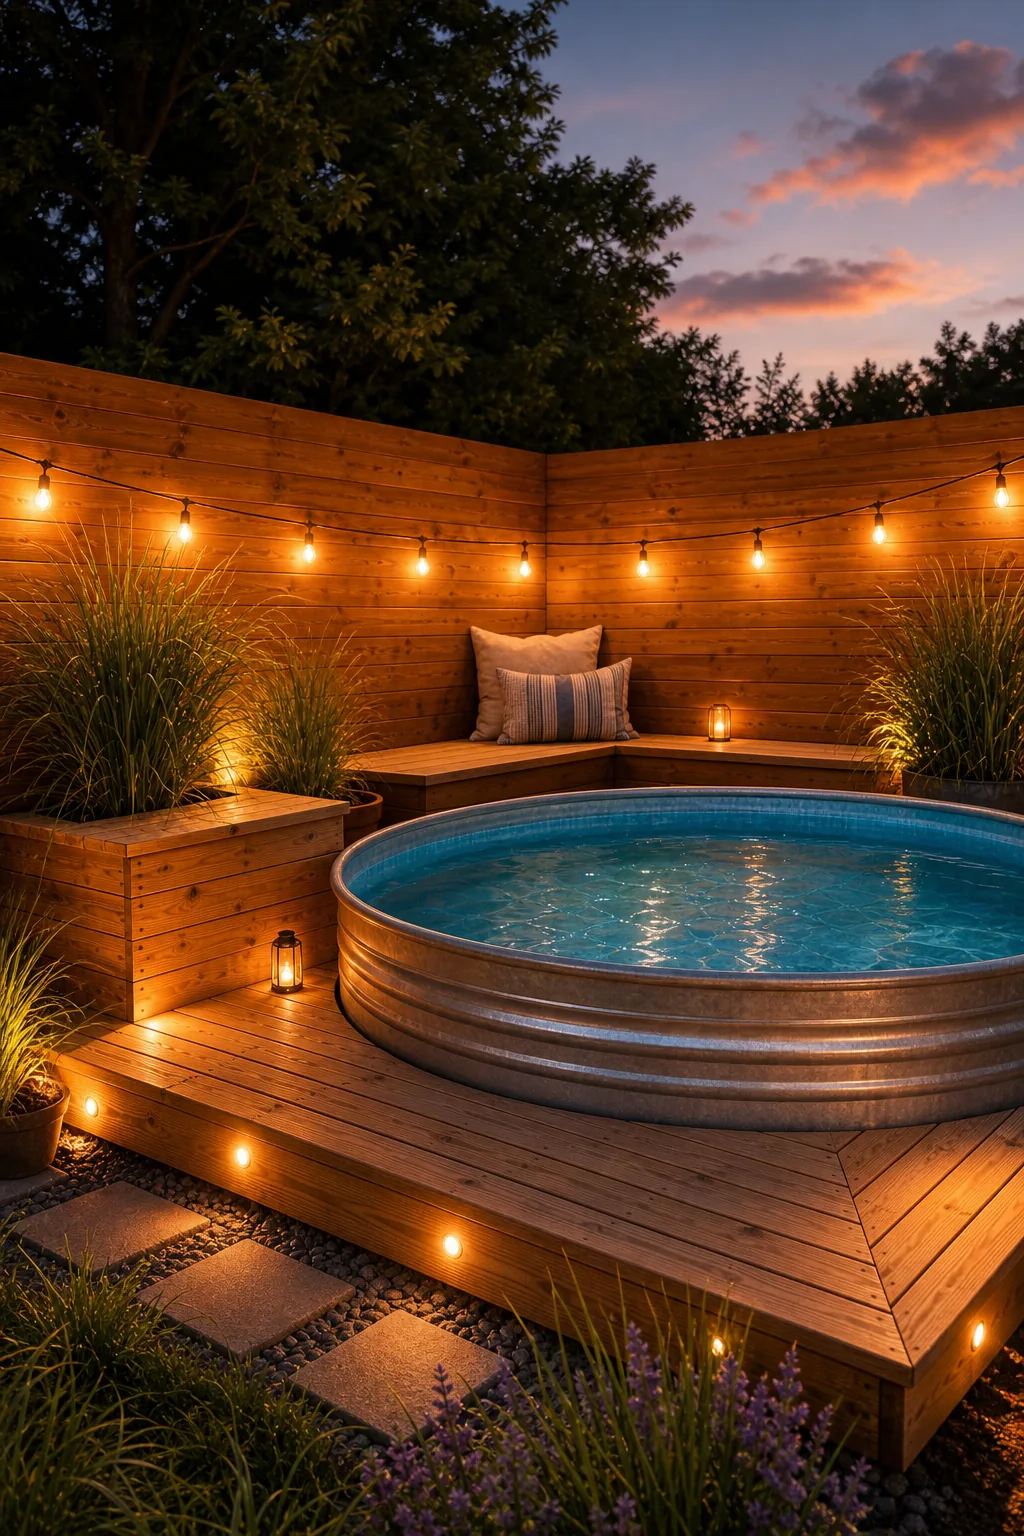
Track every dollar spent in this itemized list to confirm that the entire custom oasis project can be successfully completed for under $800.
| Material | Estimated Cost | Notes |
|---|---|---|
| 8ft Galvanized Tank | $350 | Sourced locally to avoid shipping |
| Treated Lumber & Cedar | $250 | Includes framing and deck screws |
| Pump & Fittings | $100 | Small cartridge filter system |
| Paint & Crushed Stone | $100 | Marine epoxy and leveling base |
| Total Budget | $800 | Complete DIY oasis |