
Better Outdoor Lighting: Map Out the Complete 3-Layer Plan
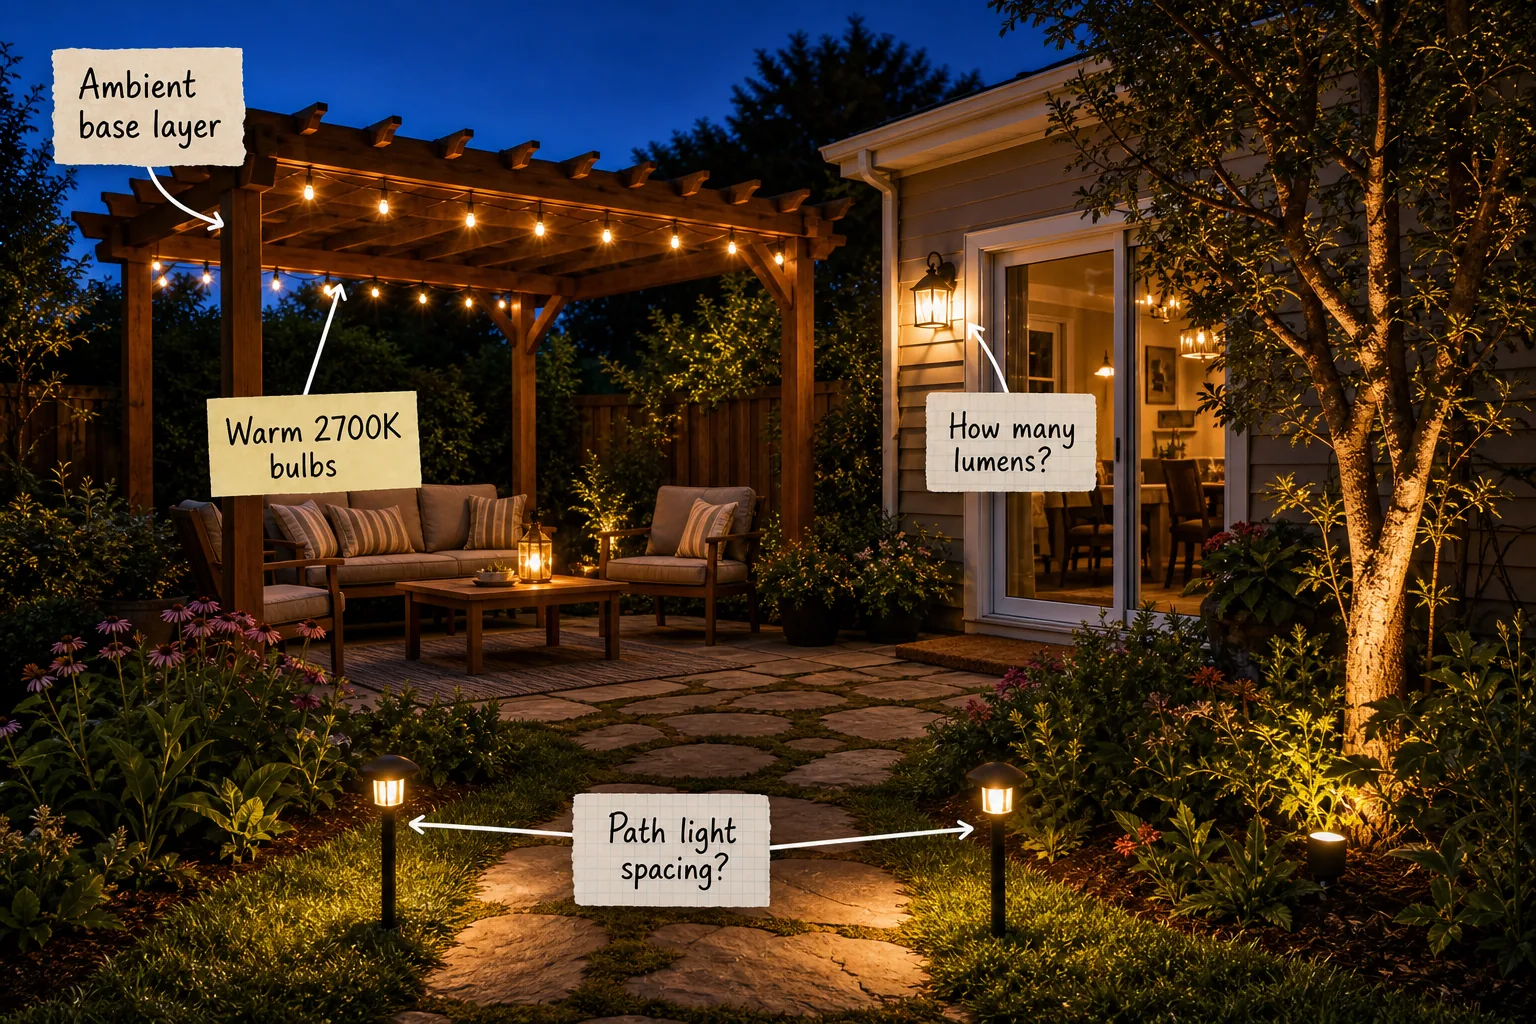
Transform your backyard into a cozy, highly usable retreat after dark with this specific, step-by-step strategy. By mastering the complete 3-layer outdoor lighting plan, you will be able to design a beautifully balanced scheme with the correct bulb temperatures, precise lumen counts, and exact fixture spacing.
The 3-Layer Outdoor Lighting Plan
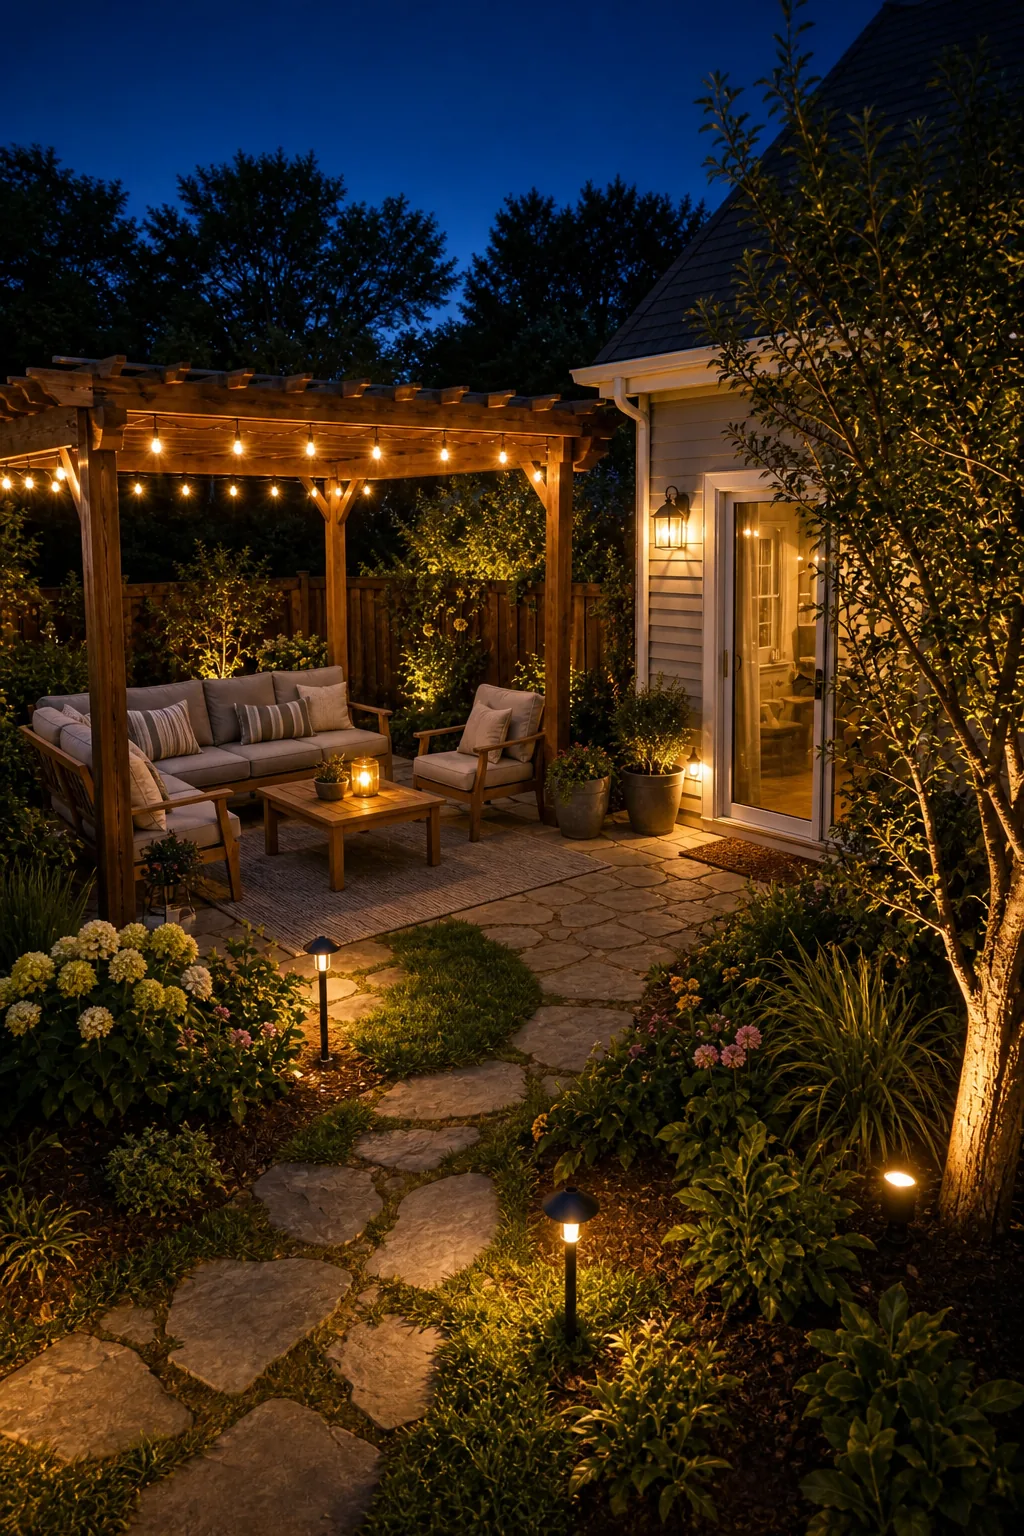
A successful patio requires a strategic combination of ambient, task, and accent lighting to create a cohesive outdoor room without harsh shadows. Implementing all three foundational layers ensures your backyard remains consistently safe to navigate while feeling intimately relaxing after sunset.
- Ambient lighting: The foundational base layer that provides overall diffuse illumination for comfortable basic visibility.
- Task lighting: Focused, significantly brighter fixtures placed at key activity zones, stairs, and entryways for safety.
- Accent lighting: Directional beams used strictly to highlight architectural details and rich landscape textures.
Combining these three distinct layers prevents glaring visual hotspots and establishes a beautifully balanced nighttime environment. This comprehensive layered approach ensures every single corner of the patio serves a specific, well-planned functional or decorative purpose for your guests.
Why Layering Outperforms Single Sources
Relying exclusively on a single bright floodlight creates severe, blinding contrast that washes out visual depth and makes the surrounding darkness feel impenetrable. Distributing softer, targeted light across multiple distinct zones minimizes eye strain and dramatically expands the usable footprint of your property.
- Reduces harsh glare: Multiple low-lumen fixtures prevent the blinding, uncomfortable hotspot caused by a single high-wattage security bulb.
- Improves depth perception: Illuminating the distant perimeter naturally draws the eye outward, making the enclosed yard feel significantly larger.
- Enhances overall safety: Gentle, overlapping light pools completely eliminate dangerous pitch-black shadows near your steps and concrete walkways.
Layer 1: The Ambient Base
The ambient base layer acts as the overall foundation of light, mimicking a soft, diffuse ceiling directly over your primary seating area. Hanging commercial-grade string lights from a pergola or roofline creates a gentle canopy that makes the space highly usable without feeling sterile.
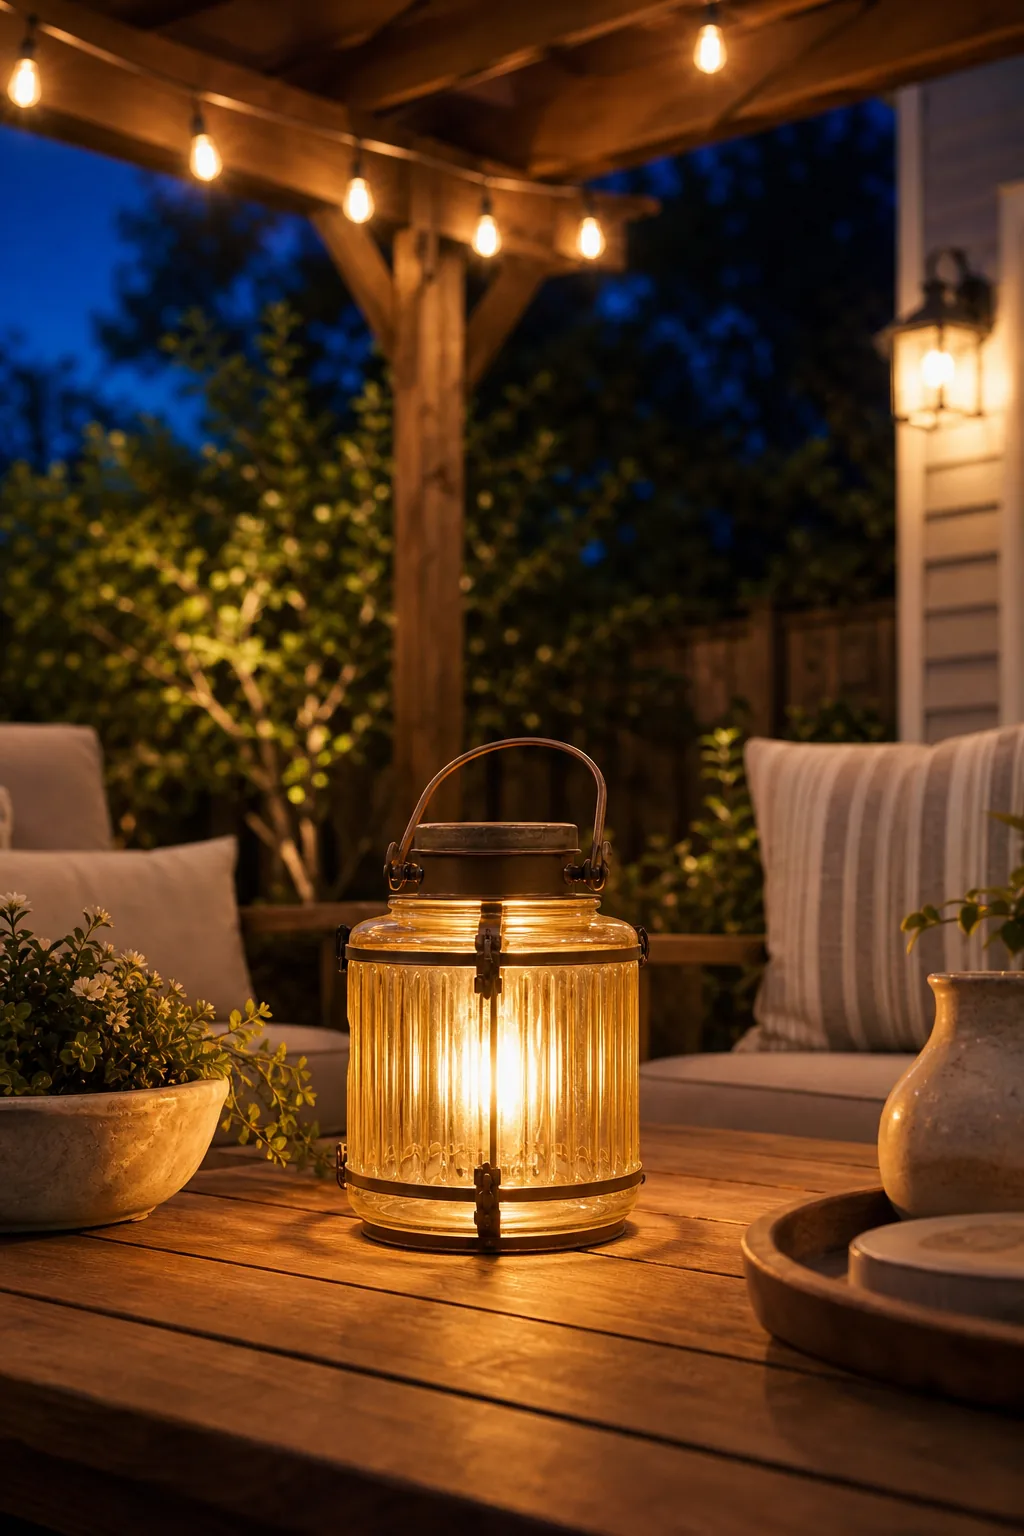
Securing this foundational layer overhead immediately establishes the welcoming perimeter of your outdoor living room. Using a dedicated steel tension wire to support the string lights prevents unsightly sagging and protects the electrical cords from severe wind damage across wide patio spans.
Selecting Durable Fixture Materials
Investing in solid cast brass or heavy copper fixtures ensures your exterior lighting system withstands harsh seasonal weather, intense UV exposure, and constant ground moisture. Unlike cheap plastic housings, these heavier architectural metals develop a natural protective patina and reliably shield the internal wiring.
Choosing the Right Color Temperature
Establishing a relaxing outdoor atmosphere requires strictly controlling the color temperature of your selected bulbs. Specifying warm 2700K bulbs for all ambient and accent fixtures provides a cozy, fire-like glow that mimics traditional candlelight and feels inherently inviting after dark.
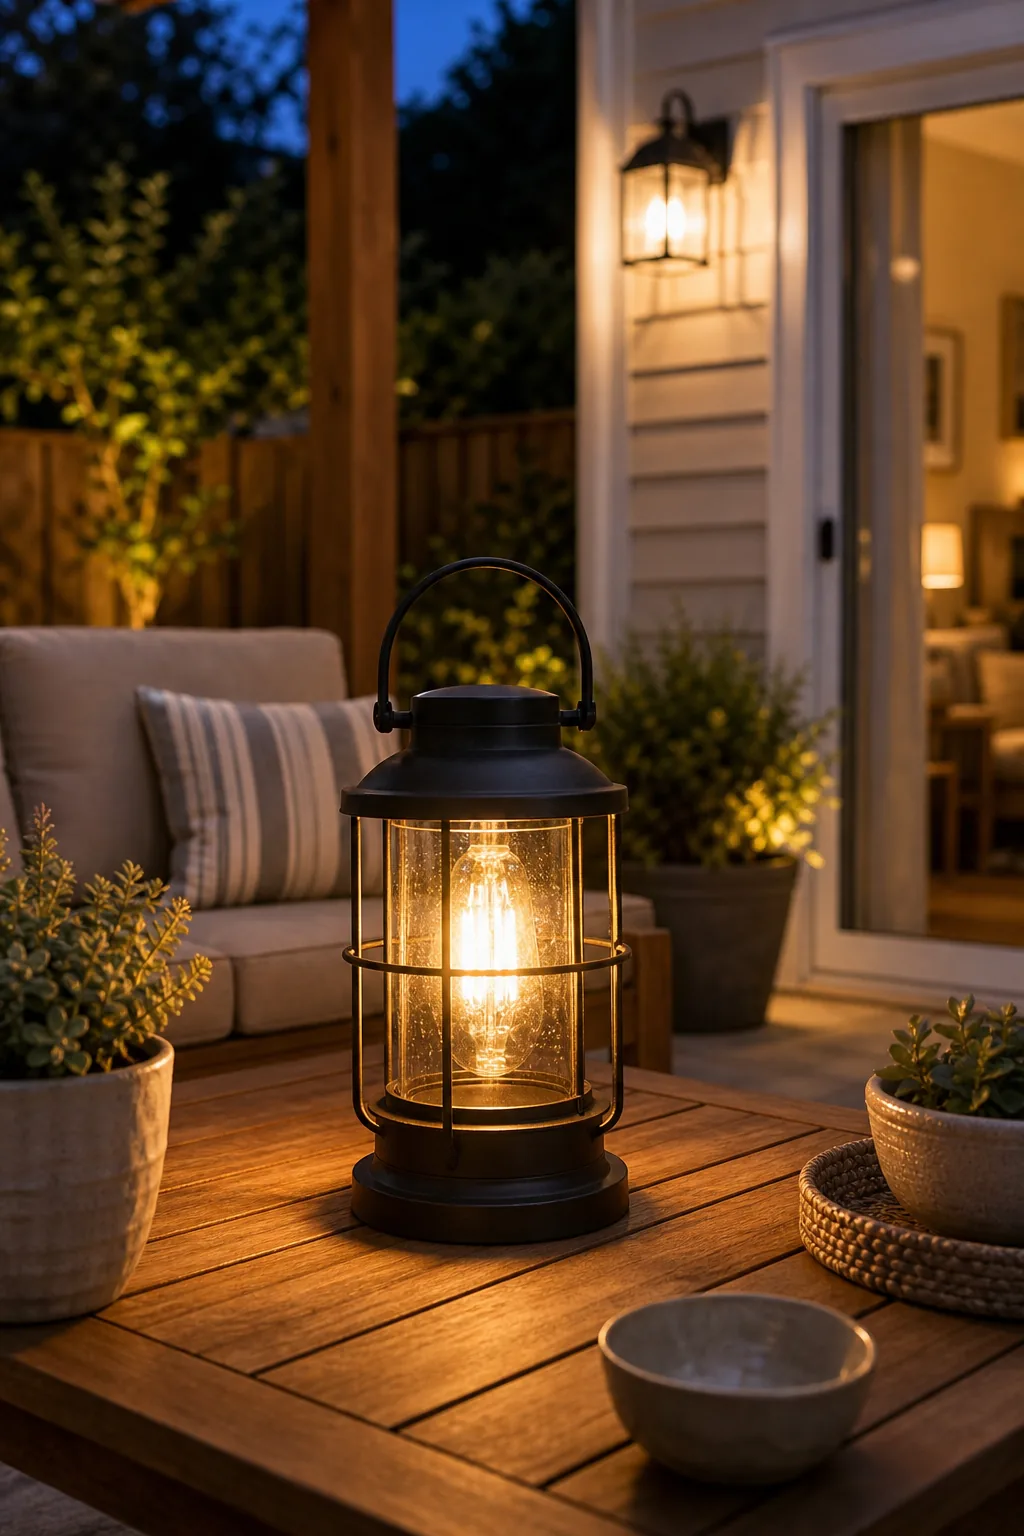
Getting the overlapping layers perfectly balanced will not matter at all if the light itself feels abrasive to the eye. The most common aesthetic mistake happens right in the hardware store bulb aisle when homeowners mistakenly prioritize raw brightness over comfortable warmth.
Low-Voltage Hardwiring vs. Solar
Running a buried 12-volt hardwired system guarantees consistent, highly reliable brightness regardless of heavy cloud cover or shifting seasonal changes. While solar fixtures offer an undeniably easier initial installation, they frequently fade before midnight and struggle to provide sufficient task-level lumens in shaded garden beds.
Layer 2: Task and Safety Lighting
The functional task layer focuses entirely on safety and activity, guiding family and guests securely through high-traffic transition zones. Installing a bright wall sconce next to the patio door ensures crystal-clear visibility for carrying heavy food trays, operating locks, and stepping safely inside.
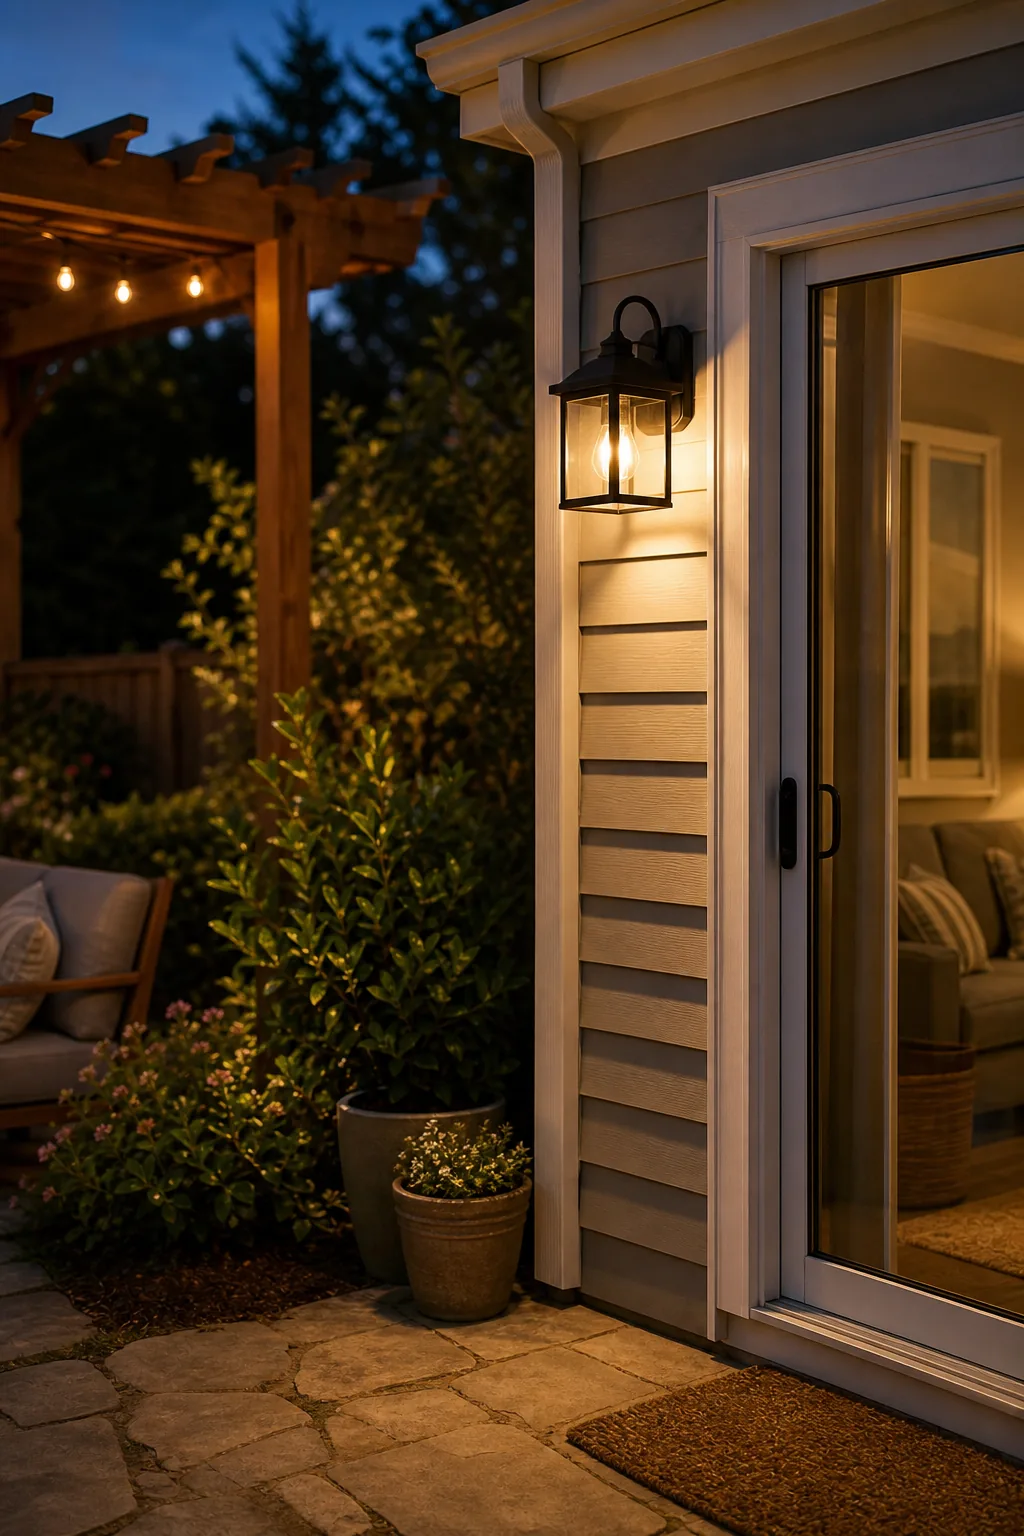
Dedicated task lighting should also specifically target changes in elevation, outdoor kitchens, and built-in grilling stations. Recessing low-profile step lights directly into your stair risers prevents dangerous tripping hazards without casting unwanted, aggressive glare directly into the eyes of people sitting nearby.
Selecting the Right Transformer
Powering a comprehensive multi-layer system requires accurately calculating the total combined wattage of all planned fixtures and sizing the transformer accordingly. Selecting a robust unit with at least twenty percent extra capacity provides a crucial safety buffer and easily accommodates future landscape lighting expansions.
How Many Lumens Do You Need?
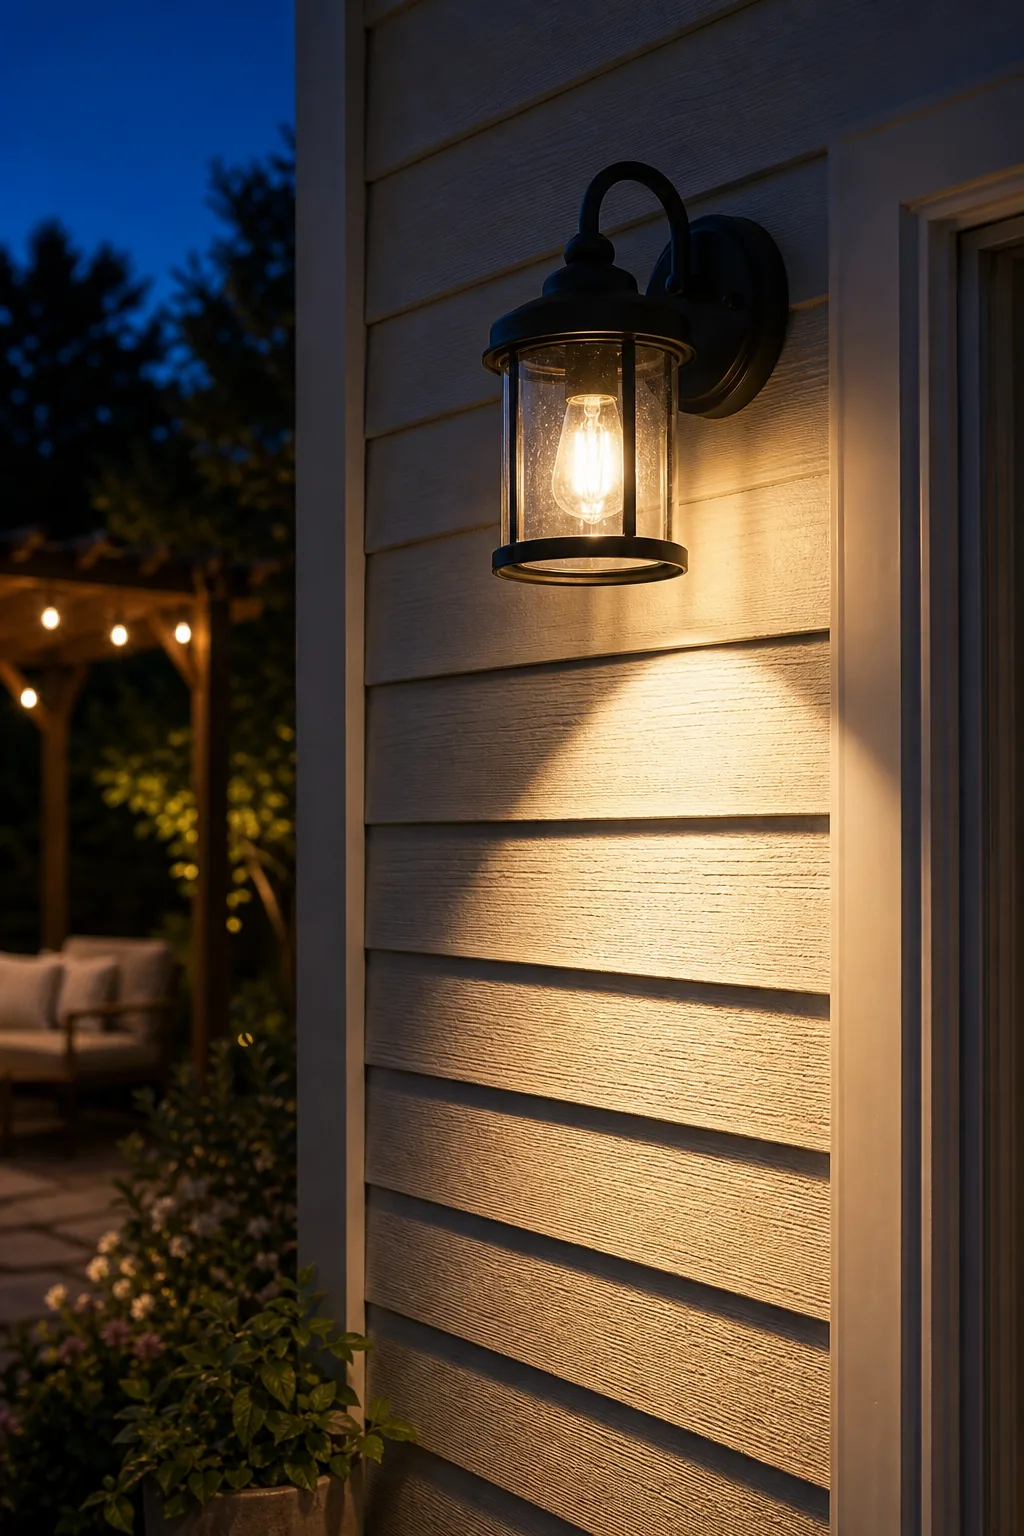
Determining exactly how many lumens to use depends entirely on the fixture’s specific functional job within the three-layer system. Primary entry wall sconces require significant output for basic safety, while landscape and accent lights must remain much softer to avoid overwhelming the darkness.
| Fixture Type | Layer Role | Recommended Lumens |
|---|---|---|
| Entry Wall Sconces | Task / Safety | 300 – 700 lumens |
| Stair Riser Lights | Task / Safety | 50 – 100 lumens |
| Path Lights | Ambient / Safety | 100 – 200 lumens |
| Tree Spotlights | Accent | 150 – 300 lumens |
Keeping the overall brightness spread strictly within these recommended ranges prevents individual fixtures from completely dominating the yard. Using dimmable smart bulbs in your main sconces offers crucial flexibility, allowing you to transition smoothly from active hosting brightness to a quiet evening glow.
Managing Underground Cable Runs
Burying low-voltage landscape wire at least six inches deep protects the sensitive copper connections from lawnmowers, sharp edgers, and heavy foot traffic. Leaving a small, buried loop of extra slack at each fixture location allows you to easily reposition the lights as nearby plants grow.
Nailing Your Path Light Spacing
Proper path light spacing requires leaving a carefully measured 6 to 8-foot gap between each low-voltage landscape fixture. This calculated distance creates gentle, overlapping pools of illumination that guide the eye naturally, rather than forming a continuous, blinding airport runway effect across the lawn.
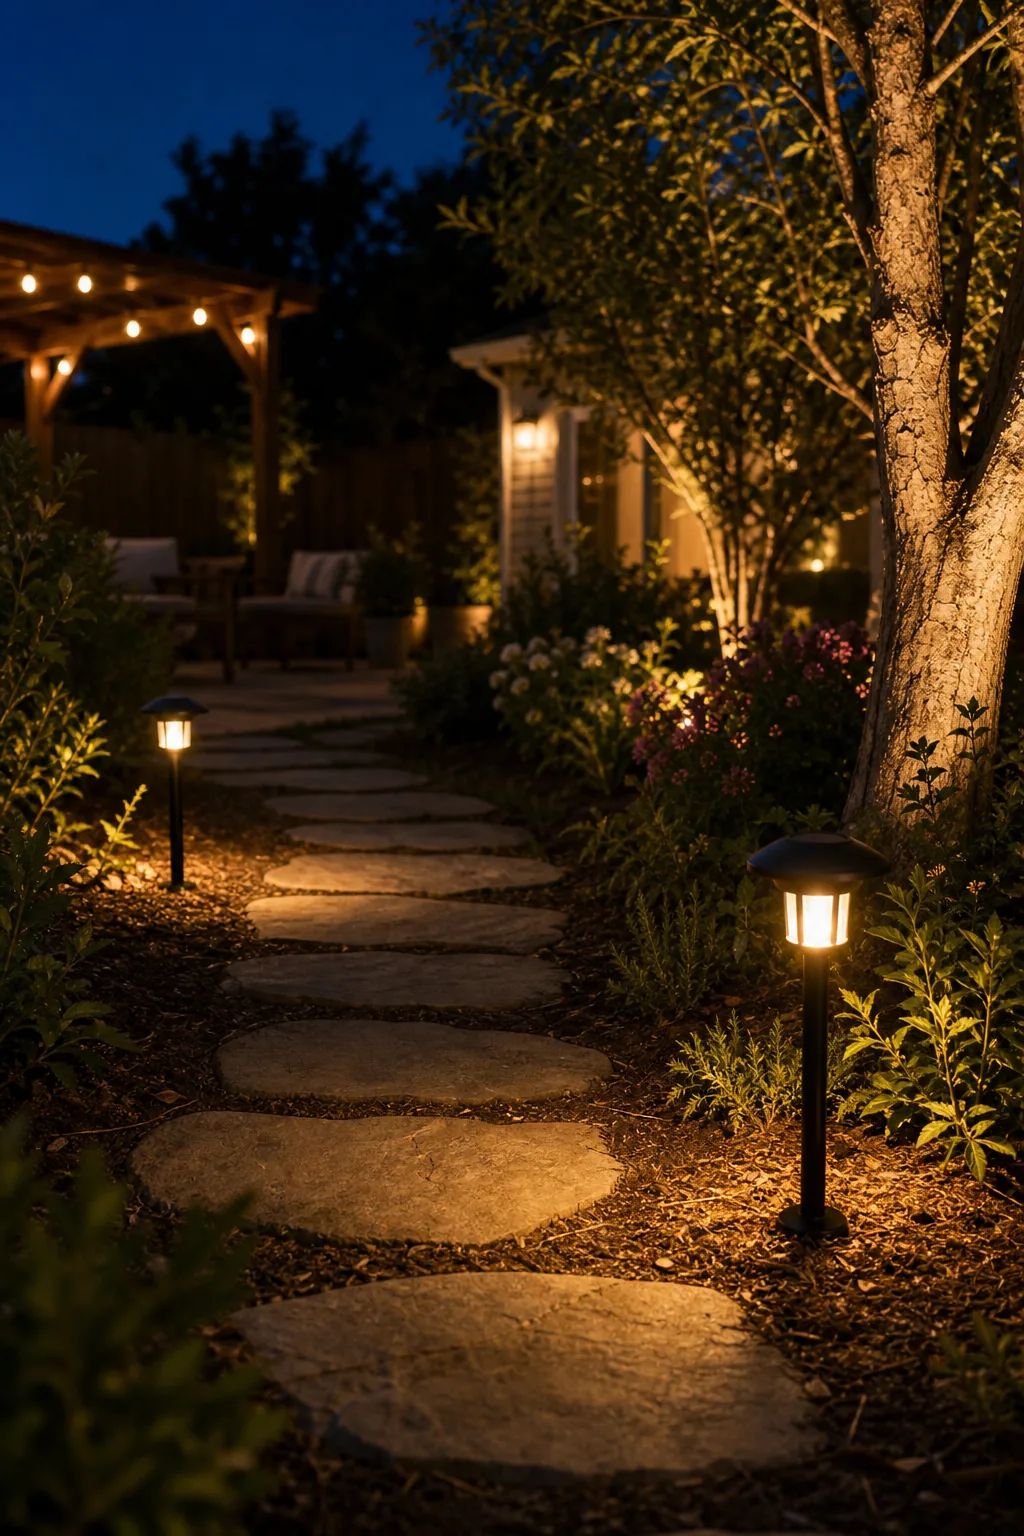
Even with the correct physical distance measured between fixtures, the layout arrangement of the lights drastically changes the overall feel of the walkway. Strategic, thoughtful placement prevents the front yard from feeling rigid, institutional, or overly commercial during the evening hours.
Protecting Connections from Moisture
Securing every underground wire splice with silicone-filled waterproof wire nuts prevents ground moisture from corroding the vulnerable copper connections. Skipping this crucial waterproofing step inevitably leads to frustrating voltage drops, flickering fixtures, and premature failure of the entire landscape lighting circuit during heavy seasonal rain.
Layer 3: Accent Landscaping
The final decorative layer utilizes targeted tree uplighting to add dramatic vertical depth to the dark perimeter of the yard. Hiding a directional spotlight at the base of a large tree and angling it sharply upward highlights the complex, rugged bark texture beautifully.
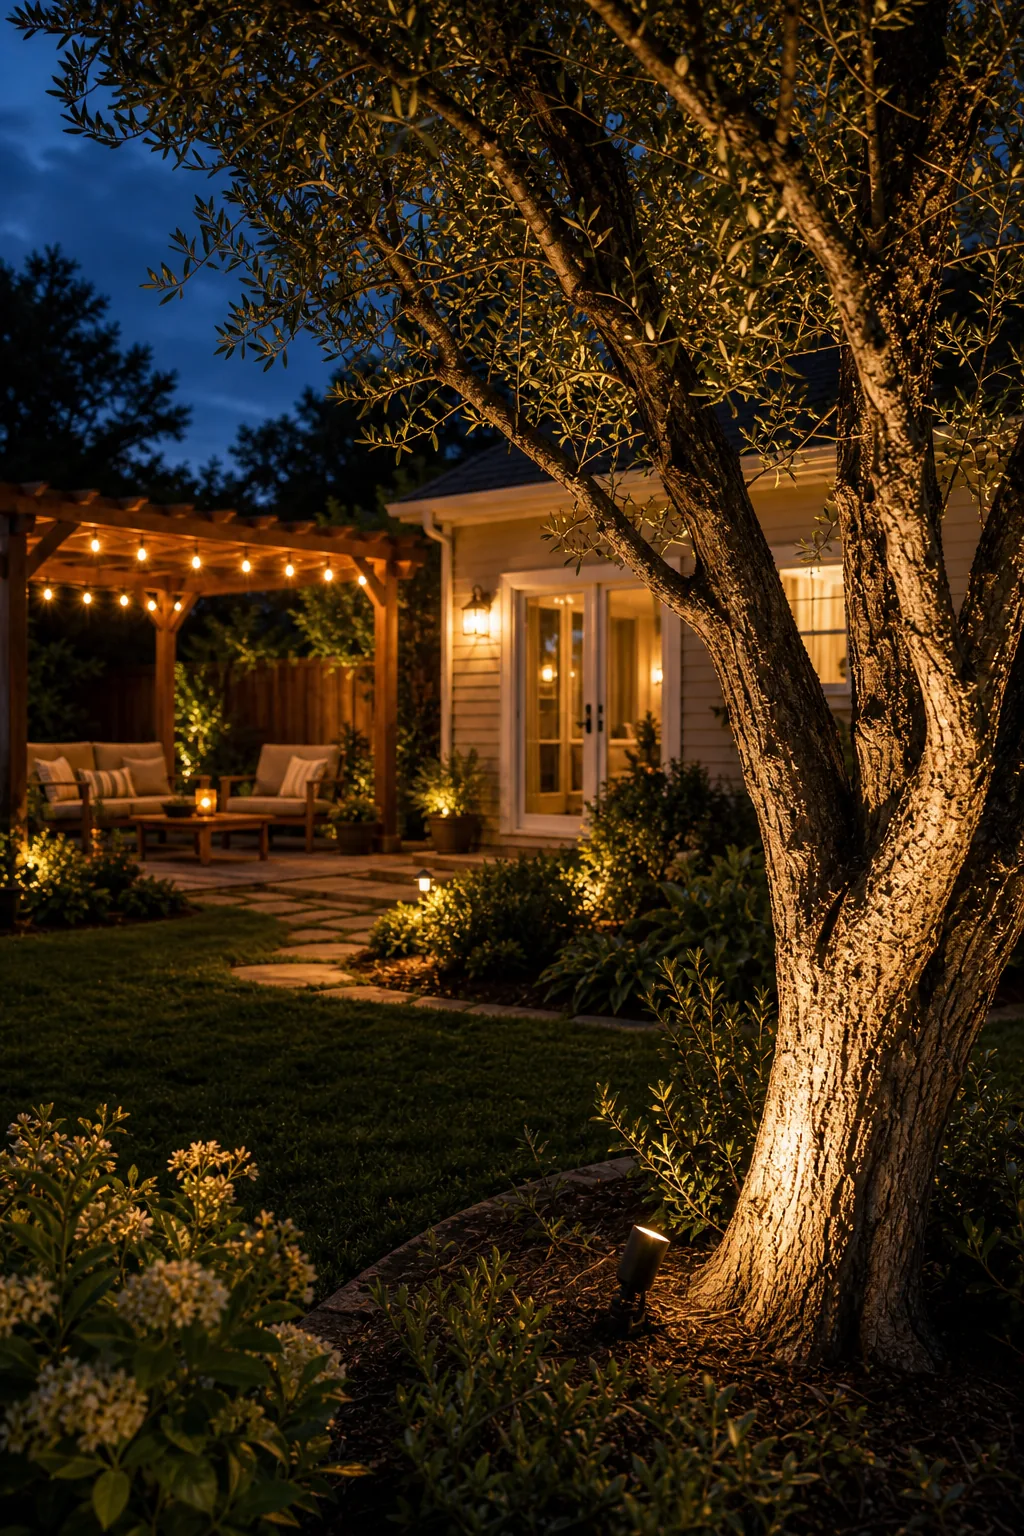
Pushing the spotlight slightly away from the main trunk captures the full, sweeping canopy structure rather than just illuminating a narrow strip of wood. This strategic accent layer naturally draws the eye outward, making the entire property feel significantly larger and far more established.
Highlighting Architectural Features
Applying the targeted accent layer to your home’s exterior walls adds immense curb appeal and structural presence long after sunset. Utilizing a wide-angle wash light against textured stone facades or brick retaining walls emphasizes the heavy masonry and visually anchors the entire patio space.
Balancing the Final Glow
Achieving a perfectly cohesive look requires walking the entire property after dark to conduct a thorough, critical nighttime test. Adjusting spotlight angles, checking for harsh glare in the primary seating areas, and ensuring intentional dark shadows are preserved is critical for finalizing the ambient mood.
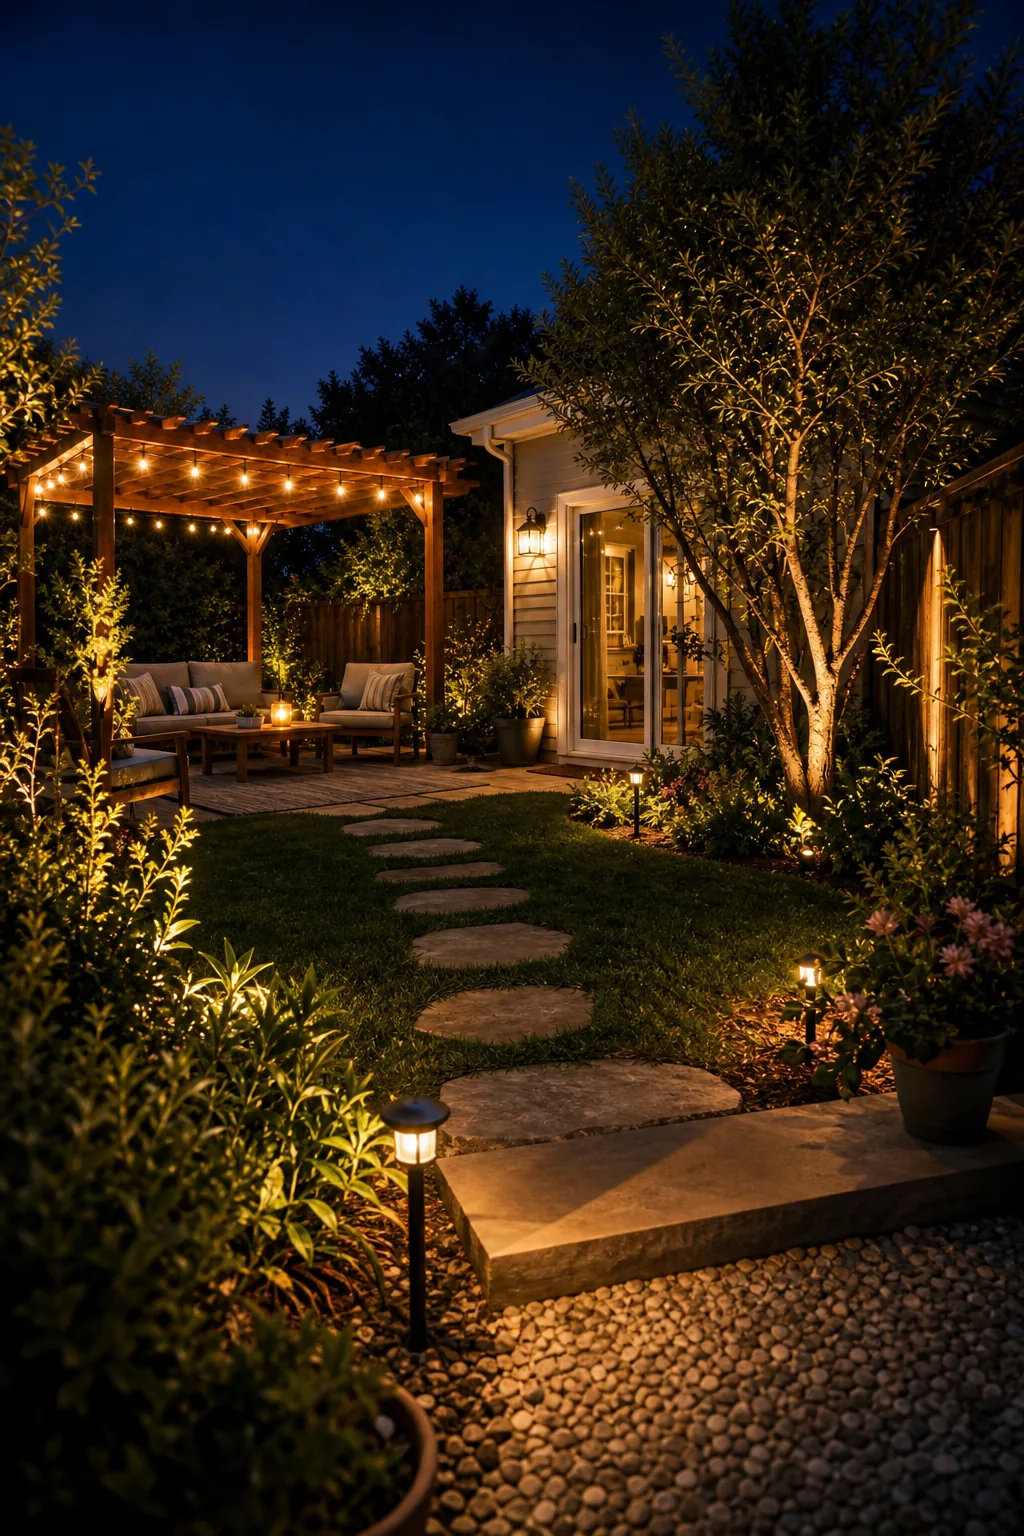
Making these final micro-adjustments guarantees your new three-layer system feels naturally integrated into the landscape rather than looking like a commercial parking lot. This careful nighttime balancing act ensures your backyard remains a deeply relaxing, highly functional retreat for years to come.