
Build the Perfect Closet Organizer: Exact Measurement Guide
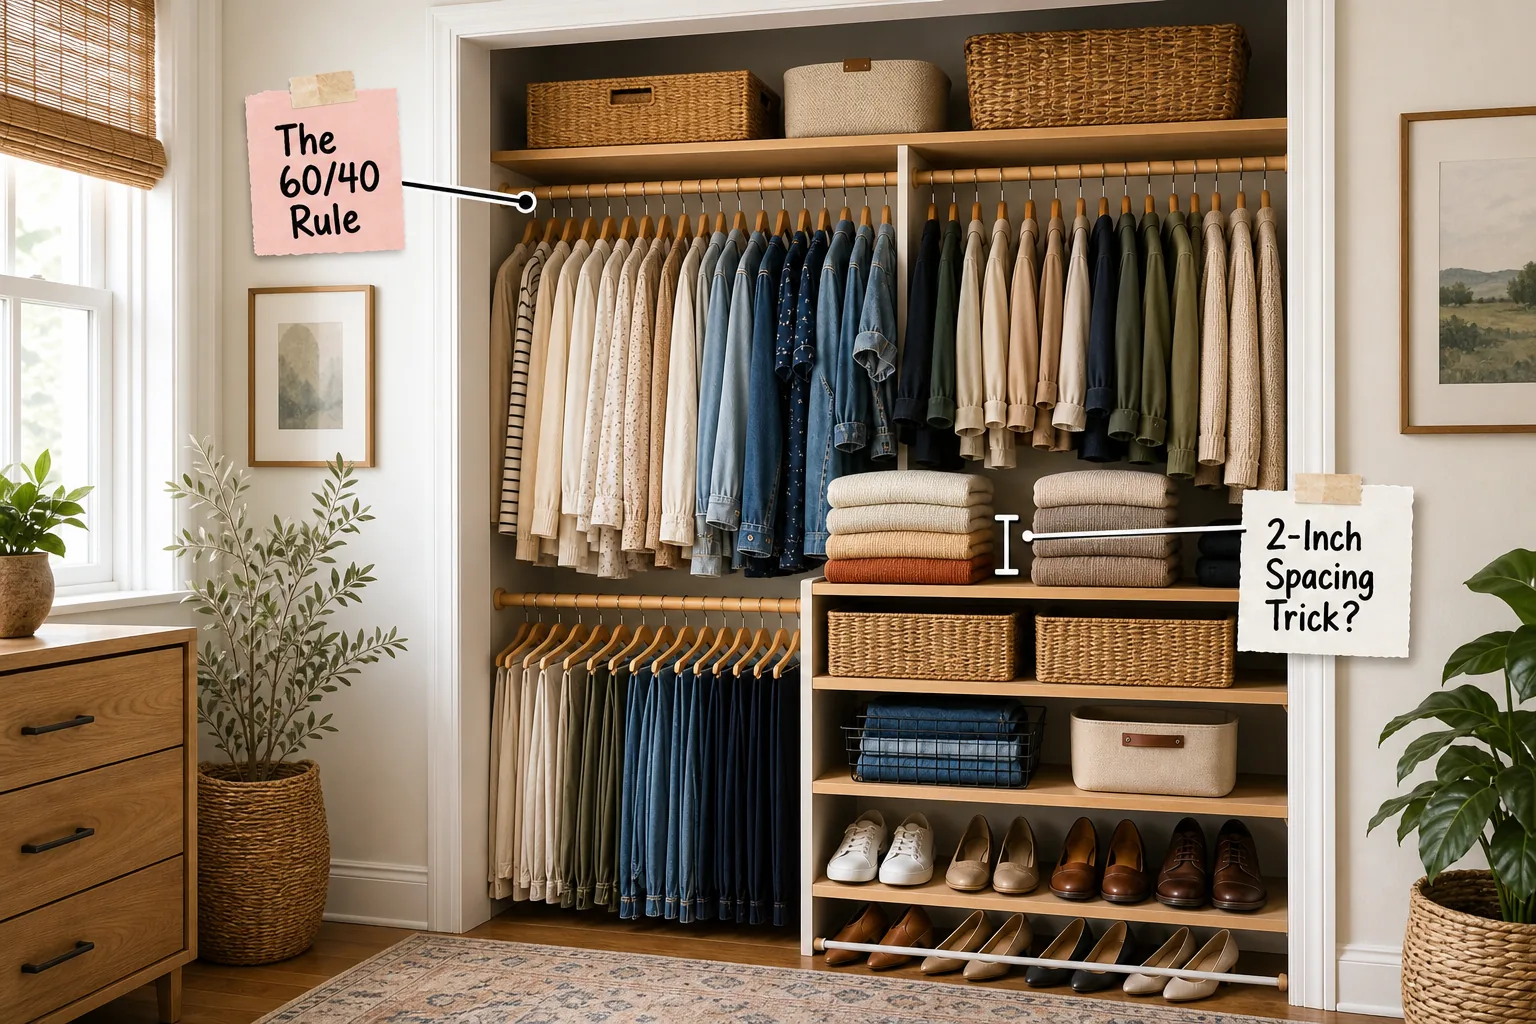
You will be able to measure, zone, and install a perfectly proportioned reach-in closet system tailored to standard dimensions using this exact measurement and zoning guide. Building a custom organizer maximizes every available inch of vertical storage space.
The Standard Reach-In Blueprint
Establishing a highly functional framework requires building a blueprint for a standard 24-inch deep reach-in closet that fully maximizes vertical storage space. The foundational design dictates that the primary upper rod should sit precisely at 80 inches above the floor.
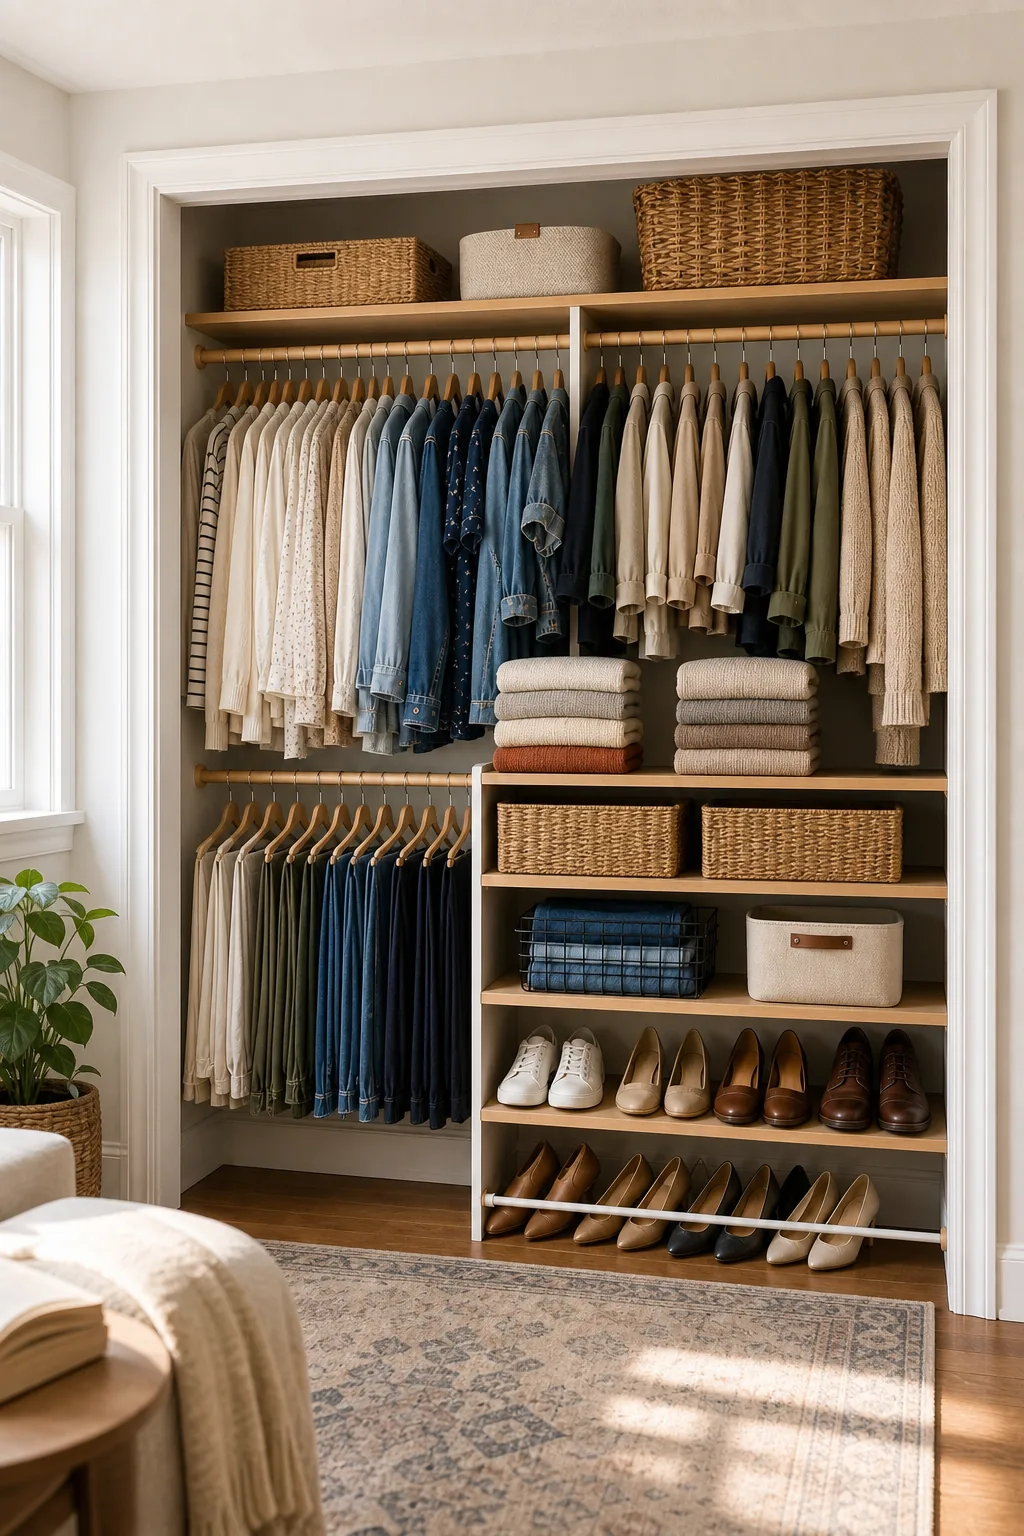
Before buying any hardware or cutting wood, confirm your foundational dimensions to ensure the hanging rods and shelving tracks fit perfectly. Verifying these exact measurements prevents costly structural mistakes during the final installation phase.
Mounting the Support Track
The horizontal steel support track carries the entire weight of your modular closet organizer, meaning it must be anchored directly into the structural framing. Skipping this crucial step guarantees that heavy winter coats will eventually pull the system down.
- Measure exactly 84 inches upward from the highest point of the closet floor.
- Draw a perfectly level horizontal line across the entire length of the back wall.
- Drive heavy-duty steel lag screws through the track into every marked wall stud.
Securing this top rail correctly prevents the vertical upright panels from shifting, leaning, or bowing under the immense weight of a fully loaded wardrobe. A perfectly level track ensures that all subsequent modular shelves remain completely flat.
The Seasonal Swap Bin
The awkward void situated above the 84-inch top shelf provides the perfect location for bulky off-season storage. Implementing a dedicated Seasonal Swap Bin up high keeps your daily eye-level real estate completely clear for essential wardrobe pieces.
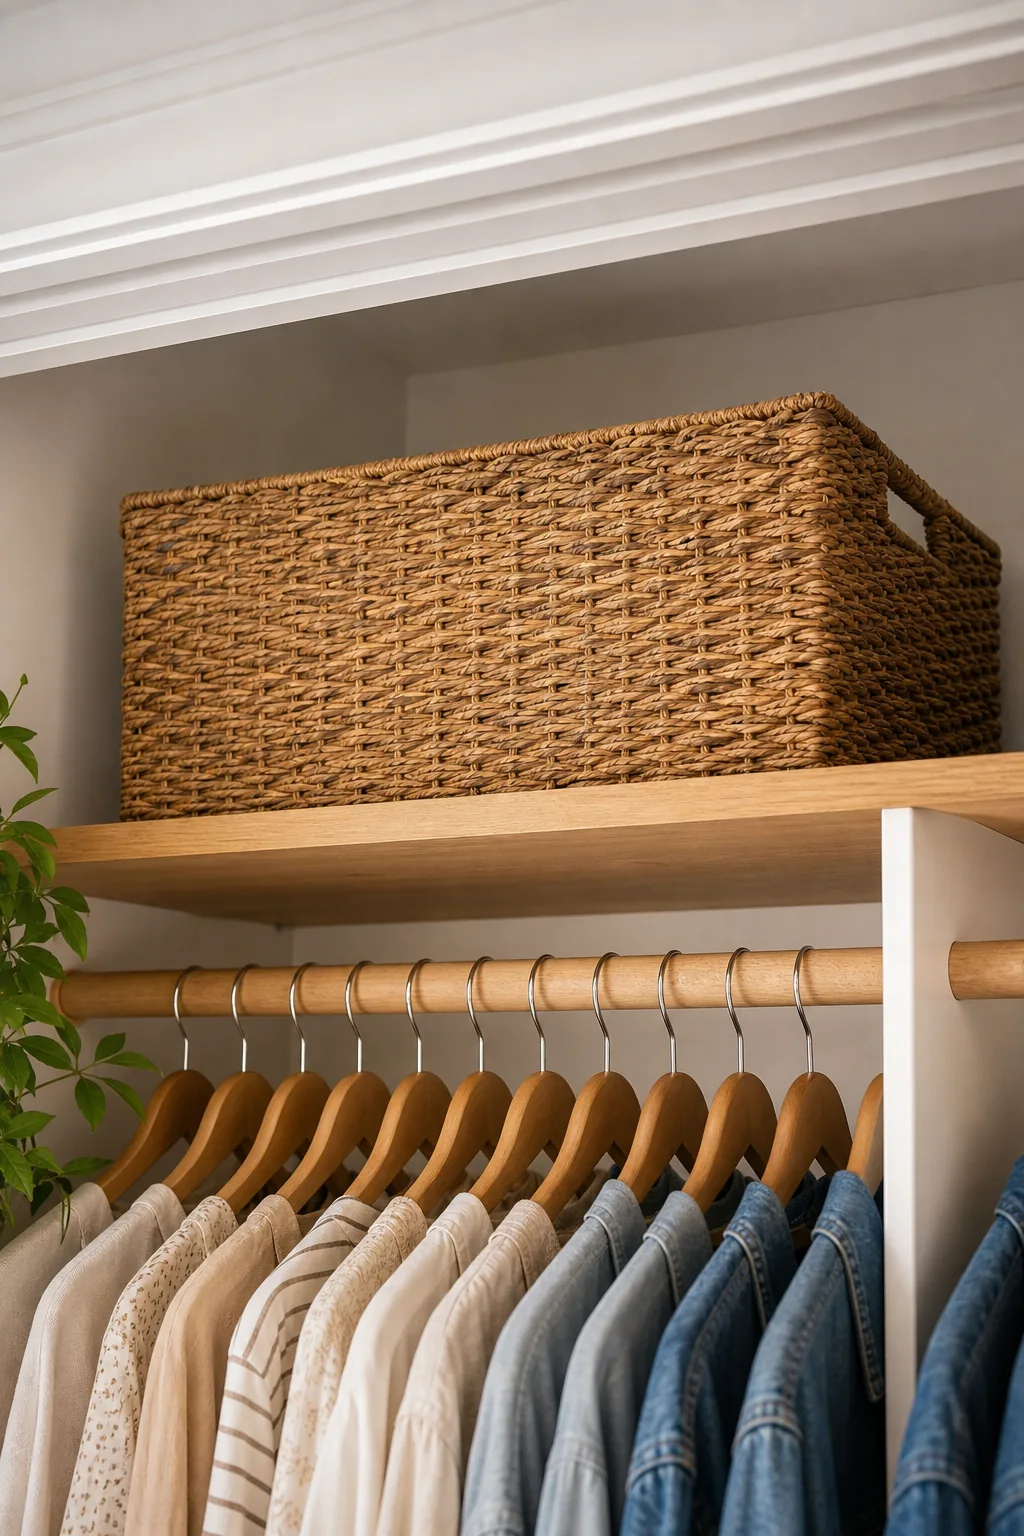
Store thick winter blankets and holiday garments in large woven baskets to keep them completely dust-free. Breathable natural fibers prevent stale odors from accumulating in fabrics during long months of undisturbed storage.
Optimizing the Top Shelf
Proper vertical zoning ensures that long dresses and structured coats never drag against the floor or bunch up awkwardly on the lower shelves. Sticking to standardized height measurements creates a uniform visual line across the entire organizer.
| Storage Zone | Height Placement | Primary Garment Types |
|---|---|---|
| Top Shelf Level | 84 inches | Seasonal bins and luggage |
| Upper Hanging Rod | 80 inches | Dresses and long coats |
| Middle Shelving | 60 inches | Sweaters and delicate knitwear |
| Lower Hanging Rod | 40 inches | Folded pants and heavy skirts |
Following these precise height allocations accommodates standard garment lengths without leaving any wasted vertical gaps between the clothing and the shelf below. This exact geometry forms the structural backbone of every professional closet installation.
The 60/40 Rule
Creating a perfectly balanced layout in a shared or mixed-use closet requires adhering strictly to The 60/40 Rule for space allocation. You must dedicate exactly 60 percent of the total width entirely to hanging garments.
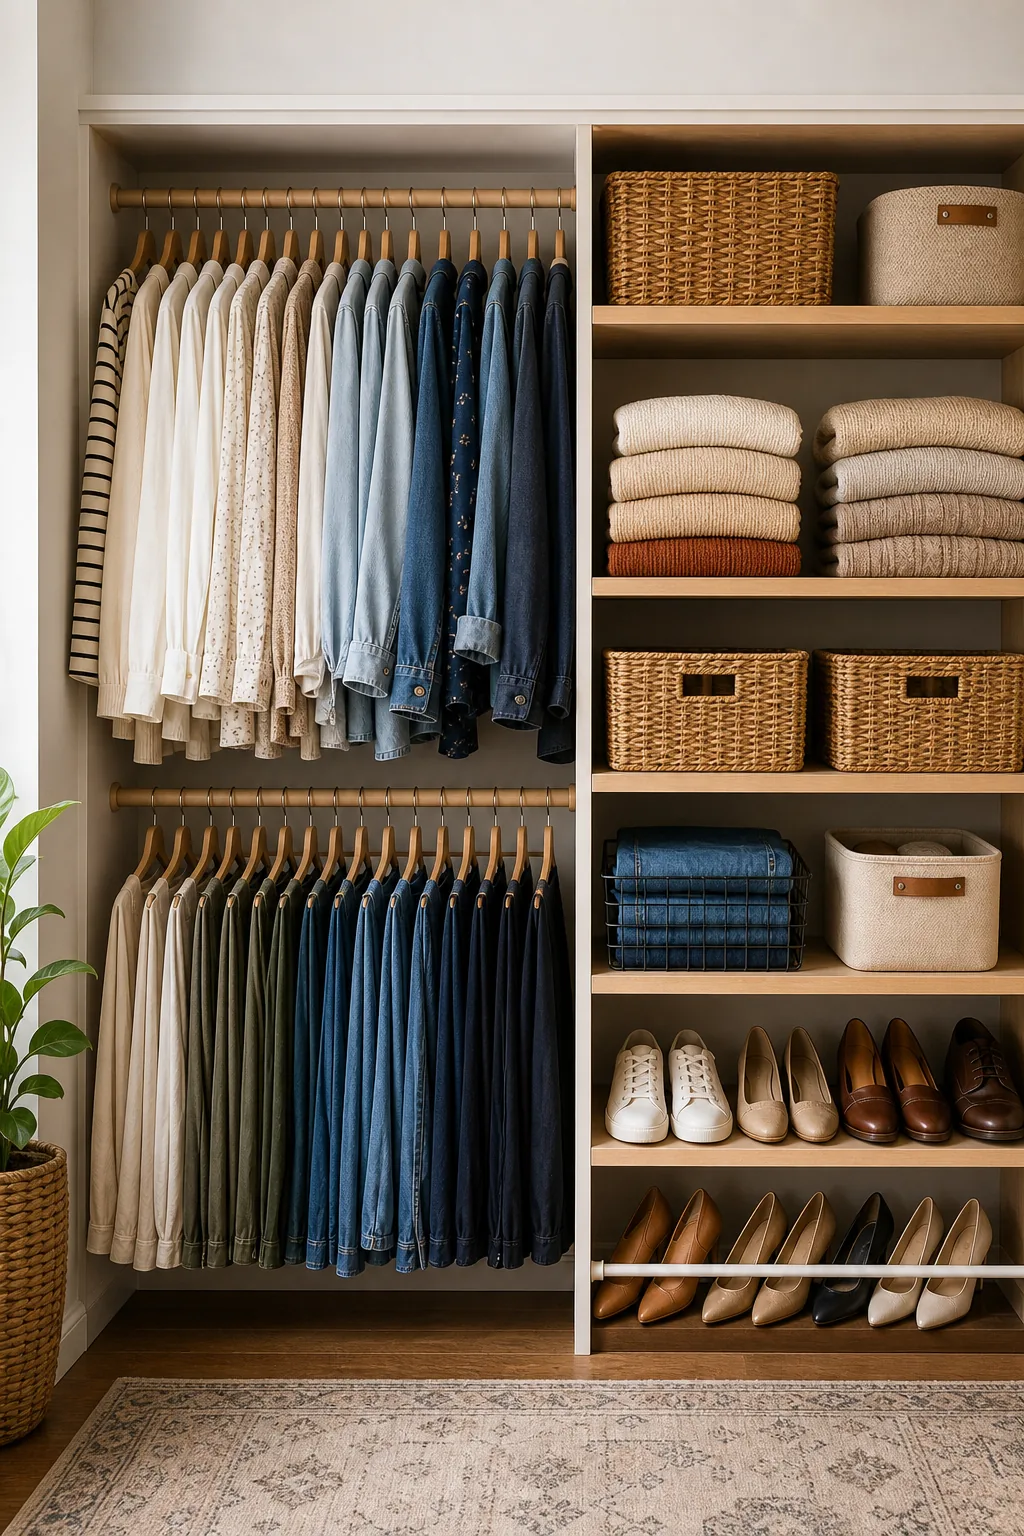
The remaining 40 percent of the overall width should contain stacked shelving and sliding drawers to handle folded items, shoes, and smaller daily accessories. This specific mathematical ratio prevents flat shelves from encroaching on necessary dress and suit storage.
Dividing Mixed-Use Spaces
Establishing clear physical boundaries in a shared reach-in closet prevents clothing from migrating across the distinct zones and keeps the central shelving tower perfectly rigid. Installing a solid vertical partition down the exact center provides essential structural support.
- Place the solid vertical wood partition exactly in the center of the closet span.
- Assign the left side entirely to the double-hang configuration for shorter garments.
- Reserve the right side for long hanging pieces and the stacked central shelving tower.
This asymmetrical internal division maximizes the usable cubic volume while giving both users dedicated areas tailored to their specific wardrobe requirements. Keeping the central tower rigid prevents the hanging rods from sagging under excessive weight.
Hanger Selection and Spacing
Upgrading the main upper rod requires uniform hardware to maximize the total rod capacity and protect delicate shoulder seams from permanent stretching. Standard half-inch thick wooden hangers instantly reduce visual clutter and elevate the overall aesthetic.
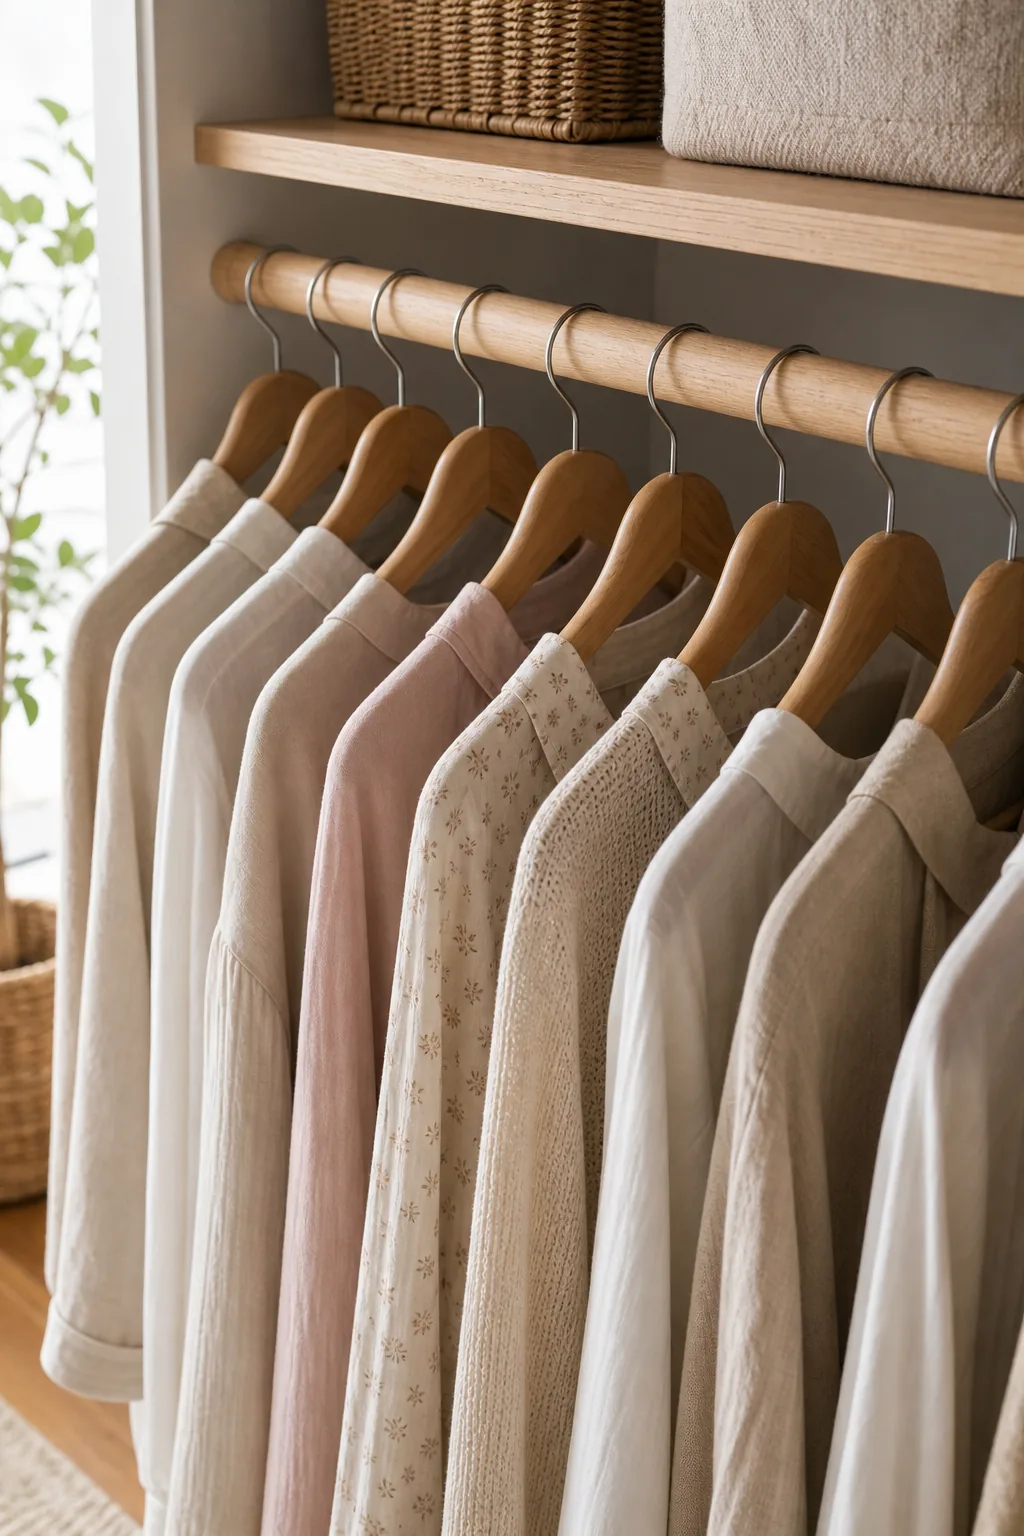
Ensure these identical wooden hangers remain spaced exactly one inch apart to prevent compression wrinkles, allow for effortless daily browsing, and maintain strict structural alignment across the entire upper rod.
Maximizing Rod Capacity
Switching entirely to uniform wooden hangers reclaims up to twenty percent of your horizontal hanging space by eliminating the awkward gaps caused by mismatched plastic and wire alternatives. This simple hardware upgrade creates a boutique aesthetic while extending the lifespan of your tailored garments.
The 2-Inch Spacing Trick
The middle shelving zone sits naturally at chest level, providing the ideal location for delicate knitwear that would quickly lose its structural shape on a standard hanger. Stacking heavy wool blends requires careful attention to the vertical gaps.
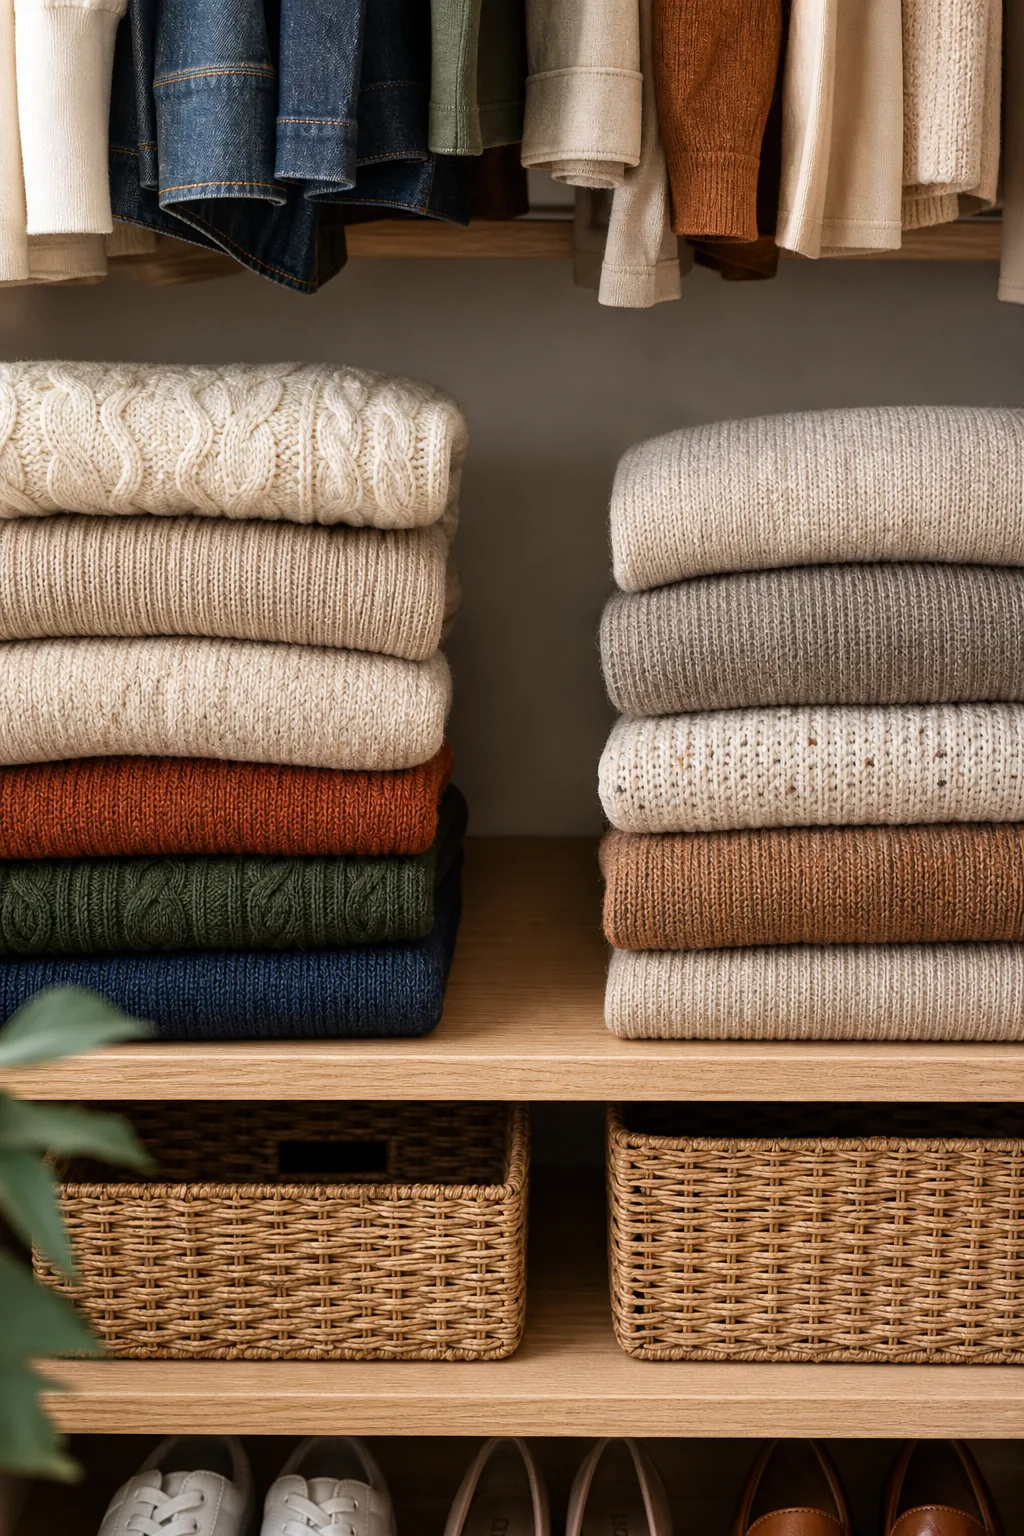
You must employ the 2-Inch Spacing Trick by leaving exactly a two-inch empty space between stacks of folded sweaters. This exact clearance ensures one heavy garment can be removed quickly without snagging the neighboring pile.
Folding Techniques for Sweaters
Stacking heavy chunky knits too tightly against delicate silk or cashmere pieces causes destructive friction damage and traps lingering moisture near the fabric core. Limit every single sweater stack to a strict maximum of four heavy garments to completely prevent the bottom layers from crushing.
The Double-Hang Zone
Maximizing the vertical efficiency of a standard reach-in requires installing a secondary lower hanging rod specifically designed to handle heavy trousers, skirts, and thick denim jeans. Folding these heavy garments over the hanger strut saves significant vertical room.
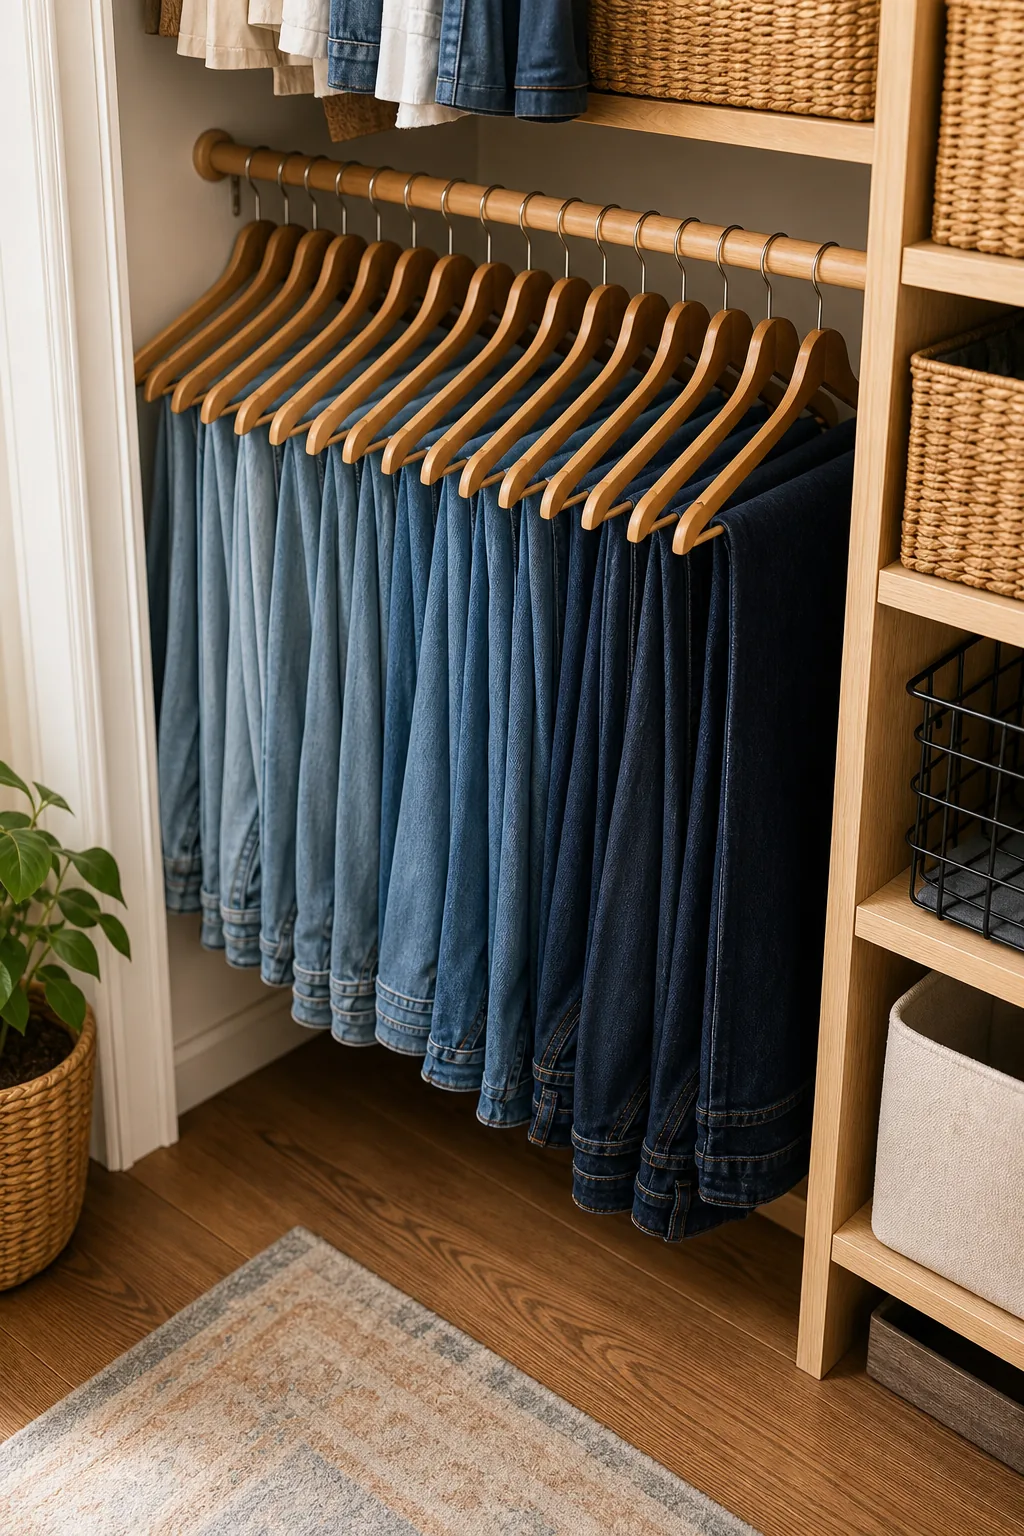
Setting this secondary lower rod exactly at the 40-inch mark keeps pant hems completely off the floor, creating a highly efficient Double-Hang Zone that effectively doubles your total hanging capacity without requiring any additional square footage.
Maximizing the Lower Rod
Proper folding techniques for this lower section ensure that thick denim seams do not create bulky clusters that push neighboring hangers out of alignment. Always fold pants exactly along the center crease to maintain a slim, uniform profile across the entire rod.
Mid-Level Bins and Baskets
The lower shelving section provides necessary storage for smaller, easily misplaced items like belts, scarves, and daily accessories. Spacing these middle shelves exactly 10 to 12 inches apart perfectly fits standard accessory bins without wasting vertical headroom.
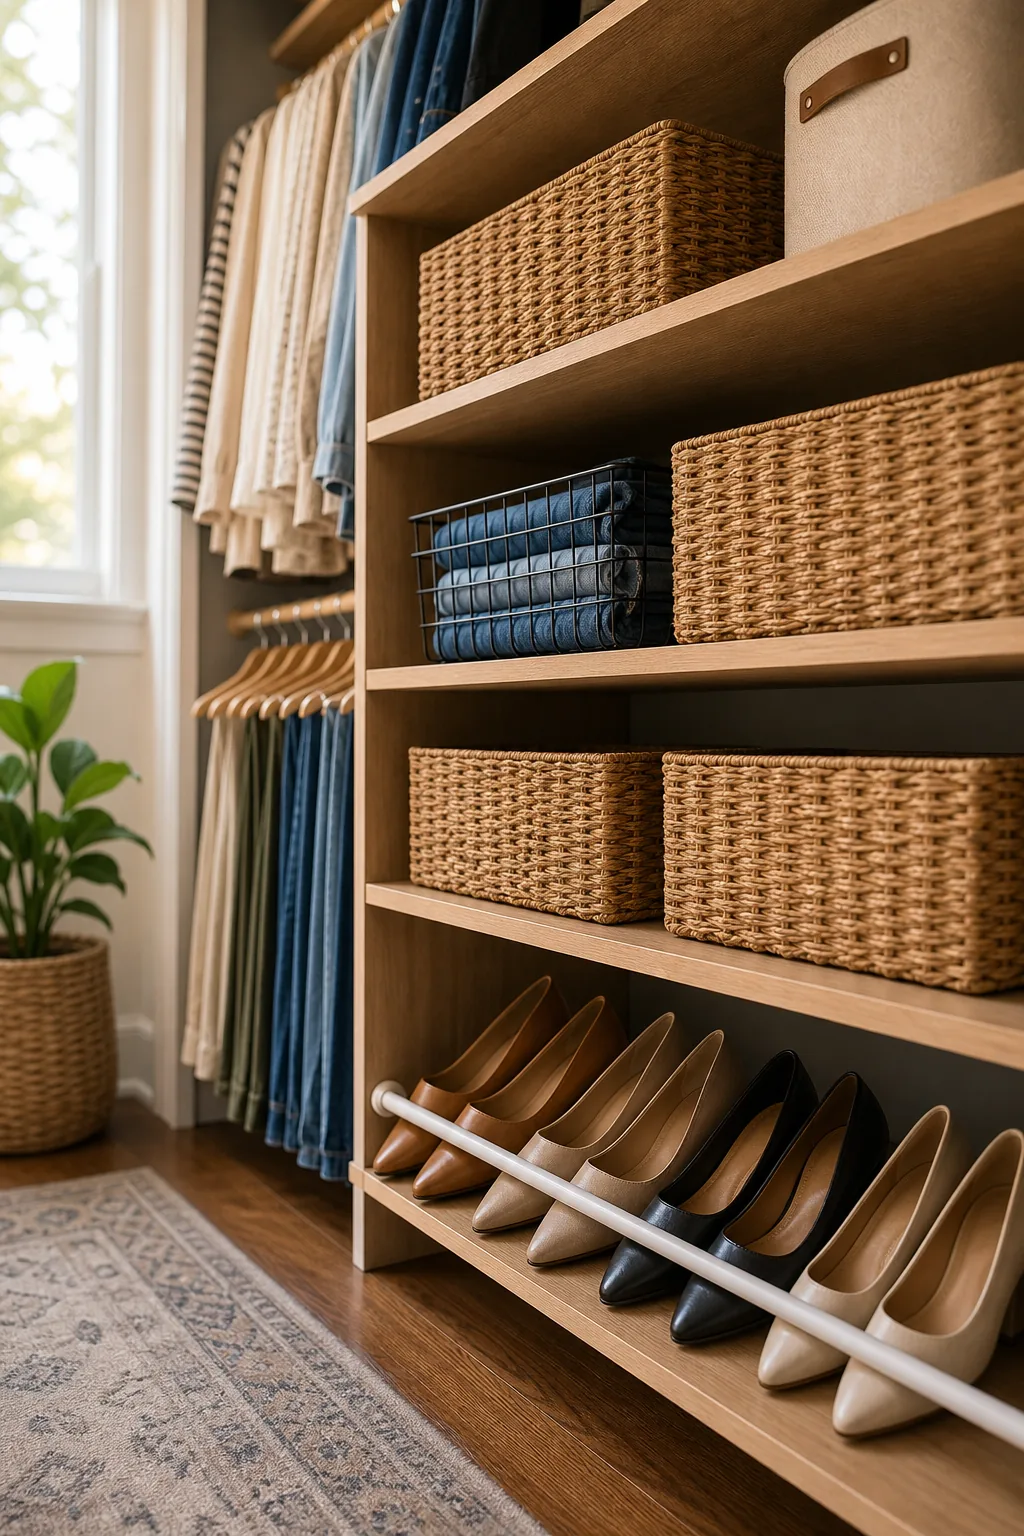
To maximize the utility of these middle shelves, choose your opaque containers carefully so they slide out effortlessly without scraping the wooden shelf above. Proper container sizing prevents small seasonal items from migrating into the dark back corners.
The Tension Rod Hack
The awkward, shadowy floor space beneath the lowest shelving often becomes a messy dumping ground for scattered, mismatched footwear. You can easily reclaim this wasted area by installing a simple Tension Rod Hack across the bottom width.
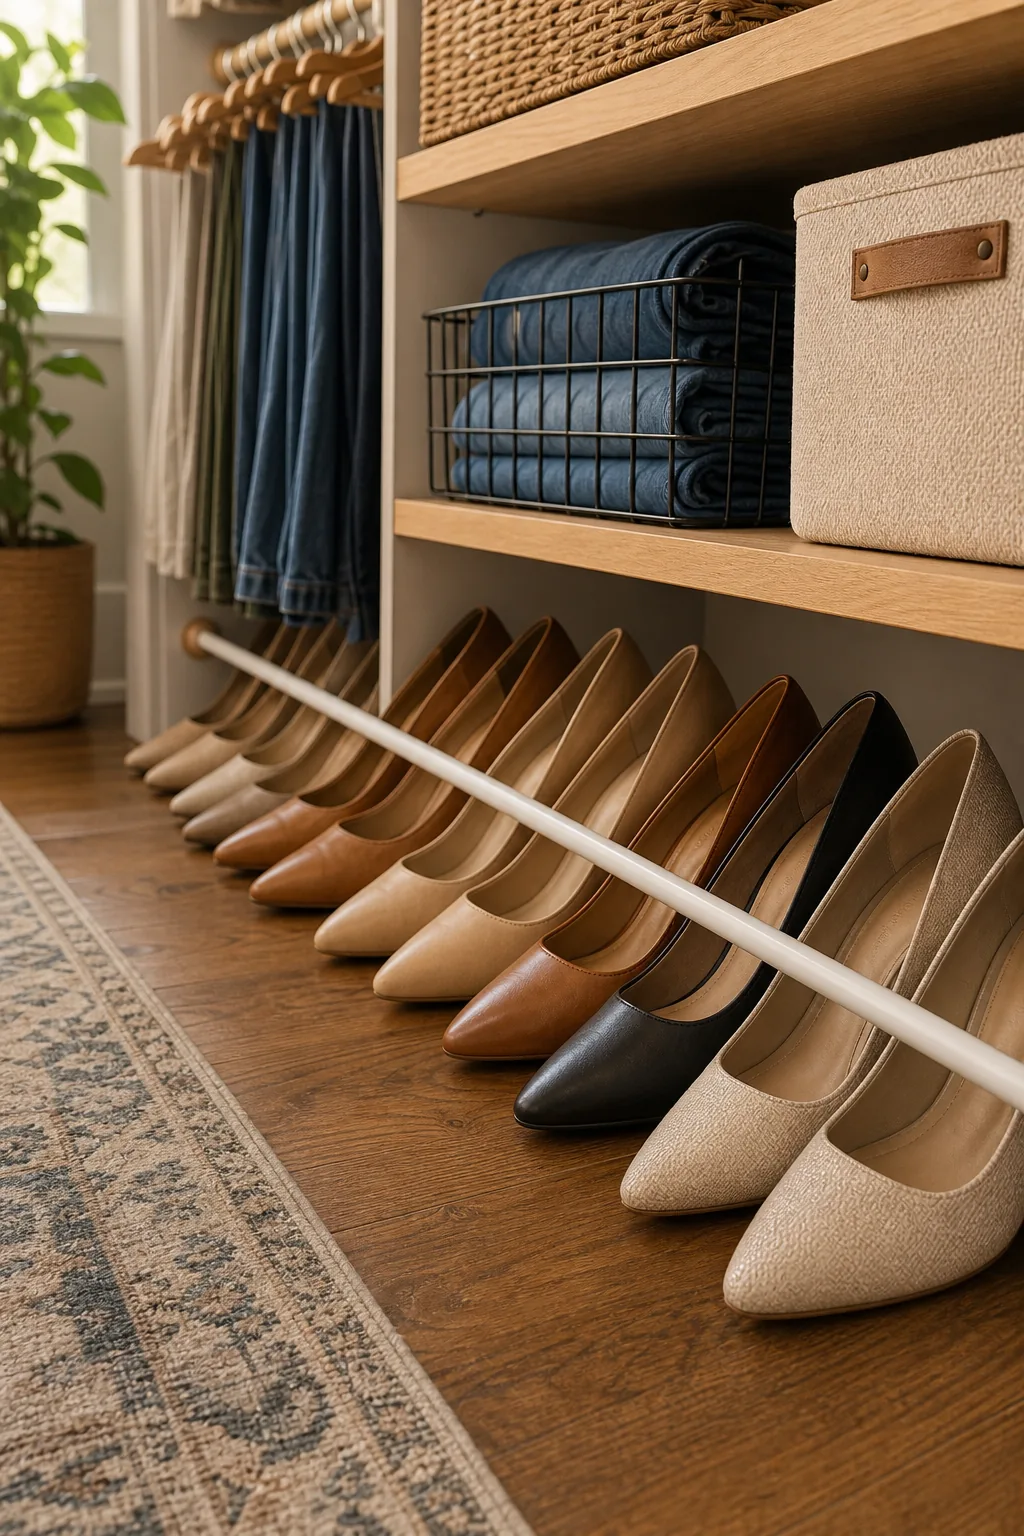
Install a sturdy tension rod exactly four inches off the floor and two inches from the back wall to elevate your footwear. This simple friction mount prevents expensive leather boots from collapsing into a disorganized pile on the floor.