
Mini Pumpkin Styling Guide: 3 Pro Tricks for a Flawless Trio
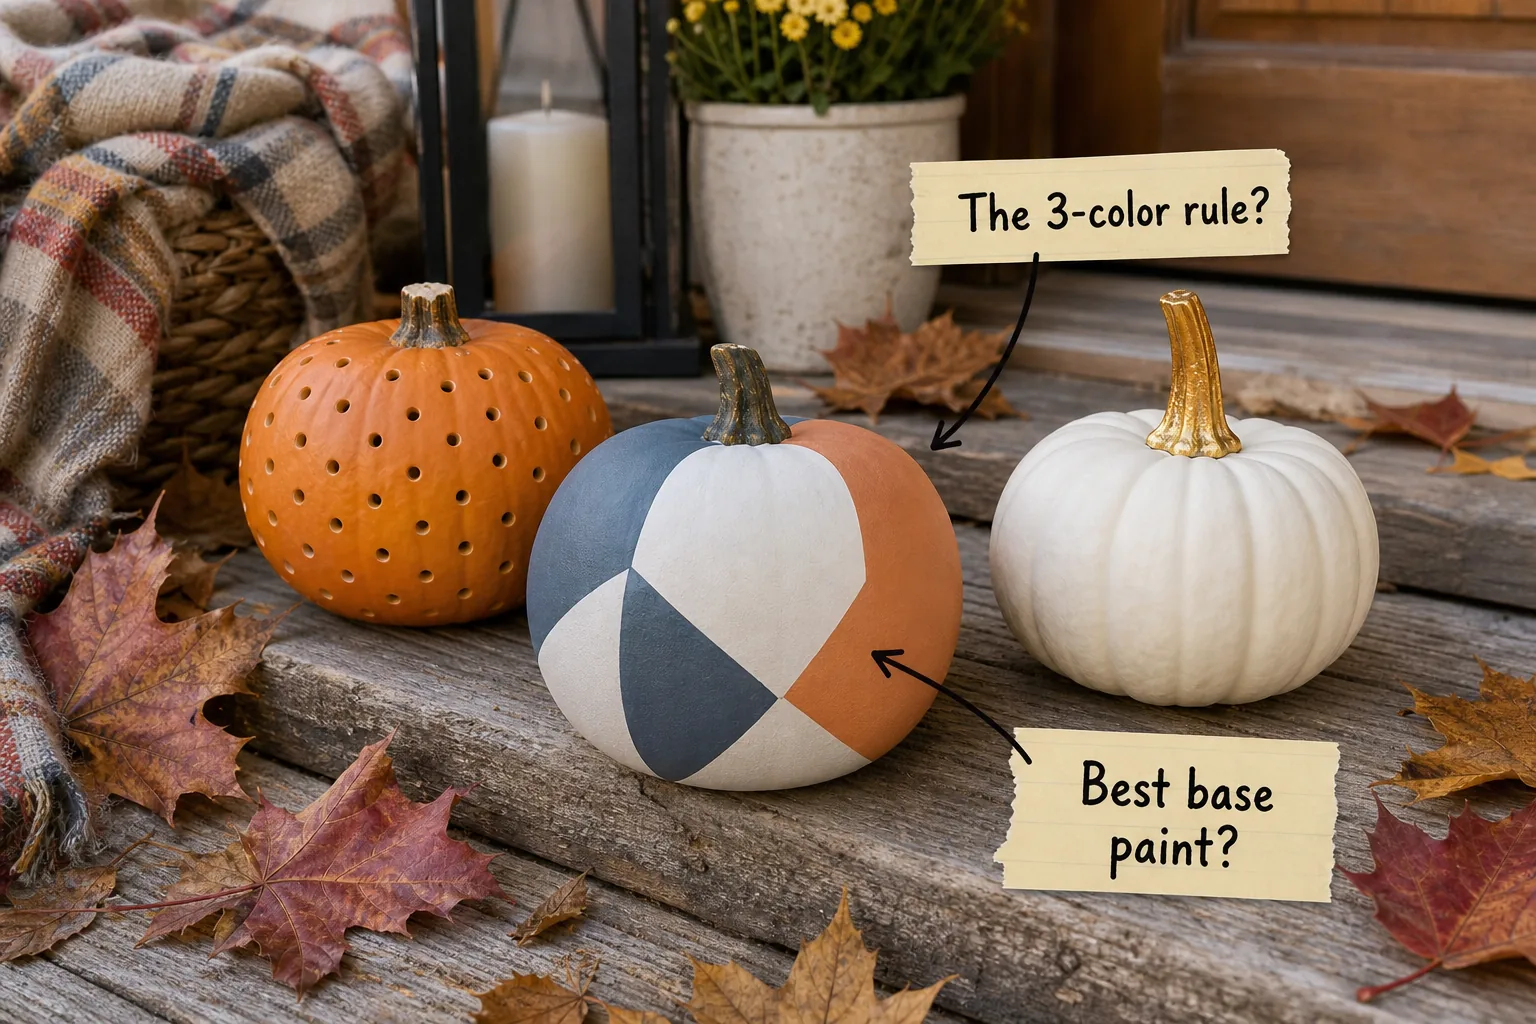
Upgrade your autumn porch with our complete mini pumpkin styling and painting guide, featuring the exact paint types and drill bit sizes needed for this flawless trio. You will learn professional spacing rules and precise tool specifications to recreate these stunning textured displays.
The Best Base Paint for a Matte Finish
Achieving a flawless, velvety surface on natural gourds requires using a water-based matte chalk paint rather than standard craft acrylics. Applying two thin, even coats ensures the pigment grips the waxy rind securely without requiring any heavy sanding beforehand.
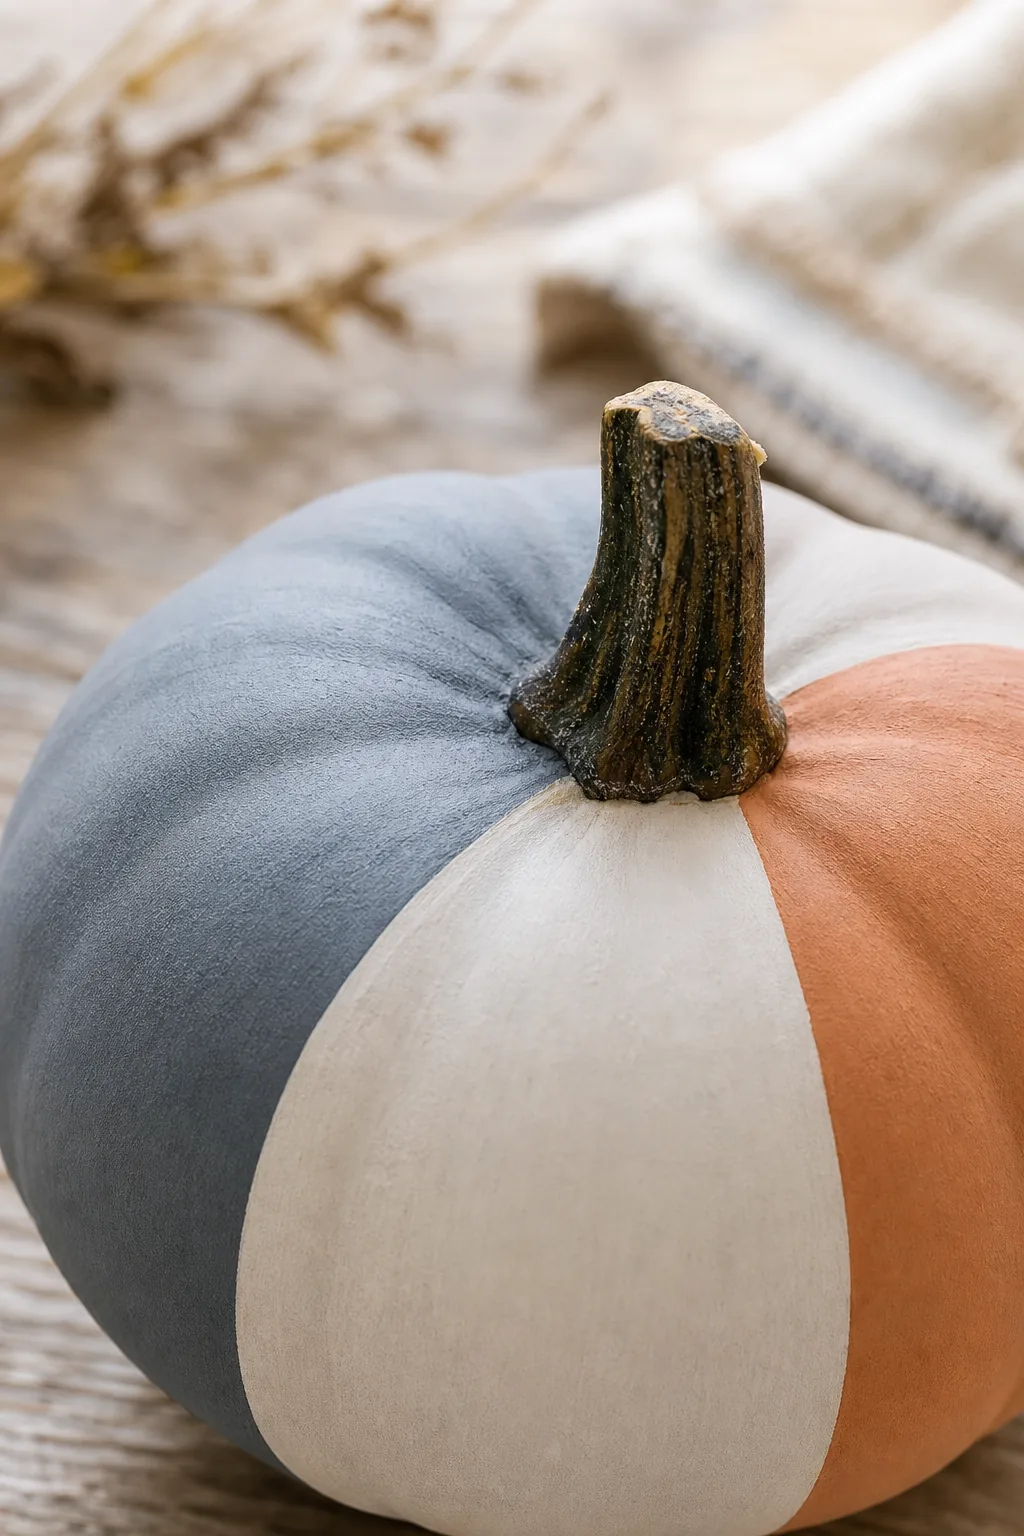
Choosing a specialized chalk formula prevents the finish from peeling off when exposed to fluctuating outdoor temperatures. Avoid these common application errors to guarantee your painted base remains perfectly smooth throughout the entire autumn season.
Washing and Drying the Rind
Before any paint touches the surface, you must thoroughly wash each gourd using a soft bristle brush and warm soapy water. Allow the thoroughly cleaned gourds to air dry completely for at least two full hours before beginning your design work.
Designing with the 3-Color Rule
Creating balanced geometric patterns relies on the strict 3-color rule to prevent the design from looking chaotic. You must select one neutral anchor shade, one deep contrasting tone, and one warm accent color to construct a visually cohesive triangle pattern.

Use standard painter’s tape to block out sharp geometric triangles before applying your carefully selected palette. Refer to this specific color balancing formula to ensure your painted pattern remains striking without overwhelming the porch display.
| Color Role | Purpose in Design | Recommended Shade |
|---|---|---|
| Neutral Anchor | Provides a calm background space | Soft white or cream |
| Deep Contrast | Defines the sharp geometric lines | Slate blue or charcoal |
| Warm Accent | Adds seasonal autumn energy | Terracotta or muted mustard |
Sealing the Tape Edges
To guarantee perfectly crisp lines between your geometric triangles, press the edges of your painter’s tape down firmly using a flat plastic card. Brushing a microscopic layer of the base color over the tape edge seals it completely against any contrasting color bleed.
Creating Drilled Light Dots
Puncturing the tough rind requires using a standard power drill fitted with clean, sharp bits rather than traditional carving tools. Spacing the drilled holes exactly one inch apart prevents the delicate surrounding flesh from cracking under the mechanical pressure.

Hollowing the gourd from the bottom rather than the top completely hides the structural opening from your porch visitors. Follow this specific mechanical sequence to achieve perfectly round, uniform light dots without collapsing the fragile natural structure.
- Cut a circular opening into the bottom base and scoop out all the internal seeds using a serrated spoon.
- Mark your intended hole locations with a washable marker, keeping a strict one-inch gap between each dot.
- Drive the drill bit straight into the marked dots at a medium speed to cleanly pierce the outer wall.
Cleaning the Hollowed Interior
Once the drilling process is complete, carefully scrape the interior walls a second time to remove any fibrous debris pushed inward by the bit. A smooth inner surface prevents stray pumpkin strings from blocking the crisp light emitting through your freshly drilled holes.
The Gilded Stem Trick
Transforming a plain white gourd into an elegant centerpiece requires applying liquid gold leaf directly to the natural dried stem. This brilliant metallic accent instantly elevates the simple organic shape into a sophisticated, high-end seasonal focal point.

Applying the highly fluid metallic finish requires extreme precision to protect the pristine white painted surface below. Utilizing the correct brush technique ensures the brilliant gold pigment remains strictly confined to the textured woody stem.
Choosing the Right Metallic Finish
Solvent-based liquid gold leaf delivers a much richer, more authentic metallic shine than standard water-based gold acrylic craft paints. Always work in a well-ventilated outdoor space when applying solvent-based leafing to allow the strong chemical fumes to safely dissipate.
Mastering Cluster Spacing
Pushing your decorated gourds tightly together visually muddles the intricate designs and makes the porch steps look cluttered. Implementing a deliberate 2-to-3-inch gap between the prominent pieces allows each distinct pattern sufficient breathing room to stand out.
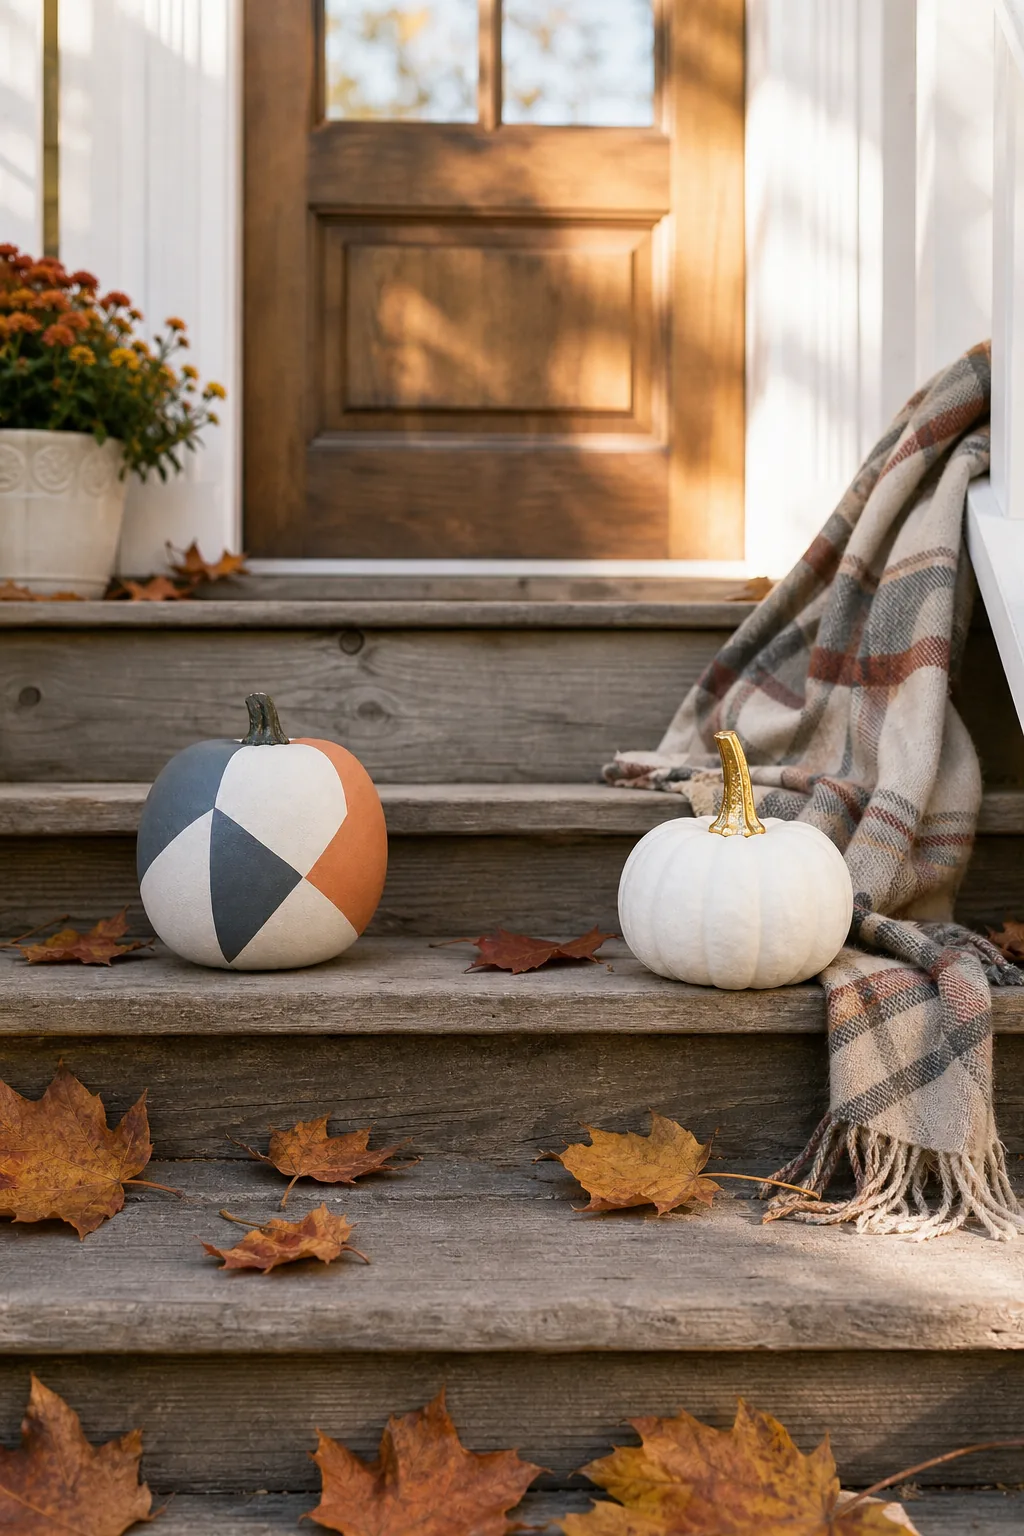
Utilizing negative space effectively transforms a messy pile of gourds into a curated, professional-looking seasonal arrangement. Maintaining this exact physical distance ensures the geometric patterns, metallic stems, and drilled dots all remain clearly visible from the street.
Balancing Heights on the Porch Steps
When placing your spaced trio onto the wooden stairs, position the tallest piece on the highest step to create a natural visual cascade. Staggering the physical elevations prevents the individual pieces from blocking one another when viewed from the bottom of the walkway.
Adding Rustic Porch Textures
Anchoring the smooth painted surfaces requires introducing highly tactile background elements to soften the rigid wooden architecture. Scattering precisely 5 to 7 dried maple leaves around the base grounds the arrangement in a natural, organic context.

Draping a soft woven plaid blanket across the sharp right angles of the stairs provides essential visual warmth. Layering these contrasting cozy materials directly beneath the firm gourds creates a deeply inviting, professionally styled autumn entrance.
Layering the Plaid Blanket
To achieve a relaxed, effortless aesthetic, pinch the center of the blanket and let the fabric fall naturally across the wooden treads. Tucking the loose fringed edges slightly under the heaviest gourds prevents the textile from blowing away during brisk autumn winds.
The Mini Pumpkin Styling and Painting Guide
Executing this flawless trio requires gathering the exact specifications, including the essential 5/16-inch and 3/8-inch drill bits for the light dots. You must also secure high-quality water-based matte chalk paint to guarantee the geometric patterns adhere correctly to the rind.
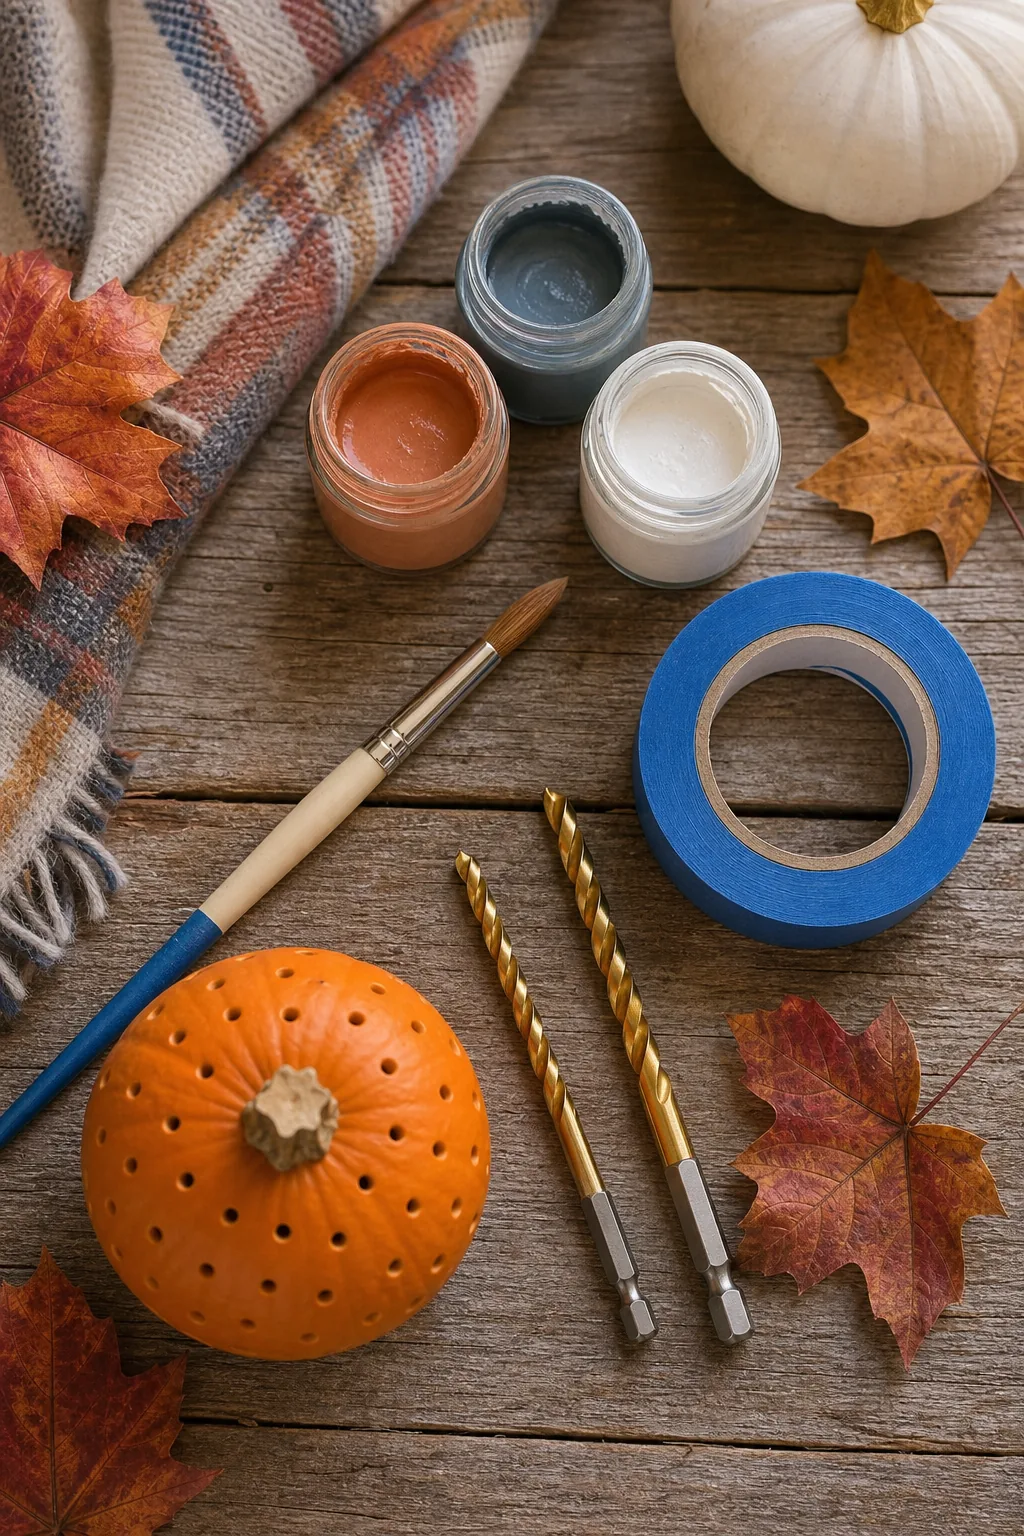
Having the correct professional supplies on hand ensures your geometric lines stay incredibly crisp and your drilled holes remain perfectly round. Verify you have collected every specific tool on this required materials list before beginning the surface preparation phase.
Verifying Your Drill Bit Sizes
Using drill bits larger than 3/8-inch removes too much structural flesh and dramatically increases the risk of the gourd collapsing. Test your selected bit sizes on a hidden portion of the back wall to confirm the resulting hole matches your desired aesthetic.
Illuminating the Display at Night
Lighting the drilled dots safely requires inserting a warm-white LED battery tea light rather than utilizing a traditional open flame candle. The cool LED technology prevents the hollowed interior from cooking, keeping your display fresh and structurally sound for weeks.

A real flame generates excessive internal heat that rapidly accelerates the rotting process of the small, delicate natural structure. Implement these final protective measures to maximize the lifespan of your beautifully illuminated porch display throughout the changing season.
- Select tea lights with a built-in daily timer function so the display automatically illuminates at dusk without manual intervention.
- Spray the hollowed interior with a diluted peppermint castile soap solution to deter local pests from eating the exposed flesh.
- Move the illuminated arrangement under a covered porch overhang to protect the battery-operated lights from direct rainfall.