
Deck Framing Anatomy: Spans, Spacing & Construction Rules
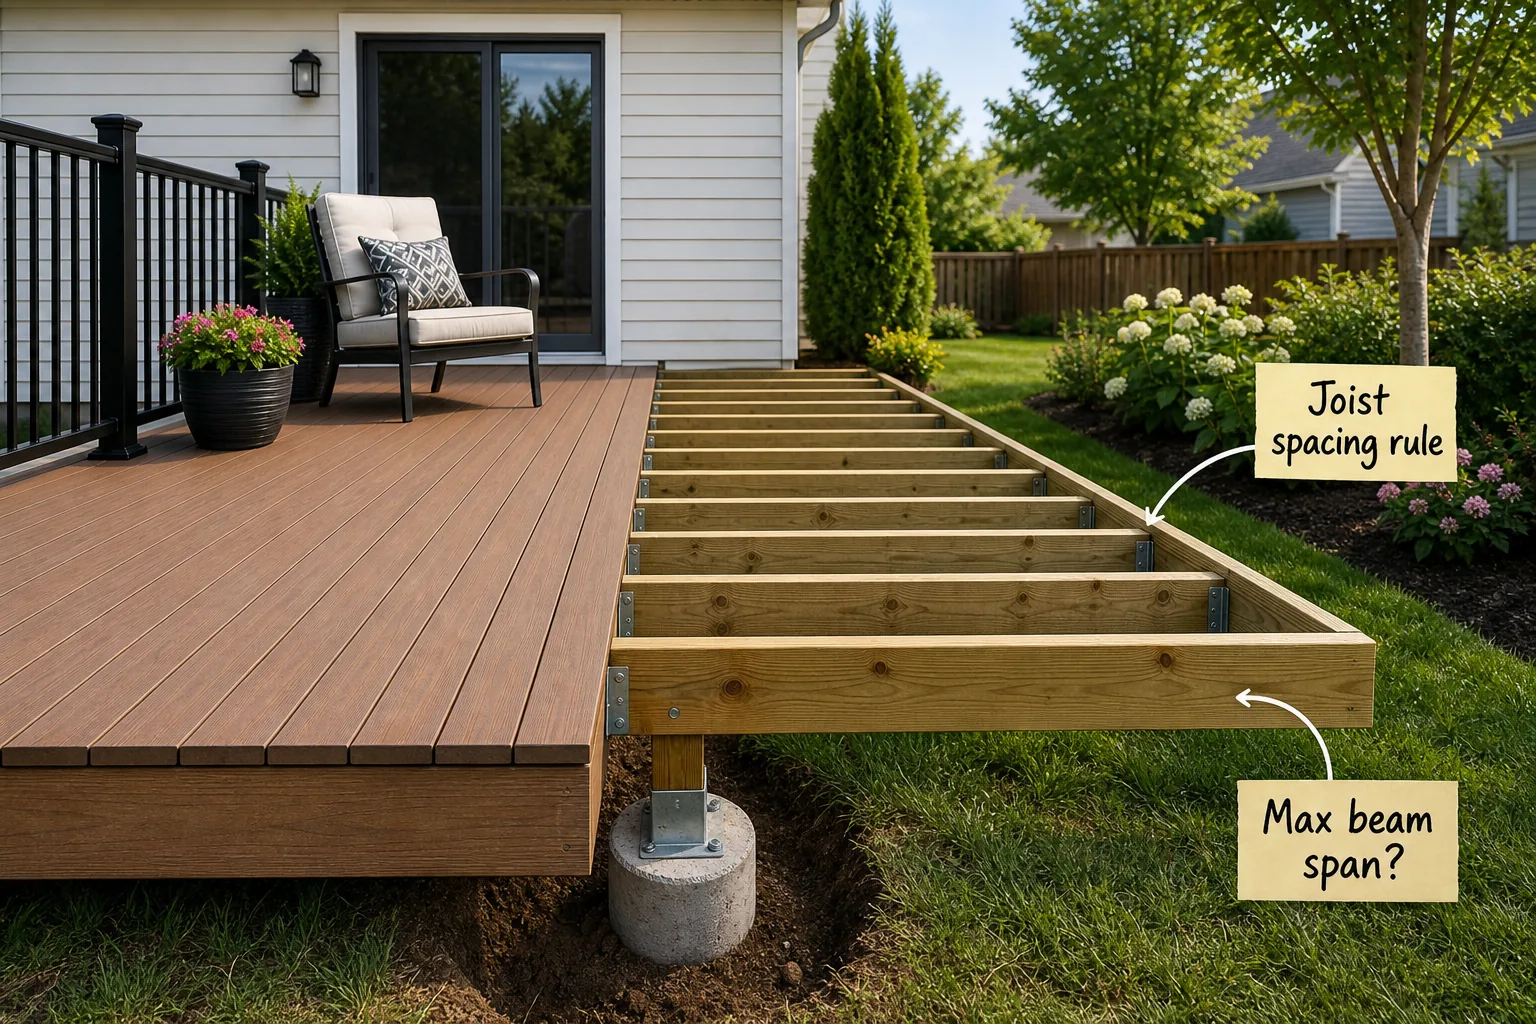
Before you dig your first hole, you must understand exactly how far apart to space your structural supports. This complete deck framing anatomy guide delivers the deck framing span and spacing cheat sheet you need to plan a safe, code-compliant backyard build.
Anchoring with Frost Line Footings
A stable foundation relies on a frost line footing poured deep enough to prevent the ground from heaving and cracking the structure during winter freezes. Local building codes dictate this exact depth based on historical regional ground temperature data and soil composition.
Sizing the Concrete Piers
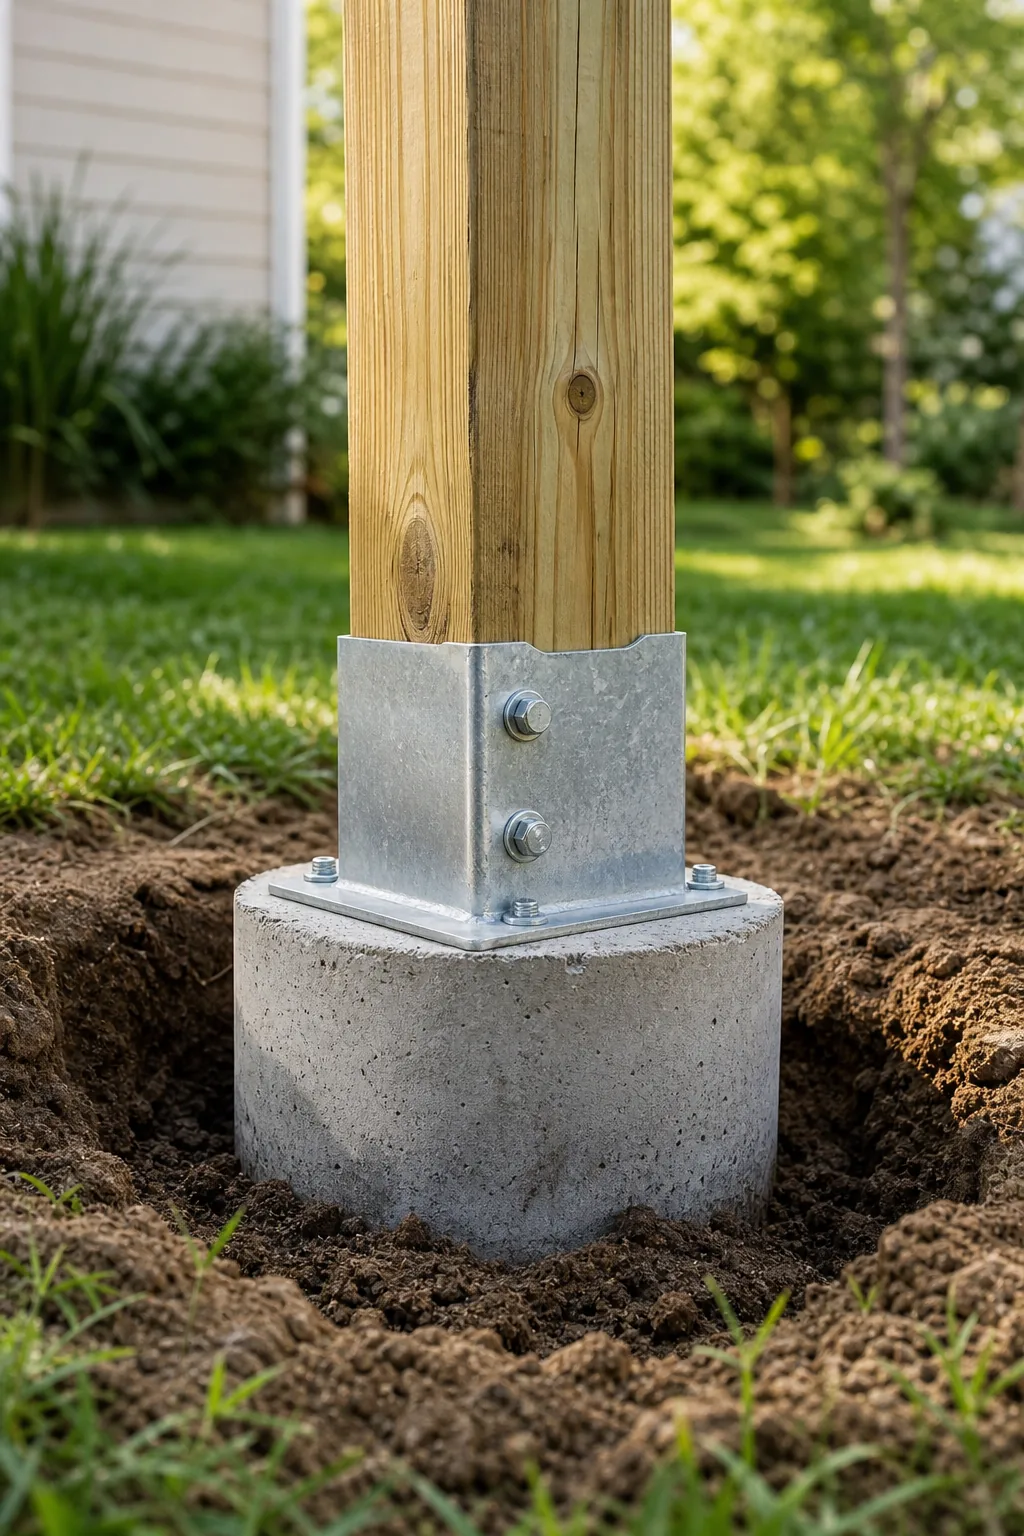
Concrete piers are typically poured into heavy-duty cardboard tubes to maintain a perfect cylindrical shape above the rough soil line. You must select the correct tube diameter to adequately support the concentrated weight of your deck framing and expected daily foot traffic.
| Deck Size | Tube Diameter | Base Type | Load Rating |
|---|---|---|---|
| Micro (under 50 sq ft) | 8 inches | Straight shaft | Light |
| Small (50 to 100 sq ft) | 8 inches | Flared bell | Standard |
| Medium (100 to 250 sq ft) | 10 inches | Flared bell | High |
| Large (250 to 400 sq ft) | 12 inches | Flared bell | Maximum |
| Multi-tier (over 400 sq ft) | 12 inches | Deep bell | Extreme |
Always center your heavy metal structural brackets directly over these poured concrete piers while the cement mix remains completely wet. This precise alignment guarantees that the downward force of your heavy framing transfers perfectly straight into the undisturbed solid soil below.
Setting the Support Posts
Transitioning from concrete to wood requires elevated metal post bases and heavy-duty 6×6 pressure-treated posts rather than standard 4×4 lumber. These thicker posts provide significantly better load-bearing capacity and make it much easier to notch and securely attach heavy horizontal beams.
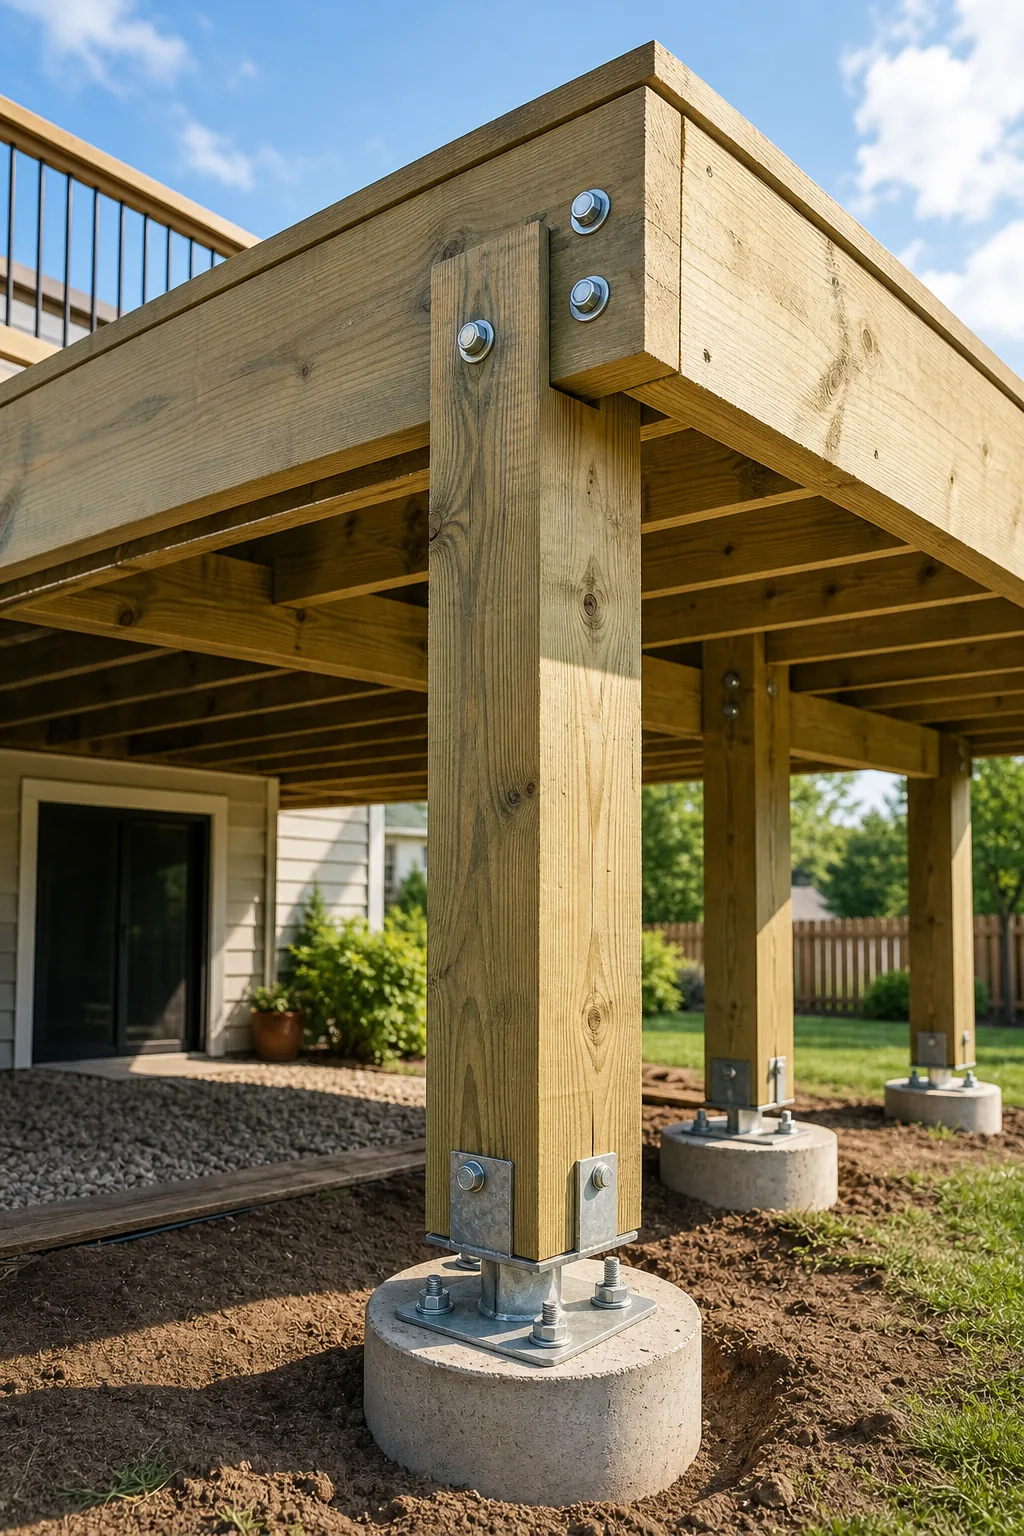
Even with the right spacing, a finished deck is only as strong as its vertical wooden supports. Avoid these common post installation errors to ensure your structural foundation lasts through decades of severe weather, seasonal ground shifts, and heavy daily use.
Bracing Tall Vertical Supports
If your finished deck surface sits more than two feet above the surrounding grade, you must install diagonal sway bracing between the vertical posts. These angled pressure-treated boards prevent the entire framing structure from shifting, leaning, or collapsing during heavy wind storms.
Calculating Maximum Beam Spans
When determining your max beam span?, you are measuring the allowable horizontal distance between your vertical support posts. Because this exact structural measurement depends entirely on wood species, lumber grade, and deck dimensions, you must consult local residential code span tables.
Choosing Flush or Drop Beams
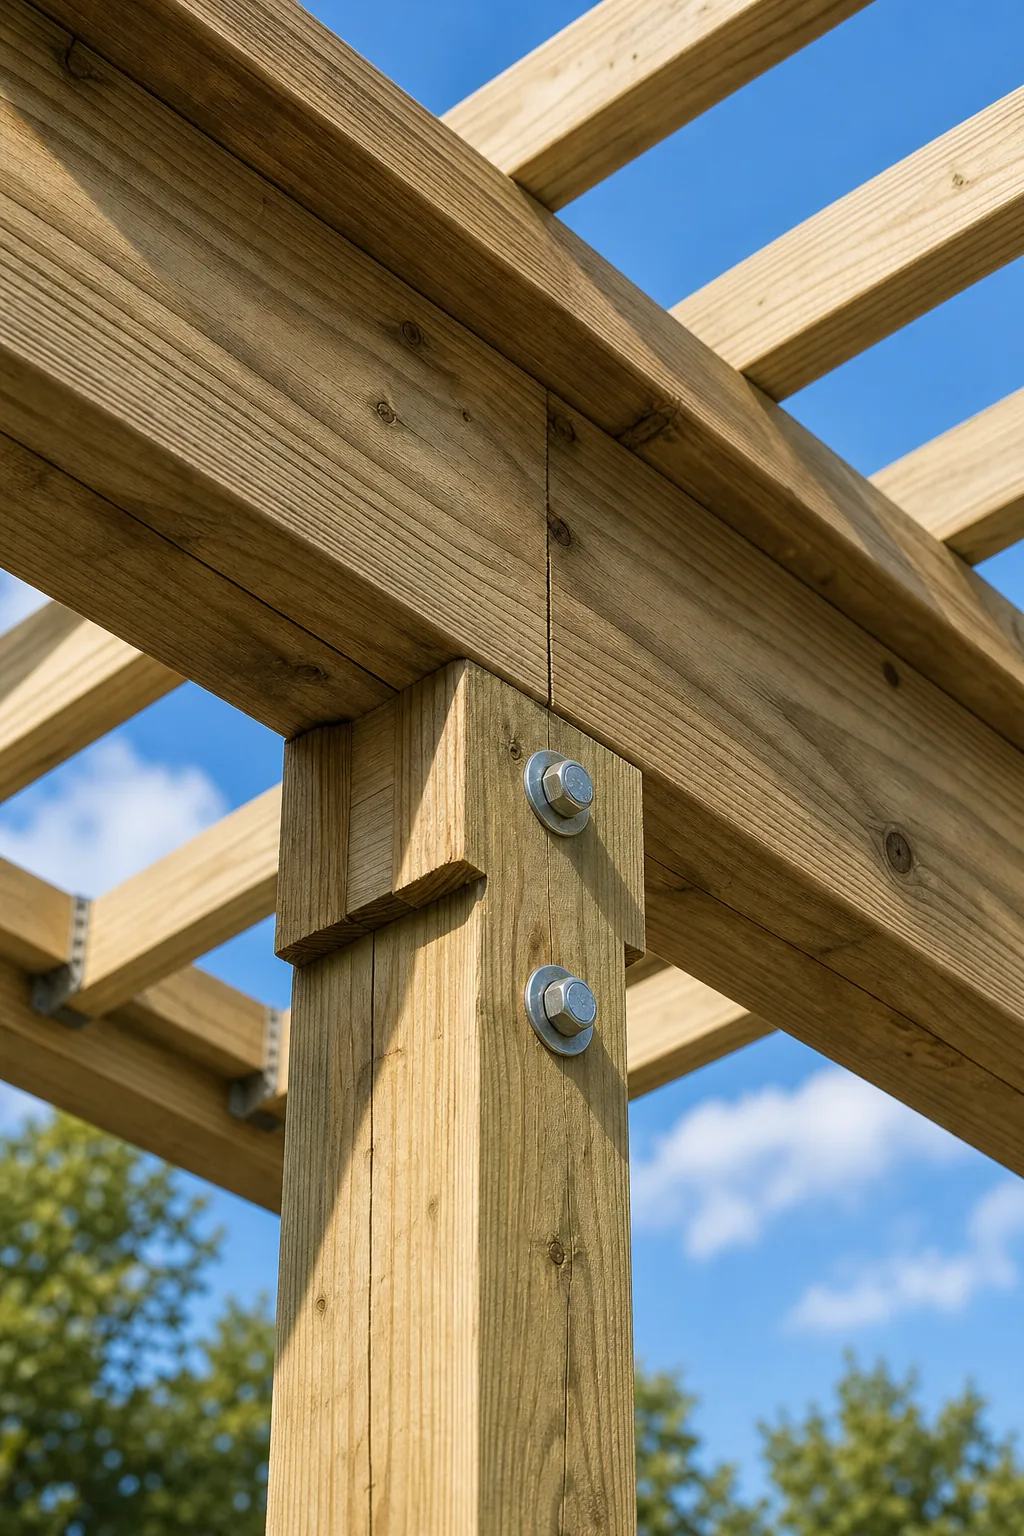
Structural support beams can be installed either entirely below the floor joists or totally flush with them, depending on your available ground clearance. Your choice of beam placement directly impacts how you will attach the remaining floor framing components moving forward.
- Drop beams sit below the framing joists, allowing the wooden joists to cantilever safely outward.
- Flush beams sit at the exact same height, requiring specialized metal hangers for secure attachment.
- Double-ply beams offer superior overall strength but require heavy structural screws to laminate together properly.
- Engineered lumber beams provide perfectly straight spans but must be rigorously protected from direct rain exposure.
Most freestanding backyard decks utilize a drop beam configuration because it greatly simplifies the entire joist installation process. This preferred method allows the long framing lumber to rest continuously across multiple supports rather than hanging entirely from small metal fasteners.
Applying the Joist Spacing Rule
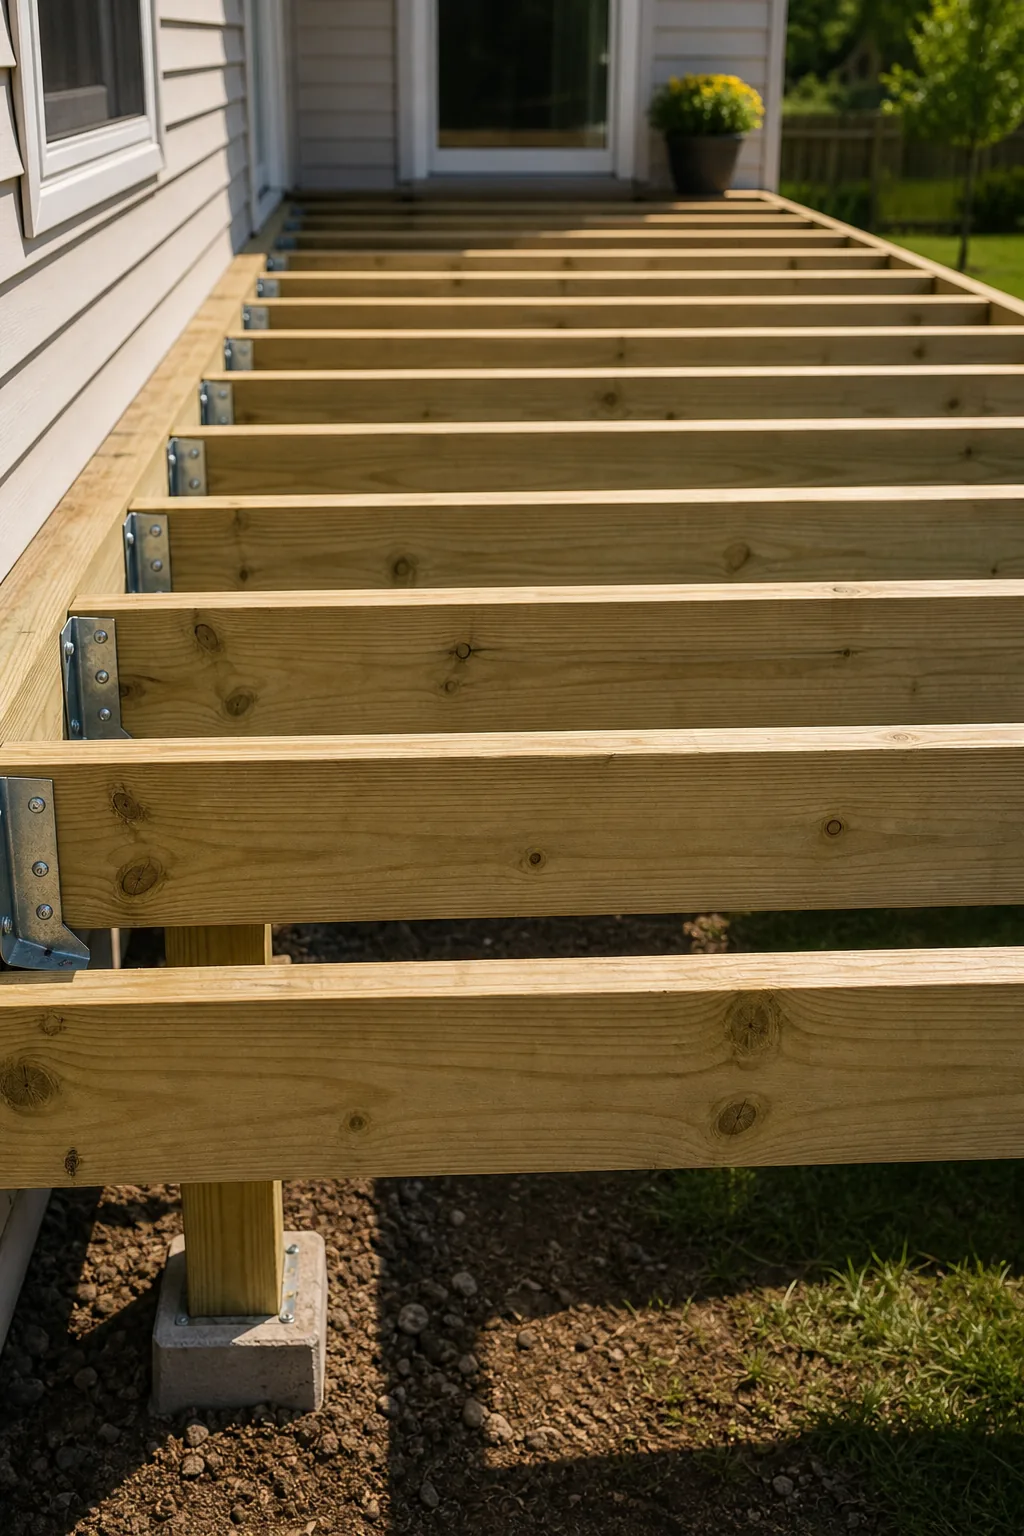
The standard industry joist spacing rule dictates that deck joists are typically spaced 16 inches on center for traditional wood decking. If you are installing heavy composite boards or laying the decking diagonally, shrink this spacing to 12 inches on center.
Managing Joist Cantilever Limits
Floor joists can extend safely past your final drop beam, but this unsupported overhang must never exceed one-fourth of the total joist span. Pushing this cantilever distance too far creates a dangerous seesaw effect that will eventually pull the hardware apart.
Securing the Frame with Hardware
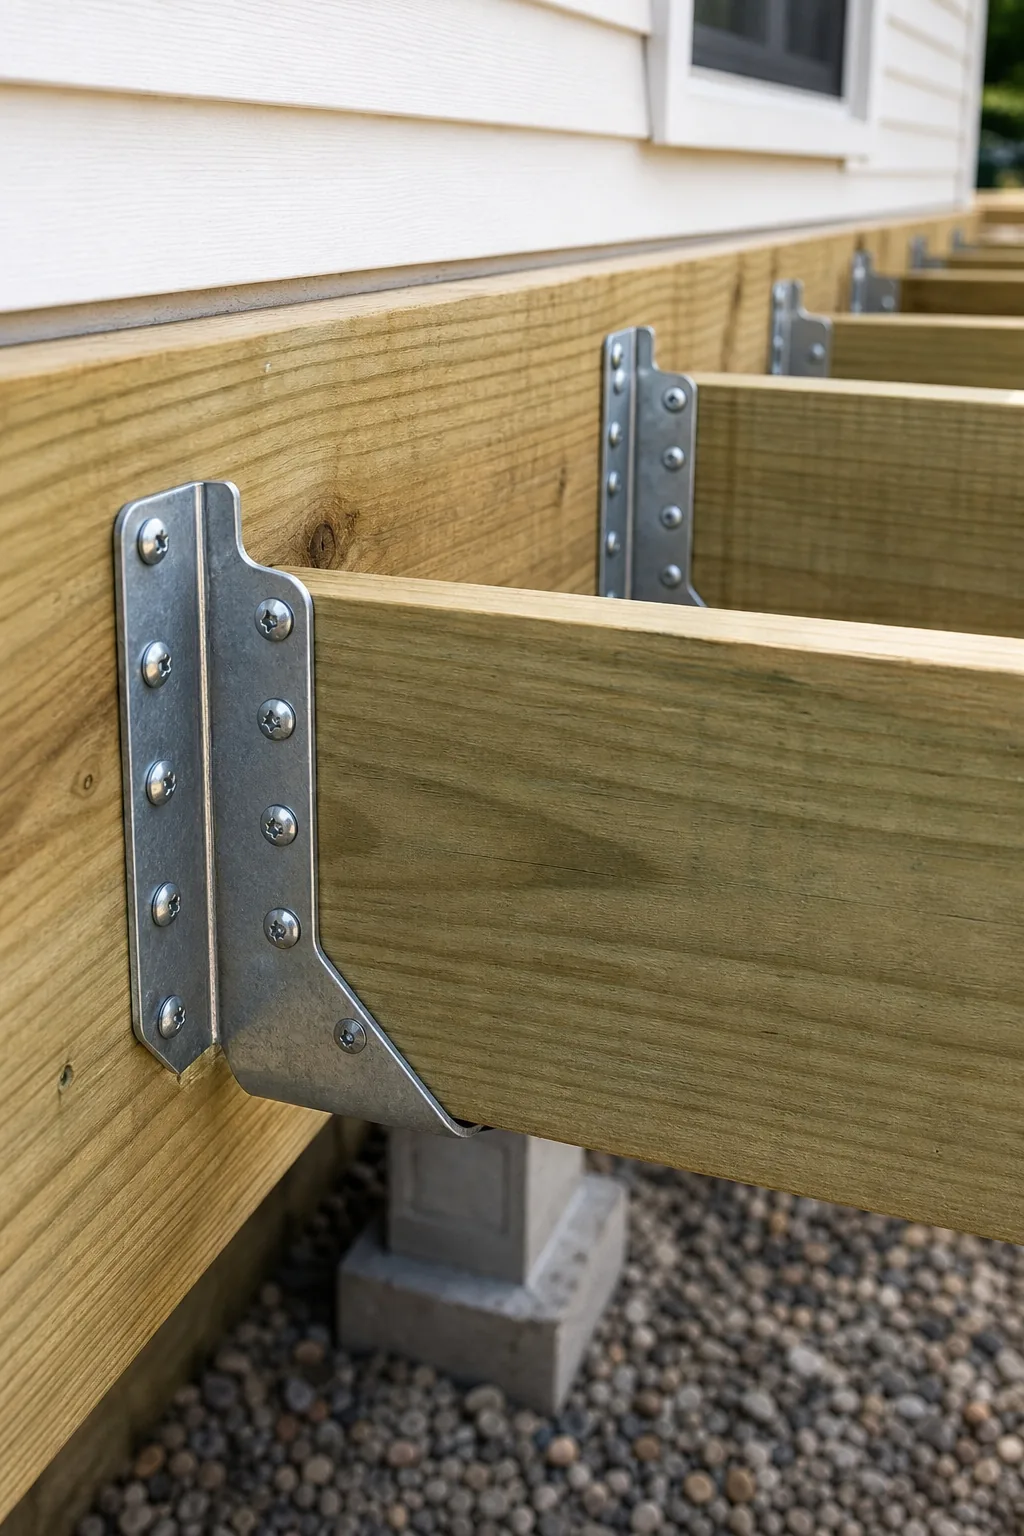
You must use approved structural hardware, such as galvanized joist hangers, to safely connect the wooden joists to the ledger board or flush beams. Every single hole in a joist hanger must be filled with a specifically rated structural screw.
Flashing the Ledger Board
The ledger board anchors your heavy deck directly to the home, making rigorous waterproofing absolutely essential to prevent hidden structural rot. You must layer self-adhering membrane and rigid metal flashing behind the siding to direct all rainwater away from the house.
Stiffening the Floor with Blocking
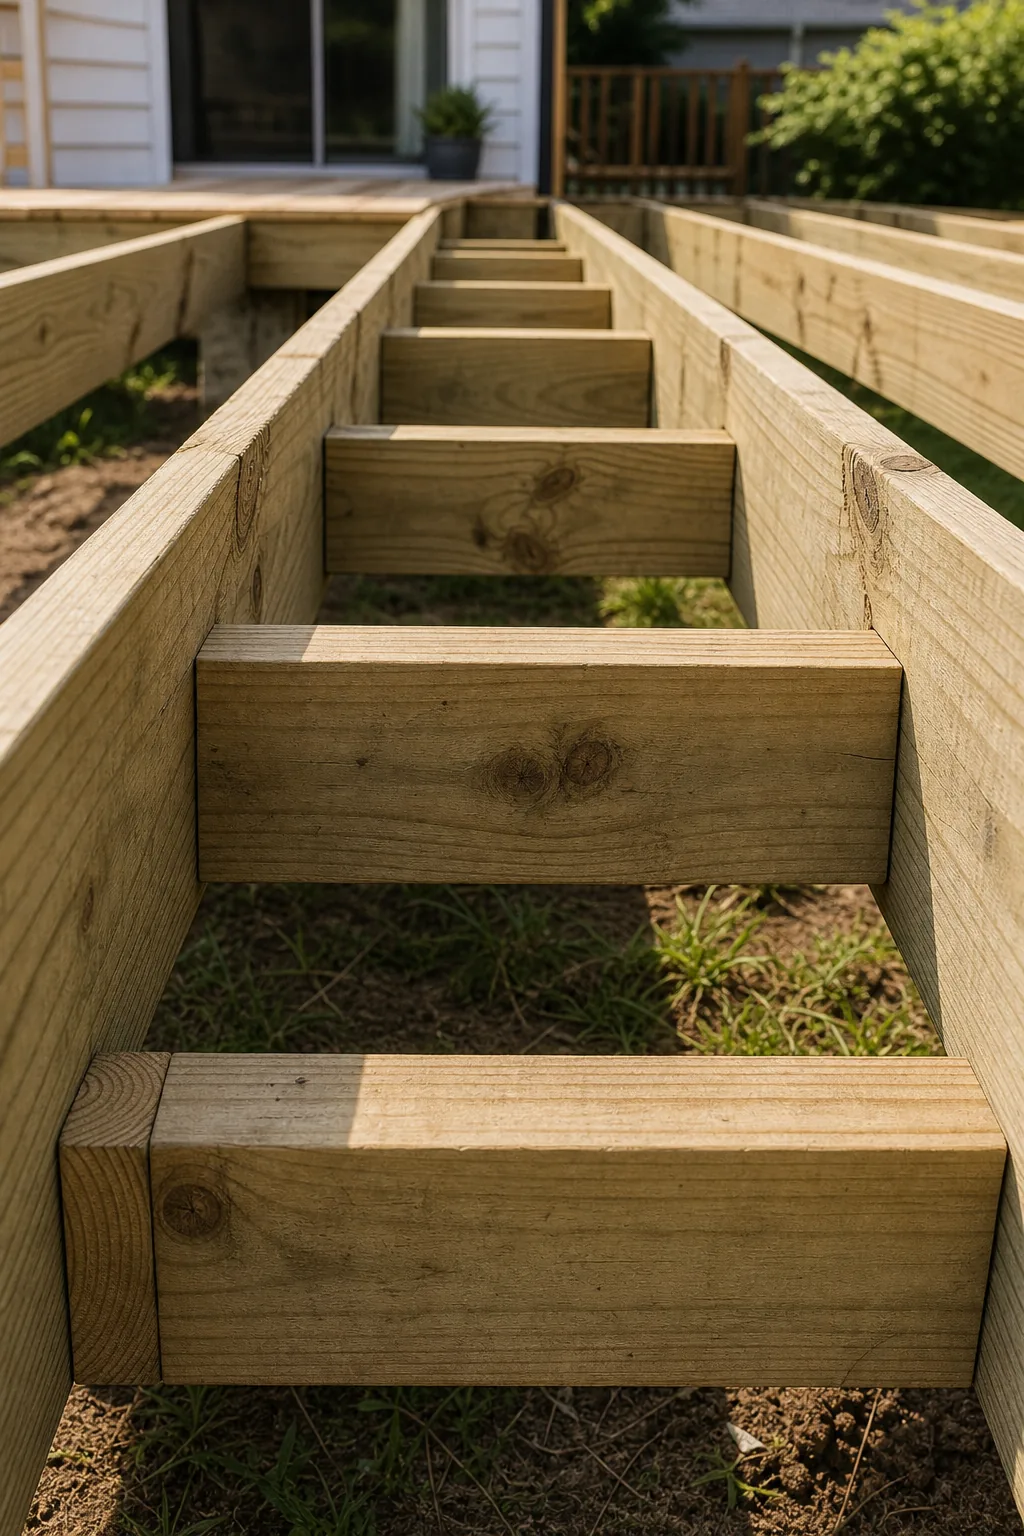
Installing solid wood blocking at mid-span between the parallel joists prevents the tall lumber from twisting or rolling under heavy moving loads. This simple structural addition significantly reduces bounce in the final deck surface and keeps the entire frame perfectly rigid.
Taping the Top Joist edges
Before installing your finished walking surface, apply a specialized butyl joist tape over the top edge of every single framing member. This sticky waterproof barrier seals tightly around all incoming deck screws, preventing trapped moisture from pooling on the flat wood.
Installing Deck Boards with Hidden Fasteners
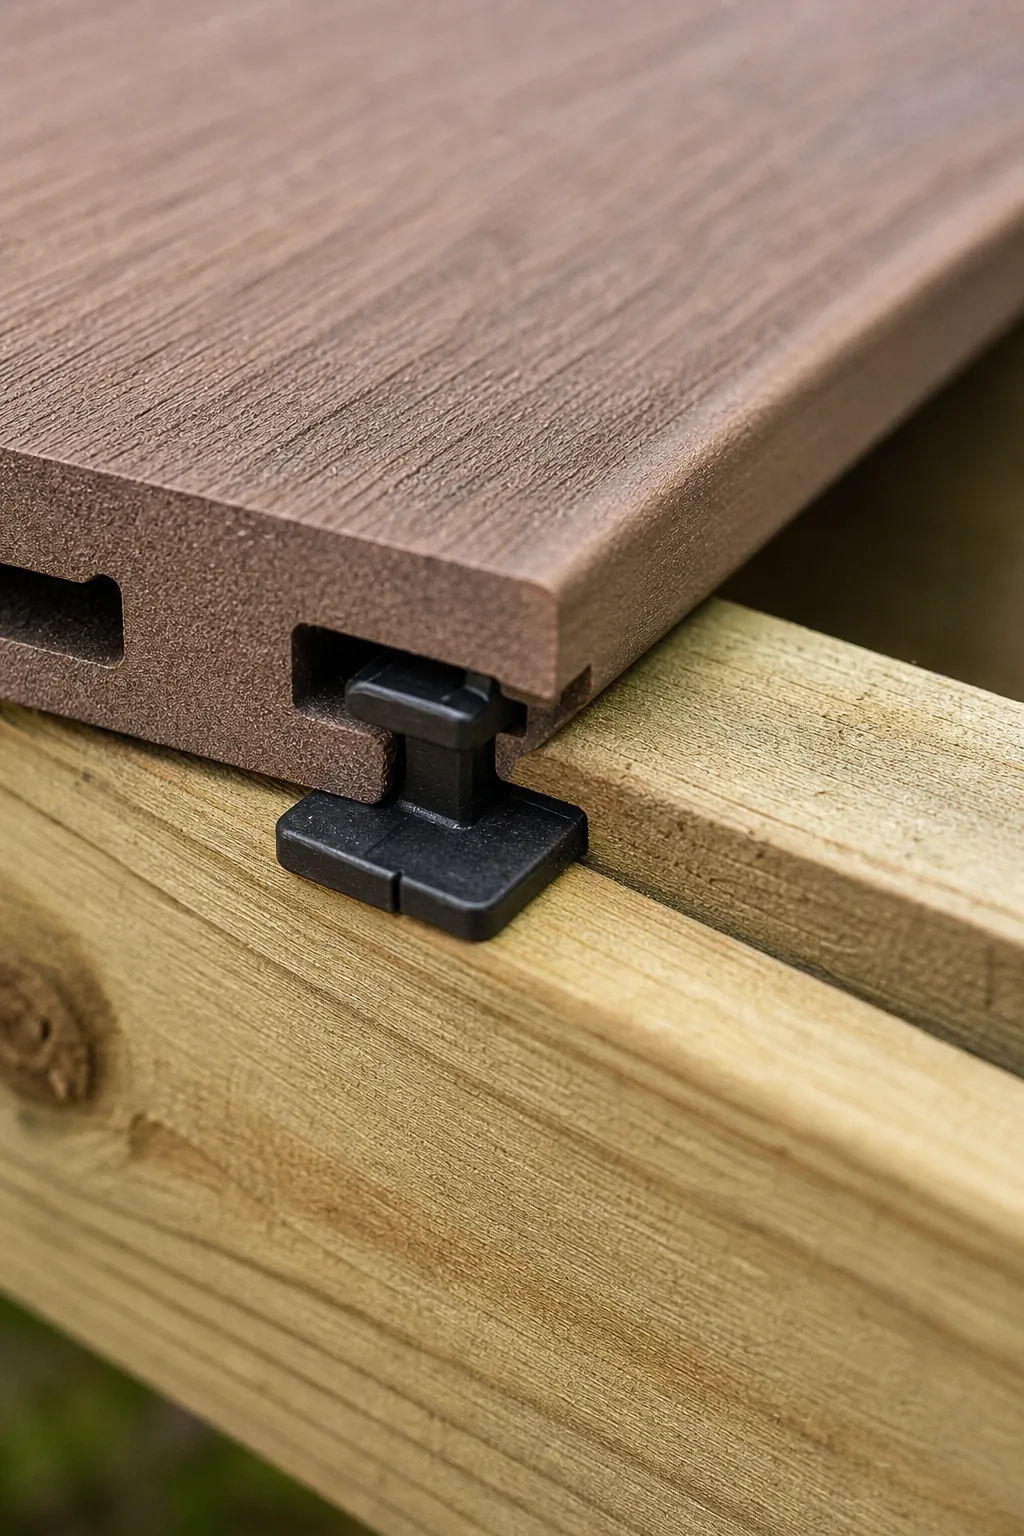
Modern grooved composite deck boards use specialized hidden fasteners that screw directly into the wooden joists between each individual plank. This clever attachment system secures the boards with a consistent gap while leaving the top surface completely free of visible screws.
Picture Framing the Deck Perimeter
To beautifully hide the ugly cut ends of your composite boards, wrap the entire deck perimeter with a flush border of flat decking. This popular picture frame technique requires adding extra flat blocking between the outer joists to support the border.
The Deck Framing Span and Spacing Cheat Sheet
Your finished structural layout relies on three core rules: 16-inch spacing for standard joists, 12-inch spacing for diagonal layouts, and strict code adherence. Always verify your purchased lumber size against local IRC tables to guarantee a completely safe backyard build.
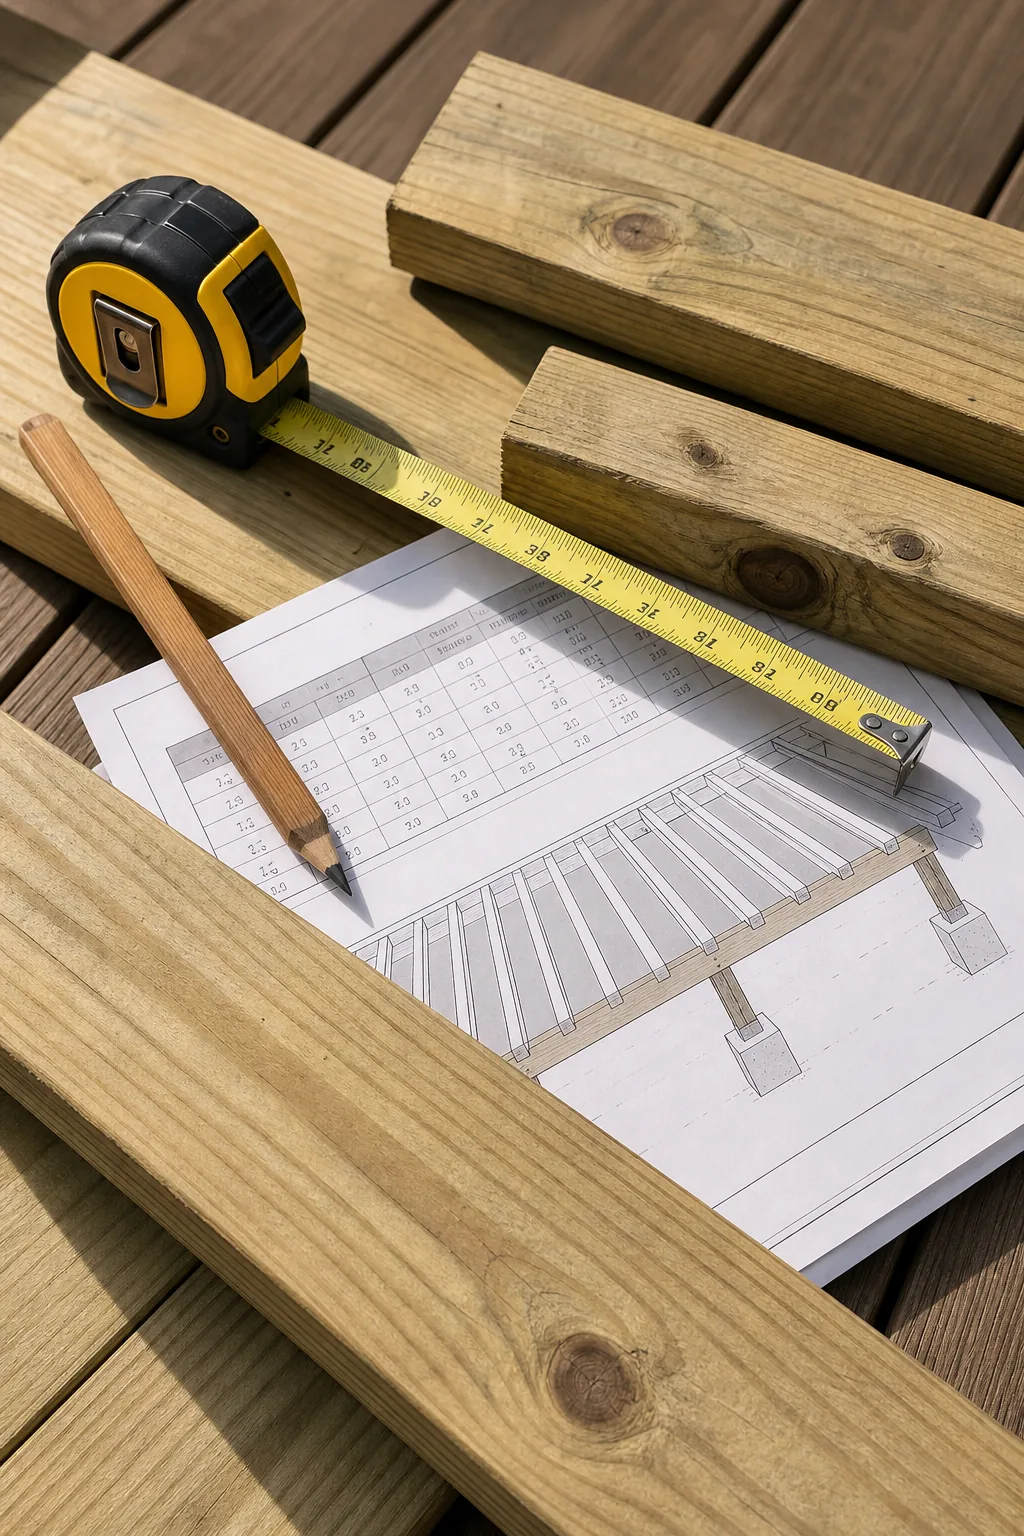
Before you purchase your expensive framing lumber or dig your very first footing hole, run your final design through this crucial structural pre-check. Verifying these exact measurements now prevents costly building inspector rejections and ensures your deck remains perfectly level.