
Plan the Perfect Birthday Table: Layout & Spacing Blueprint
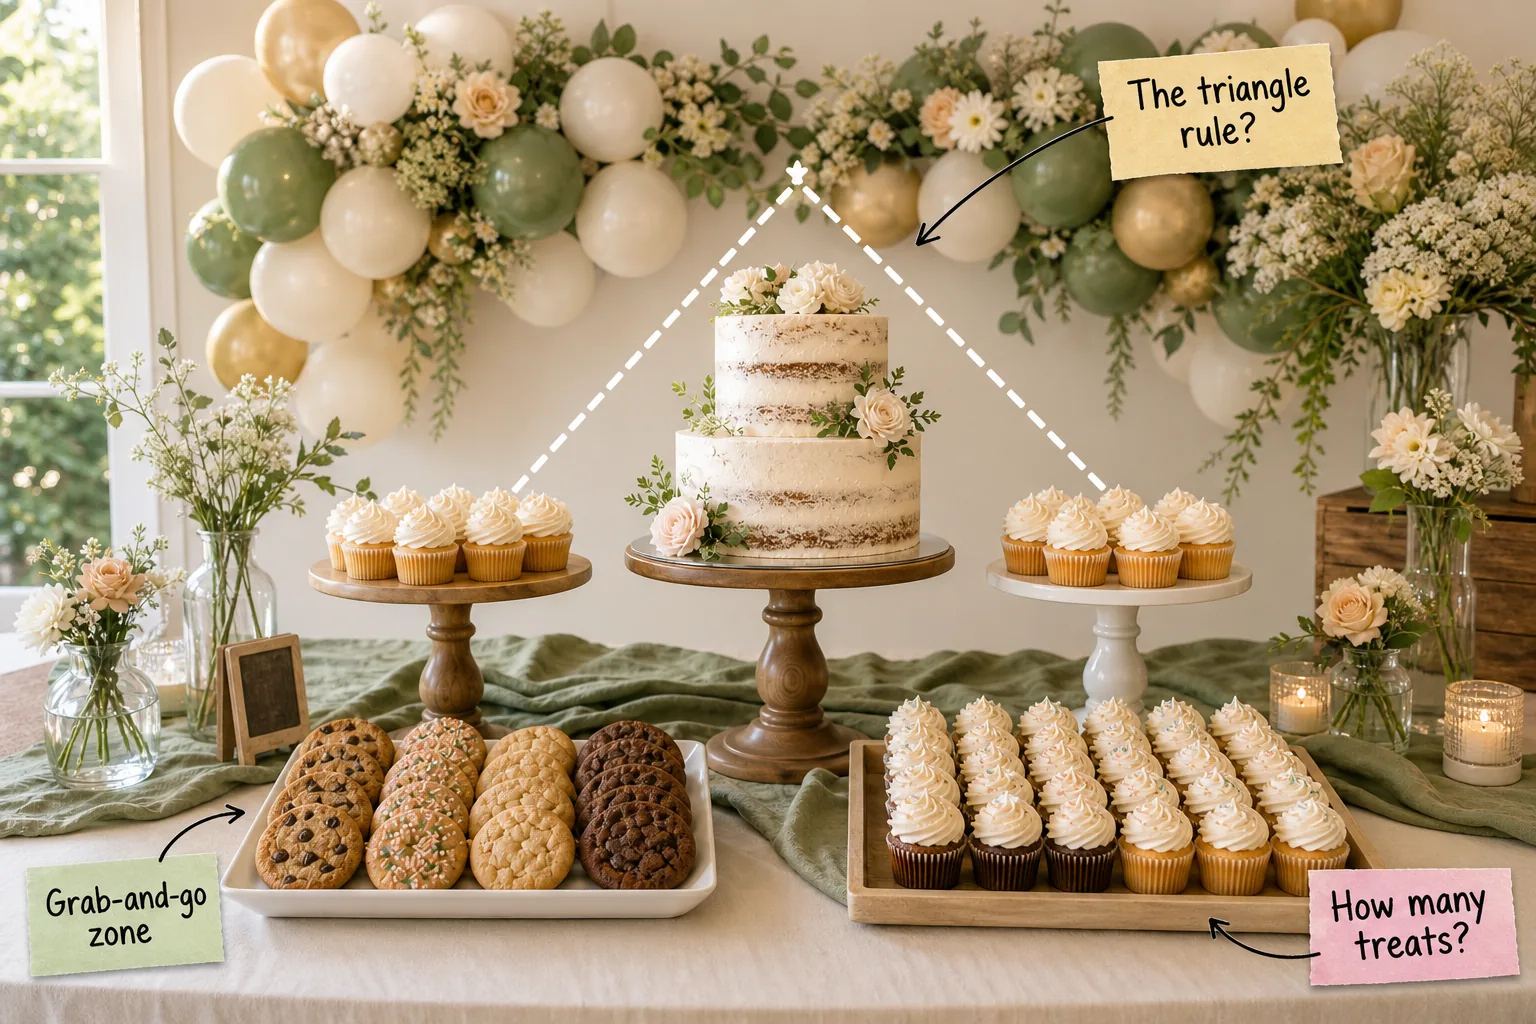
Design a stunning birthday display with our complete dessert table blueprint and spacing guide. You will be able to arrange a balanced, professional-looking setup using exact spacing measurements, varied pedestal heights, and precise treat calculations that guarantee an abundant presentation.
Setting the Eye-Level Backdrop
An effective eye-level backdrop frames the entire display without being obscured by your tallest centerpiece. Suspend the bottom edge of your floral or balloon garland exactly 12 to 18 inches above the table surface to maintain clear sightlines and highlight the desserts.
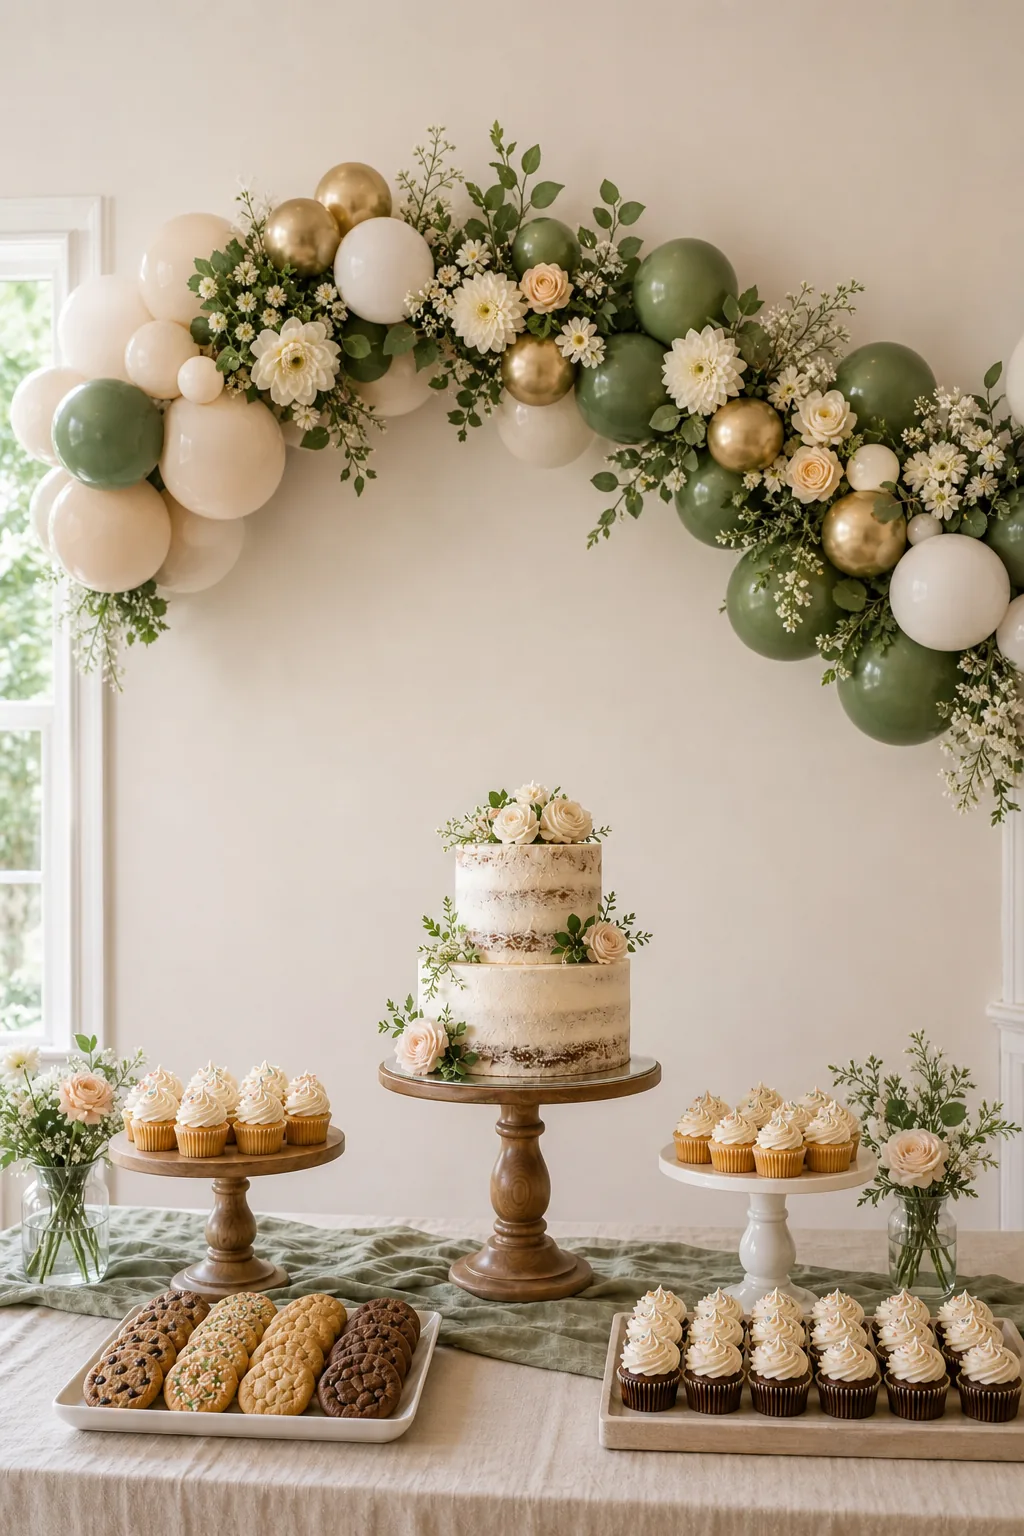
Getting this exact vertical clearance right often requires a quick visual check once your main cake is placed on the board. You want the garland to hover just above the highest decorative peak without awkwardly overlapping the top tier.
Securing Garland Mechanics
A heavy balloon or floral installation requires a highly stable structural support system to prevent sagging into the dessert zone. Distribute the weight evenly across the wall using dedicated anchors that remain completely invisible to your party guests.
- Attach clear heavy-duty mounting hooks every 24 inches along the intended arch path.
- Tie the garland backbone to the hooks using flexible 20-pound clear fishing line.
- Tuck smaller five-inch filler balloons into the gaps to hide the mounting hardware.
- Secure any loose hanging floral stems with discreet clear miniature zip ties.
- Keep all trailing ribbons at least six inches away from open candle flames.
Testing the anchor strength before adding delicate desserts below ensures that a sudden structural shift will not crush your carefully frosted cupcakes. A falling backdrop can easily topple fragile glass pedestals, completely ruining hours of meticulous styling work.
Anchoring with the Triangle Rule
Professional event planners rely on the triangle rule to organize the display and naturally guide the guest’s eye. This invisible geometric slope starts at a high central peak and steps down gradually toward the outer edges of the table.
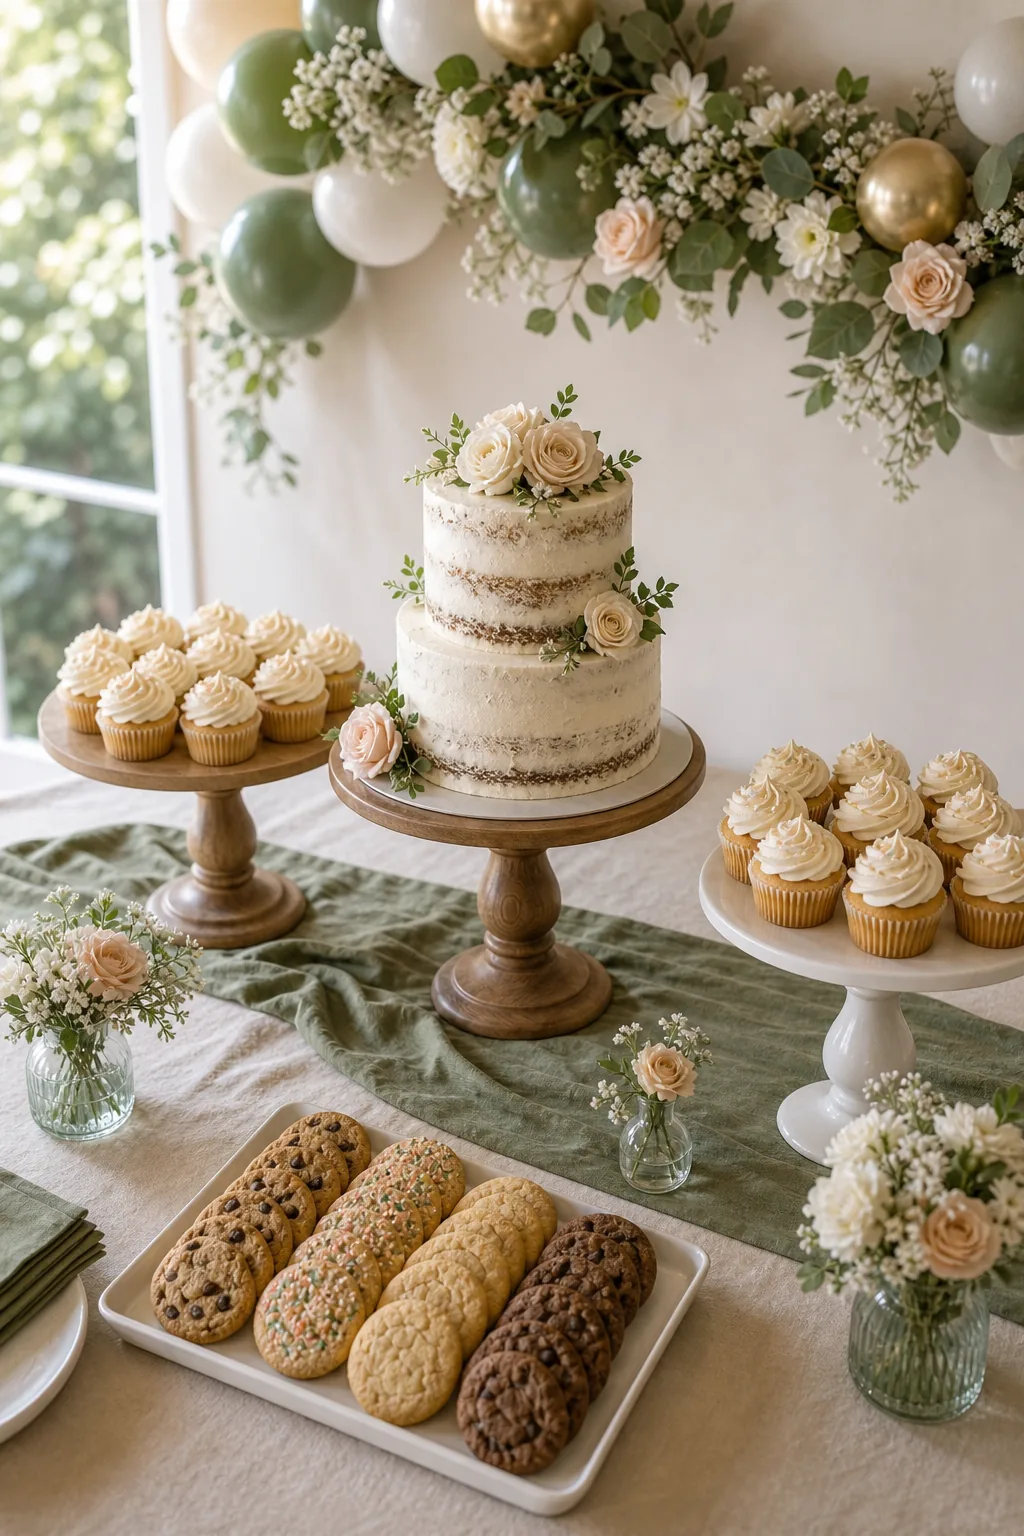
Building this calculated slope ensures that every single dessert gets noticed. When guests approach the display, their eyes naturally start at the highest point and comfortably sweep down to the smaller treats arranged on the perimeter.
Establishing Symmetry Across the Table
Maintaining strict symmetry on both sides of your central peak creates a calming visual rhythm. When you place a tall wooden stand on the left, immediately mirror it with a stand of identical height and similar visual weight on the right side of the table.
Choosing the Centerpiece Cake
The central cake acts as the primary focal point that establishes your triangle’s highest peak. A standard two-tier cake placed on a sturdy pedestal typically reaches the ideal 12 to 14-inch total height required for maximum visual impact.
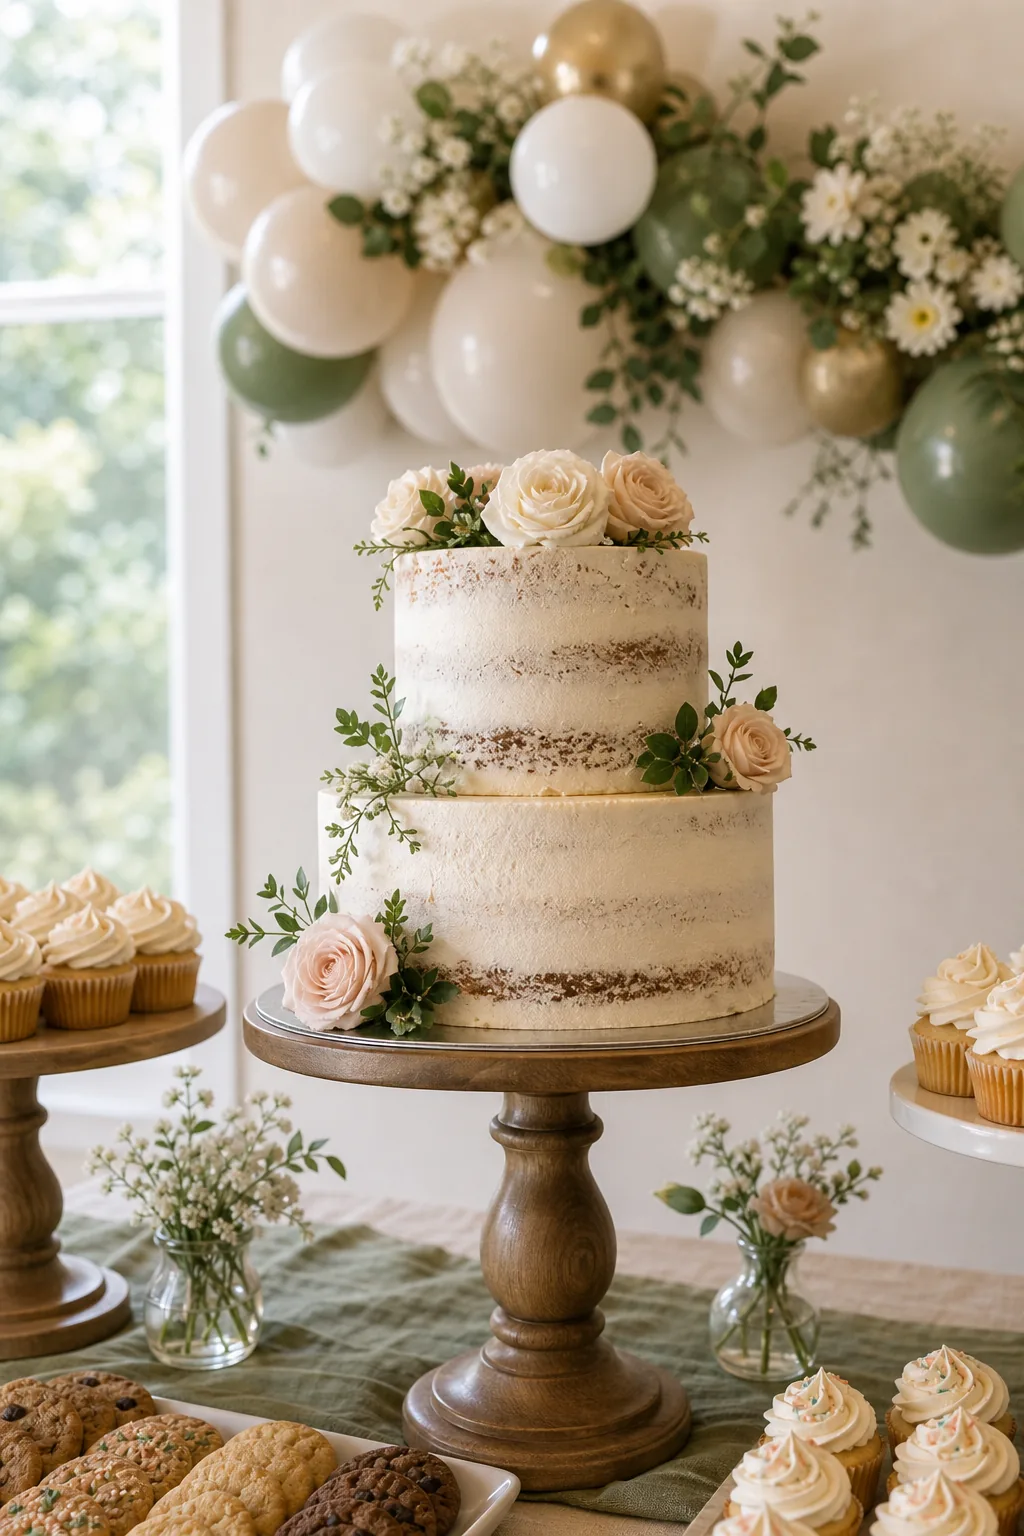
If your birthday cake is a single, shorter tier, you must use a significantly taller foundational stand to artificially boost it. Elevating a small cake to that crucial 14-inch visual apex ensures it remains the undisputed star.
Standard Cake Stand Dimensions
Selecting the correct pedestal combinations ensures your layout steps down mathematically without awkward empty gaps. Use this standard sizing chart to accurately pair your cake tier sizes with appropriate base widths and necessary elevations.
| Stand Role | Base Diameter | Elevation Height | Best Used For |
|---|---|---|---|
| Center Anchor | 10 to 12 inches | 8 to 10 inches | Two-tier main cakes |
| Mid-Level Flank | 8 to 10 inches | 5 to 6 inches | Single-tier cakes |
| Low Flank | 6 to 8 inches | 3 to 4 inches | Stacked cookies |
| Accent Riser | 4 to 6 inches | 2 to 3 inches | Macaron towers |
| Front Tray | 12×18 inches | Flat (0 inches) | Miniature cupcakes |
| Corner Bowl | 8 to 10 inches | Flat (0 inches) | Wrapped candies |
Matching the diameter of the stand directly to the cake board prevents overhanging edges. Meanwhile, combining these varied elevations naturally builds the necessary sloping geometry that makes the entire dessert table look professionally styled.
Layering with Varying Stand Heights
Stepping down gracefully from the centerpiece requires flanking pedestals with varying stand heights. Position the immediate side stands exactly 3 to 5 inches shorter than the central peak to maintain an obvious, pleasing downward slope.
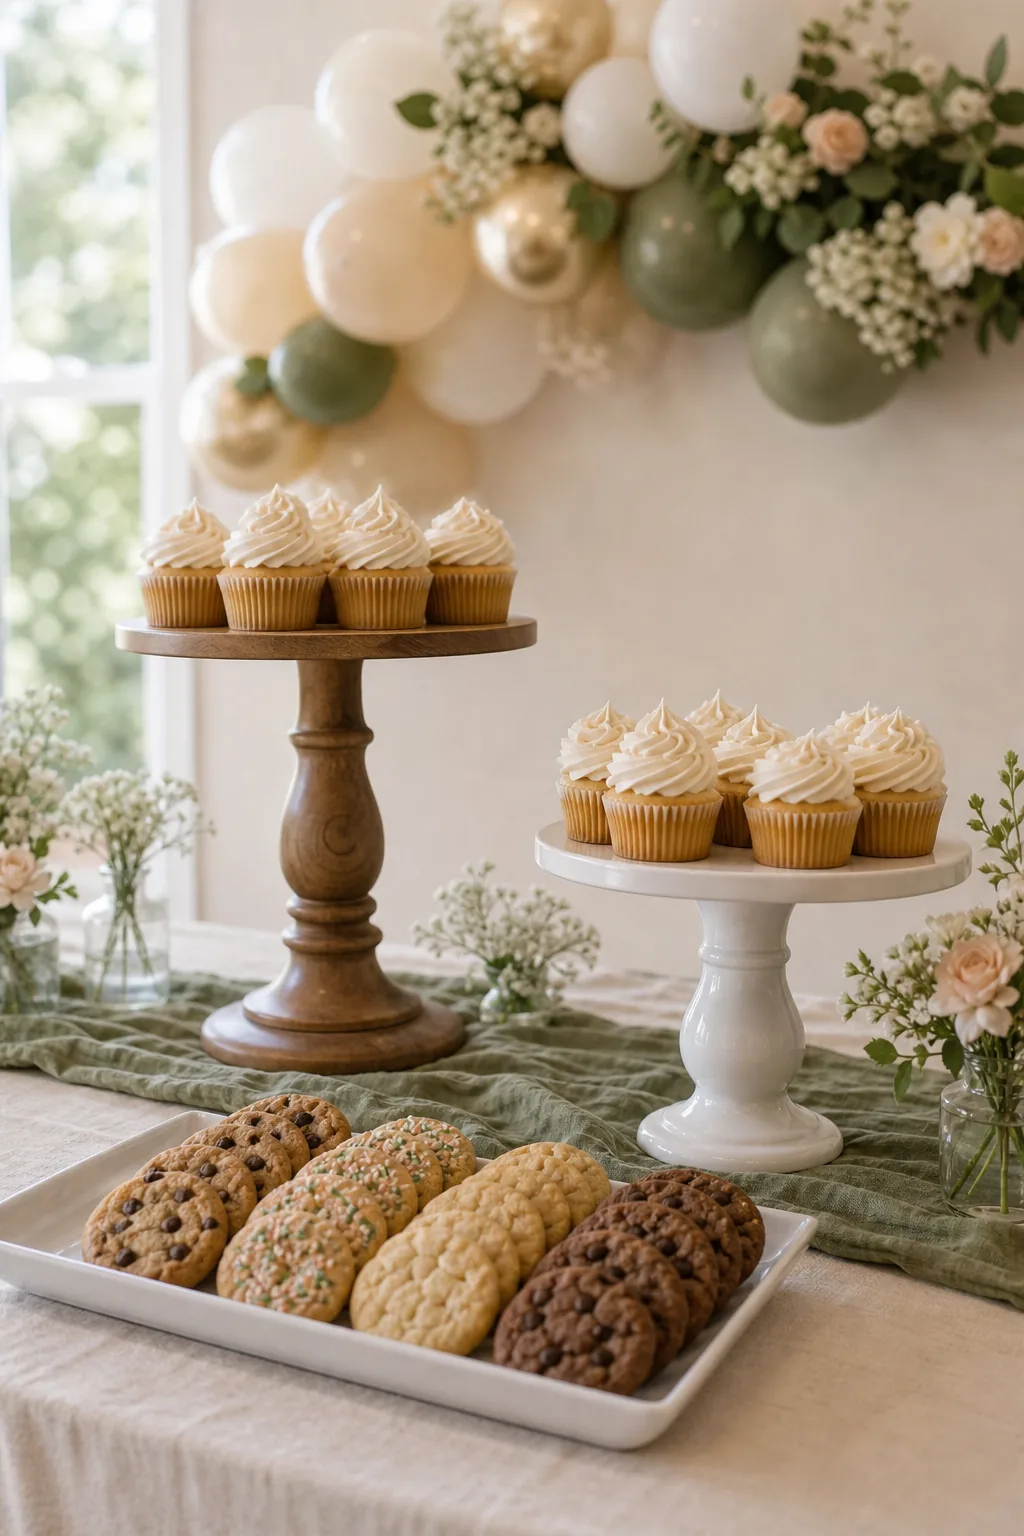
Dropping the side height too drastically creates an awkward empty void in the display. Conversely, keeping all the stands at identical elevations forces items to hide behind each other, making it difficult for guests to see the back row.
Balancing Visual Weight Across Tiers
Once the pedestals are set, distribute the darkest frosting colors and heaviest textures symmetrically across the left and right flanks. Placing all dense chocolate items on one side will make the carefully measured triangle feel visually lopsided and unstable.
Creating the Grab-and-Go Zone
Dedicate the front 10 to 12 inches of the table entirely to a flat grab-and-go zone. This primary access area allows guests to easily reach small, crumb-heavy items without awkwardly leaning over your delicate centerpiece decorations.
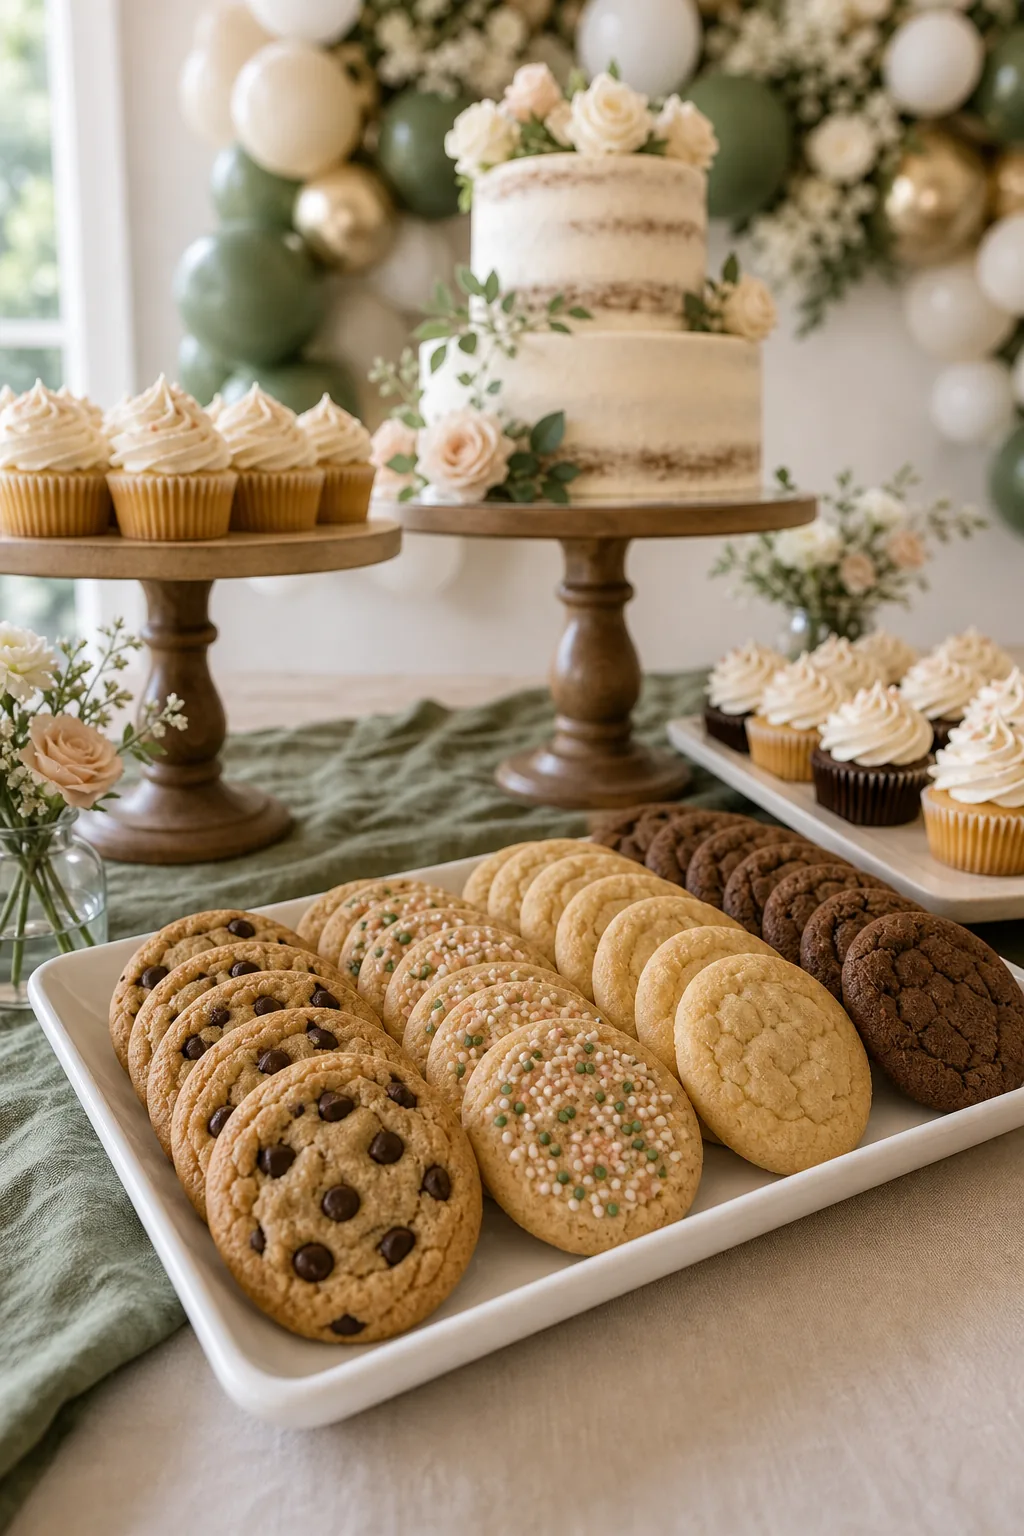
Restricting this forward edge strictly to low platters ensures that enthusiastic children and distracted adults can serve themselves safely. They will not accidentally knock over the tall, heavy glass pedestals positioned in the back row.
Managing Crumb Containment
Positioning messy desserts exclusively in the front zone prevents loose crumbs from scattering across the entire table linen. Guests can quickly transfer powdered cookies directly to their plates without dragging debris over the pristine cake stands behind them.
Calculating Treat Quantities
Knowing exactly how many treats to bake prevents both empty platters and excessive leftovers. The standard professional formula requires 3 to 4 mini treats per guest, completely in addition to the main centerpiece cake.
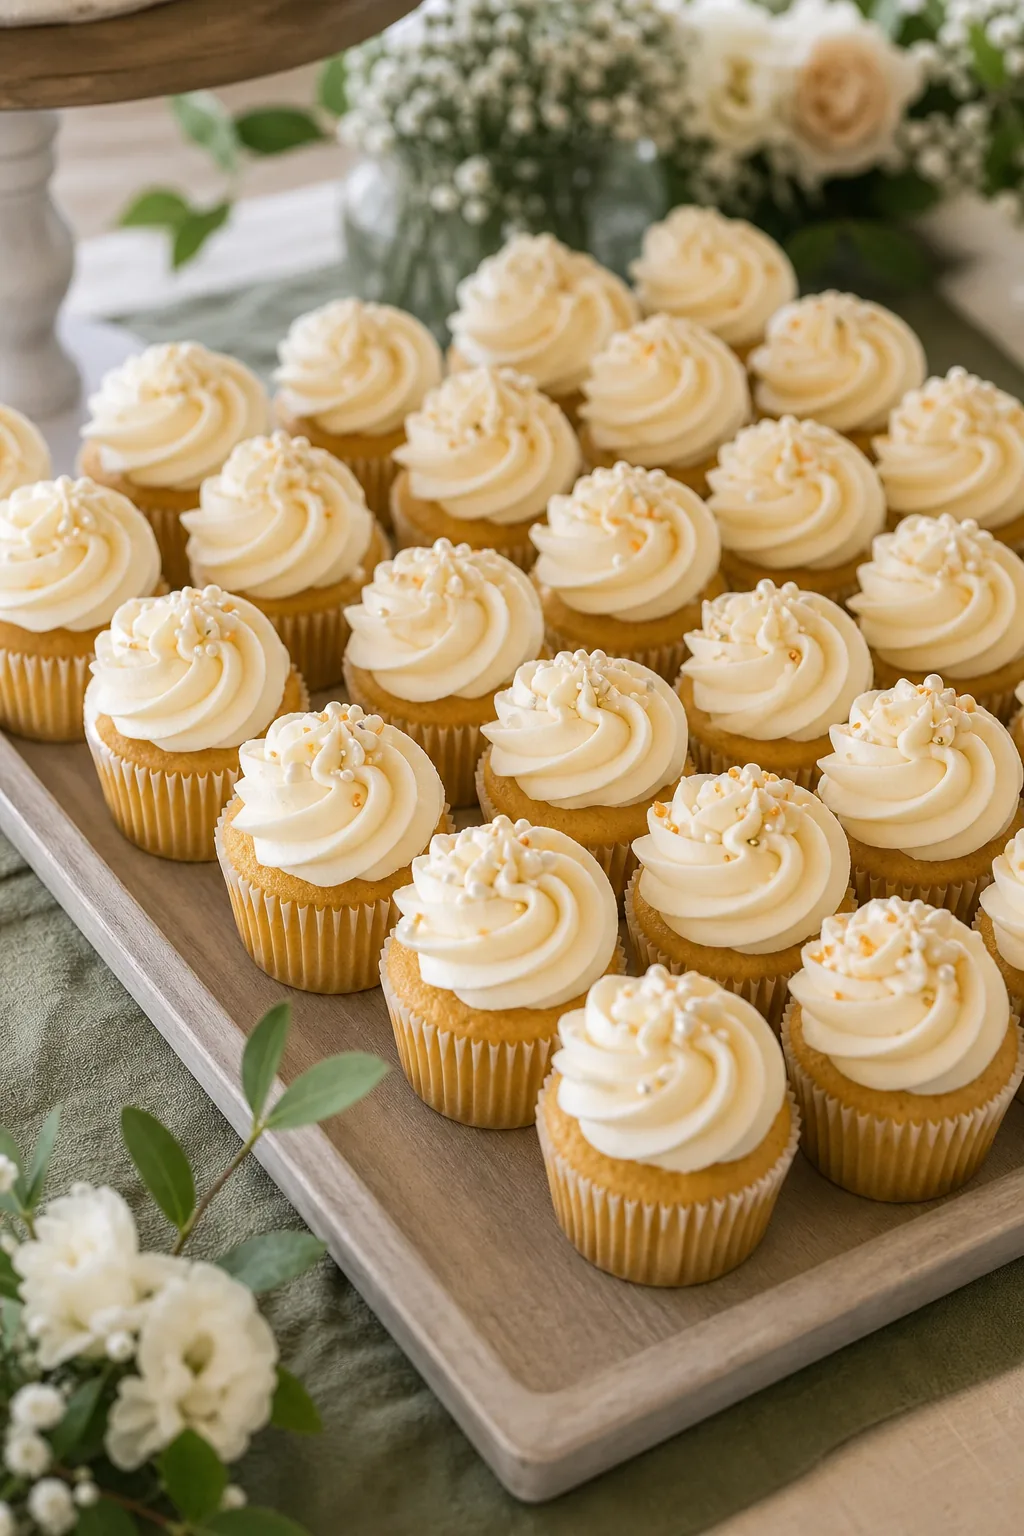
Packing these mini portions tightly together on your serving platters creates a feeling of overwhelming abundance. This dense arrangement eliminates sad, empty gaps and makes the dessert table look lavish, expensive, and fully stocked.
Scaling for Larger Guest Counts
When hosting more than thirty guests, a single six-foot table cannot comfortably hold the required volume of mini treats. You must expand the display horizontally to accommodate the extra platters without breaking your carefully planned layout.
- Add a matching secondary table directly beside the main setup to double the surface area.
- Replicate the central triangle rule independently on the second table to maintain harmony.
- Shift all bulk beverage dispensers to a separate station to protect the desserts.
- Provide a dedicated stack of dessert plates at the far left edge of both tables.
- Place all wrapped takeaway favor boxes on a completely separate exit console.
Dividing the crowd across multiple structured zones heavily reduces guest congestion. It ensures the meticulously spaced pedestals remain highly visible and completely safe from jostling elbows during the busiest moments of the birthday party.
Selecting Platter Shapes
Mixing round elevated pedestals with flat rectangular trays maximizes your available surface area. Rectangular trays sit perfectly flush against the straight table edge, immediately reclaiming the negative space that round plates typically waste.
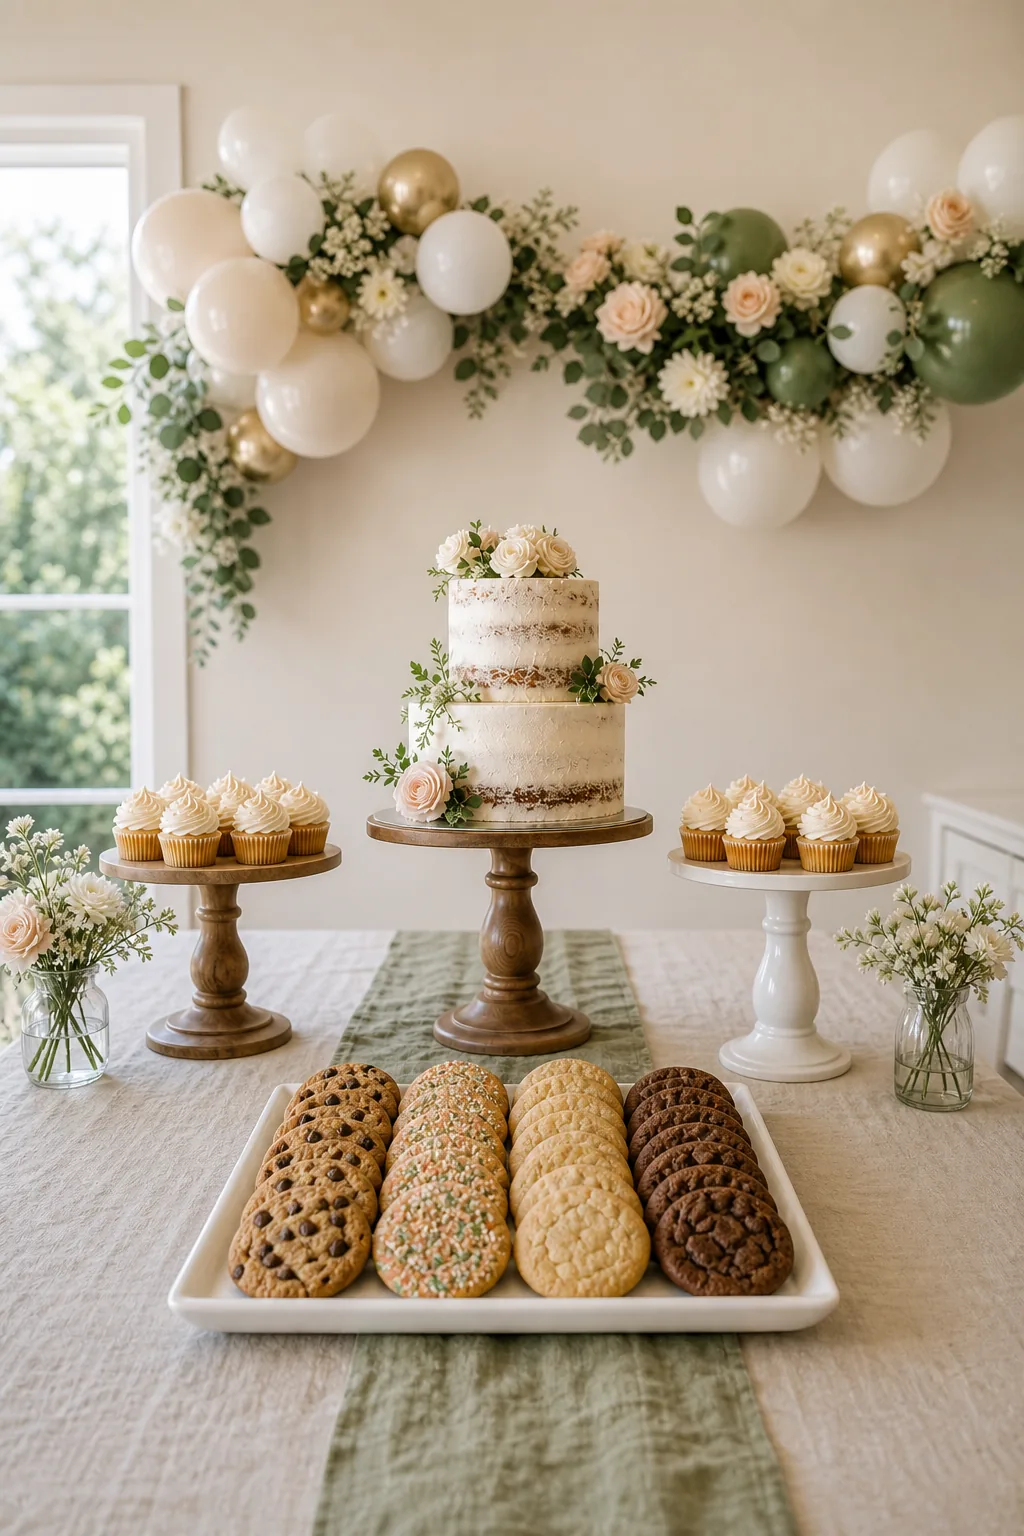
By utilizing these hard angles in the front row, a standard rectangular tray holds up to 30 percent more cookies than a similarly sized round plate. This simple swap significantly boosts your table’s holding capacity.
Layering Front Row Textures
To keep the flat front zone visually interesting, alternate between smooth frosted cookies and highly textured items like coconut macaroons. Mixing these textures gives the grab-and-go zone a professional bakery finish and prevents the rectangular trays from looking monotonous.
The Dessert Table Blueprint and Spacing Guide
Finalize your layout using the complete dessert table blueprint and spacing guide. Leave exactly 4 to 6 inches of breathing room between pedestal bases, and keep all food at least 6 inches away from the back edge.
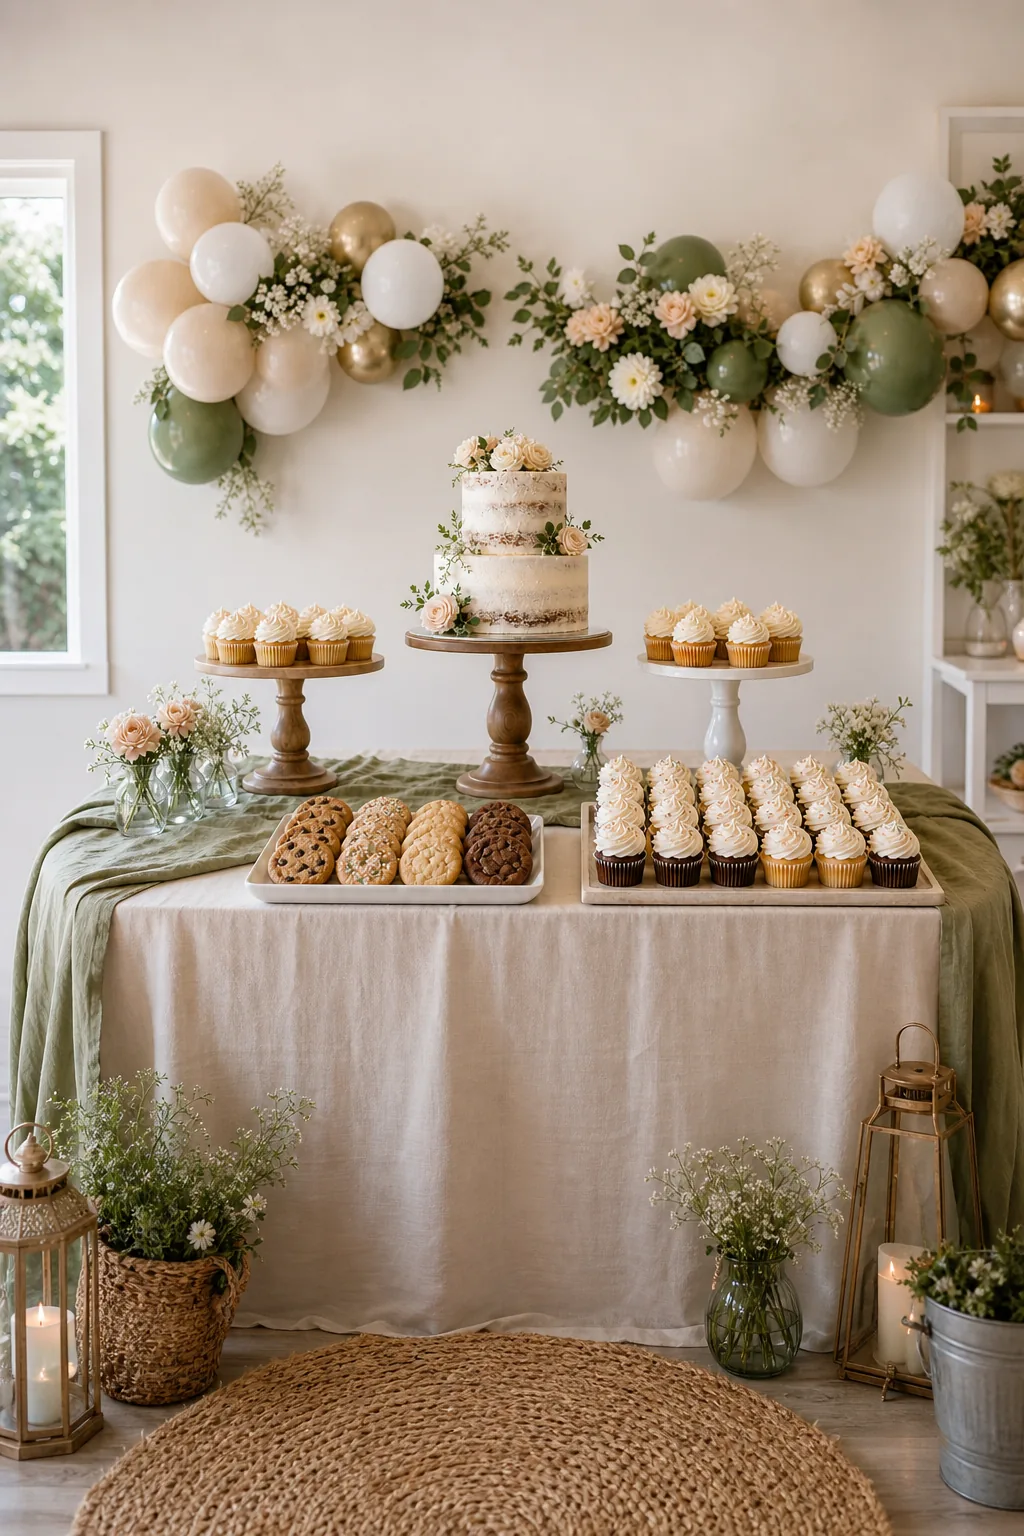
Before bringing any perishable frosting out of the refrigerator, set up your empty stands. Run through this final spatial check to guarantee perfectly balanced proportions and ensure every single treat has a designated home.