
Designer No-Carve Pumpkin Guide: Pressed Leaves & Chalk Paint
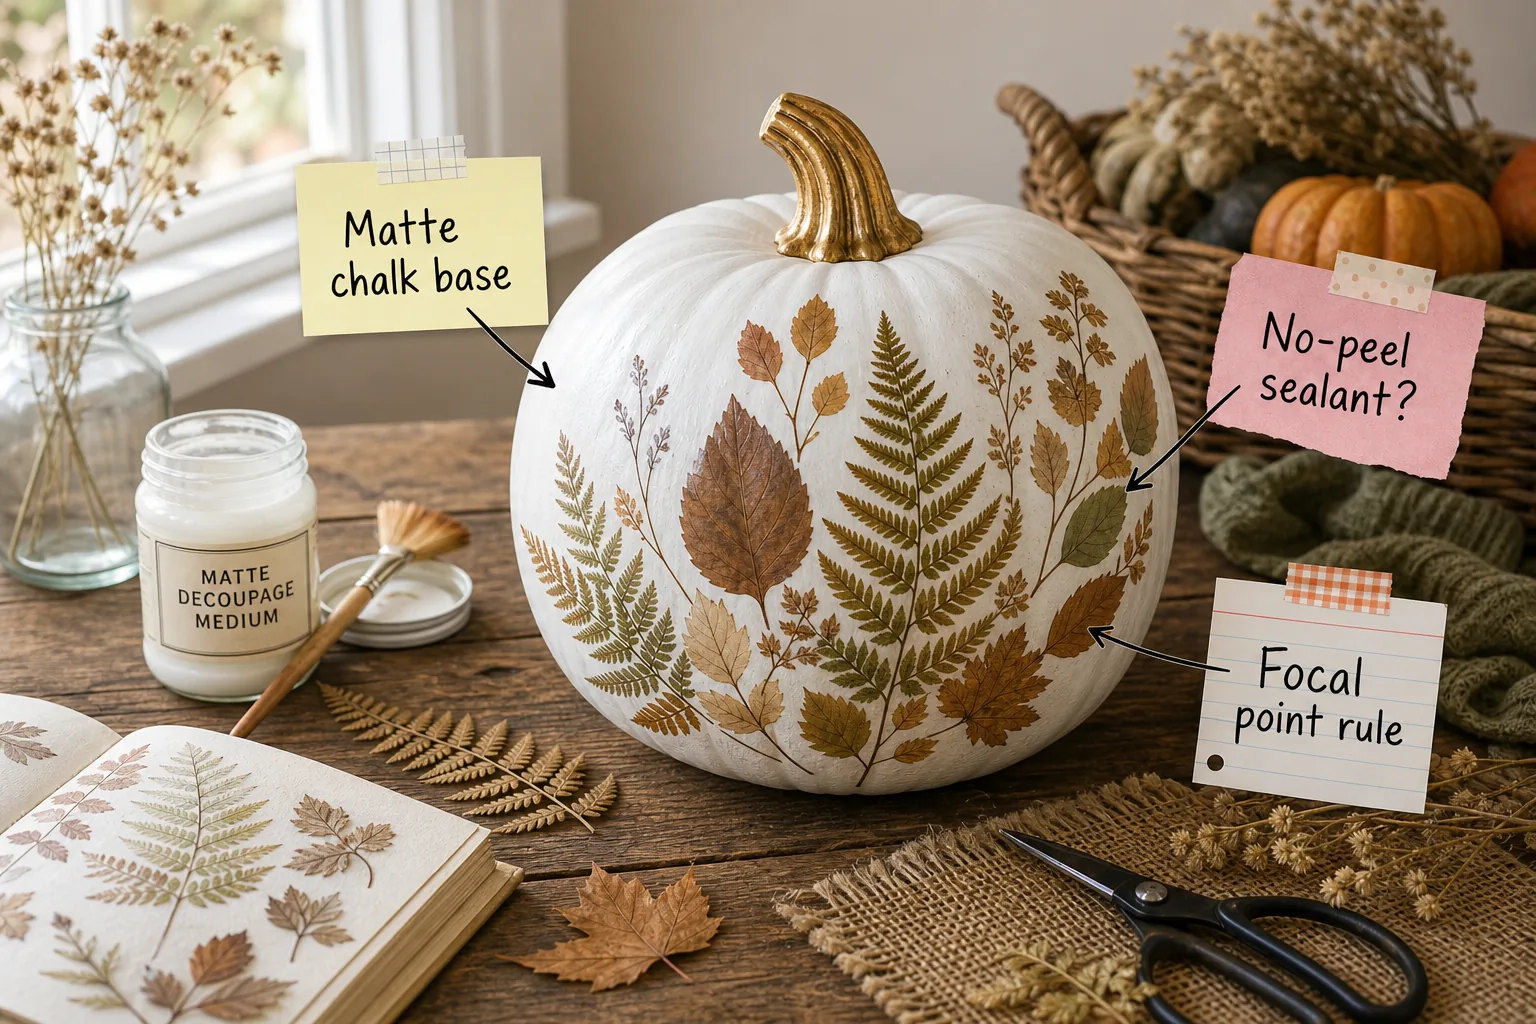
Get ready to master the art of designer no-carve pumpkins with this complete step-by-step pressed leaf tutorial. You will be able to paint, decorate, and weather-seal a stunning botanical centerpiece using our complete no-carve pumpkin decorating guide and weatherproof supply list.
The Complete Weatherproof Supply List
Building a durable outdoor display requires specific materials that can withstand autumn moisture and unpredictable temperature fluctuations. Gathering your tools in assembly order ensures a smooth, uninterrupted workflow once the delicate painting process begins.
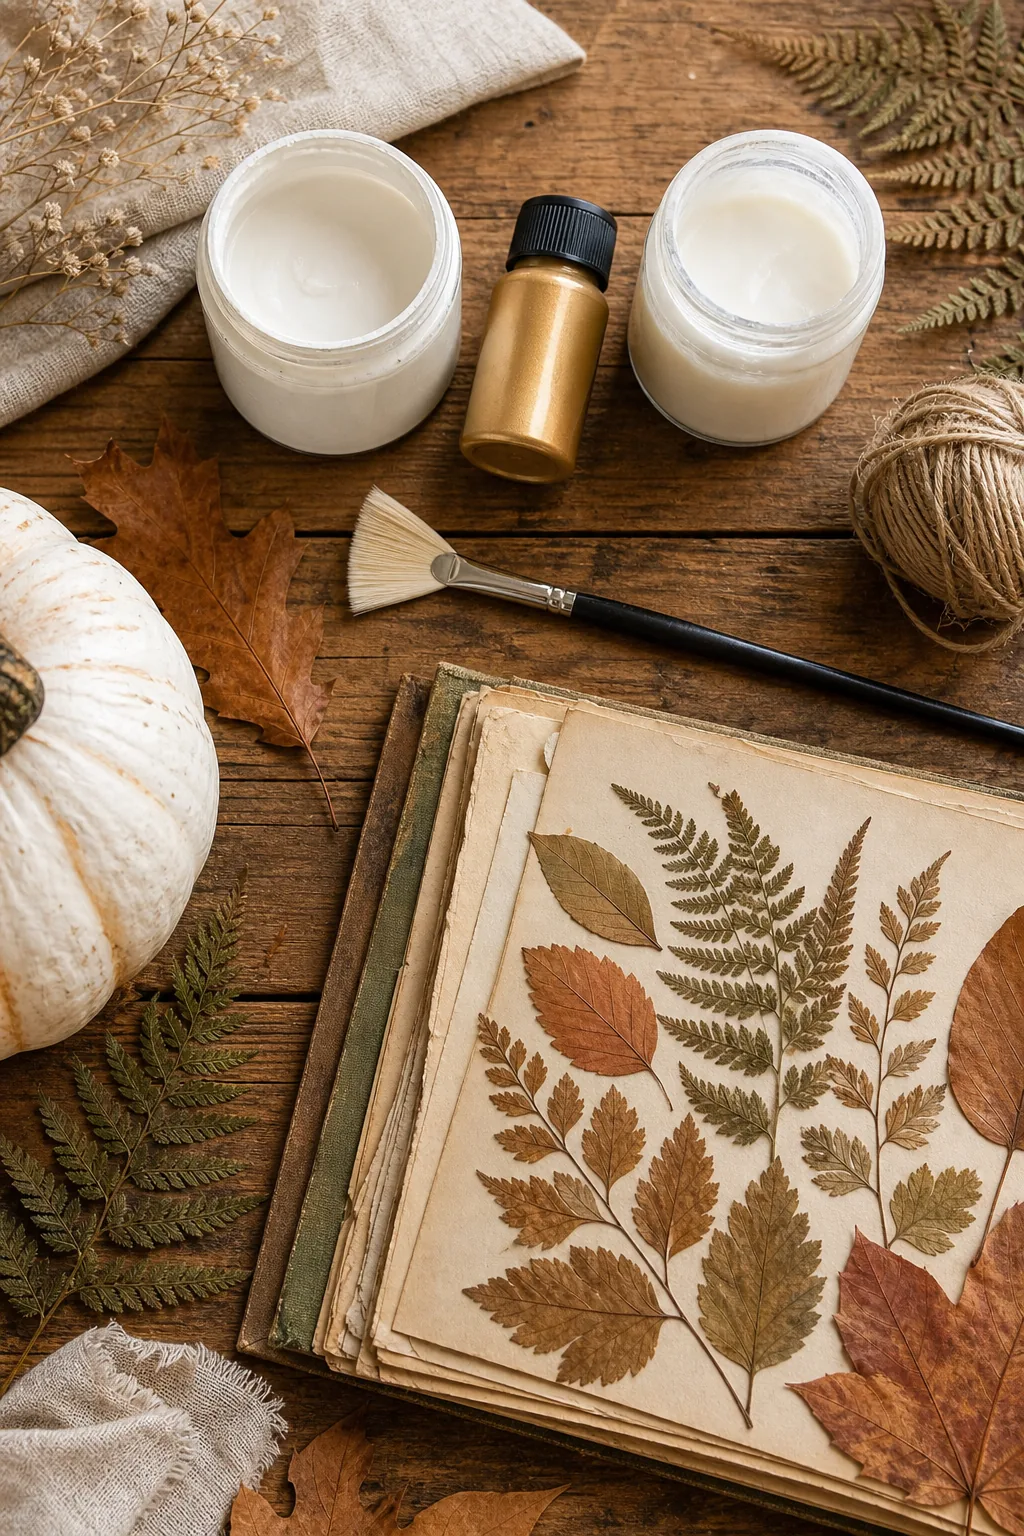
Before opening any paint containers, ensure you have these specific weather-resistant materials ready on your work table to prevent mid-project delays that could ruin the finish.
Calculating Your Material Quantities
Purchasing the correct volume of supplies prevents wasteful spending and ensures you have enough medium to fully coat your botanical design. Standard medium-sized pumpkins require specific minimum amounts for complete, opaque coverage across the entire grooved surface.
| Material Required | Volume Needed | Estimated Project Coverage |
|---|---|---|
| Matte Chalk Paint | 8 ounces | 2 medium pumpkins |
| Metallic Gold Acrylic | 2 ounces | 6 to 8 pumpkin stems |
| Matte Decoupage Medium | 4 ounces | 30 to 40 pressed leaves |
| Clear Acrylic Sealer | 1 standard can | 4 medium pumpkins |
Always verify that your decoupage medium explicitly states it is formulated for exterior use. Standard indoor craft glues will quickly rehydrate and turn cloudy when exposed to high outdoor humidity, ruining the design.
Prepping the Matte Chalk Base
Creating the matte chalk base requires applying two thin, even coats of paint to achieve a fully opaque, designer-quality foundation. Thick layers of paint will pool in the natural crevices of the pumpkin and crack as the temperature drops.
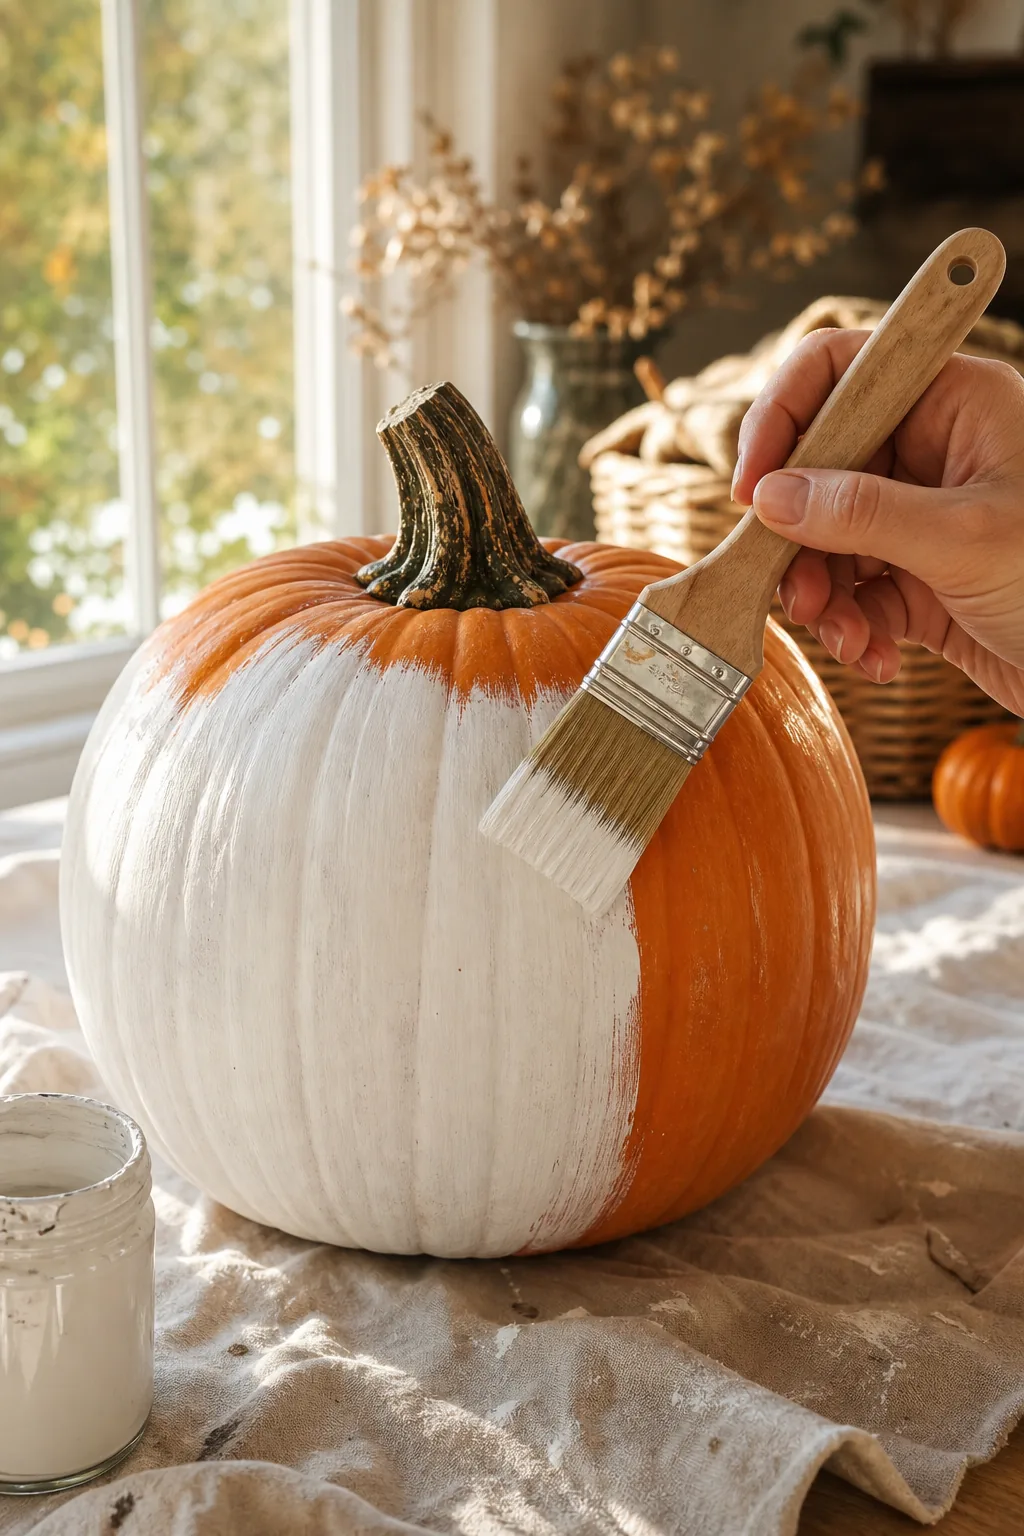
Allow exactly 30 minutes of drying time between each chalk paint layer to prevent your brush from pulling up previous strokes and creating an uneven, patchy surface.
Preventing Chalk Paint Texture Buildup
If your first coat of paint dries with visible brush strokes, gently buff the surface with a high-grit sanding block before applying the second layer. A perfectly smooth, unblemished base is critical for ensuring the delicate decoupage medium bonds securely to the rind.
The Gilded Stem Trick
Elevate your design using the gilded stem trick, which introduces a high-end metallic contrast against the soft, flat finish of the painted rind. This subtle detail transforms a basic craft project into a sophisticated, professional-looking centerpiece.
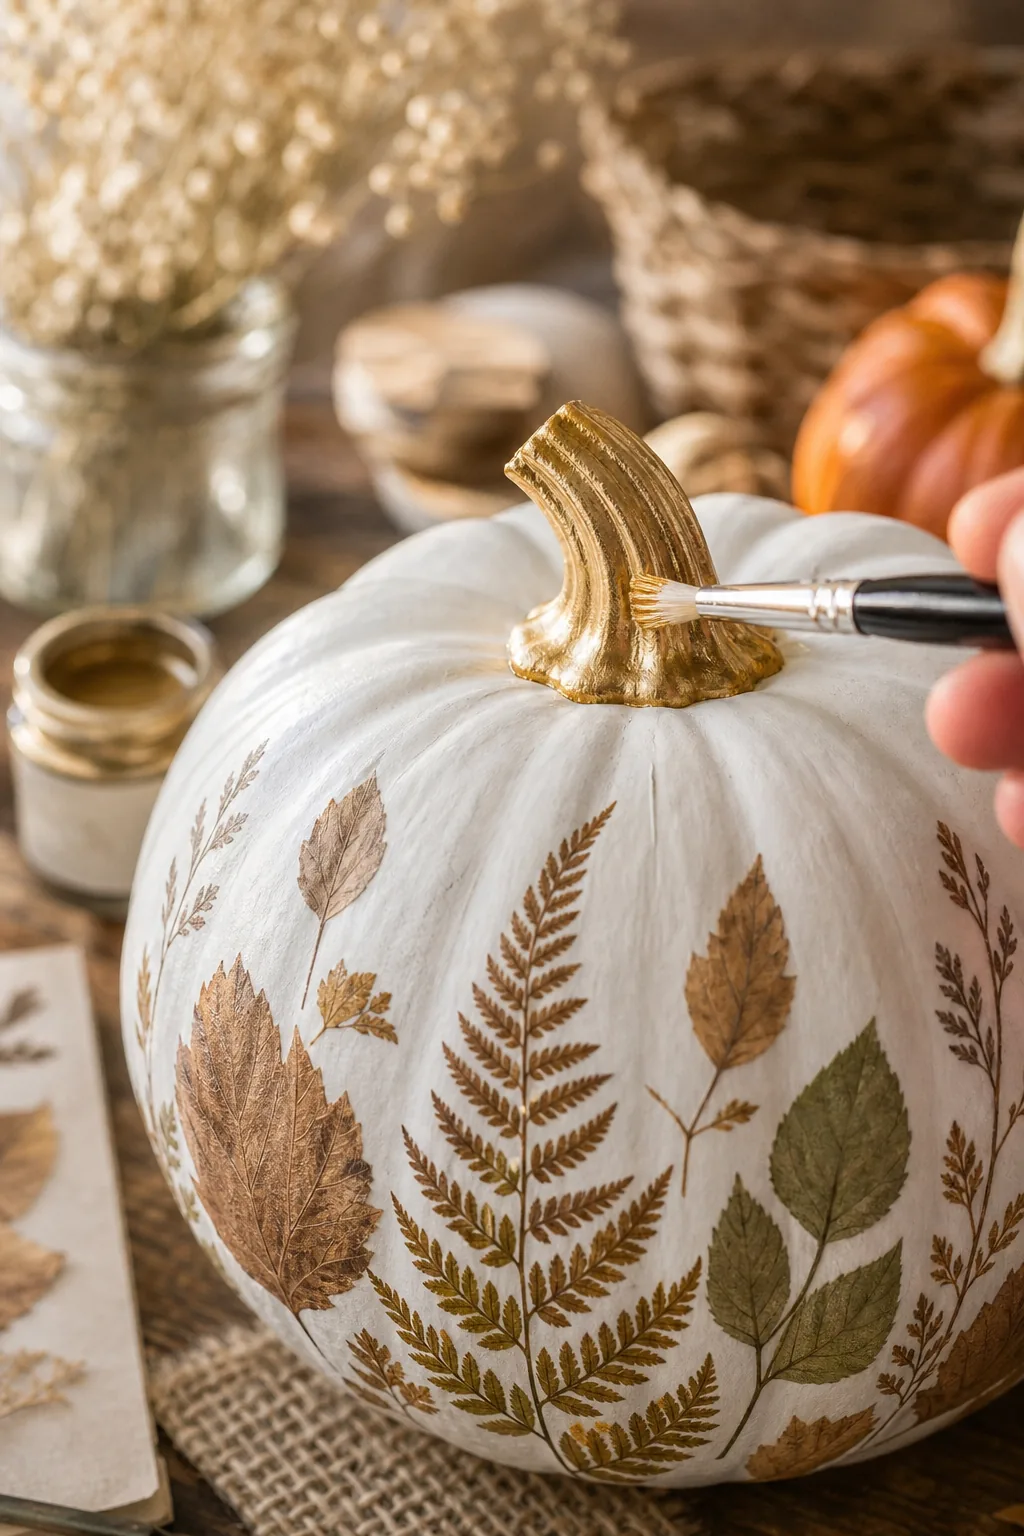
Use a small, firm detail brush to apply liquid gold leaf or metallic acrylic paint directly to the textured ridges of the stem, working slowly to maintain absolute control over the edges.
Establishing a Natural Transition Line
Leave a precise 1/8-inch unpainted gap at the very base of the stem where it meets the white pumpkin. This clean transition line mimics natural growth patterns and prevents the metallic gold paint from bleeding down onto your pristine matte chalk canvas.
Selecting the Pressed Leaf Motif
A successful pressed leaf motif relies entirely on utilizing botanicals that have been thoroughly flattened and dehydrated. Fresh leaves contain internal moisture that will cause the decoupage medium to rot from the inside out over time, destroying your hard work.
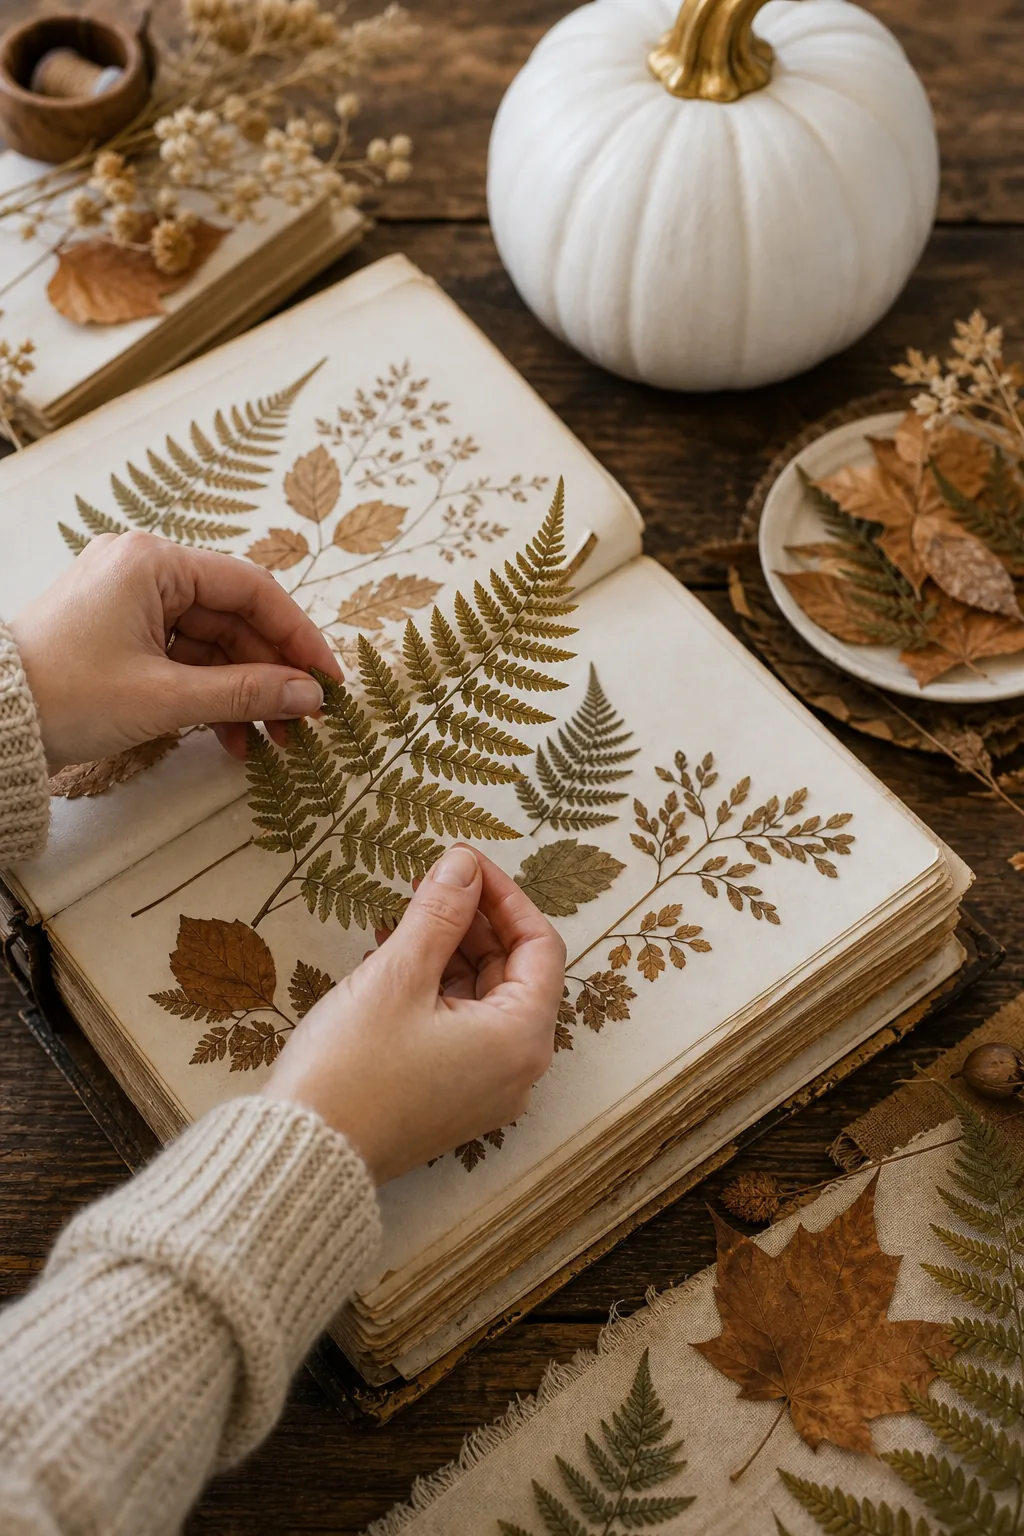
Carefully sort your dried ferns and autumn leaves by size and color, discarding any pieces that have curled edges, brittle stems, or tears that will snag on your brush.
Proper Pressing Times for Botanicals
If you are foraging your own foliage, you must prepare the leaves well in advance to ensure they lay perfectly flush against the curved pumpkin rind without springing back up.
- Place freshly gathered leaves flat between two sheets of highly absorbent parchment paper.
- Stack heavy textbooks evenly over the parchment to apply consistent, firm downward pressure.
- Leave the botanicals completely undisturbed for 5 to 7 days until fully dehydrated.
Store your fully cured botanicals in a rigid, airtight container away from direct sunlight until you are ready to begin the decoupaging process, protecting their fragile structure.
Applying the Focal Point Rule
Follow the focal point rule by concentrating the three largest, most visually heavy leaves on the front third of the pumpkin. This anchoring technique provides structural balance and prevents the arrangement from looking chaotic, cluttered, or visually overwhelming.
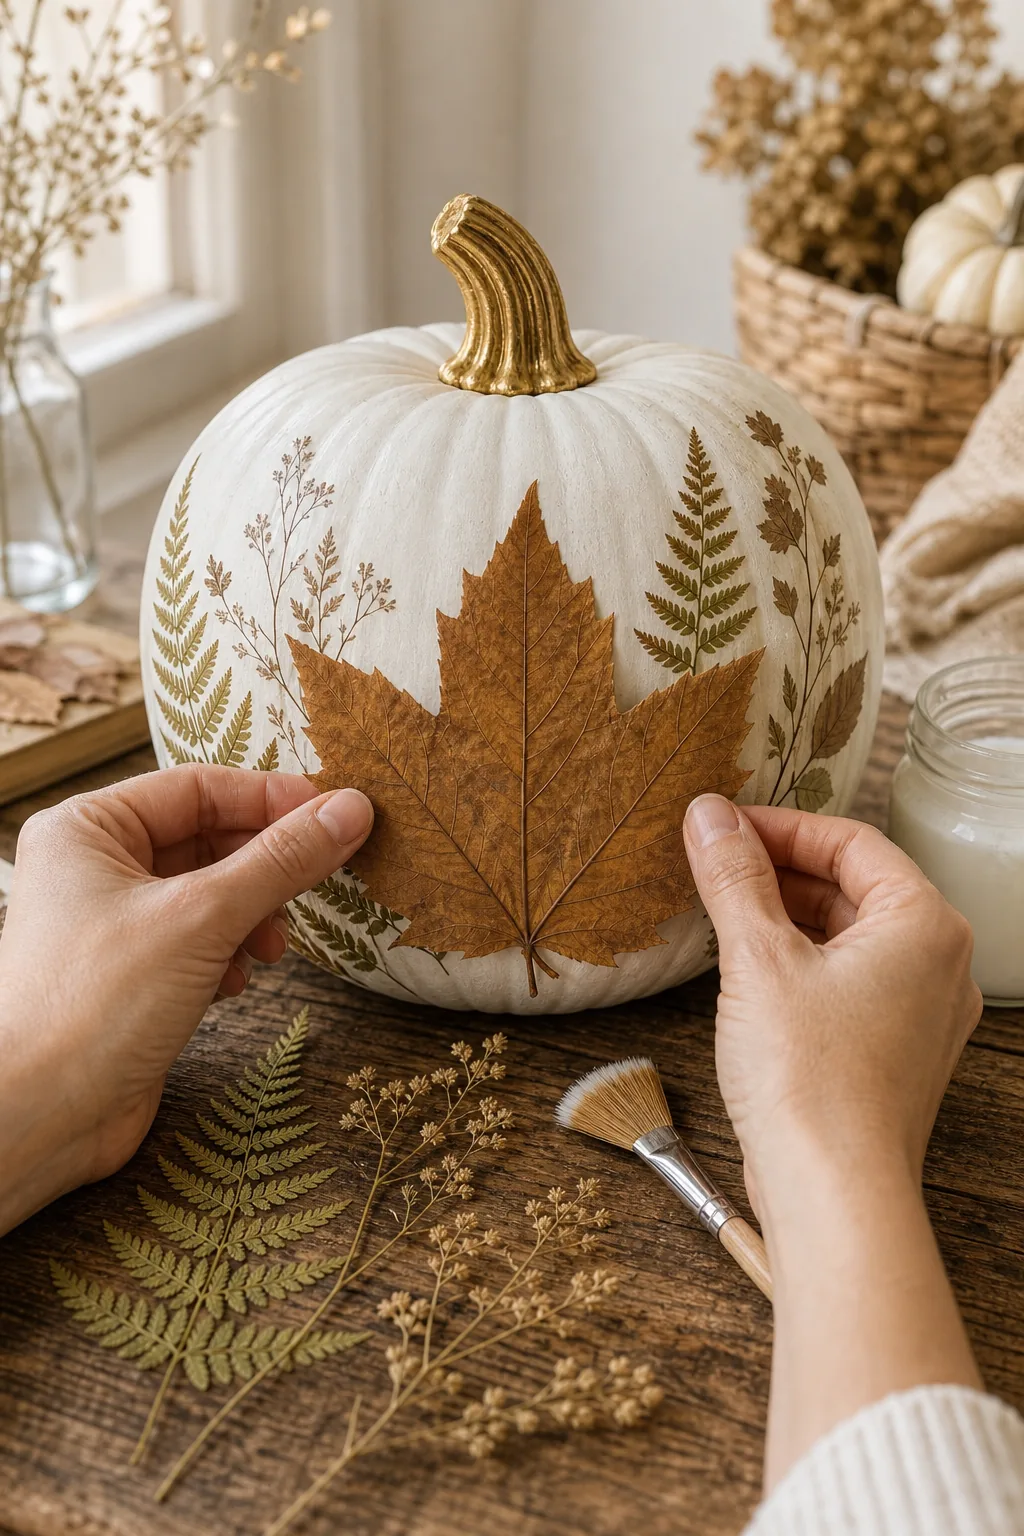
Step back frequently while arranging your primary leaves to ensure the design remains centered and visually appealing from your intended viewing angle before applying any permanent glue.
Trailing Secondary Ferns Outward
Once your main anchor leaves are glued firmly in place, gently trail smaller ferns and delicate botanical fragments outward toward the sides. This secondary layering technique creates a natural, organic flow that draws the eye around the entire circumference of the pumpkin.
Decoupaging the Botanicals
The decoupage process requires a delicate touch to avoid tearing the brittle plant matter. Apply a thin, translucent layer of matte medium directly to the pumpkin rind just beneath where the leaf will sit to create a tacky base.
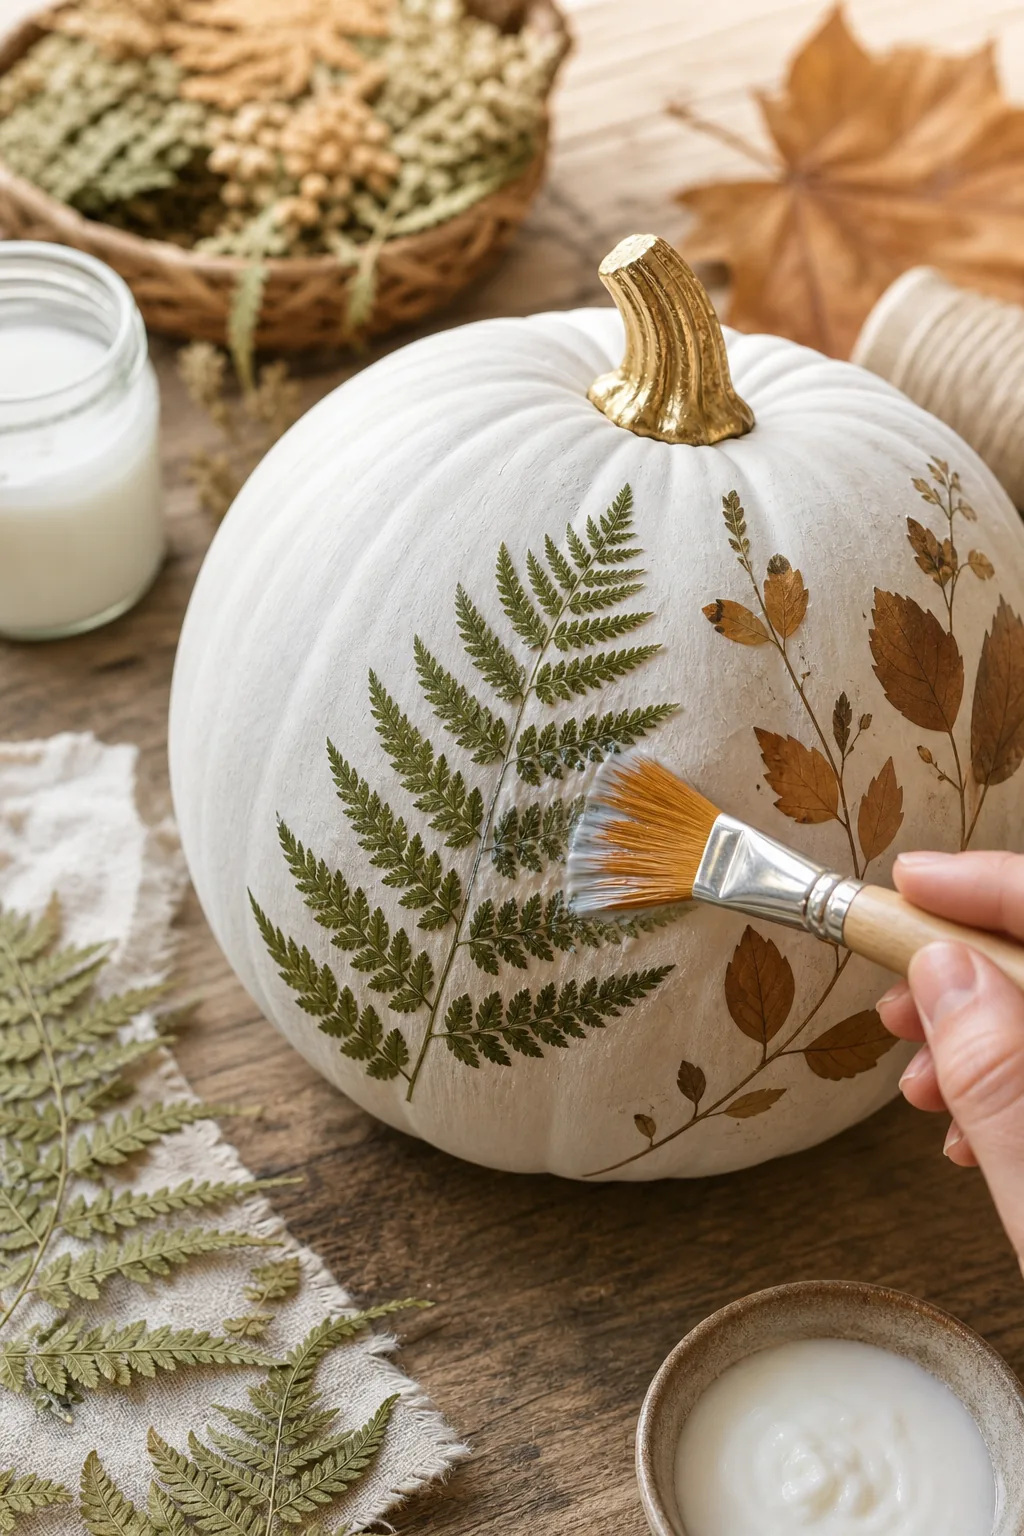
Press the leaf firmly into the wet medium using a soft-bristled brush, holding it gently in place for exactly 10 seconds to establish the initial bond without shifting the foliage.
Smoothing Air Bubbles Without Tearing
Immediately brush a second, slightly thicker layer of decoupage medium over the top of the adhered leaf. Work your brush gently from the center stem outward to the delicate edges to push out any trapped air bubbles without tearing the fragile foliage.
Choosing a No-Peel Sealant
To answer the vital no-peel sealant? question, you must finish the project with an exterior-grade matte clear acrylic spray. This specialized topcoat creates an invisible waterproof barrier that locks out autumn moisture and prevents the leaves from flaking off.
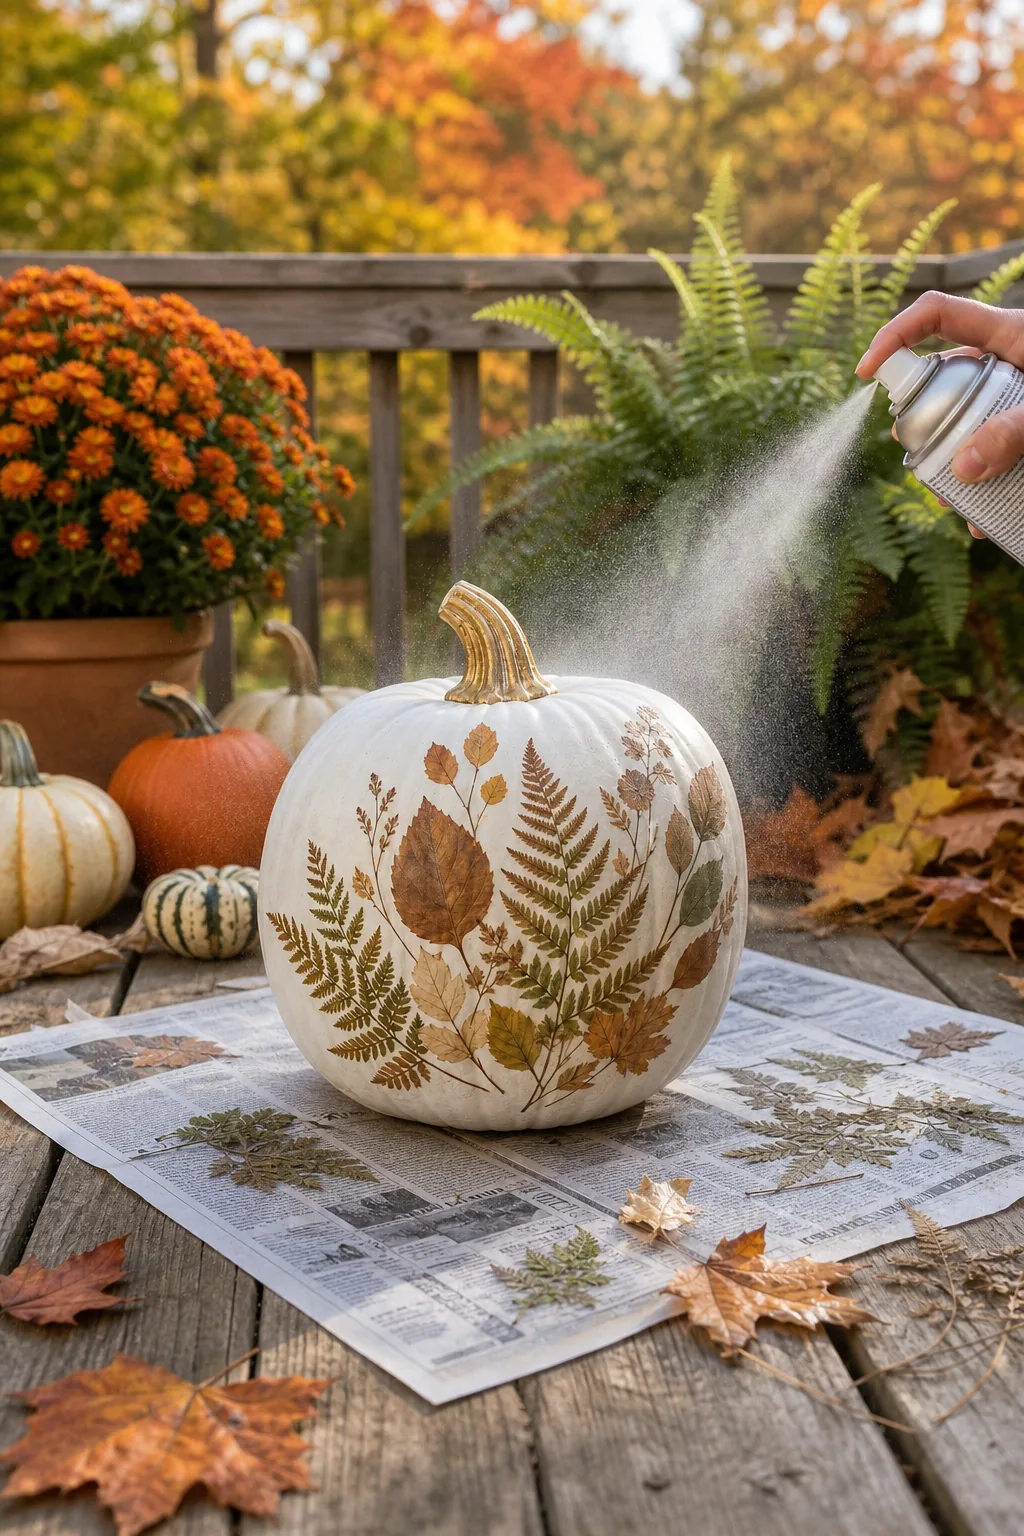
Hold the spray can 10 to 12 inches away from the surface and apply two light, sweeping coats rather than one heavy drenching, allowing five minutes between passes.
Avoiding Unwanted Glossy Finishes
Always double-check that your chosen acrylic sealant is explicitly labeled with a matte finish before spraying. Glossy or satin topcoats will create an artificial, plastic-like glare that completely ruins the natural, earthy aesthetic of your carefully arranged pressed botanical design.
Curing and Outdoor Display
Your decorated pumpkin needs a full 24 hours to cure in a dry, well-ventilated indoor space before it can withstand exterior elements. Rushing this curing phase will leave the sealant vulnerable to immediate water damage and premature peeling.
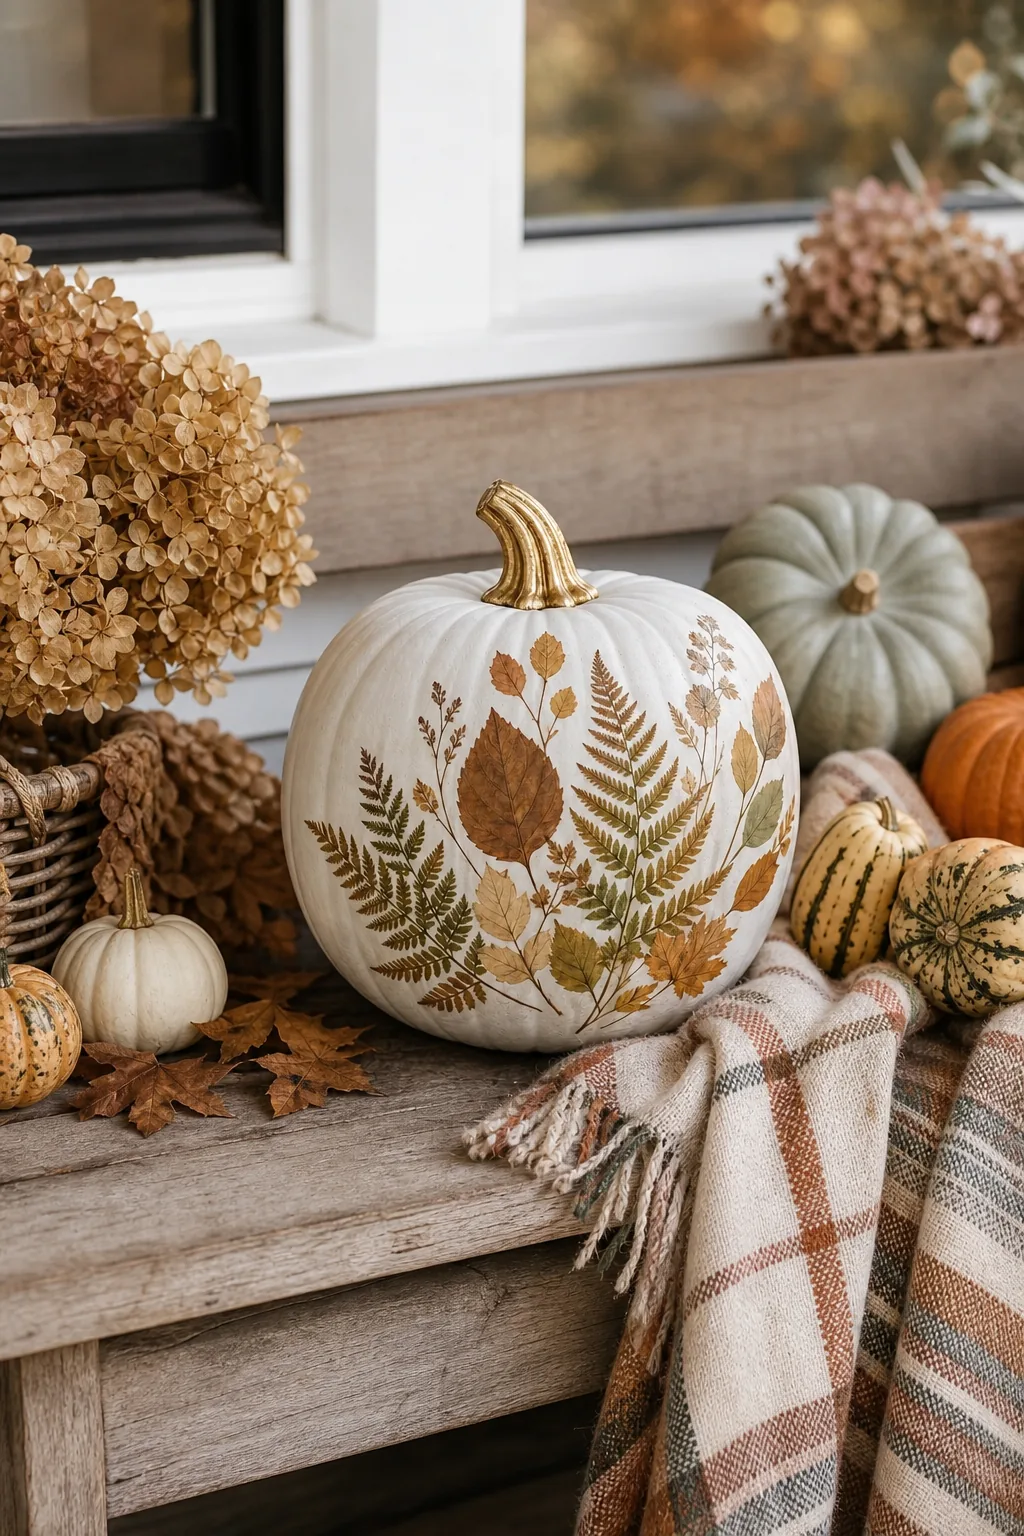
Even with a high-quality weatherproof sealant applied, proper placement is absolutely crucial to keep your botanical design intact and vibrant all the way through the end of November.