
Flawless Garden Edging: The v-Trench Method and Measurement Guide
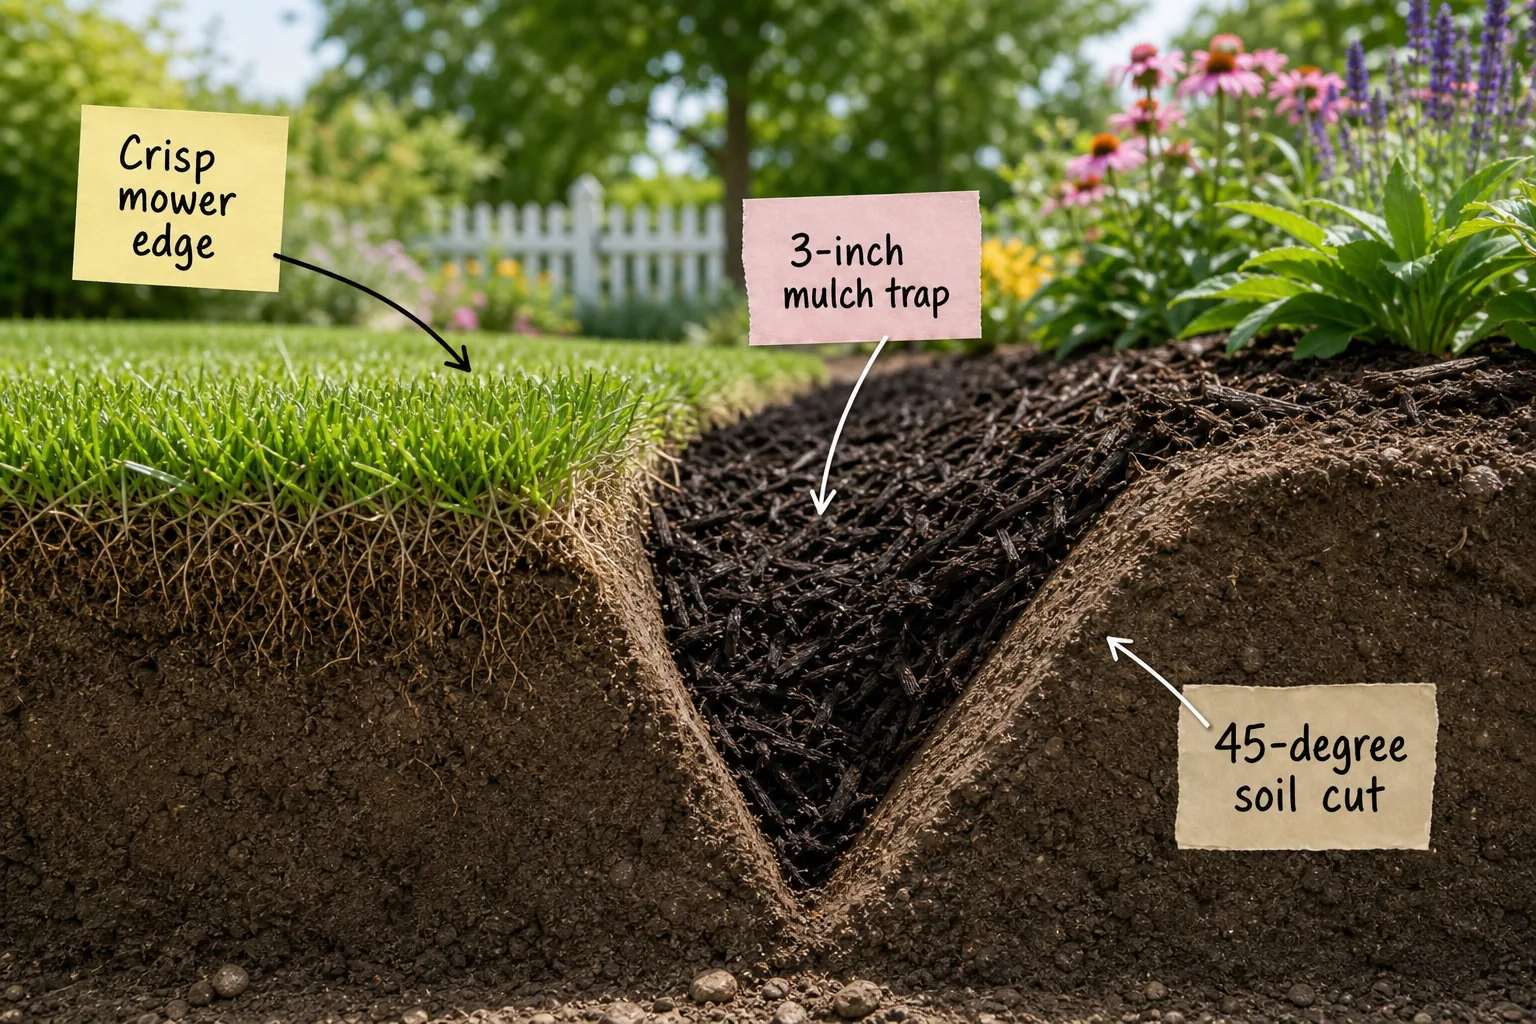
Master the natural V-trench method with this exact measurement and layer guide to separate your lawn from garden beds without using plastic. You will be able to cut a pristine, self-maintaining garden edge using precise depth and angle measurements that stop invasive grass completely.
The Exact V-Trench Measurements
A functional barrier requires a strict 3-to-4-inch depth and a 4-to-6-inch width at the top to create the correct geometry. These precise dimensions form a physical gap that stops shallow rhizomes from crossing into the adjacent soil.
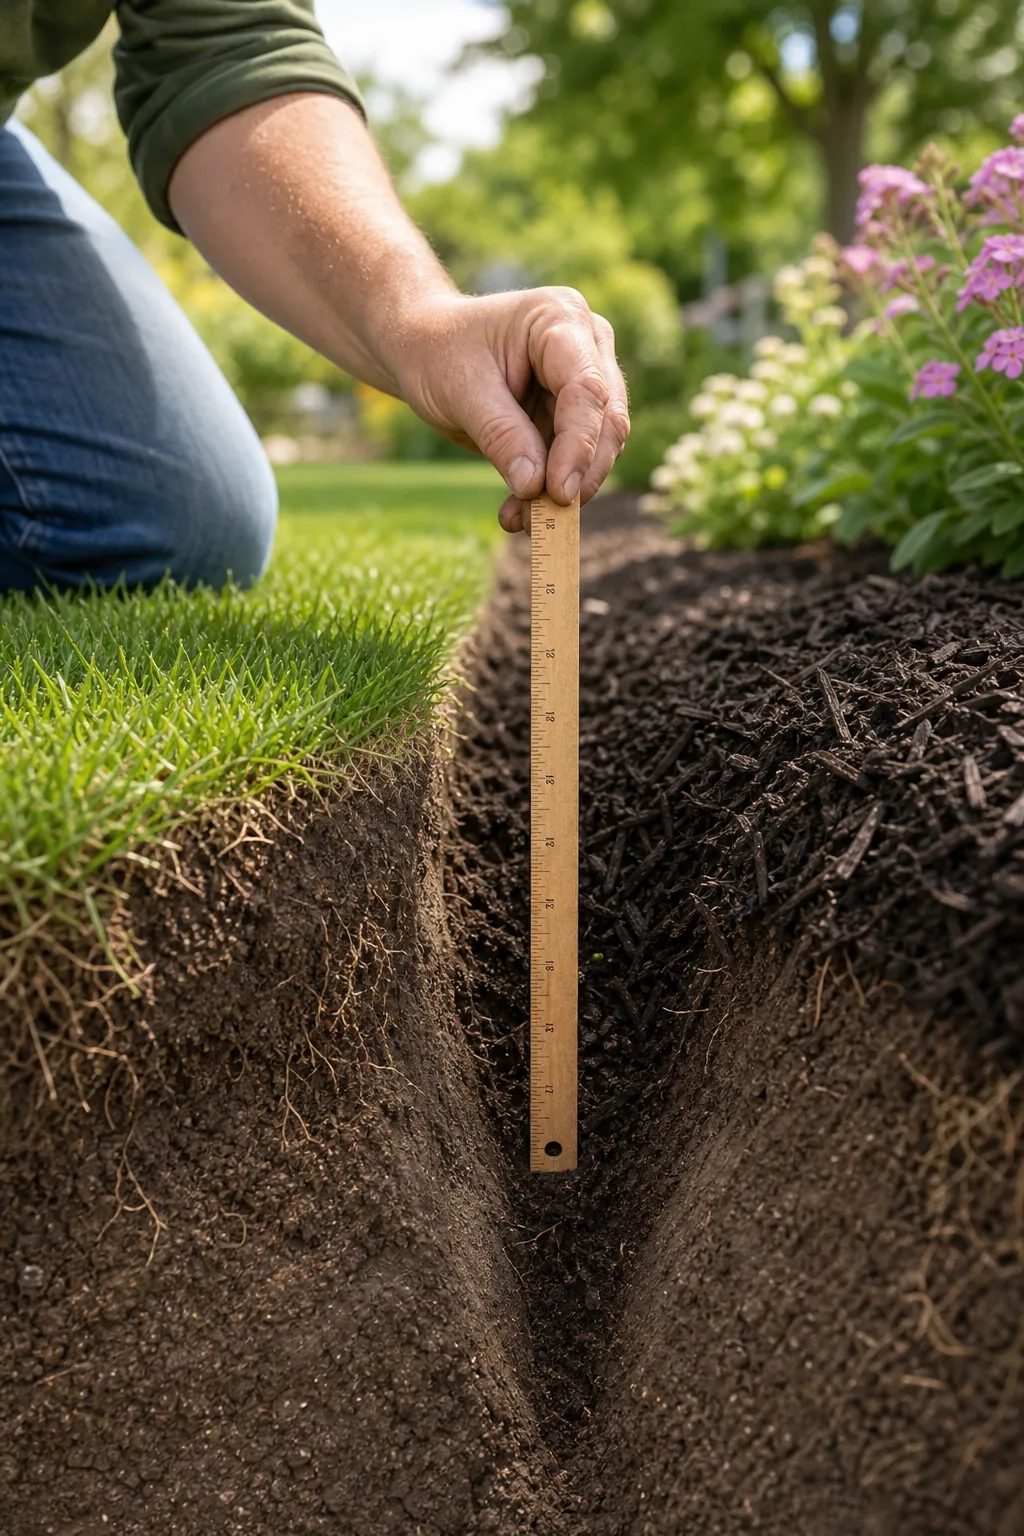
Maintaining this exact width provides enough empty space to trap encroaching grass runners before they root. Consistently measuring the drop-off guarantees the trench functions as an active physical barrier rather than just a visual boundary.
Selecting the Right Manual Tools
Before breaking ground, gather the specific manual tools required to achieve these precise geometric cuts without tearing the surrounding turf. Standard shovels often crush the grass boundary, making specialized edging blades absolutely essential for a clean finish.
Using a half-moon edger concentrates your body weight onto a smaller blade surface, allowing you to slice through dense root mats cleanly. This dedicated tool prevents the jagged, uneven tearing that ruins the structural integrity of the border.
Cutting the Turf Root Barrier
Drive your half-moon edger straight down into the turf to create a sharp 90-degree vertical cut along the lawn side. This initial plunge cleanly severs the grass roots completely, creating a turf root barrier that stops horizontal spread.
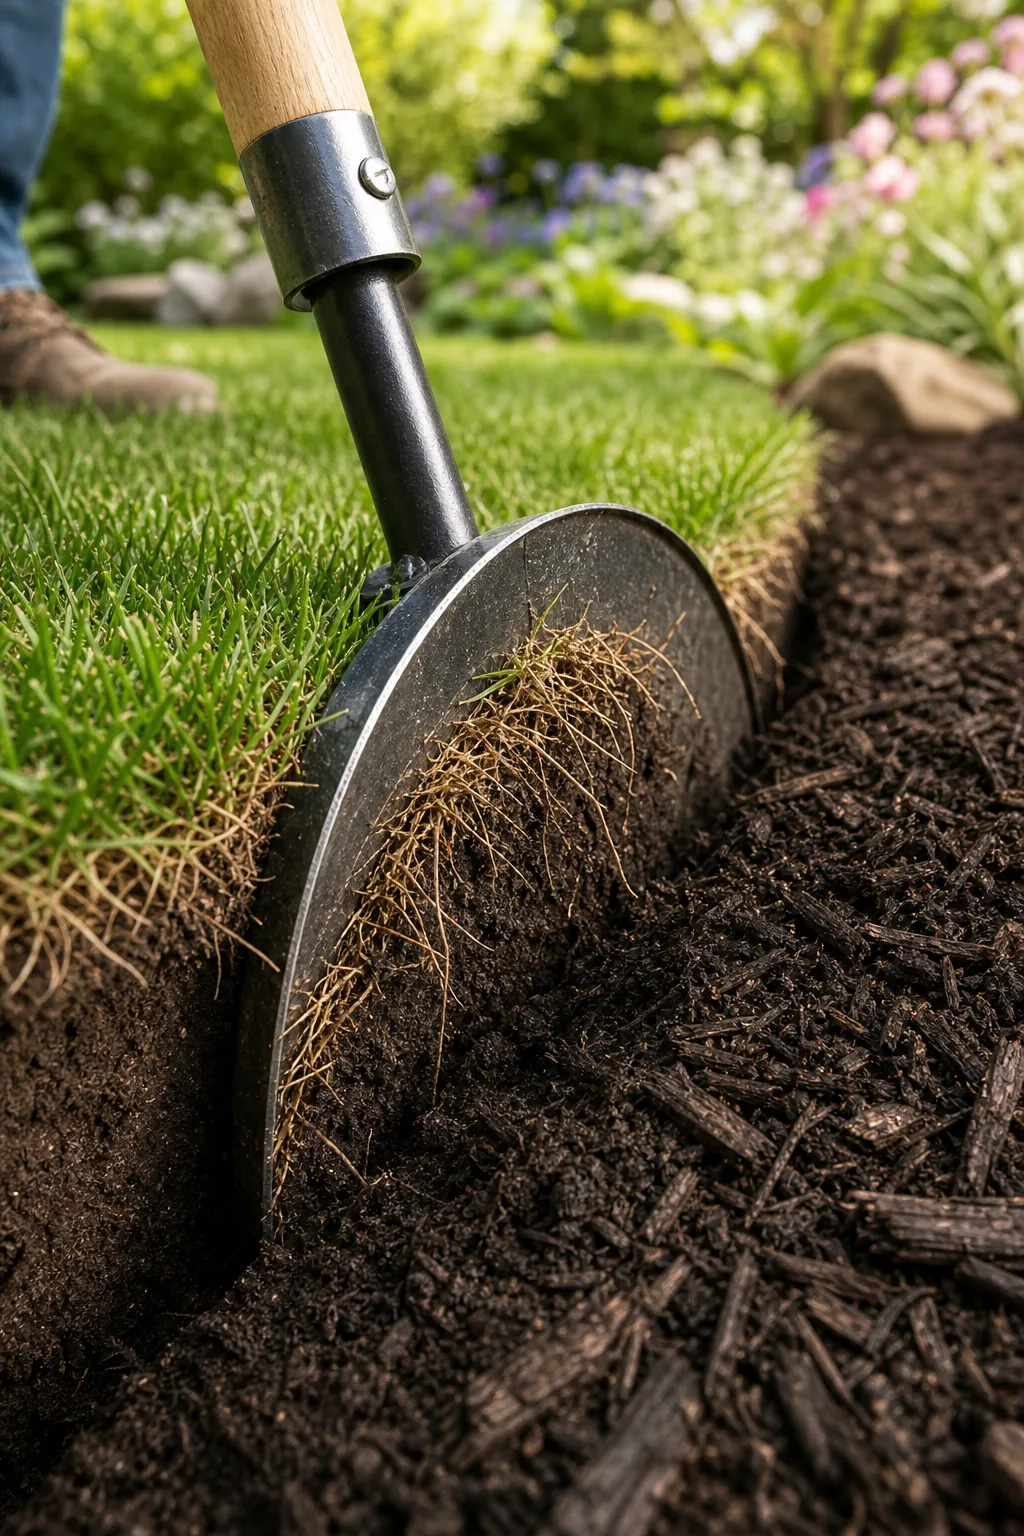
Slicing the roots cleanly leaves a sheer earth wall that acts as an invisible shield, forcing new root growth downward instead of outward. This straight drop-off is the most critical structural element for keeping the adjacent garden bed weed-free.
Adapting to Different Soil Types
Understanding your exposed baseline soil texture after the first cut helps you determine if the boundary needs adjustment. Heavy clay holds water longer, while sandy loam drains rapidly and may require deeper carving to prevent structural crumbling.
| Soil Type | Trench Adjustment |
| Heavy Clay | Stop at a 3-inch depth to avoid pooling water. |
| Sandy Loam | Cut to a 4-inch depth for better wall stability. |
| Rich Topsoil | Maintain standard dimensions with firm edge packing. |
Adapting your approach to the existing ground conditions ensures the finished trench will not collapse during the first heavy rainstorm. Always test the soil moisture; carving when the ground is slightly damp yields the sharpest geometric lines.
Creating the Crisp Mower Edge
The vertical cut leaves behind a sharp 90-degree grass overhang at the top left surface where the lawn meets the drop-off. Compacting the soil slightly behind this lip prevents the boundary from crumbling under heavy mechanical pressure.
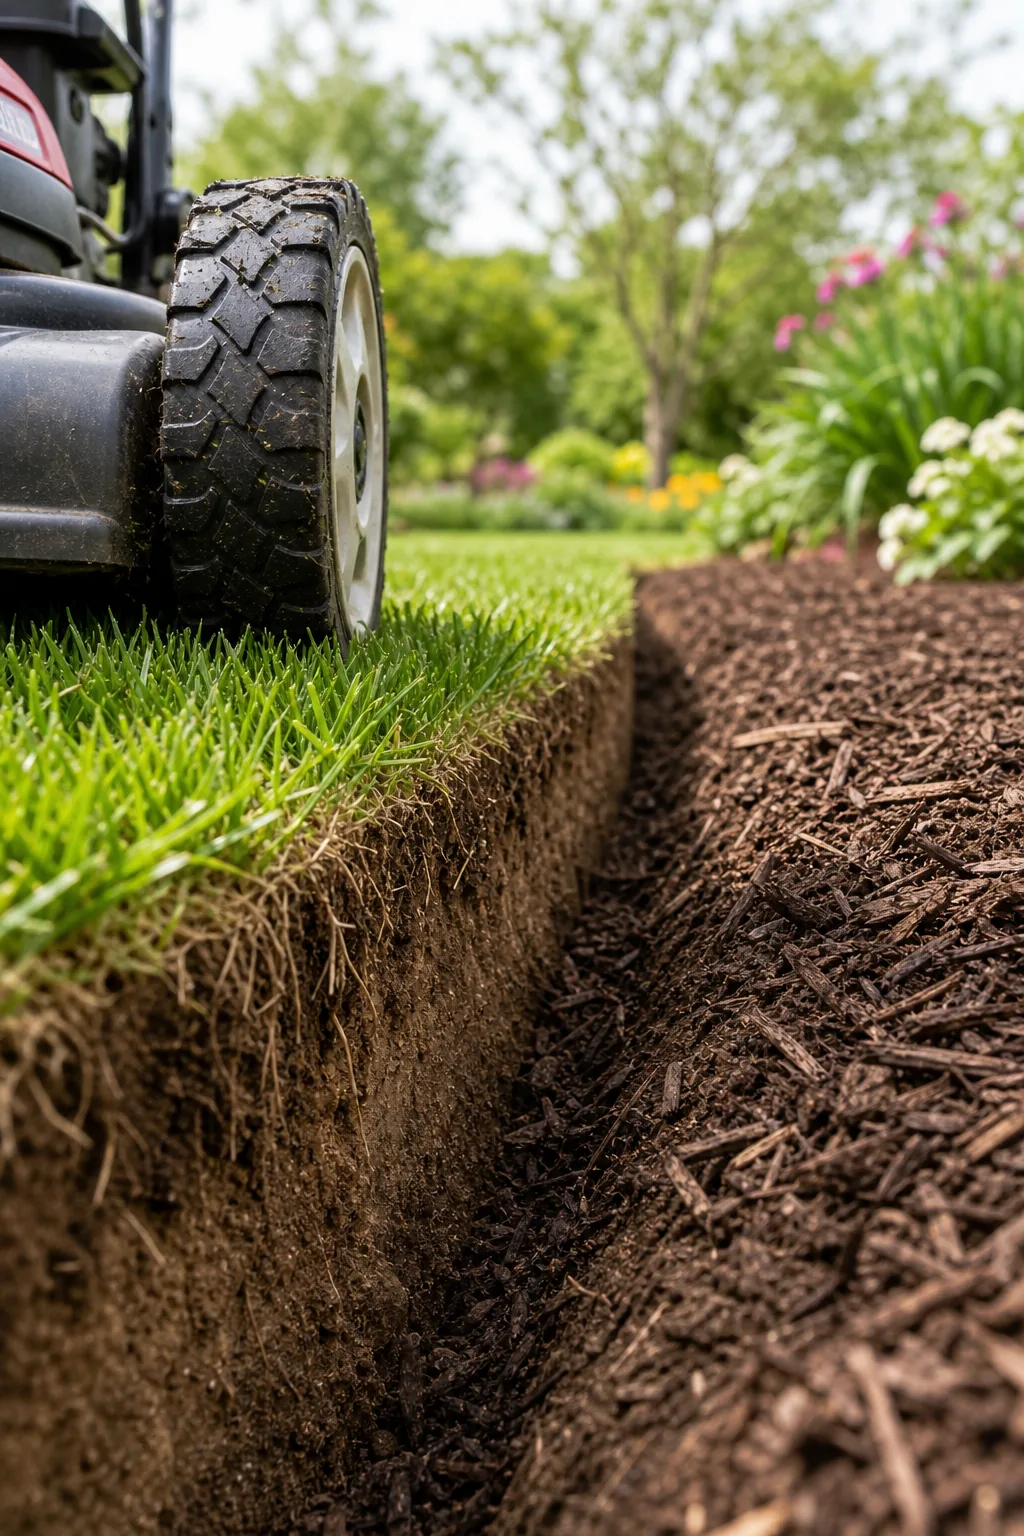
A tightly packed, crisp mower edge allows standard lawnmower wheels to ride safely along the boundary without dipping into the trench. Preserving this stable turf lip means you can mow right to the border without ever needing a string trimmer.
Reinforcing the Turf Boundary
Freshly cut edges remain vulnerable to foot traffic and heavy machinery until the soil settles completely. Taking a few minutes to actively compress the earth immediately behind the cut line dramatically increases the long-term durability of the overhang.
- Water the grass directly behind the cut line to soften the underlying soil slightly.
- Tamp the dampened earth firmly using the flat back of your spade.
- Test the compacted edge by pressing down lightly with your boot to ensure it holds.
This simple compaction routine locks the severed roots into the remaining soil matrix, creating a hardened rim. A reinforced boundary easily withstands the weight of heavy garden carts and riding mowers throughout the active growing season.
The Trench Bottom: Why No Plastic?
Leaving the very bottom point of the trench as bare earth allows heavy rainwater to drain naturally into the subsoil. Skipping synthetic barriers prevents water from pooling and suffocating adjacent plant roots, answering the common question of why no plastic?
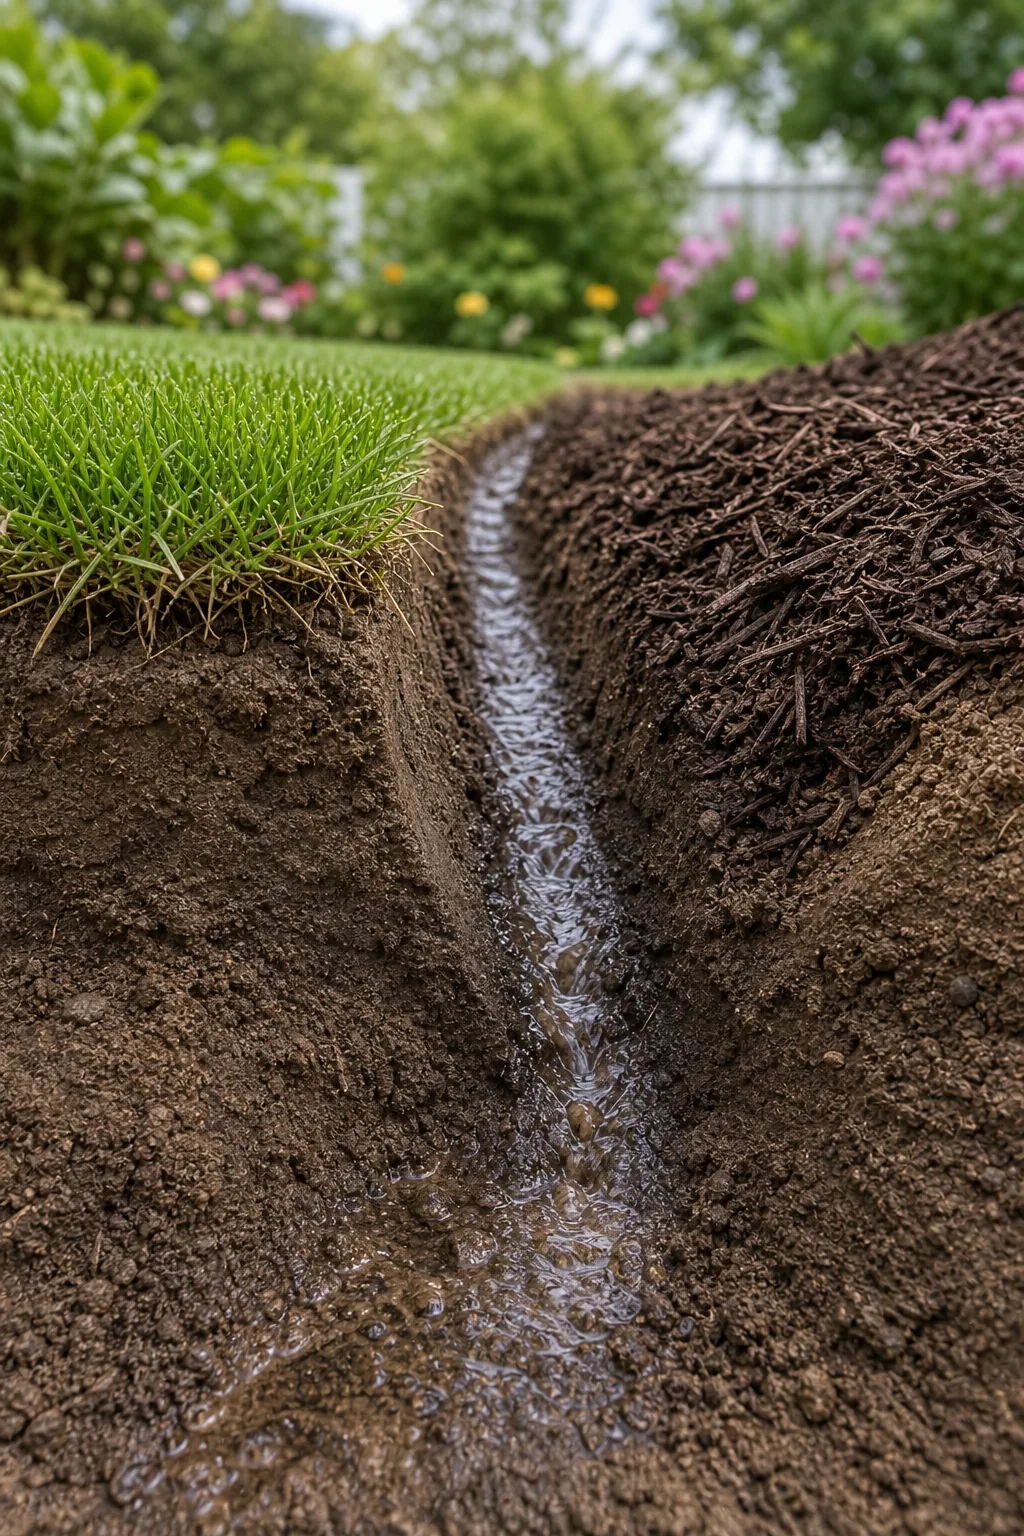
Eliminating plastic edging also stops frost heave from pushing rigid materials upward during winter freezes, ensuring your natural trench bottom remains stable. A bare earth gap breathes naturally, fostering a healthier micro-environment for beneficial soil organisms.
Carving the 45-Degree Soil Cut
Position a flat spade at the bottom of the trench and angle it upward toward the garden bed. Slicing away the earth creates a smooth 45-degree soil cut that transitions seamlessly into the planting area.
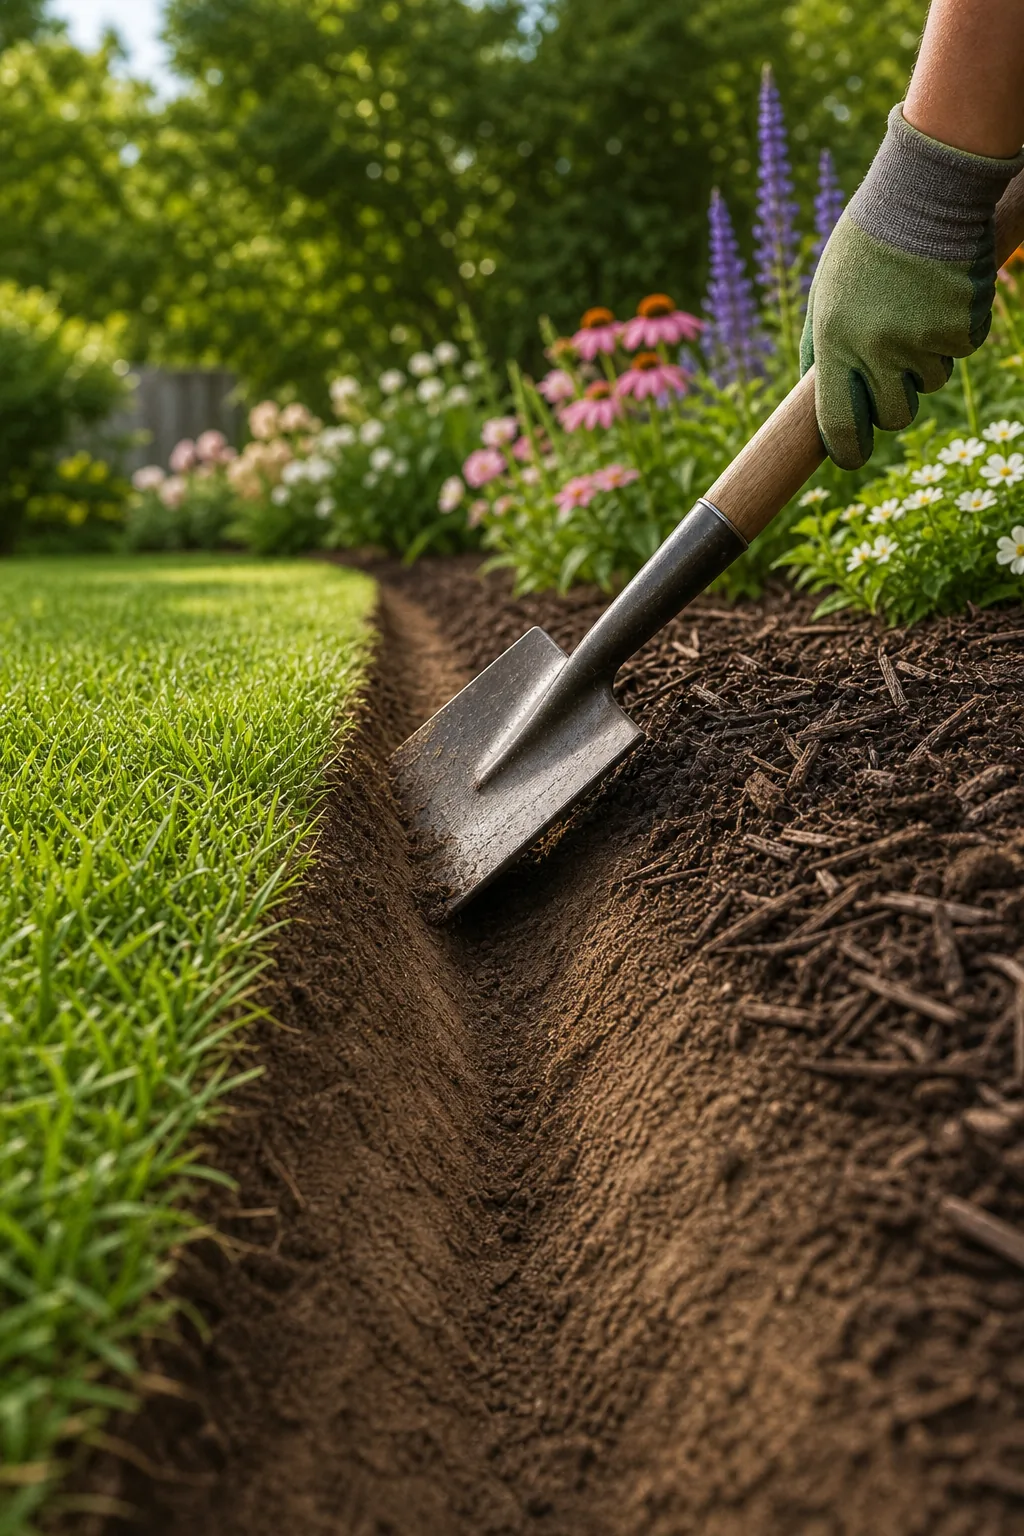
This sloped bare earth functions as a highly stable retaining wall, preventing loose garden soil from eroding backward into the trench. The gradual incline anchors the garden bed securely while providing the perfect resting angle for heavy organic topcoats.
Choosing the Best Mulch Material
Selecting the correct topcoat ensures your carefully carved slope does not wash away during the first heavy downpour. Finely shredded hardwood bark performs significantly better than large decorative nuggets when applied to angled geometric surfaces.
Shredded bark fibers physically knit together as they settle, forming a cohesive mat that grips the 45-degree slope tightly. This interlocking action keeps the protective layer firmly anchored inside the trench, even on steep landscape grades.
Filling the 3-Inch Mulch Trap
Pack the bottom and the sloped garden side with a thick 3-inch mulch trap using dense, organic material. The angled earth holds this heavy layer securely in place against the vertical lawn drop-off without spilling over.
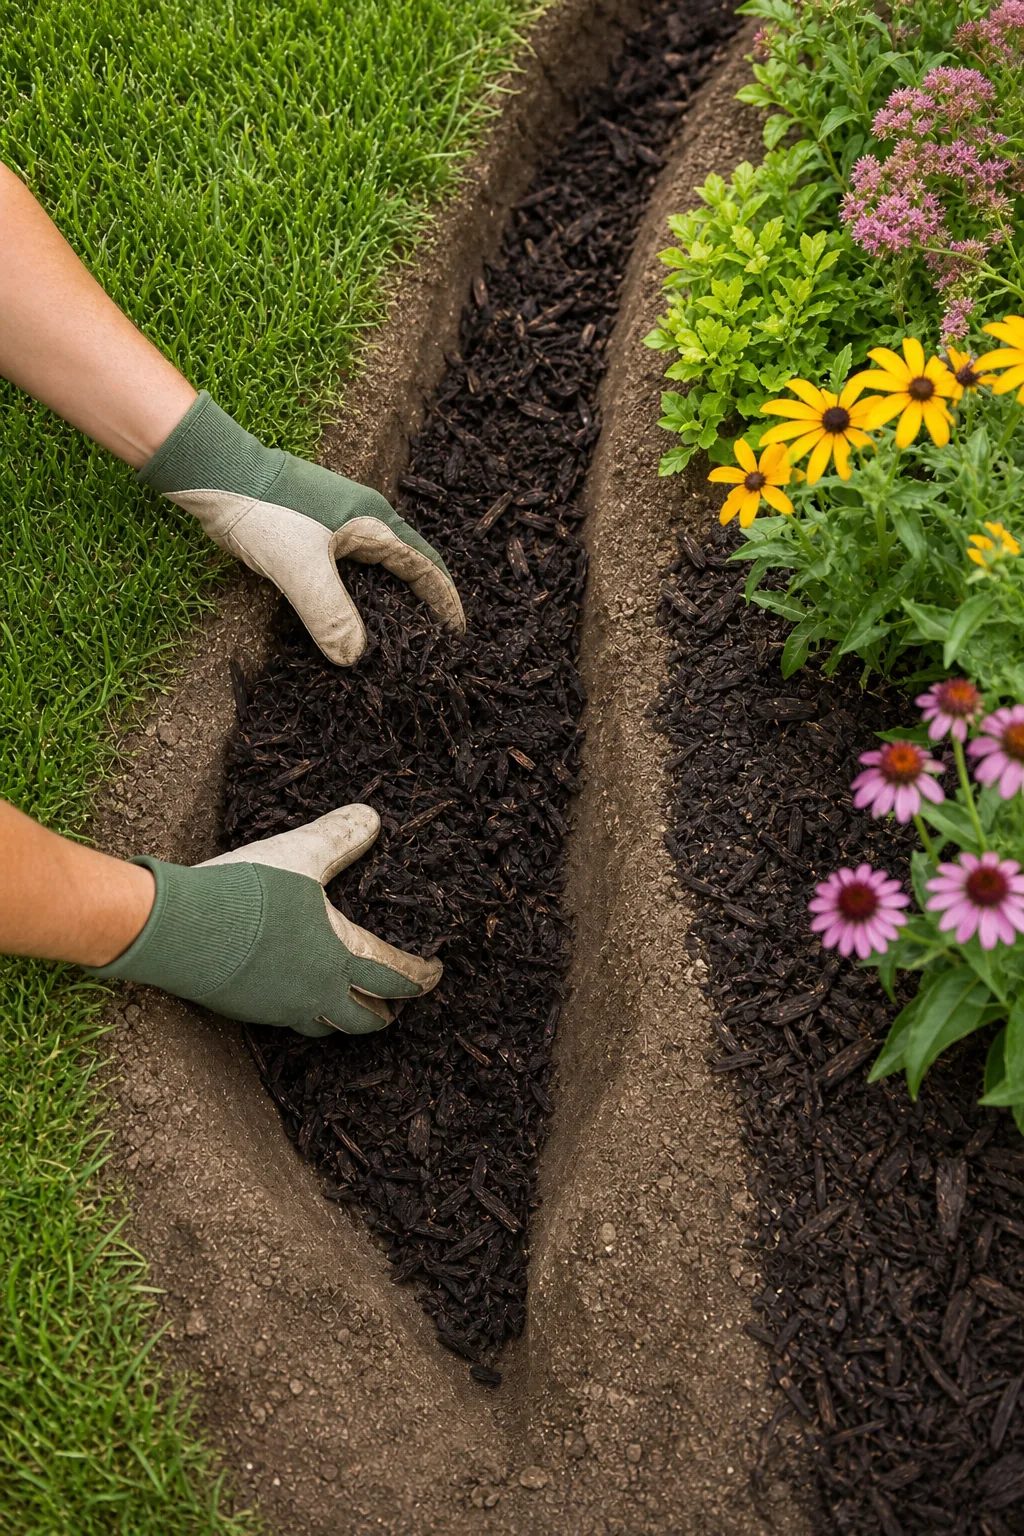
This dense organic barrier suppresses opportunistic weed seeds while trapping essential moisture for the nearby garden bed. Filling the trap correctly starves crossing grass runners of sunlight, effectively killing them before they can establish a foothold in the flowers.
Managing Curves and Corners
Adapt the straight V-trench geometry for curved garden beds by laying a flexible garden hose along the desired boundary. This physical guide helps you map a sweeping, organic line before making any permanent vertical cuts into the turf.
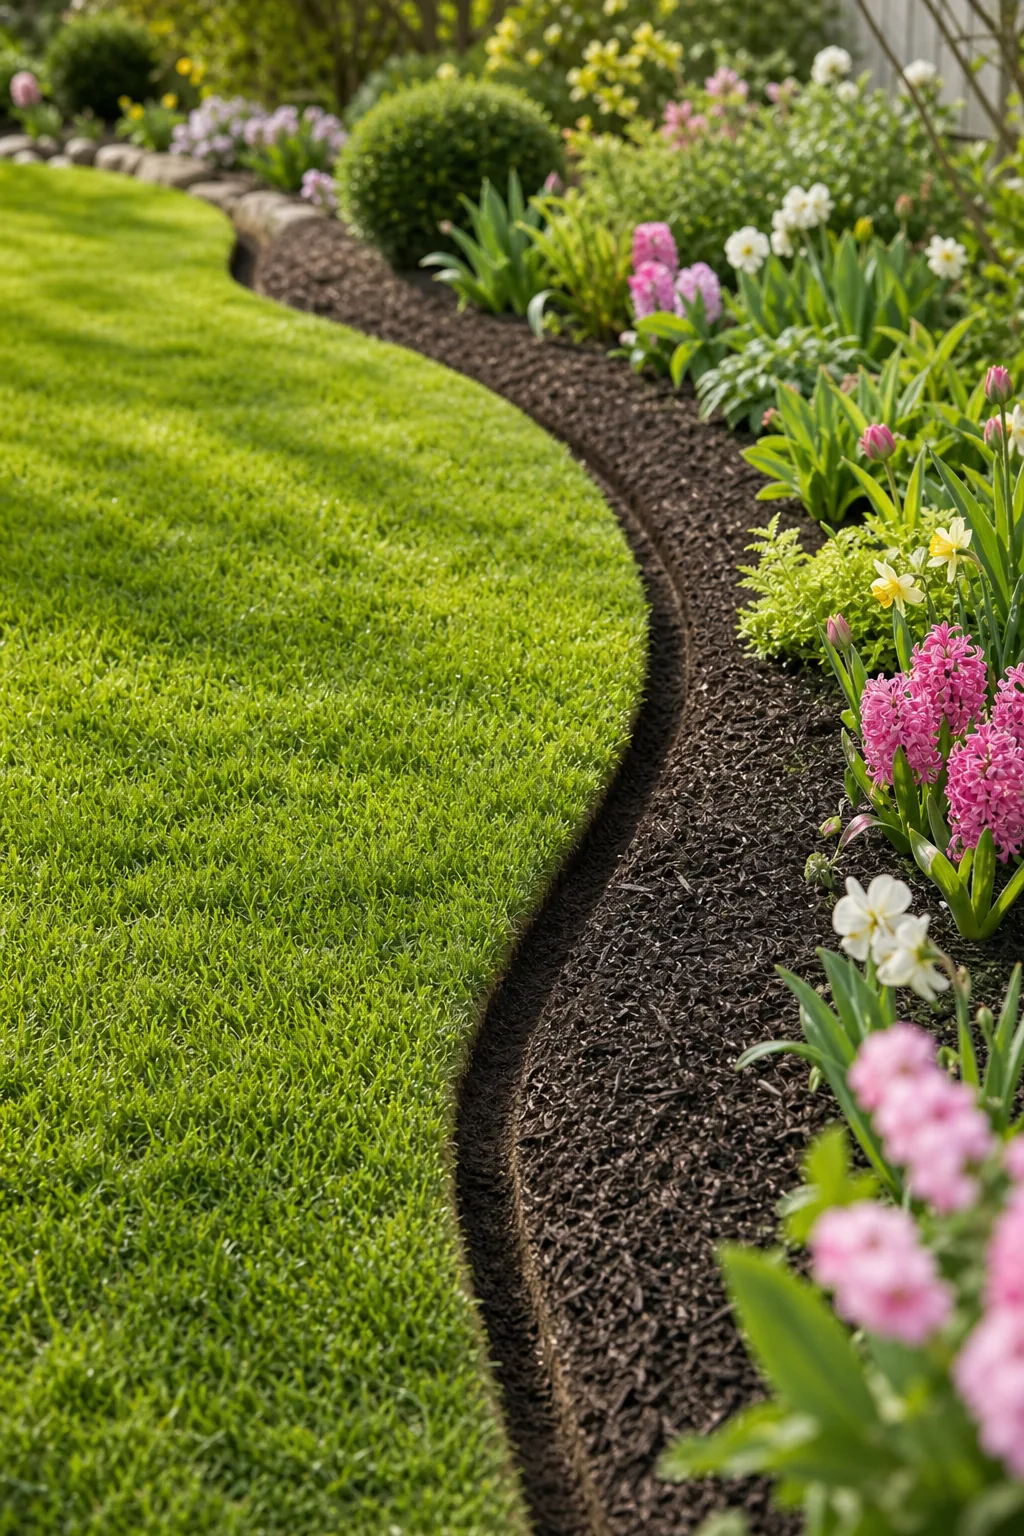
Following the hose ensures you maintain the exact 4-to-6-inch trench width around corners, creating smooth transitions. Sweeping curves are much easier to navigate with a mower and provide a more natural, flowing aesthetic to your overall landscape design.
Maintaining the Trench Edge Seasonally
Minimal upkeep requires just a quick touch-up with your half-moon edger once in early spring to recut the vertical turf barrier. Scraping out any decomposed organic matter restores the original 3-inch depth instantly with very little physical effort.
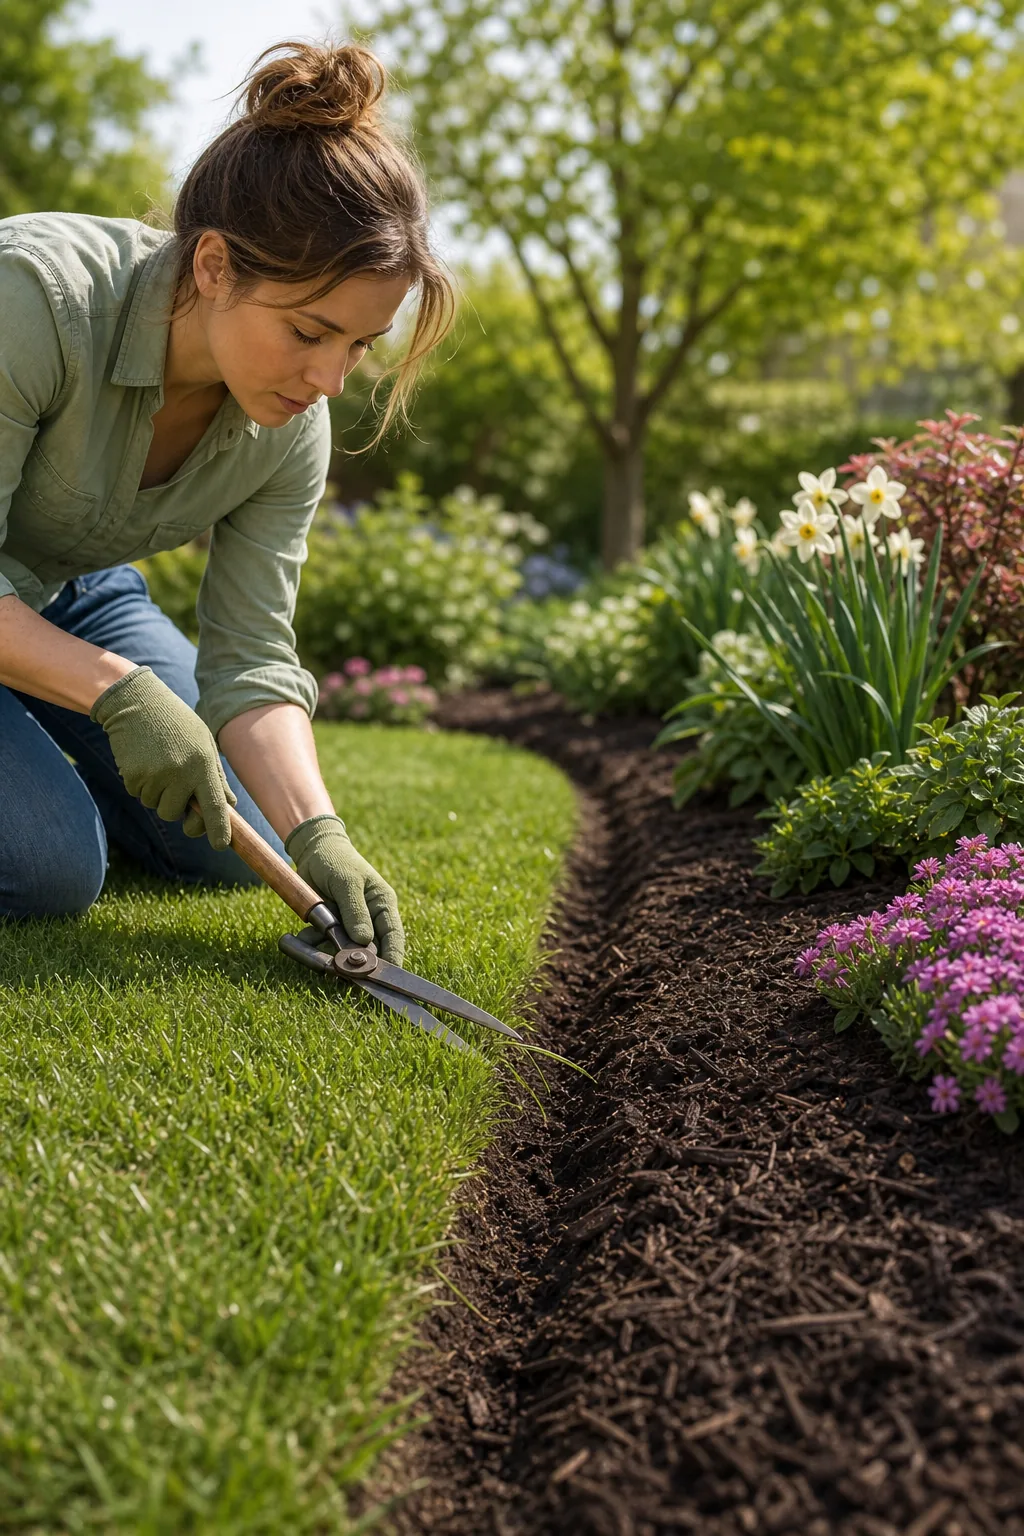
Even a perfectly cut trench will degrade over time if a few common upkeep errors are ignored during the active growing season.