
Farmhouse Laundry Room Layout Guide & Material Checklist
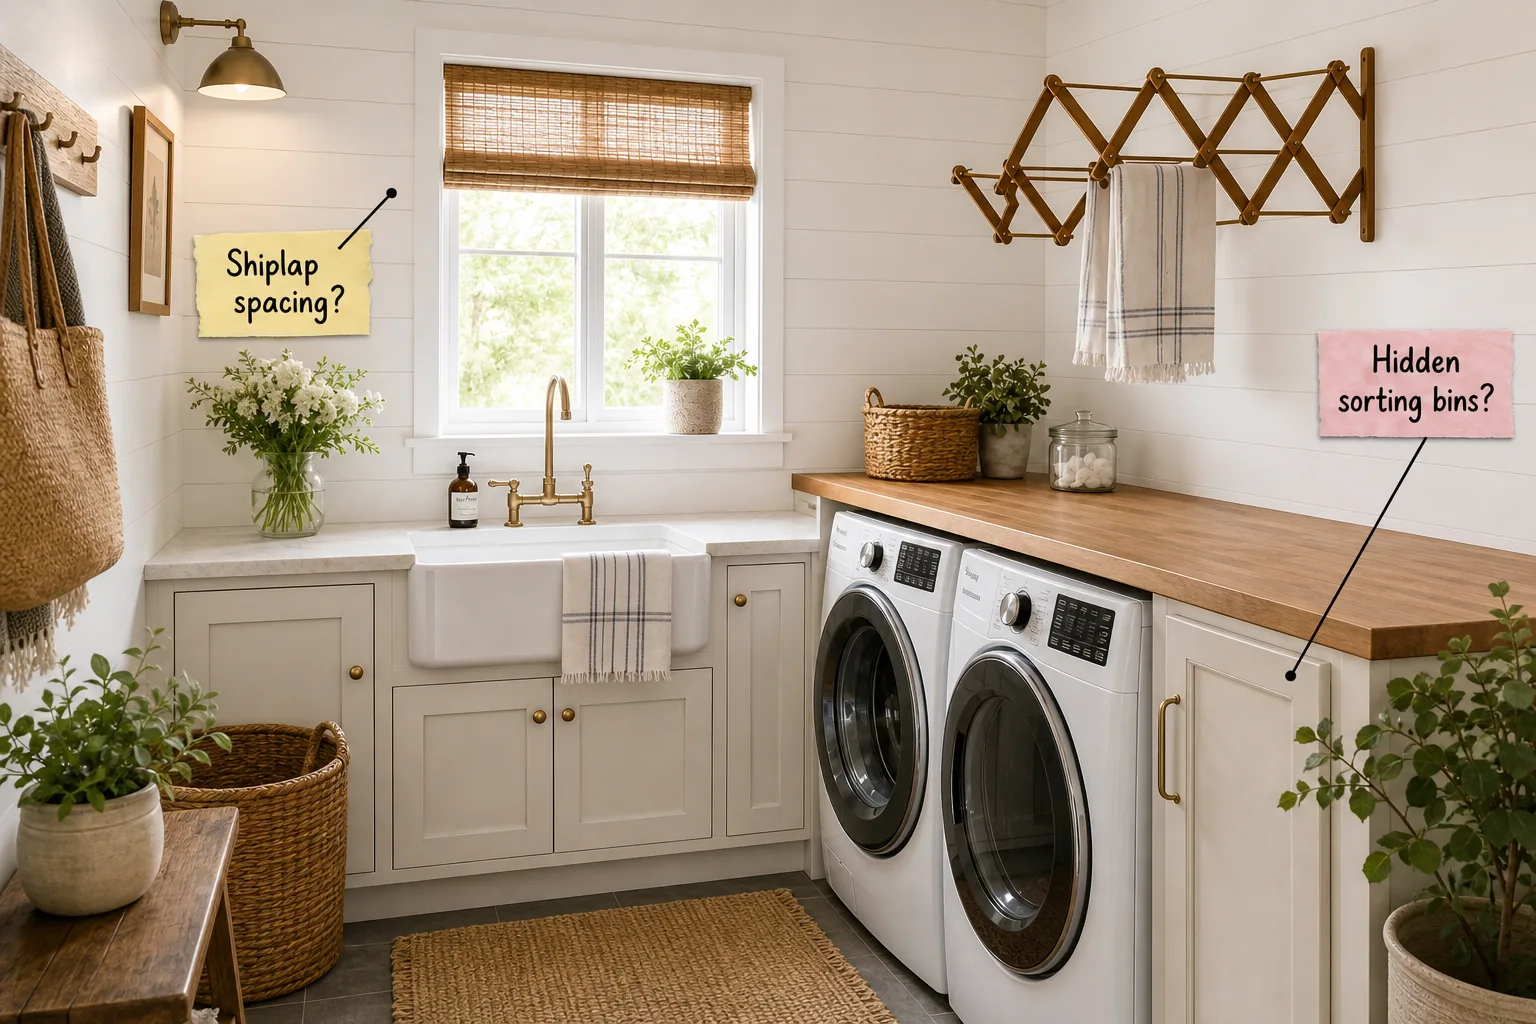
Plan your perfect farmhouse laundry room with our complete spatial layout guide and material sourcing checklist. You will be able to map out your functional zones and source the exact finishes needed to recreate this bright, highly efficient utility space.
Mapping the Perfect Spatial Layout
A seamless laundry workflow requires arranging your utility zones sequentially from left to right, naturally moving from washing and treating to drying and folding. Set your folding station at a standard 36-inch counter height while maintaining 42 inches of walking clearance.
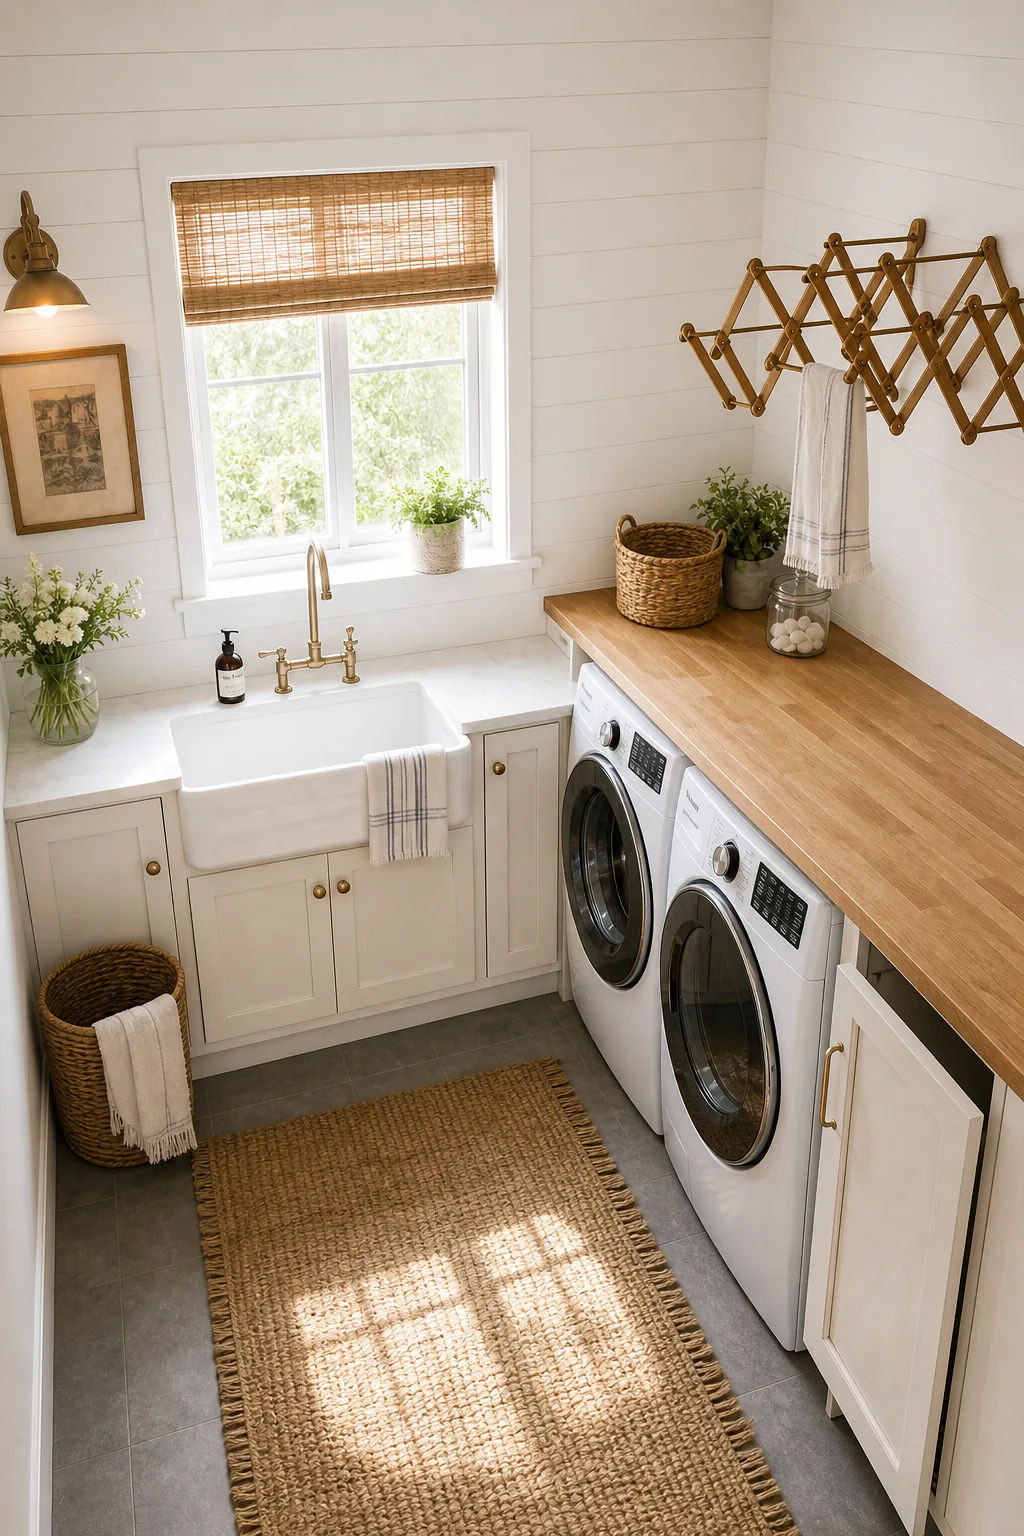
Before purchasing cabinets or cutting expensive countertops, verify these three critical spatial measurements in your room to ensure your layout functions properly.
Setting Up the Apron Sink Station
Moving right from the prep zone, install a deep white fireclay apron sink on a modified base cabinet built to support heavy materials. Select a standard 30-inch basin width to ensure ample room for handling large, bulky soaking tasks.
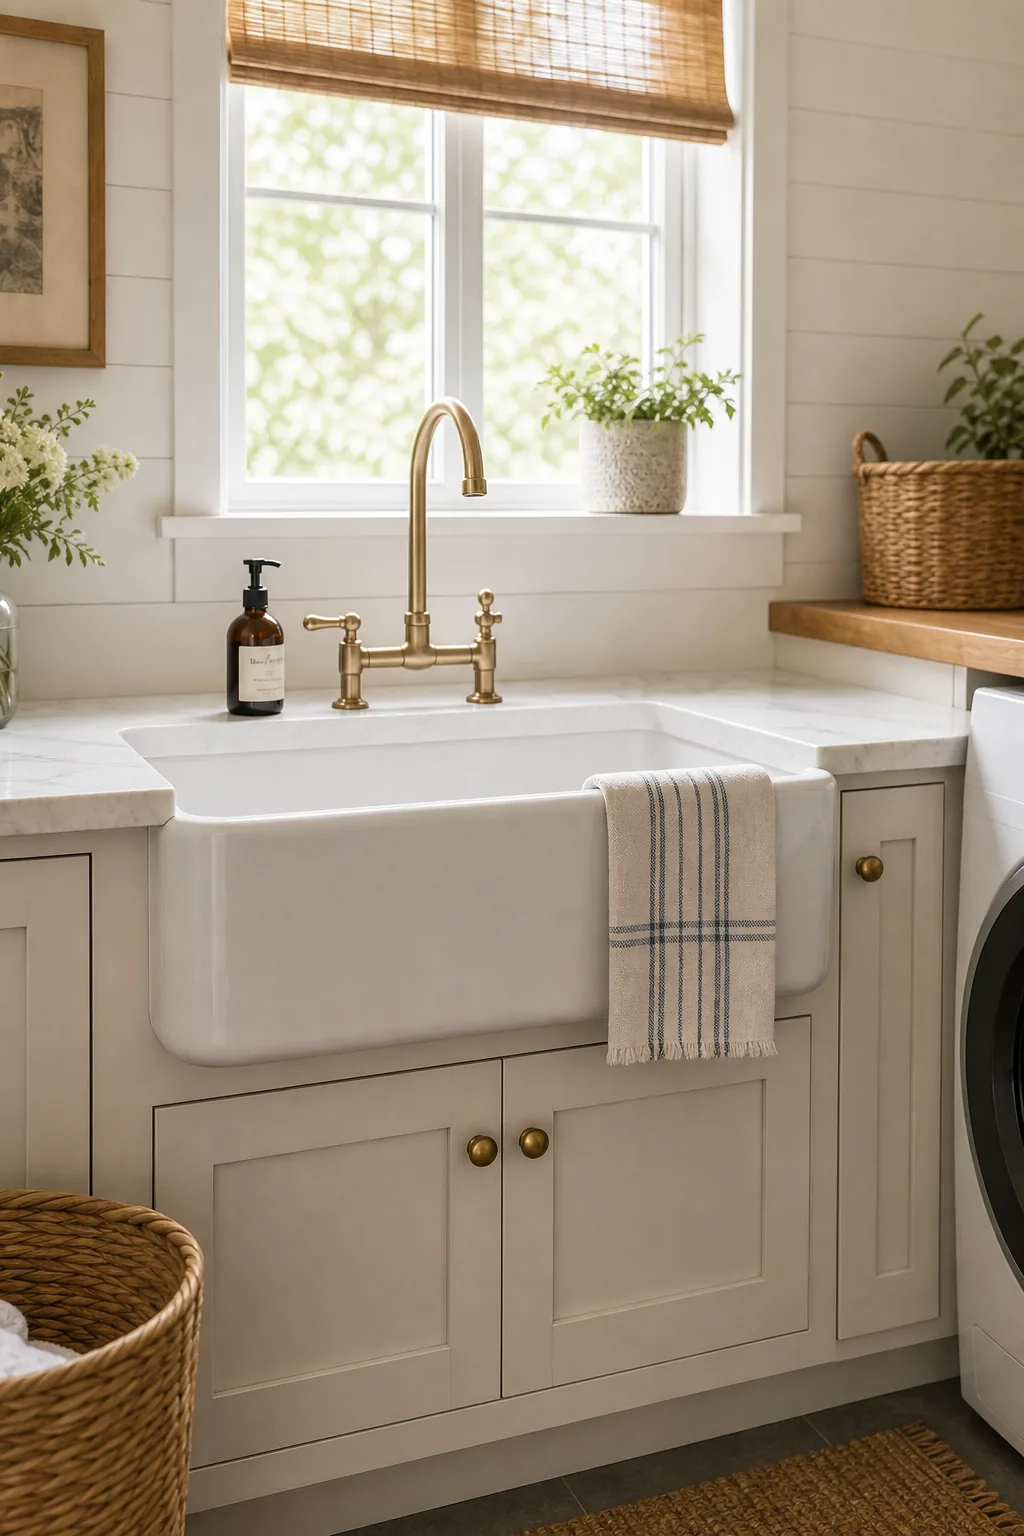
Fireclay becomes exceptionally heavy when filled with water, requiring substantial base cabinet modifications and precise sizing to properly support the loaded basin.
| Basin Width | Minimum Cabinet Size | Best Utility Use |
| 24 inches | 27-inch base cabinet | Small utility rooms |
| 30 inches | 33-inch base cabinet | Standard soaking tasks |
| 36 inches | 39-inch base cabinet | Double-basin washing |
Nailing the Shiplap Spacing
Above the sink and counters, install horizontal white painted wall boards using a classic 1/8-inch nickel-gap spacing. This precise measurement achieves that crisp farmhouse look while remaining tight enough to prevent excess dust accumulation.
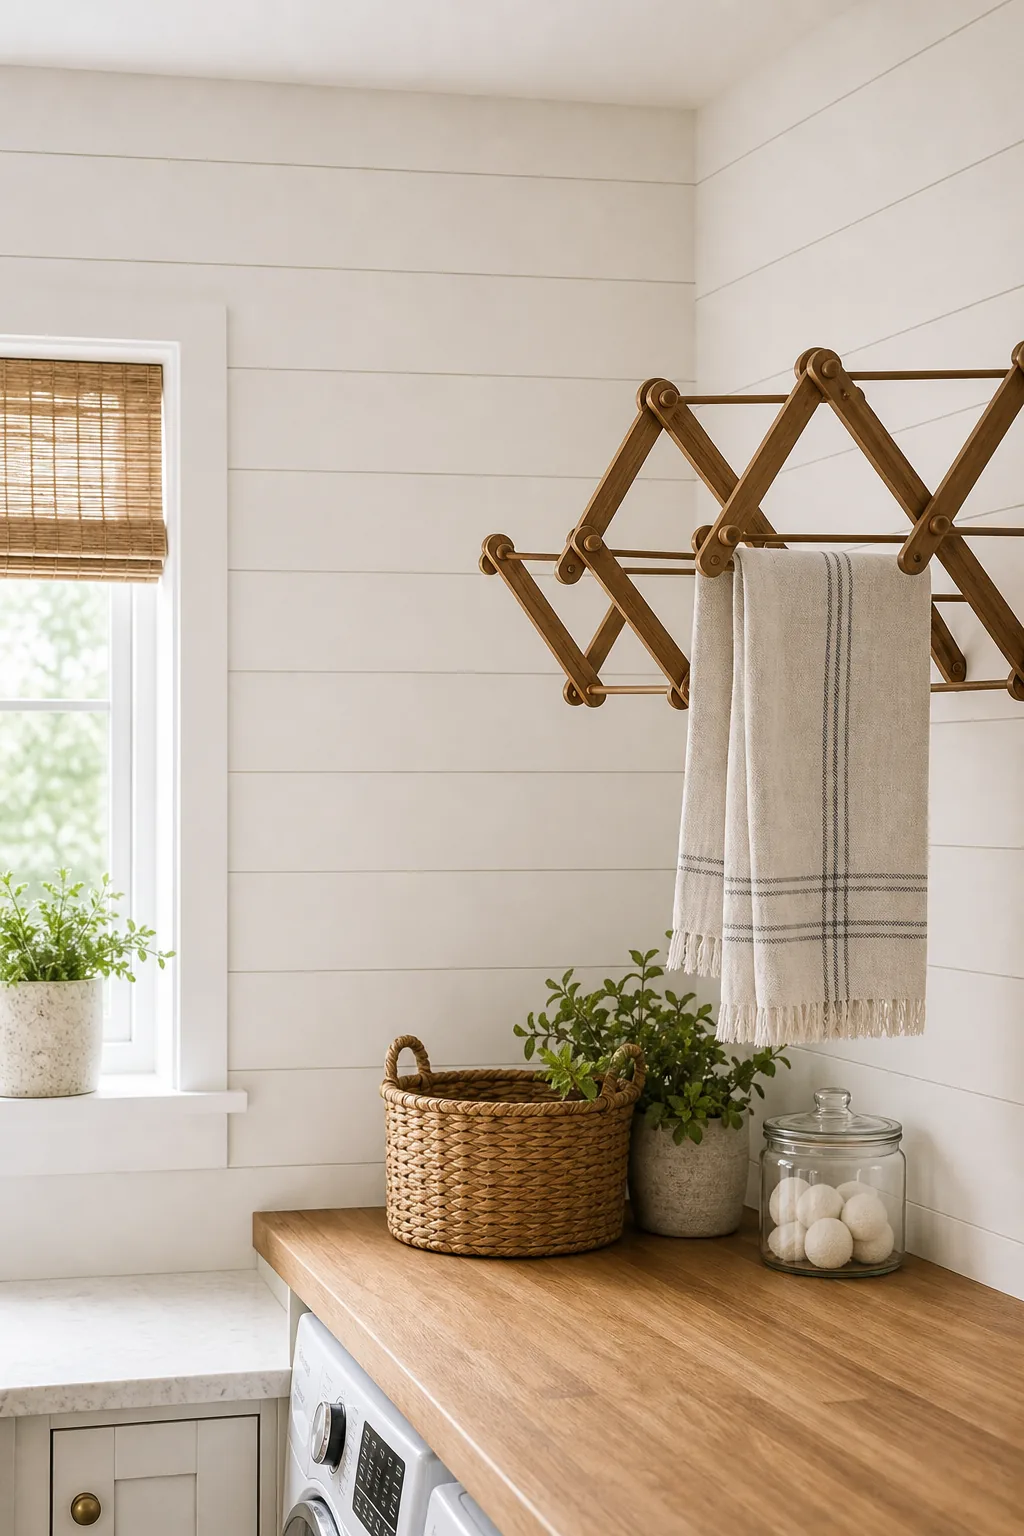
Use a standard nickel or a dedicated tile spacer between each row during installation to keep the horizontal lines perfectly parallel across the entire wall.
Mounting the Vintage Drying Rack
To the right of the sink, position a wooden accordion drying rack at least 60 inches off the floor so long garments can hang freely. Always anchor the mounting hardware directly into the structural wall studs.
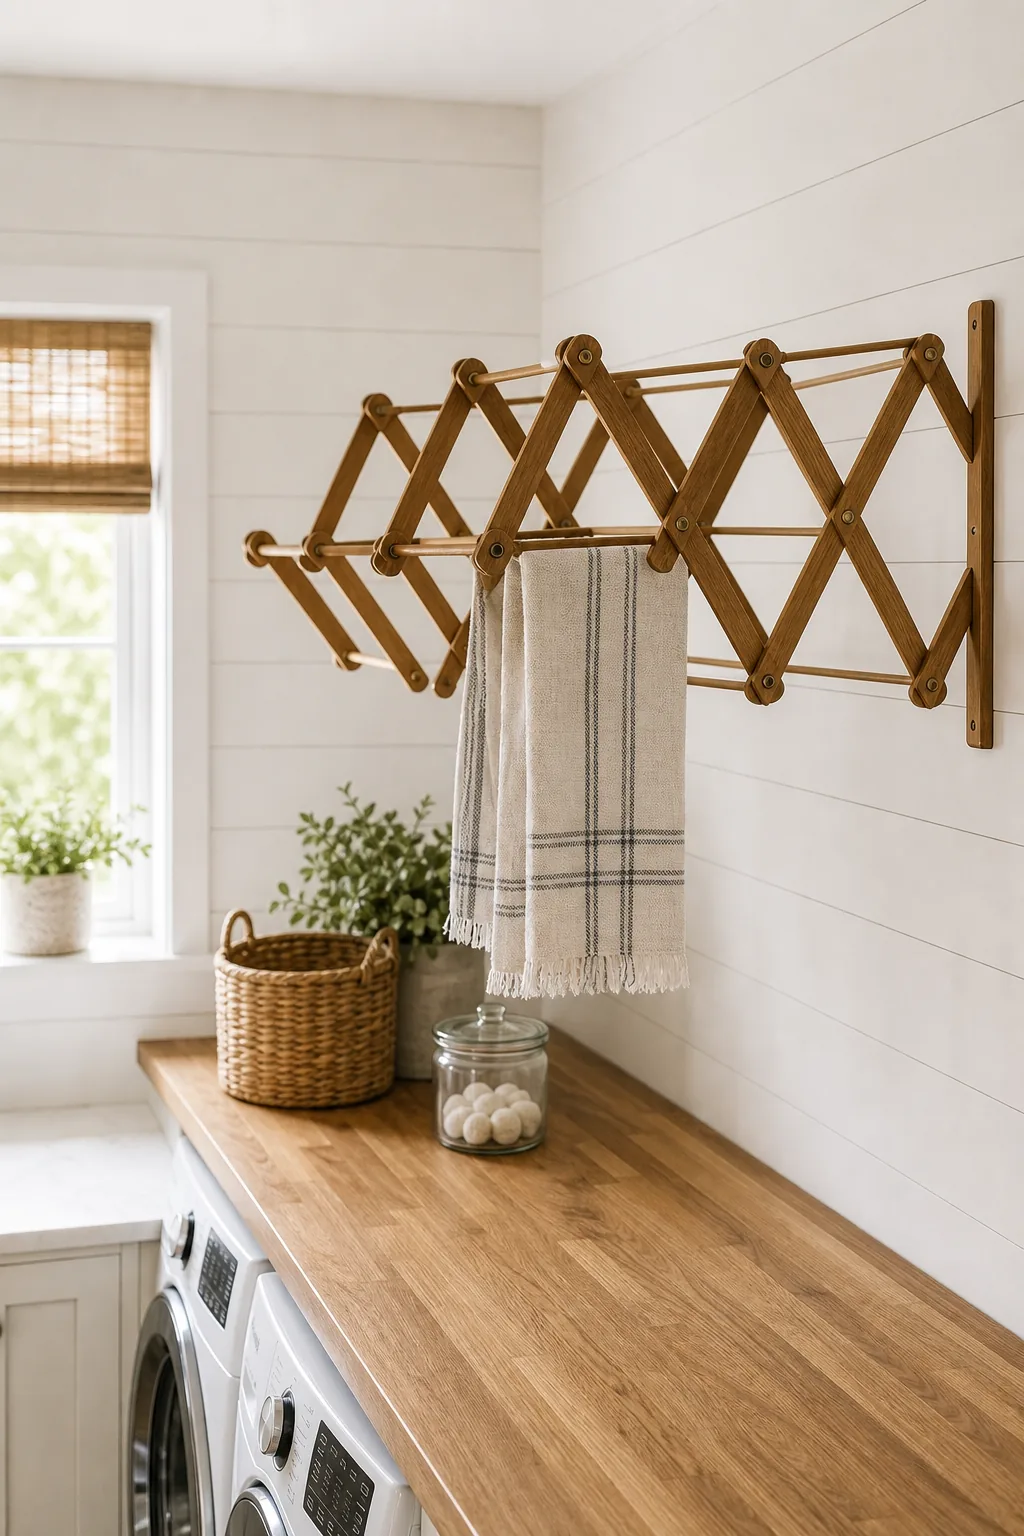
Wet linens add significant weight that standard drywall anchors cannot safely hold, making proper stud alignment absolutely critical for supporting this vintage drying rack.
- Locate and mark the vertical wall studs using a magnetic stud finder.
- Drill pilot holes through the shiplap directly into the wooden studs.
- Secure the rack base using heavy-duty three-inch wood screws.
Installing the Butcher Block Prep Counter
Span a warm wooden countertop over the washer and dryer, leaving a strict 1-inch clearance above the appliances. This vital gap prevents aggressive vibration transfer during heavy spin cycles while creating a massive continuous folding area.
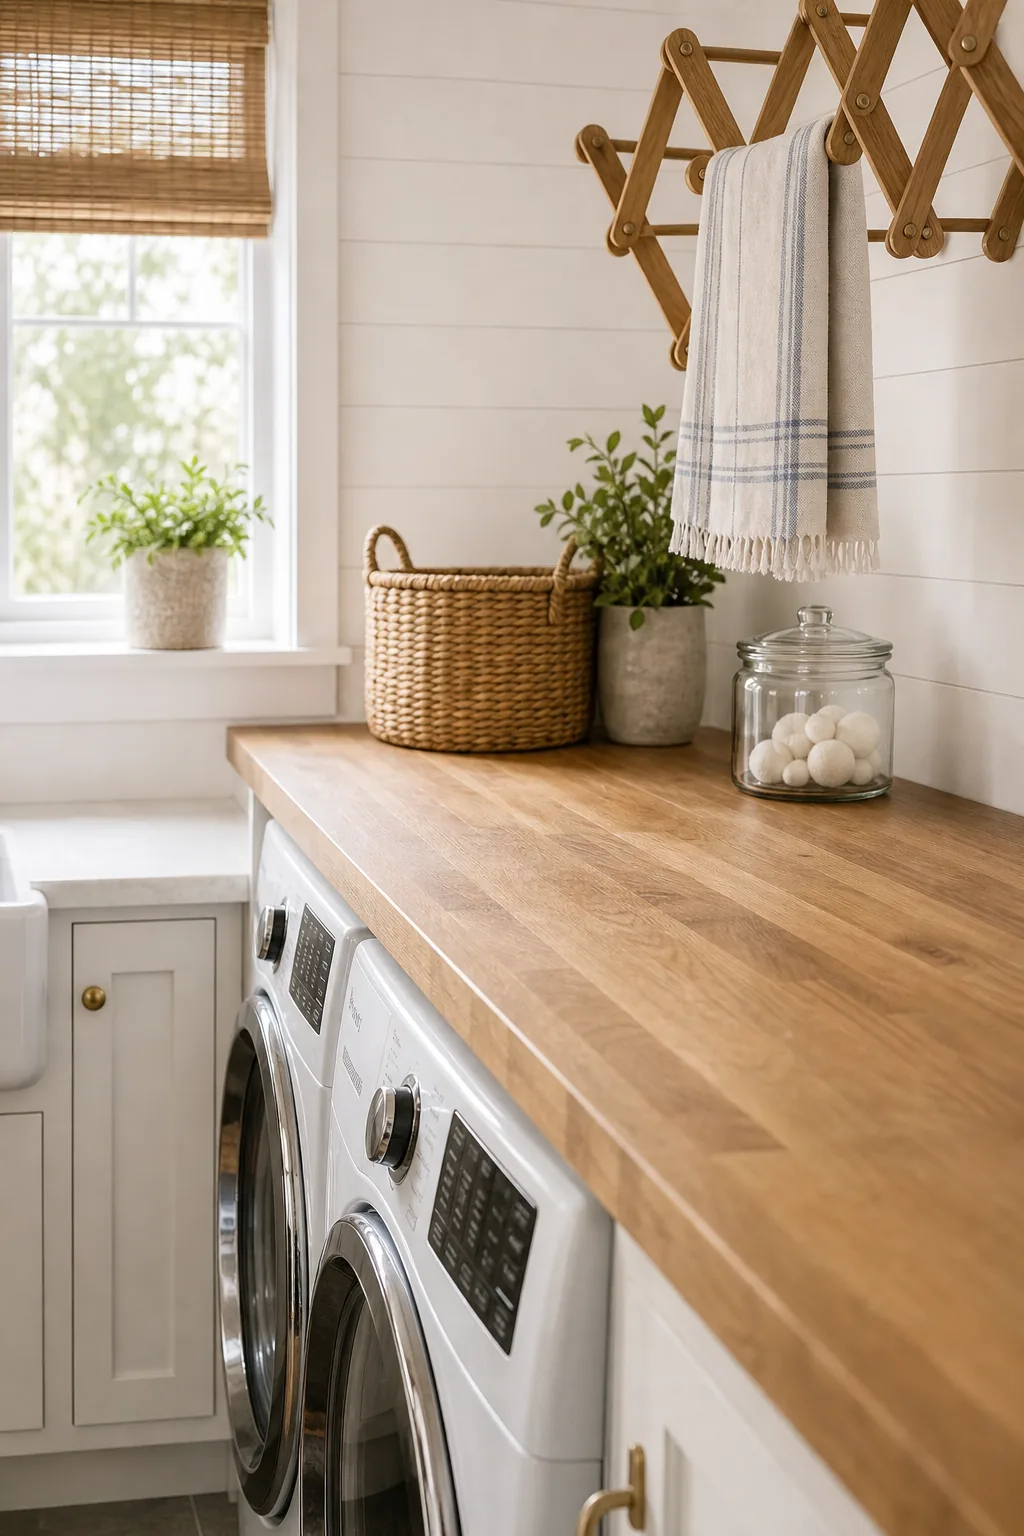
Wood countertops require special protection when installed directly above heat and moisture-producing appliances to ensure long-term durability.
Designing Hidden Sorting Bins
Below the butcher block, integrate 18-inch wide base cabinets fitted with heavy-duty drawer glides to conceal dual sorting bins. This closed pull-out cabinet door next to the washer keeps dirty laundry completely out of sight.
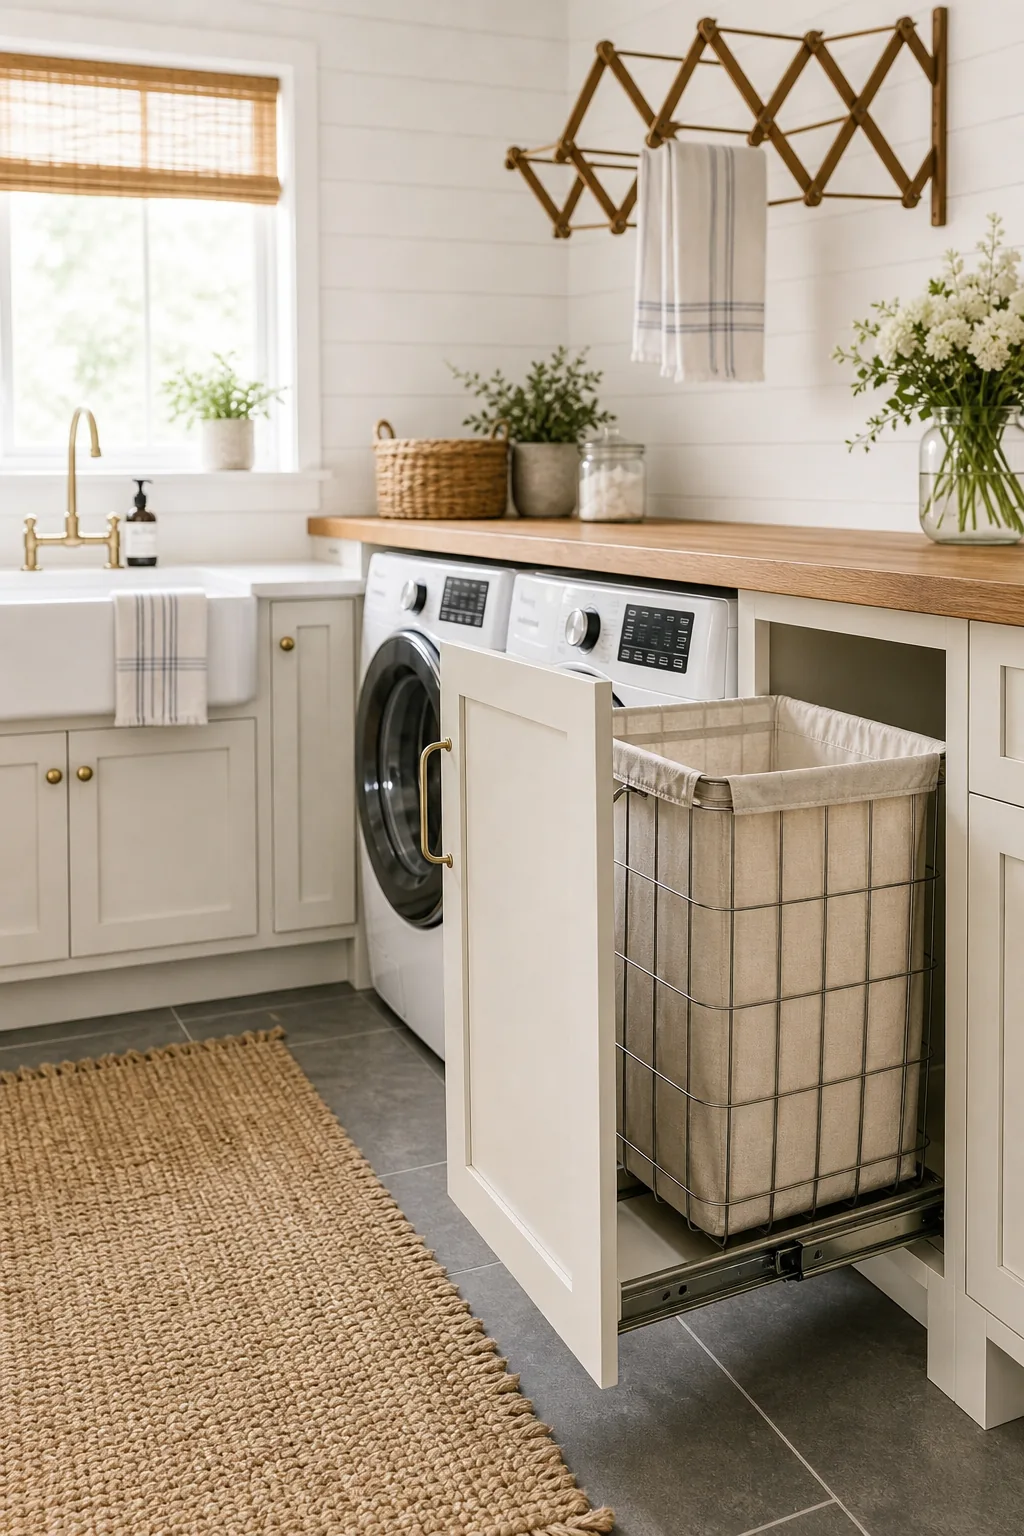
Mounting the sorting bins on bottom-mount soft-close tracks ensures the heavy, fully loaded hampers glide smoothly without derailing, catching, or slamming shut during daily use.
Sourcing the Right Farmhouse Materials
To recreate this exact look, gather your core material palette before starting construction. Use this prioritized material sourcing checklist to ensure every element harmonizes perfectly within your utility space.
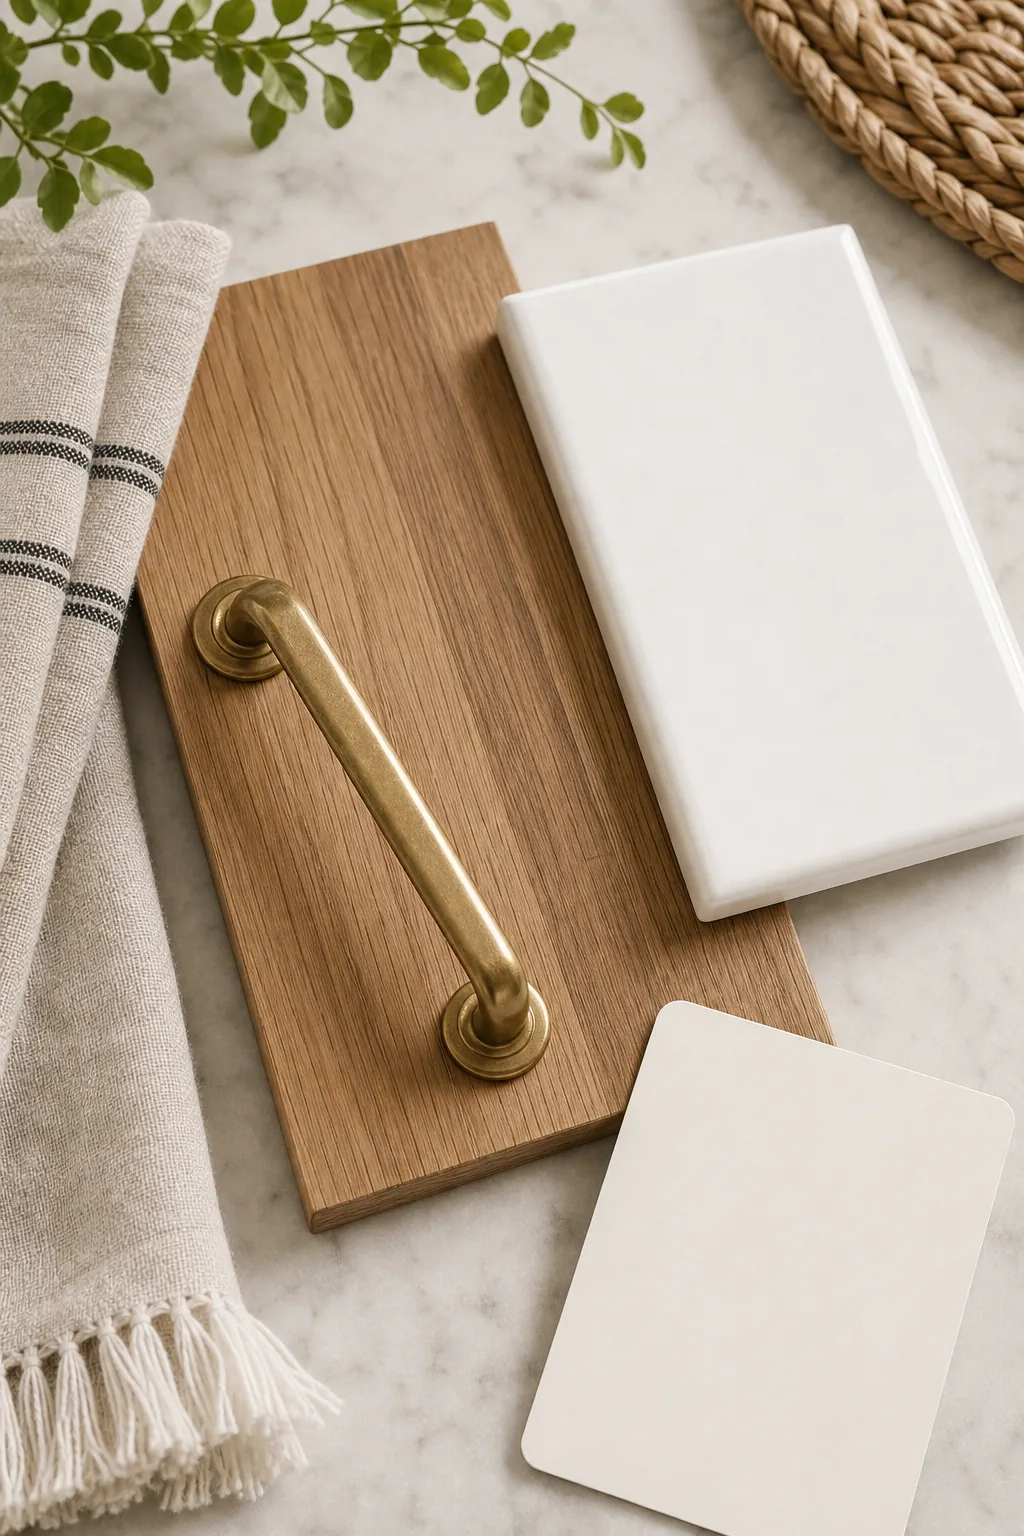
Secure these four specific finishes to guarantee your final room matches the classic, bright farmhouse aesthetic without clashing undertones.
- Matte white fireclay for the durable apron front sink basin.
- Natural oak butcher block for the continuous folding counters.
- Unlacquered brass hardware for the bridge faucet and cabinet pulls.
- Semi-gloss white trim paint for the horizontal shiplap walls.
Adding Woven Textures and Brass Accents
Soften the hard utility surfaces by introducing a natural woven jute rug across the work zone and a bamboo roman shade over the window. These organic textures introduce essential warmth to the cold tile floors.
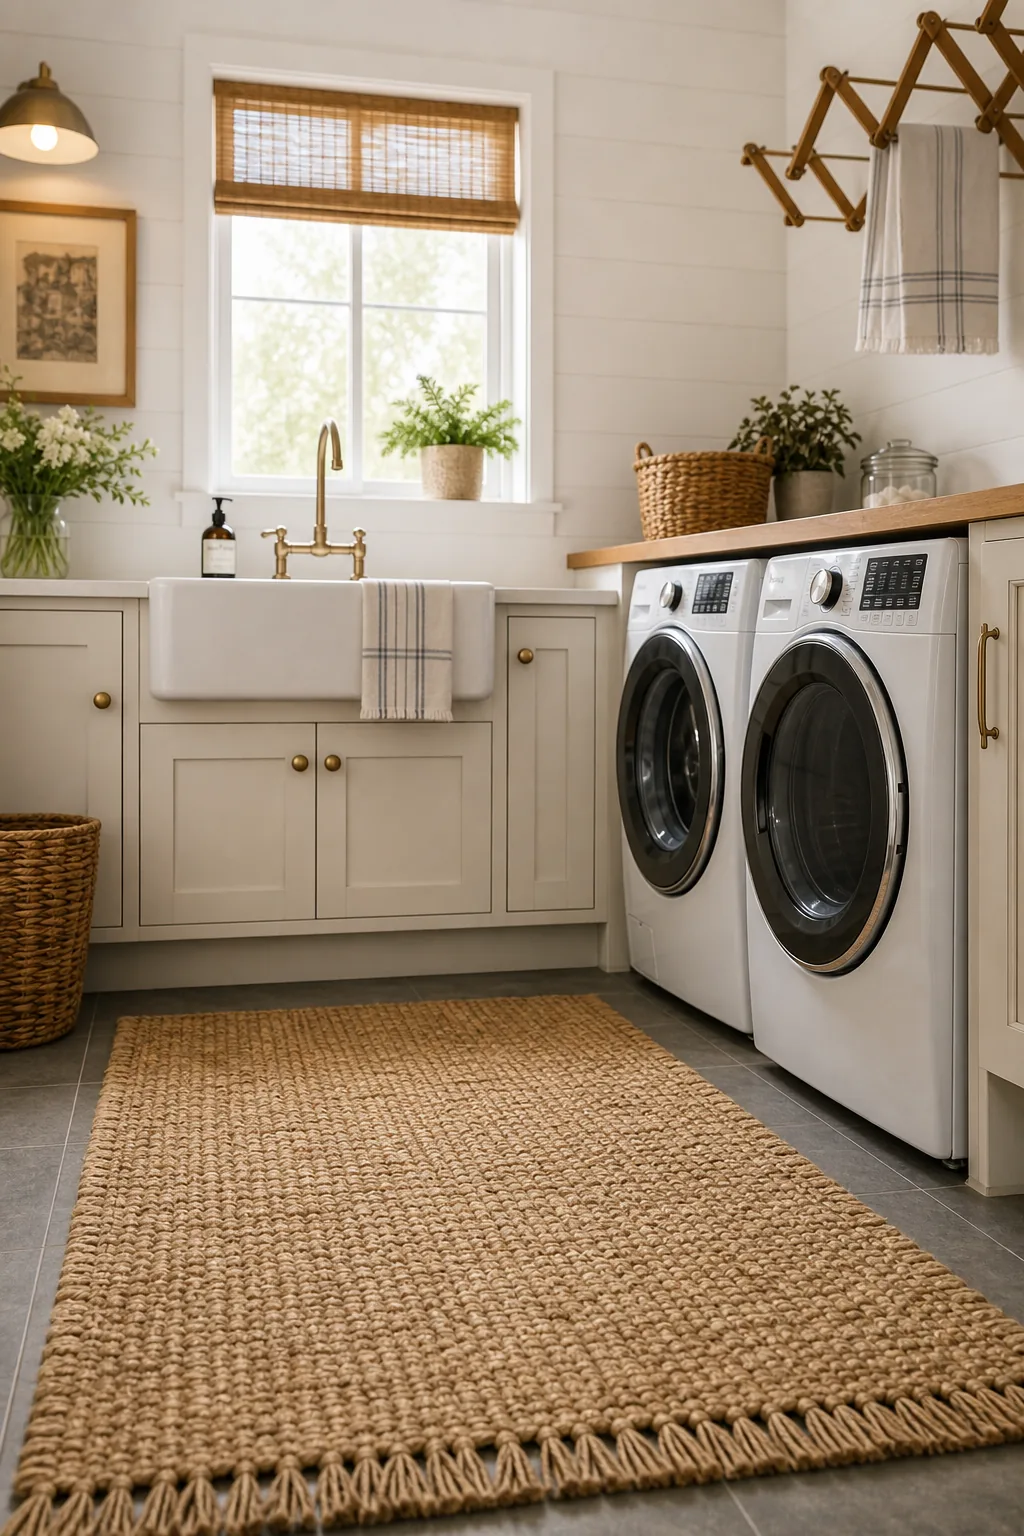
The natural fibers beautifully tie the unlacquered brass faucet and cabinet hardware together, completing the laundry room with a cohesive, intentionally lived-in character.