
The Complete Covered Double Wide Front Porch Build Guide
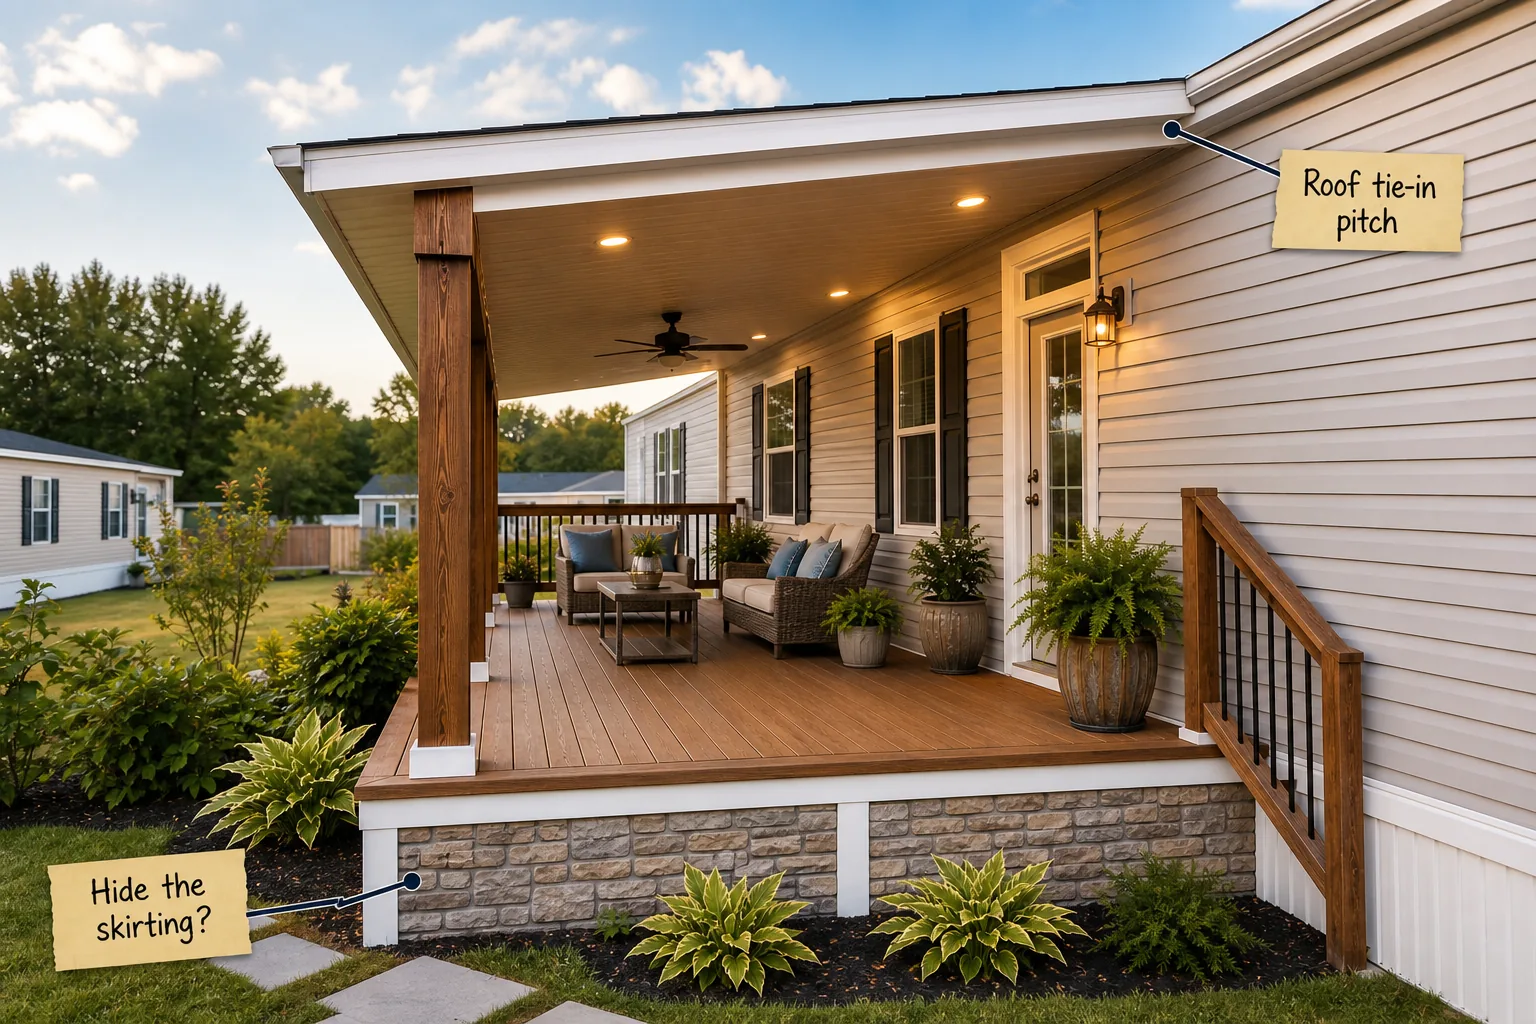
You can successfully plan your covered double wide front porch by following this complete build guide for exact structural measurements and roof tie-in methods. Master the top-down construction sequence to build a safe, freestanding structure that perfectly complements your mobile home exterior.
Planning a Minimum 8ft Porch Depth
Establishing a minimum 8-foot depth creates a functional footprint that properly accommodates standard outdoor furniture dimensions. This specific measurement ensures you maintain a wide, clear walkway across the deck floorboards for daily household traffic.
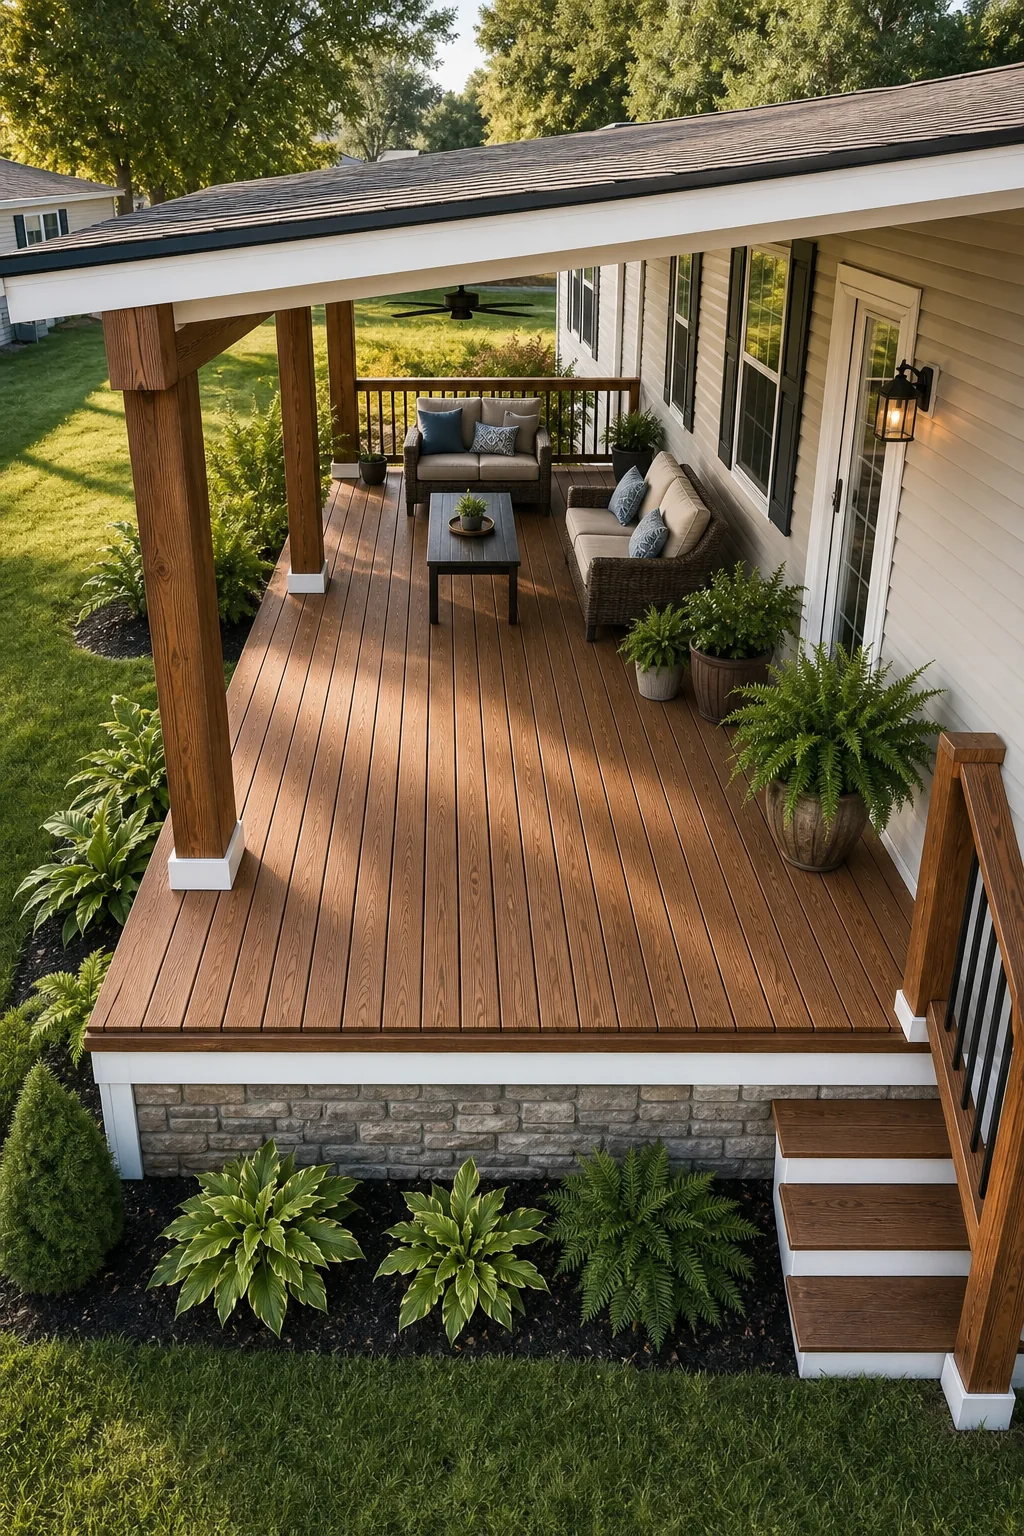
Designing the deck floor depth to meet this baseline allows for a standard wicker seating set and a central coffee table. Anything shallower forces guests to squeeze past structural posts and pushes heavy furniture uncomfortably close to the perimeter safety railings.
Upgrading to a 10-Foot Deck Layout
If you plan to add a full dining table or a deep sectional sofa, extending the structure to a 10-foot depth is highly recommended. Follow this specific sequence to ensure your extended footprint remains structurally sound and visually balanced against the house.
- Measure your desired outdoor furniture pieces to confirm their true physical footprint.
- Map the proposed 10-foot boundary on the ground using highly visible landscape paint.
- Walk the outlined perimeter to verify comfortable clearance from your existing driveway edge.
Calculating the Roof Tie-In Pitch
The roof tie-in pitch dictates exactly how the new porch roof meets the mobile home roof seam, ensuring structural integrity during heavy storms. A seamless visual transition requires perfectly replicating the home’s existing roofline angle during the initial framing stage.
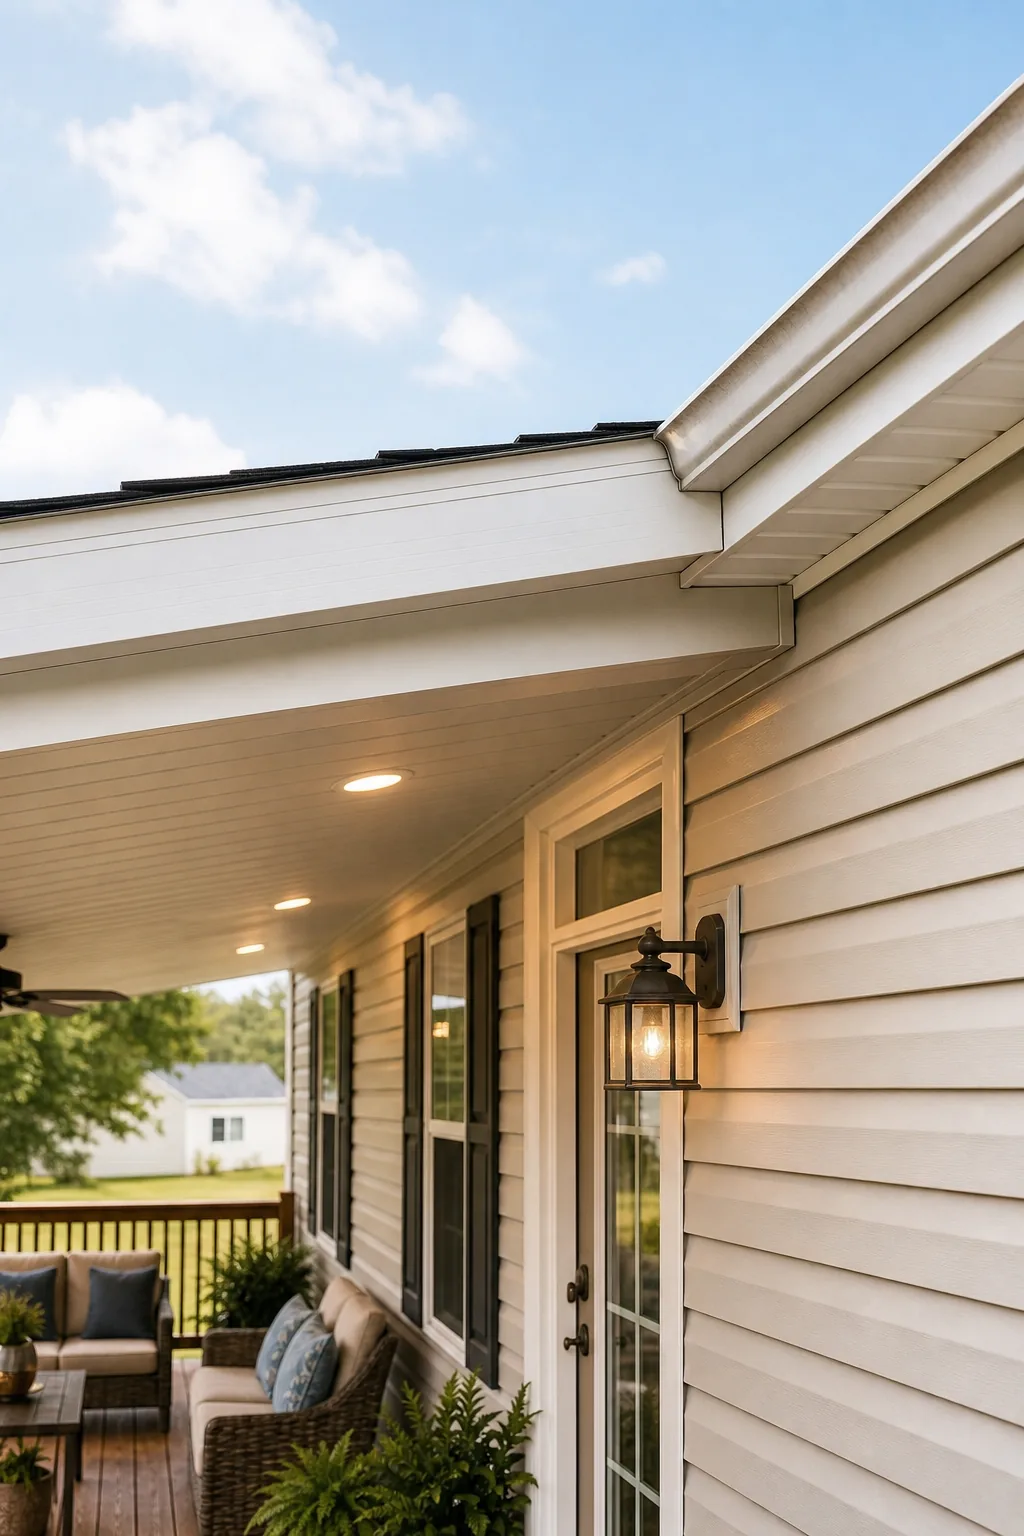
Most standard asphalt shingle warranties legally require a minimum 3:12 pitch to prevent long-term water pooling and ice dam formation. Verifying this angle before ordering materials guarantees that your new shingle coverage will perform correctly and remain fully protected under the manufacturer guarantee.
Managing Low-Slope Roof Transitions
If your existing double wide roof sits lower than the required threshold, you must transition to a specialized low-slope roofing membrane instead of traditional asphalt shingles. This continuous rubberized layer provides superior waterproofing when gentle gravity cannot pull moisture away quickly enough.
Securing the Ledger Board Gap
The house wall connection requires exact placement of Z-flashing above the ledger board to establish an impenetrable barrier against heavy storms. This critical metal shield actively directs rainwater away from the ledger board gap, keeping the interior wooden framing completely dry.
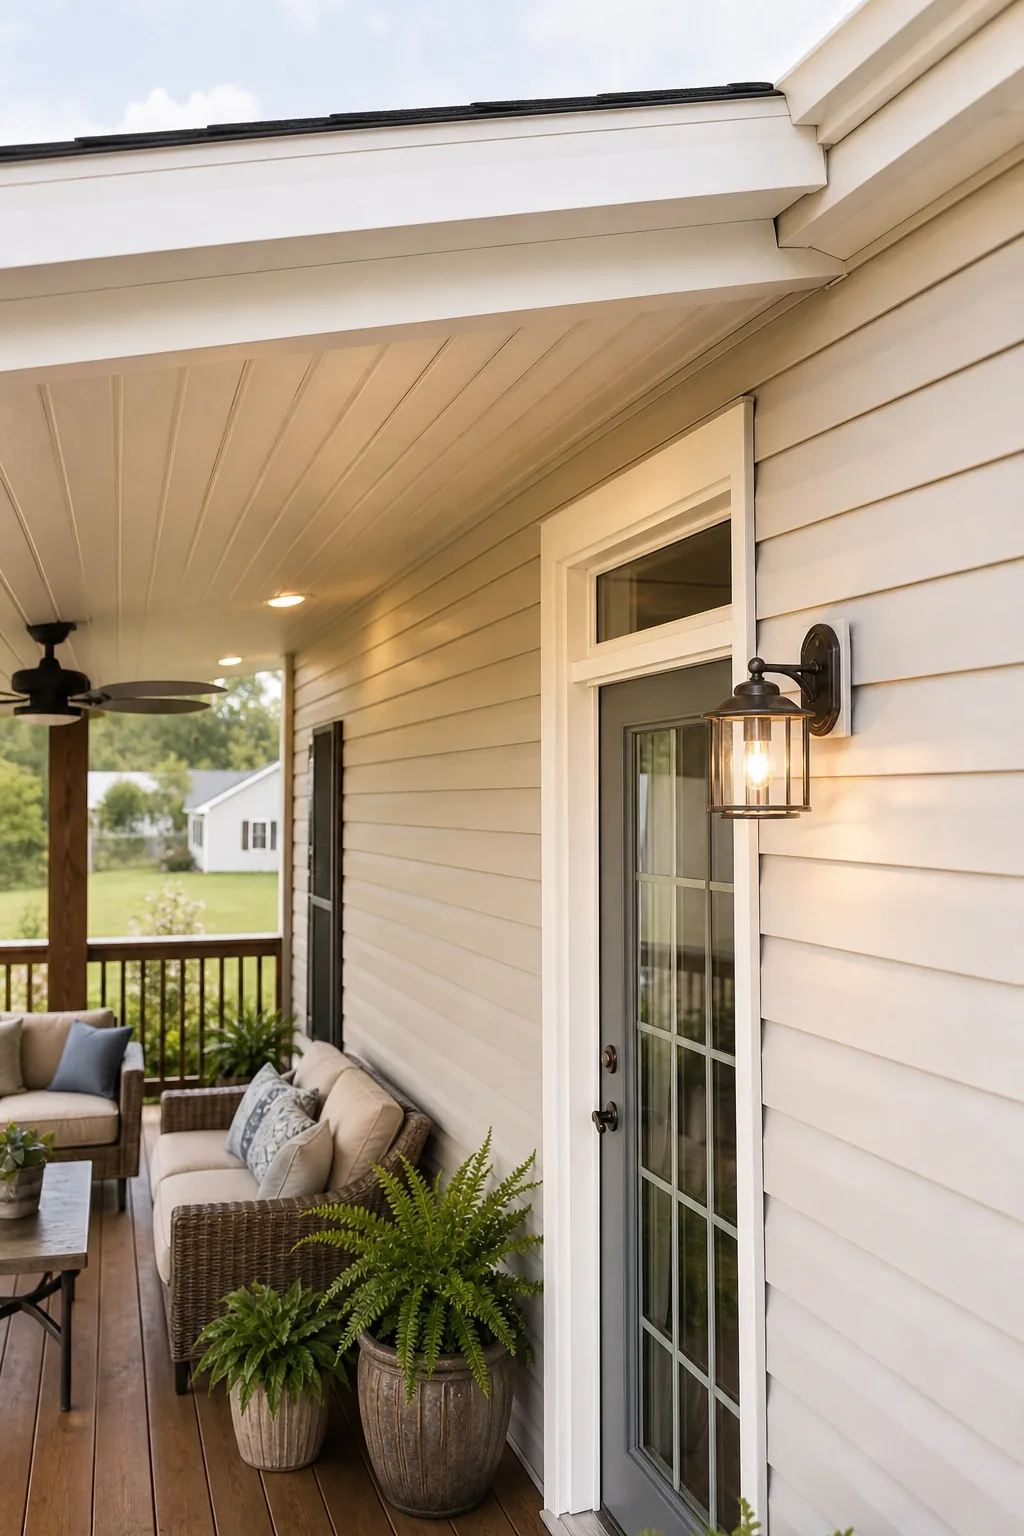
Never attempt to attach this horizontal ledger directly over the exterior vinyl siding or decorative cladding. You must carefully cut away the plastic exterior and secure the board directly against the home’s sturdy rim joist using galvanized lag screws spaced every 16 inches.
Protecting the Rim Joist Connection
Exposing the mobile home’s rim joist reveals its true structural condition and determines if the wood can safely support the ledger board. Inspecting this critical junction ensures you never anchor heavy new porch construction to rotting or insect-damaged foundation framing materials.
The Complete Structural Build Guide
A covered double wide porch requires precise engineering to handle both heavy winter snow loads and strong lateral wind forces. Follow these exact structural measurements to construct a stable, code-compliant outdoor living space from the ground up without compromising the existing home.
| Structural Component | Material Size | Required Spacing | Installation Detail |
|---|---|---|---|
| Support Posts | 6×6 treated wood | Max 8ft apart | Rest on concrete piers |
| Floor Joists | 2×8 lumber | 16 inches on center | Spans up to 10 feet |
| Support Beams | Double 2x10s | Perimeter edges | Through-bolted to posts |
| Concrete Footings | 12-inch diameter | Under every post | 12 inches below frost line |
Because mobile homes are fundamentally not designed to support heavy external roof loads, you must use 6×6 heavy wooden support columns. These thick freestanding posts carry the entire overhead weight independently from the existing house walls and delicate exterior siding.
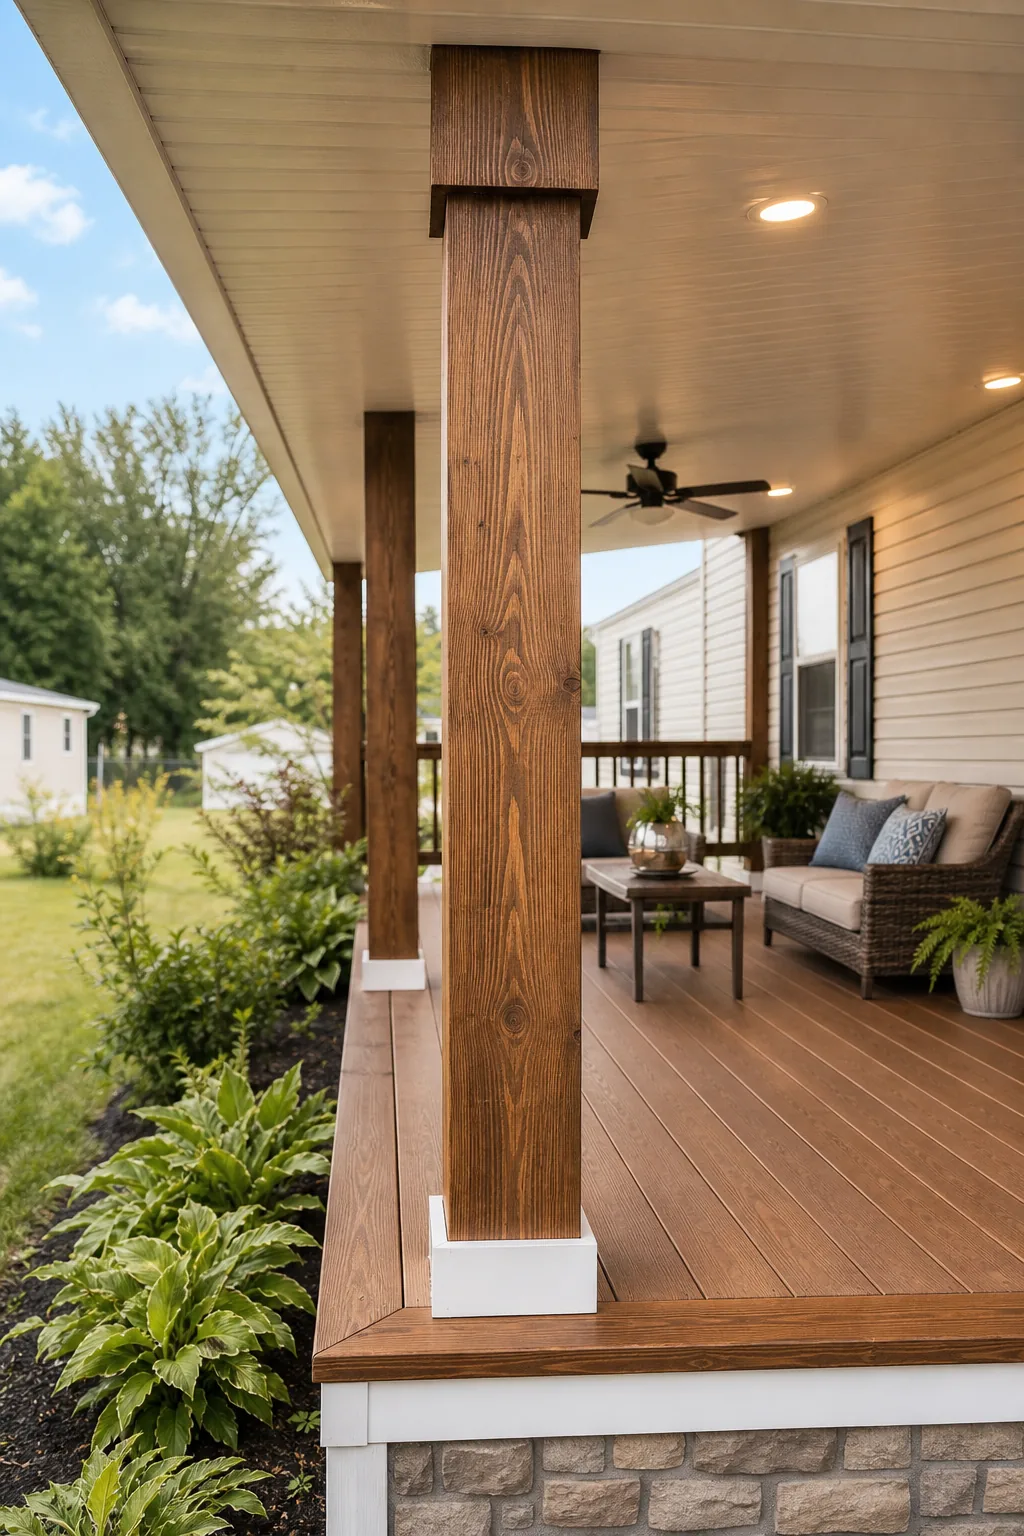
Before purchasing your dimensional lumber or mixing any bags of concrete, verify these foundational requirements to ensure your porch meets basic safety standards. Proper site preparation prevents uneven settling and costly structural failures during the very first harsh winter season.
Pouring Independent Concrete Footings
Anchoring the freestanding posts requires digging cylindrical holes that extend at least 12 inches below the local frost line. Pouring solid concrete footings at this exact depth prevents the heavy wooden support columns from heaving upward during violent freezing and thawing weather cycles.
Laying the Deck Floorboards
Install the wooden deck floorboards perpendicular to the floor joists, maintaining a strict 1/8-inch gap between boards. This precise spacing rule allows the dense wood fibers to naturally expand and contract safely during humid summer weather conditions without buckling.
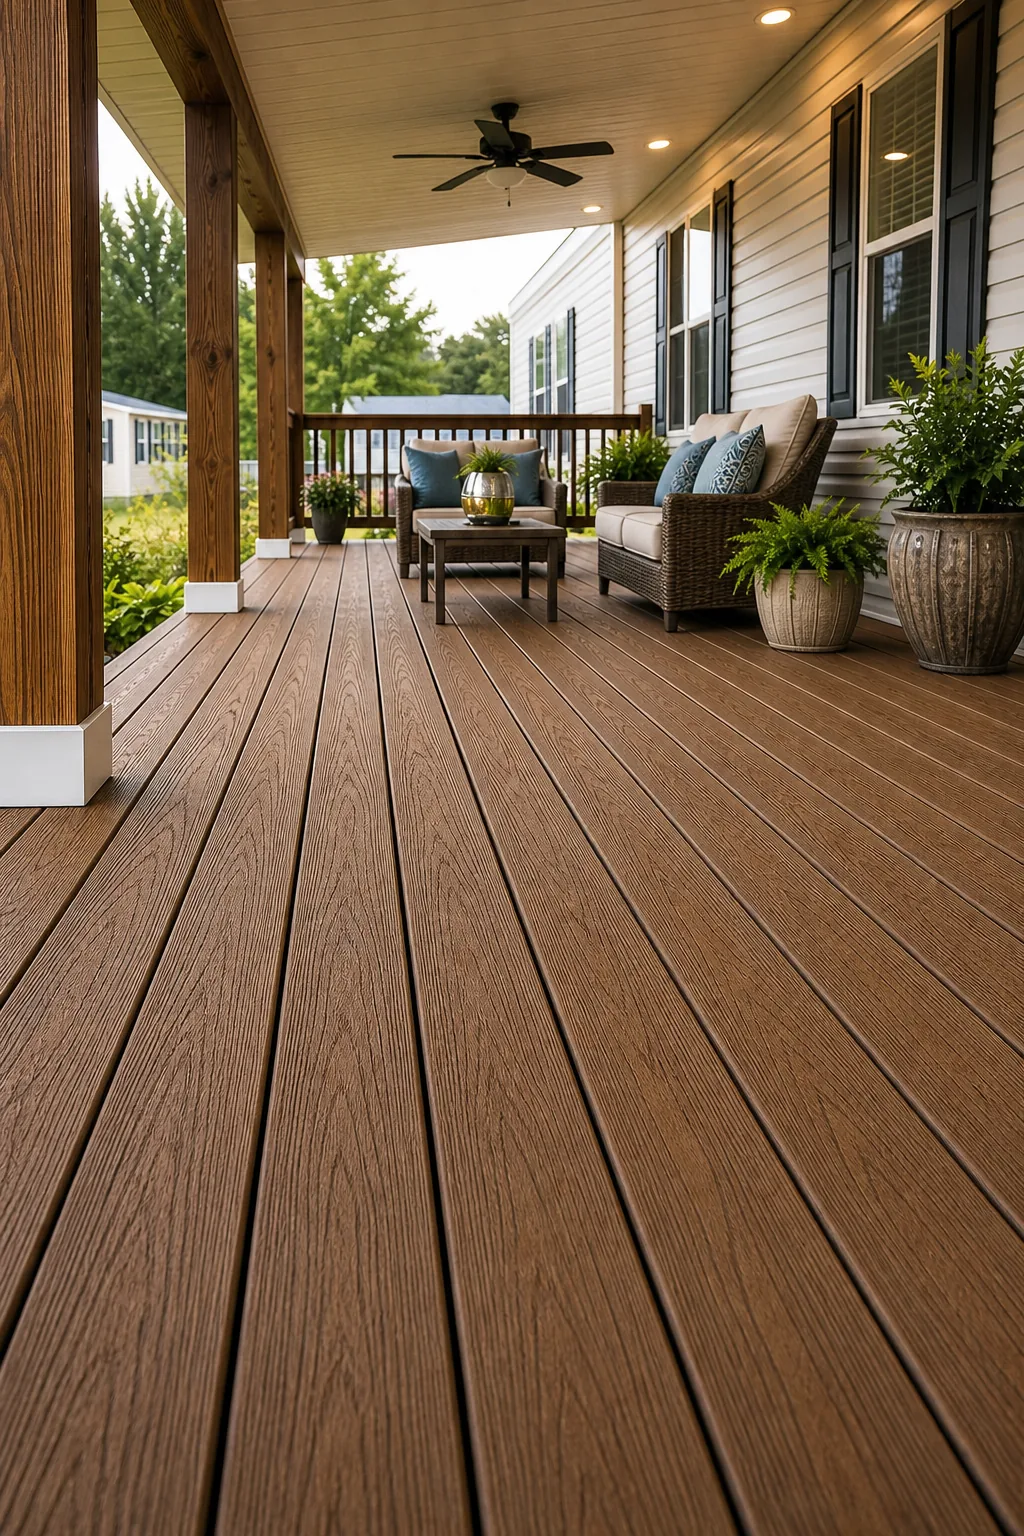
Start laying the decking material from the outside edge and systematically work your way back toward the mobile home wall. This straightforward method ensures that any ripped, partial-width boards remain hidden discreetly against the house rather than exposed prominently on the front step.
Selecting the Right Decking Material
Choosing between traditional pressure-treated lumber and modern composite boards significantly impacts your long-term maintenance schedule and initial budget. While composite materials demand a higher upfront investment, they eliminate the need for annual staining and inherently resist dangerous splintering in high-traffic barefoot zones.
Should You Hide the Skirting?
Installing continuous faux stone skirting around the porch base beautifully grounds the structure and completely hides the utilitarian structural piers. This decorative barrier seamlessly ties the new addition into the existing property landscaping for a highly cohesive exterior profile.
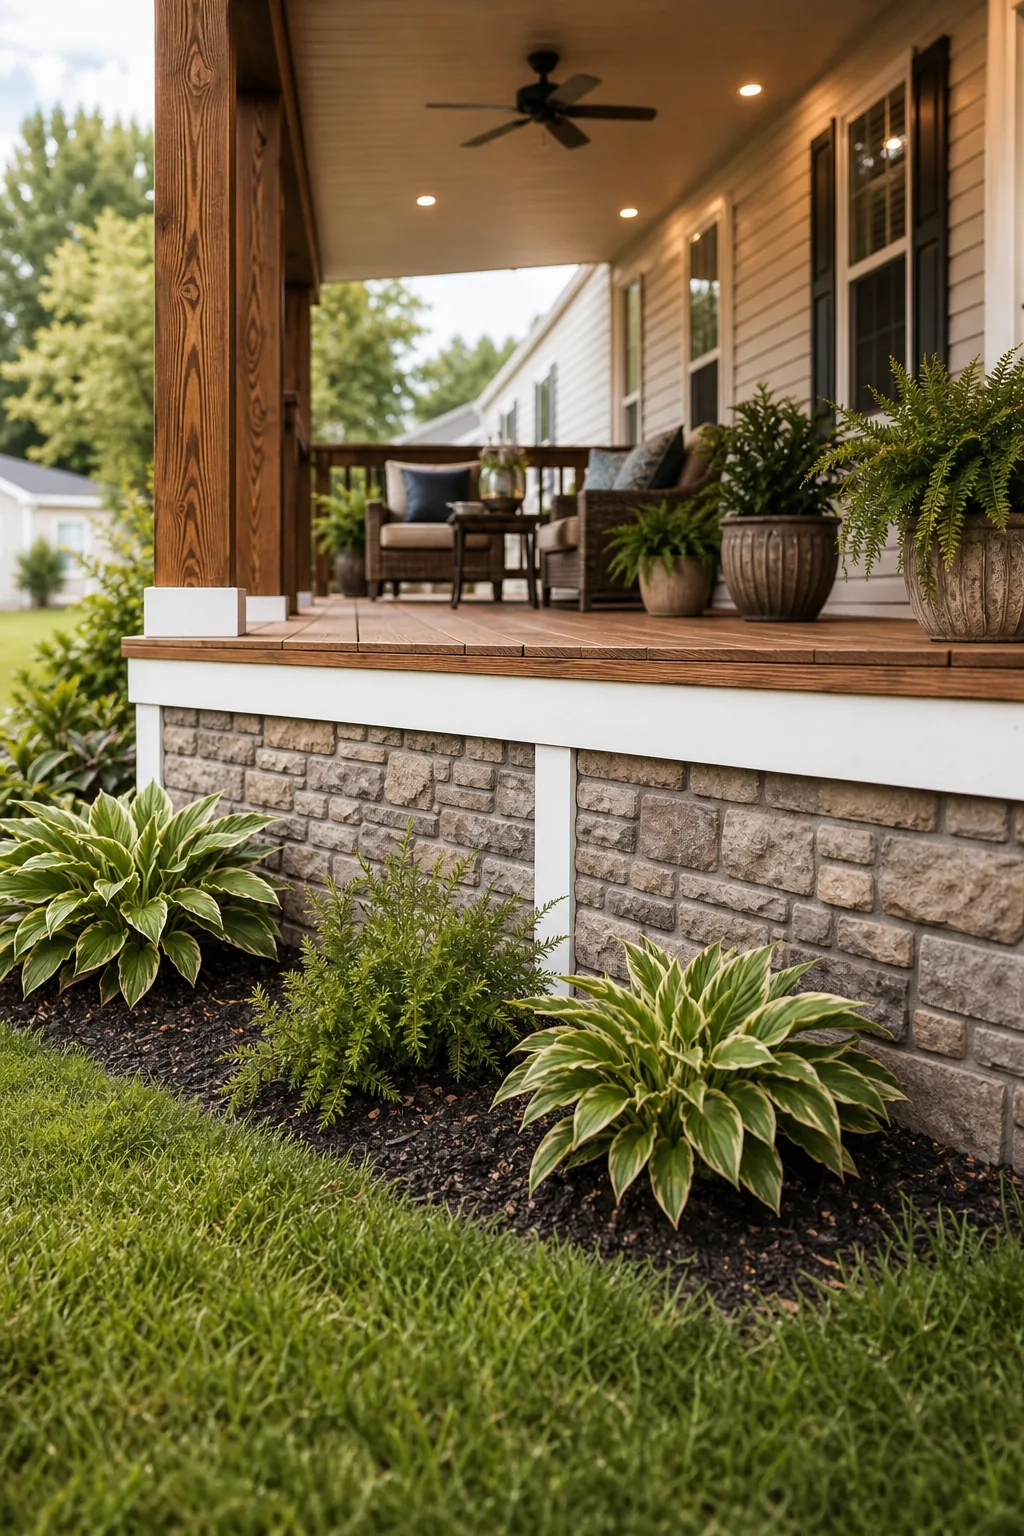
For the most cohesive visual transition, precisely match the new porch base directly to the mobile home’s current foundation skirting. Taking the time to coordinate these materials elevates the entire exterior profile from a basic add-on to a deliberate, high-end architectural feature.
Ventilating the Porch Foundation
Solid skirting materials inherently trap ground moisture, which quickly accelerates dangerous wood rot within your pristine floor joists. You must install hidden ventilation panels within the stonework to prevent trapped moisture under the deck floorboards and maintain healthy cross-breeze airflow year-round.
Adding Essential Safety Railings
Any porch surface sitting higher than 30 inches off the surrounding ground legally requires a sturdy perimeter railing system. For optimal safety, build these guardrails to a standard 36-inch height and space the vertical metal balusters slightly less than 4 inches apart.
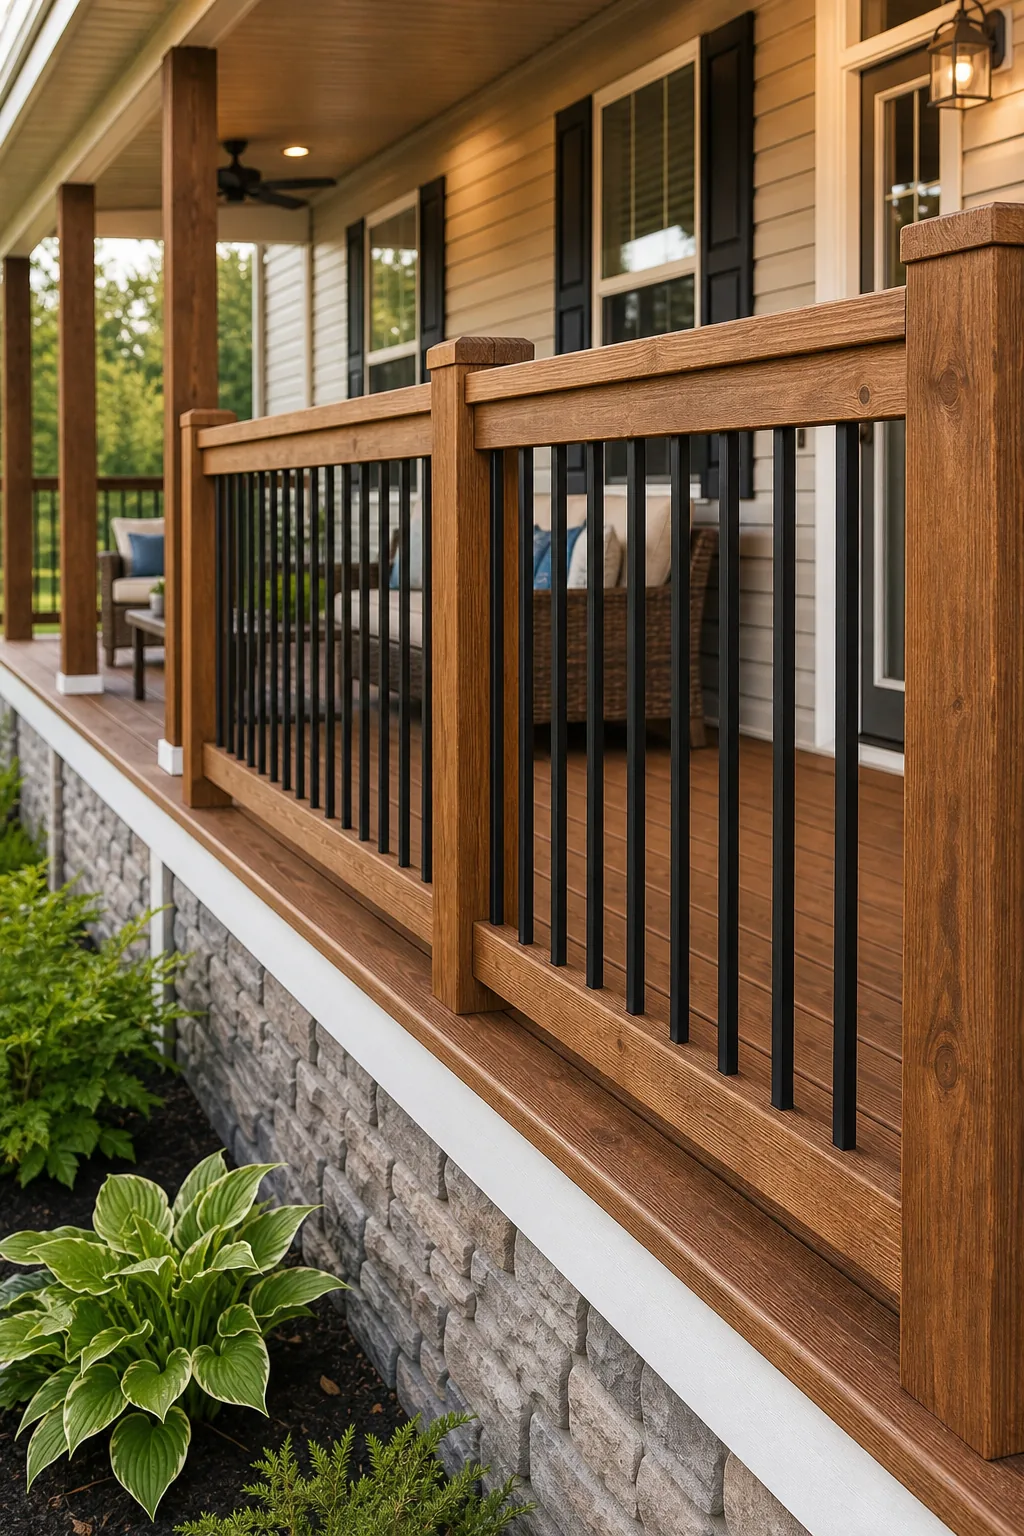
Secure the main railing posts directly to the structural floor joists using heavy-duty carriage bolts before installing the surface decking. Never surface-mount railing posts solely to the deck floorboards, as this creates a dangerously weak connection that rapidly loosens under normal body weight.
Anchoring the Guardrail Posts
Blocking the hollow space between the floor joists provides the necessary rigid backing for your heavy carriage bolts. Installing these solid wood blocks prevents the joists from twisting when significant lateral pressure is applied to the top of the safety railing by leaning guests.
Finishing the Ceiling and Lighting
Finish the underside of the roof structure with moisture-resistant beadboard or vinyl soffit panels to create a polished, interior-like atmosphere. Installing flush-mount recessed lighting provides excellent nighttime visibility while maintaining absolute clearance for the overhead ceiling space.
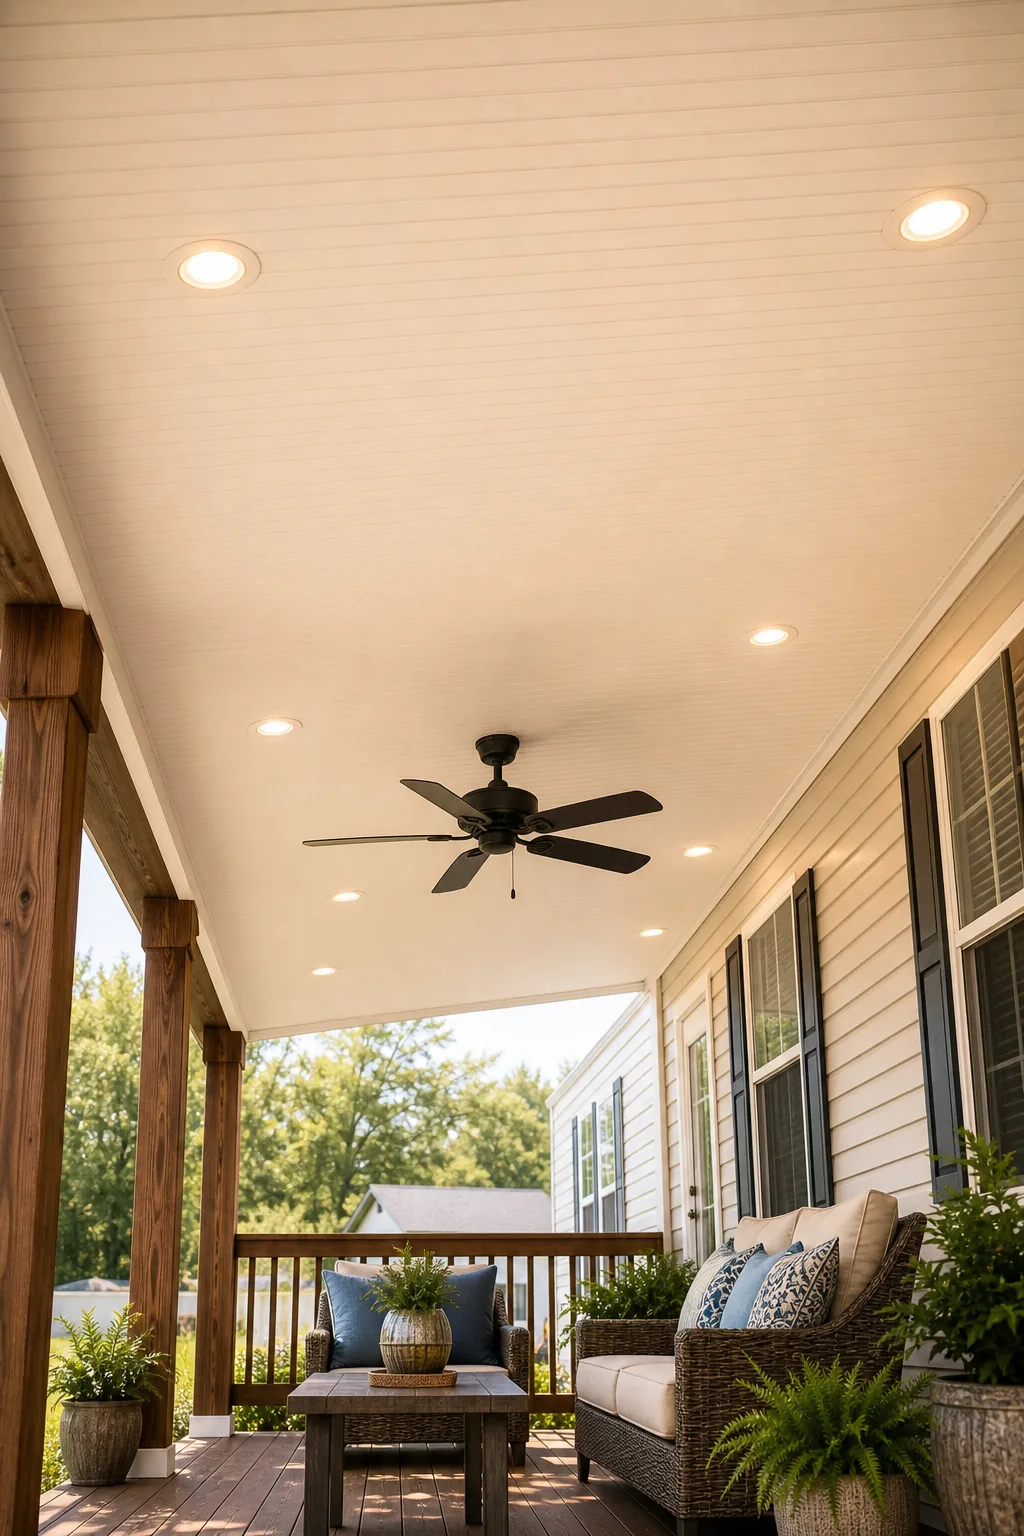
Space these recessed light fixtures evenly, roughly every 4 to 6 feet, to eliminate harsh shadows across your nighttime seating areas. Route all electrical wiring neatly through the ceiling joists before installing the final soffit panels for a completely hidden, professional finish.