
Bedroom Decor: The Complete Styling and Proportion Guide

Master the exact measurements, pillow formulas, and color ratios needed to style a balanced, designer-quality bed with this complete styling and proportion guide. By following these concrete spatial rules, you will be able to measure, place, and layer your bedroom textiles and furniture perfectly.
Sizing Your Anchor Rug
Determine the correct foundation dimensions based on your specific mattress size to ensure the room feels appropriately grounded. A standard Queen bed requires an 8×10 foot rug, while a King mattress needs a larger 9×12 foot rug to maintain proper visual weight.

Selecting this larger foundational footprint prevents the furniture from looking crowded and visually expands the surrounding floor space. The rug acts as a unified stage that connects the bed frame, nightstands, and any footboard bench into one cohesive design element.
Matching Rugs to Room Dimensions
Beyond the mattress size, you must also measure your total floor area to confirm the anchor rug leaves adequate breathing room. The perimeter of your chosen rug should never touch the baseboards, as edge-to-edge carpeting entirely defeats the purpose of an area rug.
| Mattress Size | Minimum Rug Dimension | Ideal Rug Dimension | Required Wall Clearance |
|---|---|---|---|
| Standard Full | 6×9 foot rug | 8×10 foot rug | 12 inches minimum |
| Standard Queen | 8×10 foot rug | 9×12 foot rug | 18 inches minimum |
| Standard King | 9×12 foot rug | 10×14 foot rug | 24 inches minimum |
| California King | 9×12 foot rug | 10×14 foot rug | 24 inches minimum |
Maintaining a minimum 12-inch bare floor border between the rug edge and the wall ensures the room retains its architectural definition. This hard surface gap frames the textile foundation and highlights the transition between the sleeping zone and the structural boundaries.
Rug Placement and Bed Alignment
Position the rug so it extends exactly 18 to 24 inches beyond the sides and foot of the bed frame. Leave the top quarter of the bed over bare floor so your heavy nightstands sit completely flat against the solid wood or tile.
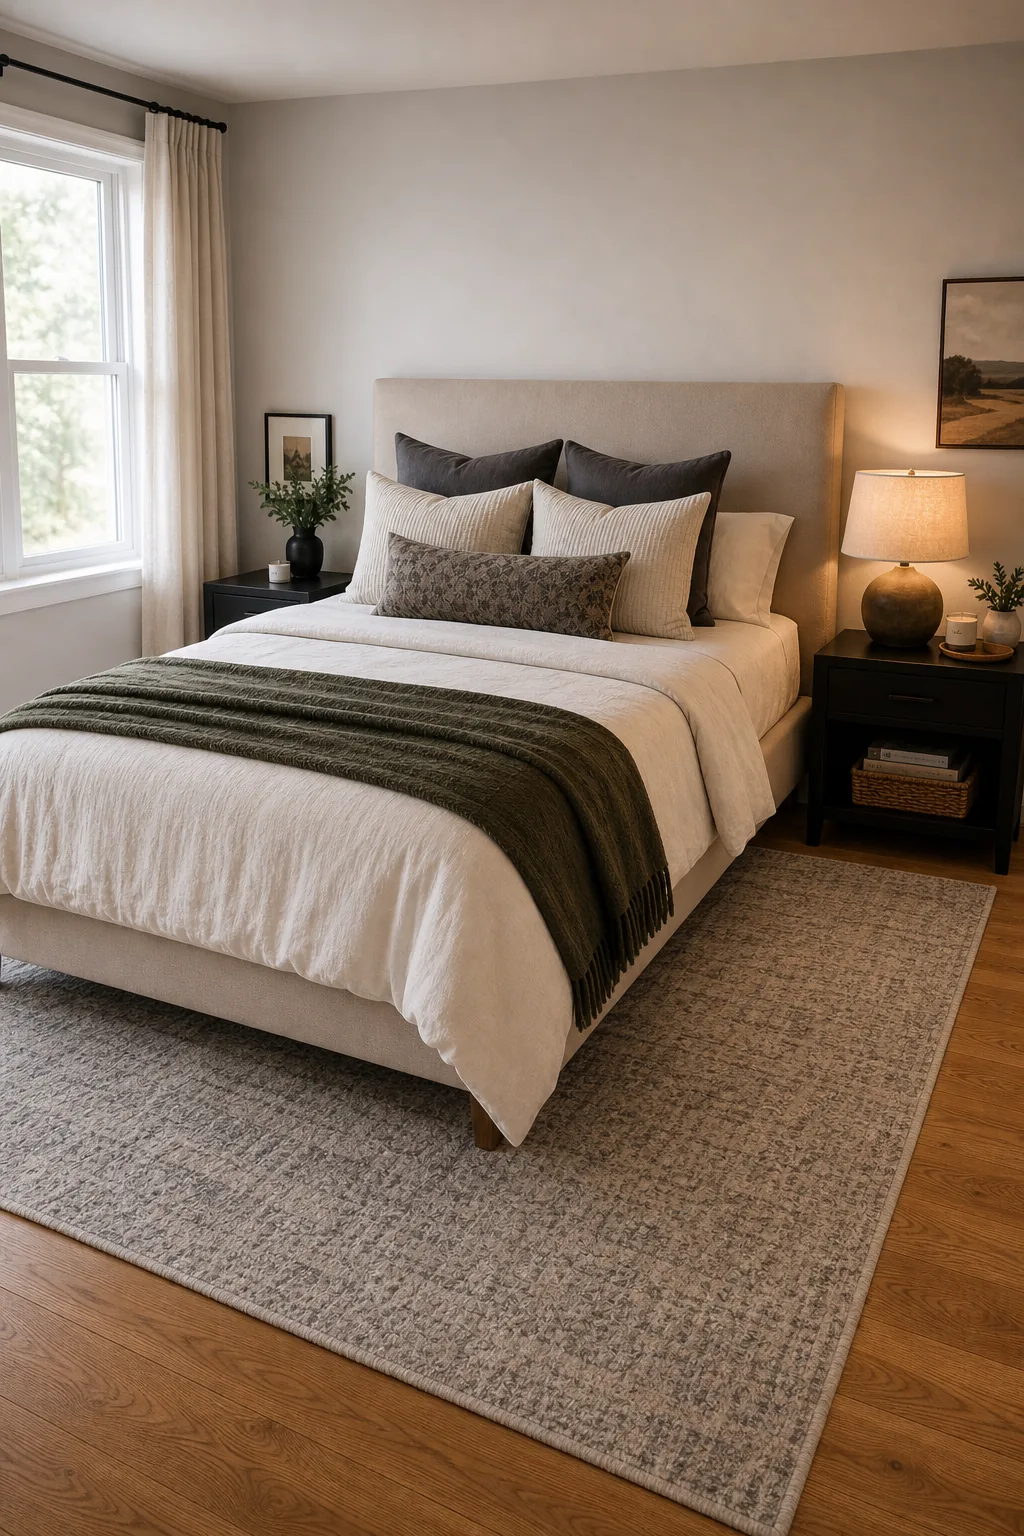
Shifting the foundation downward ensures your bedside tables rest entirely on the hard floor rather than straddling an uneven textile seam. This deliberate forward placement also maximizes the soft landing zone exactly where your feet touch the ground each morning.
Establishing the Bed Frame Base
Before adding soft layers, verify that your foundational bed frame provides the correct structural support for your mattress height. A standard platform frame eliminates the need for a box spring, but you must ensure the slat spacing measures no more than three inches apart.
- Measure your exact mattress thickness to determine if you need a low-profile foundation for balance.
- Check the wooden slat spacing to prevent heavy memory foam mattresses from sagging over time.
- Verify the frame clearance allows the thick area rug to slide smoothly underneath the legs.
Securing a rigid, well-measured base prevents mattress degradation and keeps the entire sleeping zone perfectly level. This solid geometry is absolutely essential before you begin layering the decorative textiles, heavy duvets, and multiple accent pillows required for a finished look.
Defining the Sleeping Zone
Establish the core structure by ensuring the final mattress height sits between 24 and 28 inches from the floor. This specific elevation mimics premium hotel proportions and makes getting in and out of bed physically effortless for most average-height adults.
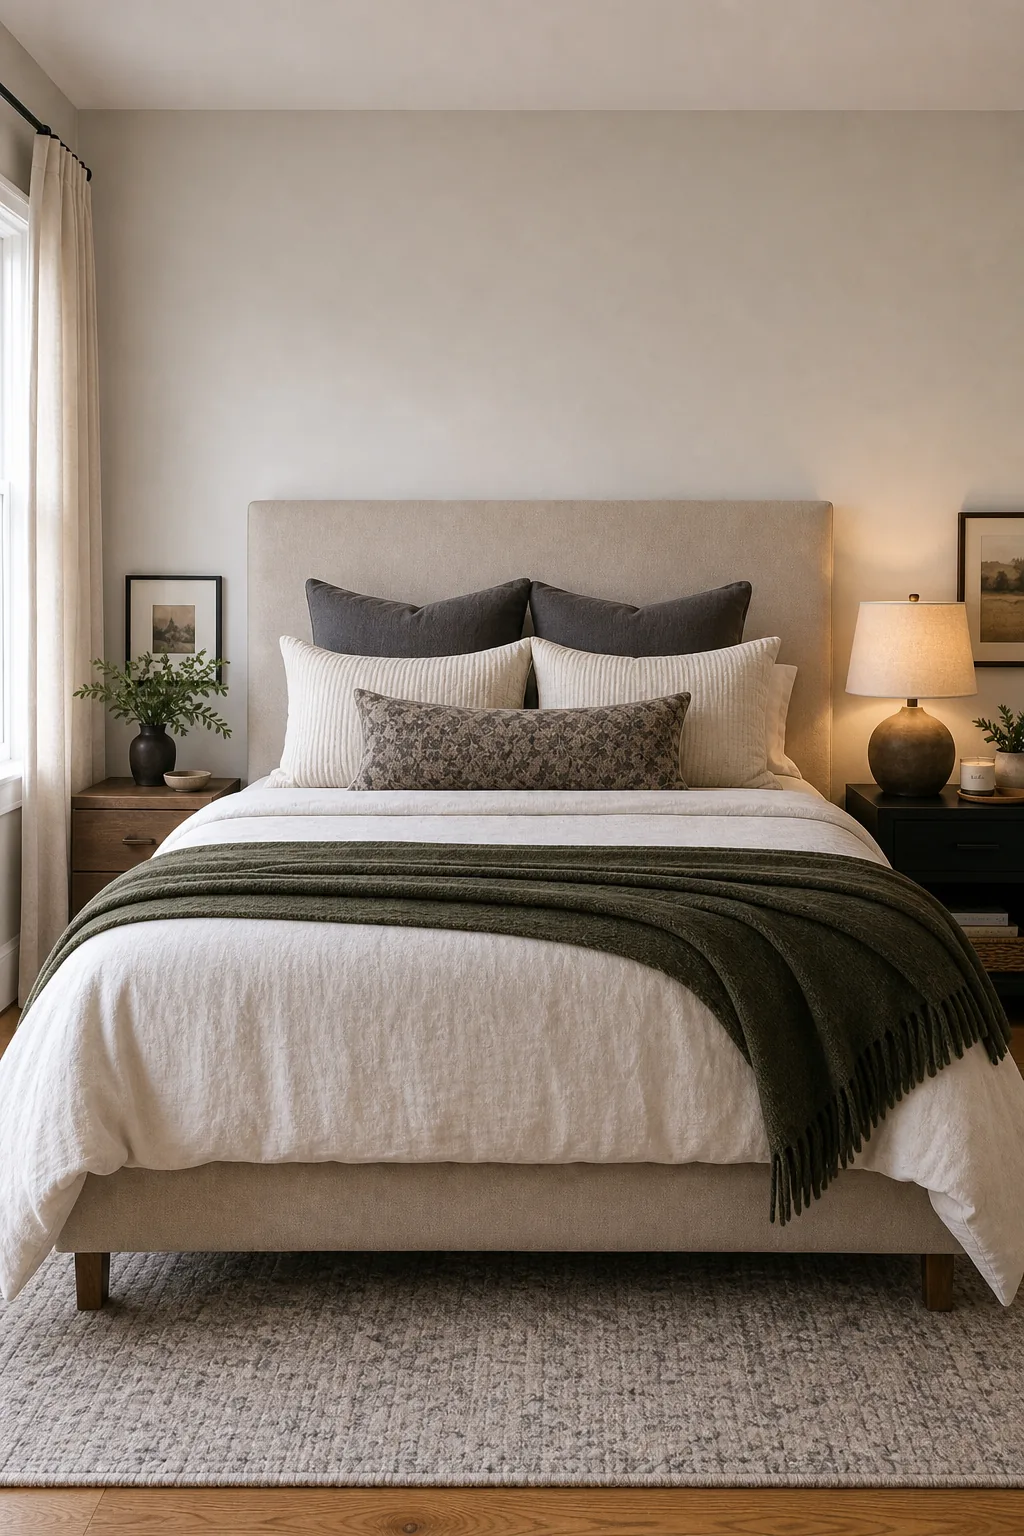
The headboard must rise high enough to remain a prominent focal point once all your decorative pillows are stacked against it. Aim for a headboard that extends at least 20 inches above the bare mattress to properly frame the finished arrangement.
Selecting Headboard Materials
The texture of your headboard sets the baseline for the entire room’s tactile experience and dictates how you will build your pillow stack. An upholstered linen backboard absorbs sound, while a solid wood frame introduces crisp architectural contrast that requires softer bedding.
The 60-30-10 Color Rule
Distribute your palette using 60 percent dominant neutrals on the walls and duvet, and 30 percent secondary tones on the headboard and rug. Reserve the final 10 percent for dark accents, strategically placed on the throw blanket at the foot of the bed.

Placing your heaviest visual element at the base of the mattress creates a definitive resting place for the eye. This strategic placement anchors the lighter floating linens and prevents the bright room from feeling entirely weightless.
Layering the Foundation Bedding
Start your textile assembly by pulling a crisp, fitted percale sheet tightly over the mattress corners to create a smooth sleeping surface. Add the flat sheet upside down, so the decorative hem faces outward when you fold it back over the duvet cover.
The Pillow Stack Formula
Build the arrangement strictly from back to front by propping two standard sleeping pillows directly against the headboard. Layer two large decorative shams in the middle, and finish the visual slope with one extra-long lumbar pillow in the very front.

This specific back-to-front sequence establishes an inviting physical angle while completely hiding the functional sleeping pillows behind the decorative layers. Sizing the front lumbar cushion to span at least half the mattress width ensures the arrangement feels substantial and unified.
Managing Quilt and Duvet Proportions
Fold your heavy duvet in half at the foot of the bed, exposing the middle section of your foundational quilt or coverlet. This double-layering technique adds immediate visual volume and provides practical temperature control for unpredictable nighttime climates throughout the changing seasons.
Mixing Pillow Textures
Contrast the smooth, breathable cotton of the primary sleeping zone with highly tactile decorative layers to create depth. Use a heavy linen or ribbed fabric for the middle shams, and select a densely woven pattern for the front lumbar cushion.

Introducing this rougher tactile variation against the crisp sleeping sheets prevents the bedding arrangement from looking flat or strictly utilitarian. This single textured front layer instantly elevates the entire stack into a styled focal point.
Draping the Accent Throw
Toss a lightweight, fringed throw blanket casually across the bottom corner of the folded duvet to break up the rigid horizontal lines. Allowing the fabric to drape naturally over the mattress edge softens the strict geometry of the tightly layered bedding stack.
Setting Ambient Light Height
Select a bedside lamp that sits roughly 24 to 27 inches tall on the nightstand to properly illuminate the sleeping zone. The bottom edge of the lampshade must align exactly with your chin when you are sitting straight up in bed.

Maintaining this specific chin-level alignment casts the glow directly onto your book rather than outward into the room. A warm 2700K LED bulb inside that shade provides the optimal relaxing spectrum for winding down at night.
Sizing the Nightstands
Choose nightstands that sit exactly level with, or no more than two inches higher than, the top of your bare mattress. This precise horizontal alignment makes reaching for your phone, reading glasses, or water glass purely intuitive in the dark without stretching.
The Complete Proportion Guide
Bring the entire room together by verifying the spatial relationships between the structural foundation, the soft sleeping zone, and the ambient lighting. Consistent spacing ensures the heavily layered textiles look highly deliberate and designer-finished rather than accidental or visually cluttered.
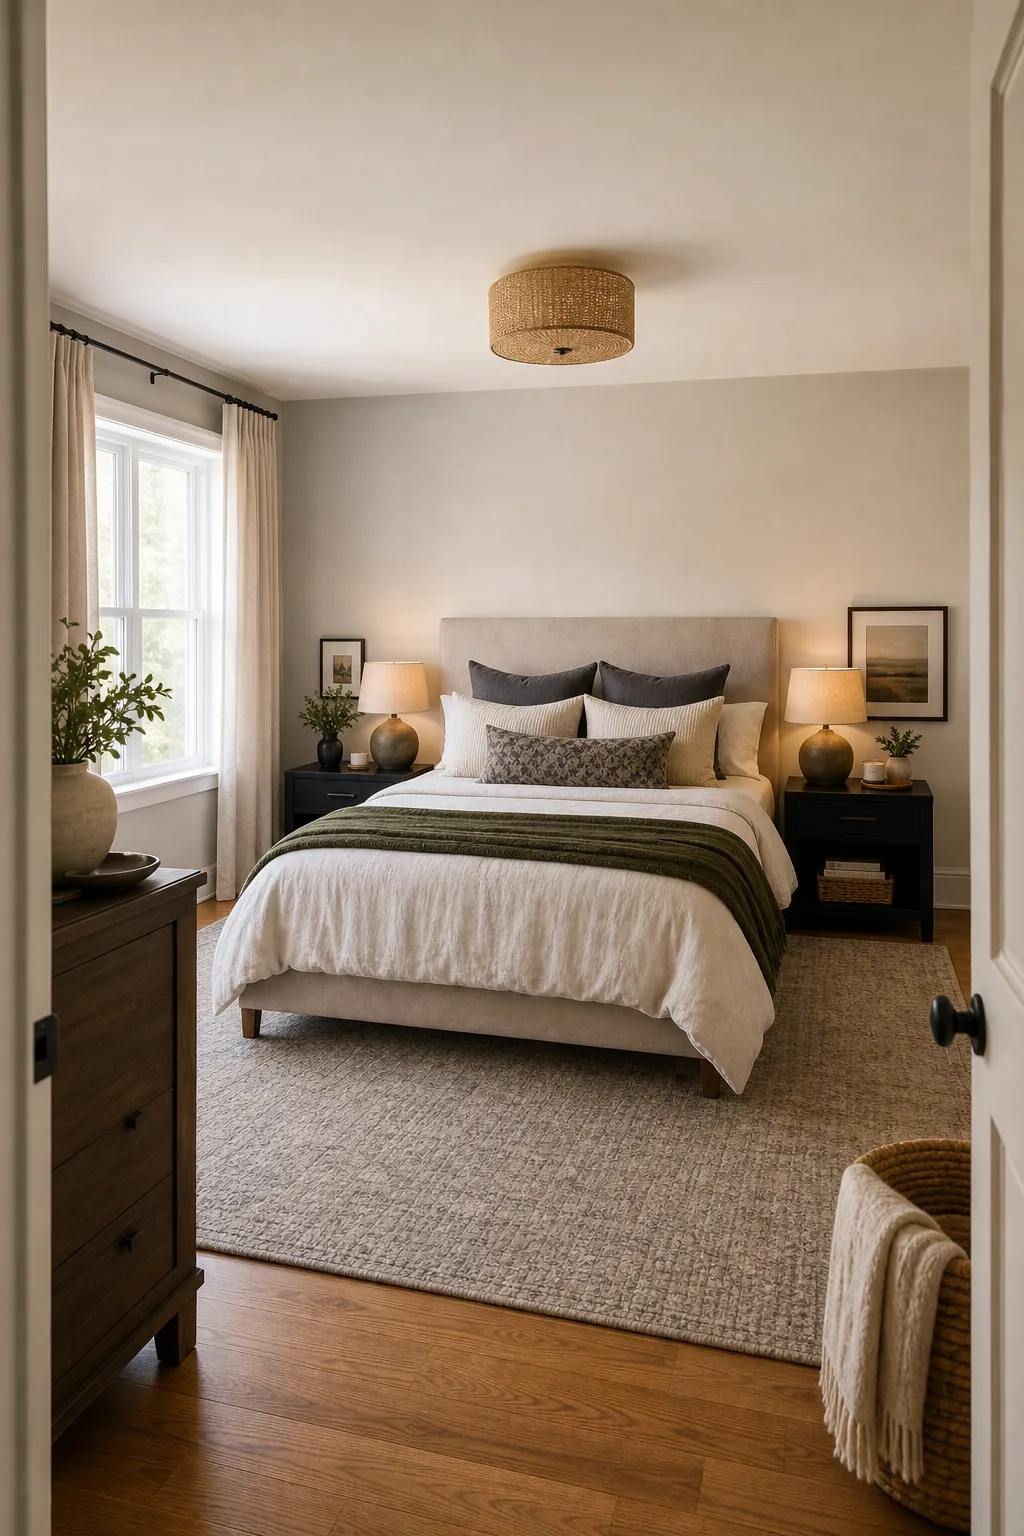
Verifying these three specific measurements guarantees that your bedroom functions beautifully without feeling overwhelmed by heavy fabrics. This final structural check ensures the finished space remains calm and restful.