
The Bug-Proof Screened Deck Planning Guide and Checklist
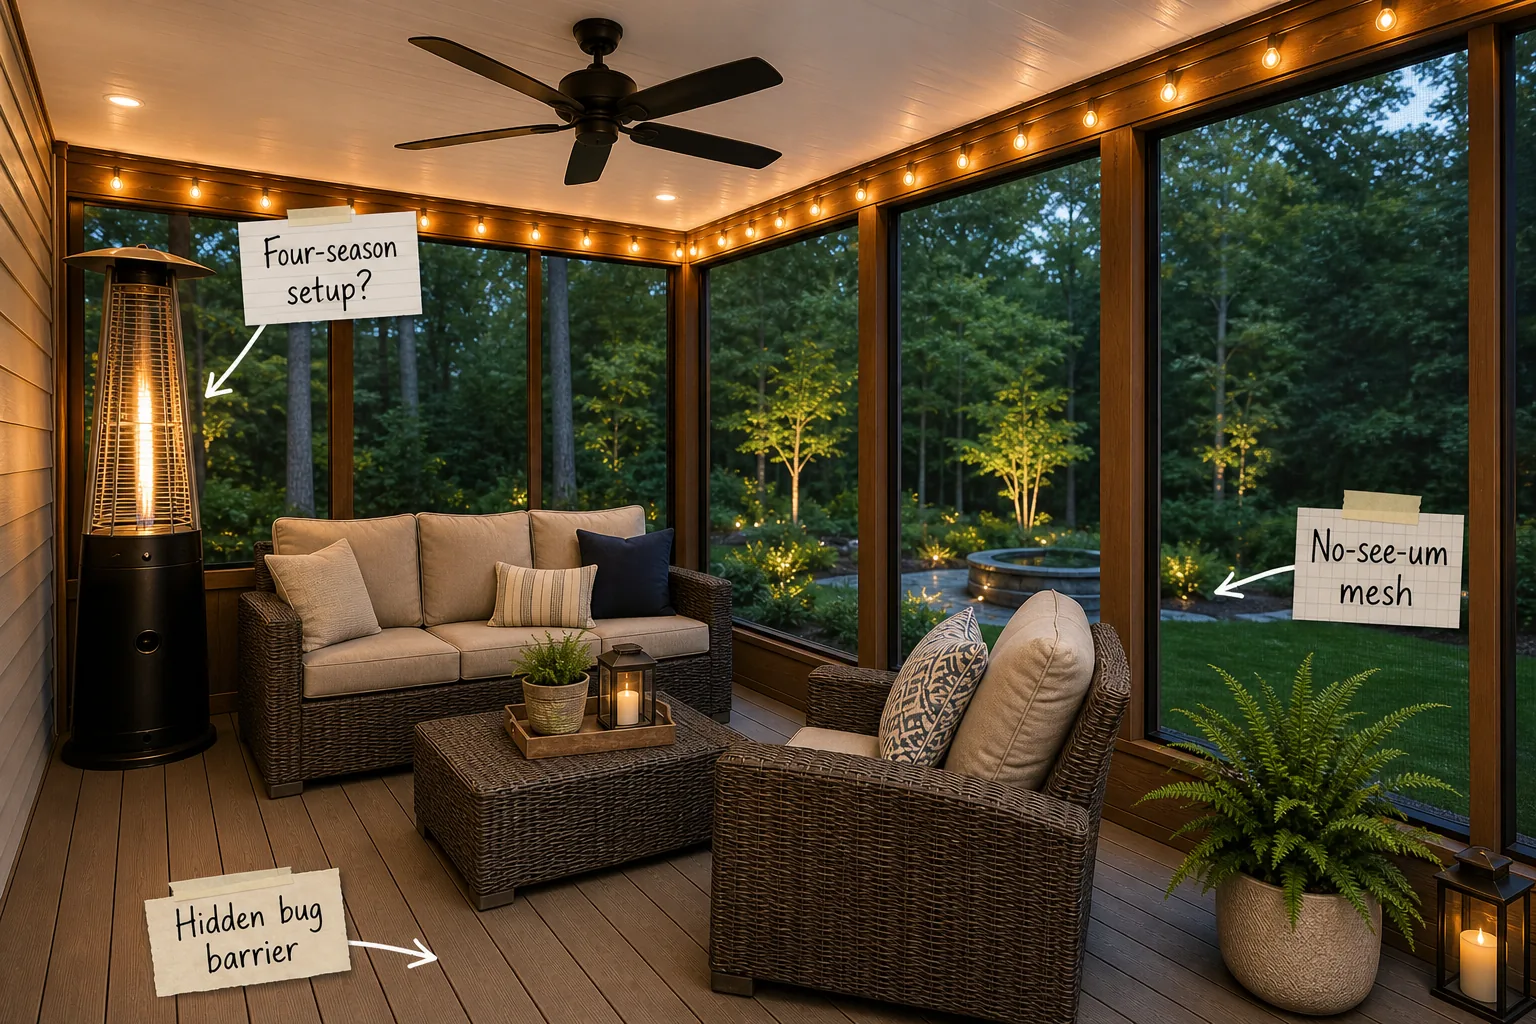
Building a bug-proof screened deck requires careful planning and precise material selection to ensure a comfortable, bite-free outdoor living room. This complete planning guide and material checklist delivers exactly what you need to finalize your layout and construct a durable, weather-resistant sanctuary.
Choosing a Moisture-Safe Floor
A truly moisture-safe floor begins by replacing traditional wood with seamless composite decking at the screen threshold. Enclosed porches restrict natural sunlight and breezes, making standard timber highly susceptible to hidden rot, structural decay, and dangerous mold accumulation over time.
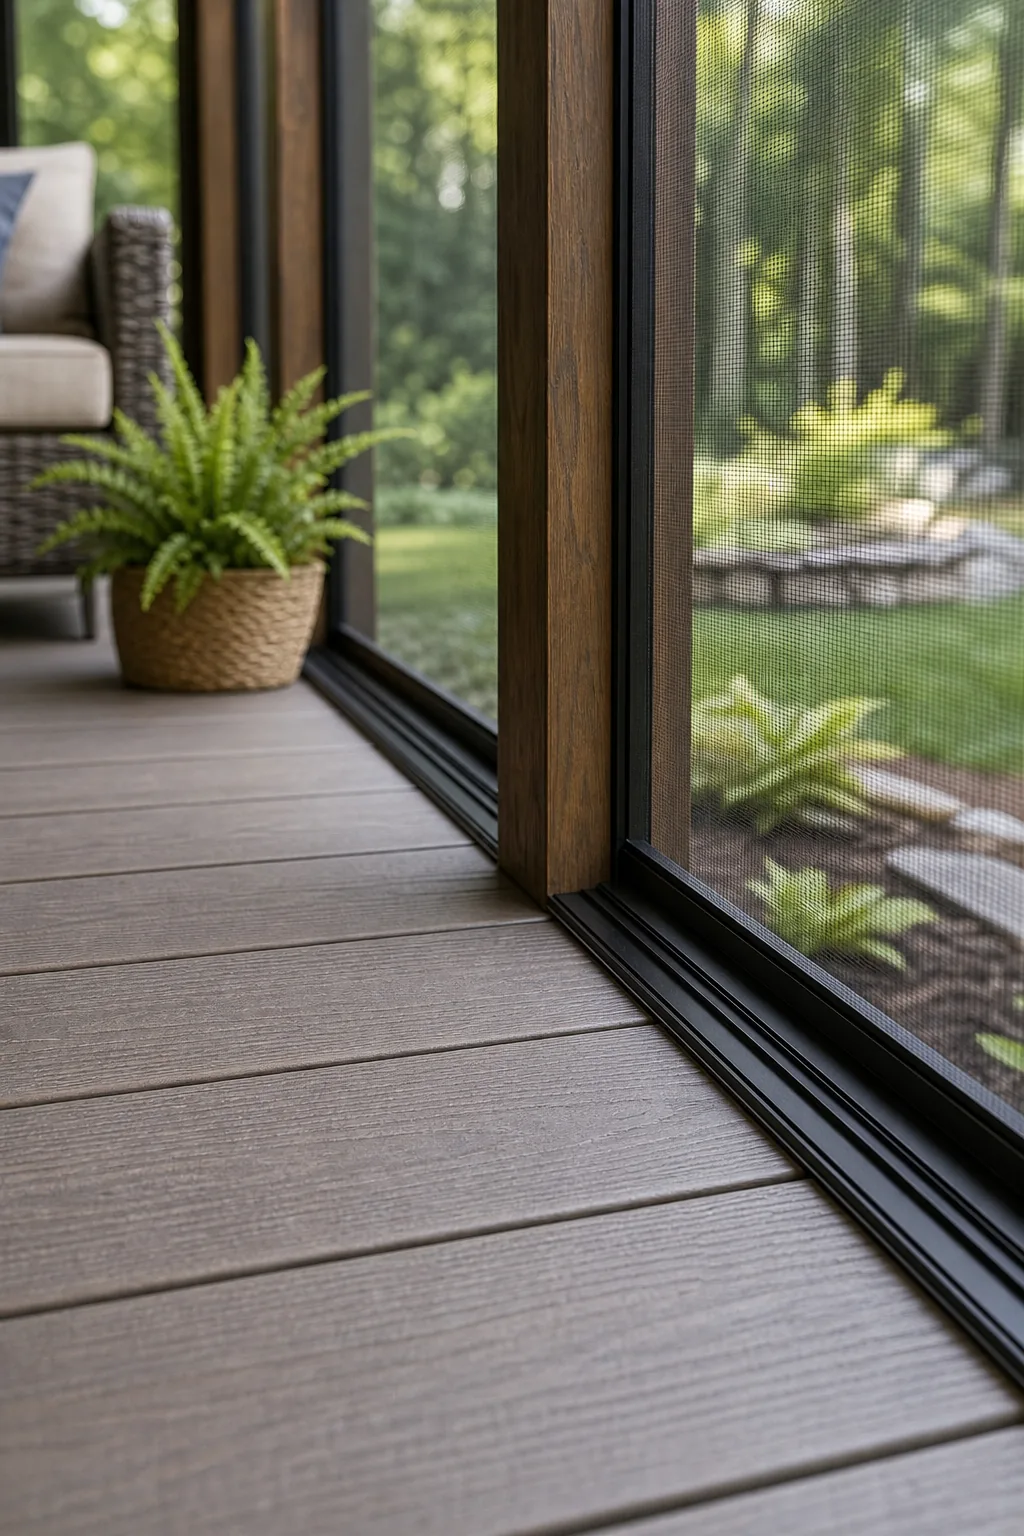
Selecting standard 5/4-inch composite boards provides the structural rigidity necessary to resist warping in humid microclimates. These dense, synthetic planks repel standing rainwater completely, ensuring your bug-proofed foundation remains level, structurally sound, and entirely maintenance-free for decades.
Calculating Deck Substructure Loads
Upgrading to dense synthetic flooring requires evaluating your underlying joist spacing to handle the increased material weight safely. Install your wooden floor joists at a strict 12-inch on-center spacing to eliminate bouncy floorboards and guarantee the heavy composite surface remains perfectly flat.
Installing the Hidden Bug Barrier
The most critical defense layer is the hidden bug barrier installed directly beneath your feet to block insects from crawling up through the floorboard gaps. You must stretch a continuous fiberglass screen roll tightly across the bare wooden joists before laying any decking.
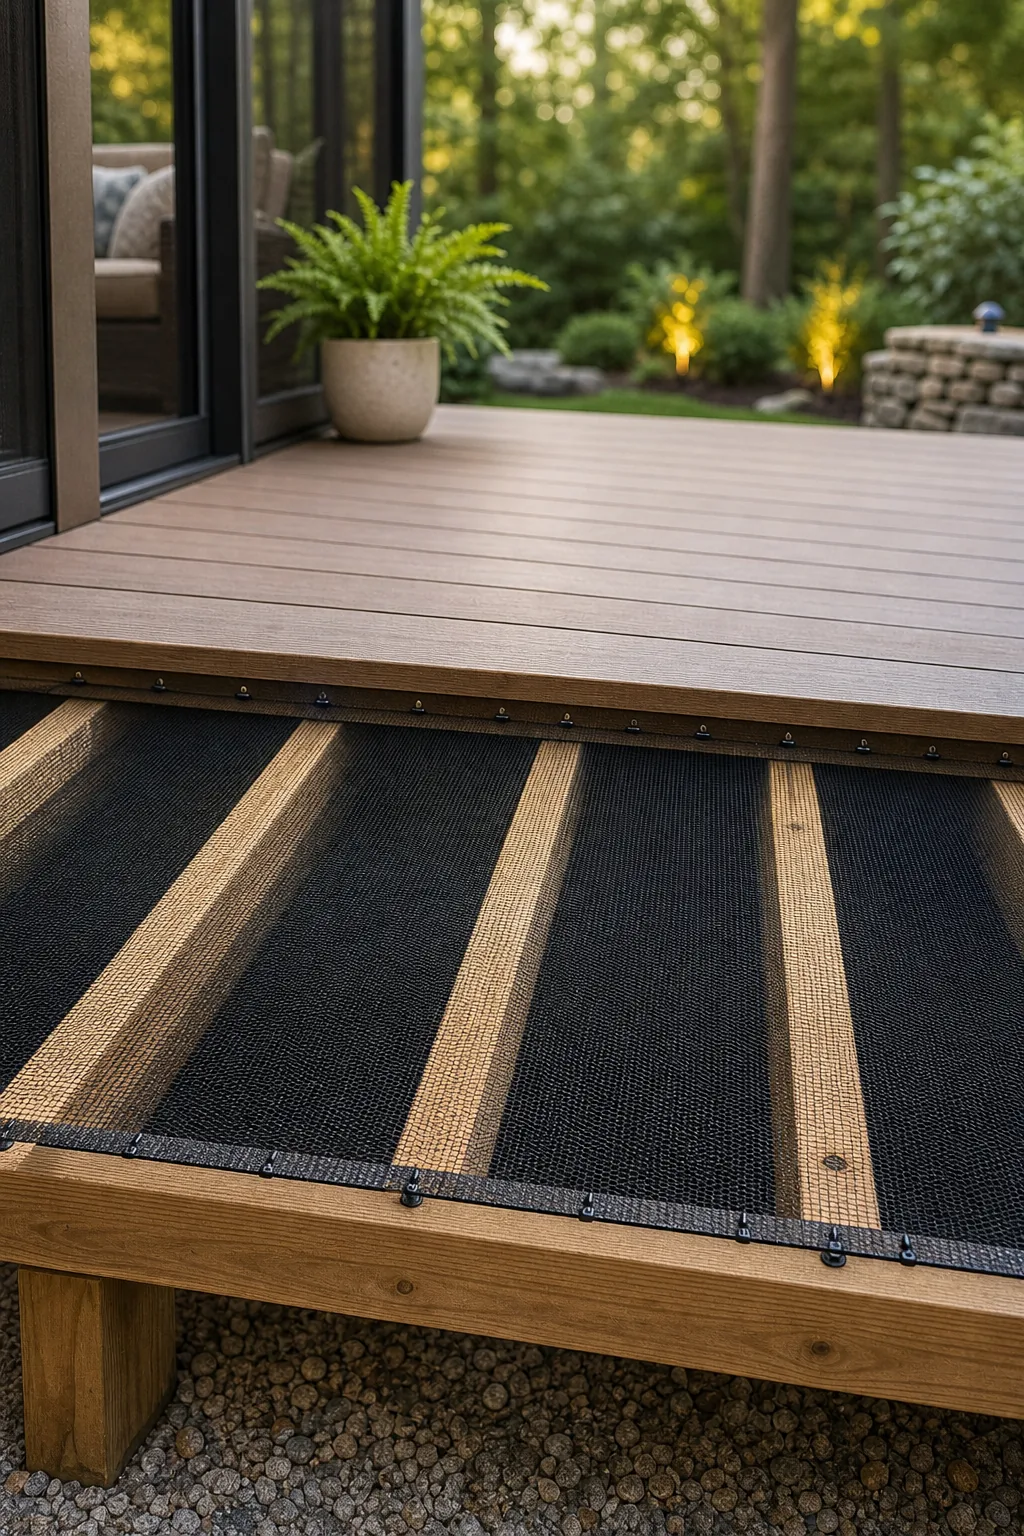
Creating a seamless barrier requires careful attention to the specific seams where the mesh rolls meet across your deck framing. Securing this under-floor armor properly guarantees that opportunistic mosquitoes and crawling pests cannot bypass your primary wall screens.
Selecting No-See-Um Mesh
Upgrading your walls to a specialized no-see-um mesh is essential for blocking gnats, sand flies, and the smallest biting midges. Unlike standard 18×14 fiberglass screening, this tightly woven material utilizes a dense 20×20 thread count to eliminate microscopic entry points entirely.
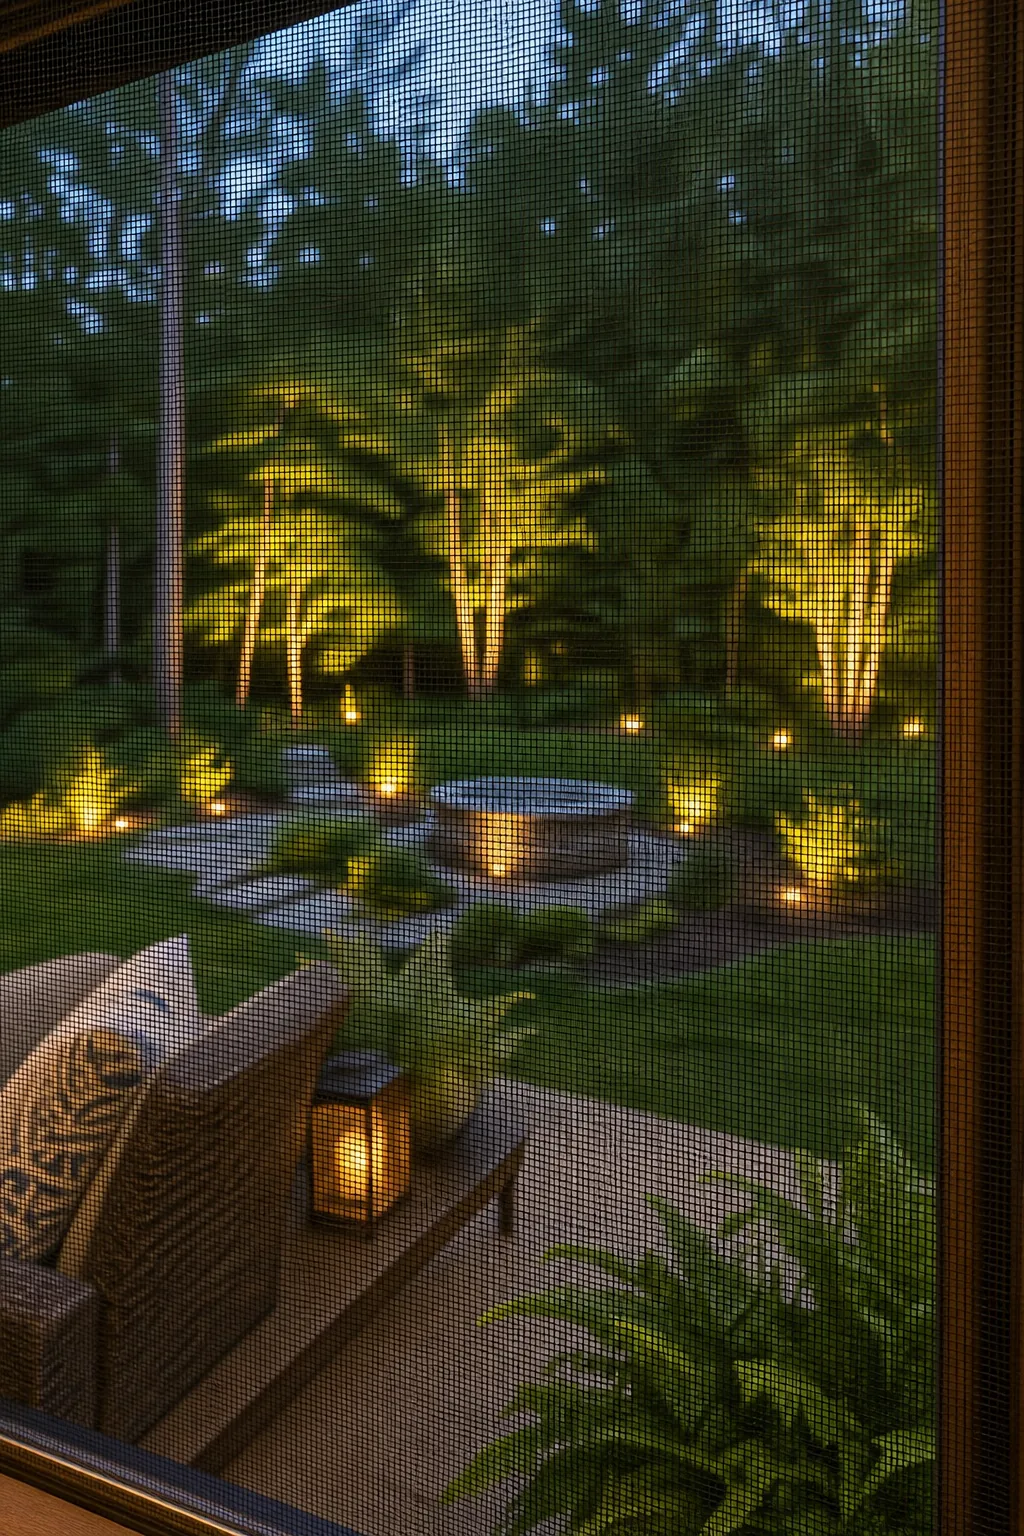
While this denser weave provides ultimate pest protection, it does slightly reduce natural breezes and visibility compared to traditional materials. Reviewing the exact specifications of different screen grades helps you balance absolute bug defense against your desired ambient airflow.
| Screen Material Type | Thread Count Weave | Pest Blocking Rating | Airflow Retention |
|---|---|---|---|
| Standard Fiberglass | 18×14 mesh | Blocks large flies | Maximum breeze |
| Standard Aluminum | 18×16 mesh | Blocks mosquitoes | High breeze |
| Heavy-Duty Pet Screen | 15×10 mesh | Resists claw tears | Moderate breeze |
| True No-See-Um Mesh | 20×20 mesh | Blocks tiny gnats | Reduced breeze |
| Copper or Bronze | 18×14 mesh | Premium durability | Maximum breeze |
Evaluating Screen Visibility and Glare
Beyond thread count, always specify a charcoal or matte black finish for your fiberglass mesh to maximize outward visibility. Darker threads absorb ambient light rather than reflecting it, effectively tricking your brain into ignoring the screen entirely and preserving your unobstructed panoramic garden views.
Securing the Screen Framing
Attaching your mesh to the wooden posts requires a modern spline-and-groove track system rather than traditional construction staples. This extruded aluminum framework locks the screen tightly into place, creating a perfectly taut, wrinkle-free finish that easily withstands heavy wind pressure.
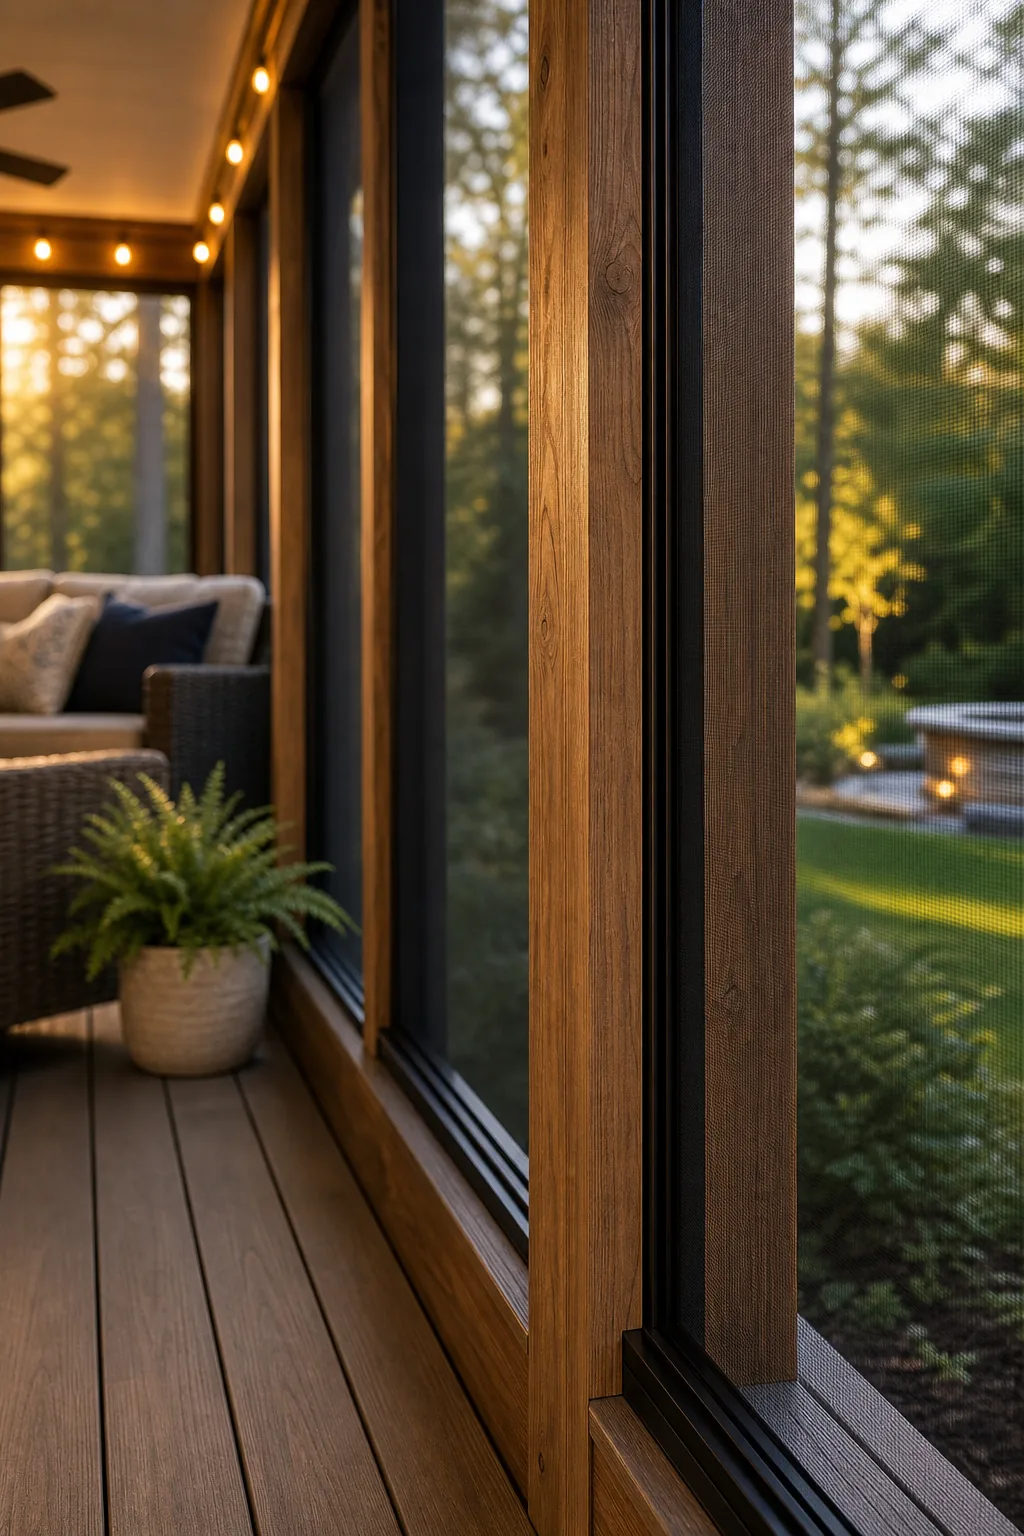
Abandoning outdated stapling methods prevents the fiberglass threads from tearing under tension and makes future repairs significantly easier. Follow a systematic installation sequence to ensure your perimeter framing remains perfectly square and permanently locked against outside elements.
- Measure and cut the aluminum track bases to fit flush against your vertical wooden posts.
- Secure the base tracks using weather-resistant screws driven every eight inches for maximum stability.
- Roll the screen mesh over the installed track, leaving a two-inch overhang on all sides.
- Press the rubber spline firmly into the central groove using a specialized spline roller tool.
Selecting the Right Screen Door
A bug-proof enclosure is only as effective as its primary entry point, making a heavy-duty pneumatic screen door absolutely vital. Install a commercial-grade hydraulic closer at the top of the doorframe to ensure the heavy aluminum door shuts firmly and latches automatically behind you.
Creating the Airflow Zone
Because tight mesh restricts natural breezes, establishing a dedicated airflow zone is mandatory for summer comfort. Installing a wet-rated outdoor ceiling fan directly above your primary seating area forces stagnant hot air downward, restoring the cooling circulation lost to the dense screening.
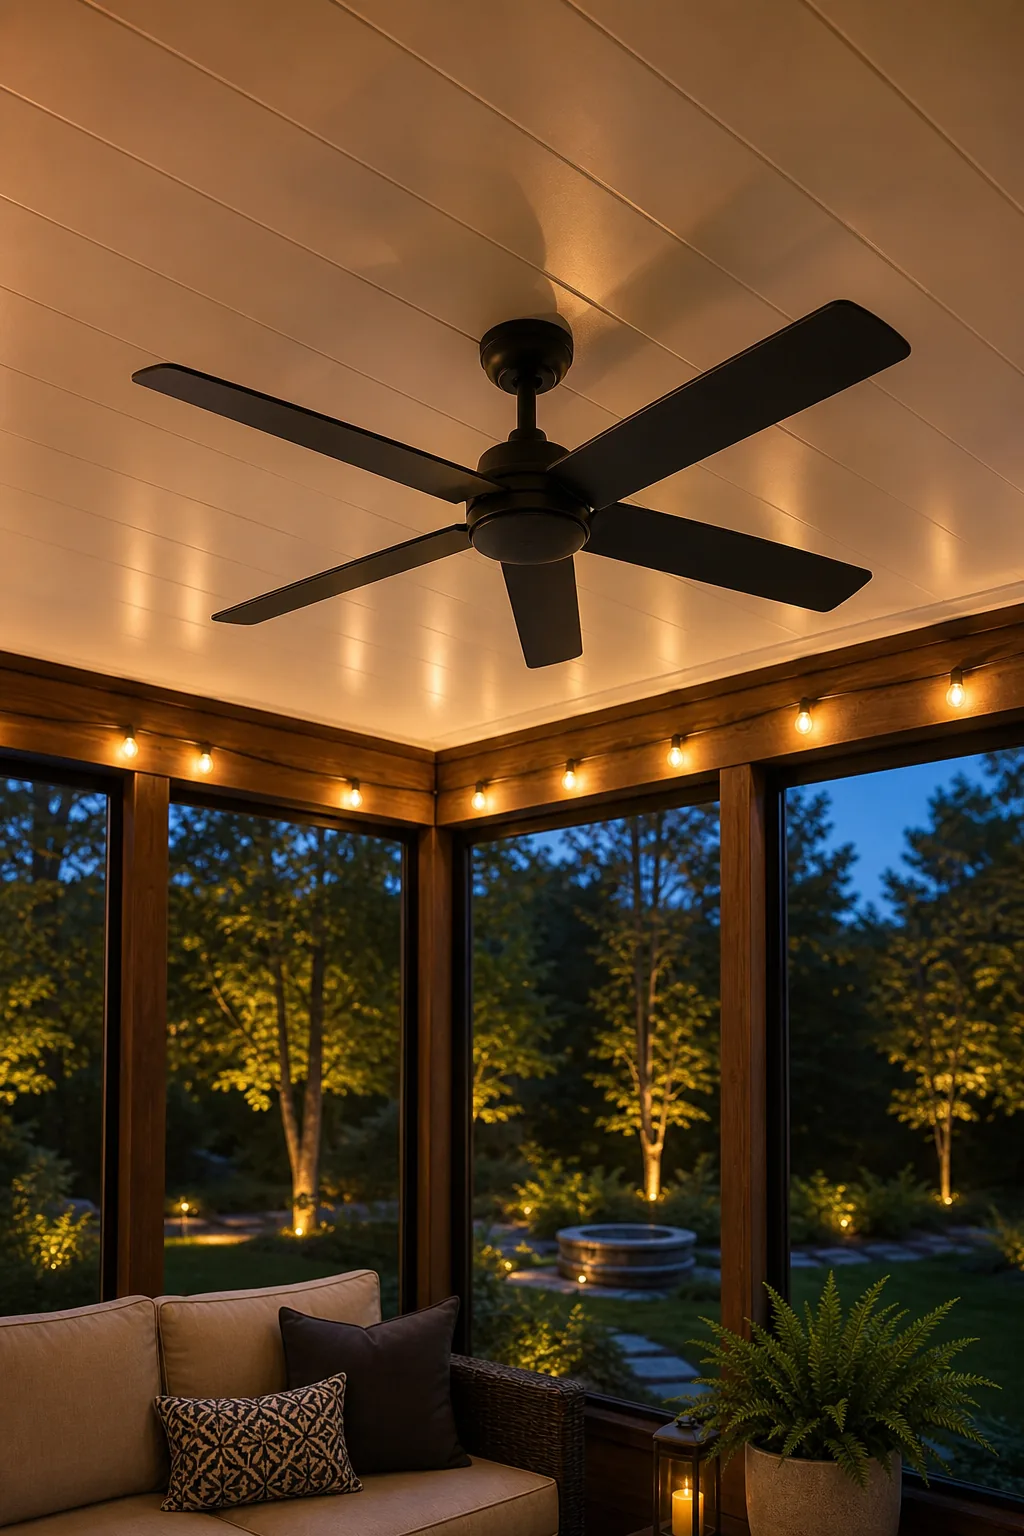
You must select a heavy-duty fixture featuring a minimum 52-inch blade span to move sufficient cubic feet of air per minute. Ensure the motor housing is fully sealed against ambient humidity, preventing electrical corrosion during intense seasonal thunderstorms and damp autumn mornings.
Positioning Supplemental Wall Fans
While a large central ceiling fan pushes air downward, the extreme corners of a rectangular deck often suffer from stagnant, trapped heat. Mount oscillating, wet-rated wall fans exactly 84 inches above the floor in the deepest corners to disrupt hot pockets and maintain a consistent temperature.
Adding Perimeter Lighting
Illuminating your enclosed space requires specific fixtures that will not actively draw swarms of insects toward the seating area. Hanging warm-toned LED string lights around the upper ceiling perimeter creates an inviting glow while remaining virtually invisible to most flying nocturnal pests.
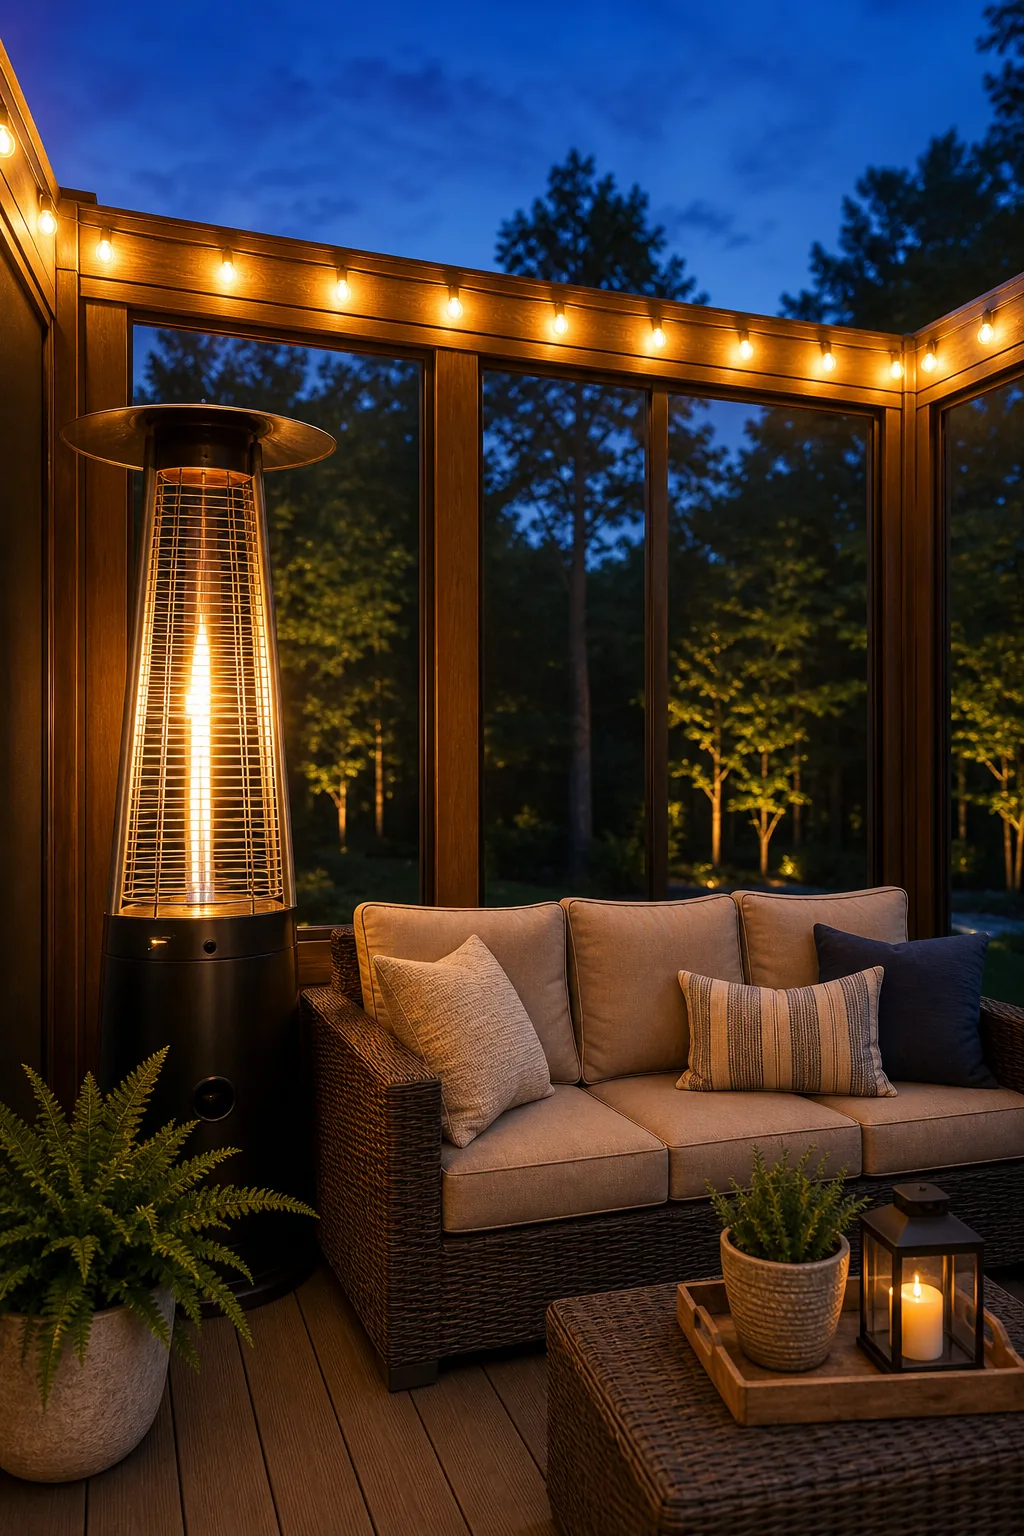
To further redirect insect traffic away from your family, install low-voltage landscape lighting strictly on the outside of the screen walls. This strategic external illumination pulls remaining bugs toward the yard, keeping your interior sanctuary completely clear and highly functional after dark.
Designing a Four-Season Setup
Extending your usability into the colder months requires a safe four-season setup? that integrates reliable climate control. Positioning a freestanding propane patio heater provides exceptional warmth, provided you strictly maintain the manufacturer-mandated safety clearances from the highly flammable fiberglass walls.
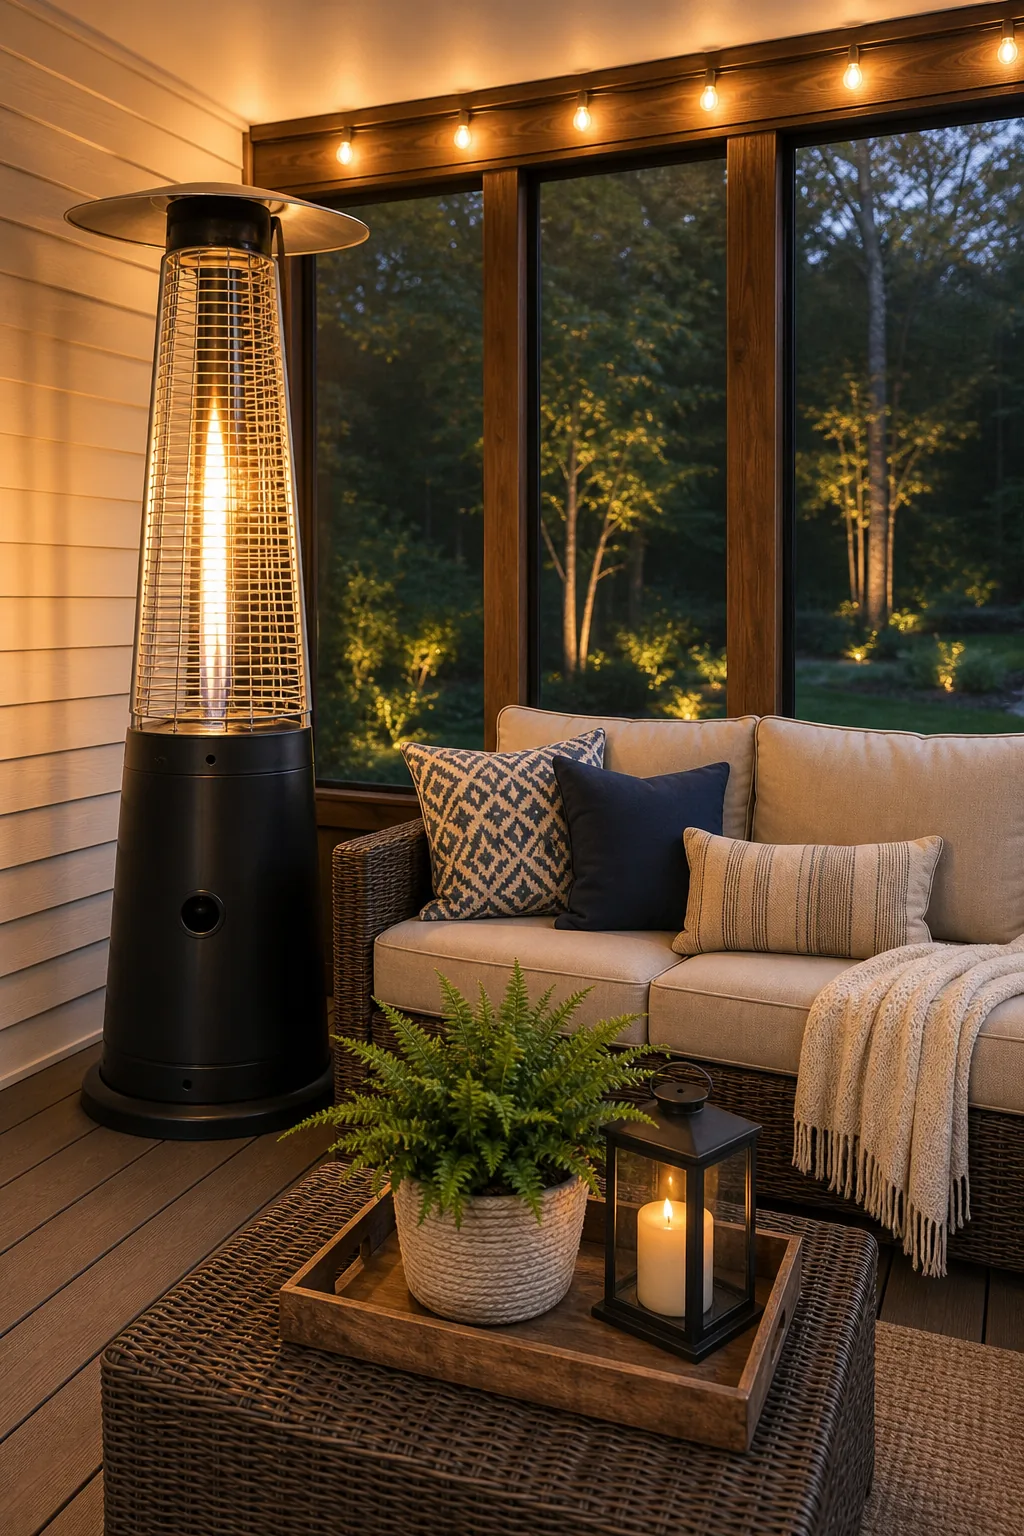
Adding supplemental heat makes the space incredibly cozy throughout late autumn, but enclosed synthetic screens demand uncompromising safety considerations. Overlooking critical spatial requirements or using the wrong equipment can quickly transform your comfortable retreat into a severe fire hazard.
Winterizing Your Screened Enclosure
When freezing temperatures arrive, harsh winter winds can drive destructive snow and sleet directly through the fine mesh walls. Fasten marine-grade clear vinyl panels over the exterior tracks using temporary seasonal turn-buttons to block freezing moisture and trap passive solar heat during the day.
Your Deck Planning Guide and Material Checklist
Consolidating your measurements into a comprehensive material order ensures you have exactly what you need before construction begins. Gathering physical samples of your decking, mesh, and track systems allows you to verify color harmony and material compatibility firsthand.
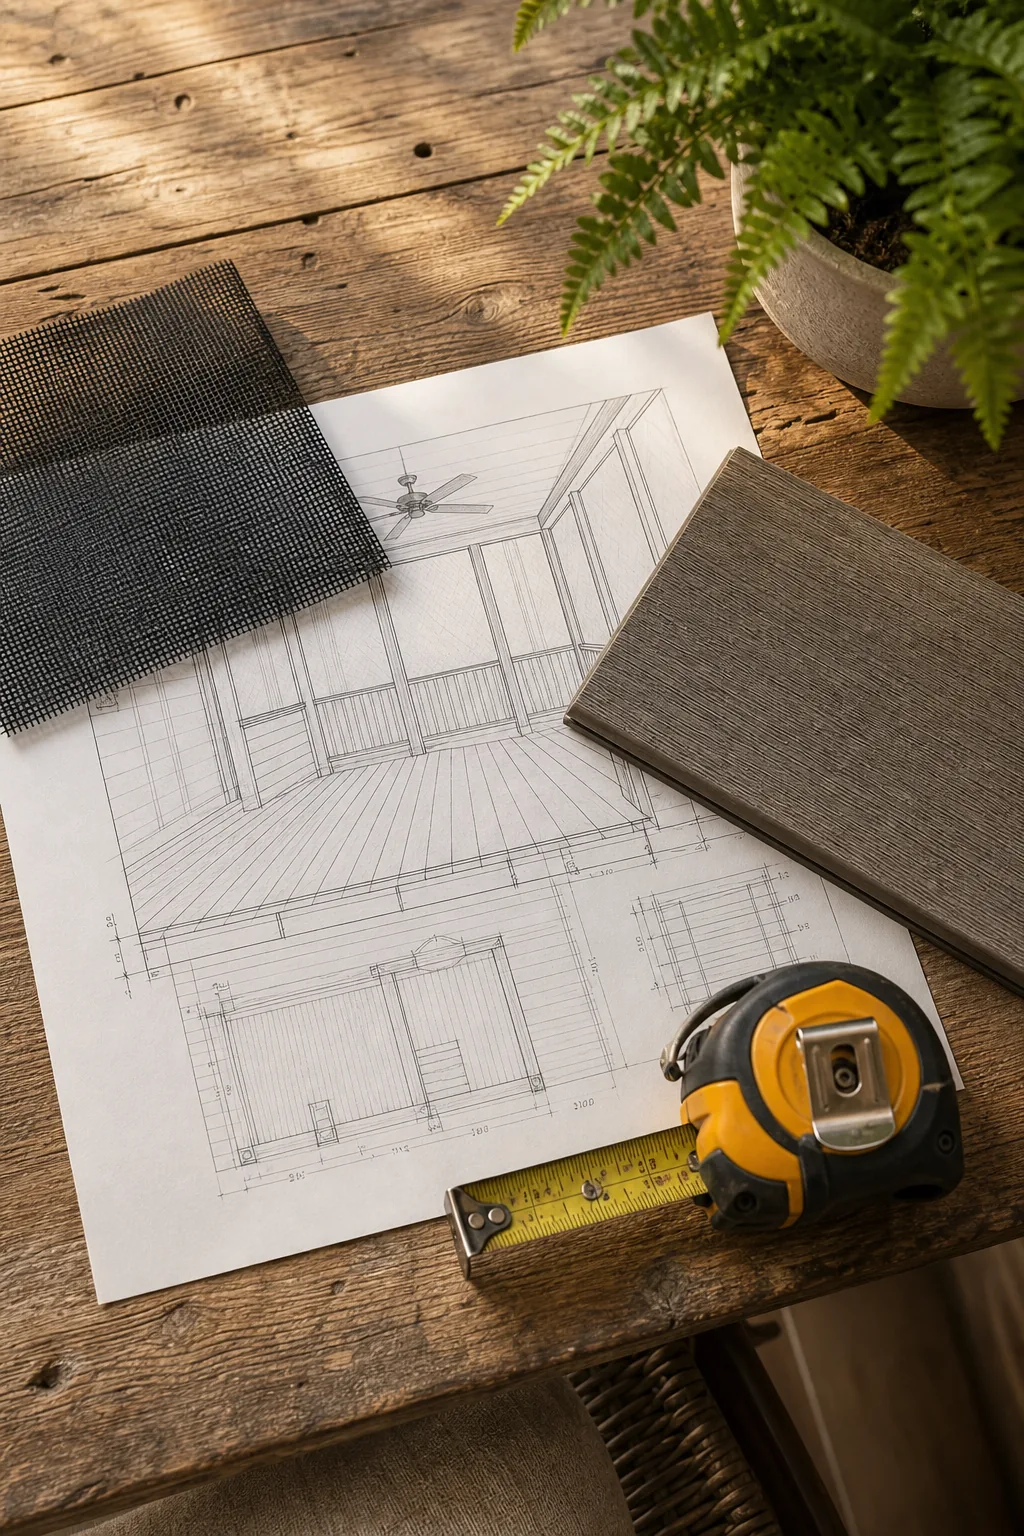
Use this prioritized checklist to calculate your total square footage and order the precise quantities required for your build. Checking off each category guarantees you will construct a fully bug-proofed, weather-resistant screened deck without frustrating delays or missing components.
- 5/4-inch moisture-safe composite decking boards
- 36-inch fiberglass barrier screen rolls for the sub-floor
- 20×20 charcoal no-see-um wall mesh rolls
- Aluminum spline-and-groove track base and cap systems
- 52-inch wet-rated outdoor ceiling fan and wall mounts