
Basement Layout Guide: Materials and Plans That Actually Work
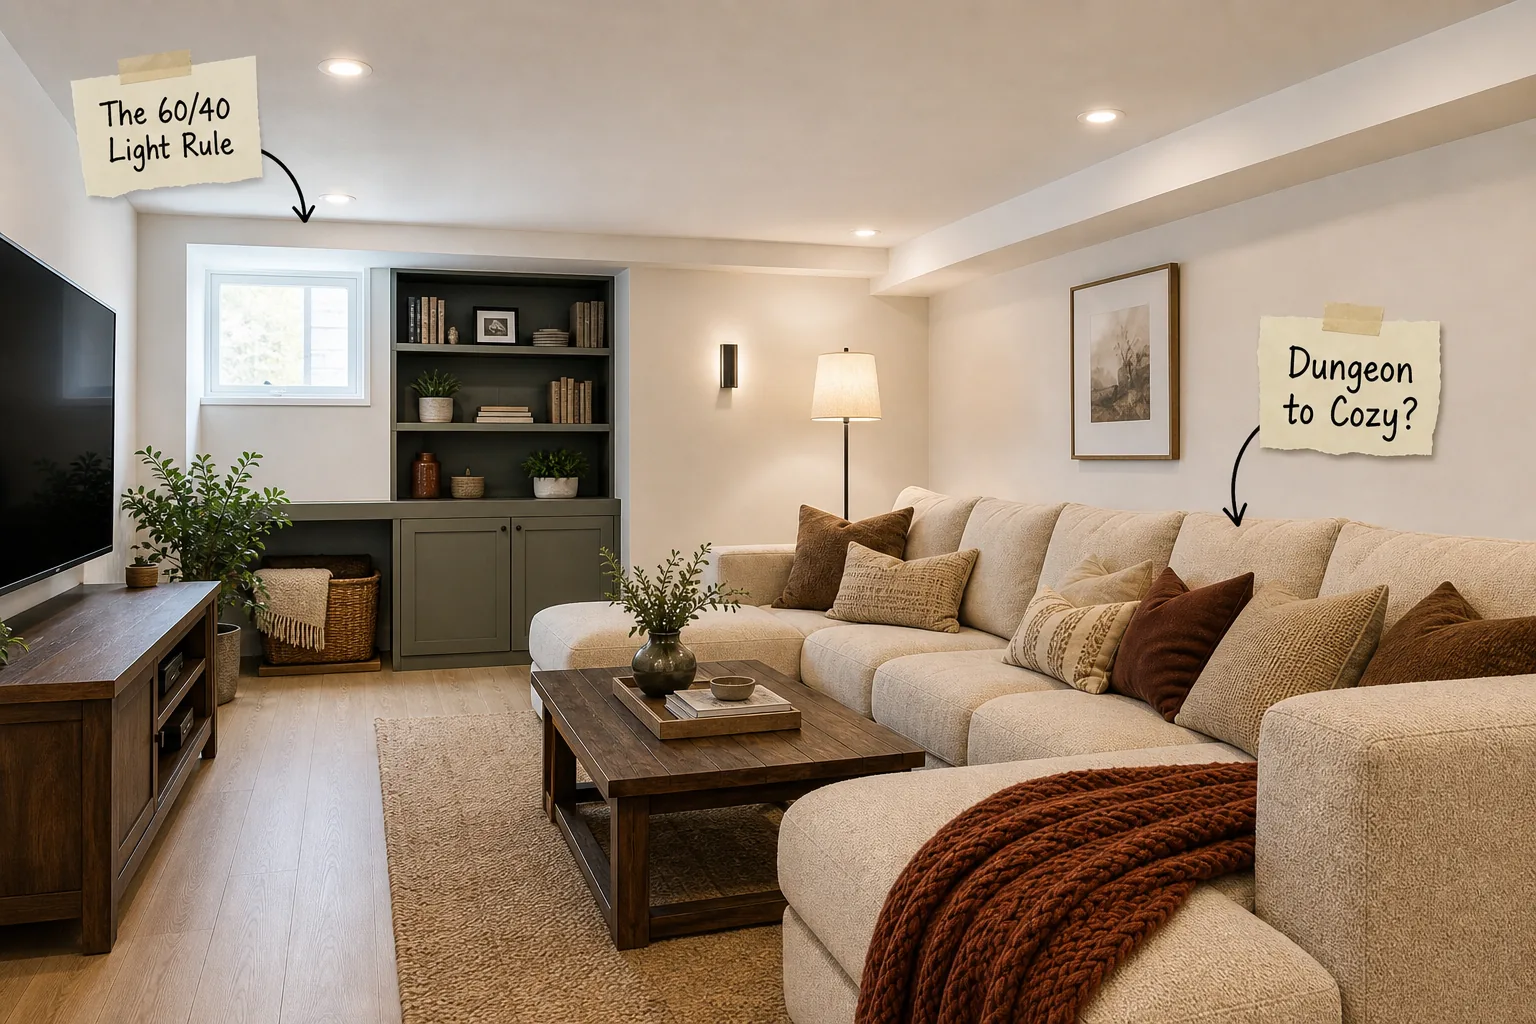
Stop guessing with your lower level and use this comprehensive basement material and layout guide to plan a bright, cozy family room. You will be able to select the right waterproof materials, space your lighting correctly, and arrange your furniture using standard basement clearances.
Maximizing a Low-Clearance Ceiling
Most basement renovations start with Low-Clearance Ceiling heights between 7 and 8 feet. To preserve every inch of valuable headroom, install 1/2-inch lightweight drywall finished with a dead-flat ceiling paint, which actively absorbs light and blurs the upper boundaries of the room.
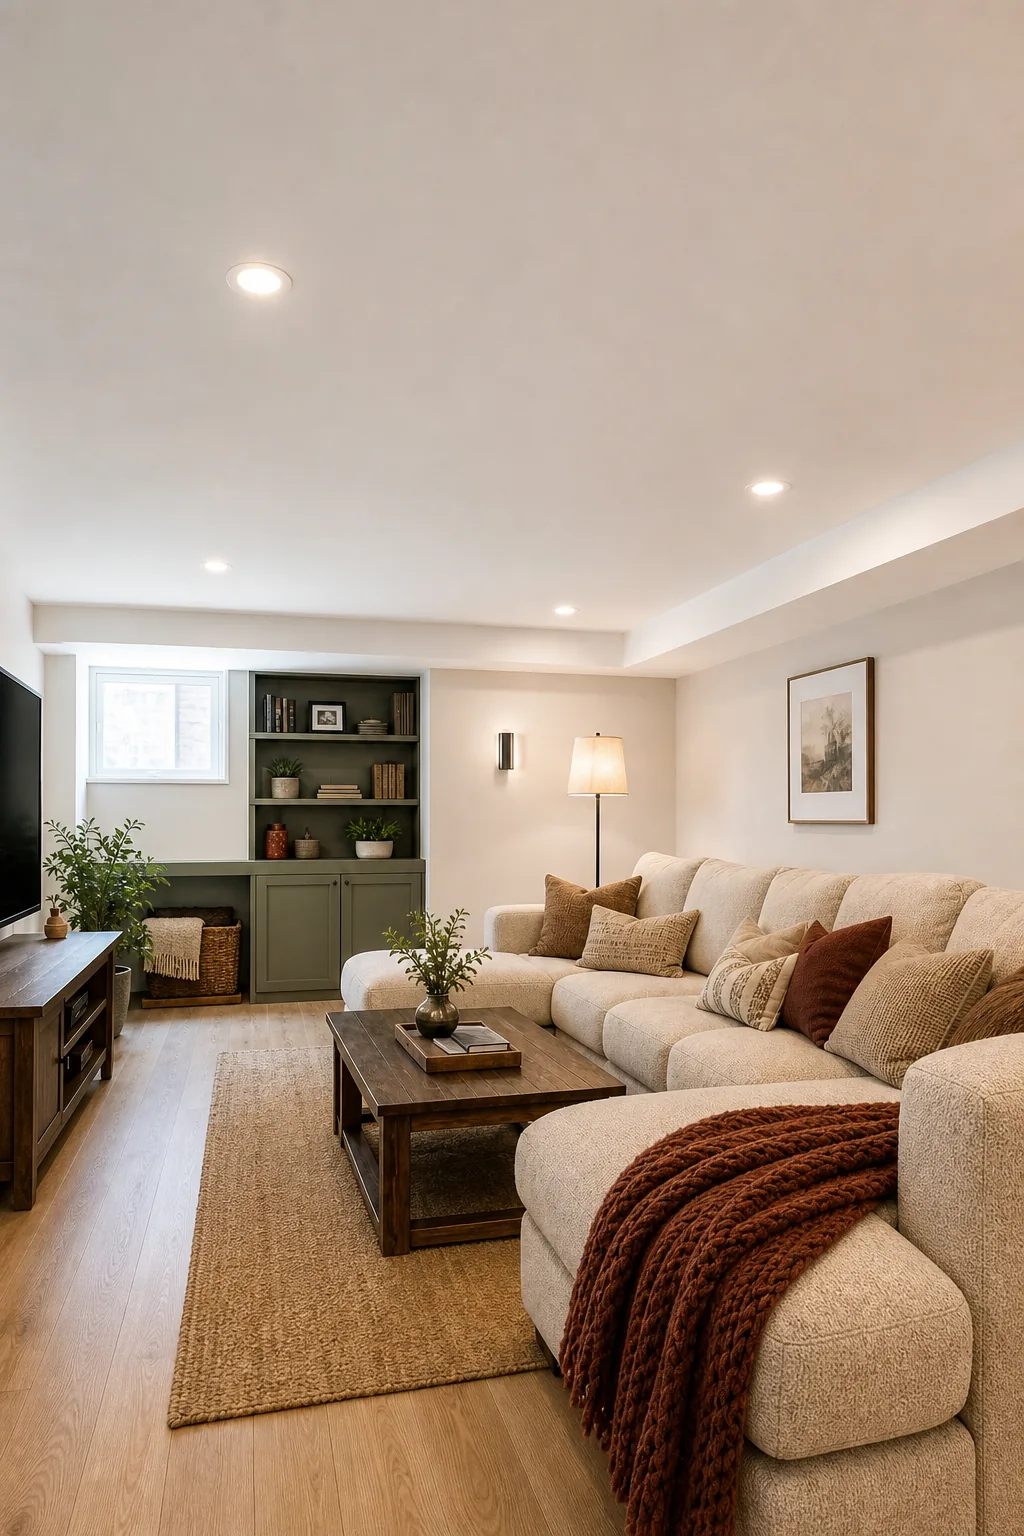
Applying a unified color drenching strategy eliminates harsh contrast lines between the vertical and horizontal planes. Match your dead-flat ceiling color to your upper wall paint to erase the visual corner line entirely, making the subterranean room feel significantly taller and more expansive.
Selecting the Right Drywall Finish
Standard drywall textures cast tiny shadows that make low ceilings feel heavy and oppressive. Specify a Level 4 or Level 5 smooth drywall finish to ensure light bounces evenly across the surface without highlighting taped seams, creating a flawless canopy for your living space.
Framing the Hidden HVAC Chase
Ductwork and plumbing lines inevitably drop below the floor joists, requiring a protective drywall bulkhead. Frame this Hidden HVAC Chase as tightly to the mechanicals as local codes allow, typically dropping 8 to 12 inches below the main ceiling line to preserve maximum clearance.
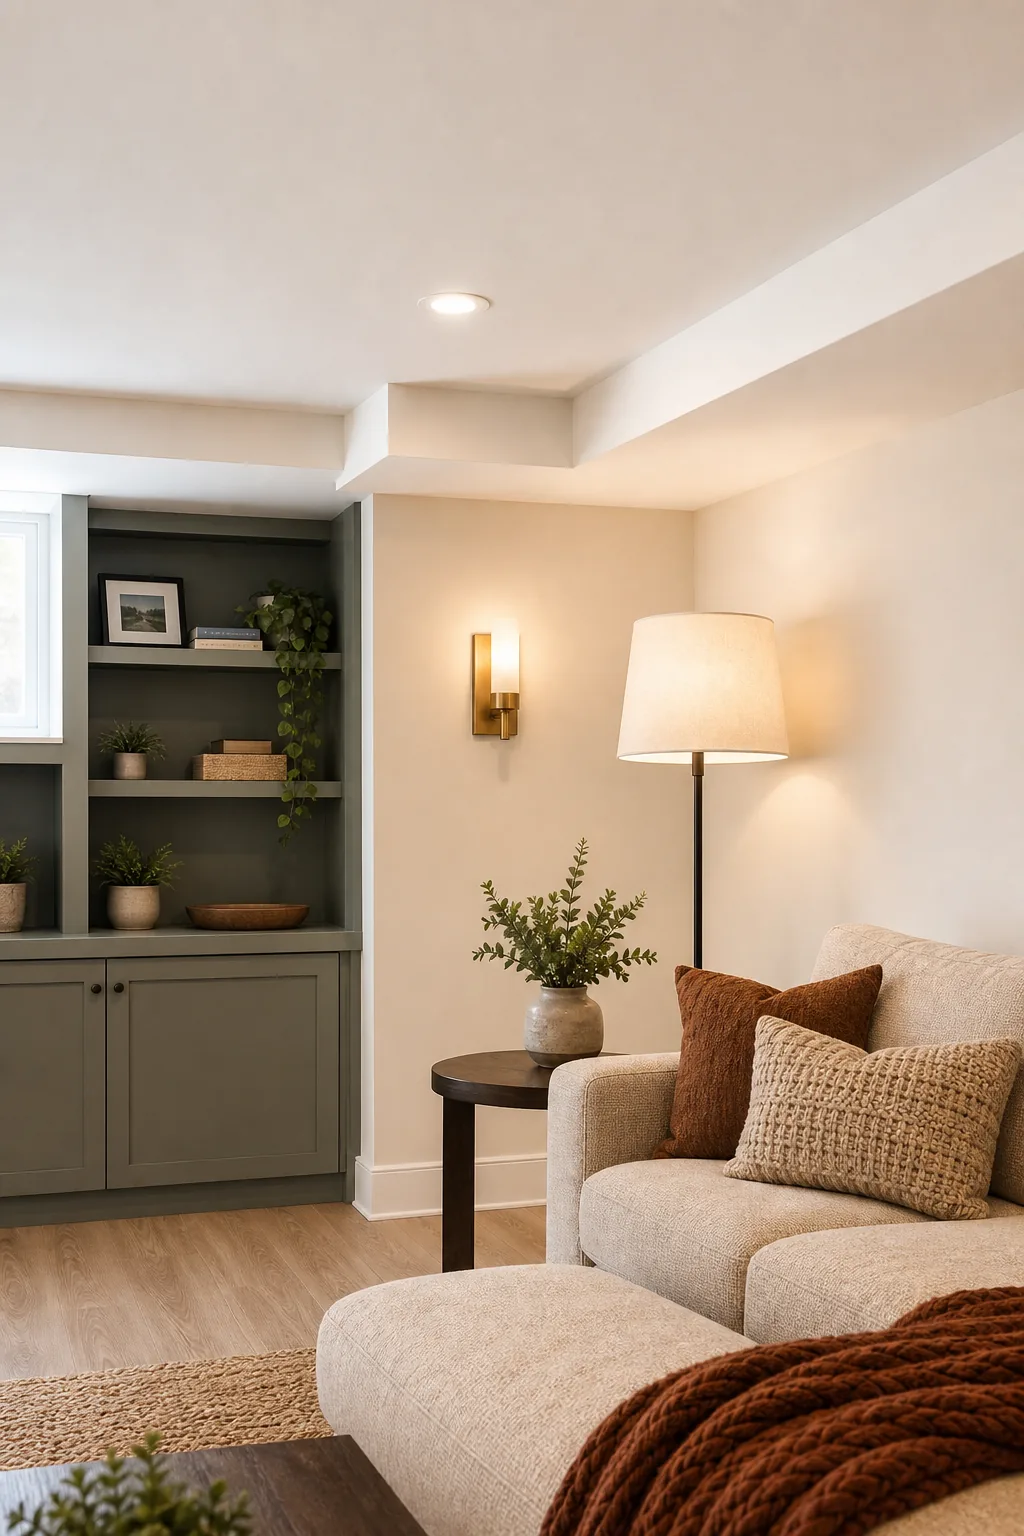
Paint this dropped bulkhead the exact same dead-flat color as the main ceiling to help the bulky mechanical chase visually recede into the background. Wrapping the utilities tightly ensures the structural intrusion remains as unobtrusive as possible while maintaining critical airflow to the room.
Planning Mechanical Access Zones
Basement bulkheads often conceal crucial plumbing shutoffs and HVAC dampers that require future maintenance. Instead of permanently sealing these utility nodes behind solid drywall, install spring-loaded access panels that blend flush with the finished ceiling surface for invisible yet immediate emergency mechanical access.
| Utility Component | Panel Size | Ideal Location | Clearance Needed |
|---|---|---|---|
| Main Water Shutoff | 8×8 inches | Below the primary valve | 12 inches minimum |
| HVAC Zone Damper | 12×12 inches | At the duct junction | 18 inches minimum |
| Electrical Junction | 14×14 inches | Near the main steel beam | 24 inches minimum |
| Sewer Cleanout Plug | 12×12 inches | Along the main soil stack | 36 inches minimum |
| Gas Line Valve | 8×8 inches | Near the utility room wall | 12 inches minimum |
| Low-Voltage Wiring | 10×10 inches | Above the media center | 16 inches minimum |
Grouping these access panels near the utility room or along secondary bulkheads keeps the primary ceiling expanse uninterrupted. Paint the metal panel doors simultaneously with the drywall to ensure the texture and sheen match perfectly across the entire overhead surface.
Applying the 60/40 Light Rule
To avoid the interrogation-room feel of too many overhead cans, use The 60/40 Light Rule: balance 60 percent ambient overhead illumination with 40 percent eye-level accent lighting. Install ultra-thin 4-inch LED wafers for the primary ceiling layer to maximize headroom.
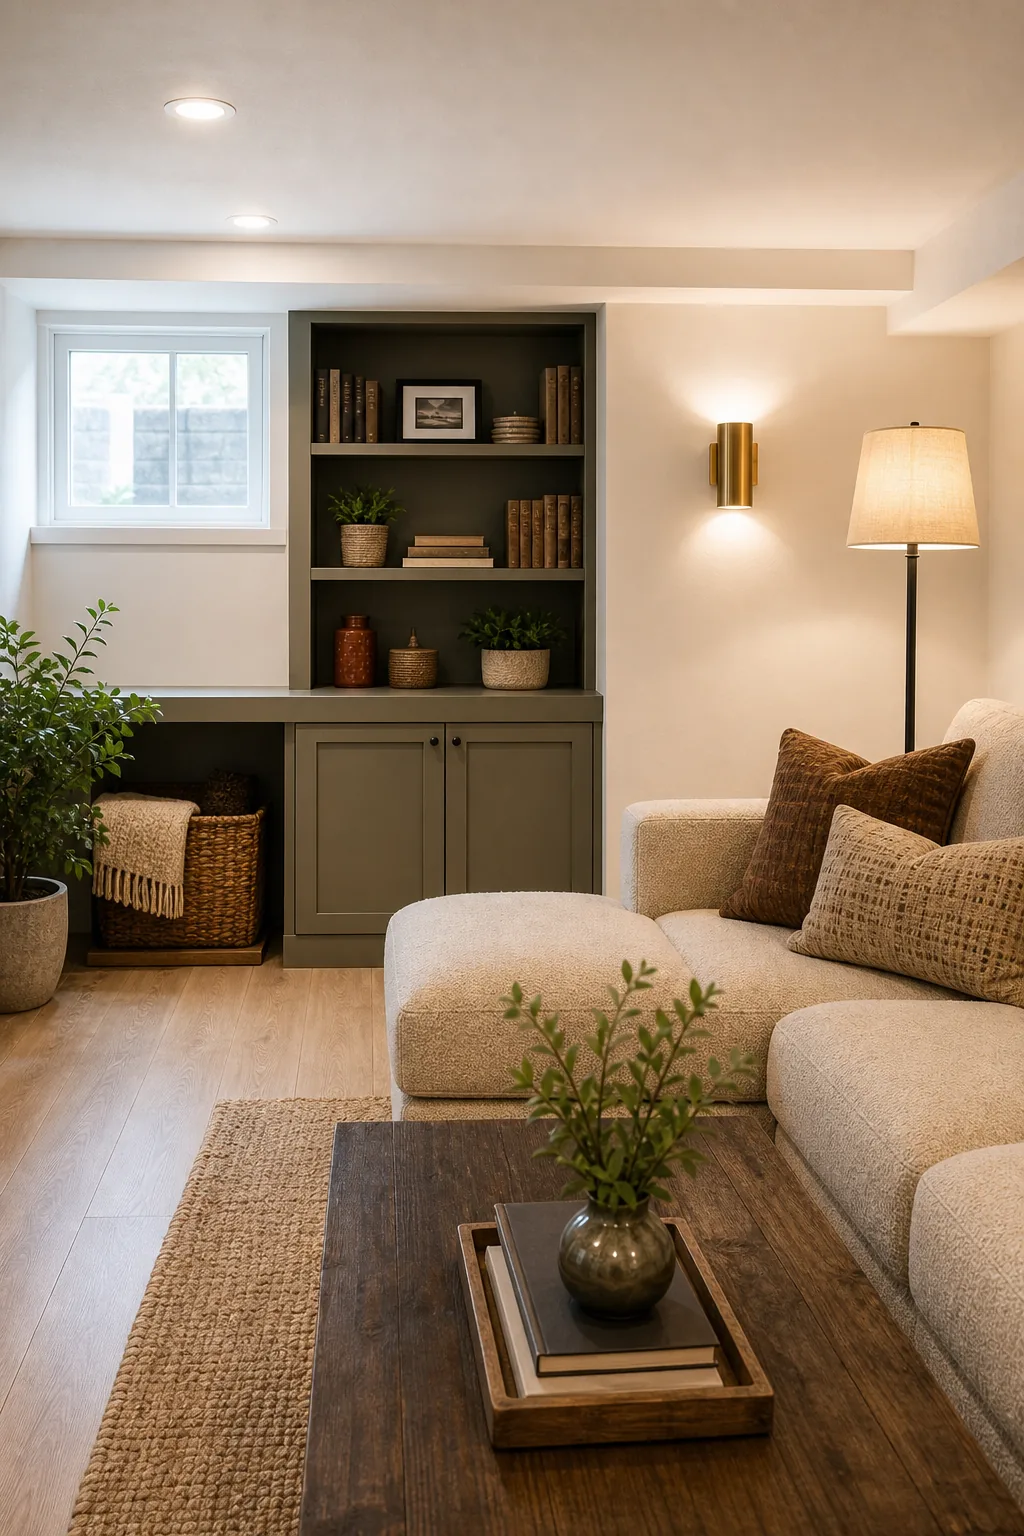
Proper fixture spacing prevents a harsh runway effect across your newly finished ceiling. Once the overhead wafers are placed, introduce warm wall sconces and floor lamps to cast a softer, localized glow across your primary seating areas and eliminate downward shadows.
Choosing LED Color Temperatures
Subterranean rooms lack natural sunlight, making artificial color temperature critical for a welcoming atmosphere. Select LED fixtures rated between 2700K and 3000K to replicate the warm, inviting glow of traditional incandescent bulbs without generating excess heat inside the insulated ceiling cavity.
Integrating Foundation Built-Ins
Basements often feature awkward foundation ledges or small, high egress windows that disrupt the floor plan. Turn these structural quirks into an asset by installing 18-inch deep lower cabinets and open shelving directly beneath the window sills to maximize awkward alcoves.
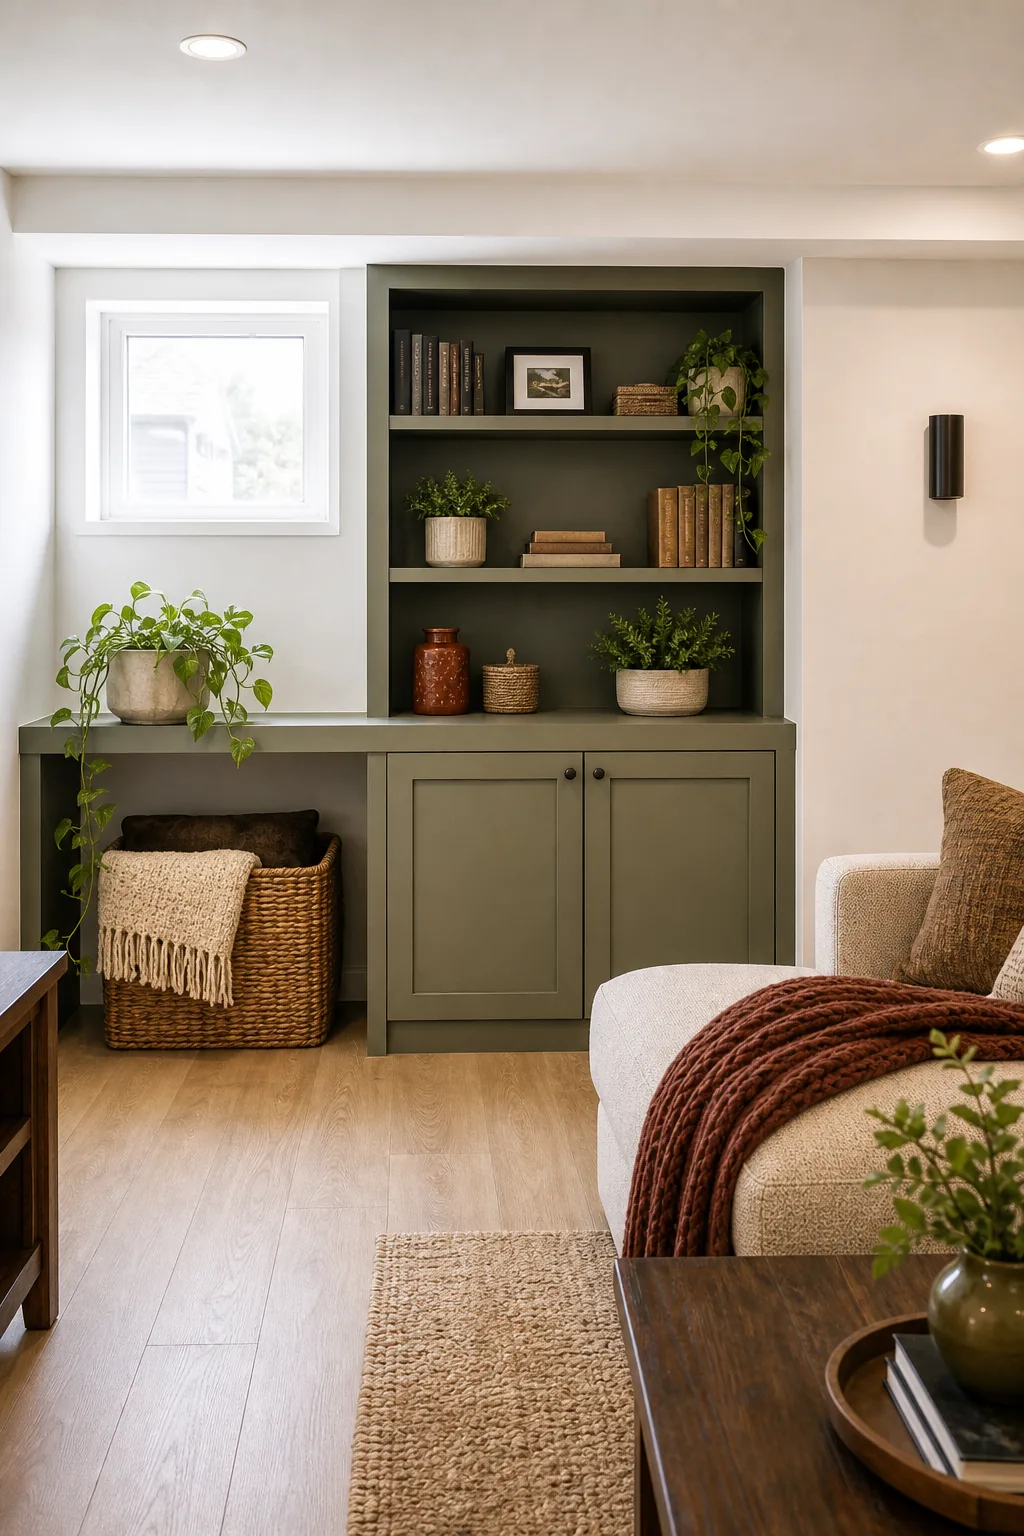
This integrated cabinetry approach creates a seamless focal point that adds vital storage without encroaching on the main seating area. Blending the custom shelves into the surrounding wall color further reduces visual clutter while maintaining your primary walkways and sightlines.
Planning Egress Window Treatments
High basement windows often cast harsh, direct sunlight that causes television glare. Install inside-mount cellular shades equipped with side channels to block external light completely during movie screenings, while maintaining a clean, low-profile look that won’t interfere with your custom foundation built-ins.
Installing a Moisture-Proof Base
Concrete slabs constantly wick moisture, making traditional hardwood a risky choice for below-grade renovations. Install a Moisture-Proof Base using luxury vinyl plank flooring featuring an attached 1mm closed-cell underlayment pad for maximum protection against inevitable hydrostatic pressure and seasonal dampness.
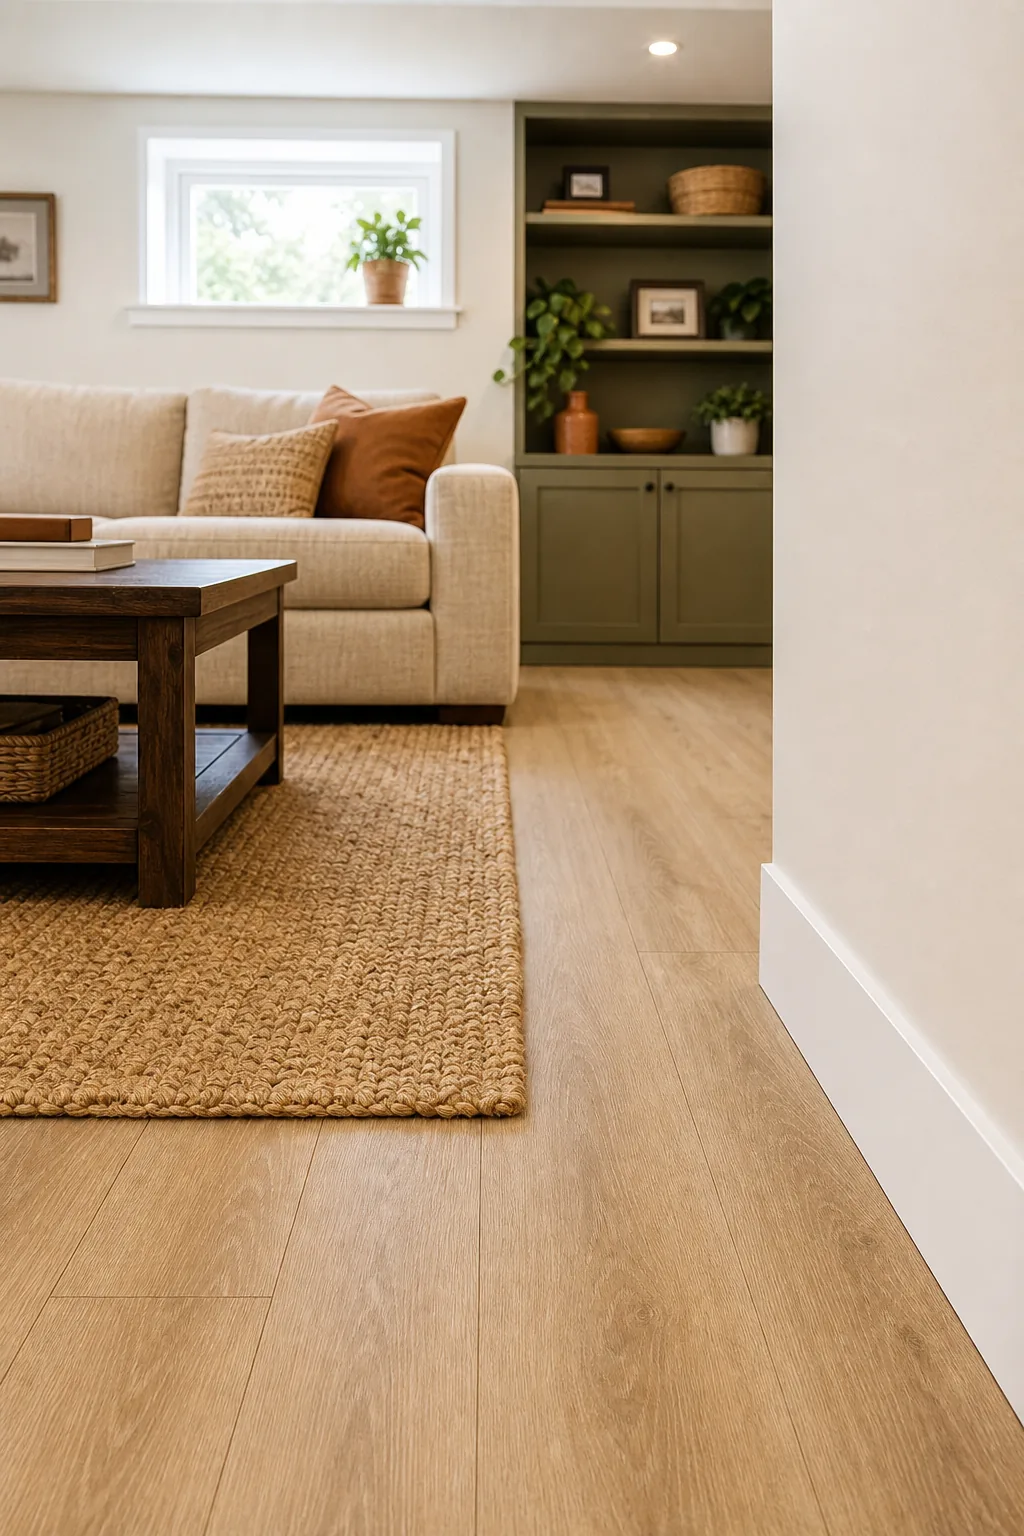
Before laying a single plank, ensure your bare concrete slab is properly prepped for a floating floor system. The luxury vinyl planks provide a completely waterproof surface that easily withstands accidental spills and acts as a vital thermal break against freezing concrete.
Preparing the Concrete Slab Surface
A luxury vinyl plank floor is only as stable as the concrete beneath it. Never skip the leveling process, as hidden dips in the concrete slab surface will cause the locking mechanisms to flex, crack, and ultimately fail under heavy foot traffic.
Selecting Proportional Baseboards
Tall baseboards can easily overwhelm a low basement ceiling, while tiny trim looks cheap and unfinished. Choose a simple, square-edge 4-inch baseboard painted in a durable satin finish to cleanly bridge the gap between your waterproof flooring and the finished drywall.
Caulk the top edge of the baseboard seamlessly into the drywall to prevent subterranean drafts and insect intrusion. Painting the trim in a durable satin finish allows for easy cleaning against scuffs, shoe marks, and inevitable vacuum impacts along the lower walls.
Selecting Subterranean Paint Colors
Dark paint colors absorb precious light in windowless basement zones. Stick to warm whites, soft greiges, or pale sage greens with a Light Reflectance Value (LRV) above 60 to ensure the walls actively bounce your carefully planned LED lighting back into the room.
Dungeon to Cozy? Warming Up the Room
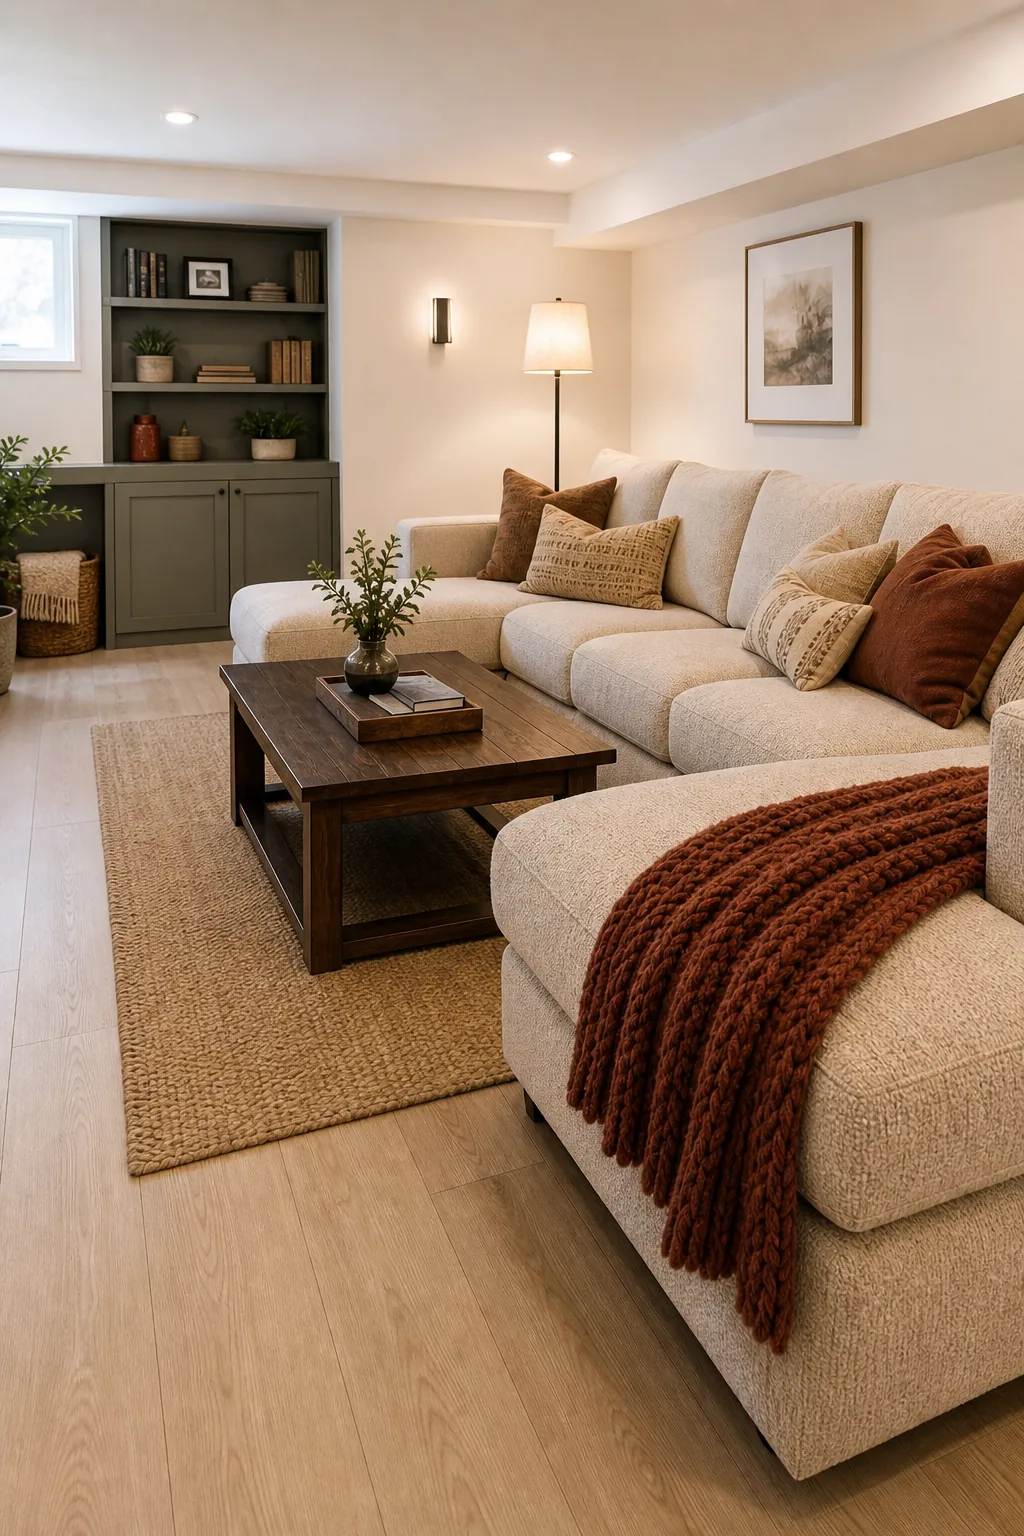
To successfully transform the space from a Dungeon to Cozy? retreat, introduce heavy textures that counteract the hard subterranean shell. Choose a deep sectional sofa upholstered in tactile fabrics like boucle or heavy chenille to anchor the primary television viewing zone.
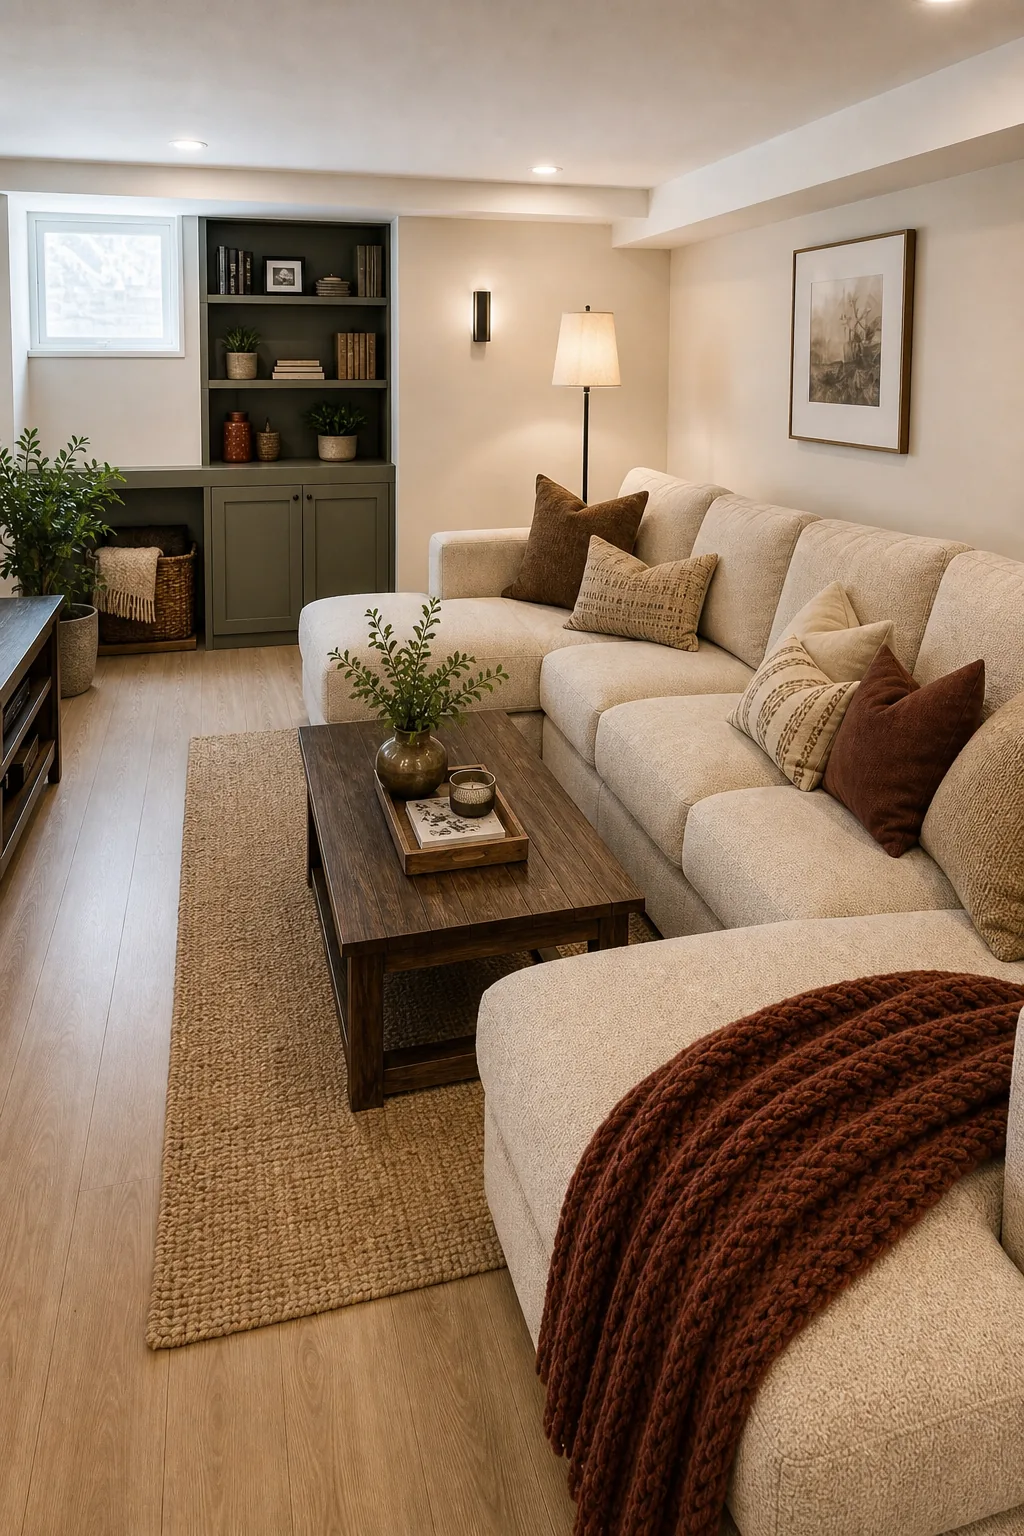
Keep the sofa back height under 34 inches to make the ceiling feel taller by comparison, allowing unobstructed sightlines across the room. Execute these specific furniture and textile upgrades to maximize warmth and comfort in the newly finished lower level:
- Layer a thick, high-pile wool rug over the luxury vinyl planks to anchor the primary seating zone.
- Add oversized, down-filled throw pillows in rust and warm brown tones to soften the rigid sofa lines.
- Drape a heavy knit blanket over the sectional chaise to invite immediate relaxation during movie nights.
- Incorporate natural wood side tables to bring organic warmth into the synthetic, moisture-proof environment.
- Hang thick, textured acoustic panels wrapped in linen to reduce the harsh echoes of the drywall box.
- Position a plush, upholstered storage ottoman in place of a hard wooden coffee table for softer edges.
Selecting Subterranean Furniture Fabrics
Basements naturally experience higher humidity levels than upper floors, which can leave standard cotton upholstery feeling slightly damp. Specify synthetic blends or treated performance fabrics that resist ambient moisture absorption and easily wipe clean after family movie nights and casual entertaining.
Your Complete Basement Layout Guide
A successful renovation relies on precise spatial planning to ensure comfortable navigation. This comprehensive basement layout guide dictates keeping a minimum 36-inch clear walkway behind main furniture pieces to maintain an open, accessible traffic flow toward the stairs and bathroom.
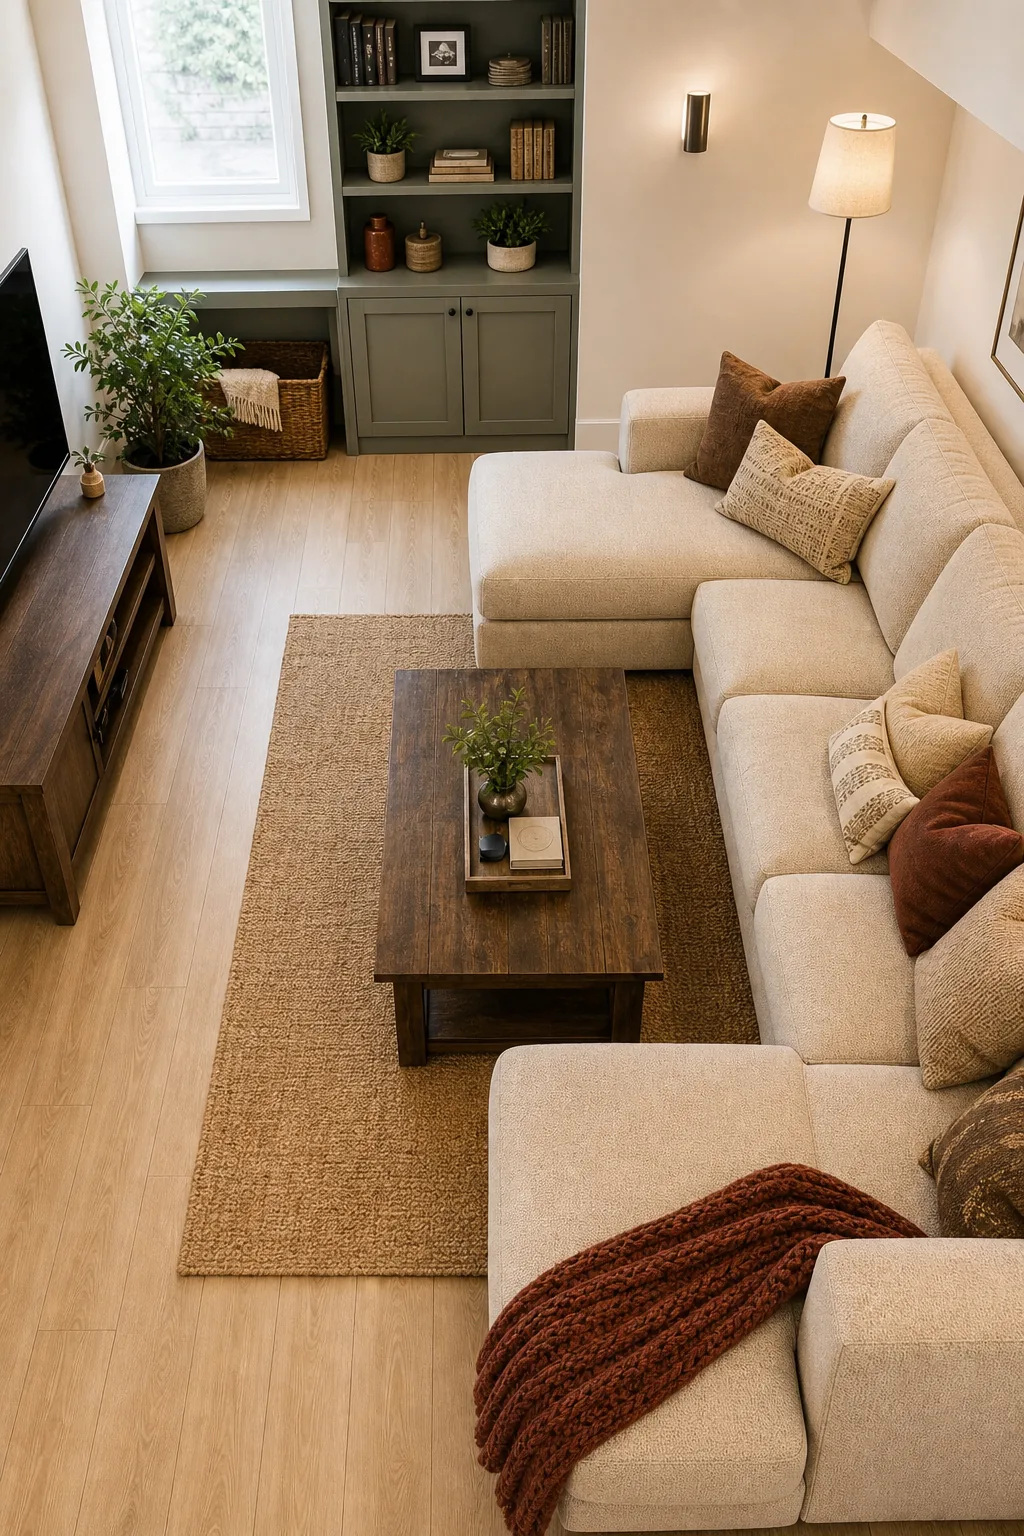
Always measure the distance between the interior edge of your sectional and the coffee table before finalizing the arrangement. Providing exactly 18 inches of clearance guarantees easy reach for drinks while leaving plenty of legroom for guests lounging in the family room.