
Perfect Pumpkin Face Carving Rules & Printable Grid Guide
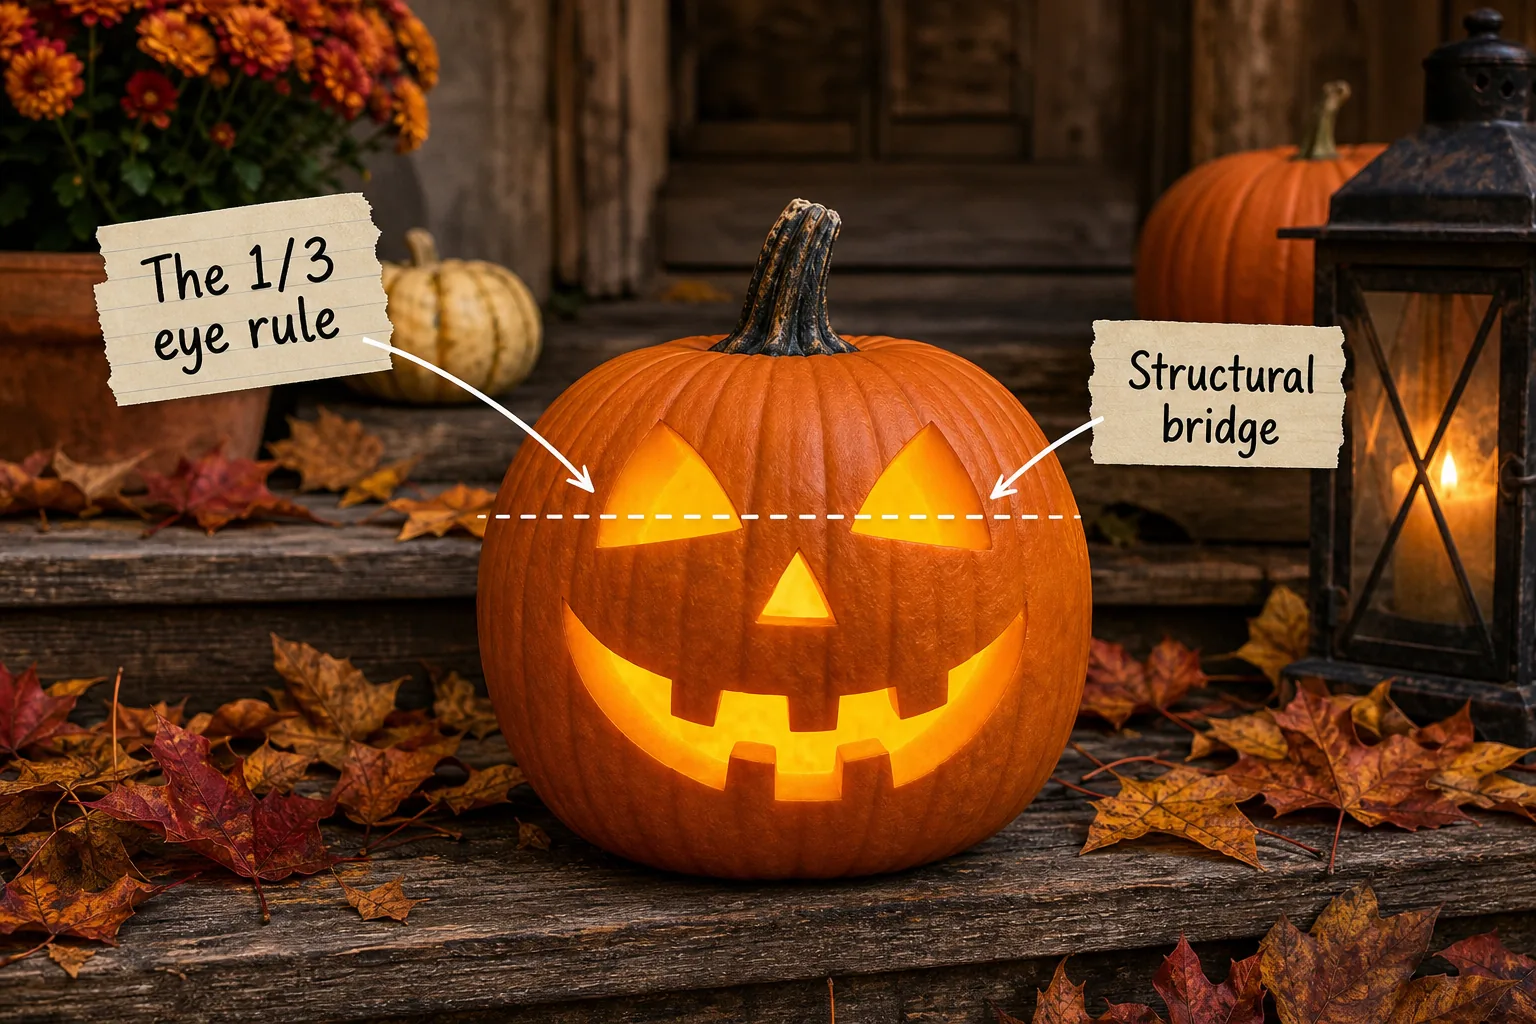
Master classic jack-o’-lantern proportions and download our printable carving grid and proportion guide to map out flawless, structurally sound features before you make a single cut. You will be able to measure perfect facial proportions on any pumpkin and craft a classic, long-lasting display that impresses the whole neighborhood.
Mapping the 1/3 Eye Rule
Start by establishing the horizontal alignment of the carved eyes to give your design a balanced, professional foundation. The eyes should sit roughly one-third of the way down from the stem to the base, which prevents the face from looking cramped, top-heavy, or distorted.
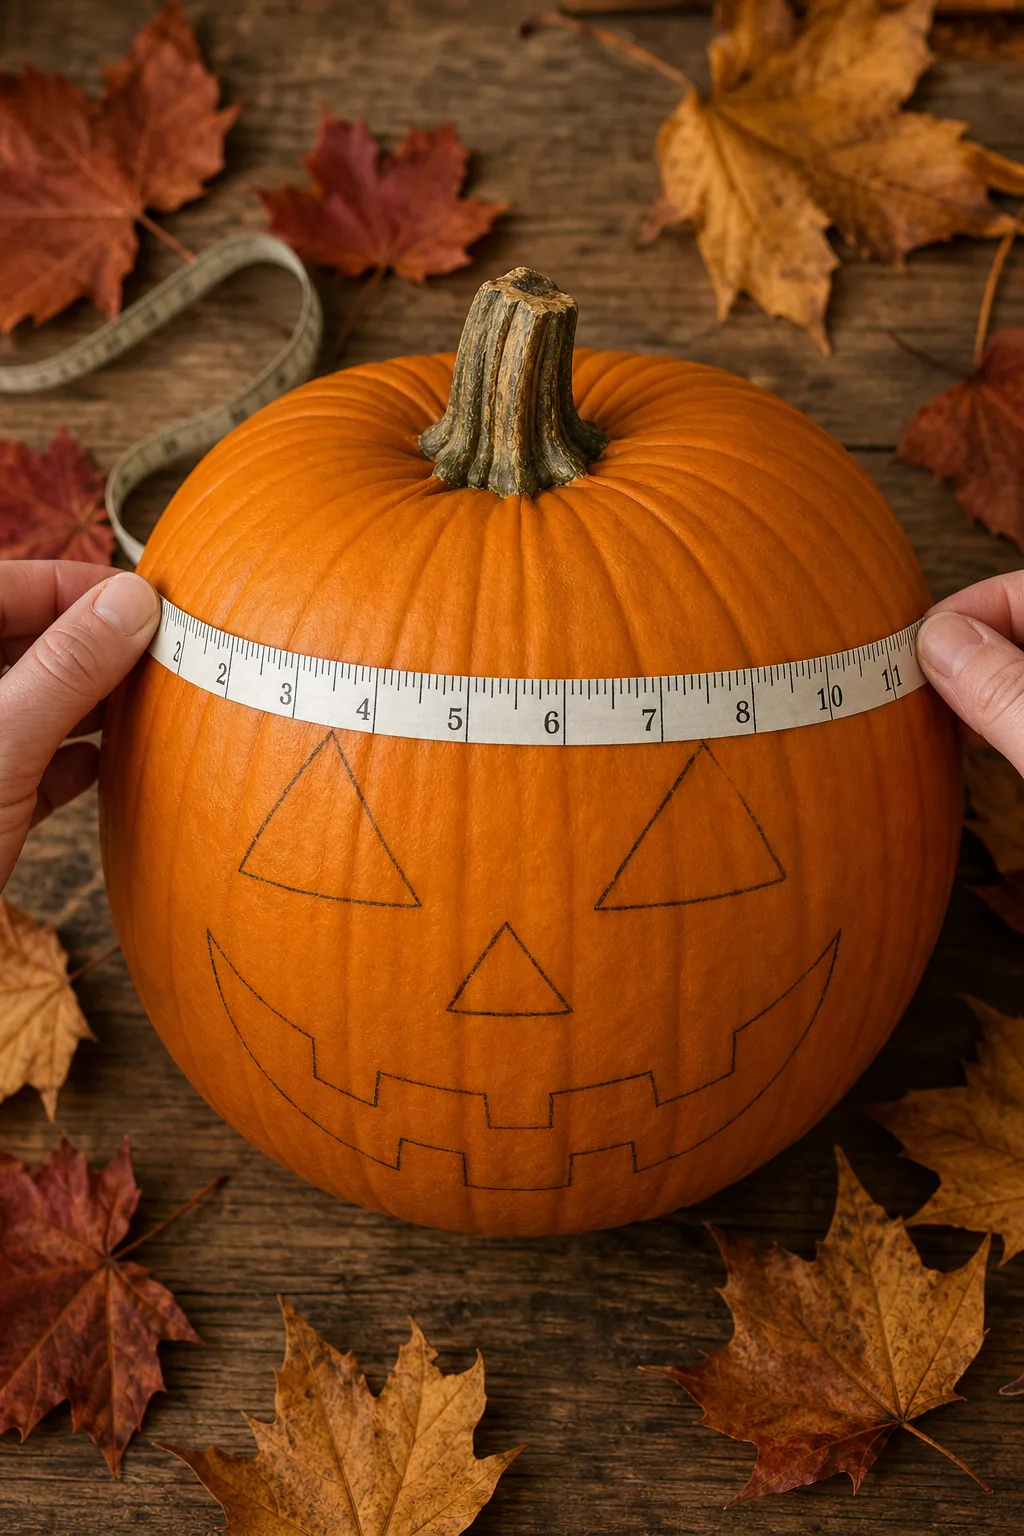
Marking this primary horizontal axis provides a reliable, mathematically sound baseline for spacing the remaining facial features perfectly. Establishing this foundation early prevents frustrating spatial errors later, ensuring your finished jack-o’-lantern looks exactly like the classic template you envisioned.
- Wipe the pumpkin surface completely dry with a clean microfiber towel to ensure your washable marker adheres properly without smudging.
- Measure the total vertical height from the base of the stem down to the bottom resting point on your table.
- Divide that total height by three and mark a level horizontal guideline across the upper face to anchor the eyes.
Preserving the Structural Bridge
The solid pumpkin flesh between the eyes and nose acts as the main support for the upper face. Keep at least 1.5 to 2 inches of untouched flesh in this central zone so the heavy features do not cave inward as the pumpkin naturally dries and shrinks over time.
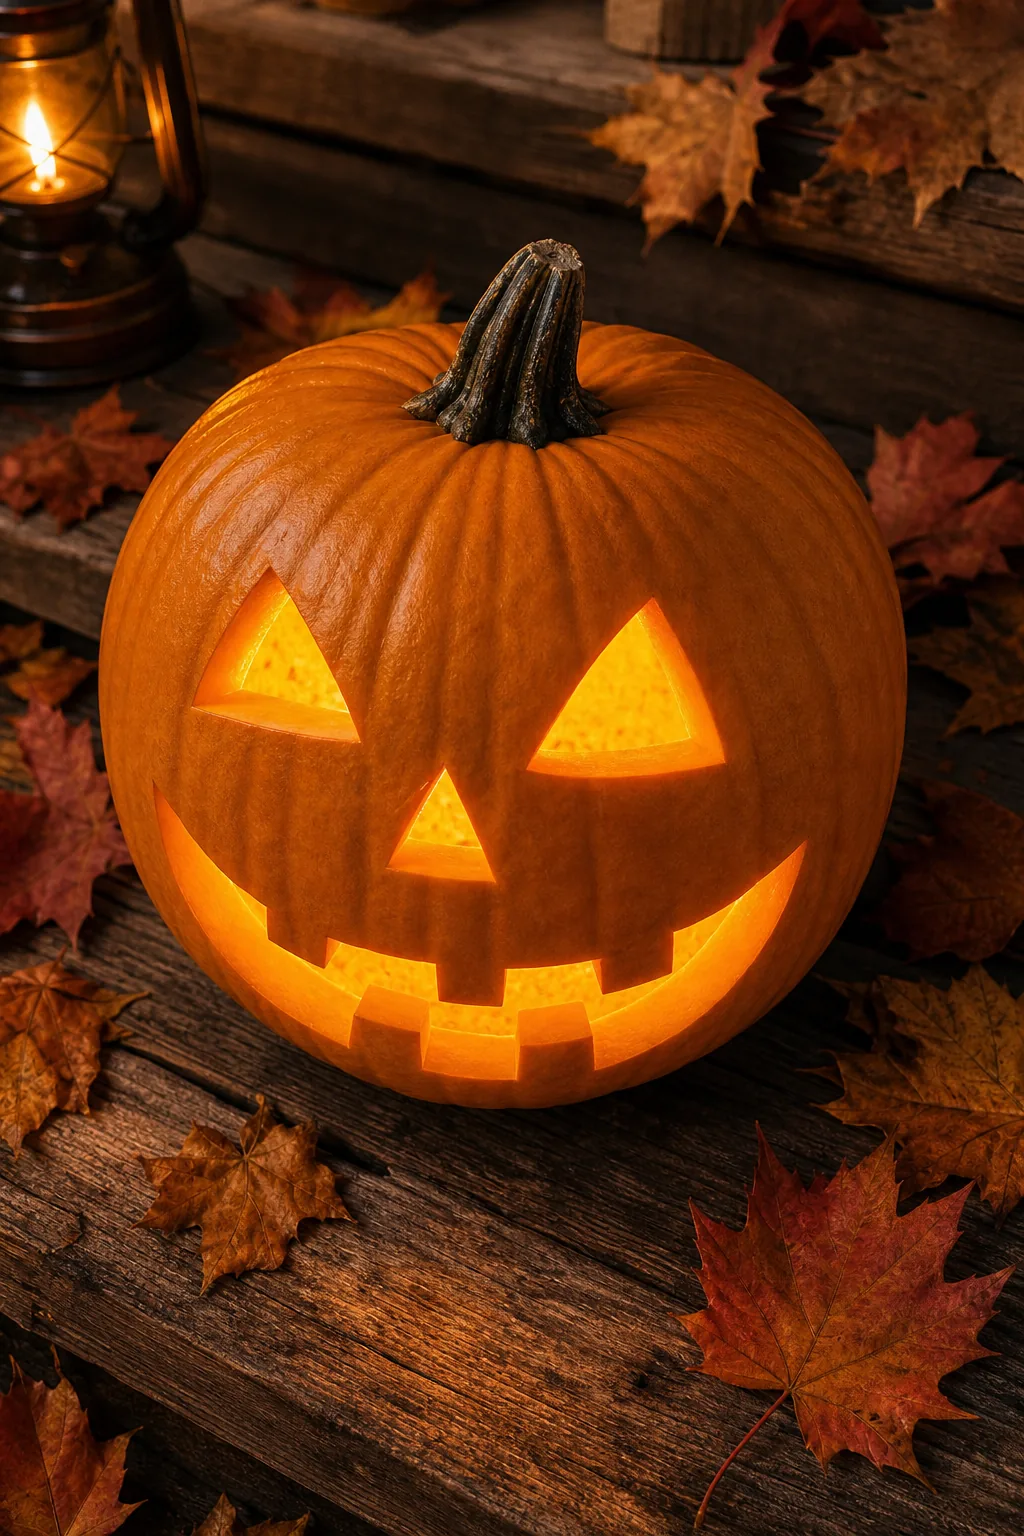
Even with perfect placement, a few common carving errors can compromise the structural integrity of your pumpkin’s face over time. Recognizing these pitfalls early ensures your hard work survives the entire week without collapsing into a mushy, unrecognizable mess on your front porch.
The Mouth-to-Eye Ratio
A classic, balanced smile relies on precise vertical alignment to connect the upper and lower halves of the carving seamlessly. Extend the smile outward until the outer edge of the mouth aligns perfectly with the center of the eye above it, framing the nose beautifully.
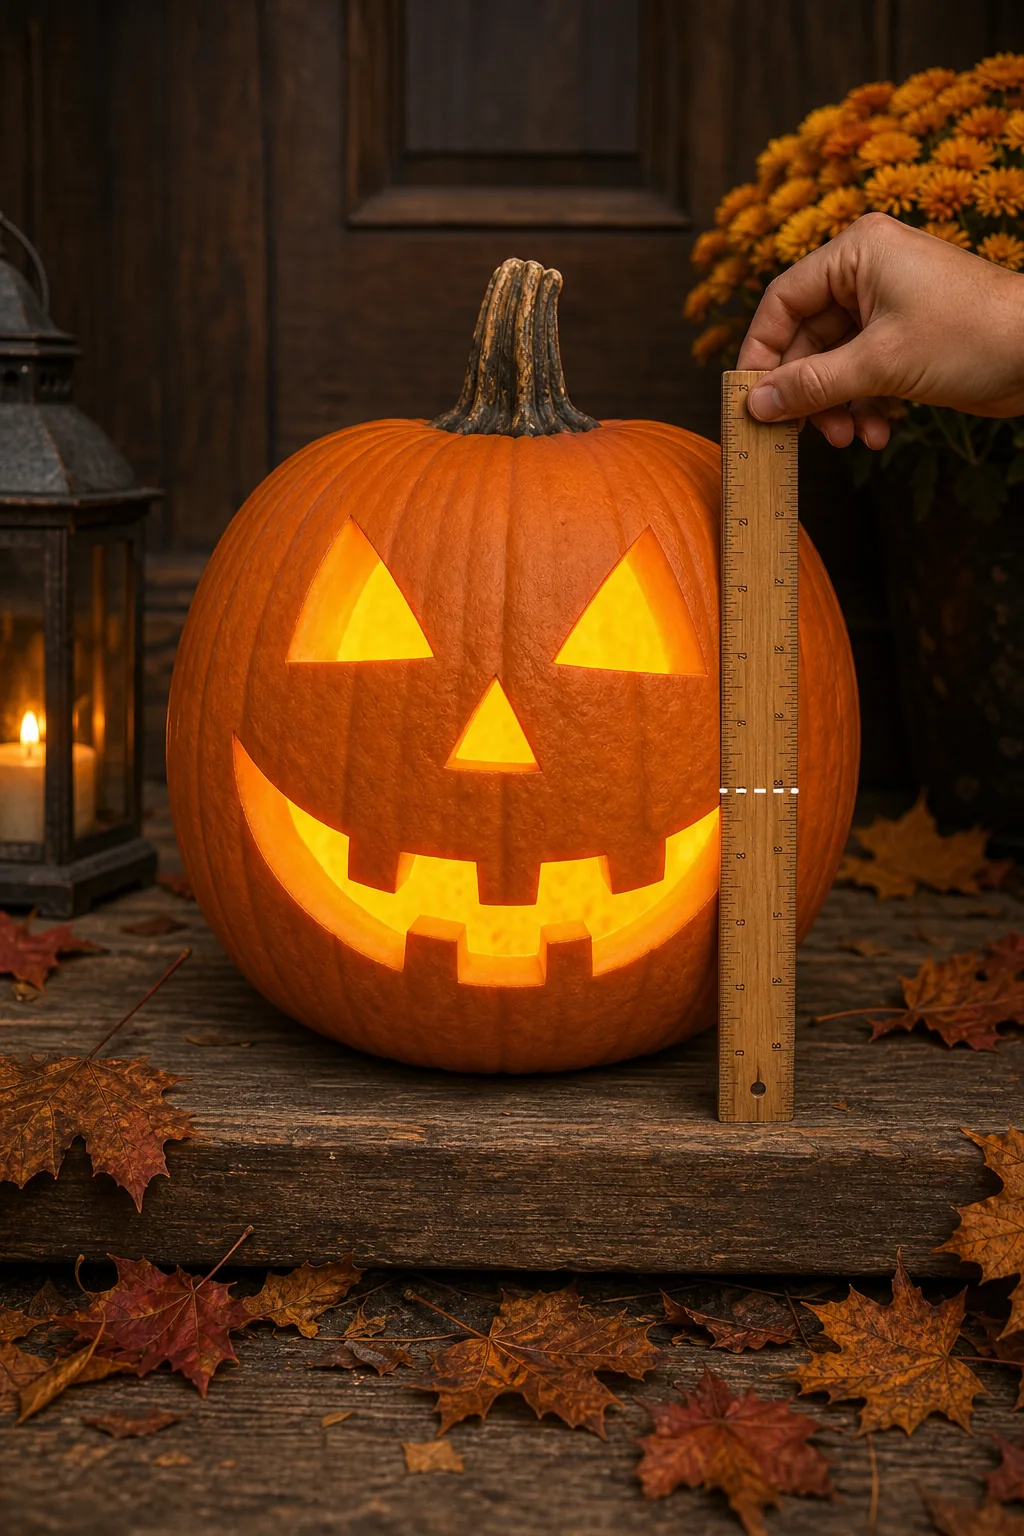
Using a wooden ruler or rigid straight edge ensures your vertical alignment remains perfectly true during the drafting phase. A rigid guide prevents the smile from drifting off-center as you sketch, keeping the entire expression symmetrical and visually appealing from any viewing angle.
| Facial Feature | Alignment Target | Ideal Spacing |
|---|---|---|
| Carved Eyes | Top one-third line | 2 inches apart |
| Triangle Nose | Centered directly below eyes | 1.5 inches from eyes |
| Mouth Edges | Center of each eye | 1 inch below nose |
Why You Should Avoid Sharp V’s
Sharp V-cuts at the base of teeth create structural stress points where the pumpkin will rapidly rot, dry out, and split. Carving a slightly rounded corner on every tooth prevents tearing and extends the life of your jack-o’-lantern significantly by eliminating mechanical weak spots.
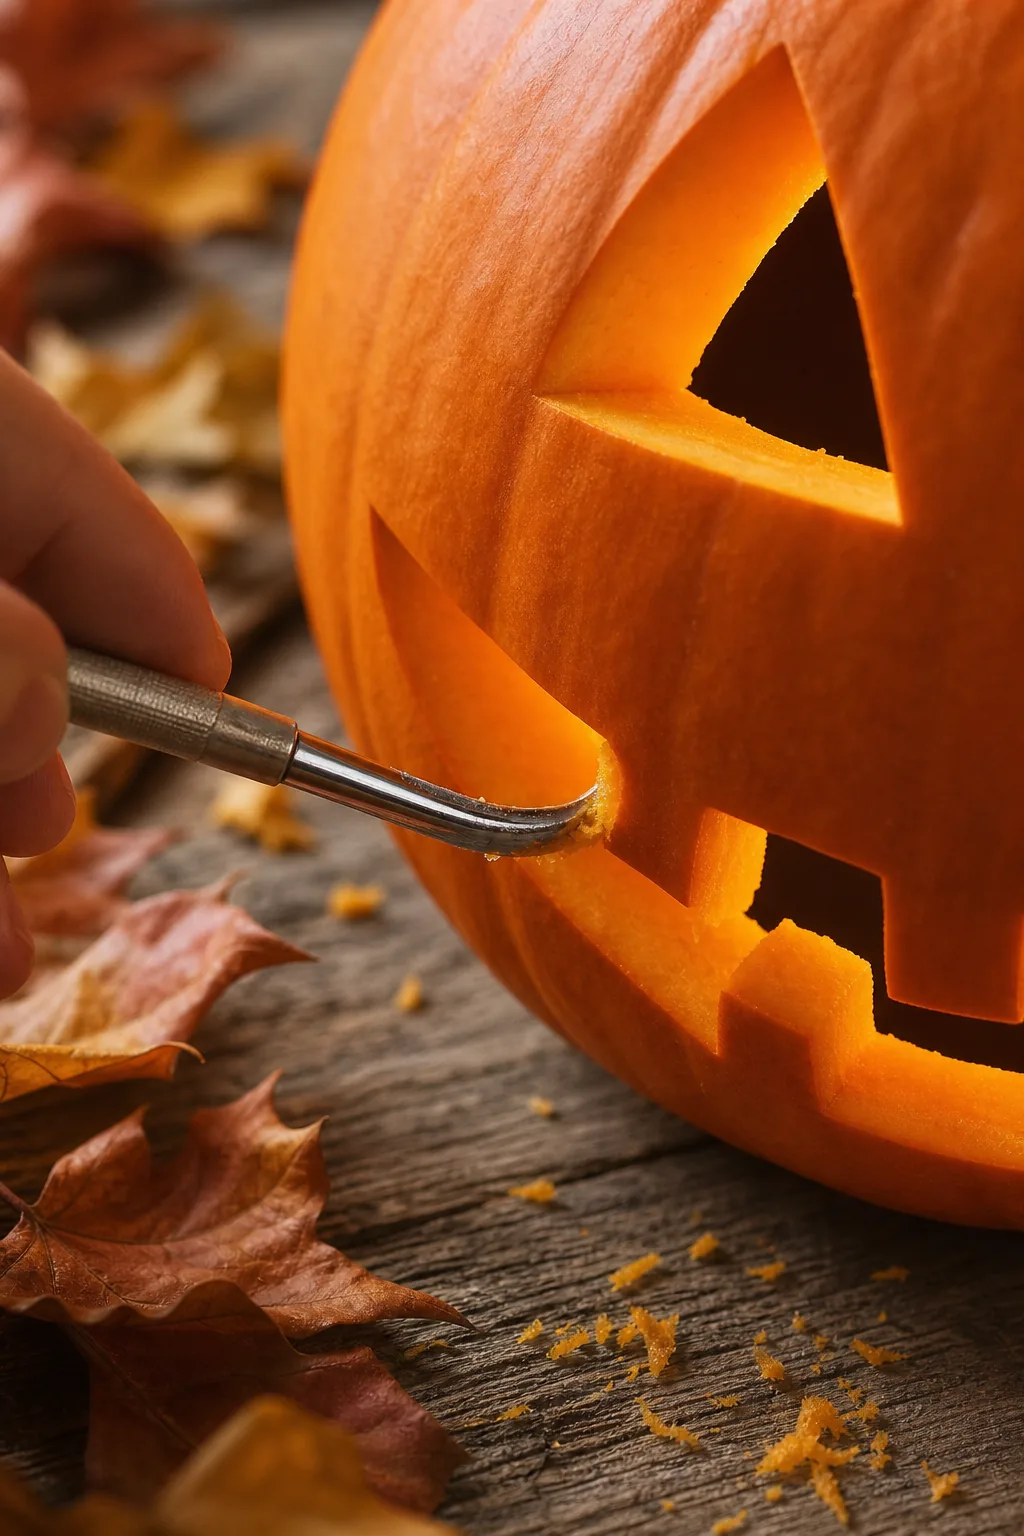
Taking the time to soften these harsh interior angles ensures your design remains crisp and intact through the entire Halloween season. A smooth, sweeping edge dries much more evenly than a jagged, rushed cut, preserving the facial expression and preventing premature collapse.
Leaving a Solid Glow Anchor Zone
Leave the bottom 2 to 3 inches of the pumpkin completely uncarved to establish a sturdy, reliable foundation before you carve the mouth. This thick bottom base acts as a structural anchor while cleanly hiding your internal LED light source from outside view.
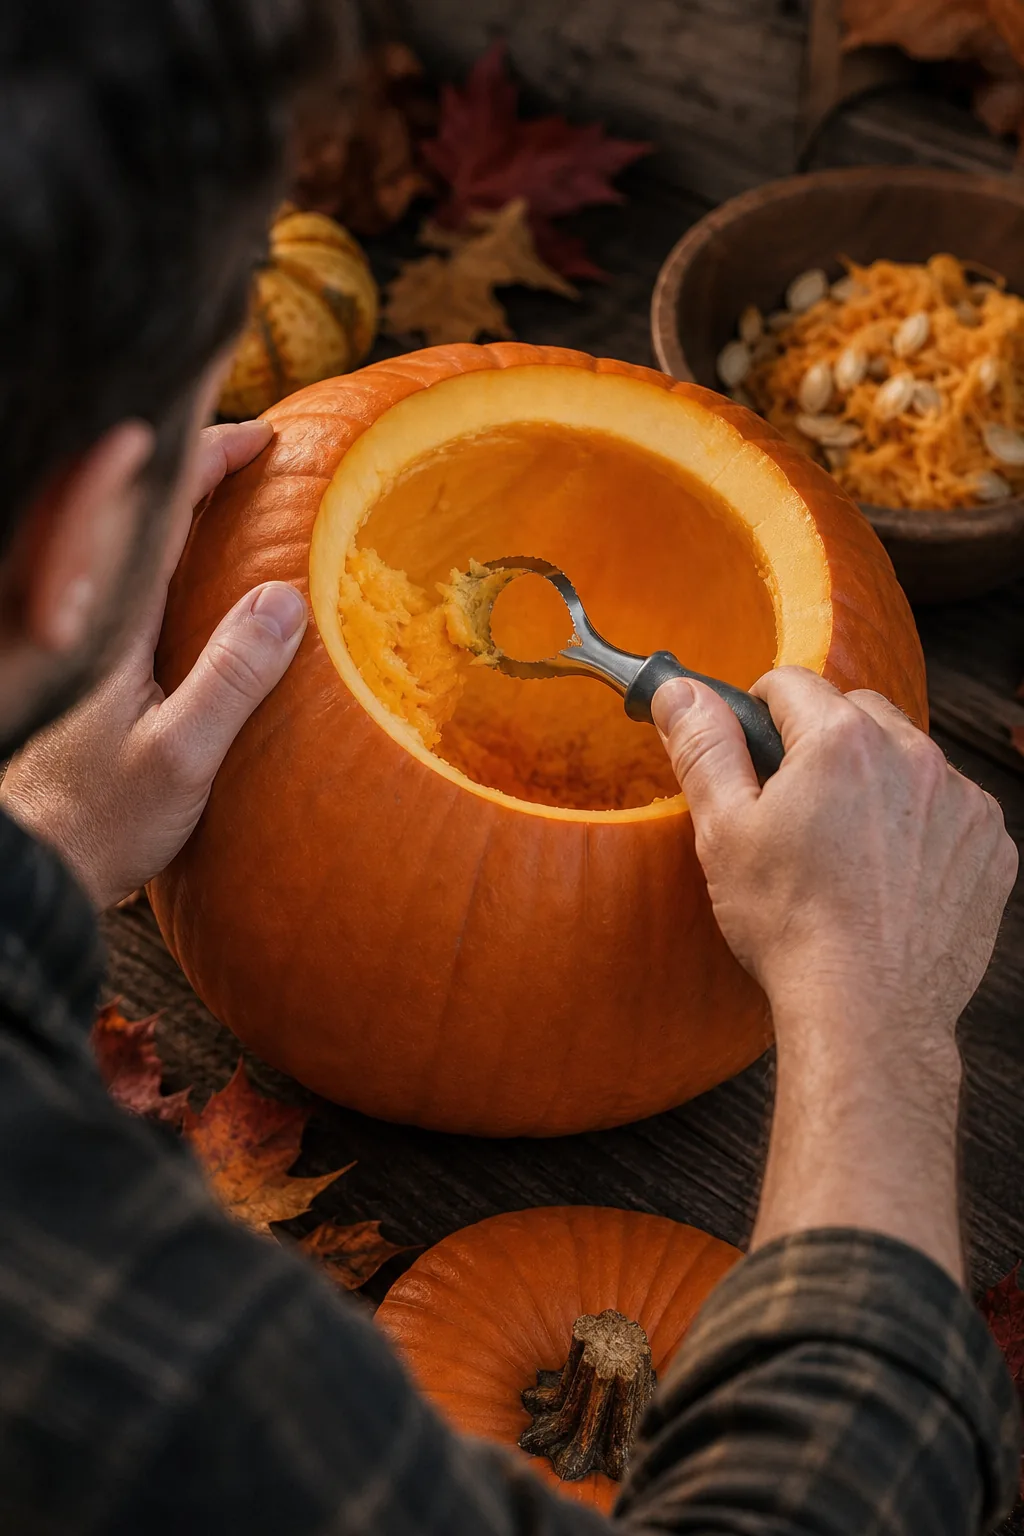
An intact lower bowl also reflects the interior illumination upward, casting a dramatically brighter glow through the carved facial features. Keeping this base solid prevents the pumpkin from collapsing under its own weight as it naturally dehydrates in the cool autumn air.
Checking Wall Thickness
Achieving an even interior wall is much easier when you use the right scraping tool for the job. Before applying your grid, you must prepare the surface properly so your knife glides smoothly and allows maximum light to pass cleanly through the carved edges.
Scrape the inner front wall down to exactly 1 inch thick across the entire face zone to guarantee ultimate control over fine details. A uniform thickness prevents your blade from catching on hidden dense spots while you execute intricate curves.
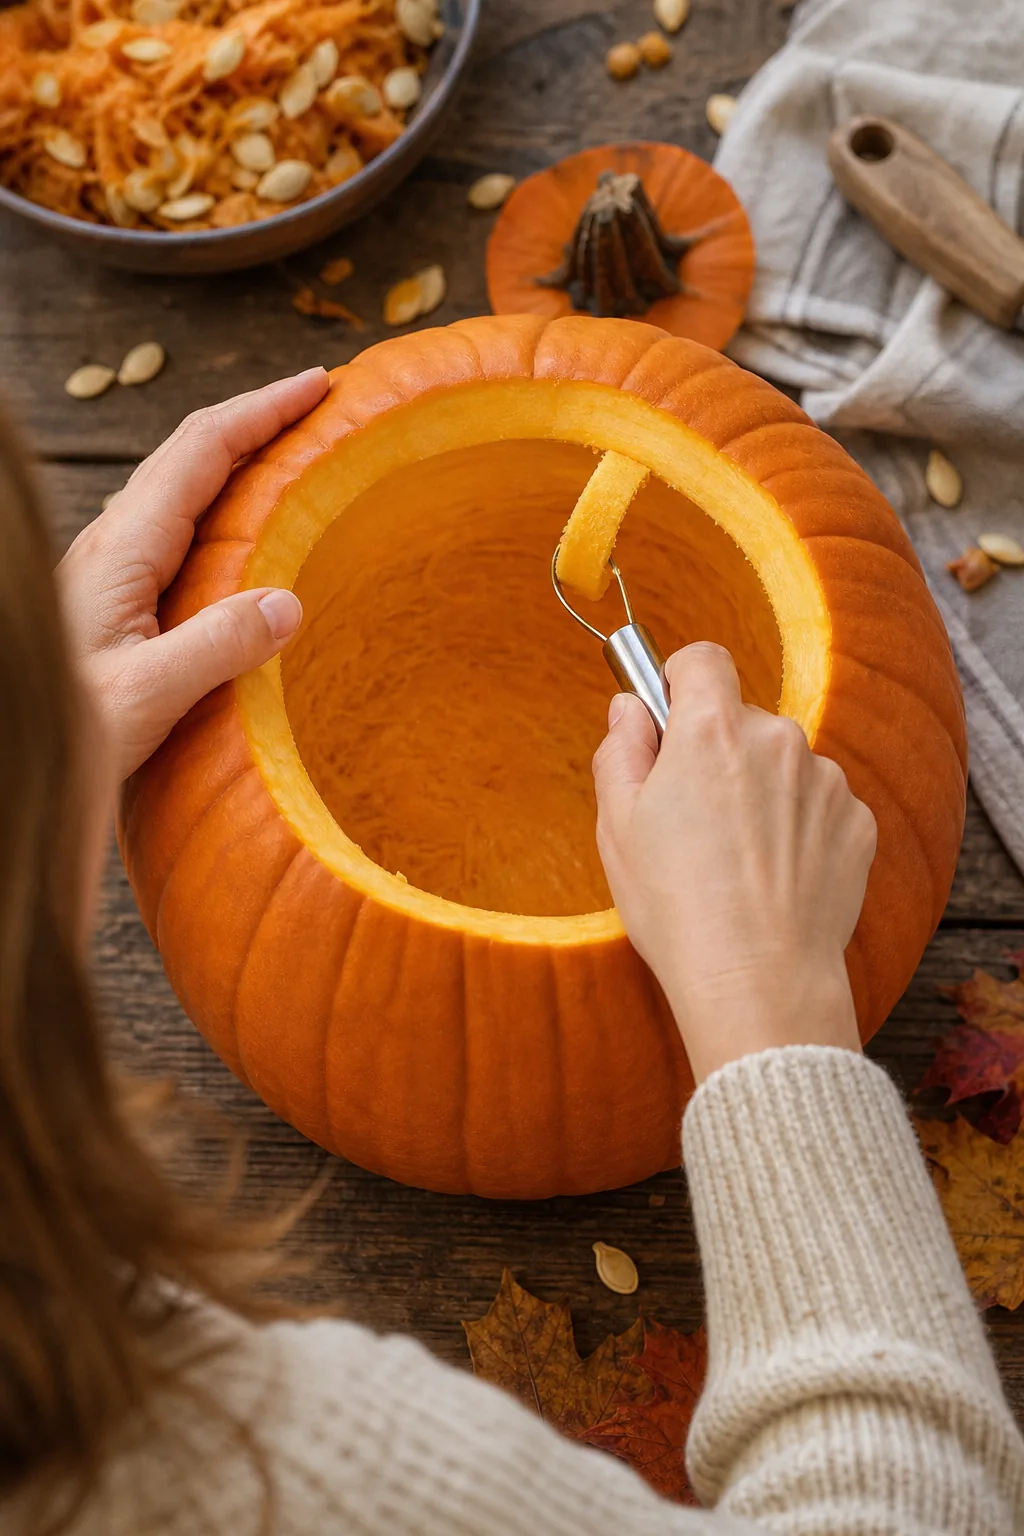
Checking the thickness frequently with a simple sewing pin helps verify that the entire carving zone is perfectly prepared for detailed knife work. Consistent walls ensure that the candlelight shines evenly through every single opening without creating dark, unreadable shadows.
Applying the Proportion Grid
Transferring these mathematical rules requires a flexible approach because every gourd has a slightly different surface contour and texture. Tape your paper guide along the vertical center line first to anchor the design securely before you attempt to press the sides down against the rind.
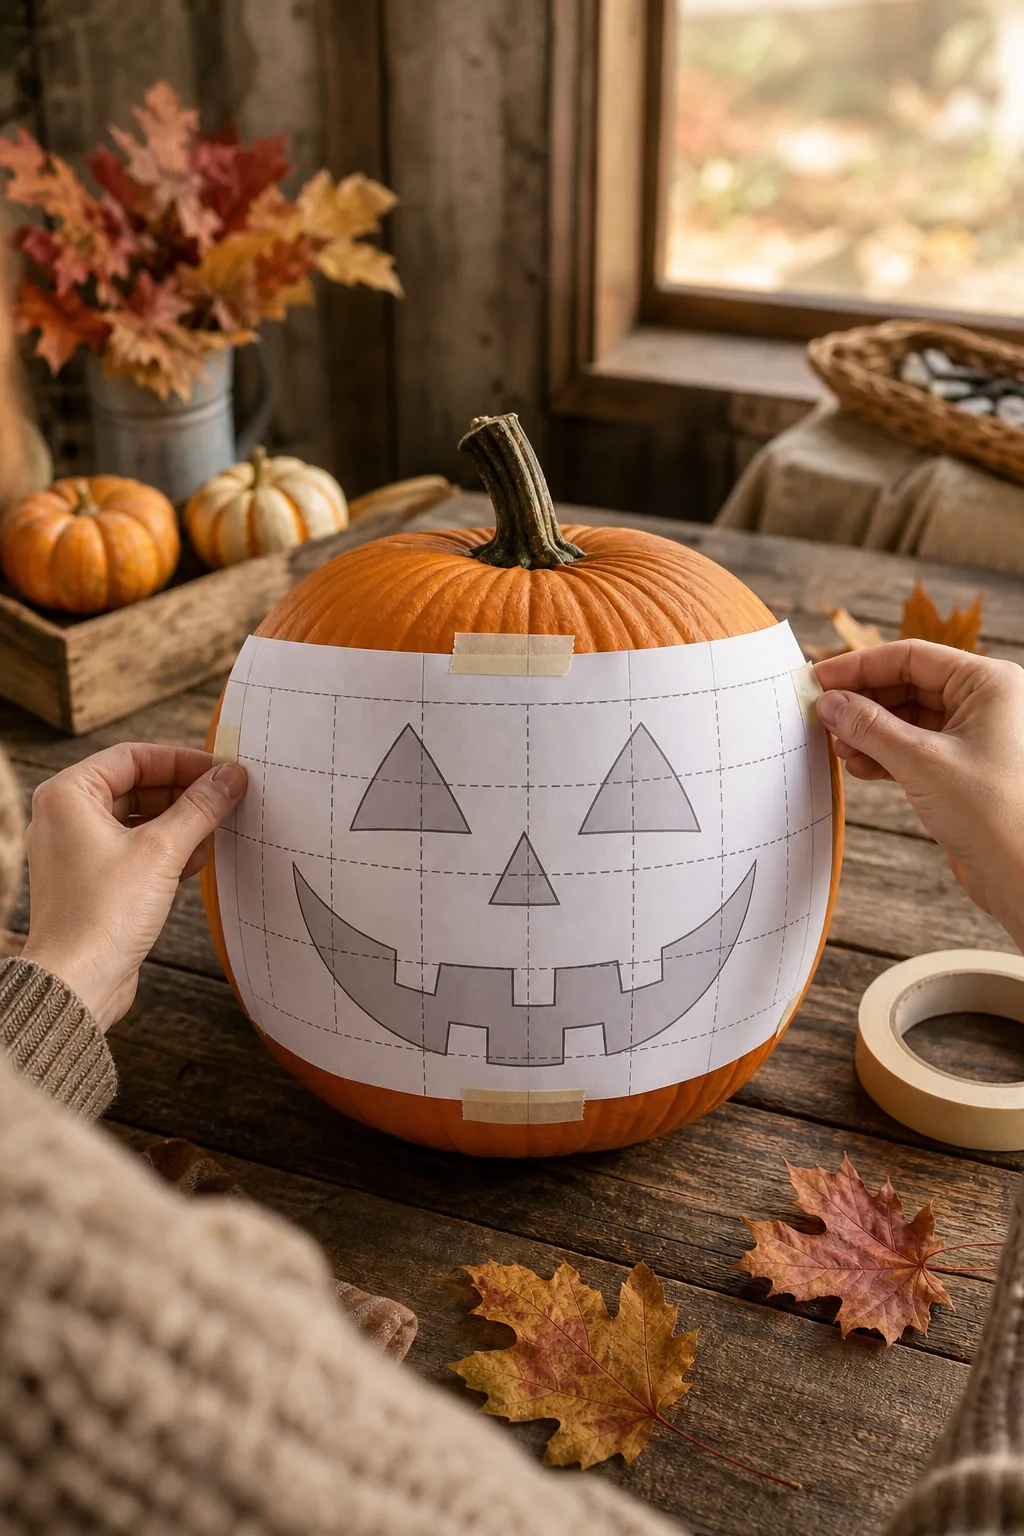
Gently smooth the horizontal axes around the natural curves of the pumpkin before tracing to prevent the stencil from distorting. Taking your time here guarantees that the precise mouth-to-eye ratio translates perfectly from the flat paper onto the three-dimensional orange surface.
Download the Carving Grid Guide
Get the exact measurements for the 1/3 eye rule and mouth-to-eye ratio in one convenient, highly legible printable sheet. Download the carving grid and proportion guide to easily map out flawless, structurally sound cuts on your pumpkin this Halloween without relying on guesswork.
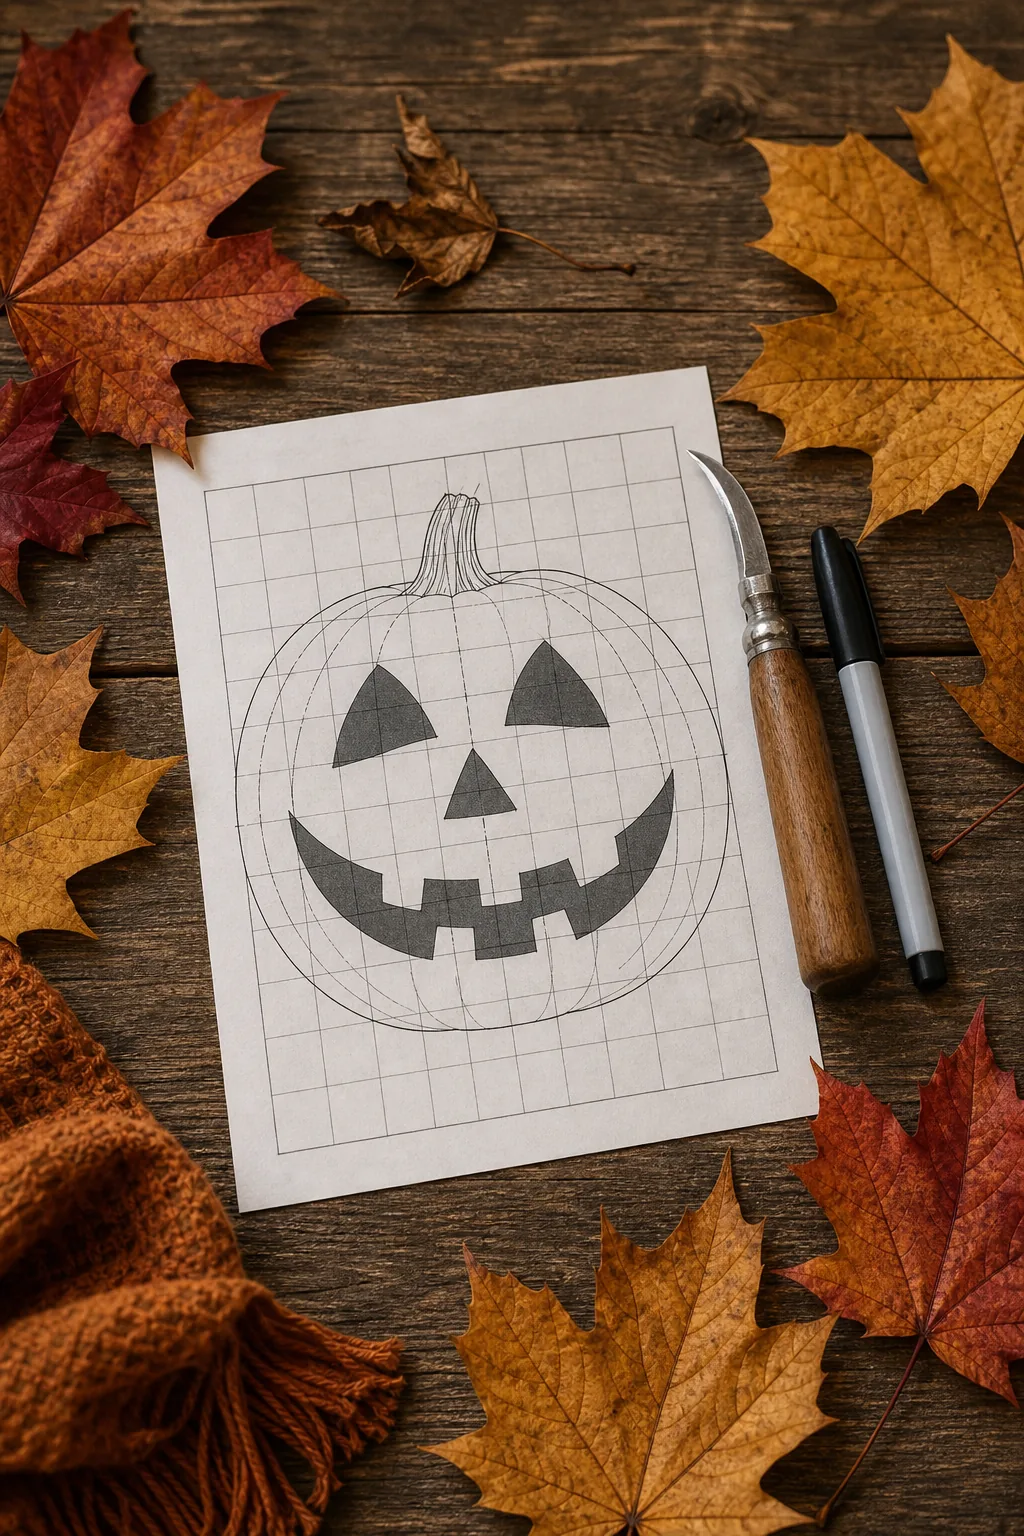
Print this helpful template on standard letter paper and keep it handy alongside your carving tools for perfect, repeatable results every single time. Mastering these classic rules guarantees your front porch display will look professionally crafted and structurally sound.