
DIY Paver Walkway: Exact Base Measurements & Material Checklist
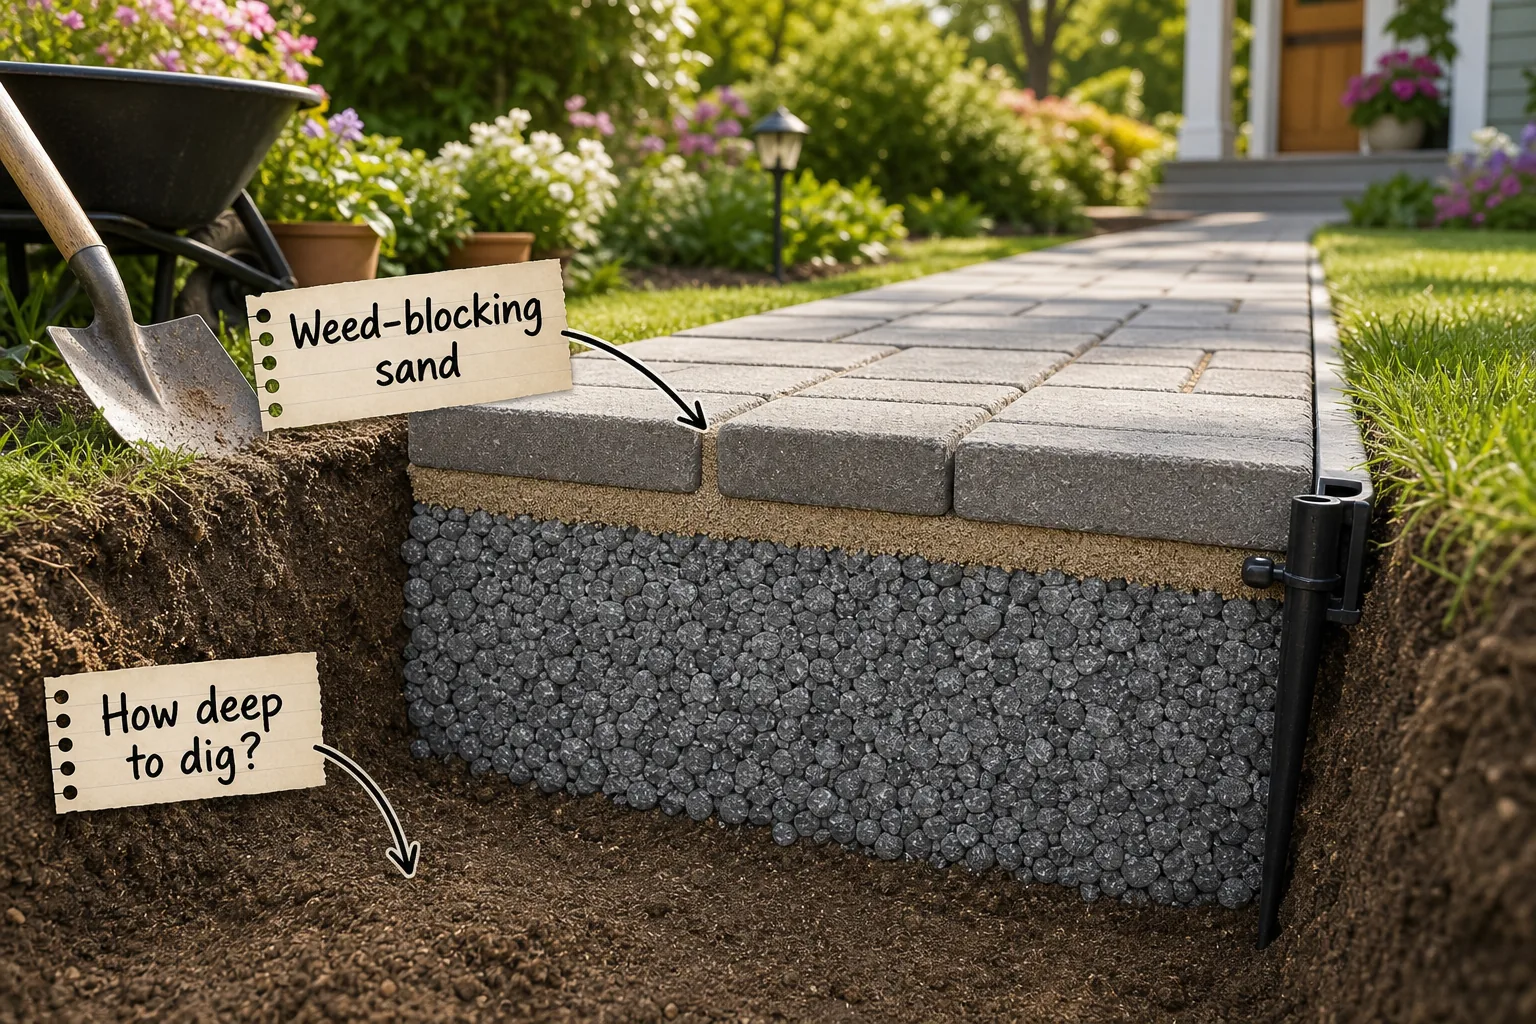
You will be able to confidently calculate your exact trench depth, purchase all the right materials, and successfully install a sink-proof base layer by layer to build the ultimate, long-lasting DIY paver walkway for your home.
Calculating Your Trench Depth
Figuring out exactly how deep to dig requires adding your specific paver thickness to a one-inch sand layer and a four-to-six-inch crushed stone foundation, ensuring the final surface aligns perfectly with your existing yard.
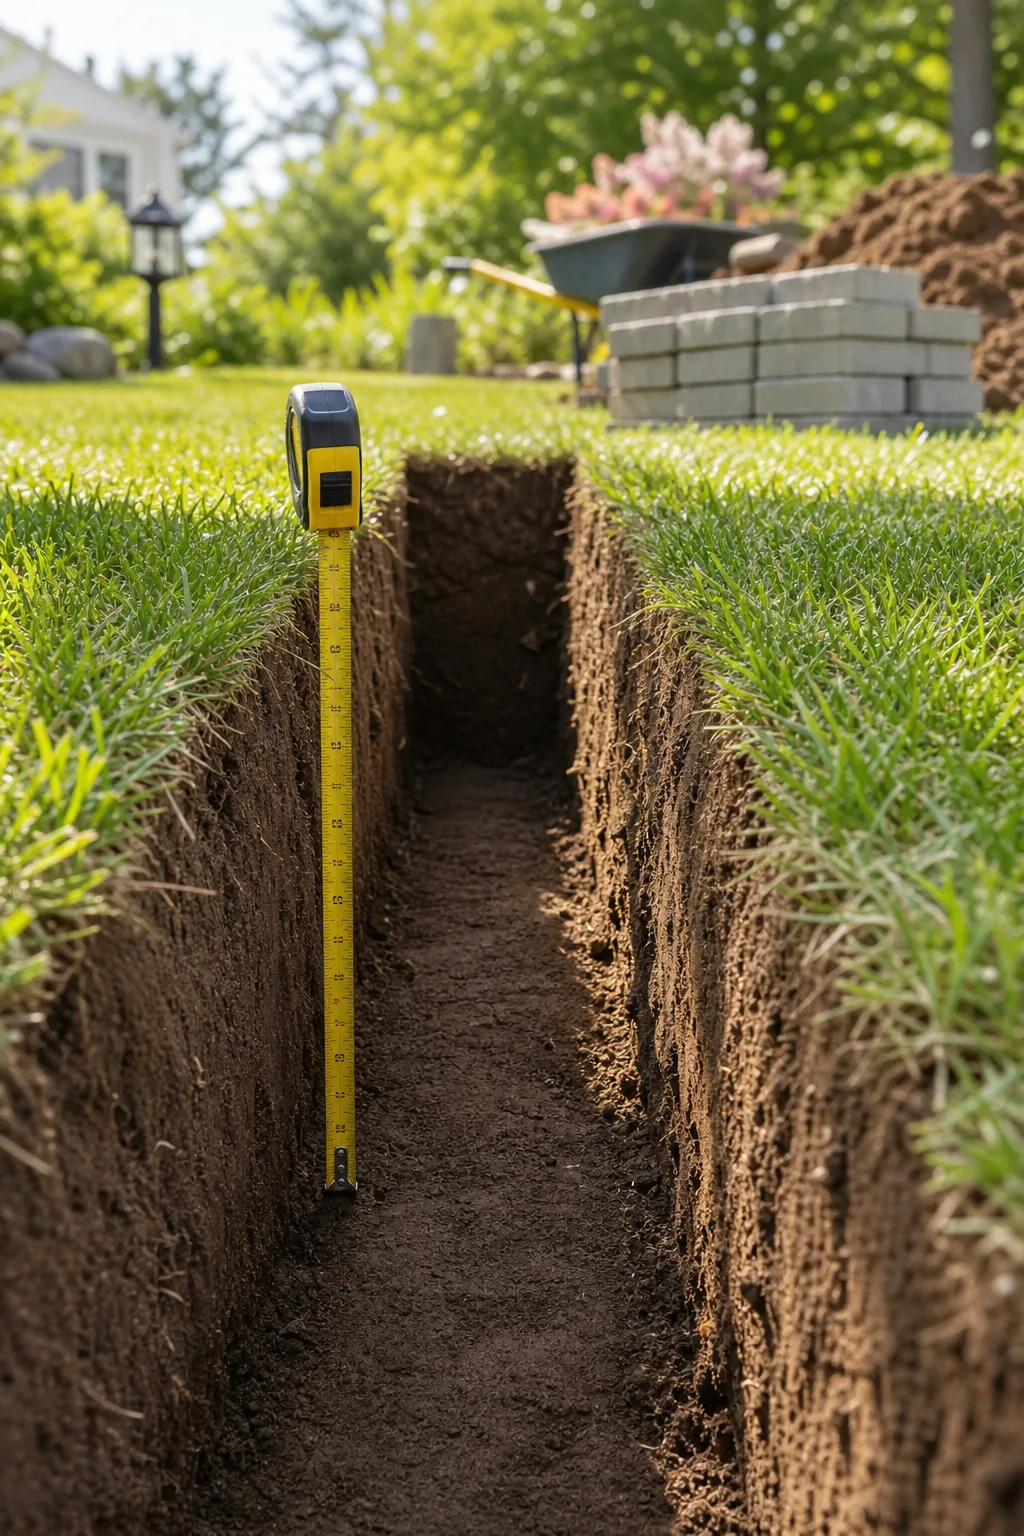
Before you start establishing the exact depth at the very bottom of the excavated dirt trench, make sure you have the right materials staged so your excavation does not sit exposed to heavy rain.
Compacting the Soil Subgrade
Digging naturally loosens the bottom soil, meaning you must tamp the raw earth completely flat before introducing any stone, or the entire walkway assembly will eventually sink and create dangerous tripping hazards.
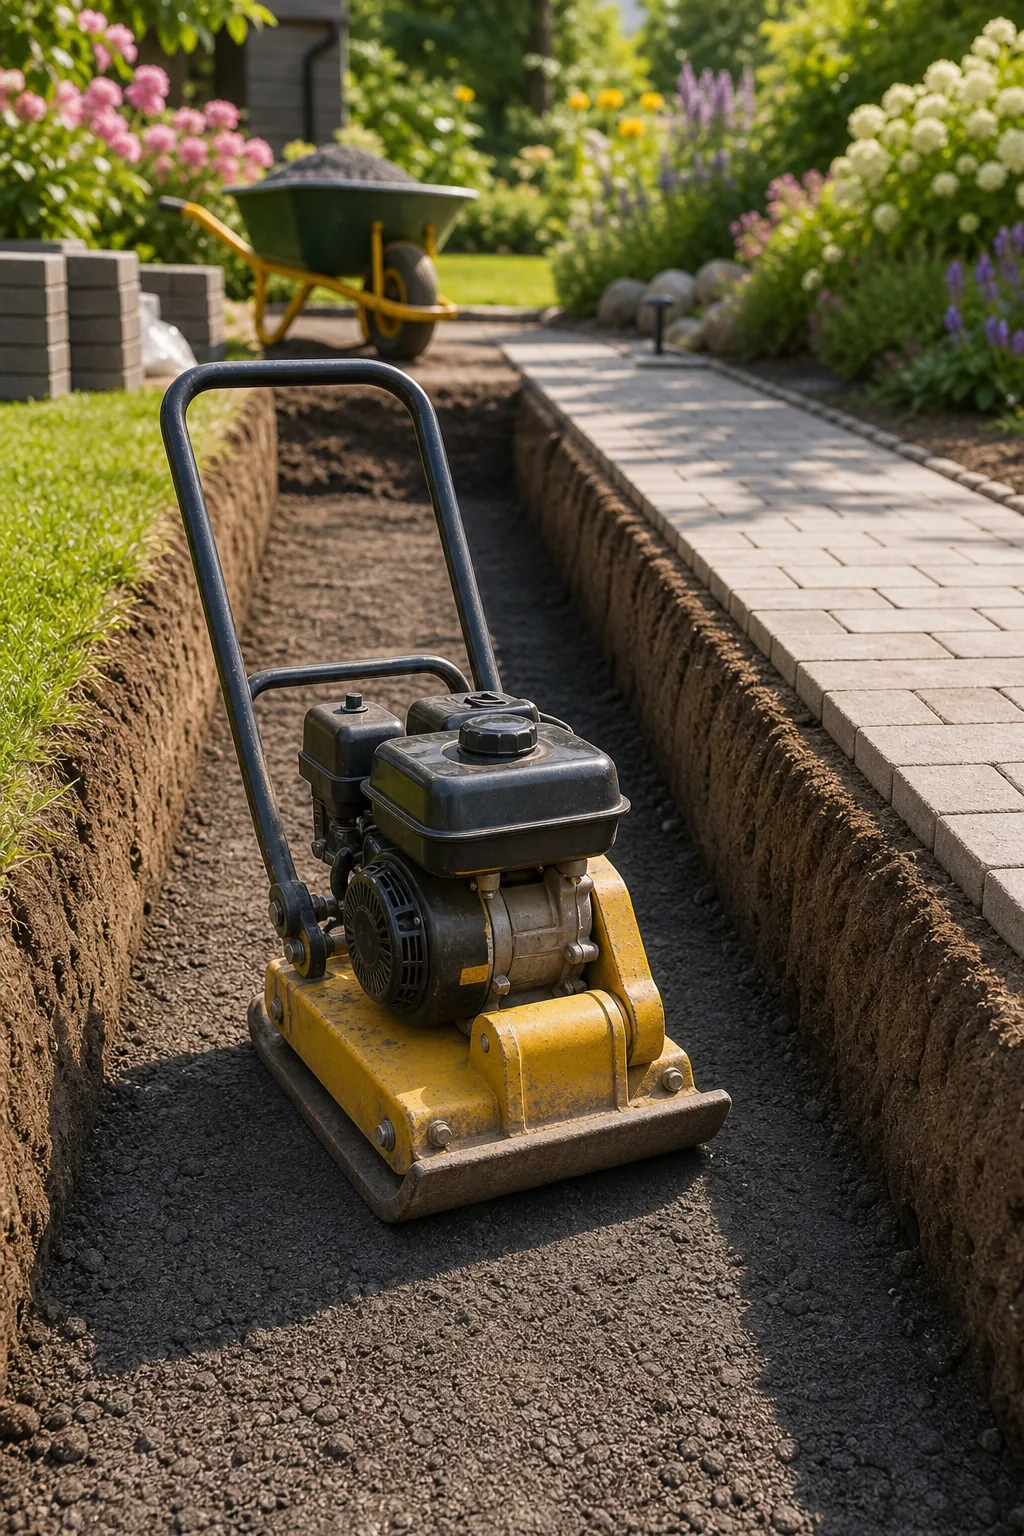
Different soil types require varying levels of intense compaction effort to create a truly unyielding subgrade that can safely and permanently support the massive weight of the heavy crushed rock foundation layers.
| Soil Profile | Compaction Equipment | Moisture Requirement | Recommended Passes |
|---|---|---|---|
| Sandy Loam | Heavy steel hand tamper or plate | Lightly damp for proper binding | Two to three firm compaction passes |
| Heavy Clay Soil | Vibratory plate compactor machine | Completely dry to the touch | Four to five slow compaction passes |
| Silt Soil Blend | Vibratory plate compactor machine | Moderate even moisture throughout | Three to four steady compaction passes |
| Gravelly Dirt Base | Heavy steel manual hand tamper | Bone dry weather conditions | Two incredibly firm compaction passes |
| Organic Topsoil Layer | Excavate and remove completely | Not applicable for organic topsoil | Dig down to stable mineral subsoil |
| Rocky Hardpan Earth | Small vibratory plate compactor | Lightly misted surface conditions | One to two quick leveling passes |
Laying the Crushed Gravel Base
You must use a crushed gravel base featuring jagged edges and fine stone dust, because smooth river rock will constantly slide under pressure like loose marbles, completely ruining the structural integrity of your path.
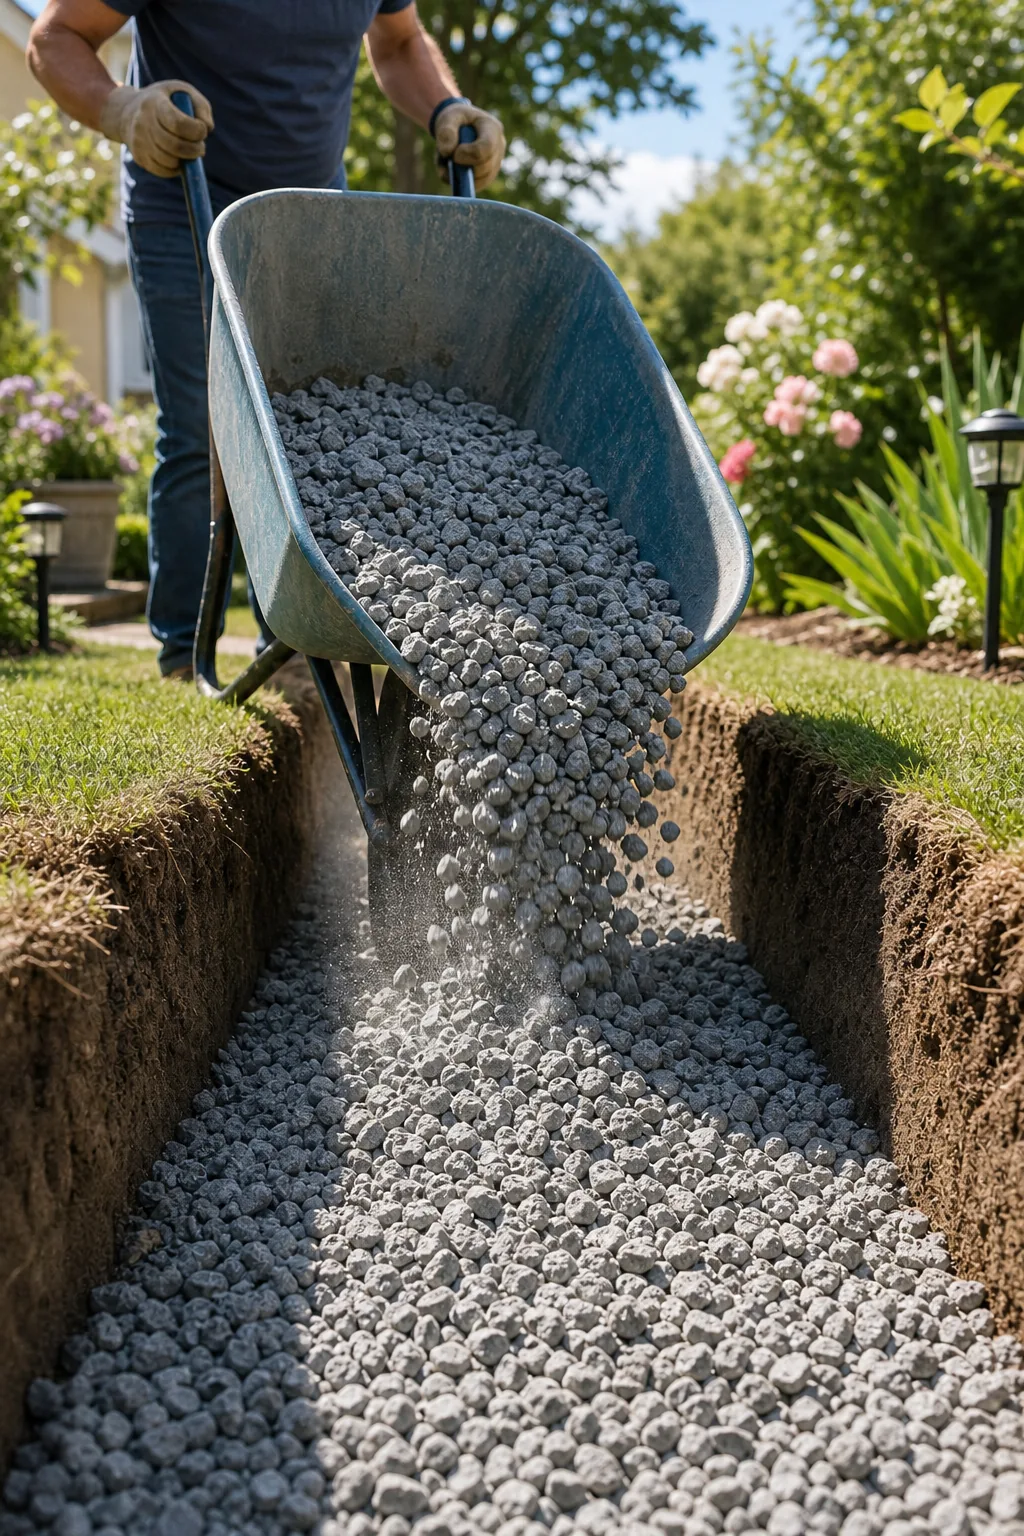
Distributing the thick layer of compacted gray rocks requires a systematic, methodical approach to ensure the deep trench fills evenly without accidentally disturbing the meticulously tamped dirt subgrade you just finished perfecting.
- Stage the wheelbarrow: Position your heavy wheelbarrow parallel to the trench edge so you can safely tip the gravel directly into the excavated space without straining your back or accidentally collapsing the dirt walls.
- Shovel in sections: Pull the crushed stone down into the trench using a sturdy square-nosed shovel, working in manageable three-foot zones to maintain strict depth control and prevent massive piles from accumulating.
- Rake the material: Drag a heavy steel bow rake backward across the freshly dumped gravel to aggressively knock down high spots and seamlessly fill in any visible depressions along the designated path.
- Check the depth: Plunge a rigid tape measure down to the dirt subgrade every few feet to verify you have exactly two inches of loose rock ready for the critical first round of compaction.
- Blend the edges: Use the flat back edge of your steel rake to seamlessly blend the newly added gravel into the previously leveled sections, creating one continuous, structurally sound foundation layer.
- Clear the perimeter: Sweep any stray stones away from the upper grass edges to ensure the plastic edge restraints will eventually sit perfectly flush against the compacted base without any hidden obstructions.
Compacting the Gravel in Lifts
A standard four-inch foundation should always be added and compacted in two distinct two-inch layers, systematically eliminating hidden air voids that could easily cause future settling and severely crack your finished concrete pavers.
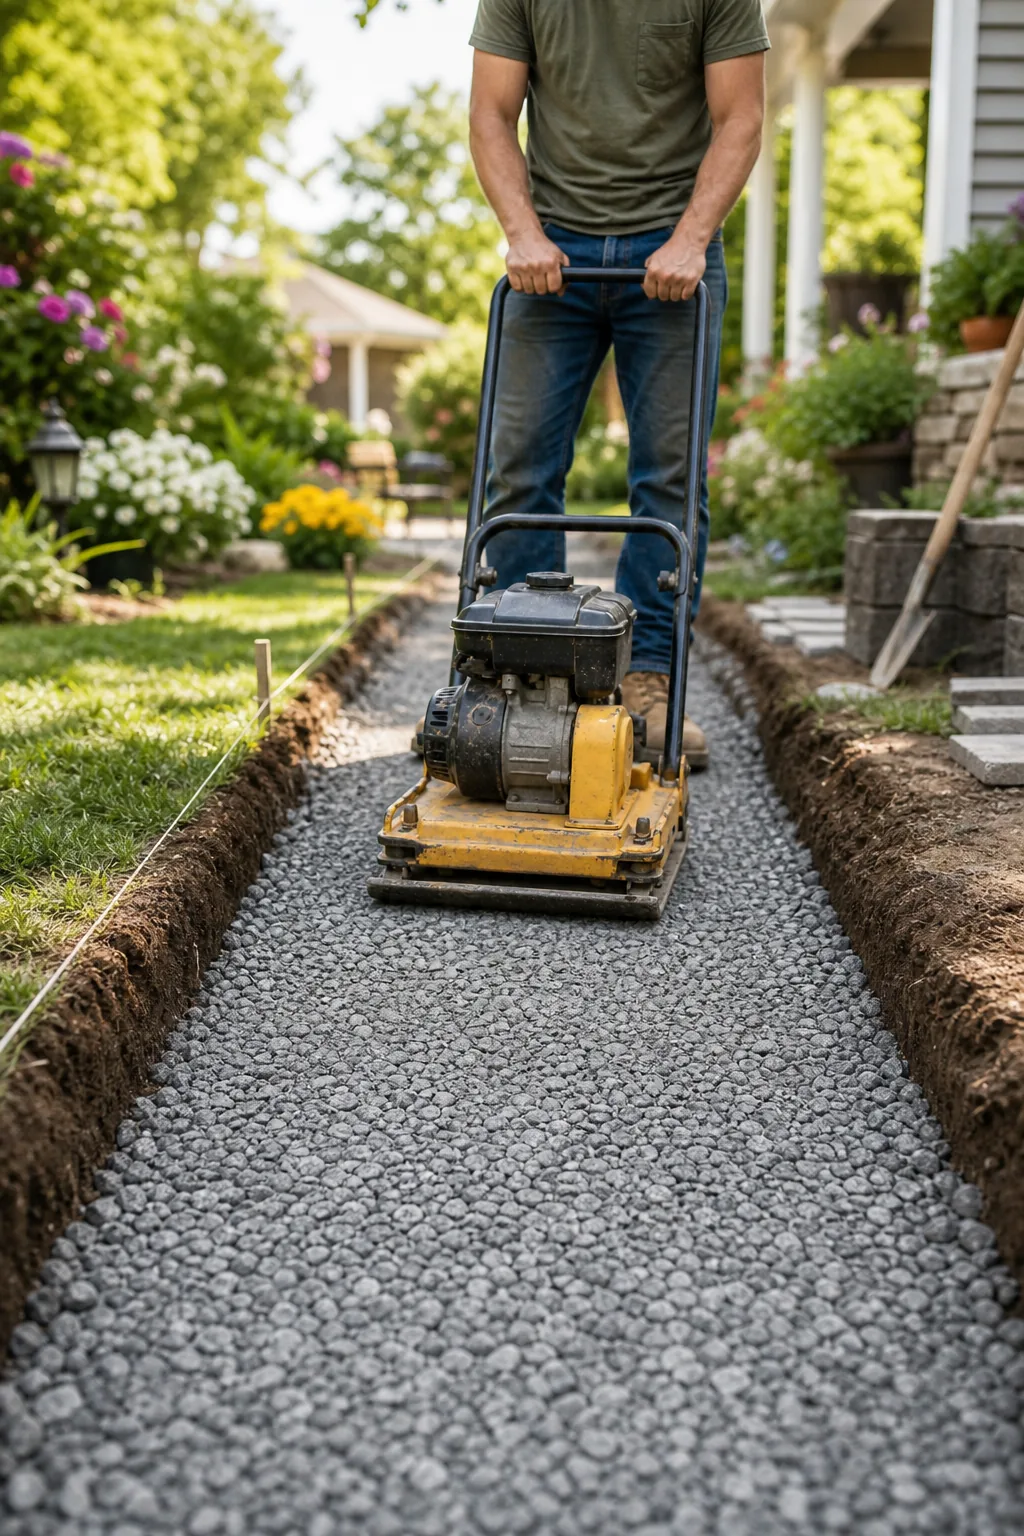
Bone dry gravel can shift unpredictably under the heavy steel compactor, making it incredibly difficult to achieve a truly solid, permanent mechanical lock between the thousands of jagged individual stones.
Screeding the Leveling Sand Layer
Carefully pour exactly one inch of coarse concrete sand to form the leveling sand layer, using one-inch outside diameter PVC pipes as highly accurate depth guides for pulling your straight wooden screed board.
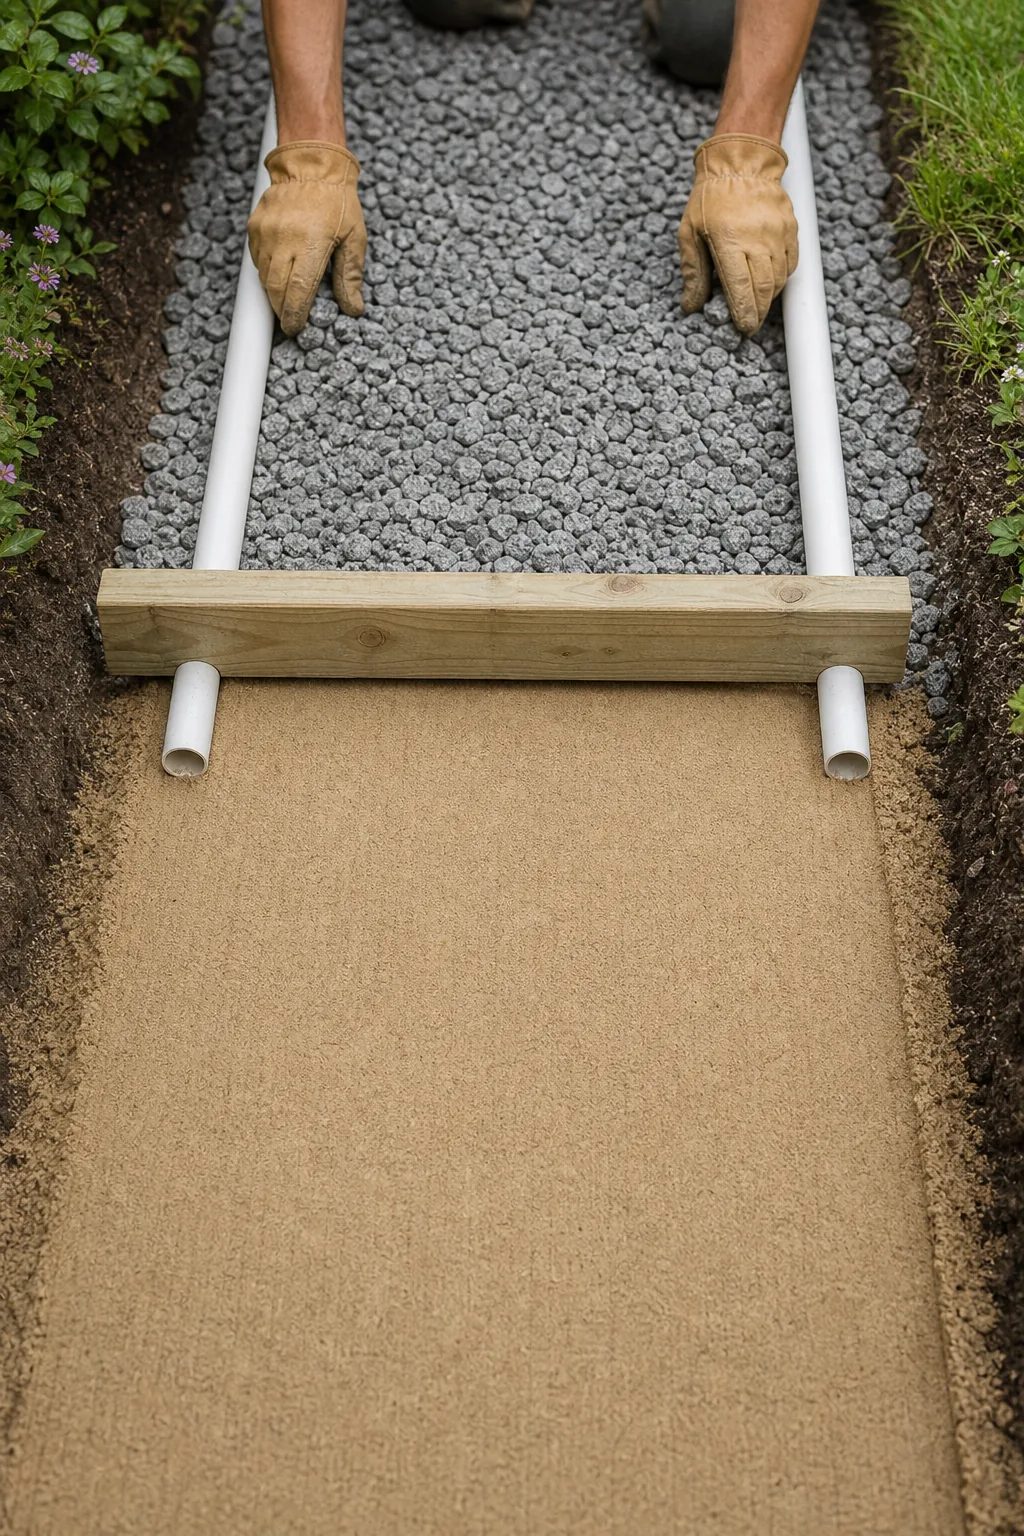
Achieving a completely flawless surface on the thin smooth layer of sand directly under the stone requires careful preparation, immense patience, and the right specialized leveling tools to prevent any future wobbling.
- Coarse washed sand: Always use sharp, angular washed concrete sand rather than fine masonry or soft play sand, as the coarser grains naturally resist shifting and provide a much more stable bedding plane.
- Rigid guide pipes: Lay two parallel lengths of perfectly straight one-inch PVC pipe directly on the compacted gravel to serve as unyielding, perfectly level metal rails for your wooden screeding board to smoothly glide across.
- Straight screed board: Select an absolutely straight, completely unwarped two-by-four piece of framing lumber that spans slightly wider than your walkway trench to pull the loose sand evenly across the embedded plastic pipes.
- Hand trowel: Keep a flat steel masonry trowel nearby to carefully and meticulously fill in the narrow voids left behind when you eventually slide the PVC guide pipes out of the finished sand bed.
- Avoid stepping in: Never walk on or accidentally disturb the freshly screeded sand layer, as any heavy footprints or minor depressions will directly translate into uneven, sunken surface pavers that collect standing water.
Setting the Concrete Pavers
Lay the heavy pavers starting from a strict ninety-degree corner, dropping them straight down into the uncompacted sand so the delicate bed remains perfectly smooth until the final mechanical tamping locks everything together.
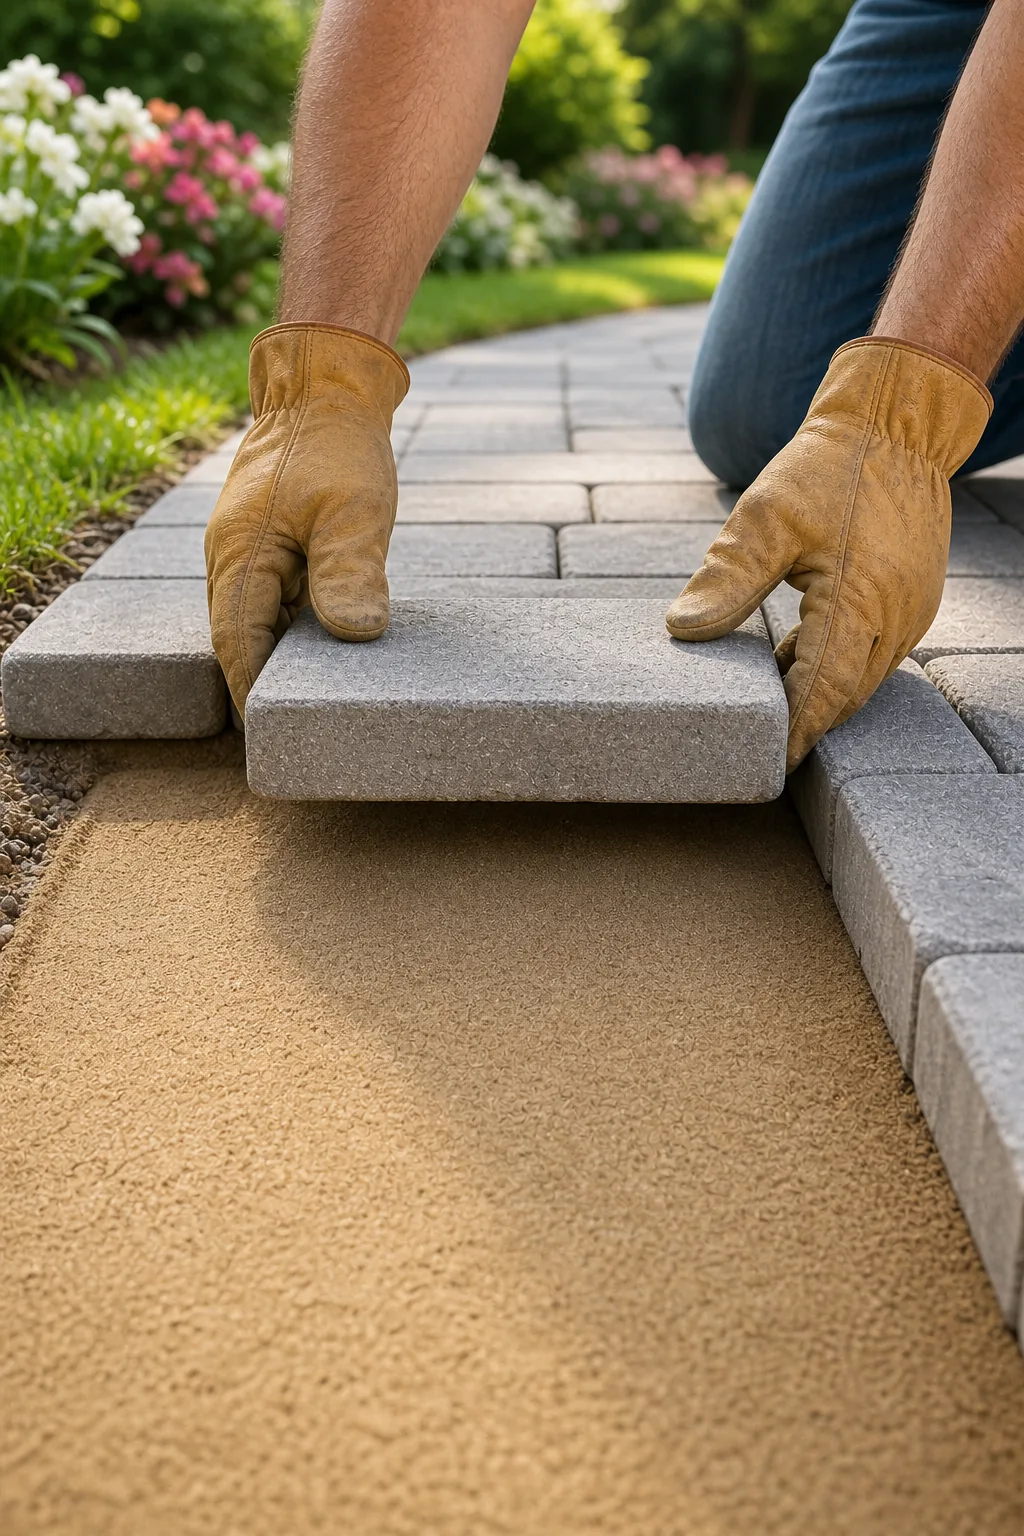
Maintaining strict, unwavering alignment during this crucial installation phase guarantees your finished walkway will showcase crisp, highly professional lines that beautifully complement your surrounding landscape architecture and boost overall curb appeal.
Installing the Hidden Edge Restraint
Place the hidden edge restraint directly on the extended crushed gravel base, aggressively pushing the rigid plastic tightly against the outer row of pavers before driving heavy ten-inch steel spikes deep into the earth.
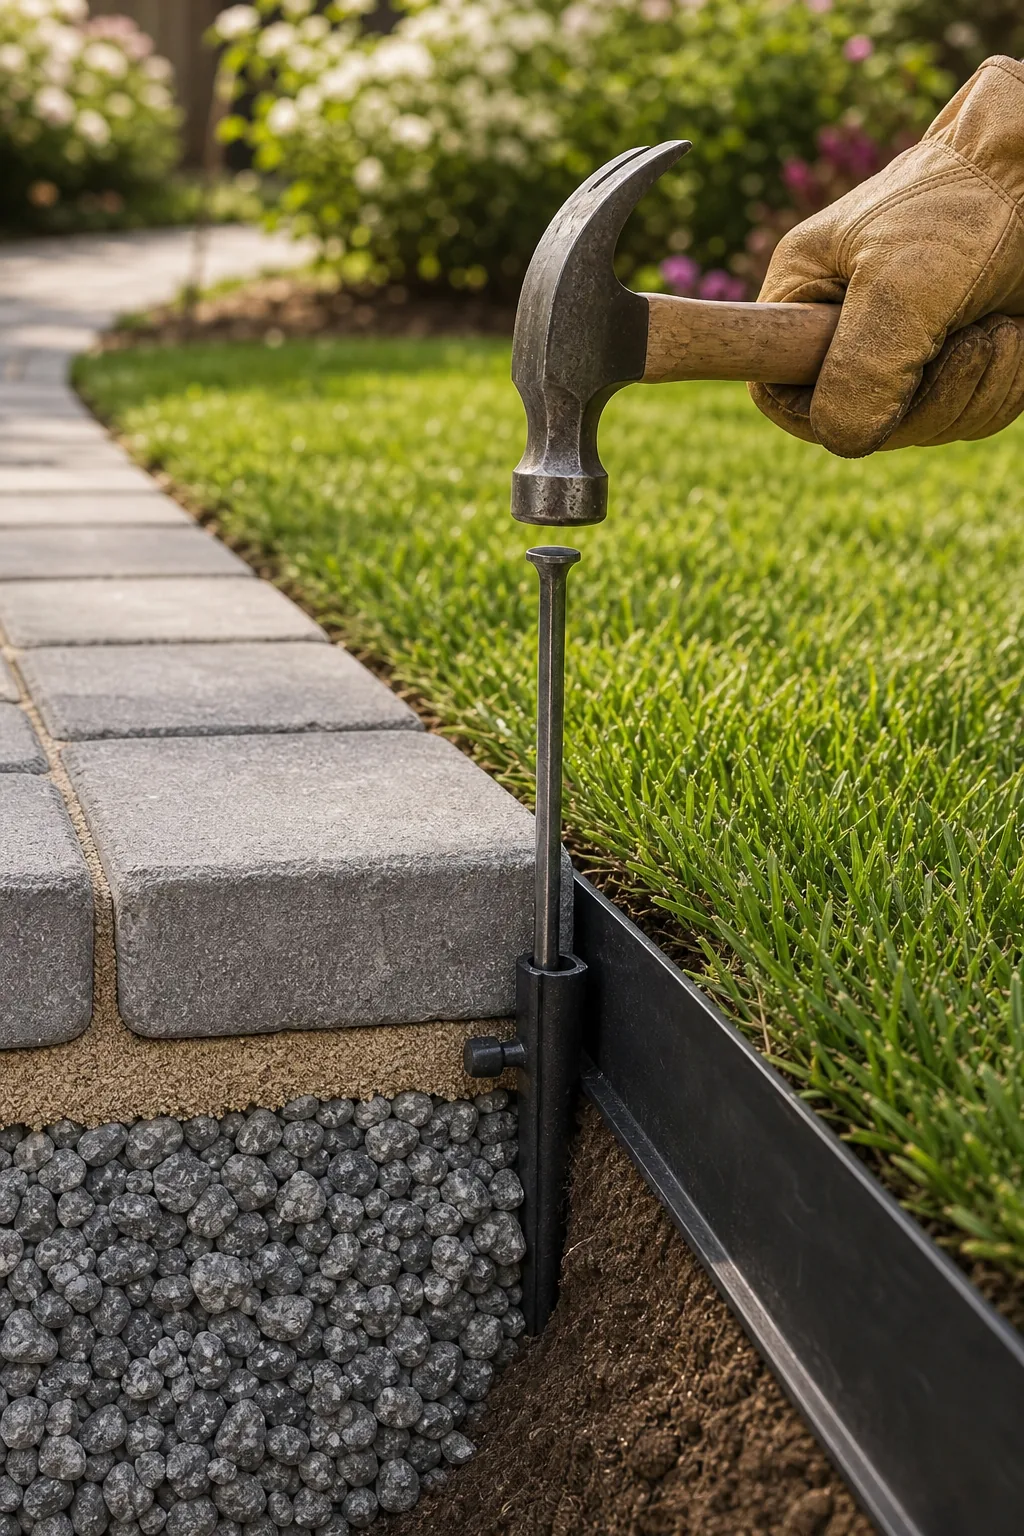
Permanently securing the plastic edging spiked into the dirt beside the outer paver actively prevents the entire interlocking surface from slowly migrating outward into the surrounding lawn under the immense stress of changing seasons, heavy daily foot traffic, and torrential rainstorms.
Locking Joints with Weed-Blocking Sand
Sweep specialized weed-blocking sand into the dry joints until completely flush, then carefully clear the textured surface of all residual dust before lightly misting it with water to activate the powerful binding agents.
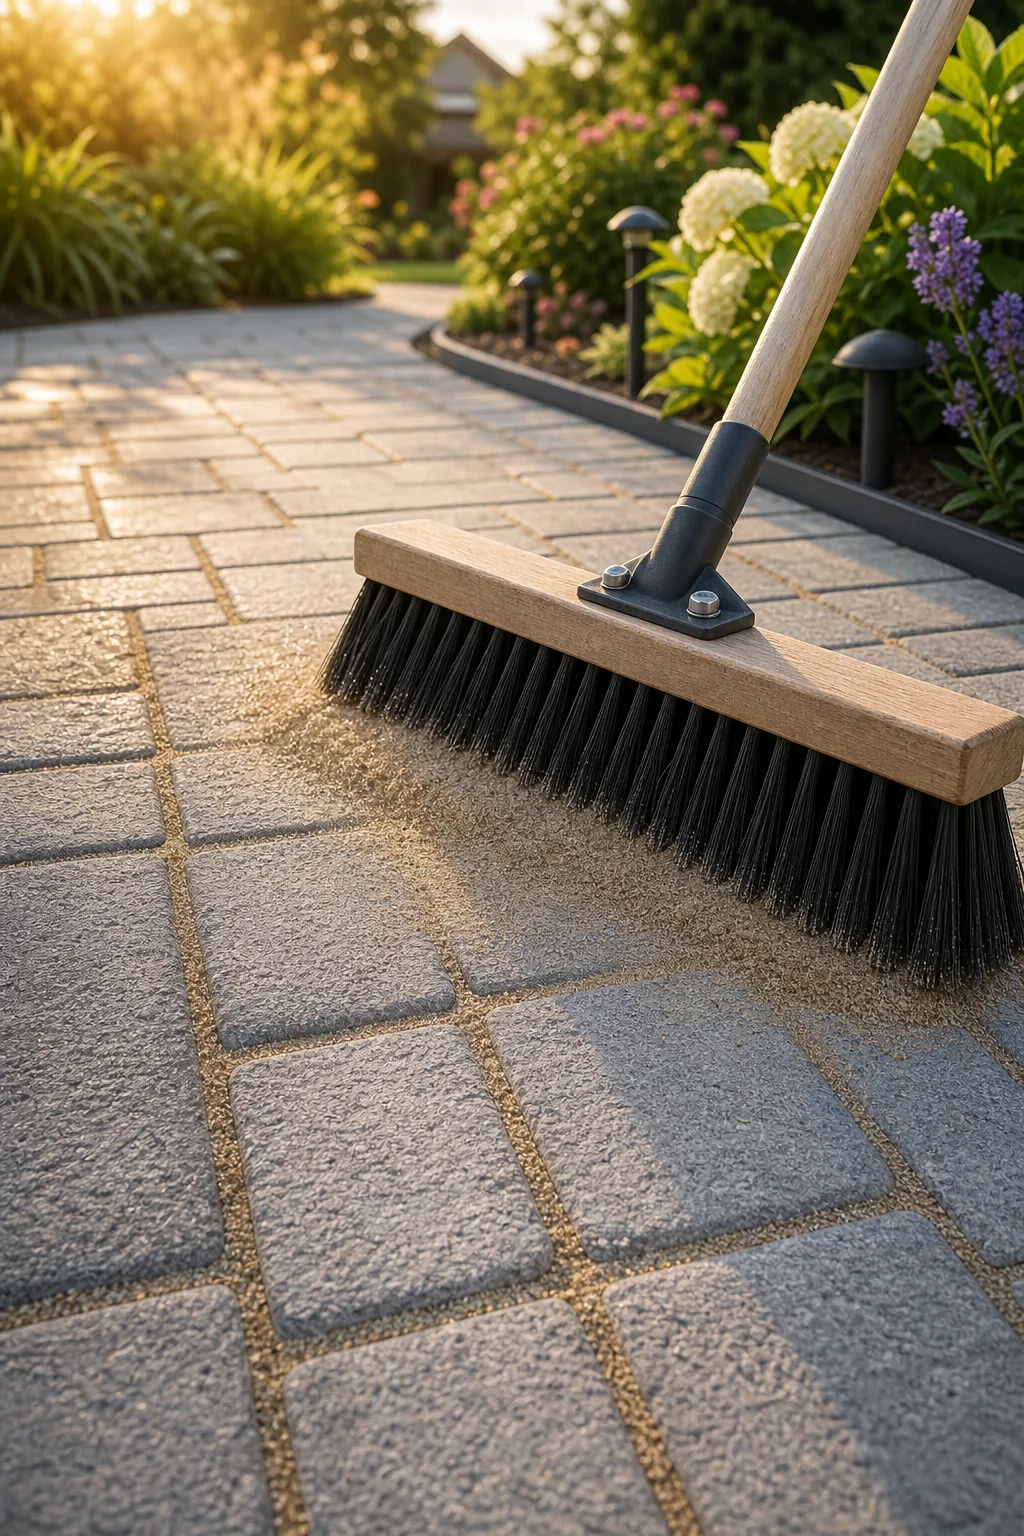
Properly sealing the filled joint between two stone pavers instantly stops invasive yard weeds from taking root, prevents pesky ants from excavating the foundation, and absolutely guarantees that heavy rainstorms will never wash away your meticulously leveled bedding sand beneath the walkway.