
How to Build a Natural Rock Garden: Layout & Soil Guide
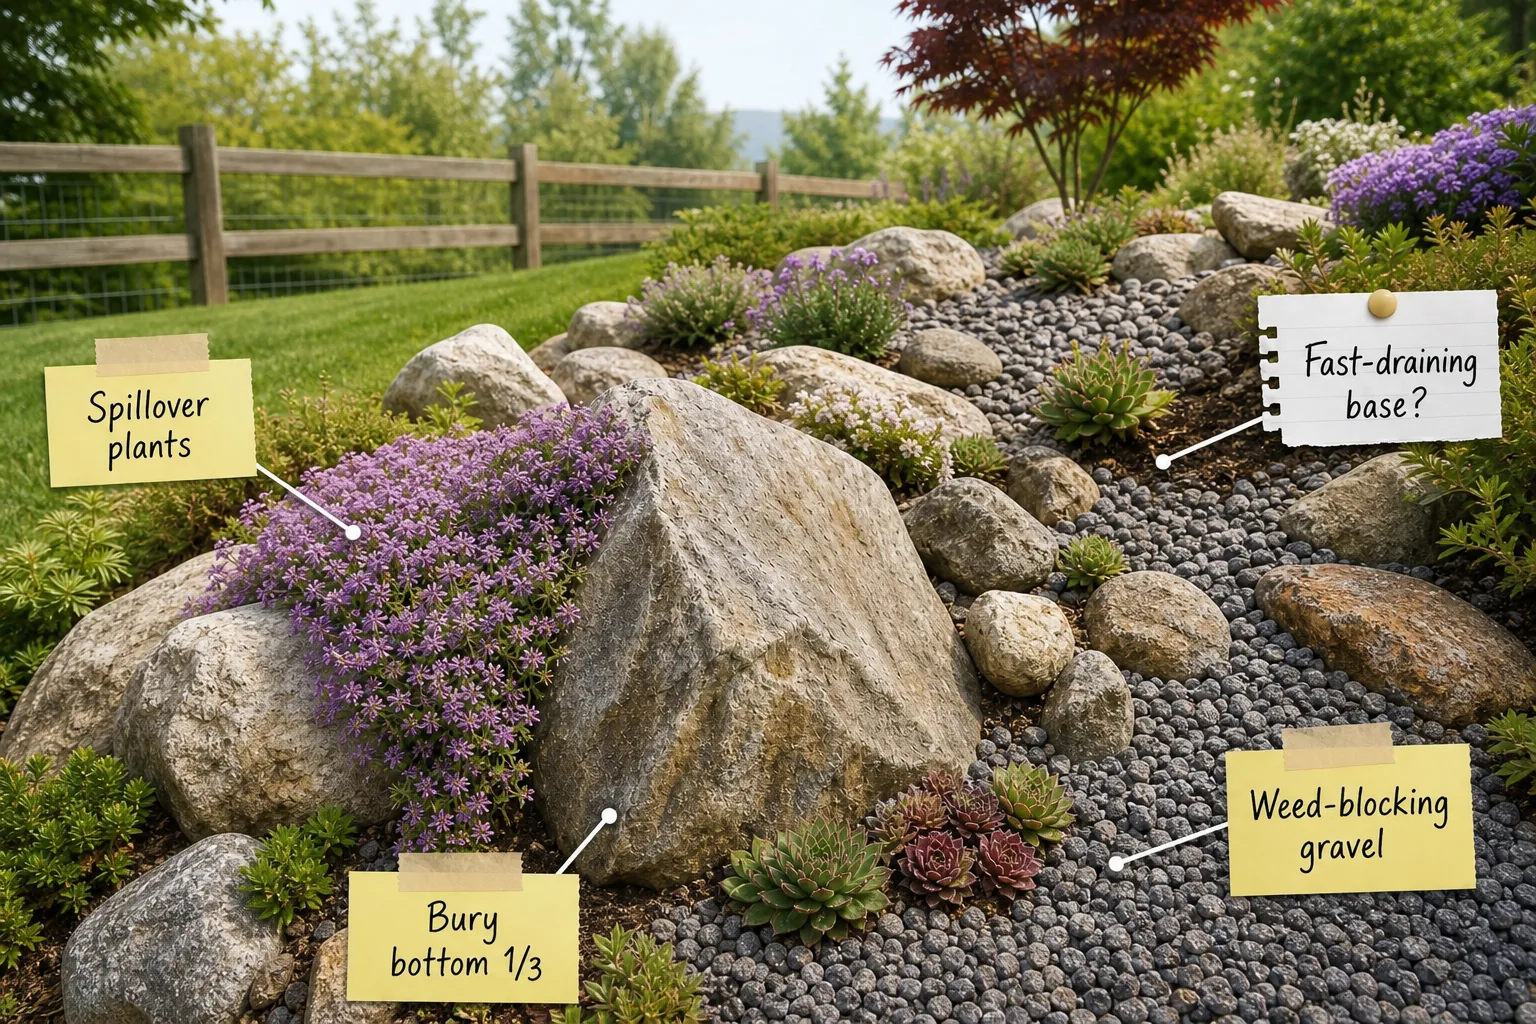
You will be able to mix the right soil, position boulders naturally, and arrange plants and gravel using this complete layout guide. Follow these concrete steps to build an attainable, beautifully arranged backyard rock garden that thrives for decades.
Mix a Fast-Draining Base
A successful rock garden starts below the surface by creating a highly porous environment for drought-tolerant plants. Mix a fast-draining base using an exact 1:1:1 ratio of topsoil, coarse sand, and small gravel to prevent destructive root rot.
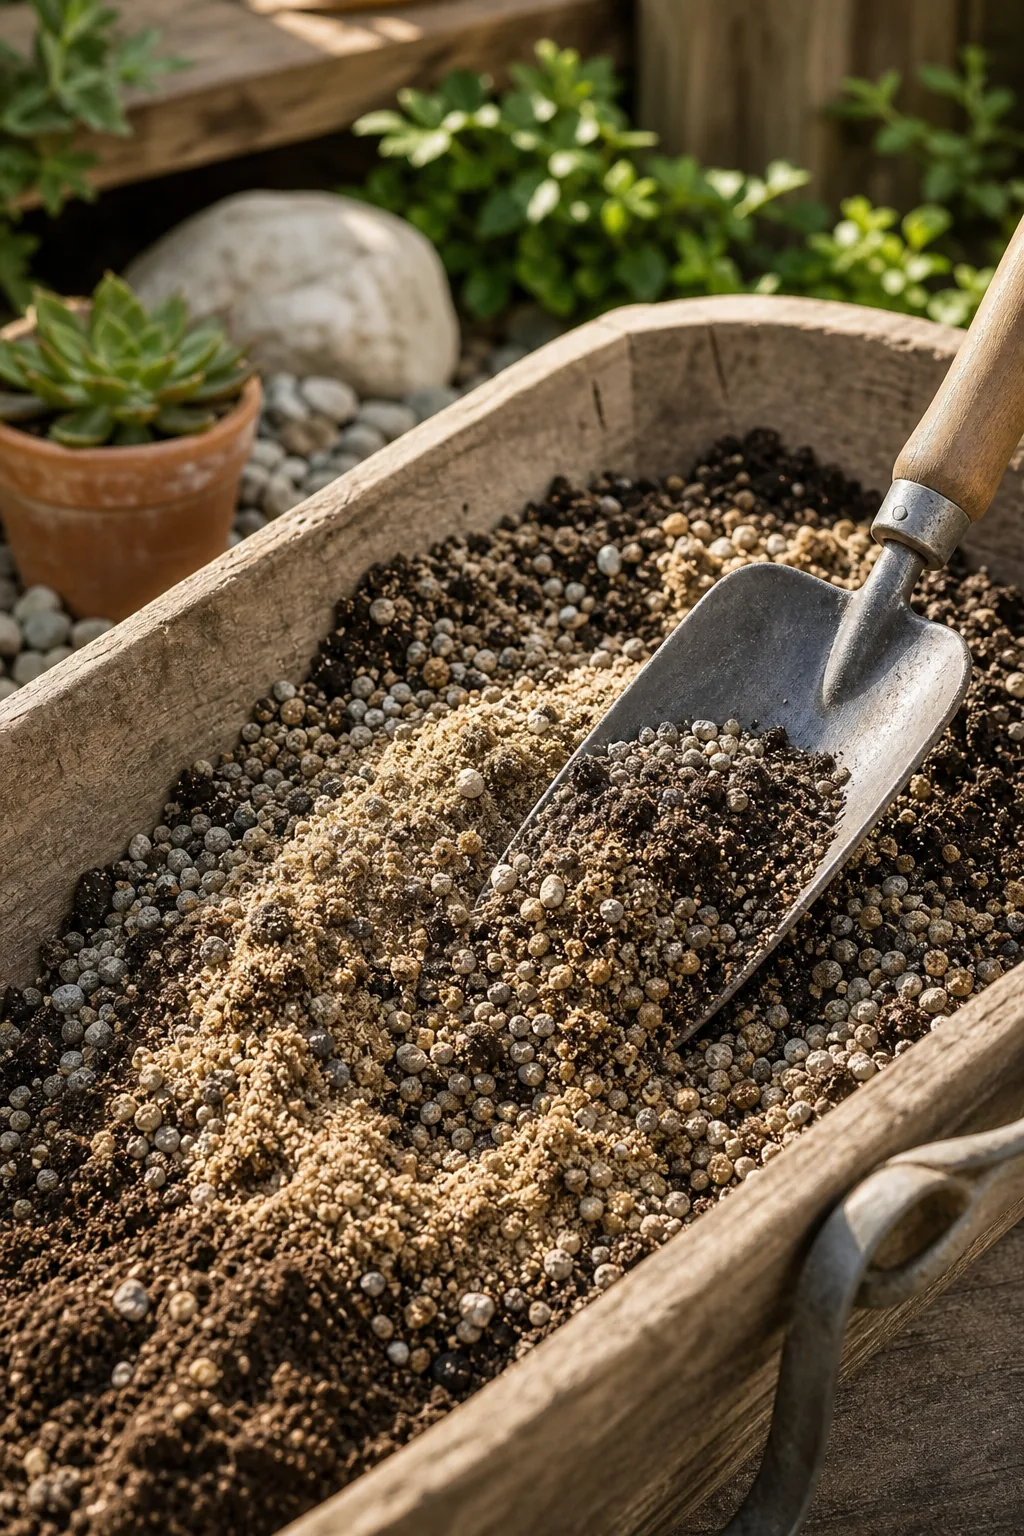
This specific blend perfectly mimics the lean, gritty conditions of high-altitude environments where these delicate plants naturally thrive. Dig your designated planting area at least 12 inches deep and fill the entire footprint with this custom soil mixture.
Calculate Your Soil Volume
Before ordering bulk materials, determine the exact cubic yardage required to fill your newly excavated garden footprint. Measure the length and width of your marked zone in feet, multiply them together, and then multiply by your planned depth.
| Garden Size | Depth | Total Volume Needed |
|---|---|---|
| 5 x 5 feet | 1 foot | 1 cubic yard |
| 10 x 10 feet | 1 foot | 4 cubic yards |
| 15 x 10 feet | 1 foot | 6 cubic yards |
| 20 x 10 feet | 1 foot | 8 cubic yards |
Ordering your topsoil, sand, and gravel in bulk deliveries usually costs significantly less than buying individual bags from a hardware store. Ensure the delivery truck has a clear, paved drop-off zone that will not block daily neighborhood traffic.
Anchor the Largest Boulders First
Position your heaviest anchor boulders before adding any smaller stones to establish the primary visual weight of the design. Bury the bottom 1/3 of the largest rock directly into the soil so it resembles a natural bedrock outcropping.
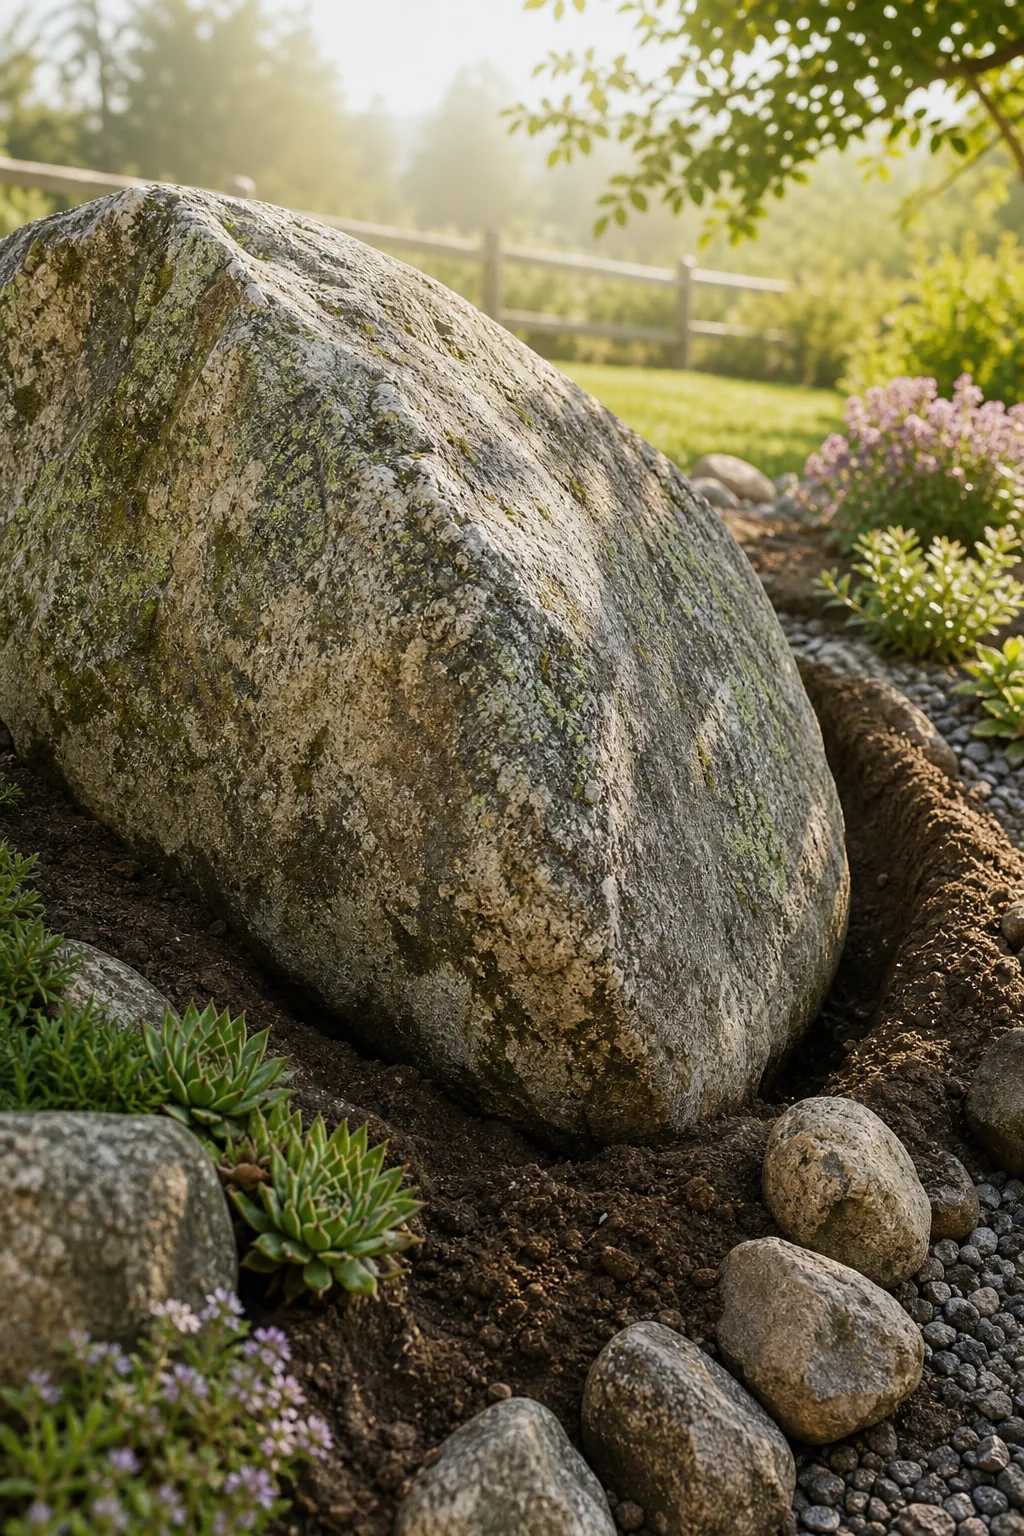
Selecting the right type of stone makes a massive difference in how quickly your garden looks established and authentic. Look for irregular shapes and flat bottoms that sit securely in your freshly mixed soil without rocking or leaning under pressure.
Stabilize Heavy Rocks Safely
Moving massive anchor stones requires careful leverage rather than sheer lifting strength to avoid serious physical injury. Use a heavy-duty steel digging bar to pivot the boulders into their final resting positions without unnecessarily straining your lower back.
- Place a small, sturdy scrap piece of wood directly under the steel bar to act as a reliable fulcrum.
- Push down steadily on the bar to lift one edge of the heavy boulder without sudden, jerky movements.
- Pack dense soil firmly beneath the raised edge before carefully lowering the stone into its permanent position.
Once the stone is positioned, pack your custom soil blend tightly around the base using the sturdy handle of a trowel. A properly seated boulder should not shift, wobble, or sink when you stand directly on top of it.
Flank with Secondary Stones
Cluster medium-sized rocks closely around your main anchor boulders to build a highly convincing and cohesive geological formation. Grouping these secondary stones in odd numbers perfectly mimics natural erosion patterns while creating deeply sheltered planting pockets for delicate roots.
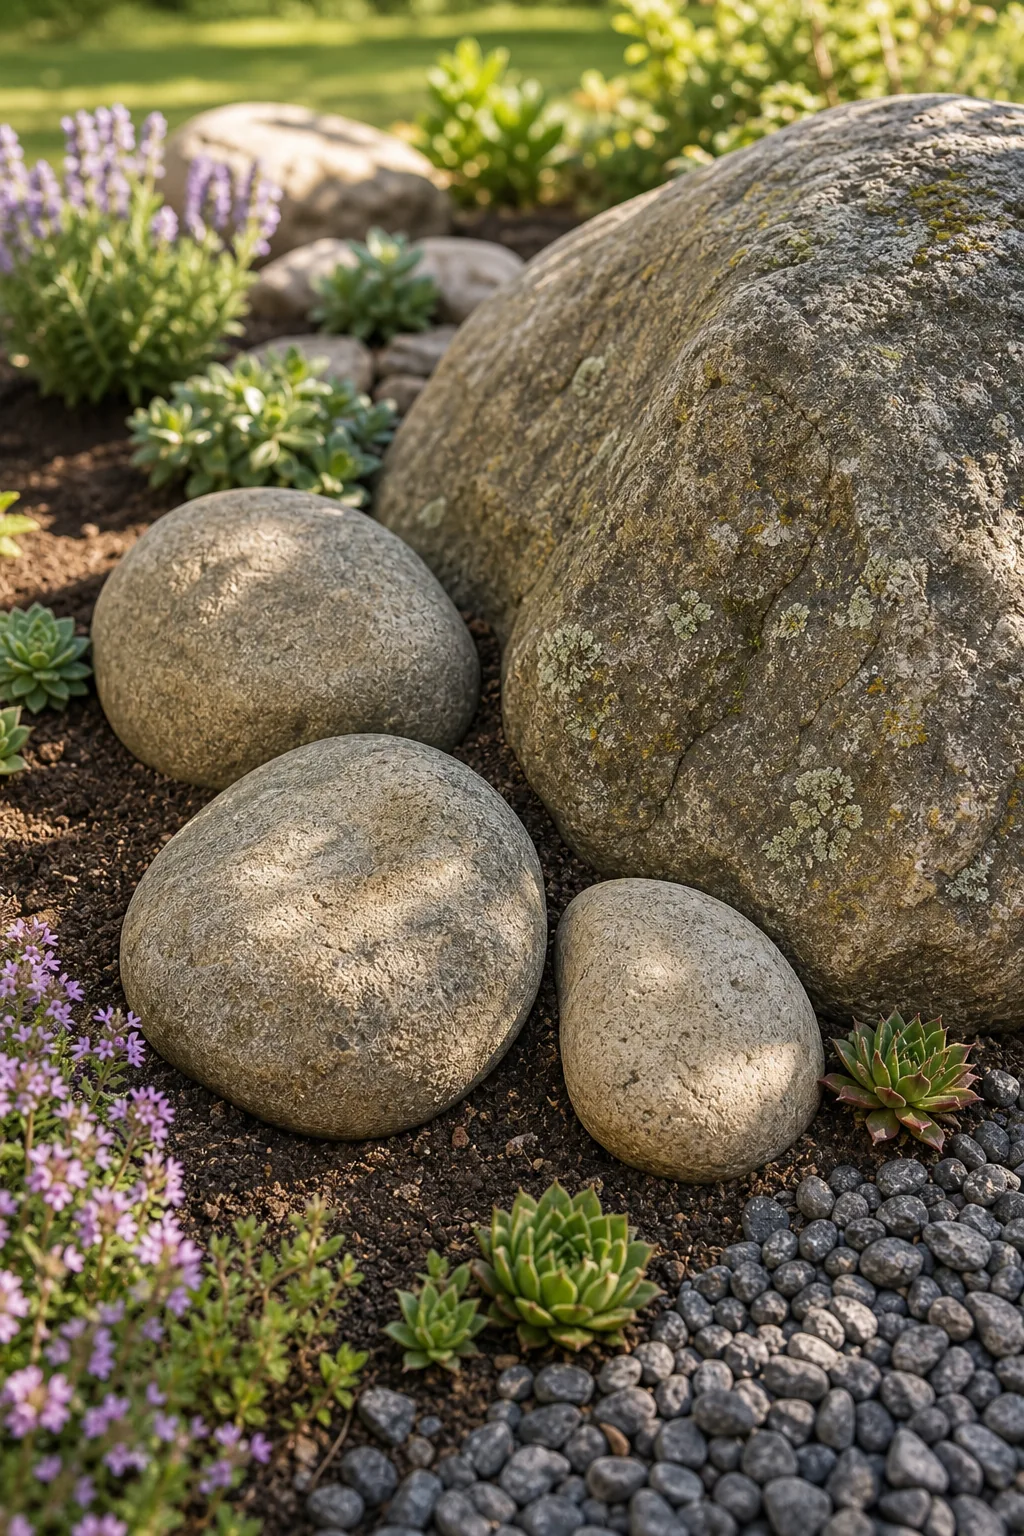
Leave varying gaps between two and six inches wide between these flanking stones to accommodate different mature plant sizes. These intentional crevices will hold your specialized soil blend and provide immediate wind shelter for young, vulnerable creeping succulents.
Orient the Grain of the Stone
When placing multiple stones together, pay close attention to the natural lines, distinct veins, and mineral strata visible on their surfaces. Aligning these grain patterns in a single, consistent direction makes a collection of loose rocks look like one fractured, continuous subterranean ledge.
The Complete Rock Garden Layout
Follow this complete layout guide to ensure proper drainage and beautiful visual balance across your entire backyard display. Place your largest anchors off-center, step down to secondary stones, and maintain a gentle slope of at least 5 degrees.
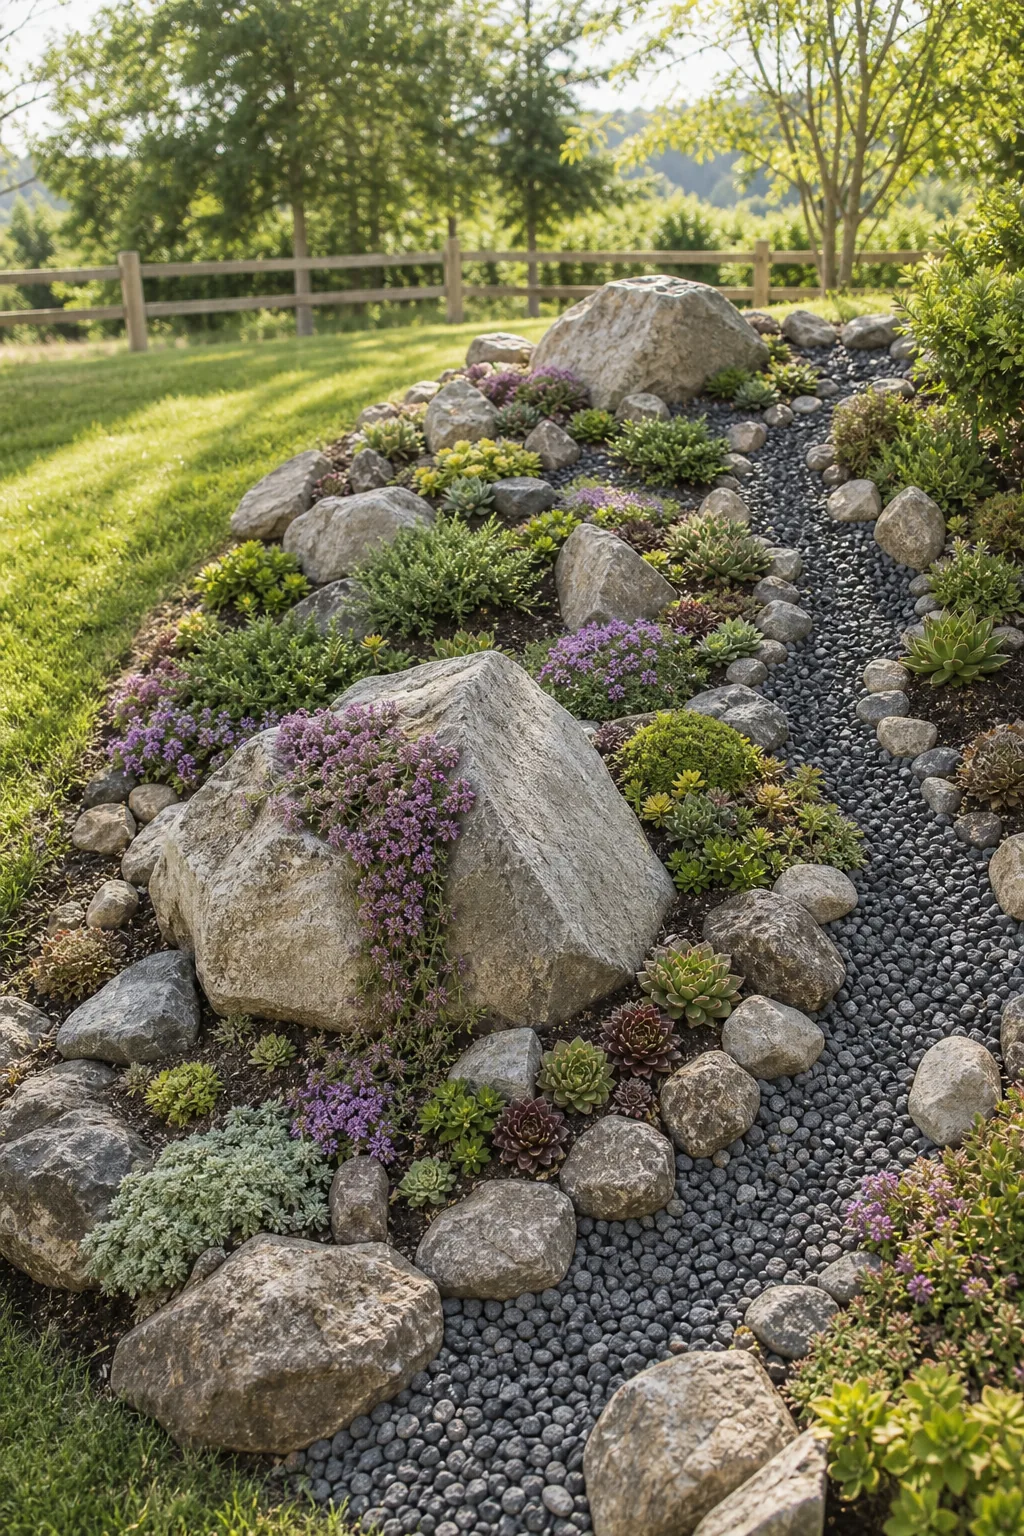
This continuous incline guarantees that excess water flows away quickly, actively protecting drought-loving roots from standing moisture. You can easily verify this precise grade by resting a standard two-foot level across a straight wooden board laid directly down the slope.
Incorporate Natural Stepping Stones
If your rock garden extends wider than four feet, you will need a designated path to access the center for seasonal weeding. Sink large, flat-topped stones directly into the soil mix to create an invisible walkway that blends perfectly with the rugged landscape.
- Space the stepping stones approximately 18 inches apart from center to center for a comfortable, natural walking stride.
- Ensure each flat walking surface sits perfectly flush with the surrounding gravel layer to prevent dangerous tripping hazards.
- Test every individual stone for absolute stability before planting delicate groundcovers around the immediate structural edges.
Using the exact same geological material for your path as you used for your anchor boulders maintains the illusion of untouched nature. This hidden access route prevents you from accidentally crushing fragile trailing plants during routine summer maintenance.
Soften Edges with Spillover Plants
Plant creeping thyme or similar cascading varieties near the steep edges of your lower rocks to break up the harsh mineral landscape. These spillover plants soften the heavy visual lines of the stone and weave the entire intricate layout together naturally.
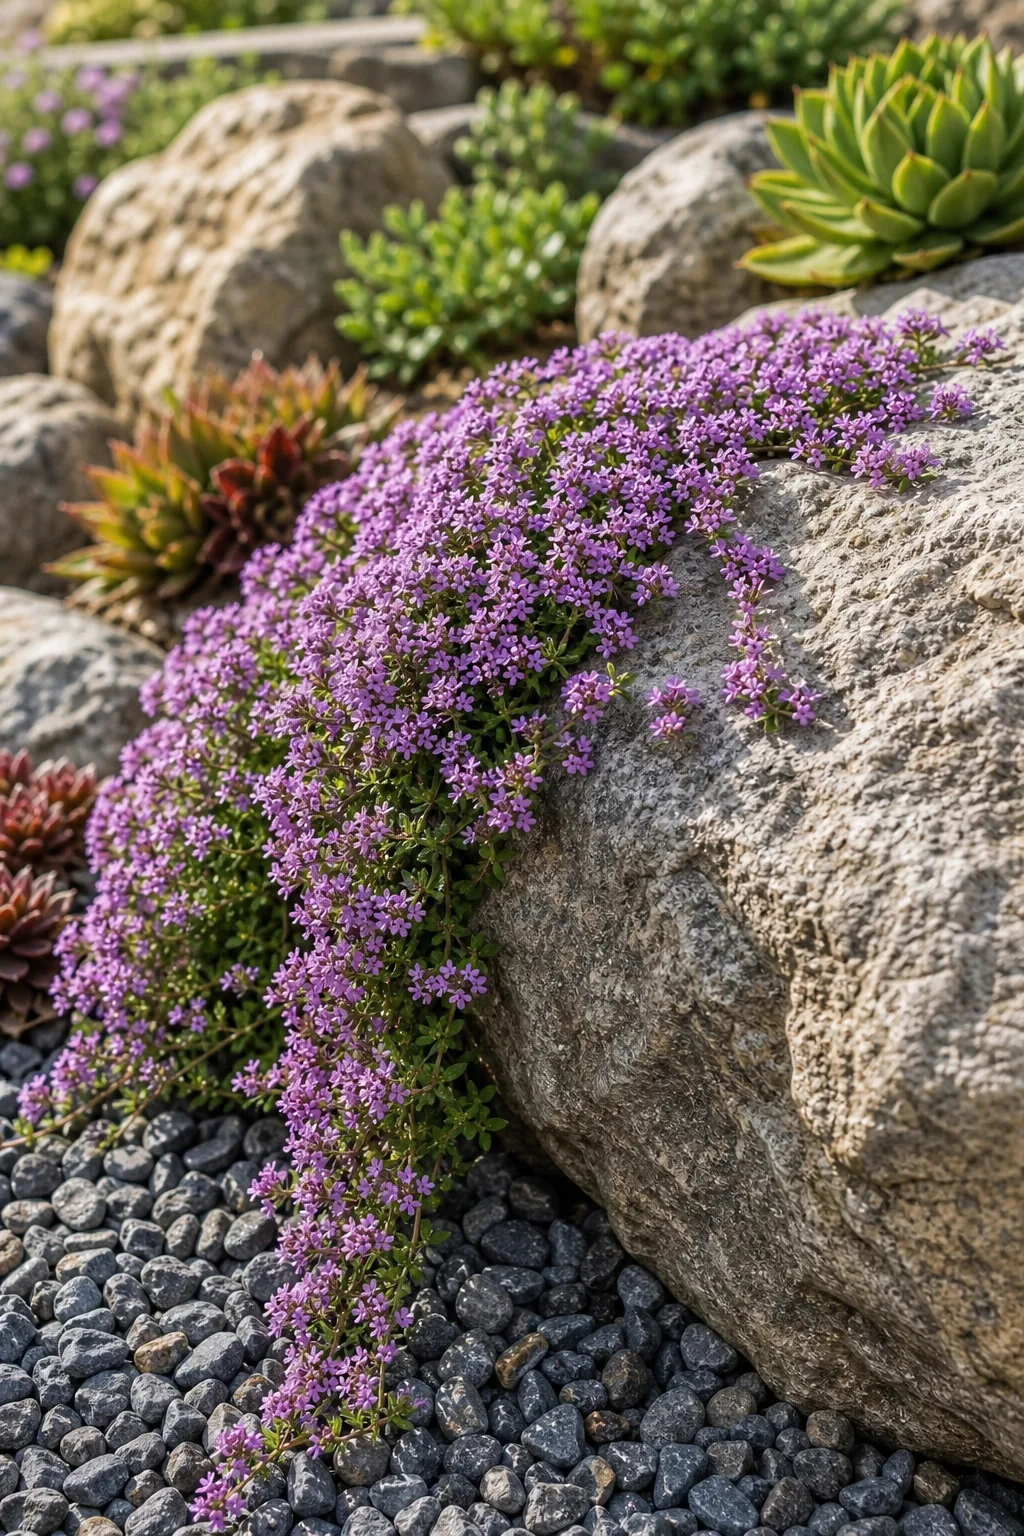
Position these trailing species slightly behind the rock edge so their vibrant foliage can drape dramatically down the vertical face. Ensure the planting hole contains enough of your fast-draining soil mix to support rapid root expansion during the first crucial growing season.
Select the Right Alpine Plants
True alpine plants possess deep taproots and thick, waxy leaves specifically designed to survive intense sunlight, high winds, and minimal rainfall. Prioritize dwarf conifers, low-growing sedums, and miniature ornamental grasses that will not quickly outgrow their designated stone pockets.
Tuck Succulents into Stone Crevices
Utilize the tight, narrow spaces between your secondary stones by tucking in small, highly resilient succulents like hens-and-chicks. The surrounding rocks absorb intense daytime heat and protect shallow root systems from freezing, destructive nighttime winds.
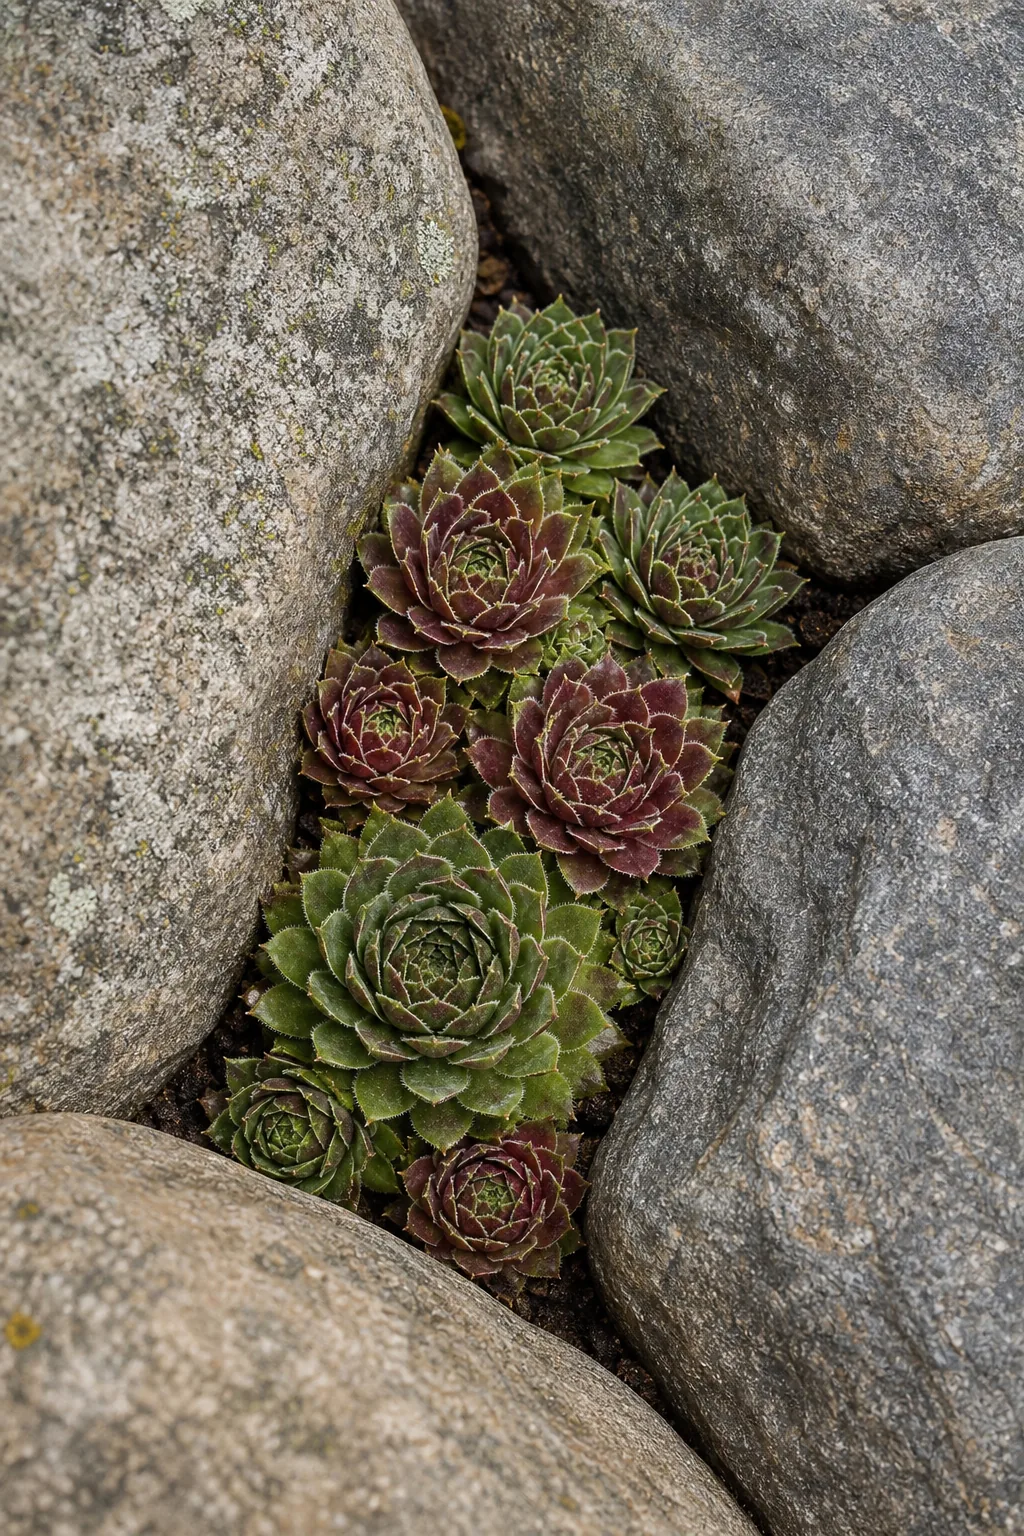
When planting in deep crevices, gently wash the existing nursery soil off the roots to help them slide effortlessly into the narrow gaps. Pack a small handful of coarse sand around the exposed roots to lock the succulent firmly into the stone joint.
Water Deeply Before Mulching
Before applying any top dressing, thoroughly soak the entire garden using a gentle shower setting on your hose to settle the underlying soil. This initial deep watering eliminates hidden air pockets around the roots and reveals any low spots that require additional soil packing.
Finish with Weed-Blocking Gravel
Apply a neat 1- to 2-inch layer of crushed stone over all exposed soil to unify the design and protect the varied terrain. This weed-blocking gravel suppresses unwanted growth while keeping delicate plant crowns dry and completely free from rot.
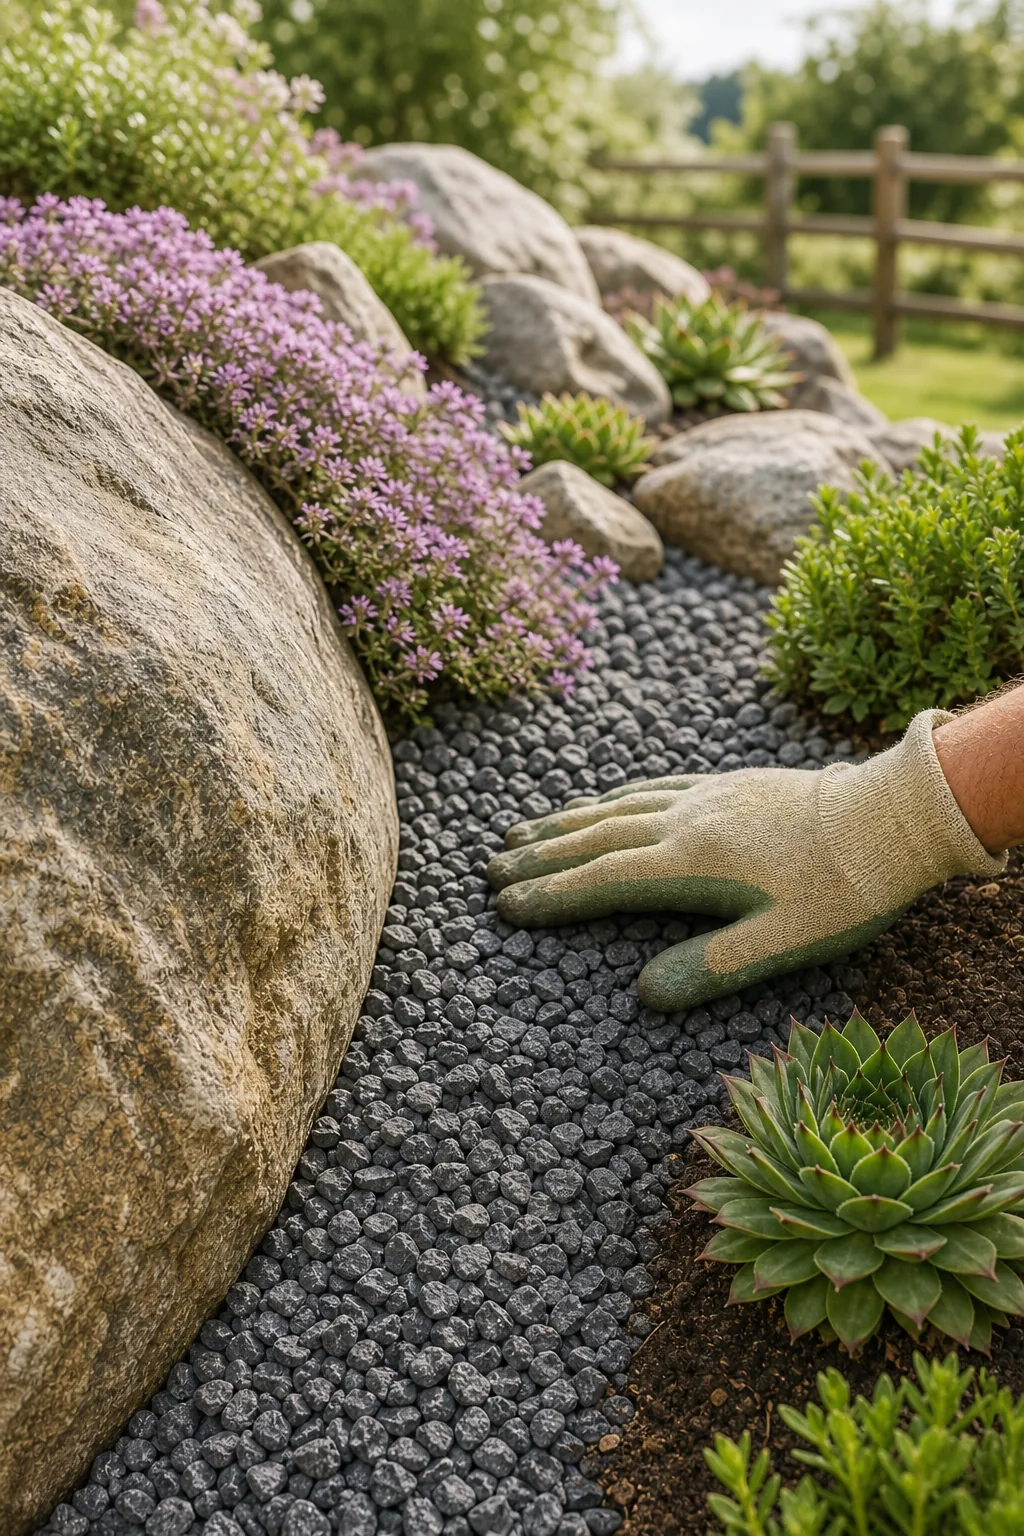
Choose a gravel color that closely matches or subtly complements your primary anchor boulders for a cohesive, highly professional appearance. Carefully spread the stones by hand near delicate foliage to avoid snapping fragile stems with a heavy metal rake.
Blend the Edges into the Yard
A natural rock garden should never look like a raised, artificial mound sitting abruptly in the middle of a perfectly flat lawn. Taper the gravel mulch gradually outward, allowing it to feather naturally into your existing turf or surrounding perennial borders.
Long-Term Maintenance Checks
Keep your rock garden thriving year-round by performing a quick, systematic seasonal inspection of the stonework, soil, and overall plant health. Inspect your rock garden after the first heavy rain to check for unexpected soil settling or minor erosion channels.
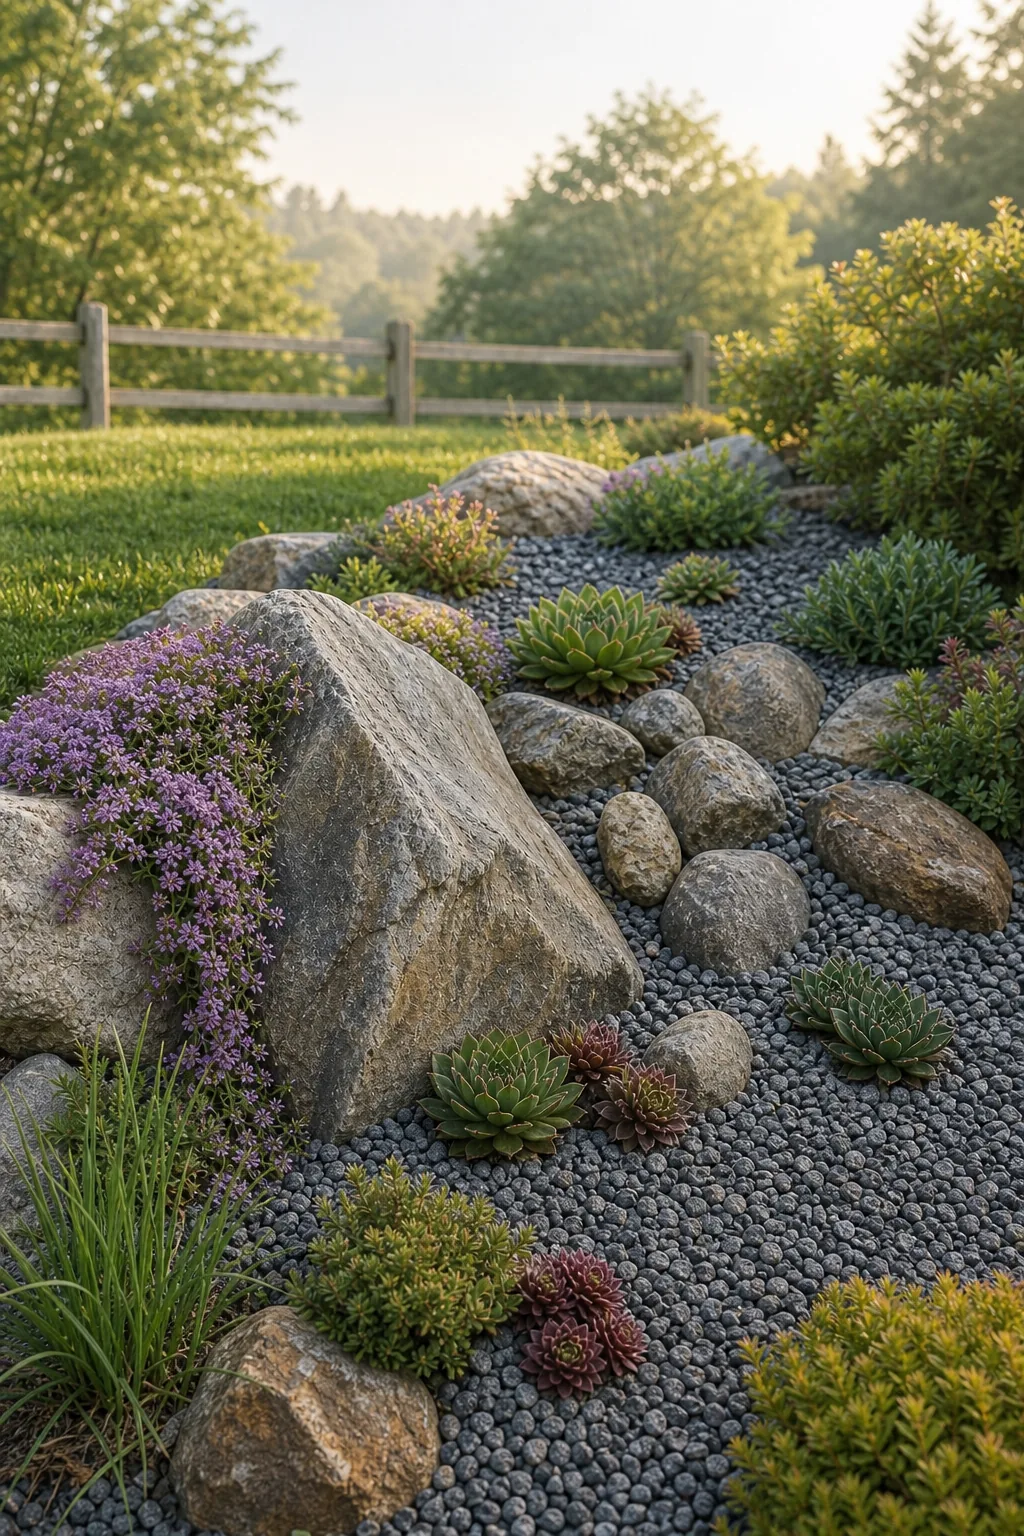
If you discover sunken areas, carefully brush back the gravel mulch and pack fresh sand into the void before replacing the top dressing. Ensure the gravel remains pulled back slightly from the base of sensitive succulent stems to guarantee adequate air circulation.