
Baby Boy Shower Focal Table: Styling Checklist & Palette
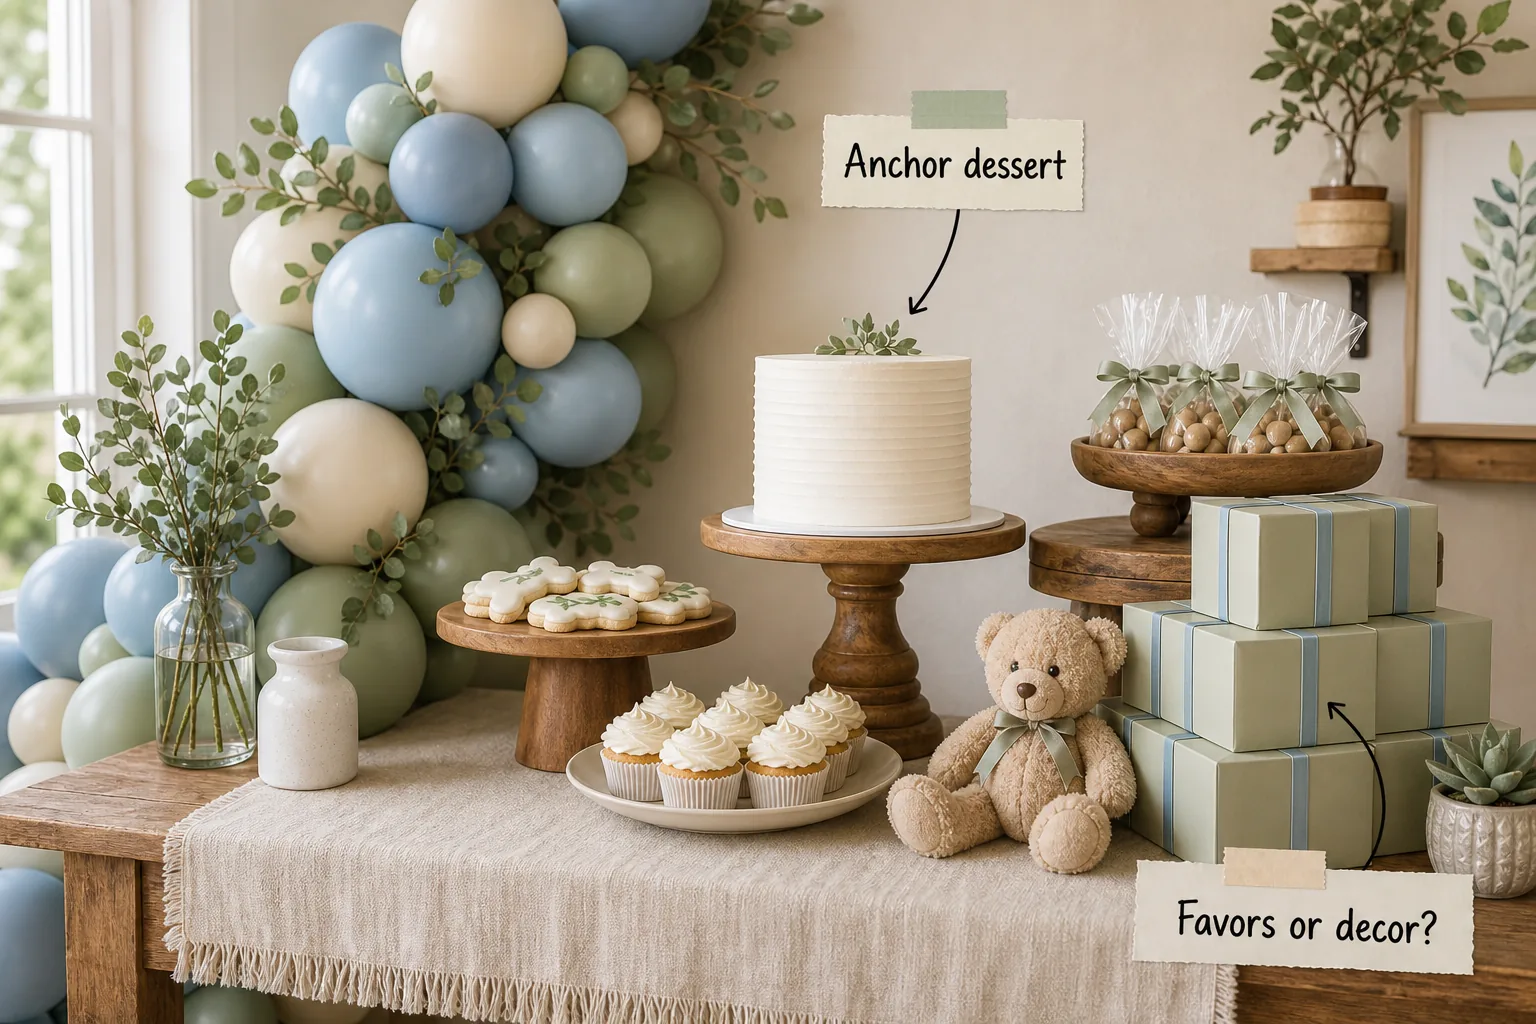
Master the dusty blue and sage color palette with this step-by-step setup guide for your dessert table. You will be able to assemble a balanced, multi-level display using our complete focal table styling checklist and color palette guide.
Laying the Grounding Texture
Start with a bare wooden table and add a linen runner with fringed edges to establish a soft, grounding texture. Leaving 6 to 8 inches of exposed wood at the front edge balances the heavy linen texture and prevents it from swallowing the furniture.
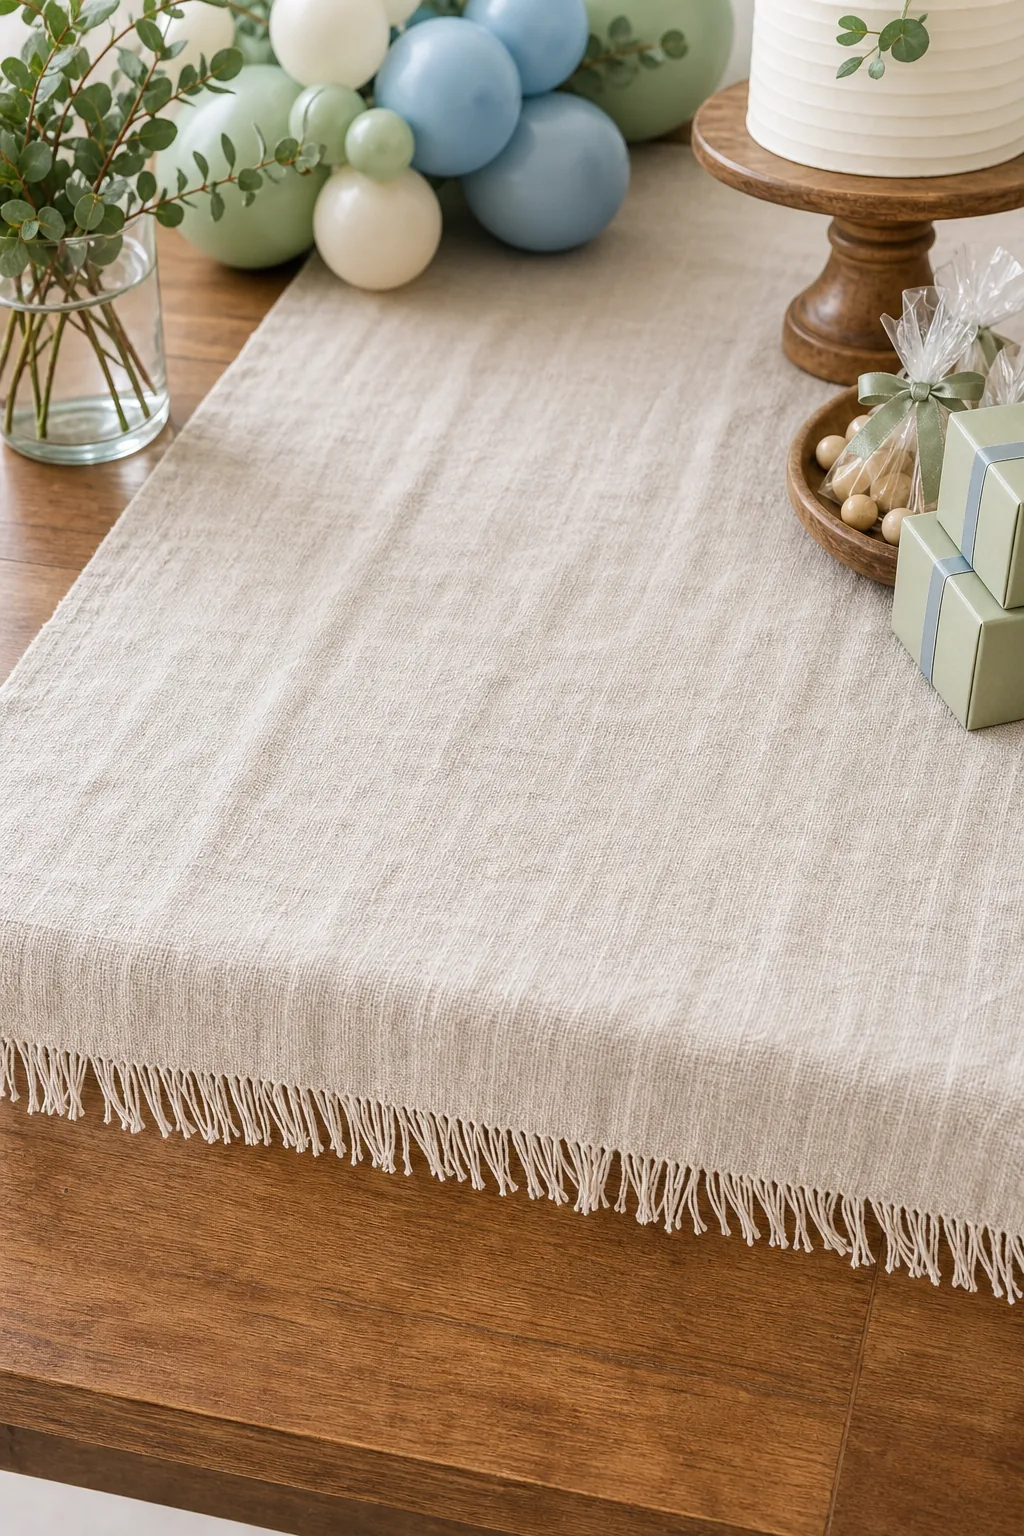
Maintaining this precise margin of exposed wood along the front anchors the display and provides a visual break from the cascading fabrics. This technique ensures the table retains its structural integrity beneath the decorative layers.
Selecting the Perfect Base Linens
Choose a high-quality cotton or linen blend that drapes naturally without holding rigid creases from folding. When preparing the foundation for your dessert spread, ensure the fabric texture complements rather than competes with the smooth icing of the cakes.
- Weight: Opt for medium-weight fabrics that will not shift when guests reach for treats.
- Color: Select a neutral cream or soft ivory to allow the sage and blue accents to pop.
- Finish: Embrace raw or softly fringed edges for a relaxed, organic aesthetic.
Building the Dusty Blue and Sage Garland
Construct the focal garland by mixing 5-inch and 11-inch balloons to create an organic, non-uniform cascade of dusty blue and sage. Tucking fresh or faux eucalyptus sprigs into the gaps beautifully bridges the transition between the balloons and the table surface.
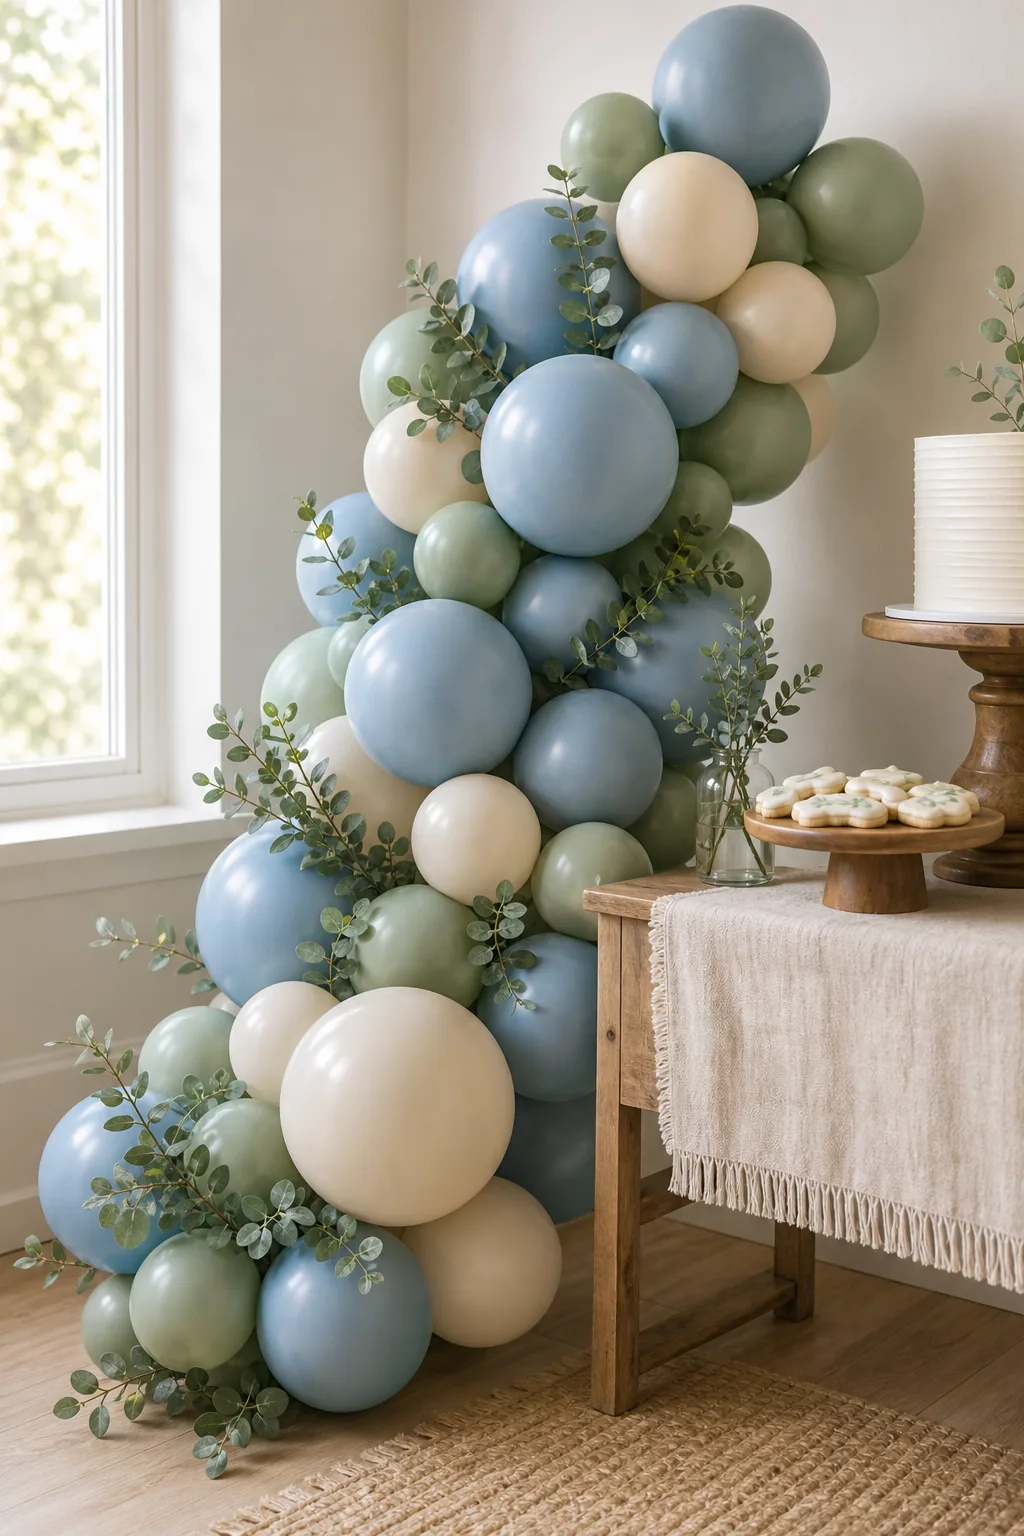
To achieve a professional-looking garland that sits flush against the wall, pay close attention to how you inflate the individual balloons.
Securing the Balloon Structure
Anchor the heavy balloon cascade firmly to the wall and table edge to prevent the structure from shifting. Proper rigging is essential to maintain the dramatic asymmetrical shape without damaging your venue walls or the underlying table finish.
- Wall hooks: Attach removable adhesive hooks to the wall at key structural points.
- Fishing line: Tie the main garland spine to the hooks using clear, heavy-duty fishing line.
- Table anchors: Secure the trailing end to the table leg with a soft fabric tie.
Creating Visual Interest with Varying Heights
Use wooden cake pedestals to introduce varying heights by staggering their elevations by at least two inches, ensuring that overlapping items remain clearly visible. Grouping stands of the exact same wood tone keeps the look cohesive while breaking up the flat horizontal surface.
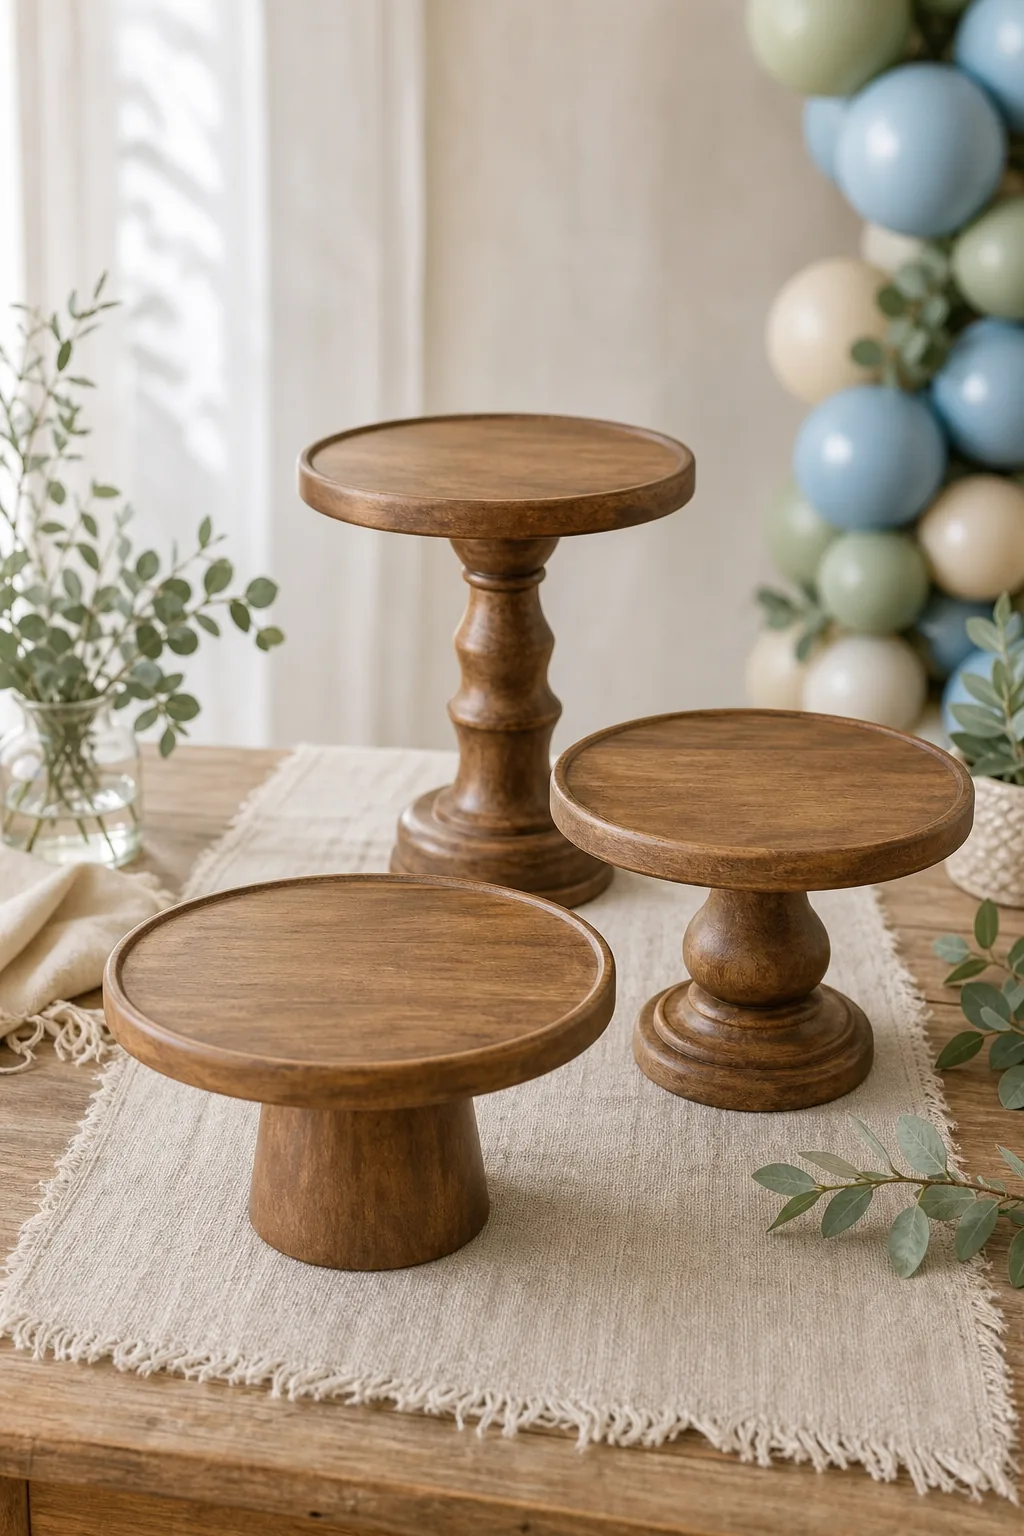
This intentional variation in height prevents the dessert spread from feeling flat and naturally encourages the guest’s eye to travel across the entire table.
Spacing the Wooden Pedestals
Maintain at least three inches of clearance between the rims of adjacent pedestals to avoid a crowded appearance. Proper spacing allows guests to easily access the treats without accidentally knocking over neighboring stands or smudging delicate buttercream.
| Pedestal Height | Recommended Use | Spacing Clearance |
|---|---|---|
| 8 inches | Main focal cake | 4 inches |
| 6 inches | Secondary cupcakes | 3 inches |
| 4 inches | Flat frosted cookies | 3 inches |
| Flat trays | Stacked favor boxes | 2 inches |
Positioning the Anchor Dessert
Place a minimalist, white-ribbed cake on the tallest central pedestal to serve as the undeniable anchor dessert. Using a textured but monochromatic cake anchors the table beautifully without clashing with the vibrant colors of the surrounding balloon garland.
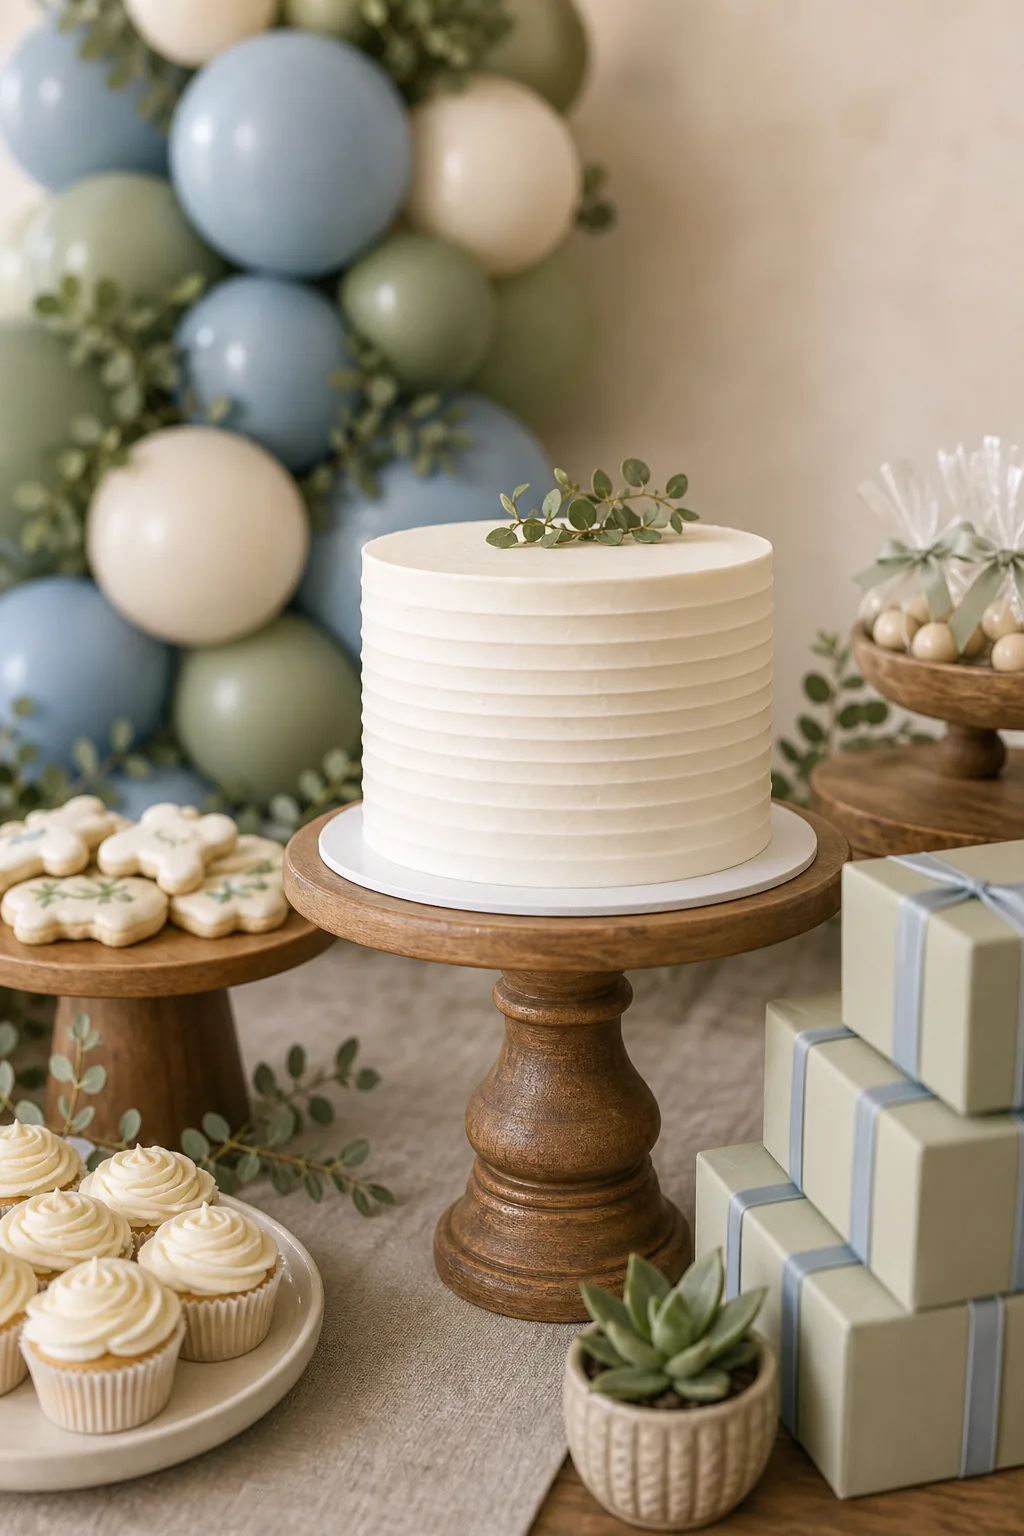
Keep the cake design simple and elegant, using just a few fresh sprigs of greenery on top to tie seamlessly into the eucalyptus accents woven throughout the display.
Supporting the Anchor Display
Keep the immediate surface surrounding the tallest central pedestal completely clear of low-lying decorations or scattered confetti. A clean perimeter ensures the main cake commands attention and prevents the overall styling from feeling chaotic or overly cluttered.
Arranging the Secondary Treats
Flank the main cake with lower pedestals holding complementary treats like frosted cookies and simple cupcakes. Keeping these secondary desserts in neutral tones like cream and soft white ensures they support rather than compete with the vibrant balloon display.
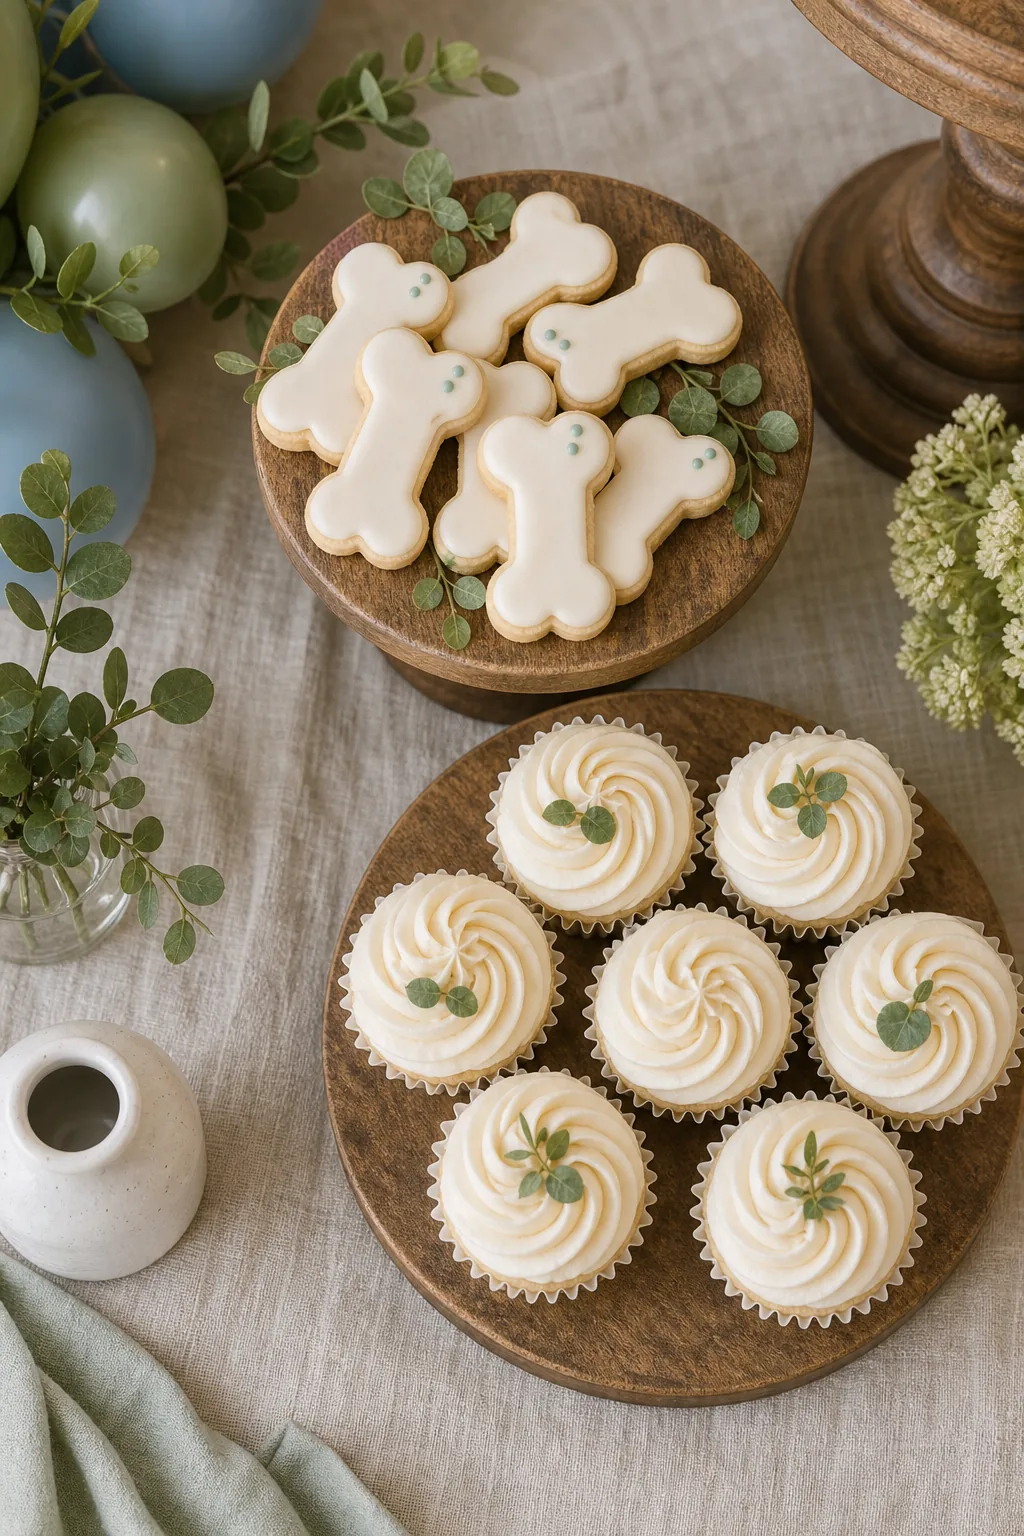
Position these lower stands slightly forward or backward from the center line to create depth, preventing the desserts from looking like a rigid lineup.
Scaling the Secondary Desserts
Ensure your cupcakes and cookies remain proportionate to the pedestals by leaving a one-inch border of exposed wood around the perimeter of each plate. Overcrowding the secondary stands diminishes the elegant, minimalist aesthetic established by the anchor dessert.
Blending Favors and Decor
Stack sage green favor boxes tied with dusty blue ribbon directly on the right side of the table. Using these stacked boxes builds vital architectural volume on the right side, perfectly answering the common question of favors or decor?
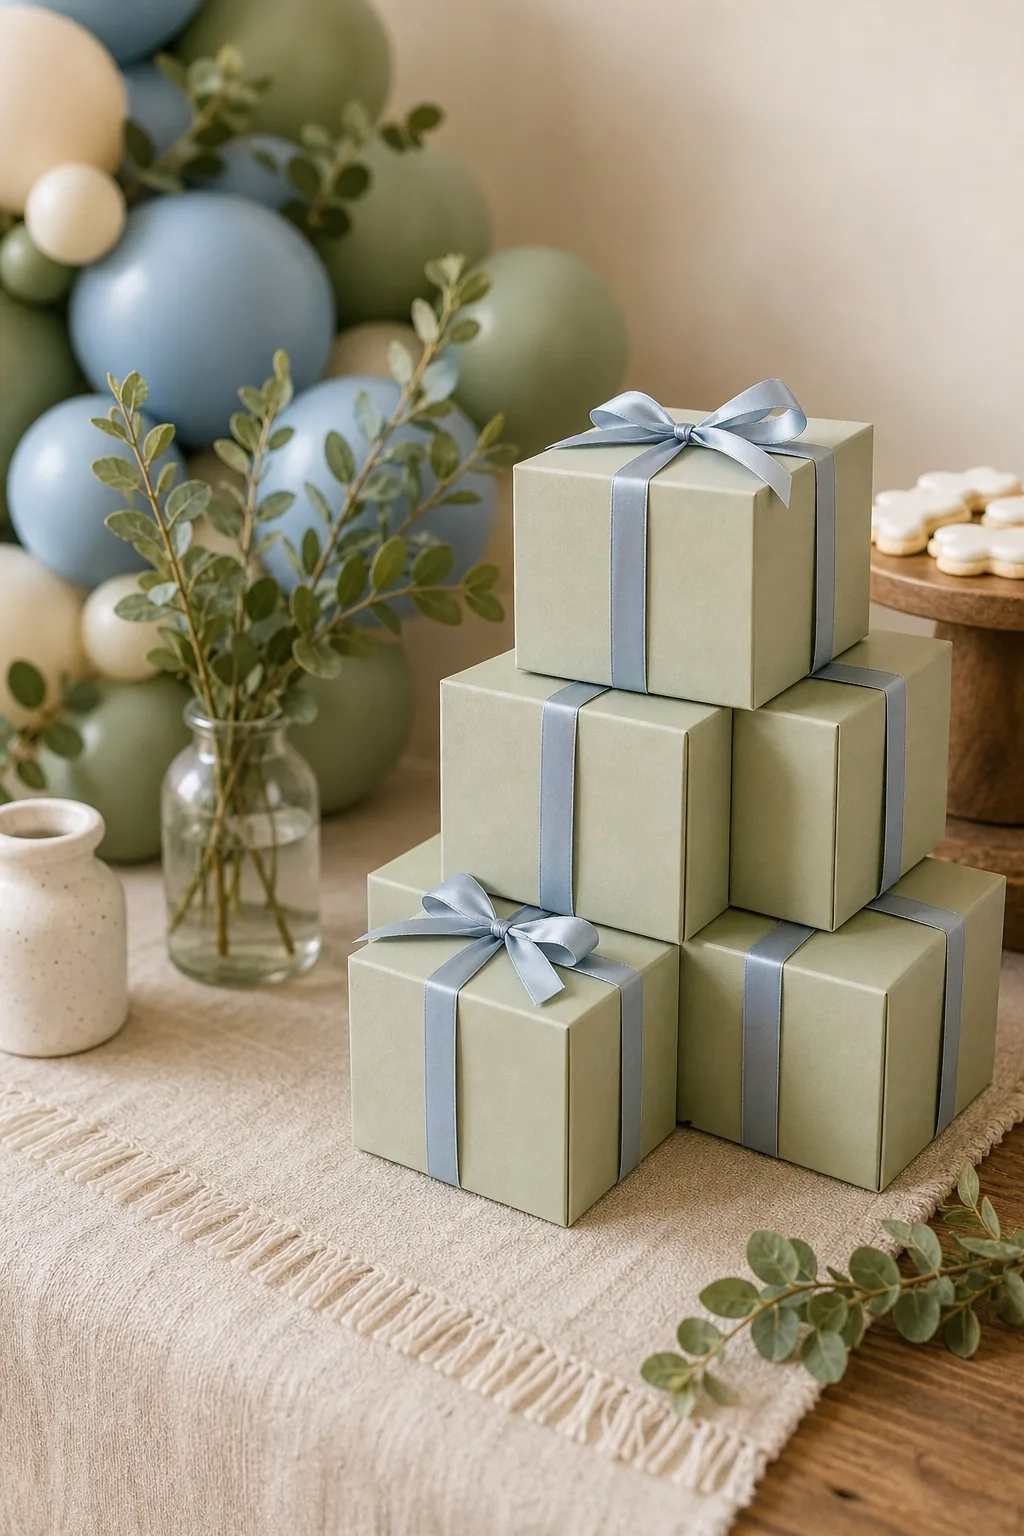
Integrating the guest gifts directly into the display adds crucial height and structure without requiring an extra floral budget, keeping the styling both abundant and efficient.
Structuring the Favor Stack
Build the favor pyramid by placing three boxes on the bottom layer, two in the middle, and one on top. This classic triangular formation provides visual stability and perfectly mirrors the cascading slope of the balloons on the opposite side.
Adding Softness with Plush Accents
Introduce a small, neutral teddy bear wearing a sage ribbon near the base of the stacked favor boxes. Using this small plush prop injects a subtle, theme-appropriate touch into the sophisticated color palette without overwhelming the elegant design.
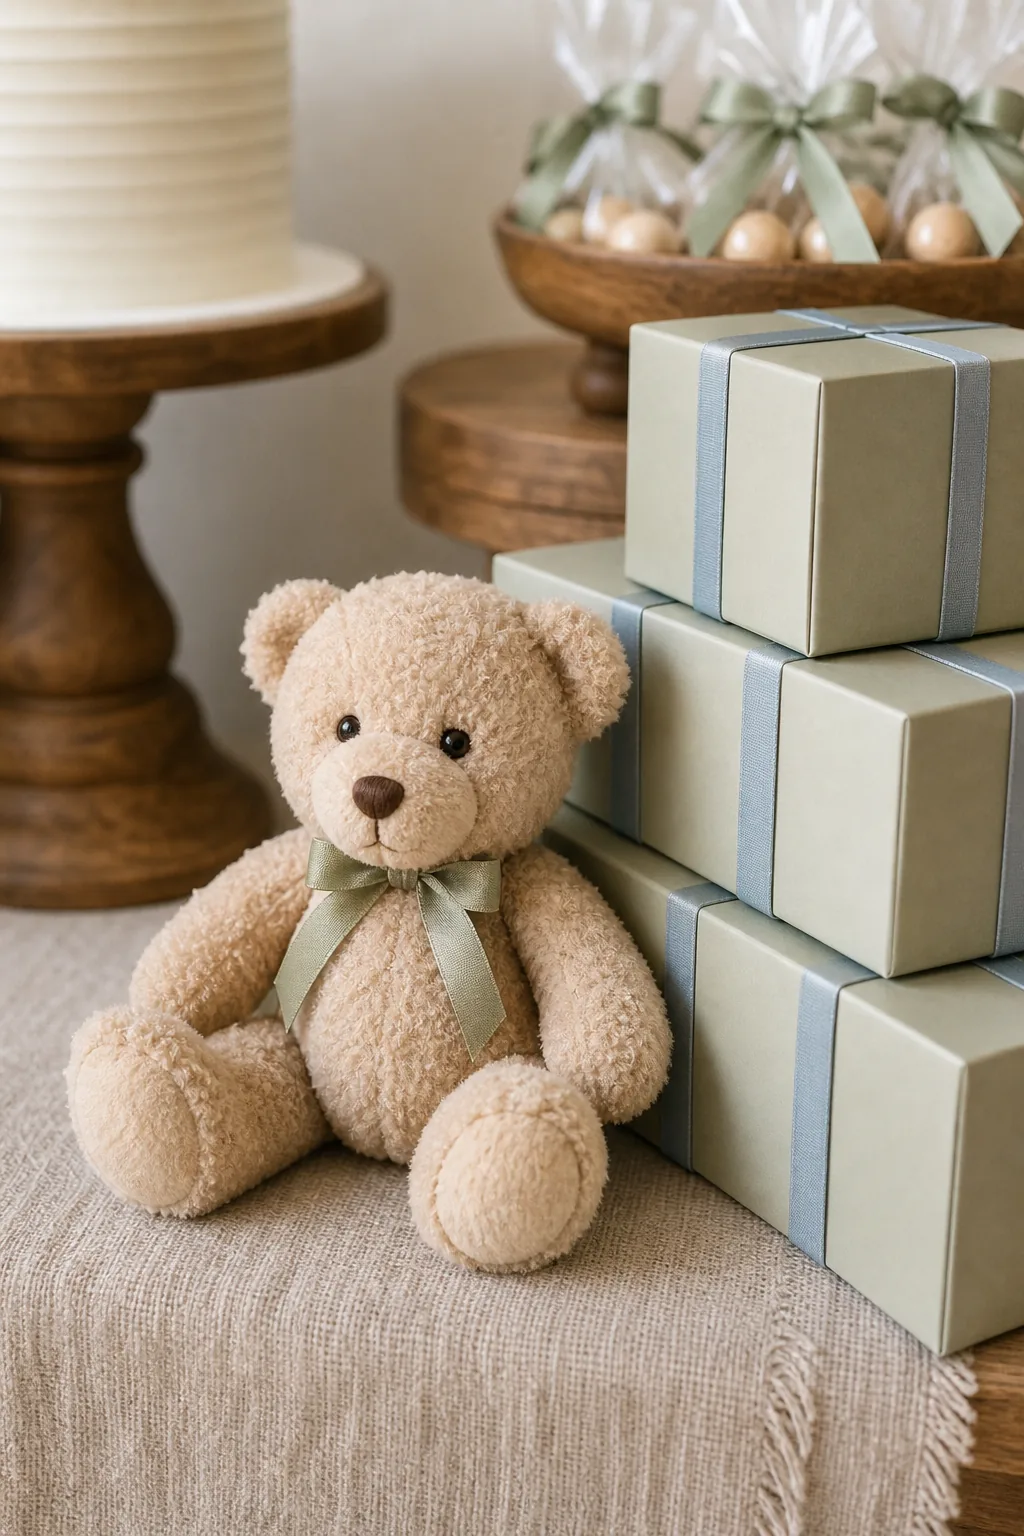
Tucking this soft element against the rigid, square favor boxes creates a pleasing contrast in textures, successfully bridging the gap between upscale event decor and a joyful baby celebration.
Integrating Theme Props Seamlessly
Limit thematic props to just one or two high-quality items placed intentionally near the base of your displays. Scattering too many small toys or signs across the table dilutes the upscale aesthetic and distracts from the beautiful dessert selection.
The Complete Styling Checklist and Palette Guide
Review the final setup to ensure you are balancing the visual weight of the heavy balloon cascade with the structured favors on the right side. Verify you have the right mix of dusty blue, sage, and cream across three distinct pedestal heights.
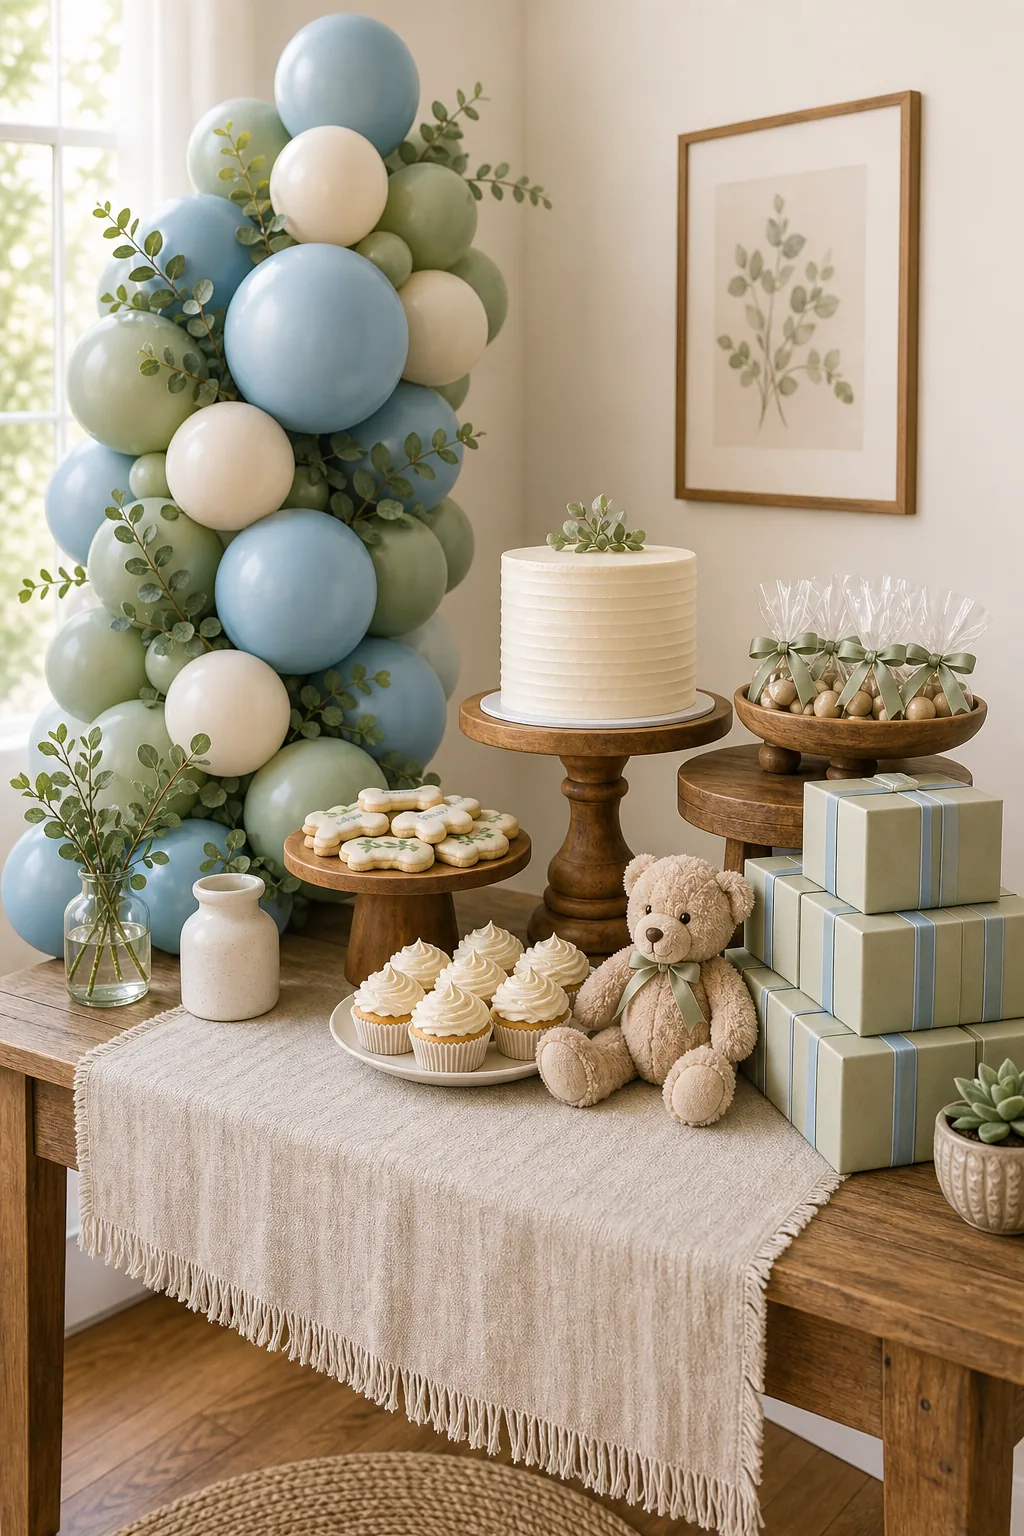
Use this final checklist to verify your table’s balance and color distribution before the guests arrive.