
The 20-Minute Weeknight Dinner Template: A Survival Formula
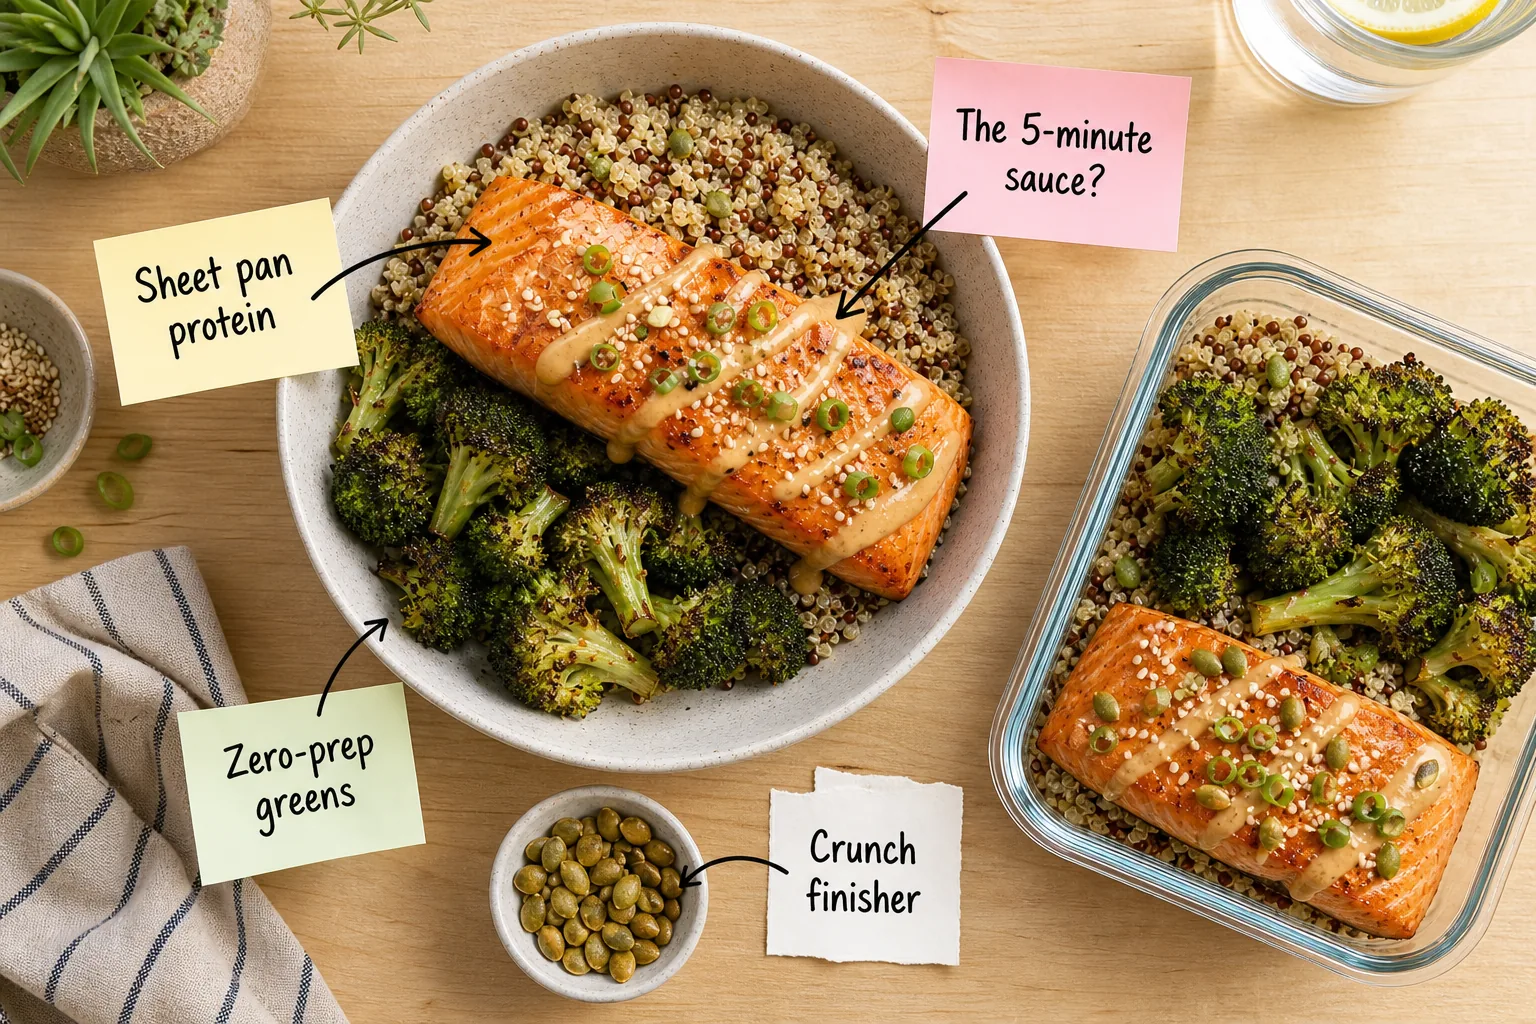
Stop stressing over weeknight cooking with this 20-minute meal-builder guide that perfectly balances fast proteins, zero-prep greens, and a magic sauce ratio. You will quickly build a complete, balanced dinner using a reliable daily formula of sheet pan ingredients and hands-off boiling bases.
The 20-Minute Meal Template
This daily survival formula relies entirely on four non-negotiable components: a quick-cooking grain base, a fast-roasting green vegetable, a reliable single-pan protein, and a vibrant flavor-tying sauce. Overlapping these specific cooking times establishes the master timing of exactly twenty minutes from start to finish.
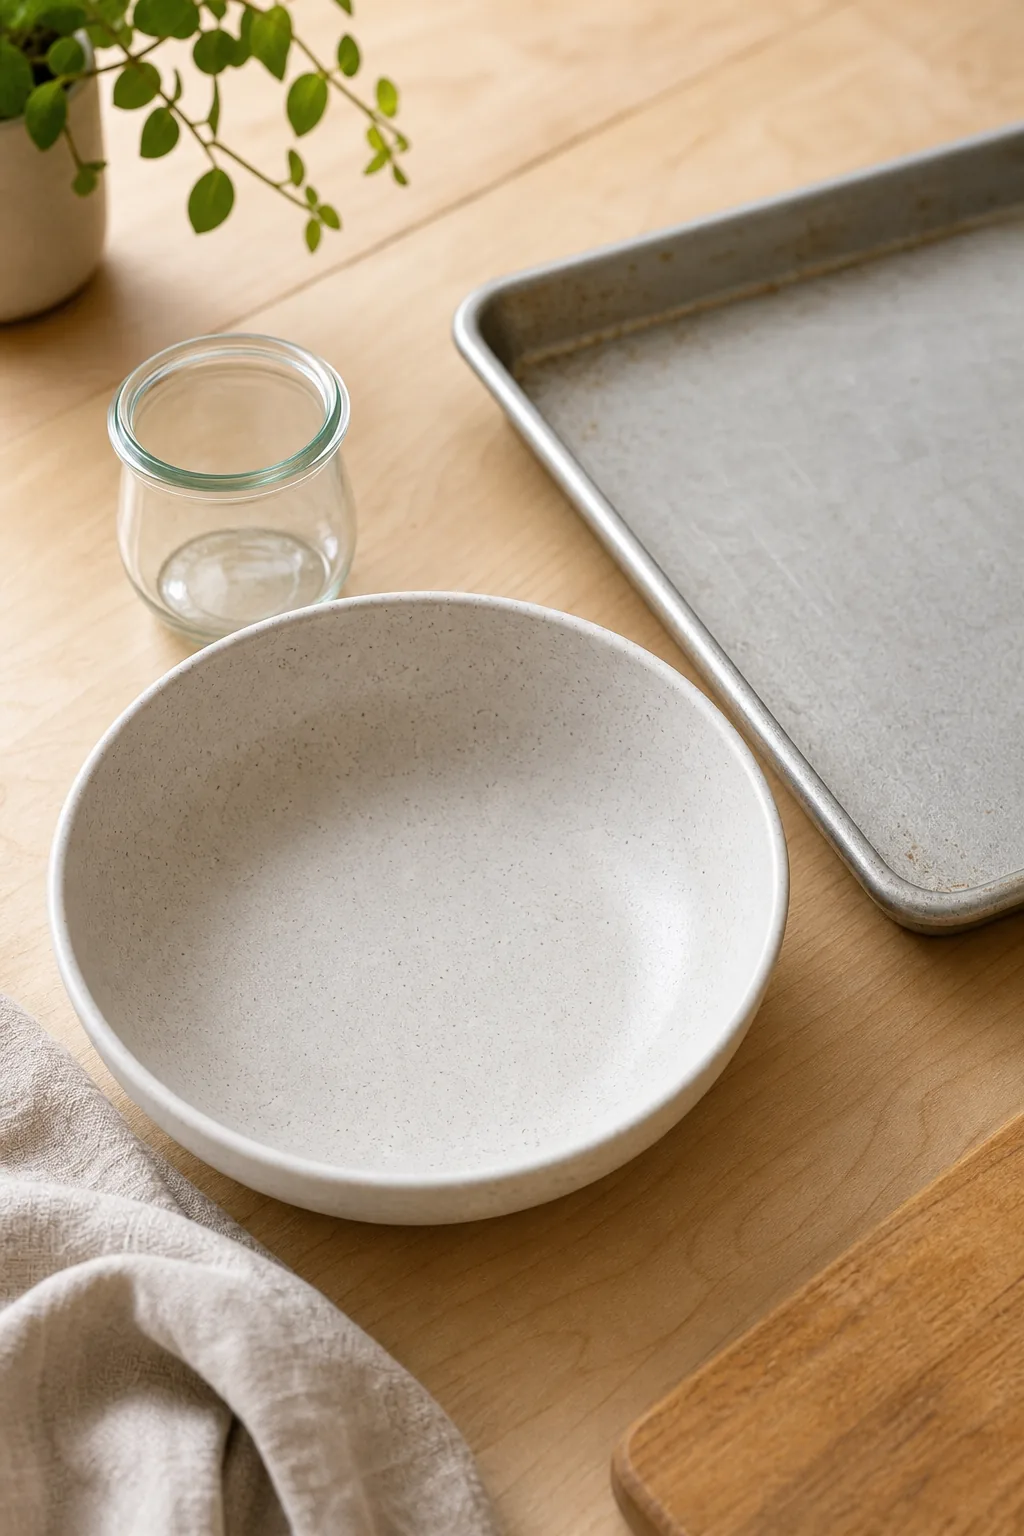
Before opening the refrigerator door, mentally check off these four structural pillars to guarantee your evening meal comes together without missing a single beat. This mental preparation prevents mid-cooking panic and eliminates the need for any extra active prep time.
Oven and Stovetop Synchronization
The true secret to executing this meal efficiently lies in utilizing a 400°F oven alongside just one active stovetop burner. Activating both heat sources simultaneously ensures the dry grains absorb their liquid while the raw vegetables and fish achieve a crispy roasted exterior.
| Component | Heat Source | Temperature | Active Time |
|---|---|---|---|
| Grain Base | Stovetop | Low simmer | 15 minutes |
| Green Veggies | Oven middle rack | 400°F | 12 minutes |
| Fish Protein | Oven middle rack | 400°F | 12 minutes |
| Sauce Drizzle | Countertop | Room temp | 2 minutes |
Reviewing this strict timing breakdown highlights exactly why you never need to rush the evening cooking process. The stovetop handles the heavy lifting while the hot oven perfectly crisps the remaining ingredients without requiring your constant stirring, flipping, or monitoring.
The 15-Minute Base
To master the required prep-ahead carb, always choose dry grains like white quinoa or fine couscous that rapidly boil and simmer to a fluffy perfection in exactly 15 minutes. This specific timeframe aligns perfectly with the time required to heat the oven.
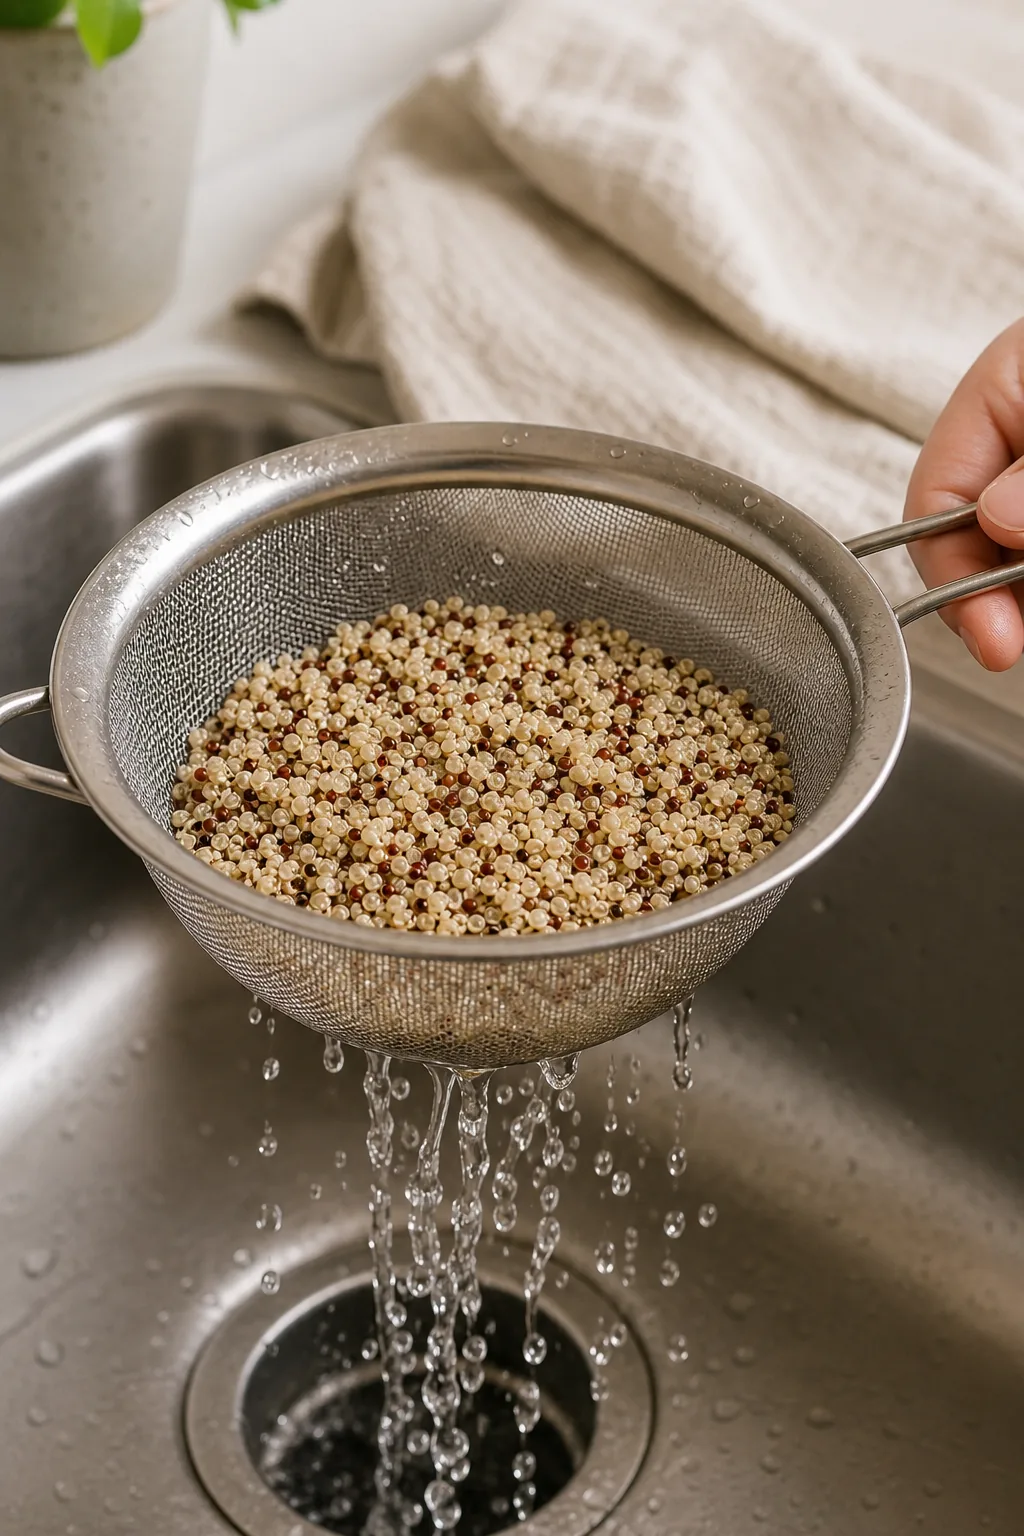
Using a strict 1:2 ratio of rinsed quinoa to fresh water allows the bottom base layer to cook entirely hands-off. Simply bring the pot to a rapid boil, reduce the heat to low, cover tightly, and walk away until the timer sounds.
Choosing the Right Quick Grain
Selecting the wrong foundation can easily derail your entire twenty-minute dinner timeline. Heavy grains like brown rice or whole farro require at least forty minutes of continuous simmering, making them entirely unsuitable for this specific rapid weeknight survival template.
Zero-Prep Greens
Dedicating half your dinner bowl to a 50% fiber base requires skipping the wooden cutting board entirely. Purchasing bagged, pre-washed broccoli florets or trimmed snap peas allows you to move directly from the refrigerator to the metal baking sheet without touching a knife.
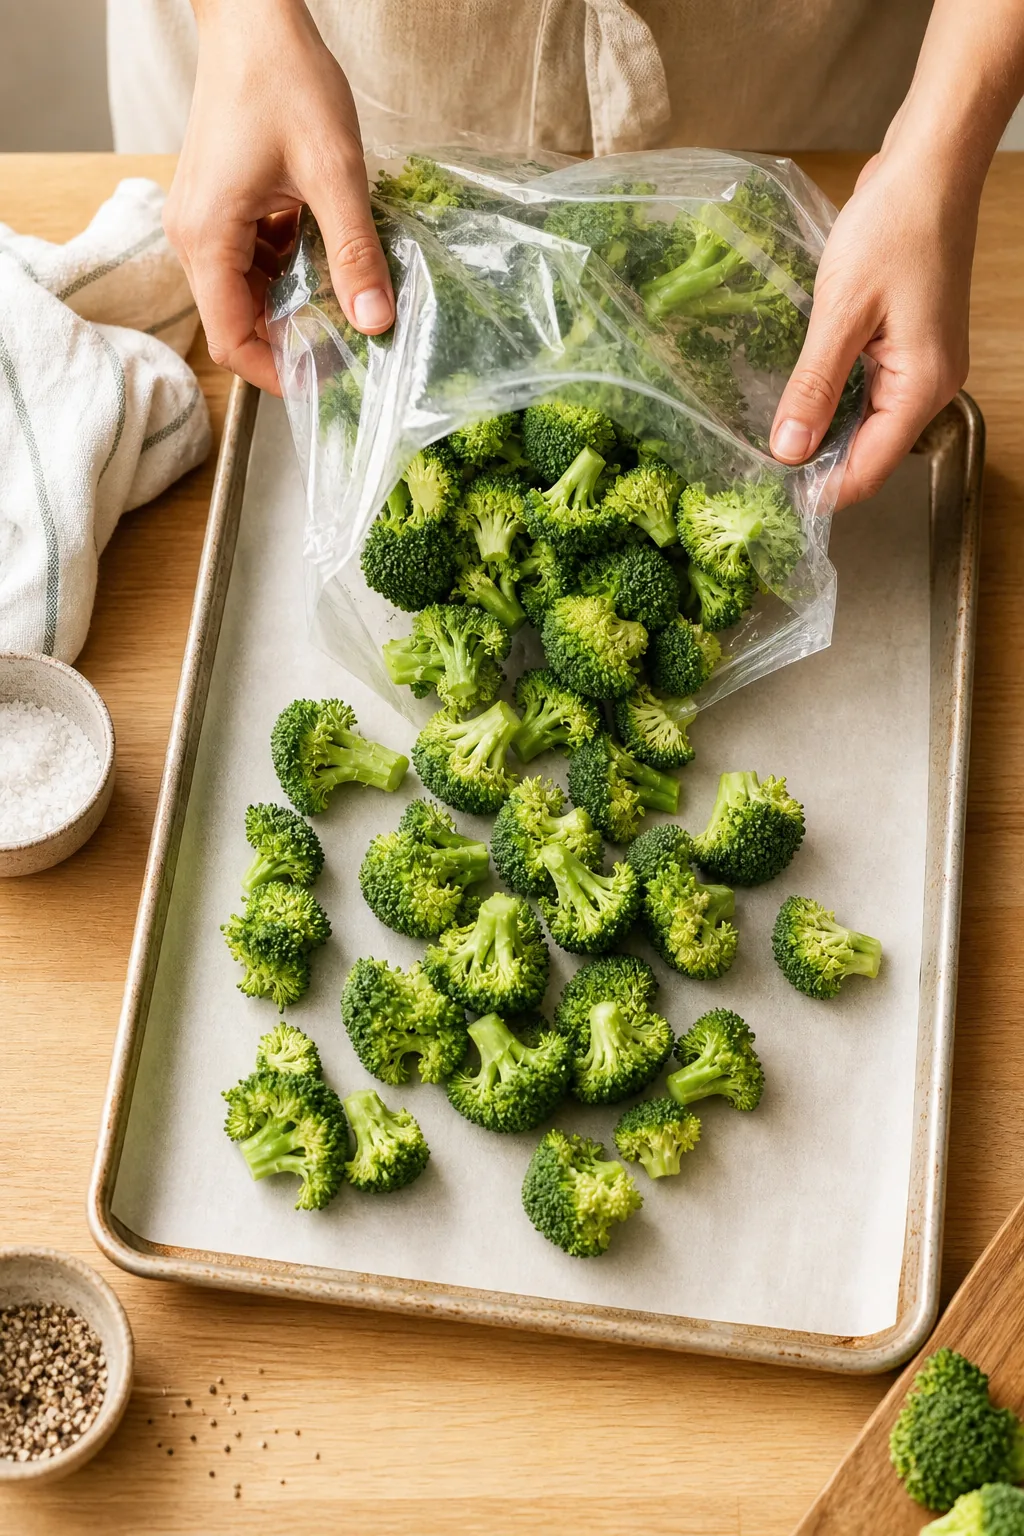
Toss these fresh green vegetables in exactly 1 tablespoon of olive oil and let them roast at 400°F for 12 to 15 minutes. This minimal oil coating guarantees crispy edges while keeping the total active preparation time well under five minutes.
Proper Pan Spacing for Roasting
Overcrowding the metal baking sheet traps evaporating moisture, causing the delicate broccoli florets to steam rather than develop a crispy roasted char. Maintain at least a half-inch of empty space between each vegetable piece to allow the hot oven air to circulate freely.
Sheet Pan Protein
Utilize the remaining empty half of your lined baking sheet for the one-pan protein, specifically focusing on fresh 5 to 6-ounce salmon fillets. Keeping everything on a single pan drastically reduces your evening dishwashing load while ensuring parallel cooking temperatures.
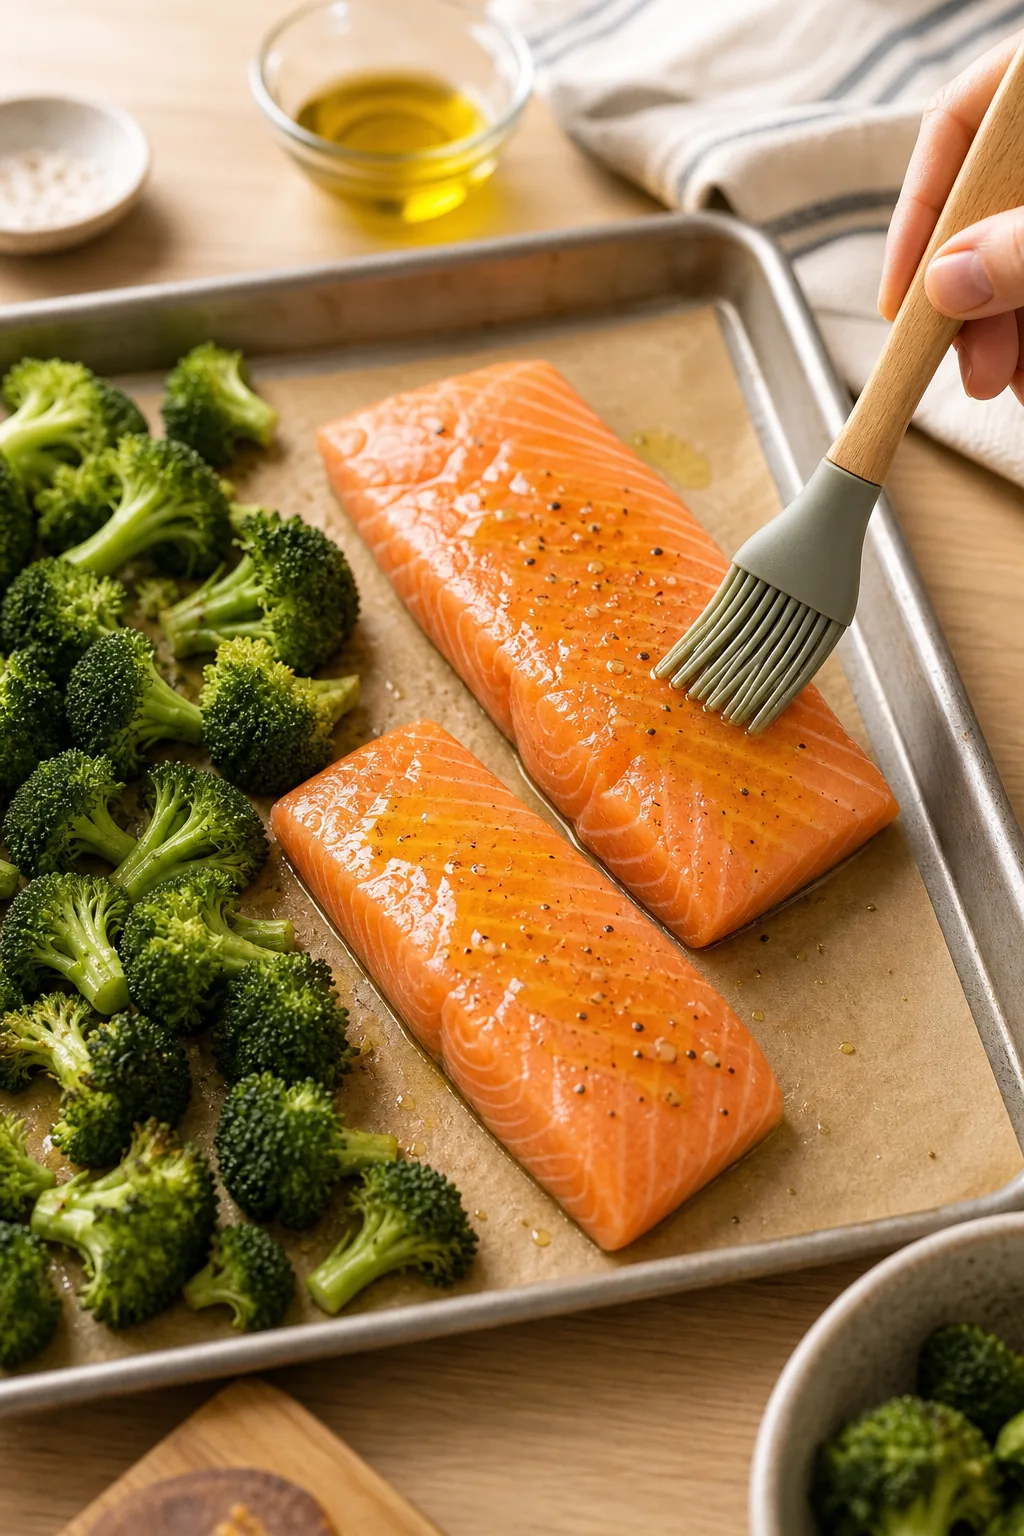
Raw salmon requires the exact same 12-minute roasting time as the chopped broccoli florets, making it the perfect spatial companion. Leaving the tough skin on the bottom insulates the delicate pink flesh, protecting the fish against drying out under harsh direct heat.
Sourcing and Sizing the Fish
Selecting uniform protein cuts guarantees that every portion finishes roasting at the exact same moment. Ask your local fishmonger for center-cut salmon fillets that measure roughly one inch thick, as thinner tail pieces will inevitably overcook and dry out before the vegetables finish.
The Magic Sauce Ratio
What exactly is the 5-minute sauce? It serves as a universal flavor tie that relies on a concrete 2:1:1 ratio: two parts creamy tahini, one part dark soy sauce, and one part pure maple syrup. This blend balances savory depth with subtle sweetness.
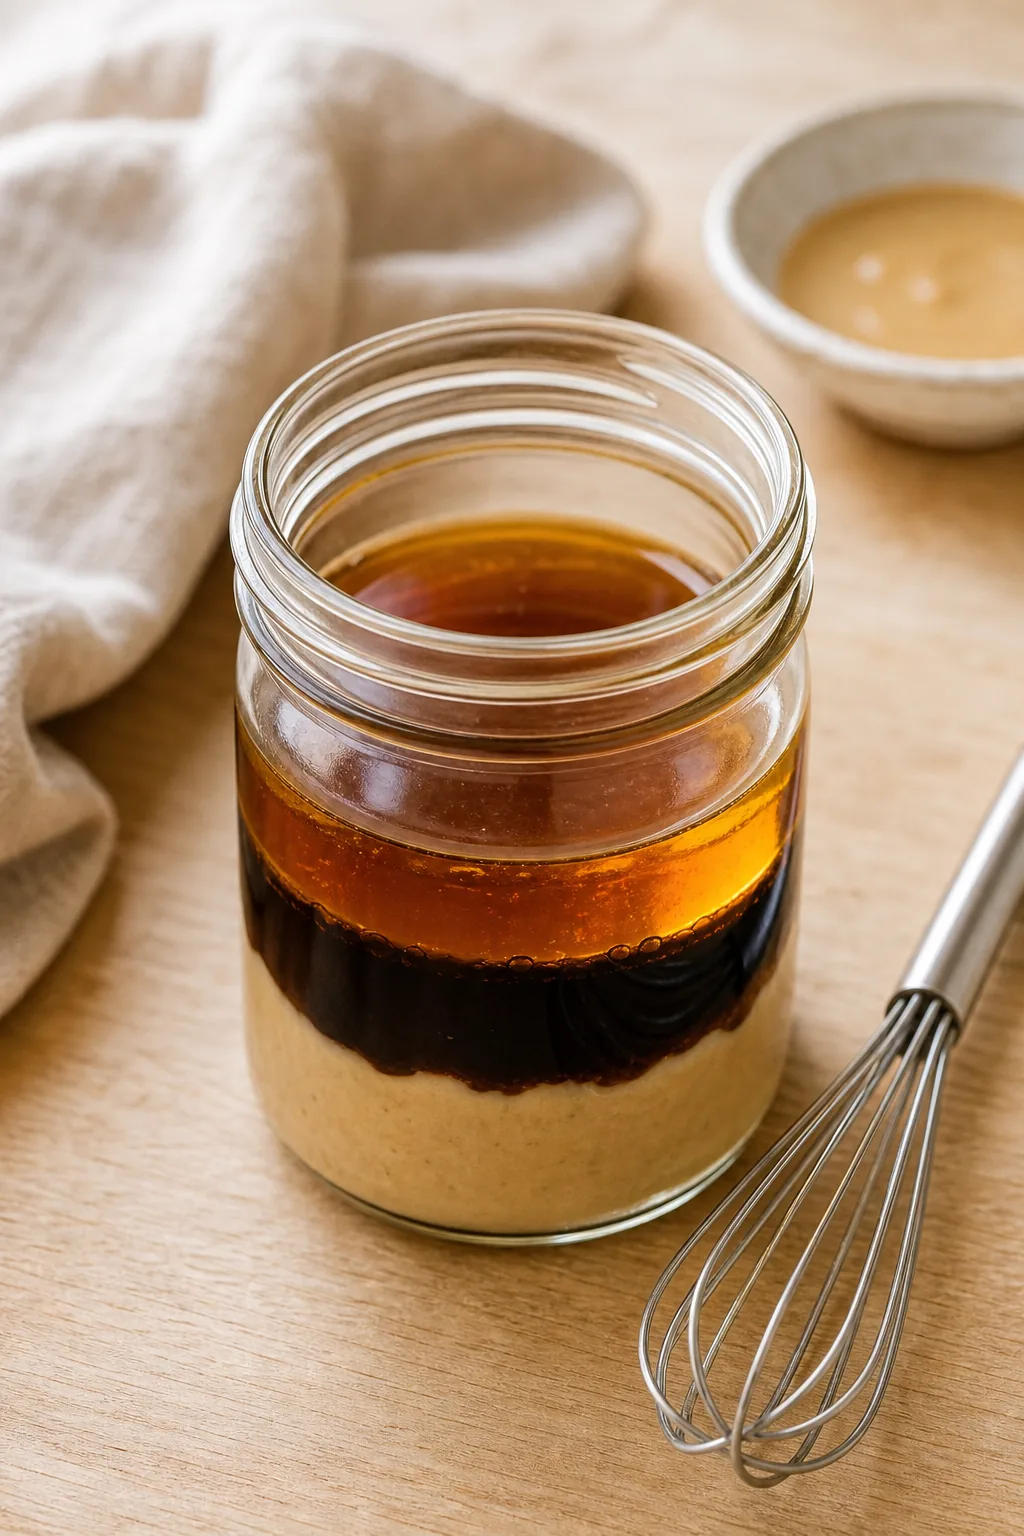
Getting the final pouring texture exactly right is just as important as the underlying flavor balance. Furthermore, liquid temperature plays a surprisingly critical role in how these diverse, oil-heavy ingredients successfully emulsify into a smooth dressing.
Whisking Without a Blender
You can easily shake or whisk this dynamic liquid mixture directly inside a small glass jar while the solid food roasts in the oven. Bypassing the electric blender eliminates another bulky appliance to clean, keeping your post-dinner kitchen maintenance to an absolute minimum.
Assembly and Finishing Touches
Build your dinner bowl strategically from the bottom up, starting with a wide scoop of the fluffy grain base. Layer the hot roasted protein and charred vegetables directly on top before finishing the dish with a generous, even drizzle of the emulsified sauce.
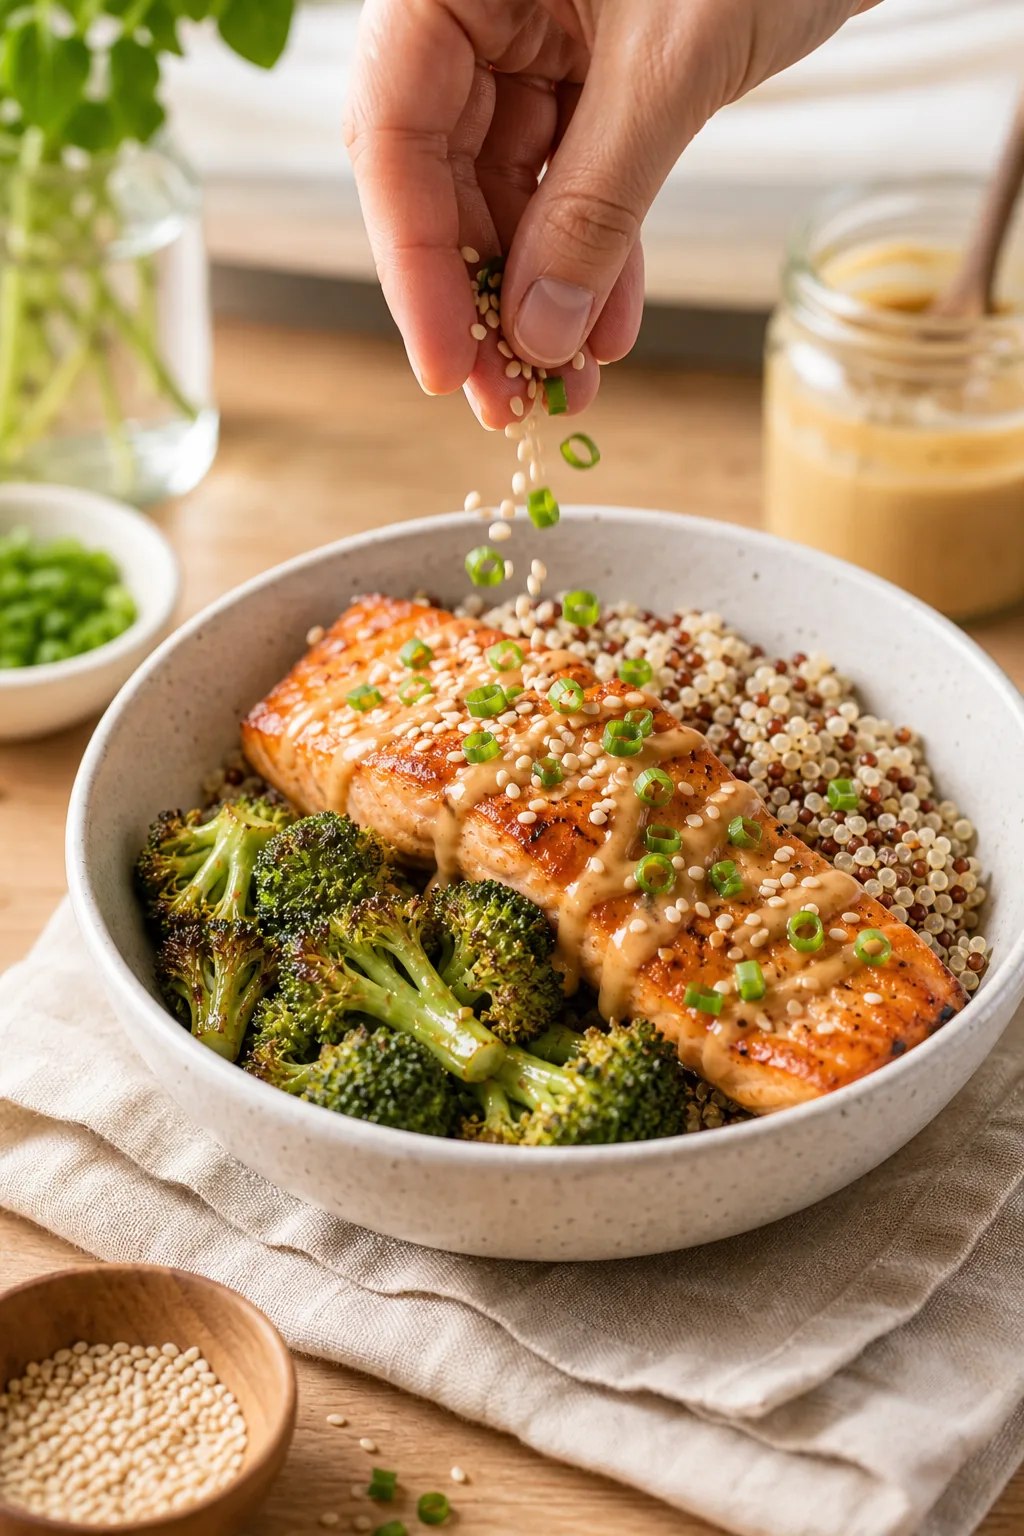
Apply a mandatory crunch finisher like toasted pumpkin seeds or white sesame seeds to add essential physical texture to the bowl. This final zero-cook garnish provides a necessary fresh bite that perfectly contrasts the soft, warm roasted ingredients sitting directly underneath.
Layering for Maximum Flavor
Proper structural assembly prevents the delicate ingredients from turning into a mushy, unappealing pile. Keeping the wet sauce isolated on the very top layer ensures the roasted broccoli florets retain their crispy roasted edges right up until the moment you take your first bite.
What About Leftovers?
Doubling this streamlined recipe seamlessly integrates proactive meal prep into your standard evening routine. The extra portions yield perfect next-day lunches that keep safely for up to 3 days inside the refrigerator without losing their distinct textures or absorbing unwanted fridge odors.
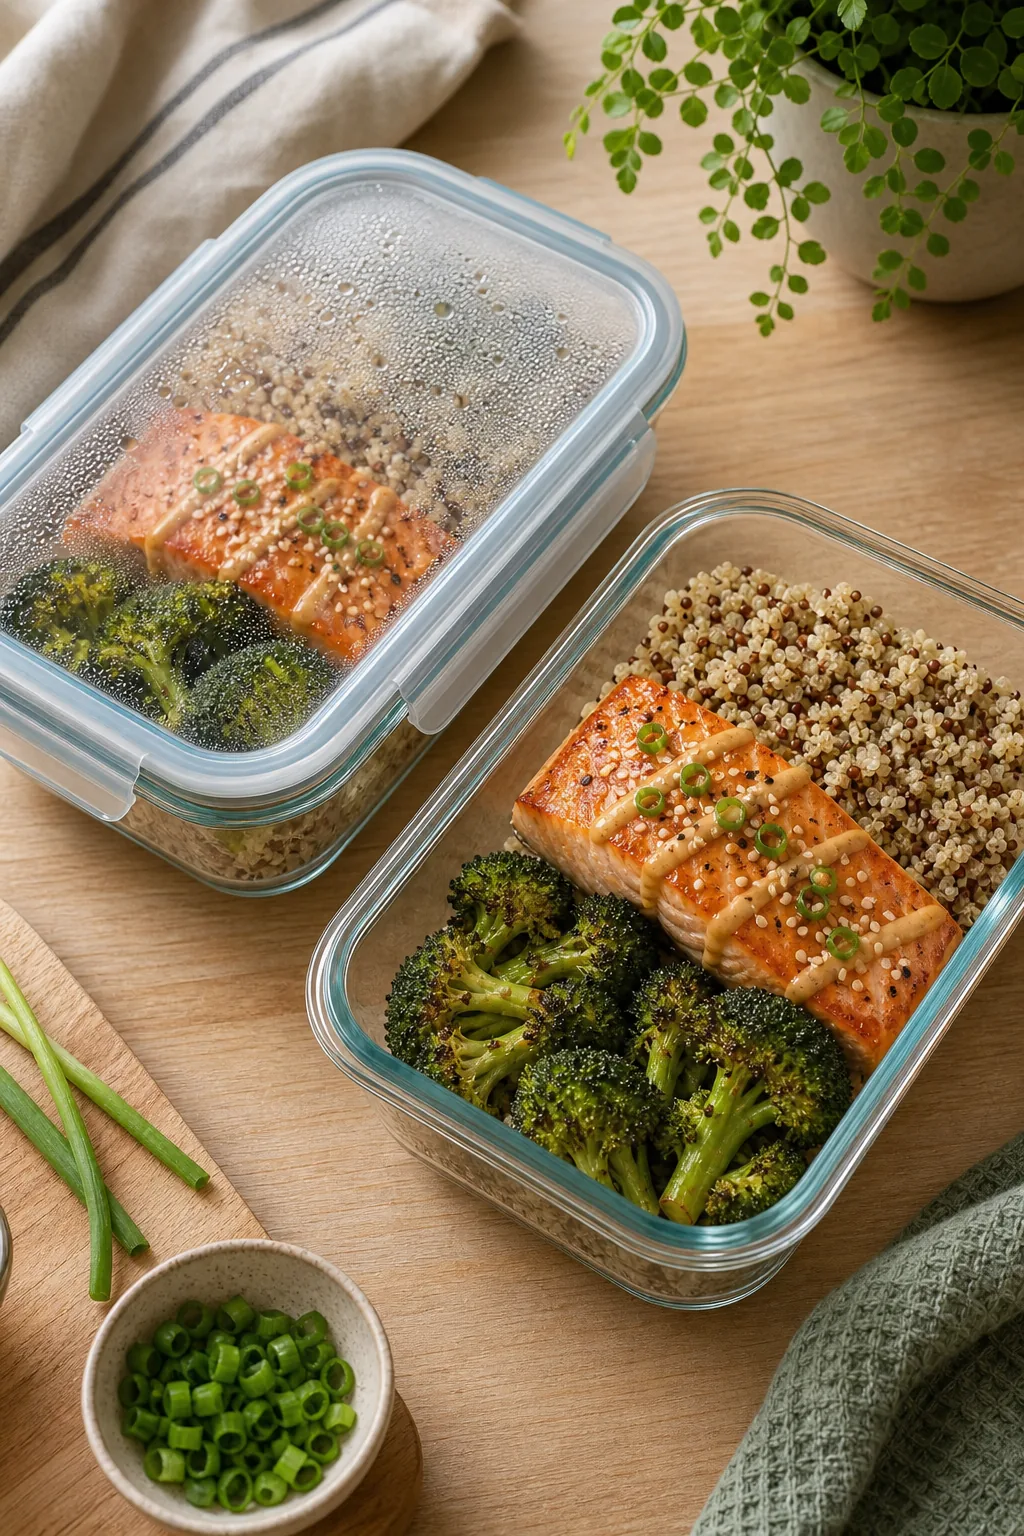
To entirely prevent soggy green vegetables and separated liquid sauces, you must always follow a specific, rigid packing sequence. Execute these exact steps before securing the airtight lids on your rectangular glass meal prep containers for the week.
- Cool all roasted ingredients completely at room temperature before packing.
- Pack the dry greens and protein loosely over the cooked grain base.
- Store the emulsified liquid sauce in a completely separate, smaller container.
Reheating Strategies
When you are ready to eat the stored leftovers, gently microwave the glass container without the sauce for exactly two minutes. Pouring the reserved room-temperature sauce over the freshly warmed ingredients restores the original creamy texture and vibrant flavor profile of the dinner bowl.
Adapting the Survival Formula
This foundational template remains incredibly versatile, allowing you to easily swap primary ingredients without altering the strict 20-minute timeline. The focus always remains on maintaining the four structural pillars regardless of the specific flavor profile or seasonal vegetables you choose to highlight.
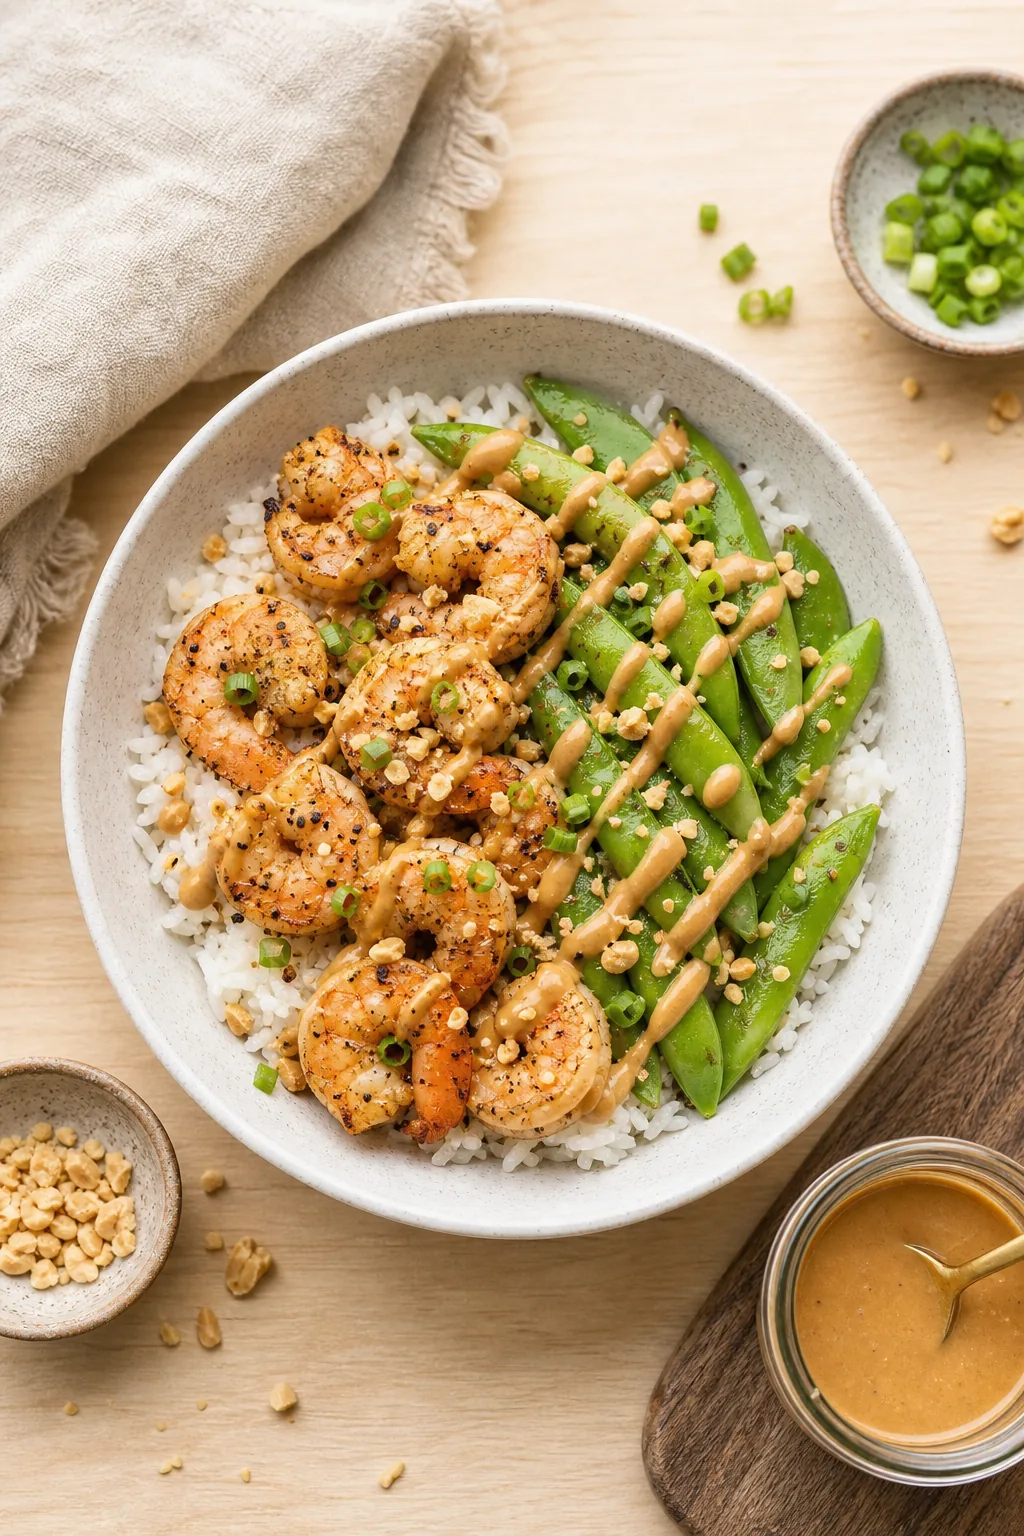
Replacing the thick salmon with quick-cooking peeled shrimp instantly drops the oven roasting time to just 8 minutes. Alternatively, swapping the boiled quinoa for thin rice noodles offers a rapid hot-water soaking alternative that perfectly mirrors the original timing structure.