
The 8-Foot U-Shaped Kitchen Layout: Your Measurement Sheet
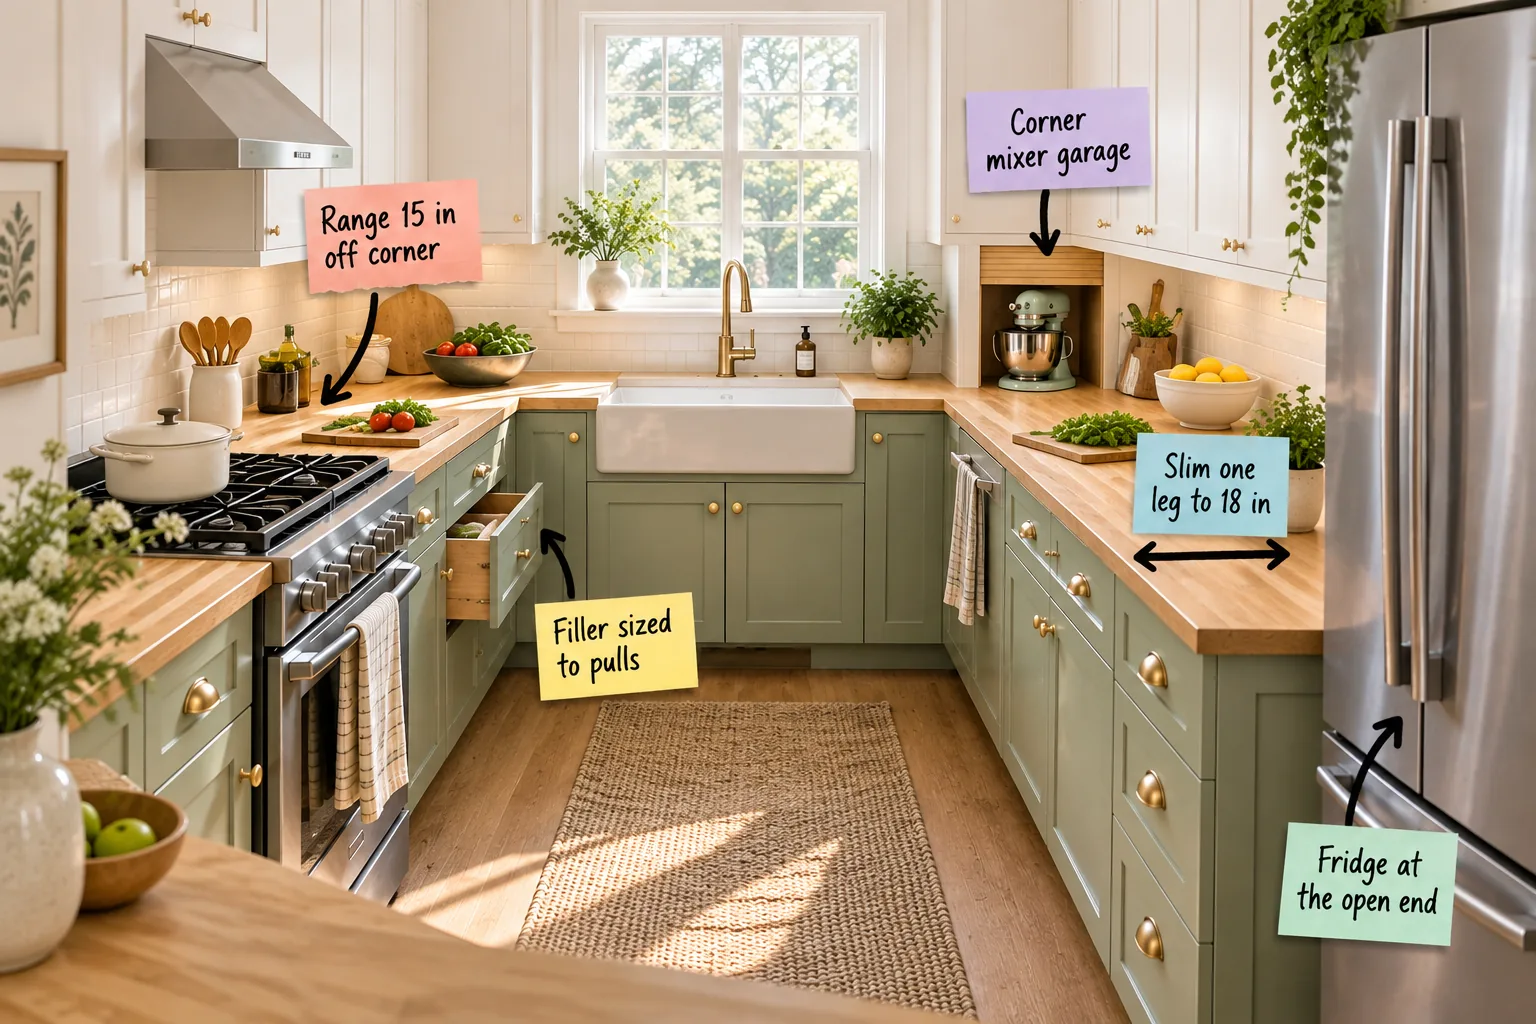
Grab our printable 8-Foot U-Kitchen Measurement Sheet to map out a two-cook space using exact inch values for every cabinet and clearance zone. You will finally conquer your small room by knowing exactly where to place your appliances and corner fillers.
The 8-Foot U-Kitchen Measurement Sheet
An 8-foot-wide room typically leaves a tight 48-inch aisle when you install standard 24-inch cabinets on both sides. This specific measurement sheet adjusts those depths to comfortably fit two cooks without requiring a costly structural addition to your home.
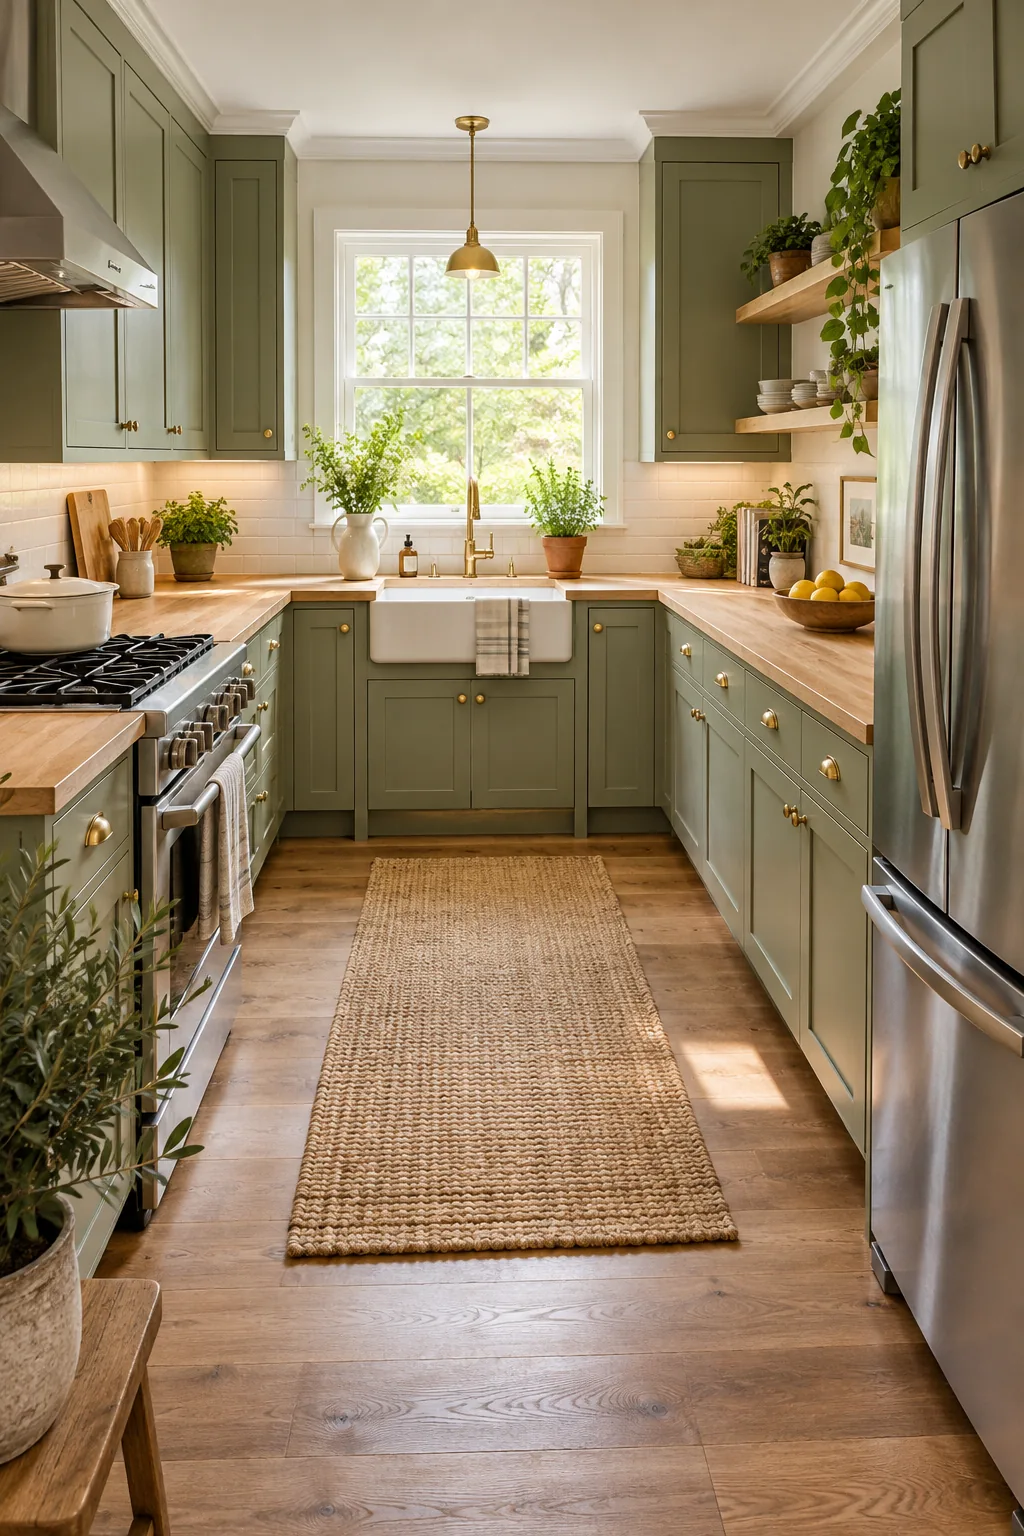
Before printing the layout sheet and ordering your new cabinets, verify these three structural dimensions in your actual space to guarantee a perfect fit.
Verifying Your Wall-to-Wall Width
Measure your room from drywall to drywall in at least three different spots to catch any bowing or framing inconsistencies. You need exactly 96 inches of clear width to execute this specific layout without modifying the shallow cabinet run.
Managing Door Swing Clearances
If your kitchen features an inward-swinging entry door, you must measure its full arc before installing the right-side cabinets. Replacing a traditional door with a space-saving pocket door often reclaims enough square footage to make this layout viable.
Mapping the 48-Inch Aisle Base
Understanding how standard depths choke a small room is the first step toward building a better floor plan. Review the clearance differences below to see why modifying the right wall becomes absolutely necessary for a shared workspace.
| Layout Style | Cabinet Depths | Aisle Width | Ideal Usage |
|---|---|---|---|
| Standard U-Shape | 24″ / 24″ | 48 inches | Single cook |
| Modified U-Shape | 24″ / 18″ | 54 inches | Two cooks |
Fridge Placement at the Open End
Anchoring the tall refrigerator at the open end of the right leg keeps hungry family members from crossing into the primary two-cook work zone. This strategic position effectively separates the food storage area from the active cooking and cleaning stations.
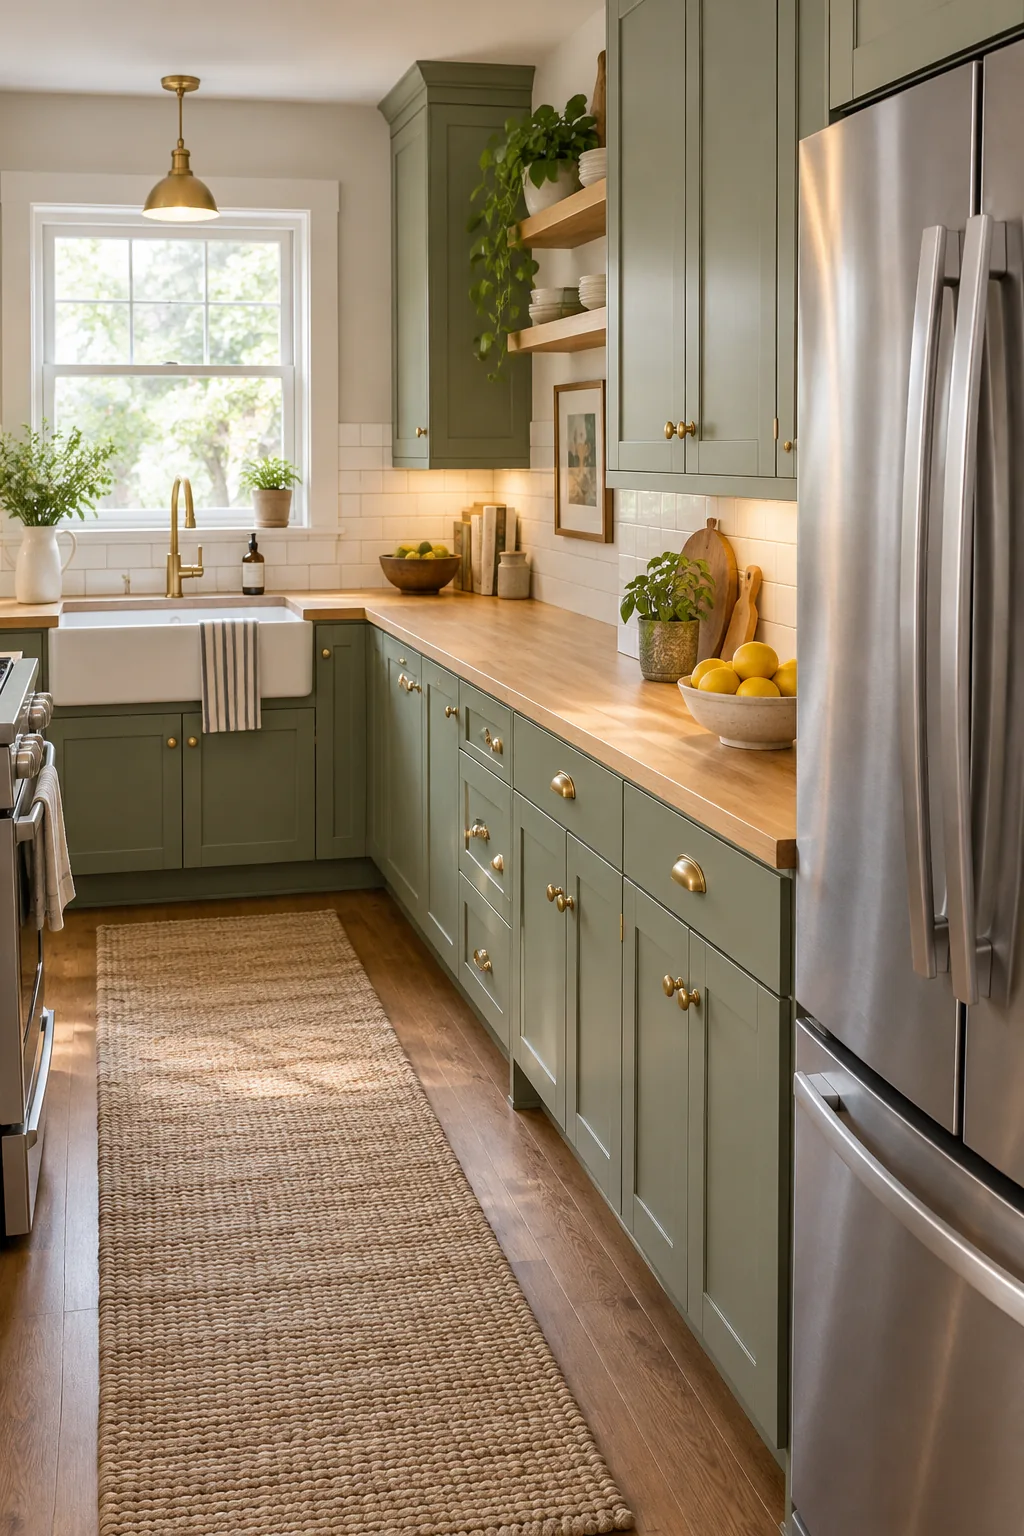
This layout choice allows someone to grab drinks and snacks while you maintain an uninterrupted workflow at the stove on the opposite wall.
Selecting the Right Fridge Depth
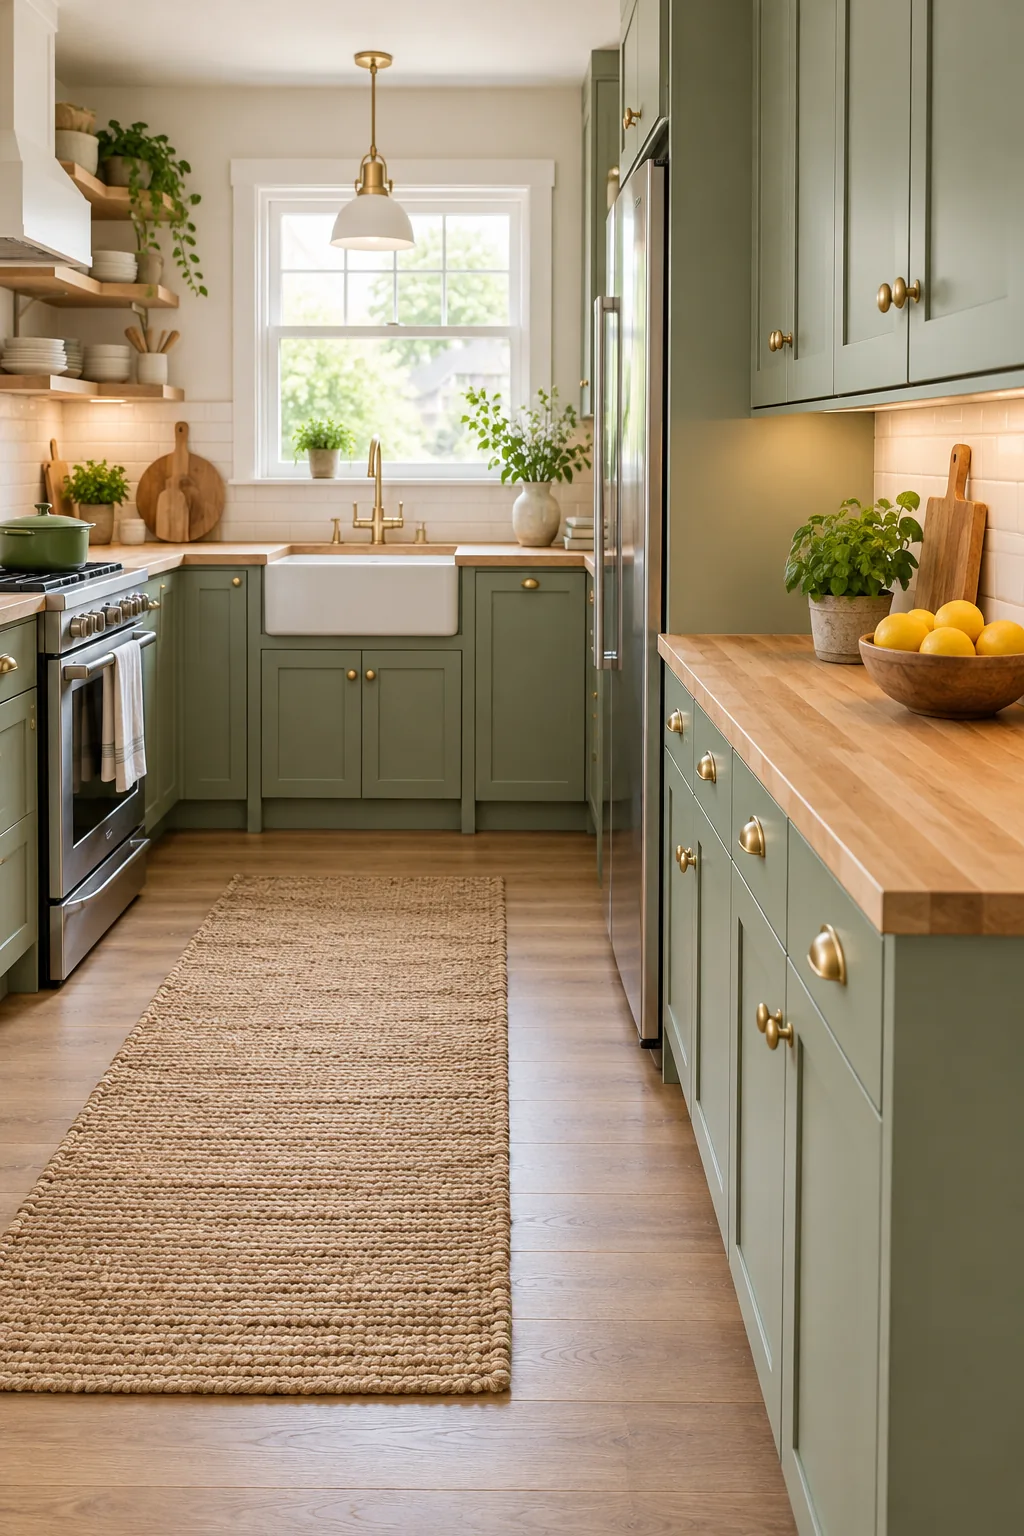
To keep the entrance feeling open, specify a counter-depth refrigerator that aligns seamlessly with the adjacent base cabinets. A standard-depth unit will protrude awkwardly into the walkway, instantly creating a bottleneck that defeats the purpose of the shallow leg.
Routing Traffic Around the Work Triangle
By placing the deepest appliance at the room’s entrance, you naturally redirect foot traffic away from the hot range and the wet sink. This creates a protected interior triangle where two people can chop and sauté without constantly bumping elbows.
Slim One Leg to 18 Inches
Replacing standard 24-inch base cabinets with 18-inch-deep versions on the right leg completely transforms the room’s spatial balance. This modification requires custom or semi-custom boxes, but the functional payoff in a compact footprint is worth the investment.
This single deliberate change widens your center aisle from a tight 48 inches to a spacious 54-inch aisle, providing the ideal clearance for passing.
Customizing the Shallow Base Cabinets
When you reduce the cabinet depth, you must also specify shallower drawer glides and adjust your internal storage expectations. I recommend dedicating these 18-inch drawers to flatware, linens, and smaller pantry items rather than bulky pots and pans.
Why Asymmetry Works in Small Rooms
Traditional kitchen design often preaches perfect symmetry, but forcing equal depths in an 8-foot room creates a claustrophobic tunnel. Embracing an asymmetrical footprint allows you to prioritize human movement over rigid architectural mirroring.
- It opens the visual sightline from the doorway, making the room feel instantly larger.
- It defines distinct work zones, separating heavy cooking from light prep.
- It prevents two cooks from working directly back-to-back in a tight space.
Maximizing the Deep Corner Counter
The junction where the shallow 18-inch leg meets the standard 24-inch base creates a uniquely deep pocket of countertop space. This recessed area naturally becomes the perfect staging ground for bulky items that would otherwise clutter your primary prep zones.
Integrating Corner Storage Solutions
Instead of letting the deep base cabinet become a dark cavern, install a tiered blind-corner pullout to maximize accessibility. These engineered inserts bring heavy mixing bowls and seasonal platters out into the light with a simple pull.
The Corner Mixer Garage
Tucking a tambour-door appliance garage into this deep back corner was a lifesaver in my own compact kitchen remodel. It hides visual clutter while keeping heavy baking equipment plugged in and ready to slide forward instantly.
The measurement sheet notes this garage requires at least 15 inches of vertical clearance to comfortably house a standard tilt-head stand mixer.
Tambour Door Track Clearances
Installing a rolling tambour door means you must account for the internal track mechanism when calculating your usable interior height. Always measure your tallest appliance and add two inches of headroom to ensure the door rolls back smoothly without scraping.
Sink Centered at the Base
Placing the sink directly under the window at the base of the U establishes a classic focal point and a highly efficient cleanup zone. This central position allows both cooks to pivot easily from their respective prep stations to rinse vegetables.
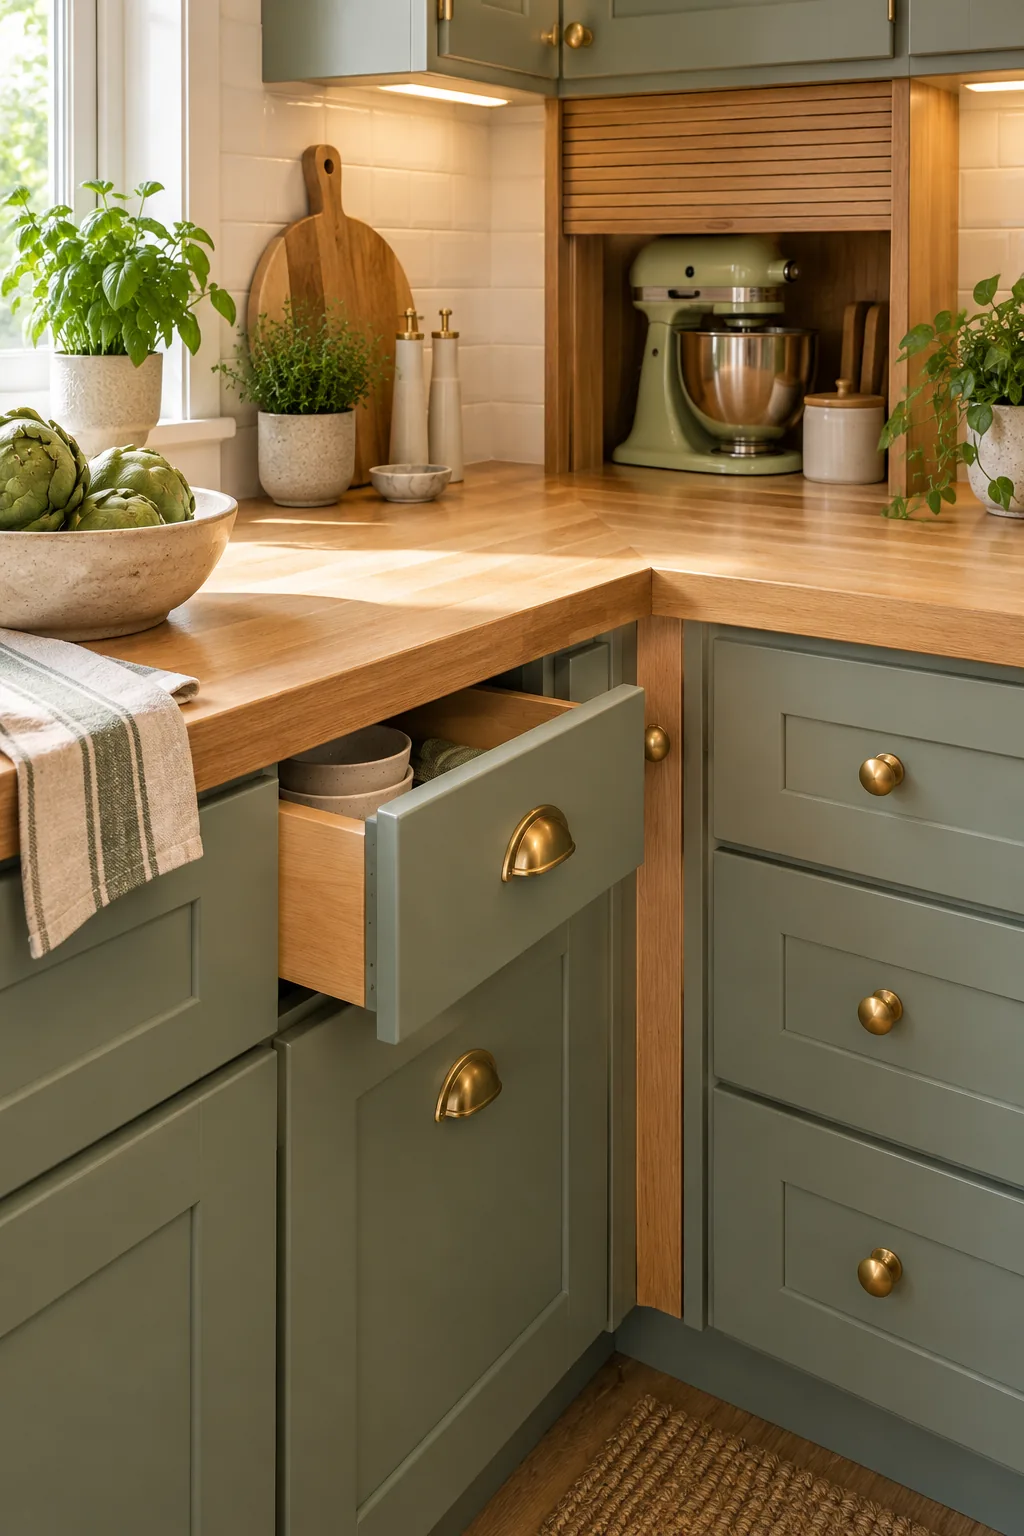
Plumbing the Centered Window Sink
Centering the basin often requires slightly modifying the plumbing rough-ins if your previous layout featured an off-center drain. Work with your contractor early to ensure the waste line aligns perfectly with the new cabinet symmetry under the glass.
Dishwasher Door Drop Zones
A centered sink demands careful attention to the sink-to-corner distances on both adjacent walls. You must verify that the dishwasher door can drop fully open without hitting the oven handle or blocking access to the shallow storage drawers.
Accounting for Oven Handle Projections
Standard ranges feature oven handles that protrude two to three inches beyond the main chassis, creating an unexpected obstacle for perpendicular doors. Always measure from the outermost edge of the handle when calculating your appliance clearances in a tight U-shape.
Sizing Corner Fillers to Your Pulls
I learned the hard way on an early project that you must calculate the exact projection of your chosen hardware before installing corner boxes. Skipping this step guarantees that your perpendicular drawers will collide and chip their painted finishes.
Measure your hardware projection and add a half-inch buffer to determine the filler width so drawers clear each other effortlessly.
Choosing Low-Profile Hardware
If you want to keep your corner fillers as narrow as possible, select low-profile recessed pulls or sleek edge tabs. These minimalist hardware choices project less than half an inch, allowing you to maximize your usable cabinet width.
Calculating the Half-Inch Buffer
Standard brass bar pulls often project up to 1.5 inches from the drawer face, which requires a minimum 2-inch vertical filler strip. This generous buffer ensures that a slightly misaligned drawer glide won’t cause a disastrous hardware collision during daily use.
Landing Zones for Prep
A functional kitchen requires dedicated countertop landing zones immediately beside every major appliance for safe and efficient food handling. The layout dedicates a minimum of 15 inches of clear surface area to support both the cooking and storage zones.
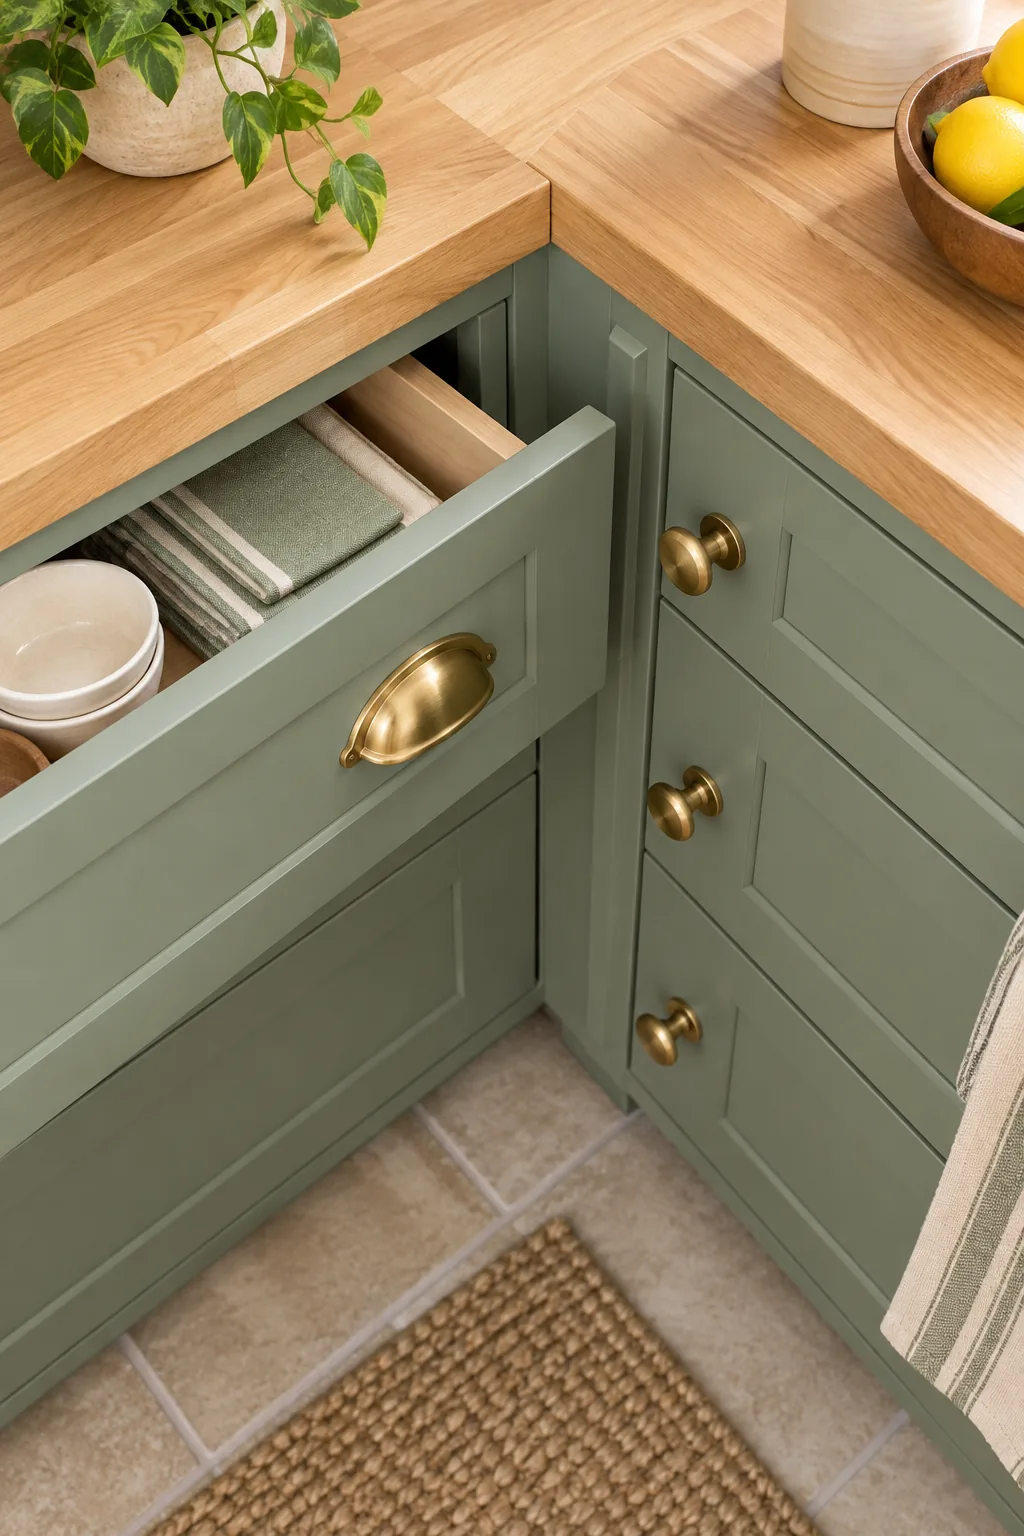
Dedicated Baking Prep Zones
The shallow right leg offers an extended stretch of countertop that is perfectly suited for rolling dough or assembling large platters. Because this zone sits outside the main cooking triangle, a second person can bake without interrupting the primary chef.
Butcher Block Prep Surfaces
Installing continuous butcher block across these landing zones provides a warm, resilient surface that is gentle on your best knives. Regular oiling keeps the wood sealed and prevents moisture damage around the high-traffic sink and range areas.
Ventilation Above the Range
A high-output range requires proper ventilation to pull grease and moisture out of the tight U-shaped footprint. Install a ducted range hood that is at least six inches wider than your cooking surface to capture expanding steam effectively.
5 Ways to Style a U-Shaped Kitchen
Explore how different materials and palettes can completely change the mood of this exact footprint.
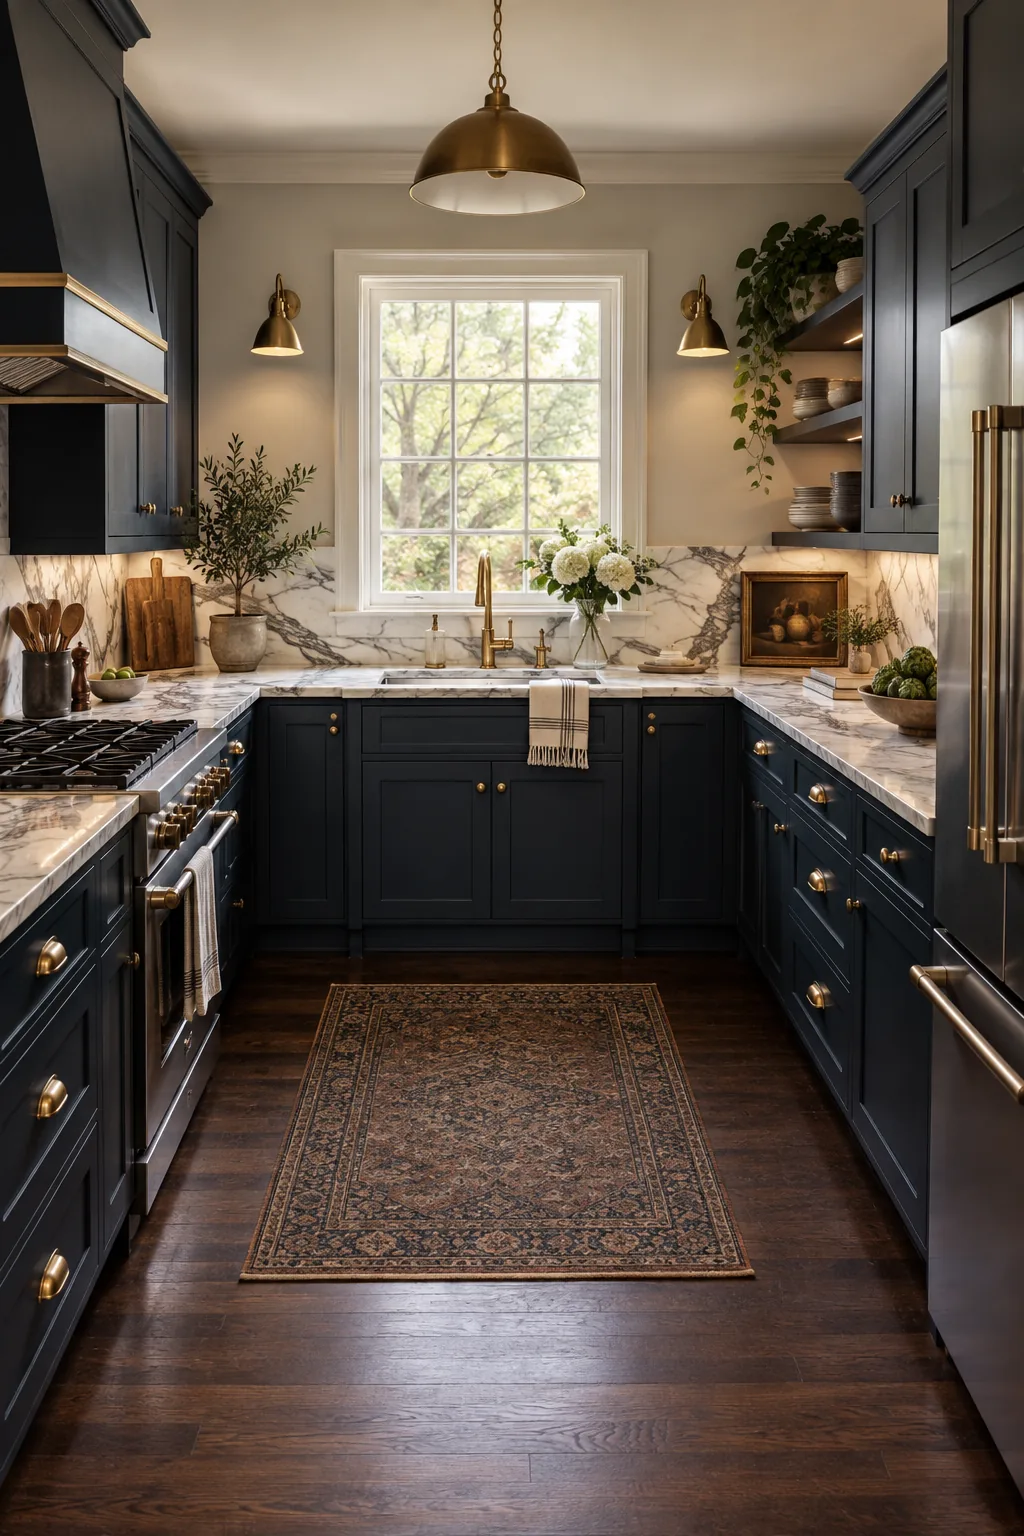
Moody Navy and Marble: Dark blue cabinets ground the small footprint, while bright white marble counters reflect light to keep the space feeling open.
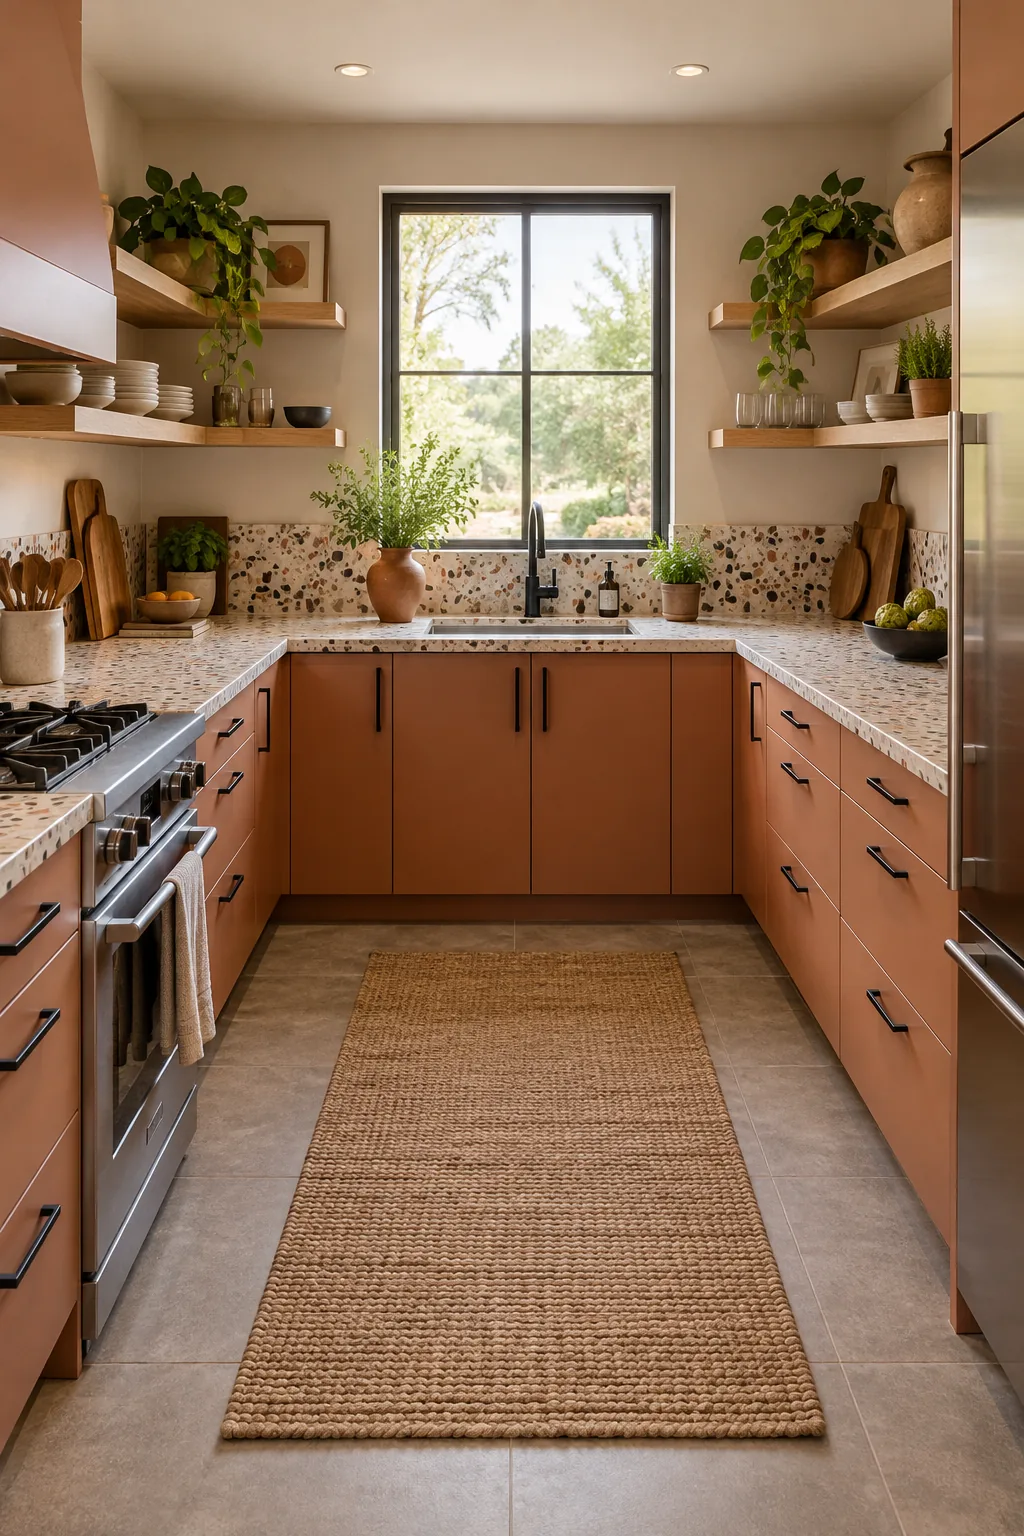
Warm Terracotta and Terrazzo: Earthy clay tones warm up the room instantly, and playful terrazzo counters add subtle texture without overwhelming the eye.
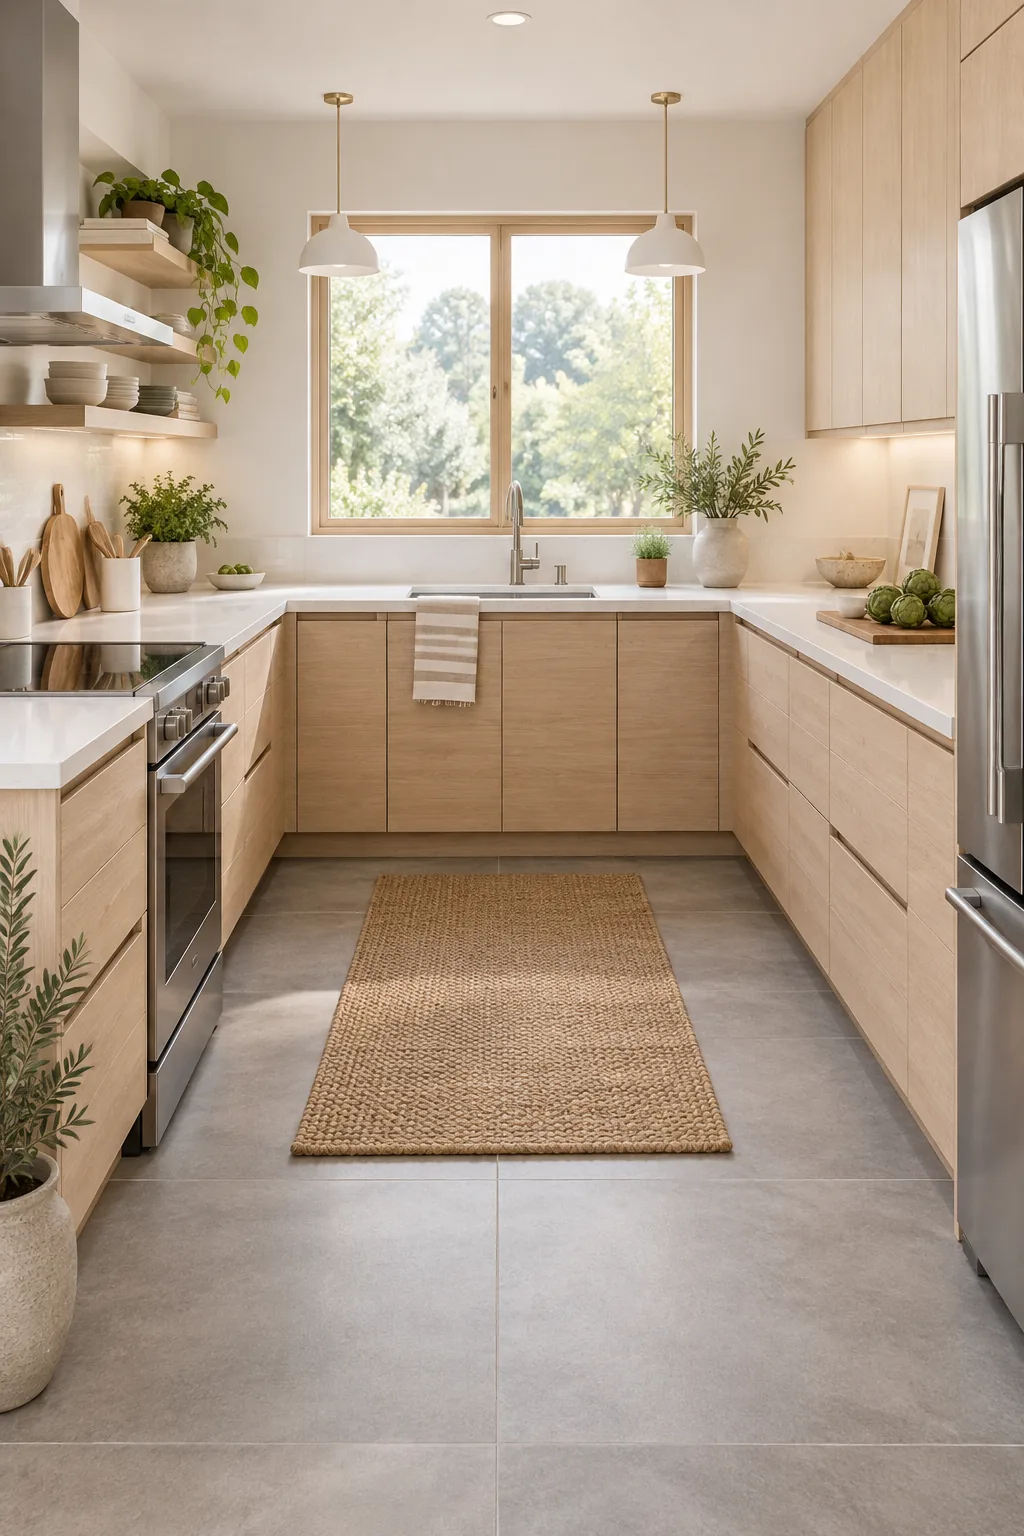
Crisp White Oak Minimalist: Pale oak slab doors create a seamless visual flow around the U-shape, making the narrow room feel significantly wider.
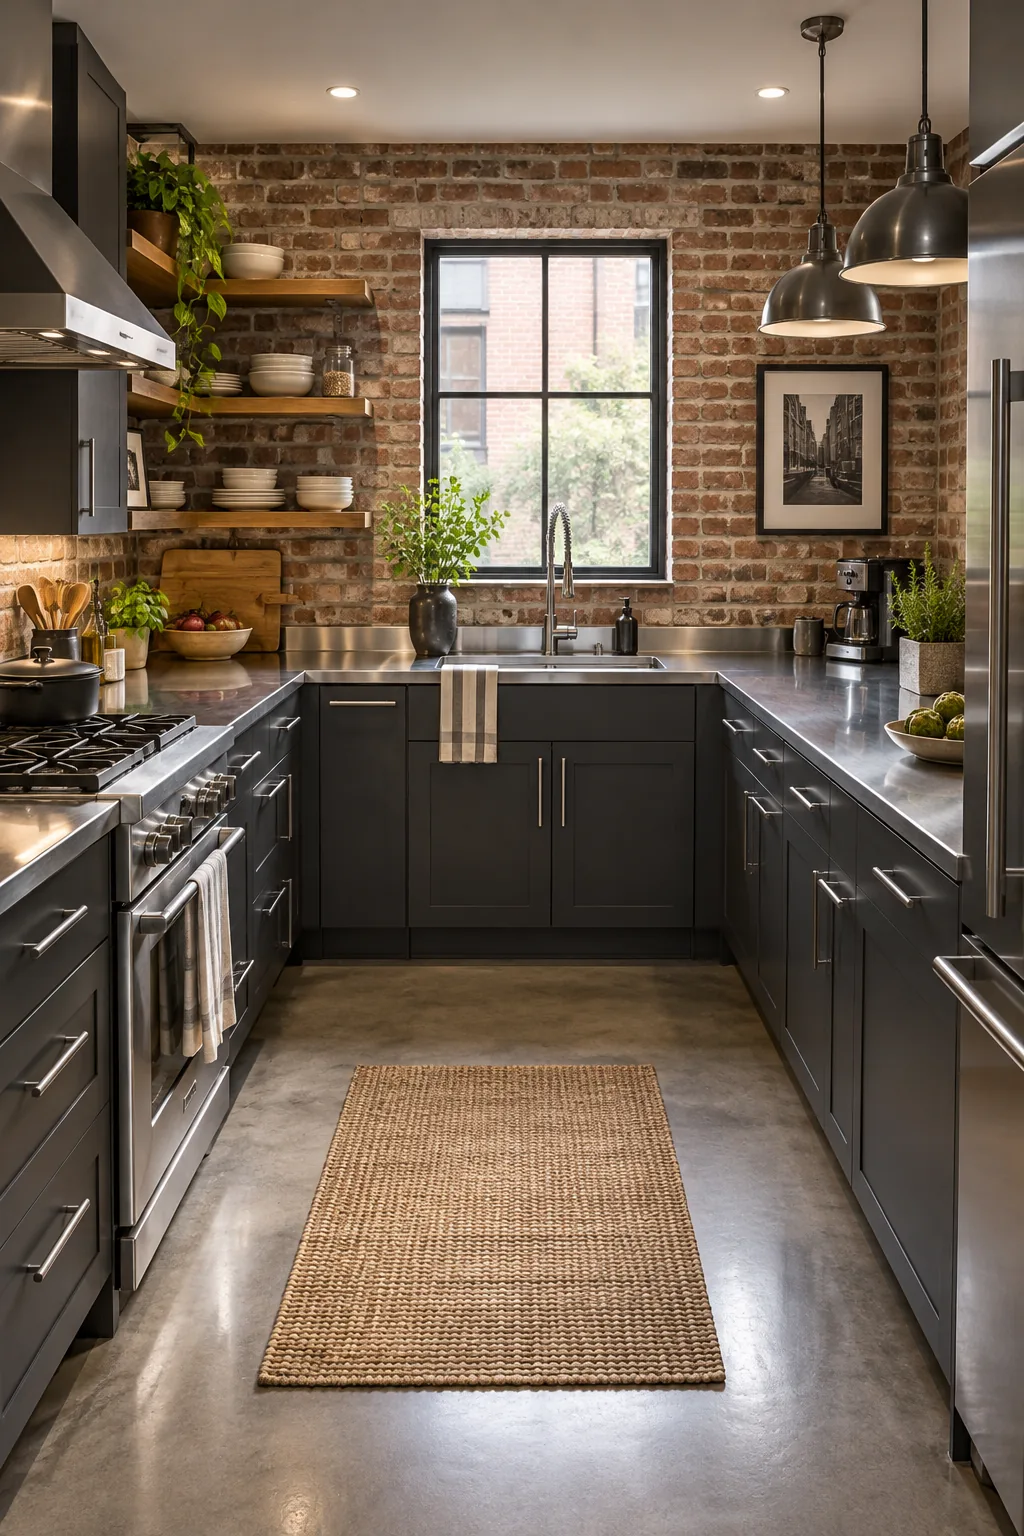
Industrial Slate and Steel: Durable stainless steel counters wrap the entire layout, providing an indestructible prep surface that pairs beautifully with moody charcoal doors.
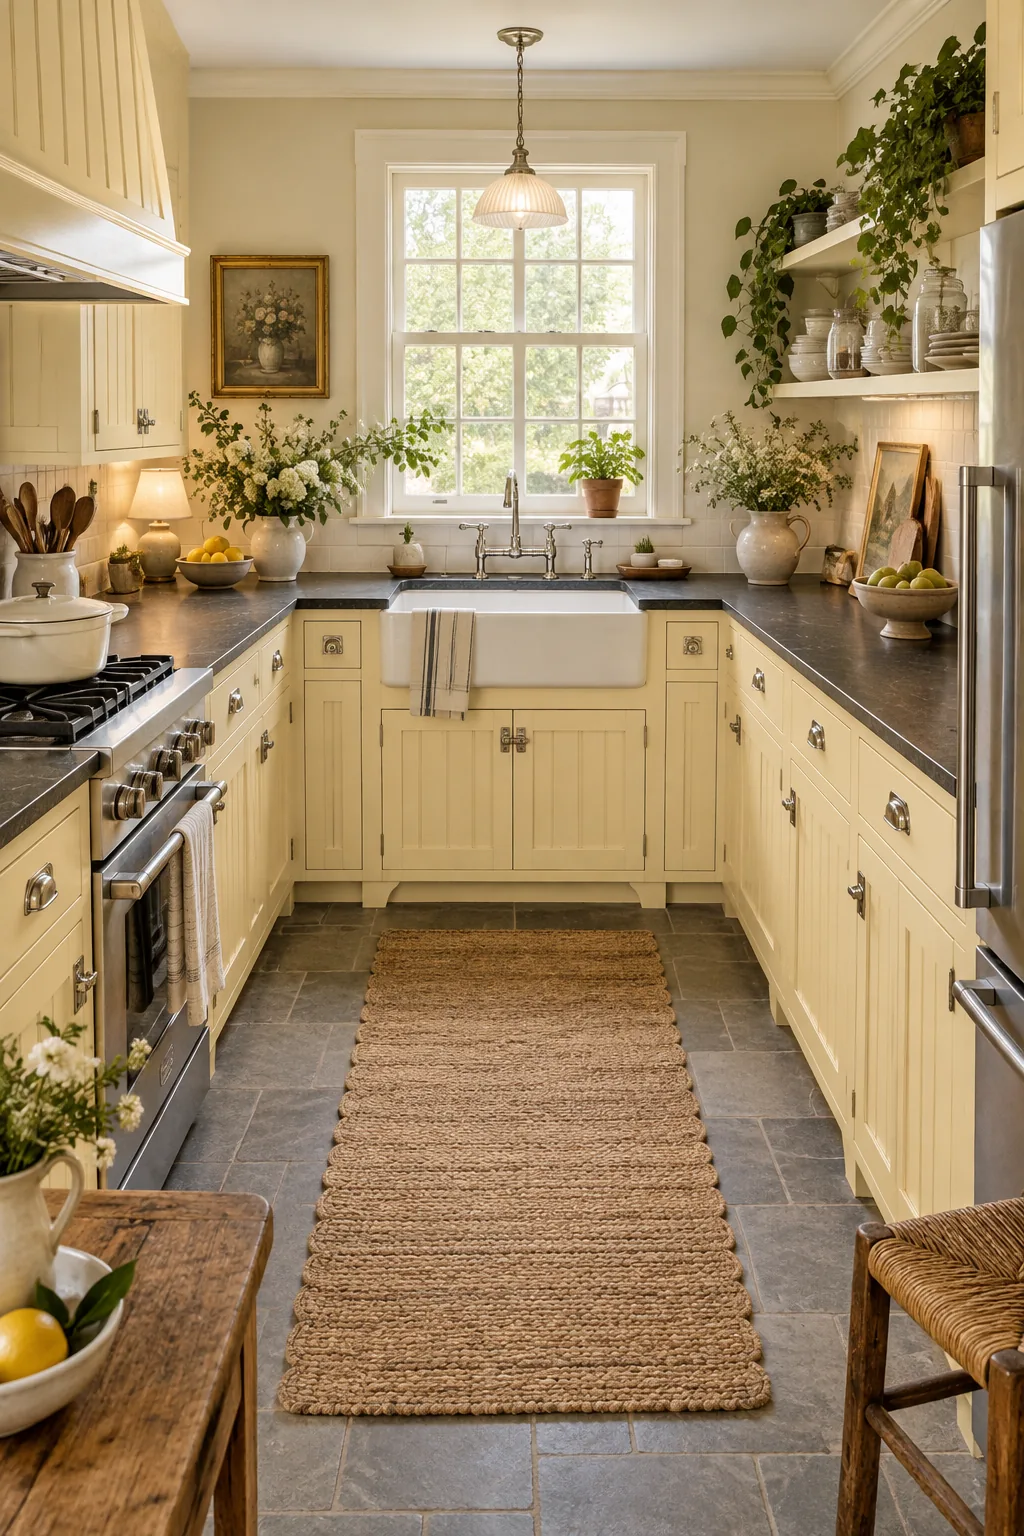
Vintage Cottage Buttercream: Soft yellow beadboard brings historic charm to the layout, contrasting perfectly against the dark, practical soapstone work surfaces.
Range 15 Inches Off the Corner
Pulling the range away from the wall and leaving exactly 15 inches of countertop between the side edge and the corner is mandatory. This critical gap provides a safe landing zone for hot pots and keeps oversized skillet handles from bumping the drywall.
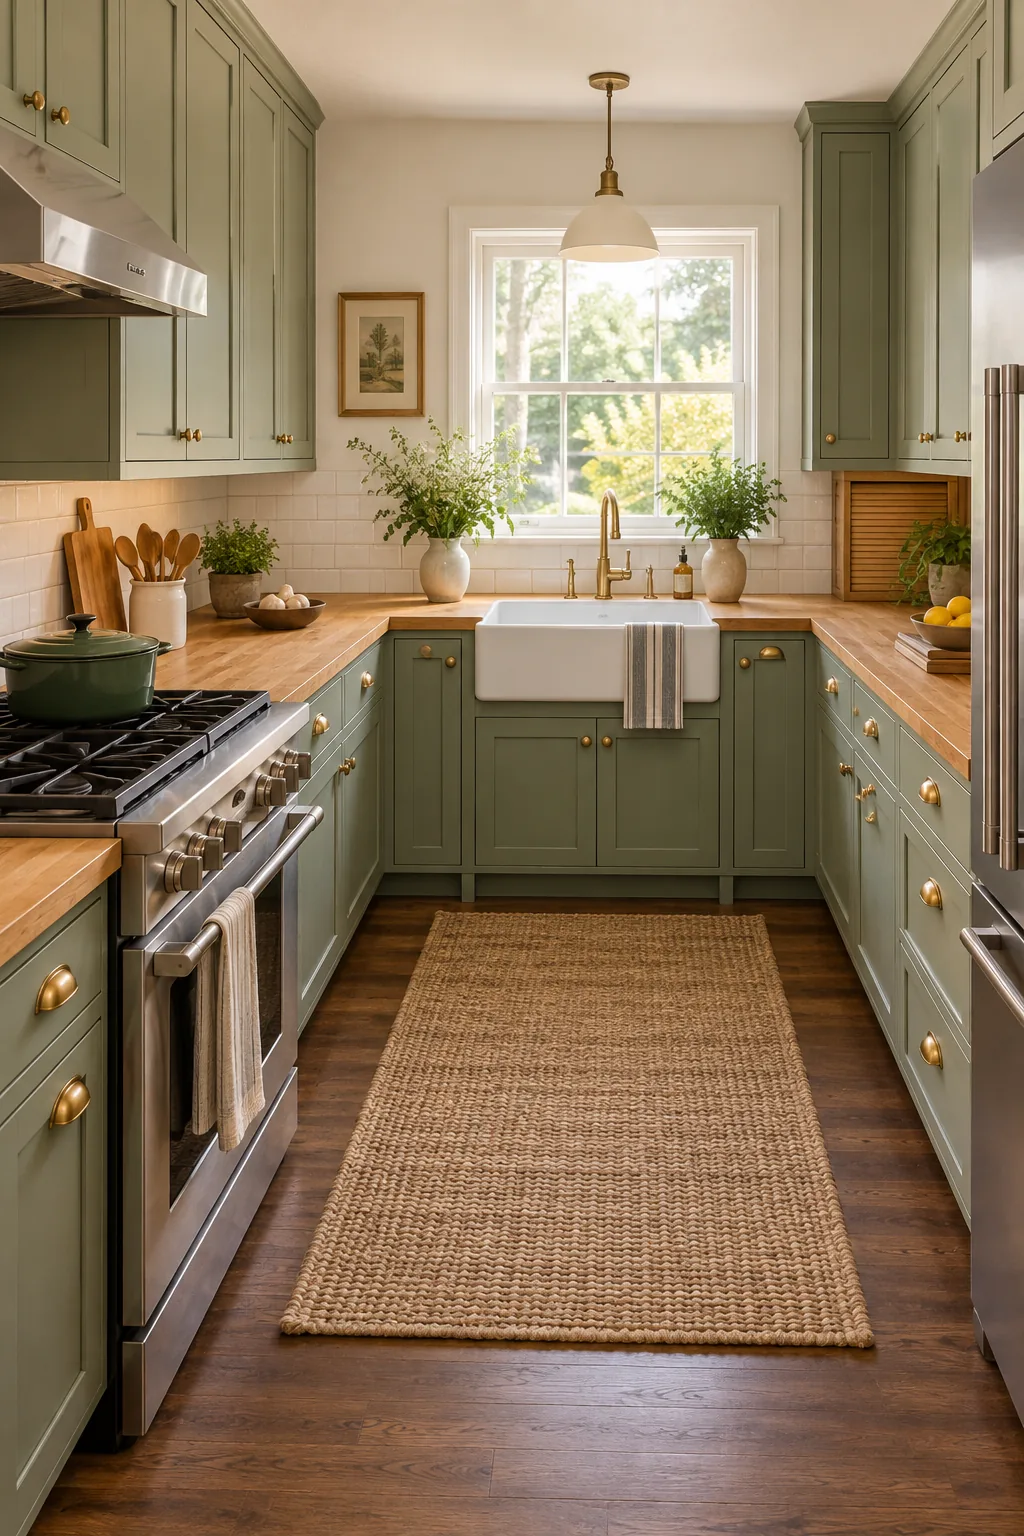
Getting the range placement wrong can easily ruin the functionality of your left wall; watch out for these layout traps.