The No-Demo Tile Overlay Guide for Laminate Countertops
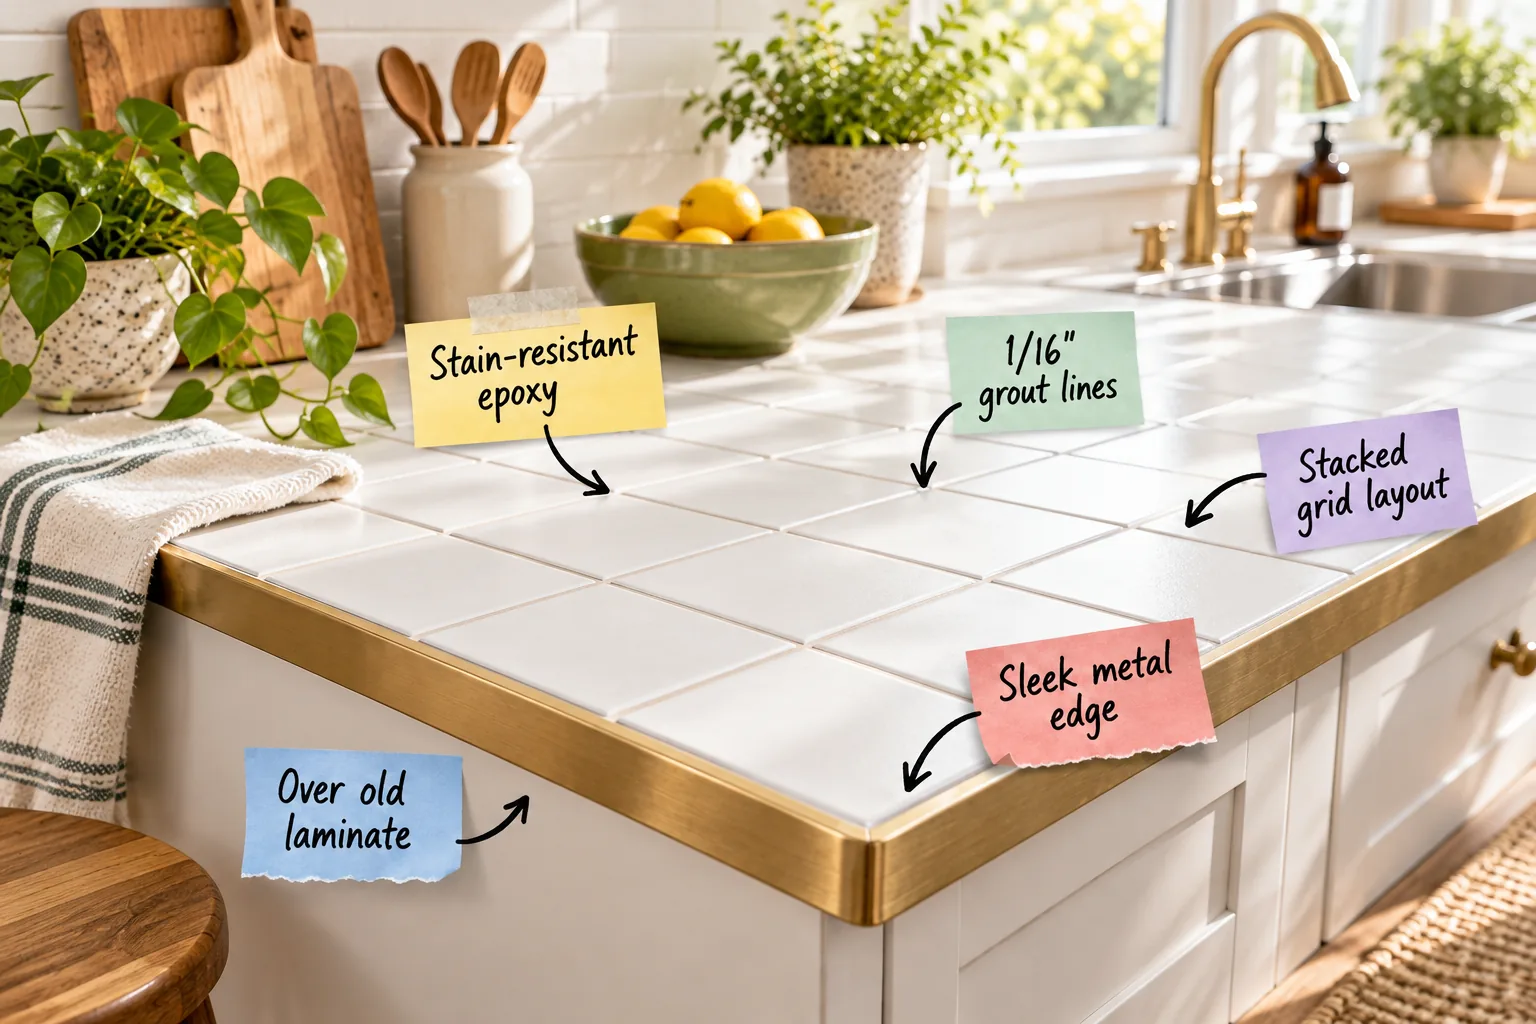
Transform your kitchen with my complete No-Demo Tile Overlay Guide, detailing the exact steps to install modern square tile directly over old laminate counters. You will know exactly how to prep, layout, edge, and grout a fresh ceramic surface without any demolition.
The No-Demo Overlay Framework
This complete framework skips the messy demolition by utilizing your existing counters as a completely stable, level substrate. When I overlaid my own Austin kitchen counters last spring, skipping the demo phase saved me three days of heavy lifting and dust cleanup.
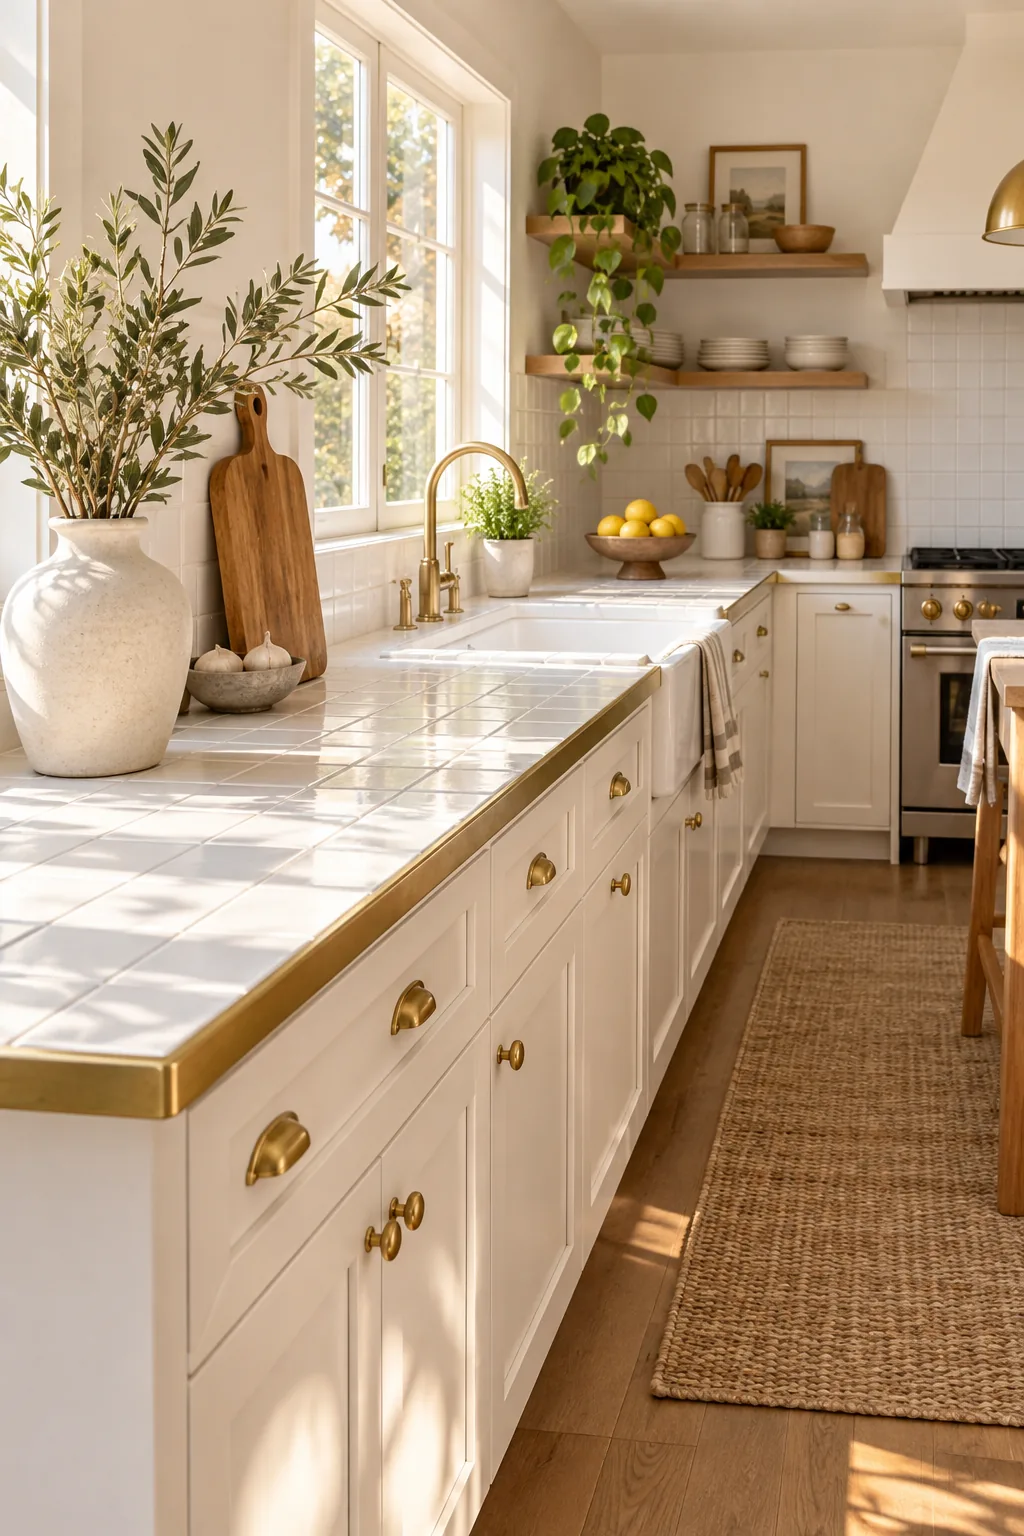
You will learn the exact sequence for preparing the surface, mapping the grid, and sealing the final layer to ensure a permanent bond that never cracks under heavy kitchen use.
Removing the Old Sink and Fixtures
Before starting the overlay, you must disconnect the plumbing and lift out the existing drop-in sink. Shut off the water supply valves, disconnect the drain traps, and slice through the old perimeter caulking with a utility knife to free the heavy basin.
Protecting the Lower Cabinets
Overlay projects generate significant dust and mortar droppings that can ruin your lower cabinet finishes. Tape heavy-duty plastic sheeting directly under the countertop overhang, ensuring it drapes completely over the doors and drawer fronts down to the floor.
Assessing Your Existing Laminate Condition
You must verify that your current countertop is structurally sound and firmly attached to the base cabinets. Press firmly along all the edges and seams to check for any lifting, water damage, or swelling in the particleboard underneath.
Prepping the Laminate Base
Laminate is notoriously slick, so creating a deep mechanical profile is absolutely mandatory for your new thinset to grip properly.
| Prep Step | Tool Required | Action | Goal |
|---|---|---|---|
| Degrease | TSP Substitute | Scrub entire surface | Remove all kitchen oils |
| Scuff | 60-Grit Sandpaper | Orbital sander passes | Erase the glossy finish |
| Clean | Tack Cloth | Wipe down counters | Remove all sanding dust |
| Prime | Bonding Primer | Roll on even coat | Create a gripping layer |
Before mixing any mortar, verify that your existing counter is truly ready to accept the new heavy tile layer.
Mixing the Primer for Maximum Adhesion
Specialty gripping primers often contain heavy suspended aggregates that settle at the bottom of the can during shipping. Stir the primer vigorously for at least three minutes with a wooden stick until the gritty texture distributes evenly throughout the liquid.
Selecting the Right Thinset Mortar
Standard mortar will not flex with the slight movements of wooden base cabinets, leading to popped tiles over time. You must use a highly modified polymer thinset designed specifically for adhering tile to challenging, non-porous wood and laminate substrates.
Planning the Stacked Grid Layout
A modern aesthetic relies on perfectly straight, unbroken lines running front to back and left to right across the entire kitchen.
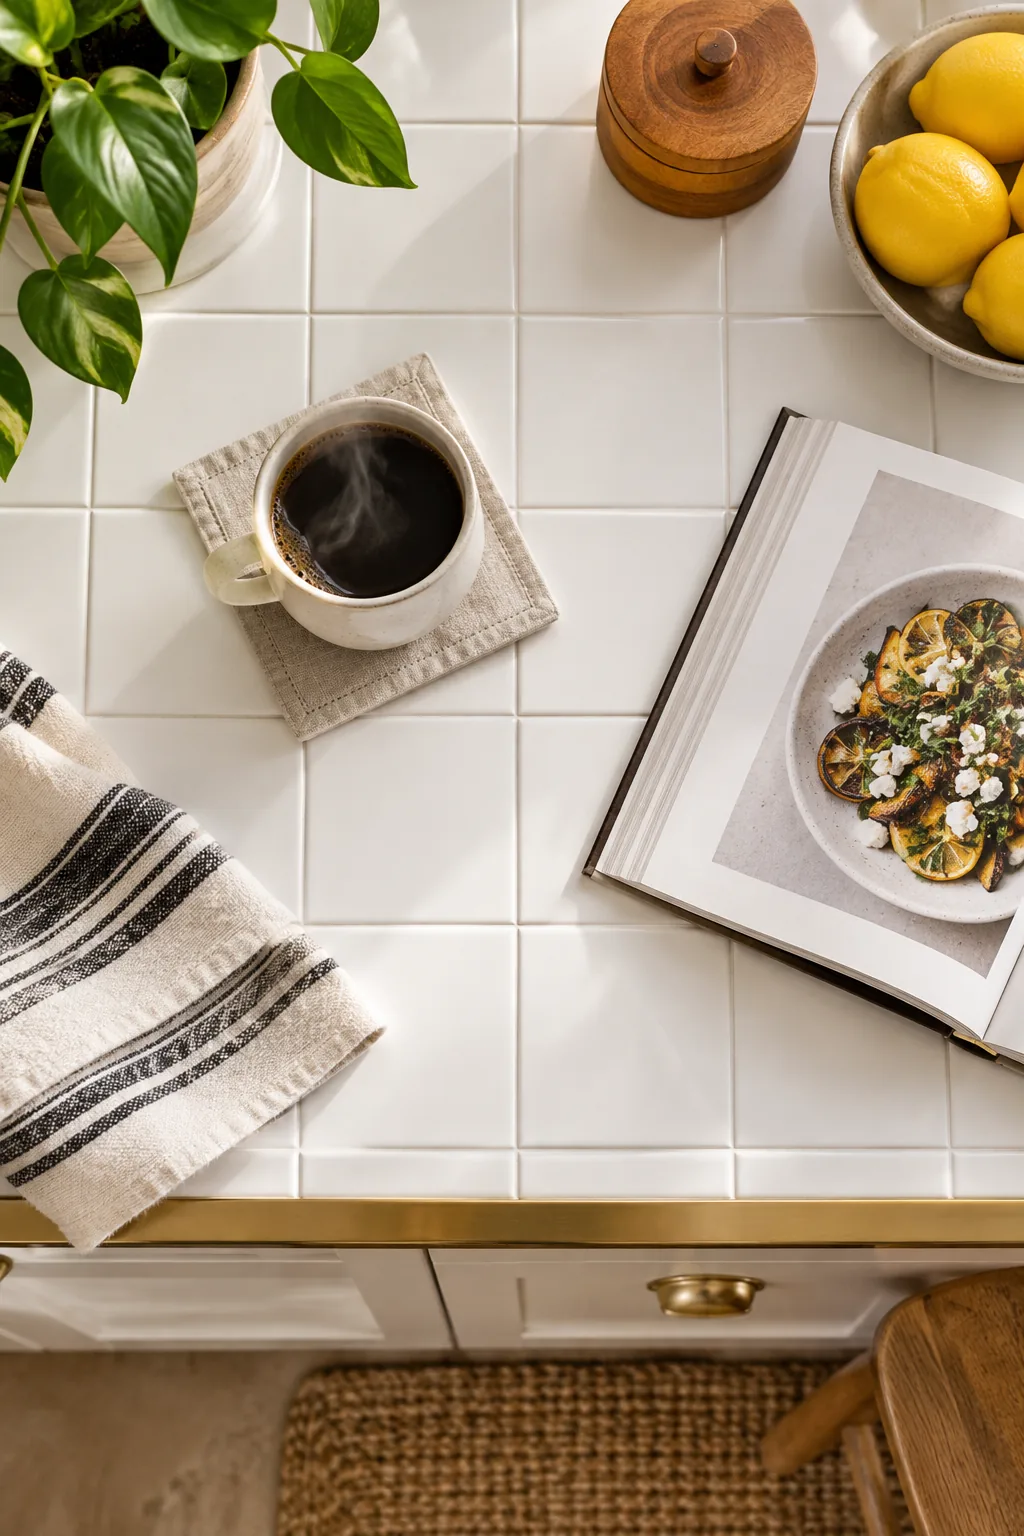
Begin your layout at the front center of your most visible counter span, working outward toward the walls so any necessary cut tiles are hidden at the back splash rather than the front edge.
Dry-Fitting the Tile Grid
Never mix your mortar until you have fully dry-fitted at least the first three rows of your layout. This critical preview step reveals where your partial tiles will land and allows you to shift the entire grid slightly to avoid tiny slivers.
Troweling the Mortar Correctly
Apply the modified thinset using a 1/4-inch square-notch trowel, holding the blade at a consistent 45-degree angle. Comb all the mortar ridges in a single straight direction, running parallel to the shortest side of your countertop for proper air evacuation.
Back-Buttering the Square Tiles
To achieve the necessary 95-percent mortar coverage required for food prep surfaces, you must back-butter every single tile. Use the flat side of your trowel to scrape a thin, even layer of thinset across the entire back of the ceramic square.
Setting the First Anchor Tile
Place your center anchor tile directly into the combed mortar, pressing down firmly while wiggling it slightly perpendicular to the ridges. This motion collapses the mortar lines, pushing the air out and creating a solid, void-free bed beneath the ceramic.
Spacing for 1/16″ Grout Lines
Tight spacing elevates the final look from a standard DIY project to a custom architectural feature. Use rigid 1/16-inch horseshoe shims rather than flexible cross spacers, and check your alignment with a straight edge every three rows to prevent drifting.
Managing Mortar Squeeze-Out
As you press the tiles flat, excess thinset will inevitably squeeze up between the tight joints. Keep a damp sponge and a utility knife handy to immediately scrape out any wet mortar that rises higher than halfway up the tile edges.
Checking for Tile Lippage
Run a flat level across the surface of your growing grid every few minutes to check for uneven heights between adjacent tiles. Press down any proud corners immediately, as dried mortar makes correcting these frustrating trip hazards completely impossible.
Cutting Tiles for the Backsplash Line
When your full tiles reach the back wall, you will almost certainly need to trim the final row to fit the remaining gap. Use a wet saw with a continuous rim diamond blade to make clean, chip-free cuts that slide perfectly against the drywall.
Cutting Around Outlets and Switches
If your counter wraps around wall outlets, carefully measure the receptacle box locations and transfer them to your tiles. Make a series of close parallel cuts with your wet saw, then gently tap the ceramic fingers with pliers to break out the notch.
Finishing with a Sleek Metal Edge
Exposed tile edges are fragile and visually unfinished, making a protective boundary essential for a hardworking kitchen environment.
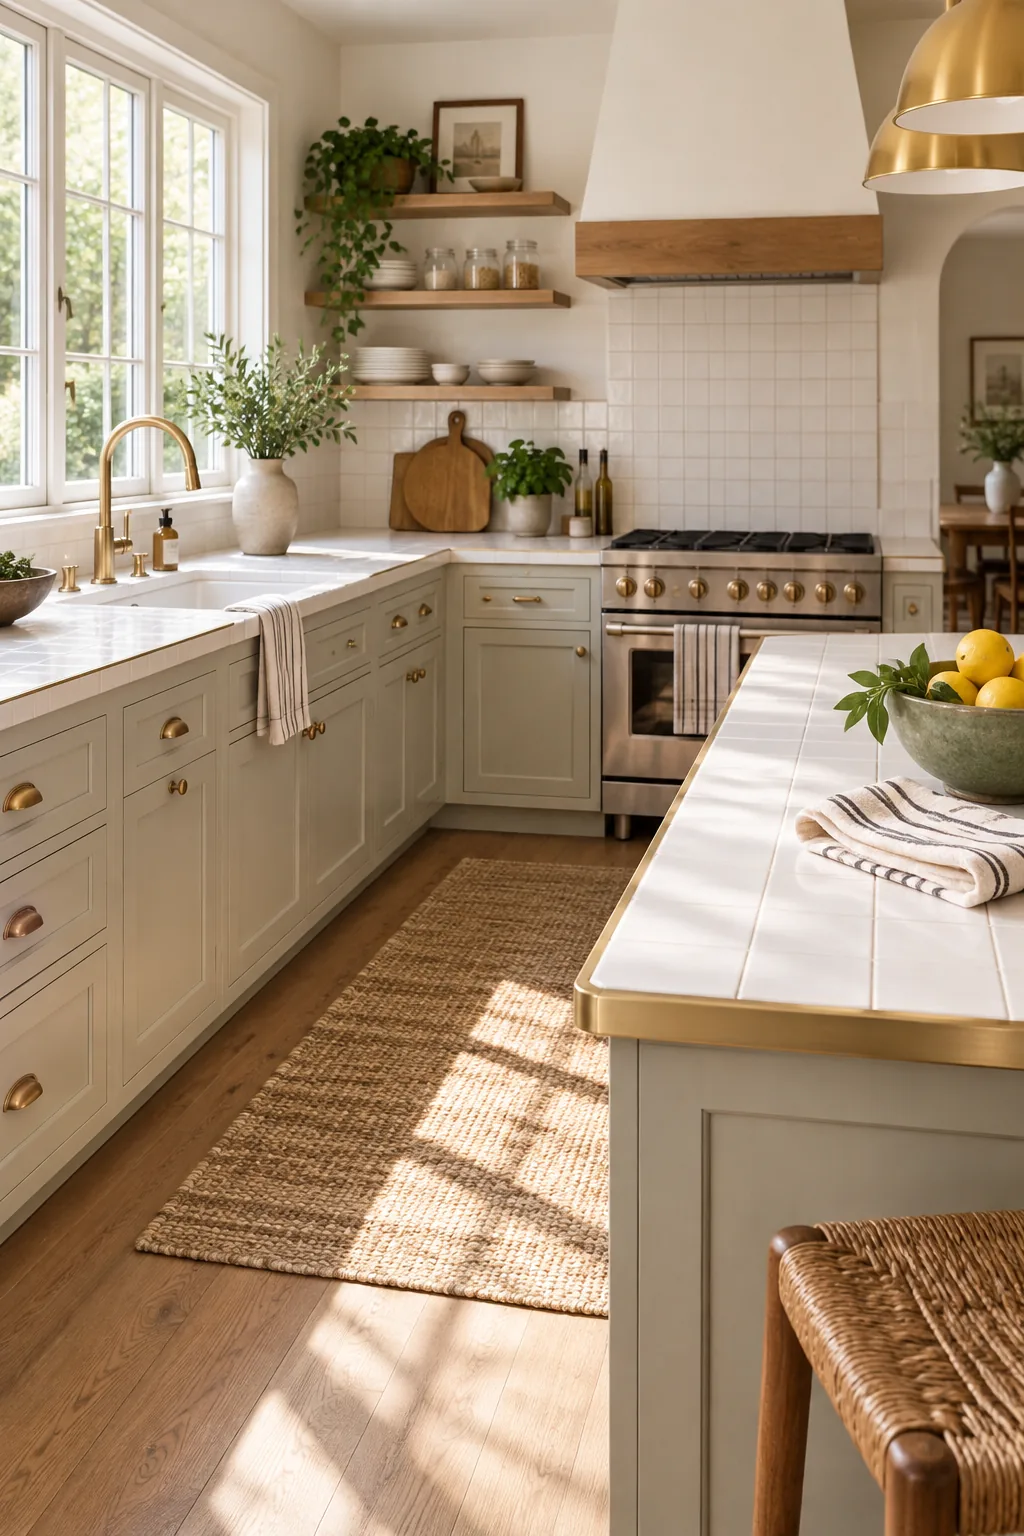
Install a brass L-shaped profile trim along the front perimeter, bedding the anchoring leg directly into the thinset beneath the first row of tiles.
Preparing the Edge Trim Corners
Where your countertop turns a corner, the metal edging requires a precise 45-degree miter cut for a seamless transition. Use a standard hacksaw and a miter box to slowly cut the brass profile, filing away any sharp metal burrs before installation.
Bedding the Edge Trim in Mortar
The metal edging must sit exactly flush with the top of your ceramic surface to prevent heavy pots from catching the lip. Press the trim firmly into a fresh ridge of mortar, using a level to ensure it stays perfectly straight across the span.
Taping the Metal Trim for Protection
Brass finishes scratch easily during the aggressive epoxy grouting process. Apply a strip of blue painter’s tape across the exposed face of the metal trim, leaving only the tiny gap where the grout will meet the edge completely uncovered.
Applying Stain-Resistant Epoxy Grout
Kitchen counters face daily spills, meaning standard cementitious grout will quickly discolor from coffee and wine. When my old grout stained permanently after a salsa spill, I swore I would only ever use two-part epoxy grout for food preparation surfaces.
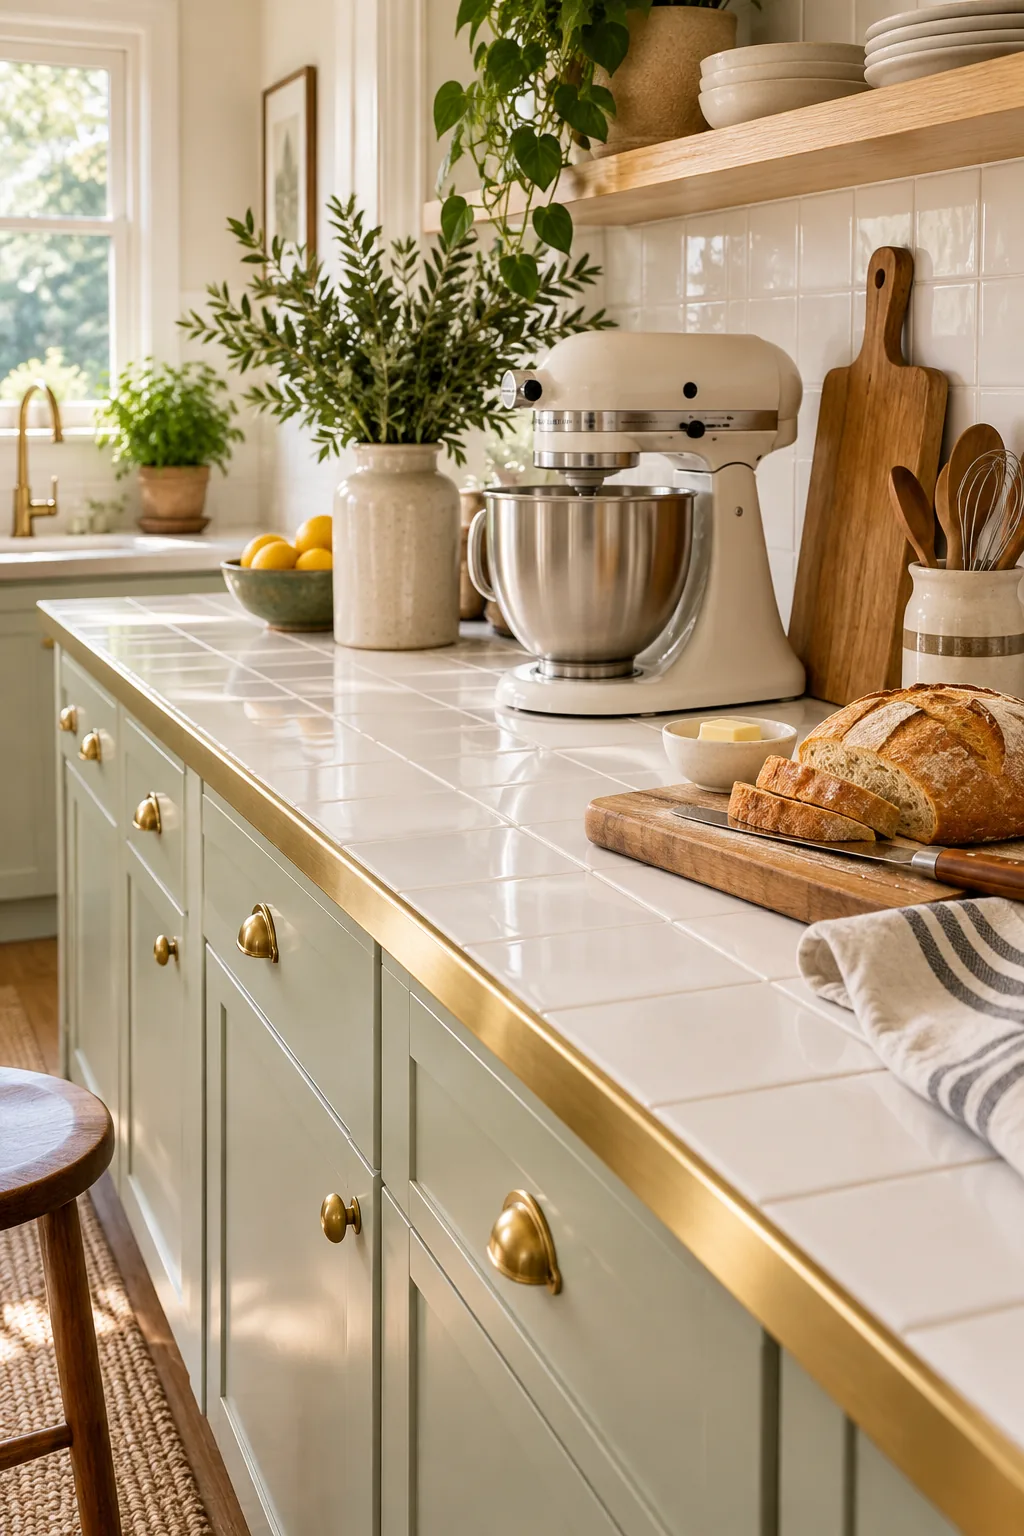
Epoxy is completely non-porous and incredibly durable, but it is notoriously unforgiving during application, so avoid these common installation pitfalls.
Mixing the Two-Part Epoxy Resin
Epoxy grout requires absolute precision when combining the resin and the hardener. Use a digital kitchen scale to measure exact ratios if you are mixing partial batches, and blend the components with a margin trowel until the color is perfectly uniform.
Floating the Grout Diagonally
Scoop the sticky epoxy onto the counter and force it deep into the 1/16-inch joints using a hard rubber grout float. Always pull the float at a 45-degree diagonal angle across the grid so the edges do not dip into the lines and pull the material out.
Shaping the Final Grout Joints
Once the joints are packed tight, make a final pass with the float held at a steep 90-degree angle to scrape away the excess surface resin. This leaves the grout perfectly flush with the square tile edges, creating a seamless, wipeable surface.
Cleaning the Epoxy Grout Haze
Scrubbing the tiles with a specialized epoxy sponge and cold water is the only way to achieve a pristine finish. Change your wash water bucket every ten square feet to ensure you are actually removing the resin rather than just smearing it around.
Handling Sink and Appliance Cutouts
Drop-in sinks and slide-in ranges require careful templating to ensure your new tile layer fits perfectly around them.
- Measure your existing laminate cutouts precisely before setting any tile.
- Transfer these exact dimensions onto your dry-fitted tiles using a wax pencil.
- Cut the marked tiles with an angle grinder before setting them near the voids.
Leave a 1/8-inch expansion gap around all appliances and sinks so the surrounding materials can expand safely with temperature changes.
Sealing the Appliance Expansion Gaps
Rigid grout will inevitably crack if packed tight against vibrating appliances or heavy metal sinks. Fill that 1/8-inch expansion gap with a 100-percent silicone caulk color-matched to your epoxy grout for a flexible, waterproof seal.
Removing the Painter’s Tape
Pull the protective painter’s tape off the brass edge trim while the epoxy grout is still slightly soft. Pulling the tape at a sharp 45-degree angle ensures you slice the material cleanly without dragging any wet resin onto the polished metal surface.
Curing the Countertop for Daily Use
Patience during the final curing phase dictates the long-term durability of your beautiful new surface. I know how tempting it is to immediately style your kitchen, but rushing this step in my first home led to a shifted edge tile.
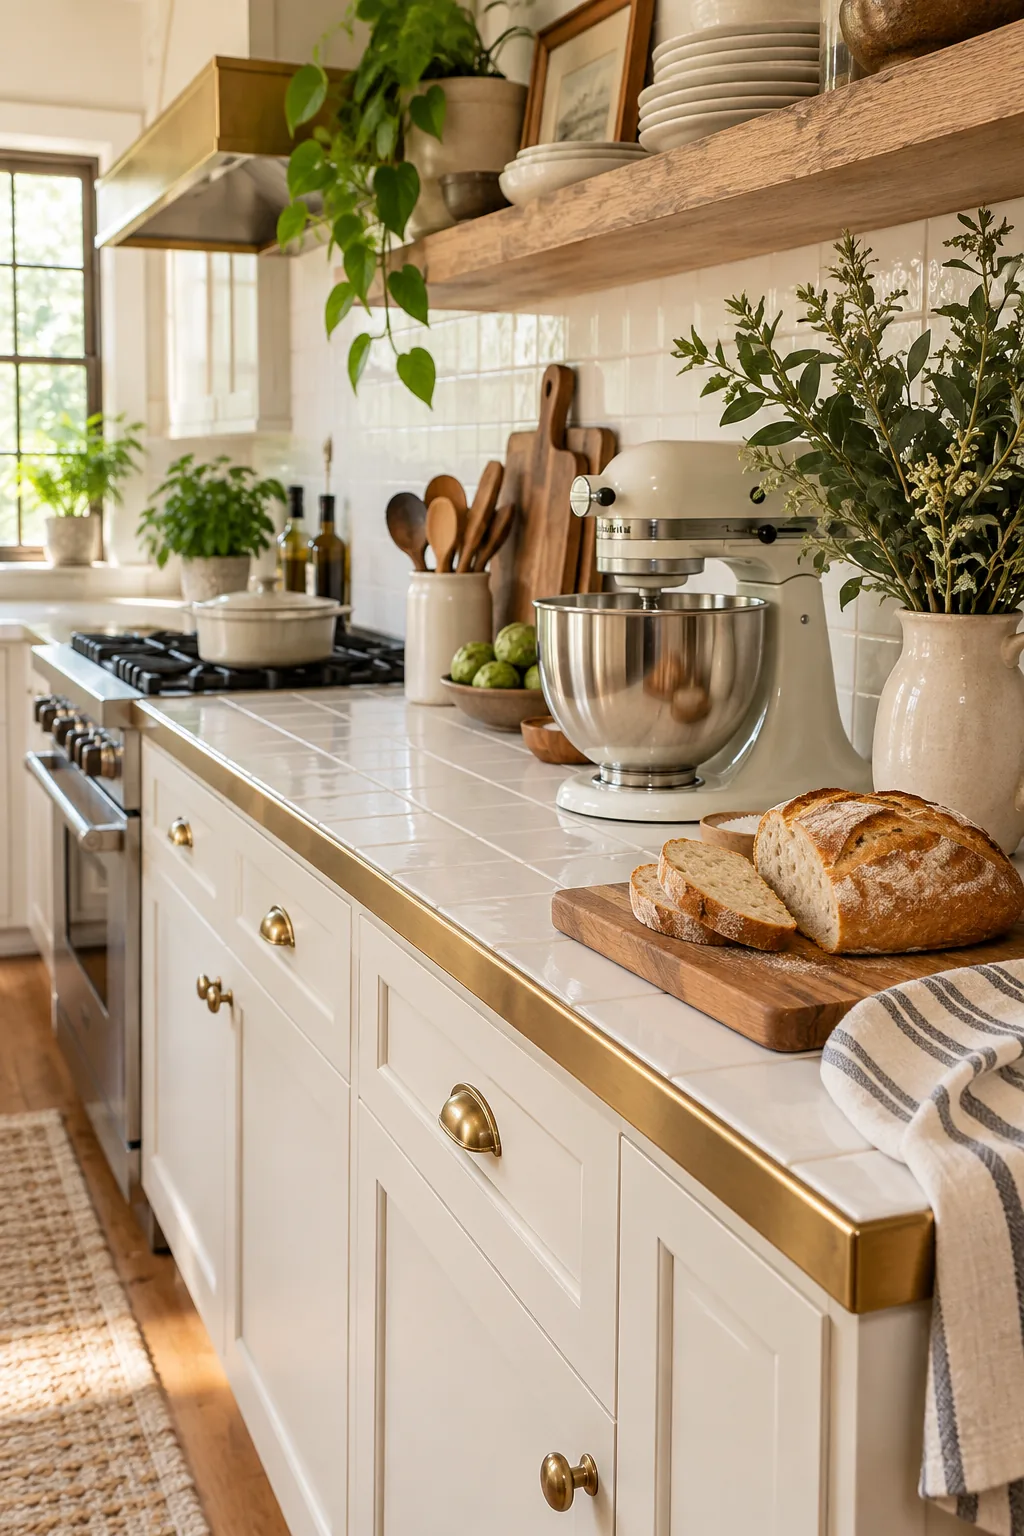
While the counter feels dry to the touch within 24 hours, wait a full 7 days before placing heavy appliances or cutting boards on the tile to allow maximum chemical hardness.
4 Ways to Style a Tile Countertop Overlay
Explore how different tile colors and metal finishes completely change the room's atmosphere.
Moody Industrial Charcoal: Dark charcoal tiles paired with a matte black edge create a striking, masculine look that hides coffee spills effortlessly.
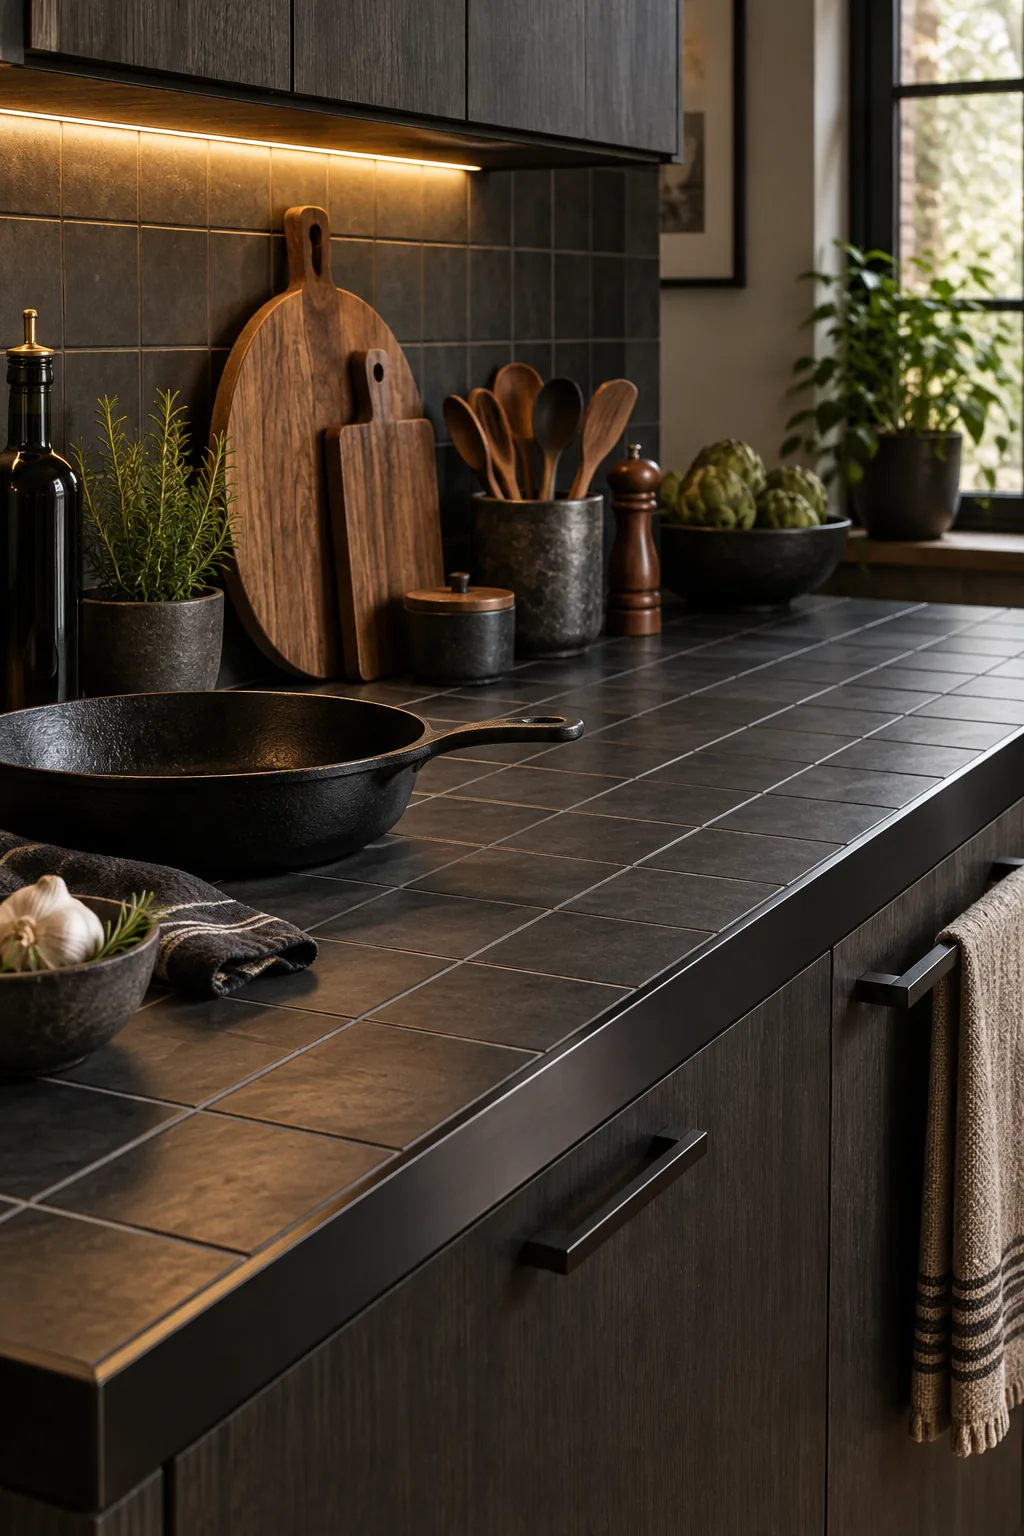
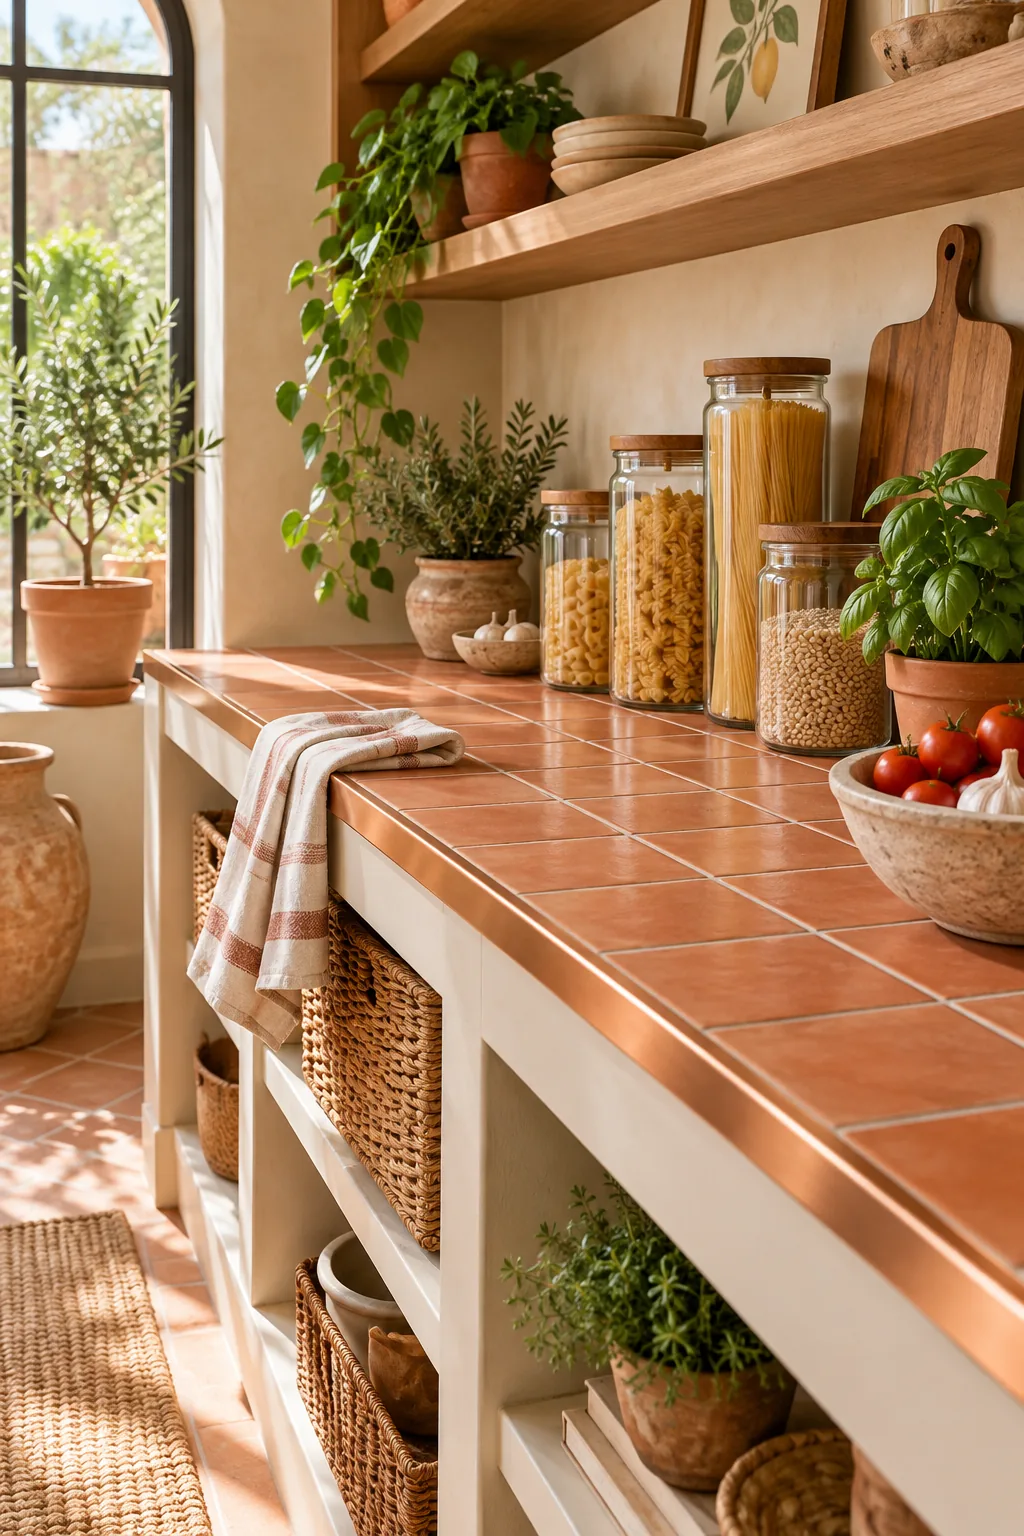
Warm Mediterranean Terracotta: Earthy terracotta squares finished with a glowing copper trim bring instant warmth and rustic charm to a sunny pantry.
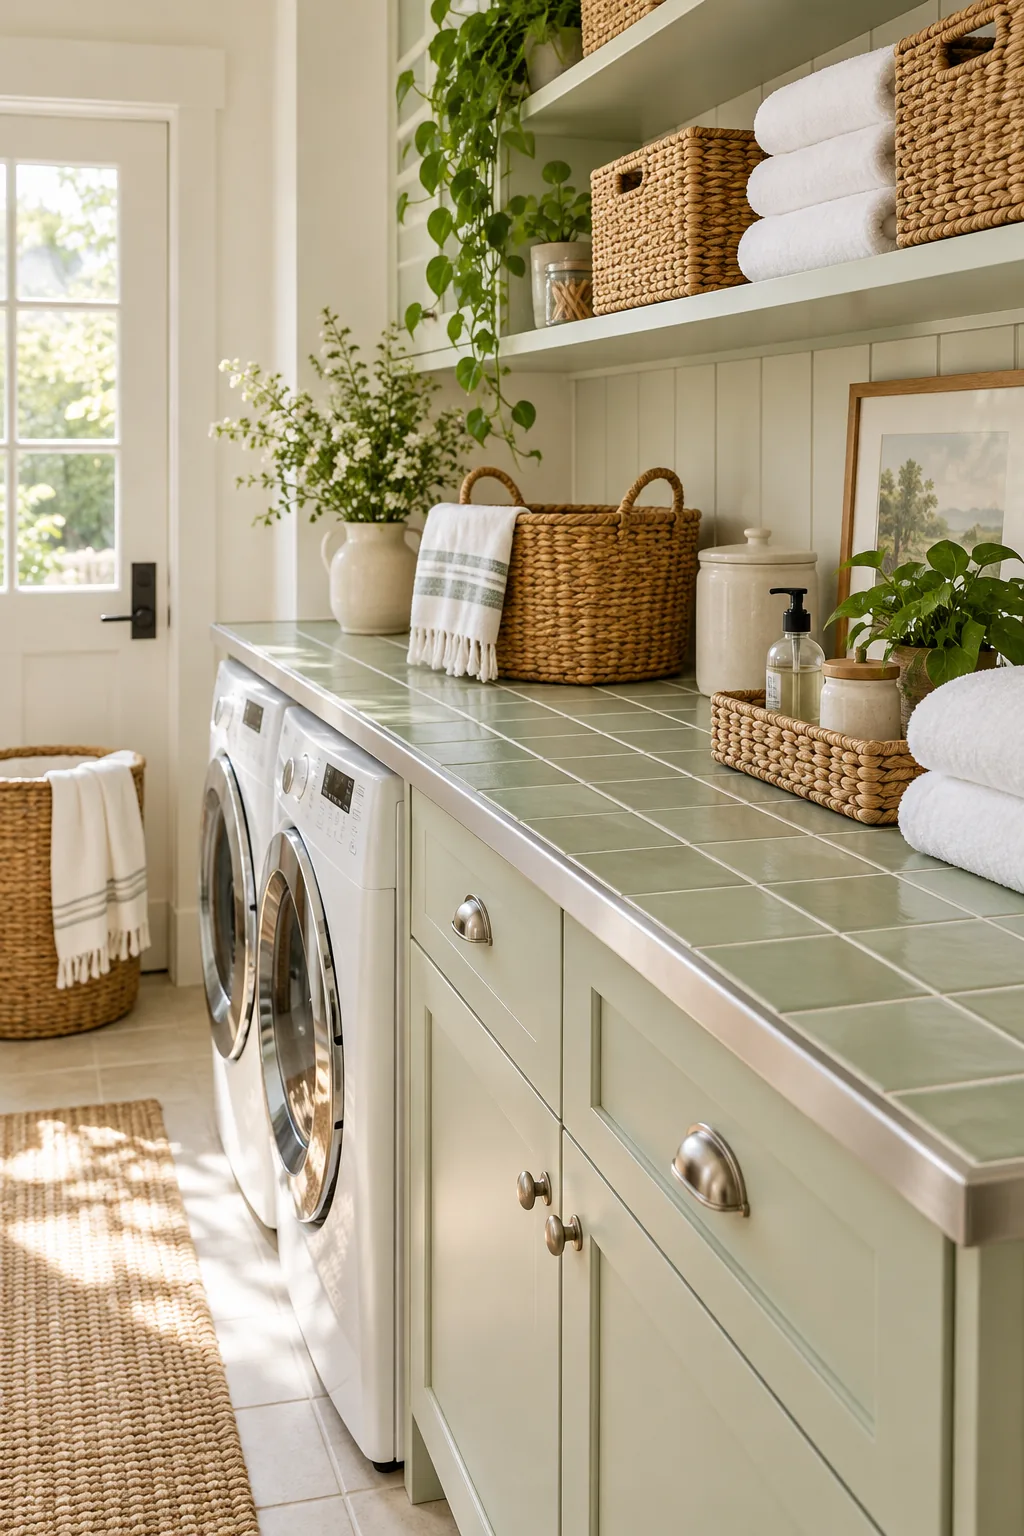
Soft Utility Sage: Pale sage green tiles and brushed nickel trim offer a calming, clean aesthetic perfect for an elevated laundry room folding station.
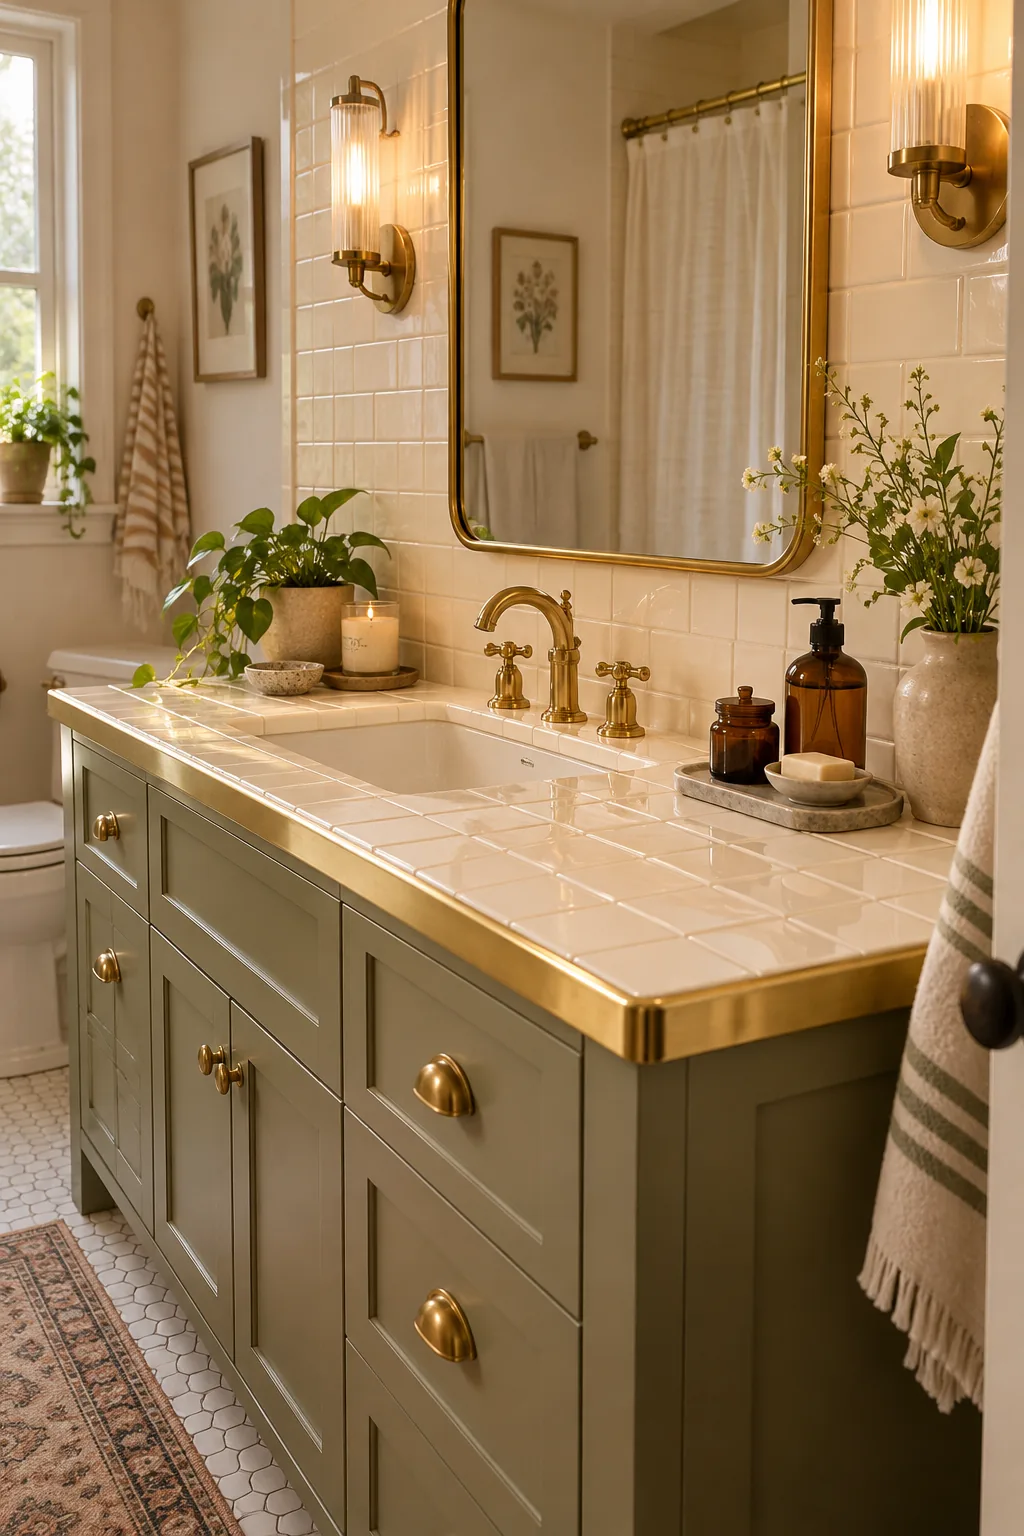
Vintage Modern Cream: Glossy cream tiles in a stacked layout paired with polished brass deliver a nostalgic yet highly tailored vintage modern bathroom vanity.