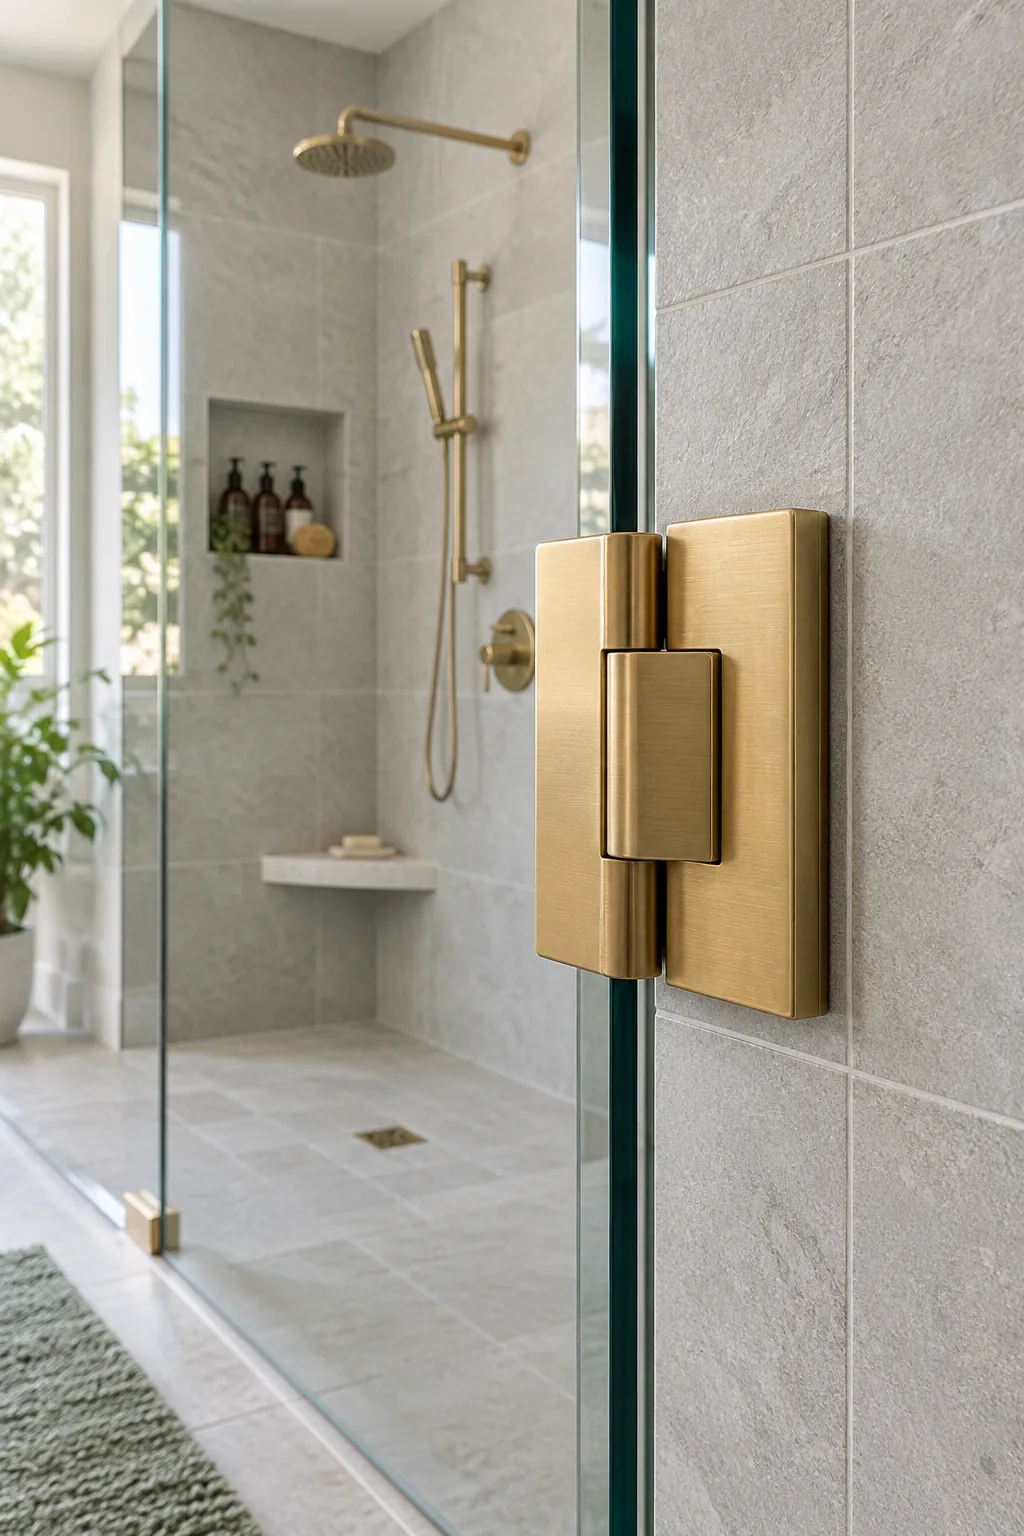
The Complete Small-Space Shower Measurement and Layout Guide
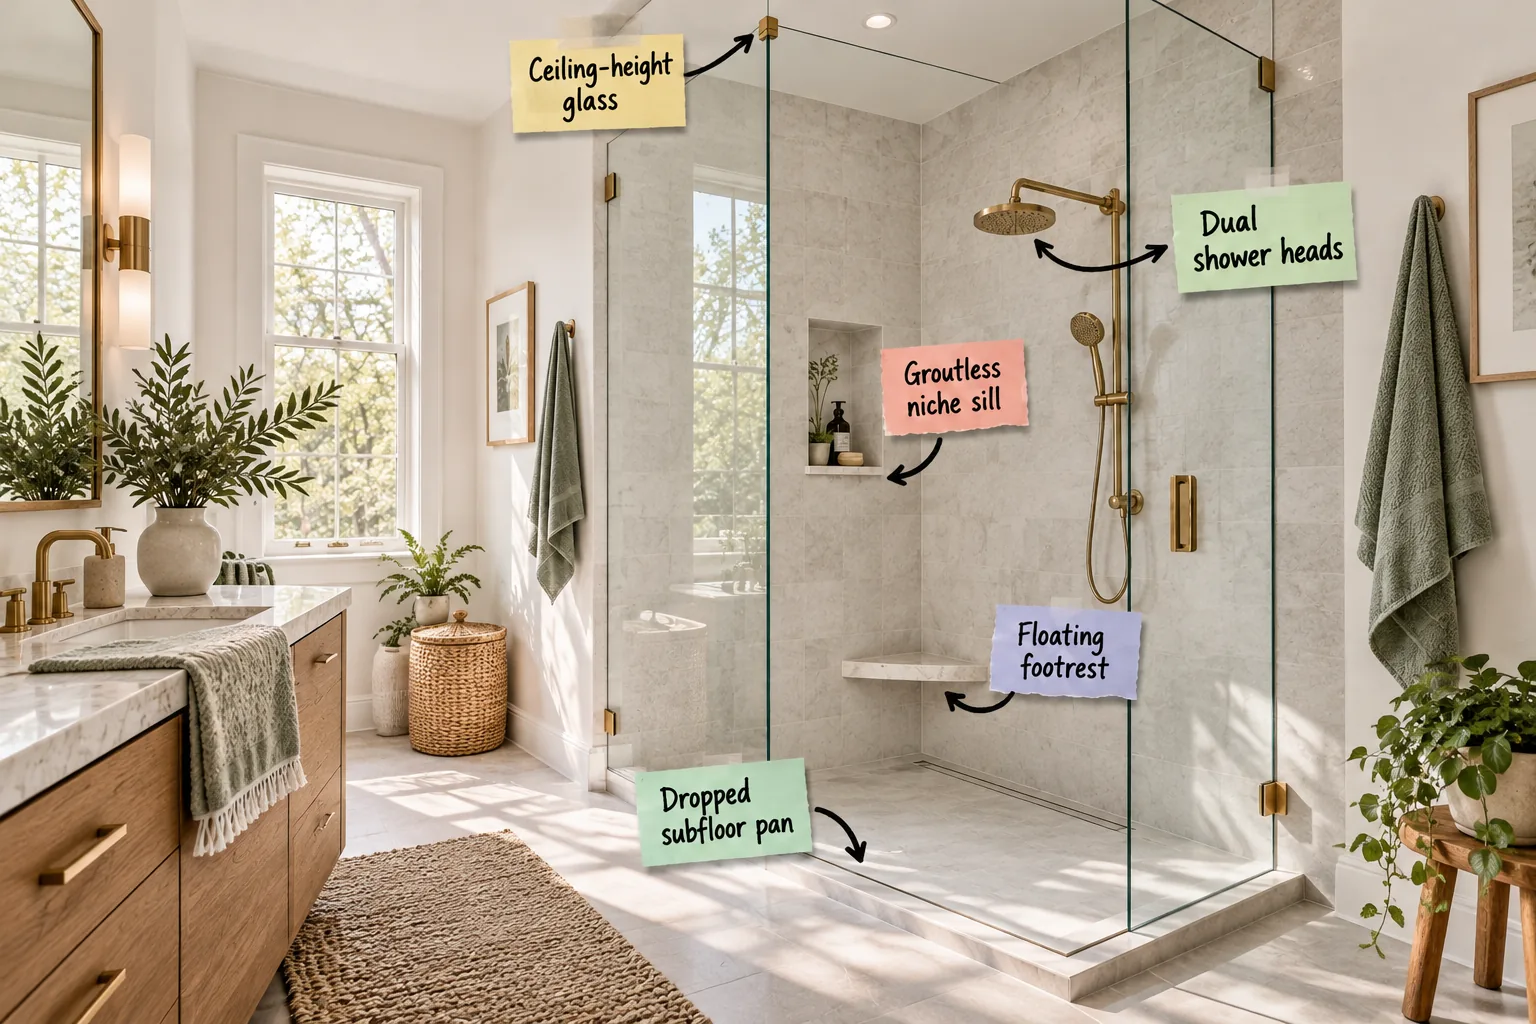
Planning a bathroom remodel requires exact specifications, and this small-space shower measurement guide delivers the precise numbers you need to perfectly position your shower heads, niche, and floating footrest today. You will be able to map out your shower footprint, position every fixture perfectly, and hand accurate dimensions to your contractor.
The Foundation: Dropped Subfloor Pan
Lowering the floor framing allows a dropped subfloor pan to eliminate the traditional curb entirely, expanding the visual footprint of a small bathroom. Dropping the structural floor joists by exactly two inches allows the new shower pan to sit perfectly flush with the main bathroom floor.
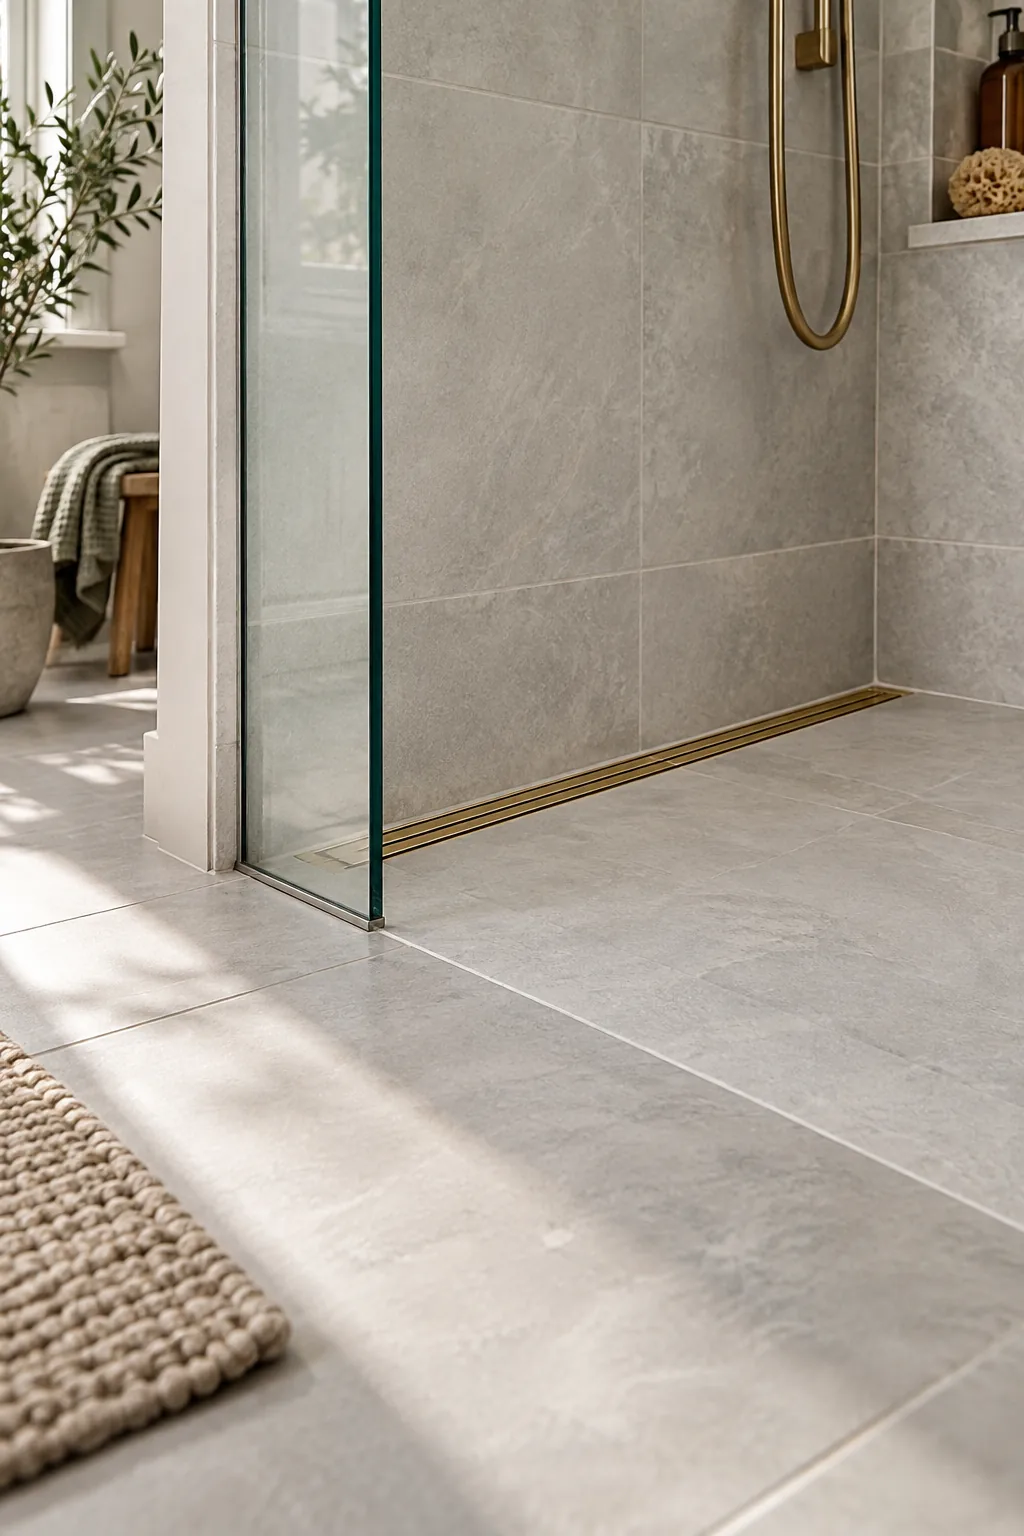
This seamless transition removes visual boundaries, tricking the eye into reading the entire room as one continuous, expansive surface. Establishing this flush foundation is the critical first step before any wall framing or waterproofing can begin in your compact space.
Structural Prep: Floor Joist Modifications
Achieving that perfectly flat entry often requires strategic structural modifications to your existing floor framing before any plumbing rough-ins occur. I always recommend evaluating the joist direction early to determine if a flush pan is structurally feasible without compromising the room’s integrity.
- Consult a structural engineer to verify joist integrity and spacing requirements.
- Sister the existing floor joists to maintain strength after necessary modifications.
- Install a recessed subfloor system specifically designed for curbless shower pans.
The Enclosure: Ceiling-Height Glass
Installing ceiling-height glass draws the eye upward immediately, making a standard-height room feel significantly taller and much more luxurious. This uninterrupted transparent plane separates the wet zone without visually chopping the compact bathroom into smaller, disconnected boxes.
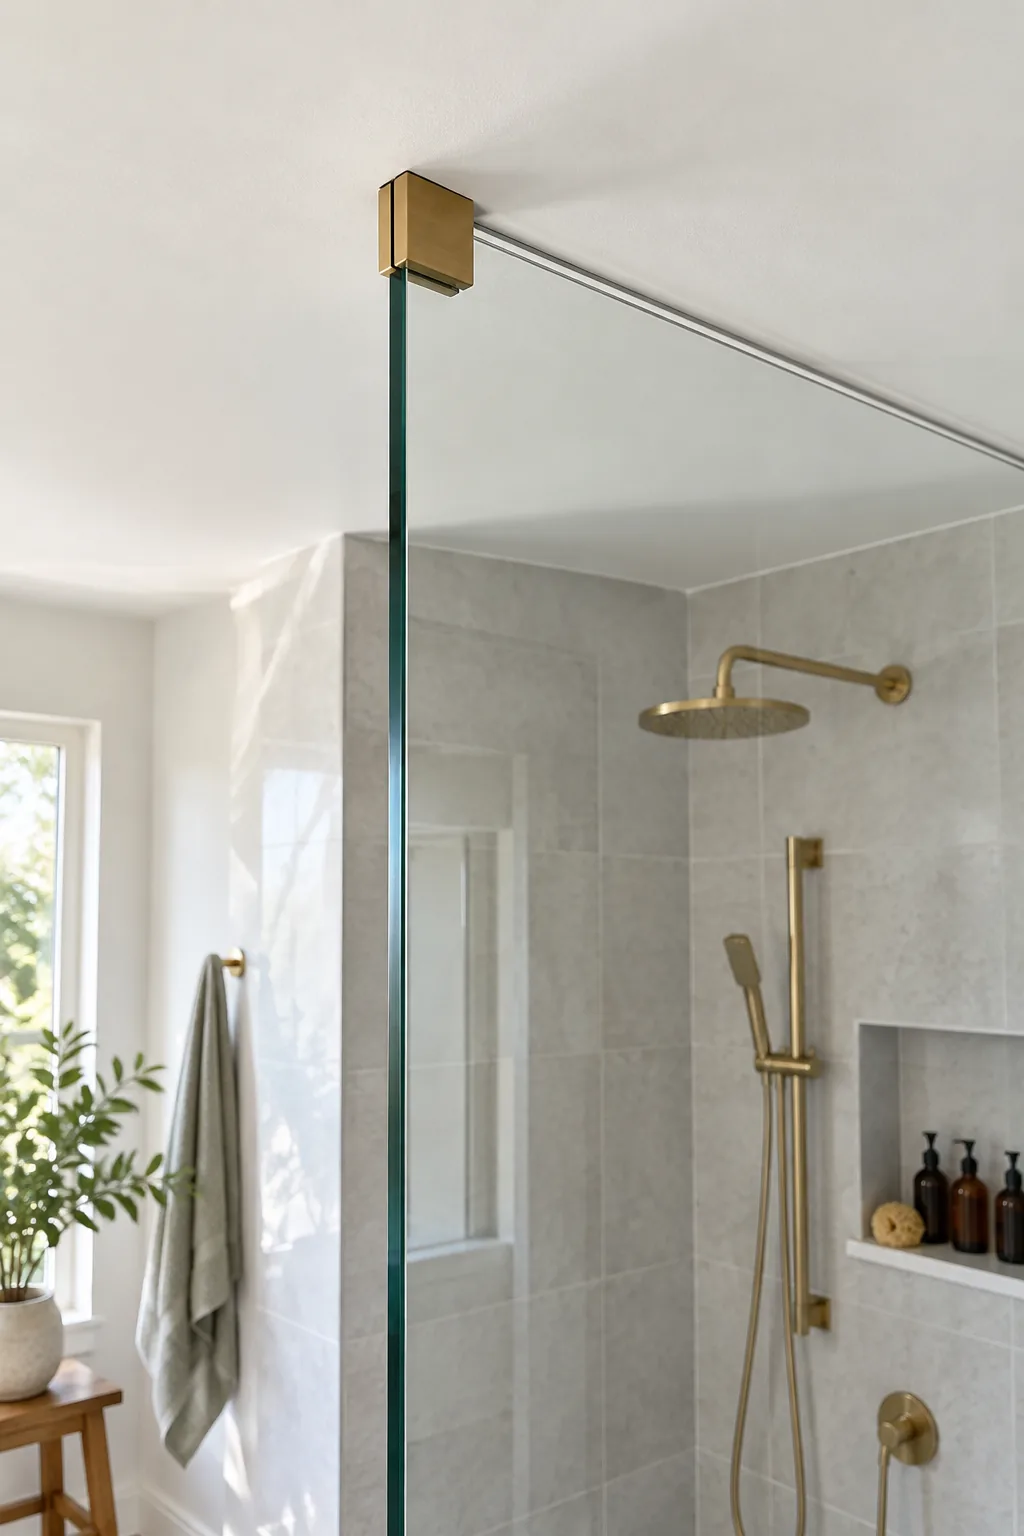
While taking the glass all the way up creates a stunning seamless look, trapping moisture is a real concern in standard bathrooms. A simple design tweak prevents peeling paint and persistent mildew from ruining your newly finished ceiling.
Glass Safety: Thickness Requirements
Frameless panels require substantial rigidity to remain safe and stable during daily operation, especially when extending to the ceiling. Selecting the correct glass thickness prevents dangerous flexing when opening heavy doors or leaning against fixed structural panels.
| Glass Type | Minimum Thickness | Best Application | Cost Impact |
|---|---|---|---|
| Fixed Panel | 1/2 inch | Stationary walls | Highest |
| Swinging Door | 3/8 inch | Hinged entries | Moderate |
| Sliding Door | 3/8 inch | Bypass systems | Moderate |
| Transom | 1/4 inch | Ventilation gaps | Lowest |
Ventilation: Managing Trapped Steam
Proper airflow is crucial when utilizing tall glass panels that naturally restrict steam from escaping into the main exhaust area. I always calculate the total cubic footage of the shower to ensure the ventilation strategy can handle the moisture load effectively.
Water Containment: Linear Drain Placement
Placing a linear drain against the back wall drastically simplifies the floor pitch required for a curbless entry. This single-slope method allows for the use of large-format tiles on the shower floor instead of traditional, grout-heavy small mosaics.
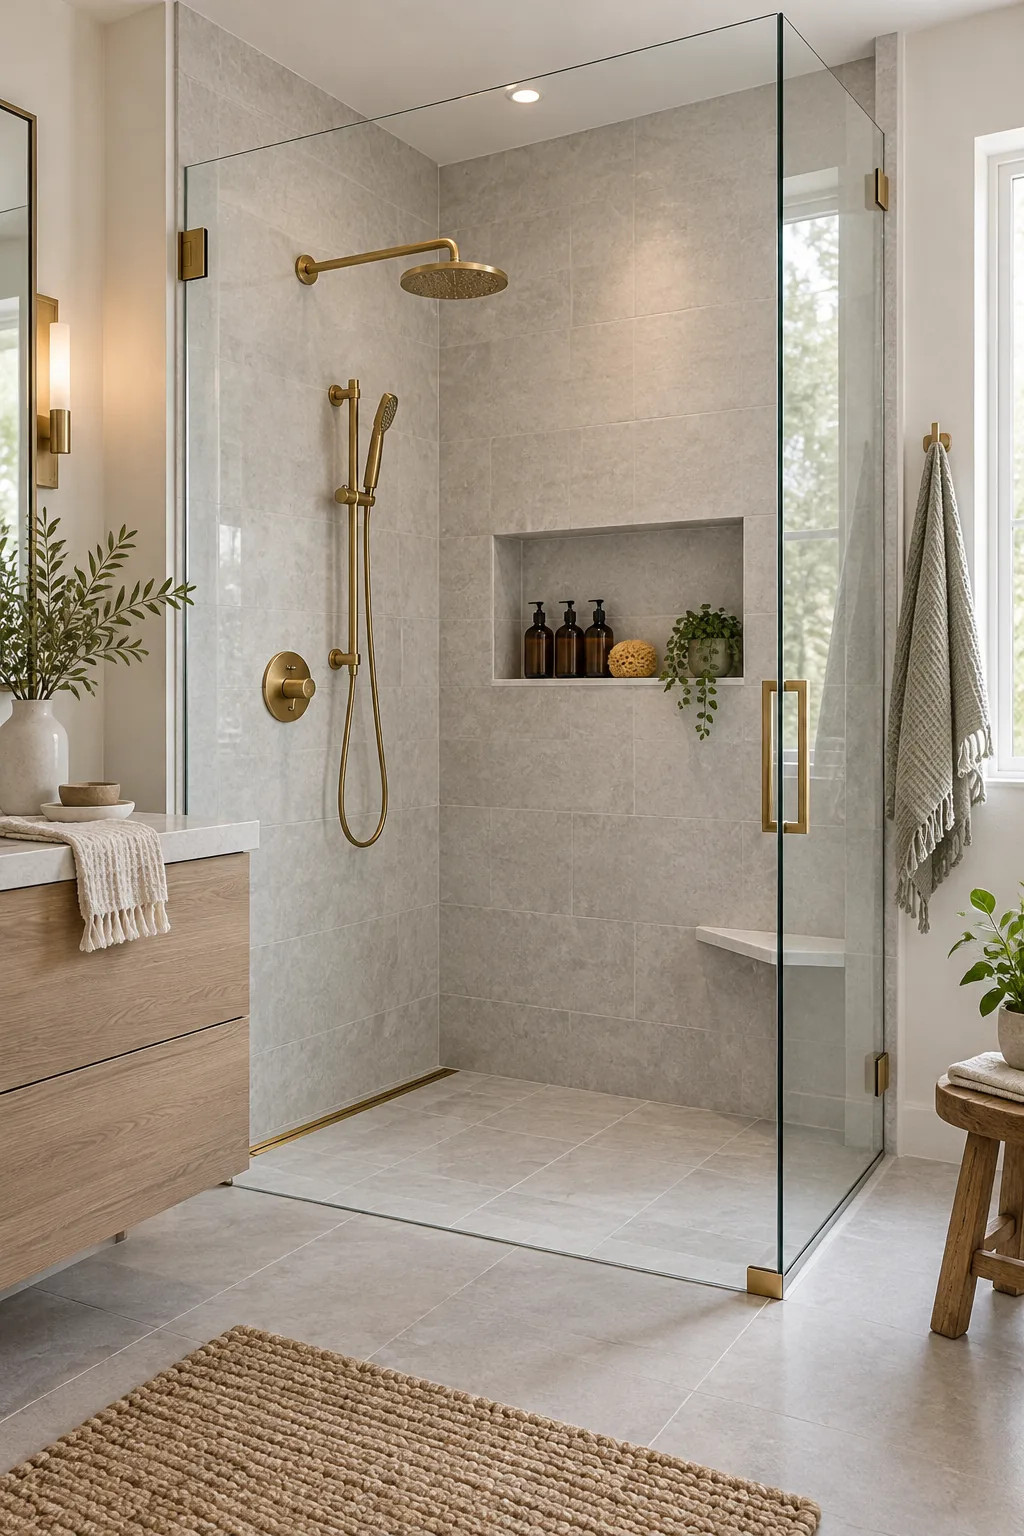
In my own Denver home’s primary bath remodel, this exact placement allowed me to run the main floor tile straight to the back wall. Avoiding a complex center-pitch drain kept the floor visually calm and significantly reduced my tile setter’s labor hours.
Waterproofing: The Membrane System
A single-slope floor demands absolute perfection in the underlying waterproofing layer to prevent moisture from wicking into the dry zones. Applying a continuous sheet membrane over the entire shower pan and extending it up the walls ensures zero water penetration behind your expensive finishes.
Tile Layout: Eliminating Floor Cuts
Planning your tile layout around a linear drain eliminates the awkward diagonal cuts required by traditional center drains. Aligning the grout lines perfectly with the main bathroom floor creates the structured, calming symmetry that defines well-executed Eastern-inspired design.
The Water System: Dual Shower Heads
Maximizing everyday utility in a tight space requires dual shower heads, combining a luxurious overhead experience with practical, targeted cleaning. I recommend positioning the main rain head at exactly 84 inches high to accommodate taller users comfortably.
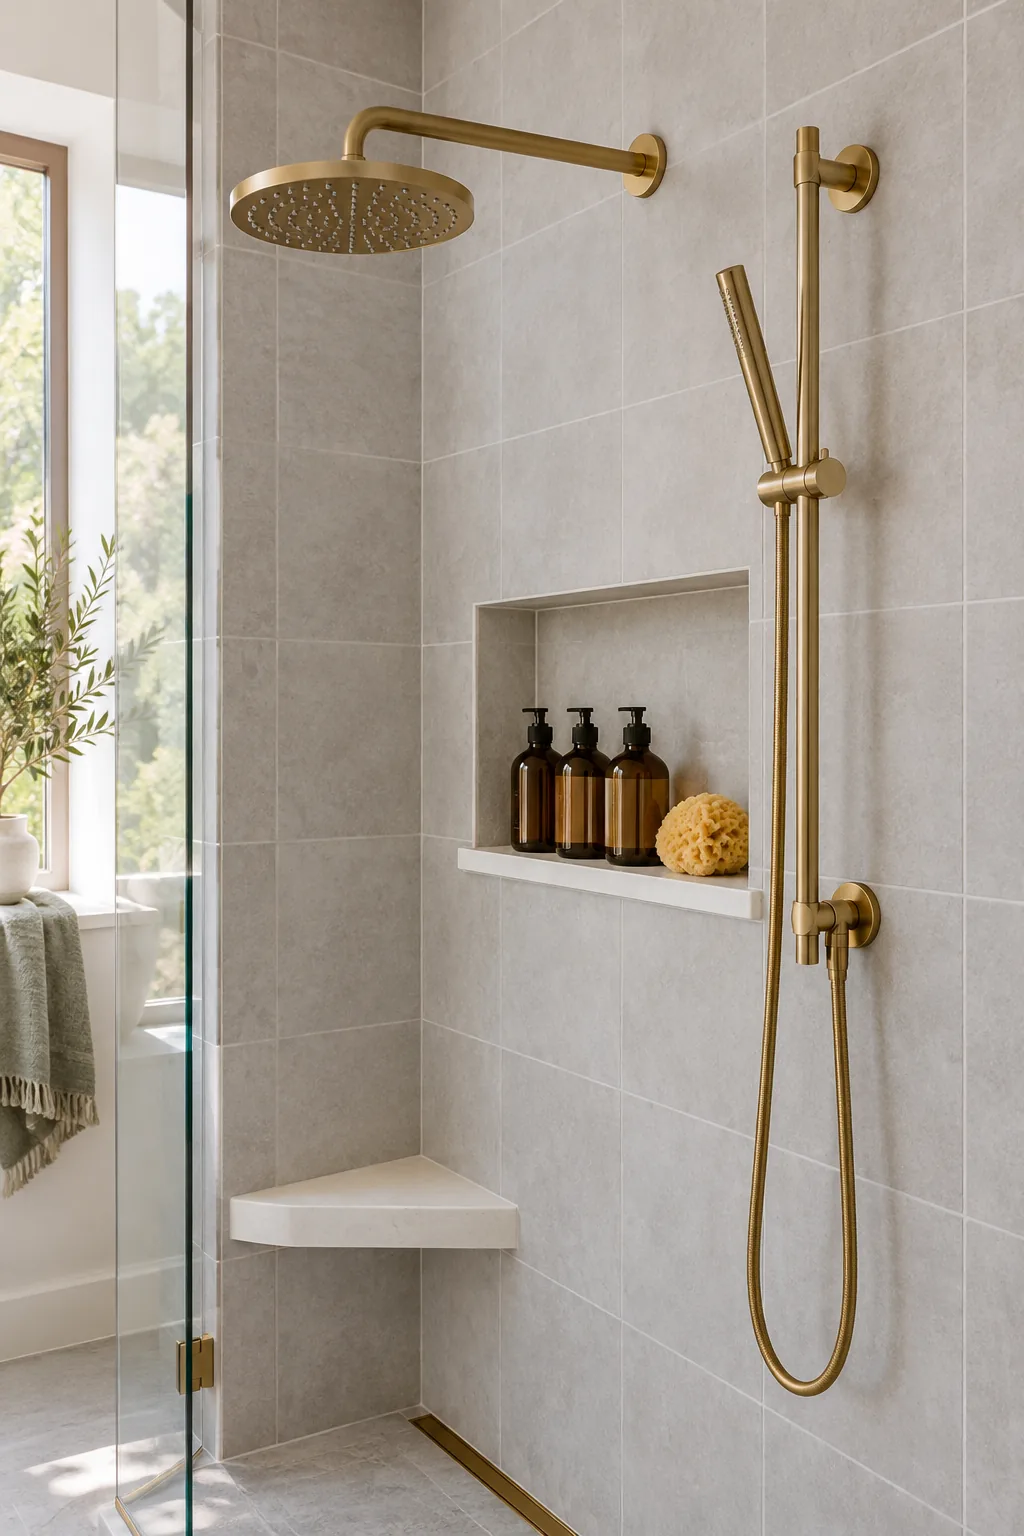
I always place the diverter valve near the entrance, a hard-learned lesson from getting drenched with cold water in my previous home’s poorly planned shower. This strategic placement allows you to control the temperature completely from the dry zone before stepping inside.
Plumbing Rough-In: Valve Positioning
Separating the temperature controls from the actual shower heads requires careful planning during the initial plumbing rough-in phase. Running the internal pipes to a dedicated control wall ensures your beautiful tile work is never interrupted by awkwardly placed hardware.
Water Pressure: Sizing Supply Lines
Upgrading to multiple fixtures often requires increasing your water supply lines to maintain adequate pressure when both heads run simultaneously. Verifying your home’s baseline water pressure before committing to a multi-head system prevents disappointing performance after the walls are closed.
Storage Details: Groutless Niche Sill
Highlighting a groutless niche sill is a major cleaning upgrade that permanently prevents mold buildup in tight corners. I suggest using a solid piece of quartz pitched slightly forward to ensure water runs off rather than pooling under shampoo bottles.
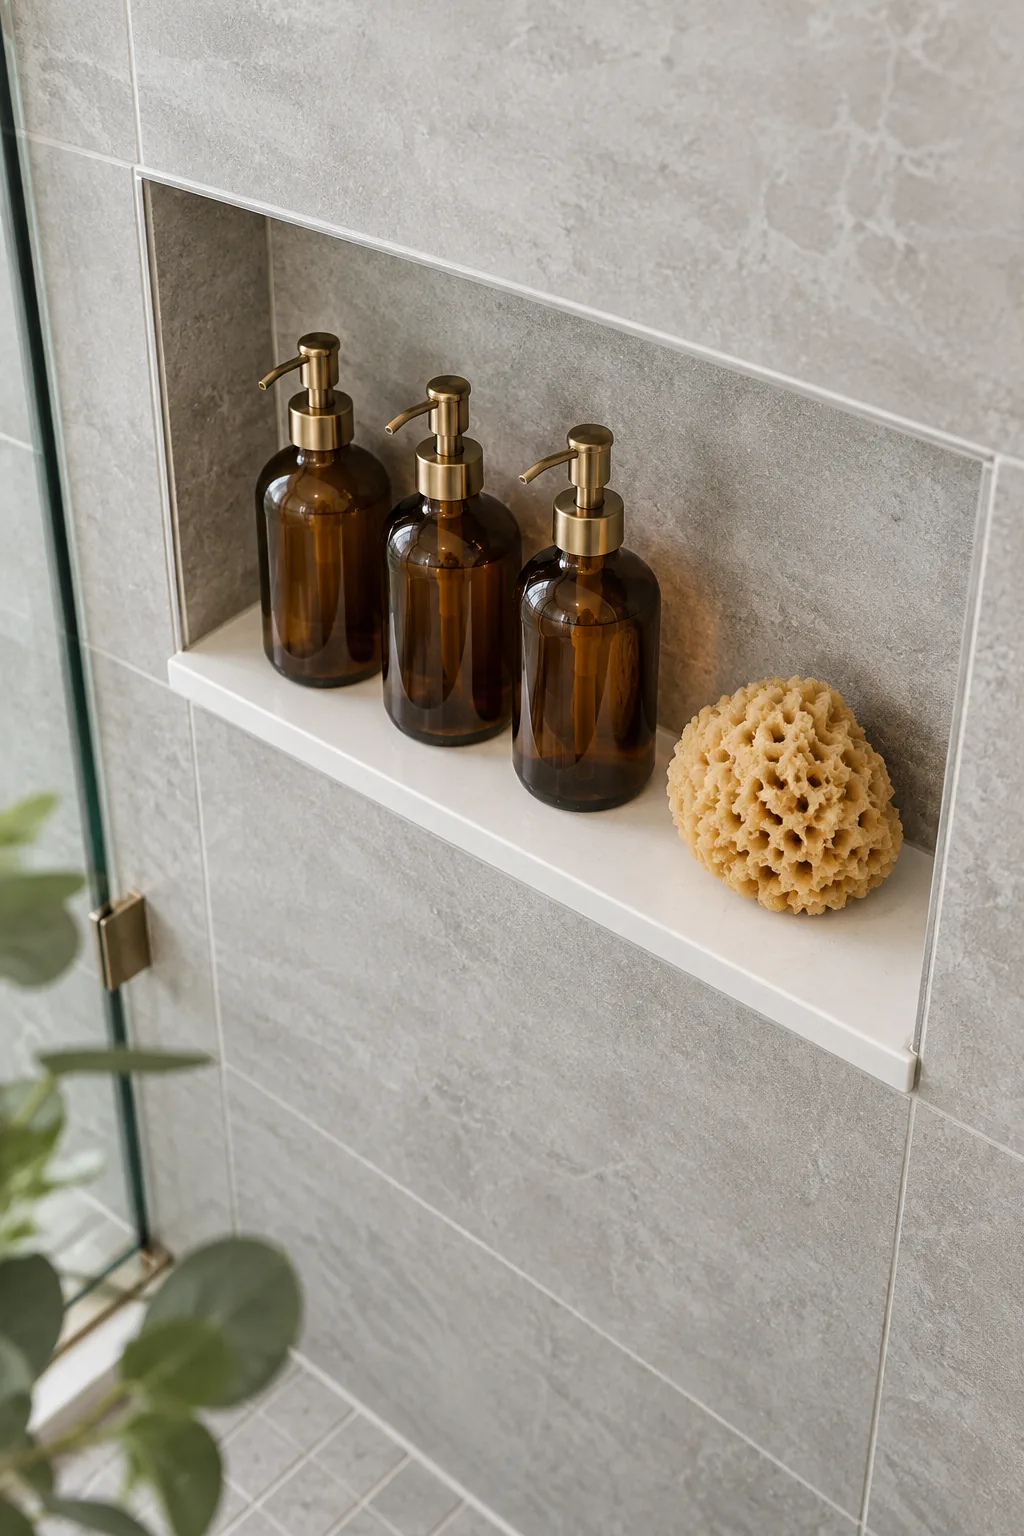
Eliminating the grout lines on the bottom horizontal surface removes the primary failure point where soap scum and moisture typically accumulate. This small material shift maintains a pristine, uncluttered look while drastically reducing your weekly scrubbing routine.
Niche Framing: Avoiding Wall Studs
Planning your niche location early allows your carpenter to frame the exact opening without compromising structural wall studs or plumbing vents. Mapping this position during the rough framing stage ensures the final tiled recess aligns perfectly with your grout joints.
Material Selection: Solid Stone Surfaces
Carrying the same solid stone from your vanity countertop into the shower niche creates a deliberate, cohesive material palette. This subtle repetition anchors the room’s design, blending functional storage seamlessly into the broader architectural architecture of the space.
Shaving Convenience: Floating Footrest
Introducing a floating footrest provides a smart, space-saving alternative to a bulky built-in bench that would crowd the floor. Advise mounting this small corner shelf at exactly 18 inches above the floor for optimal shaving ergonomics without eating up standing room.
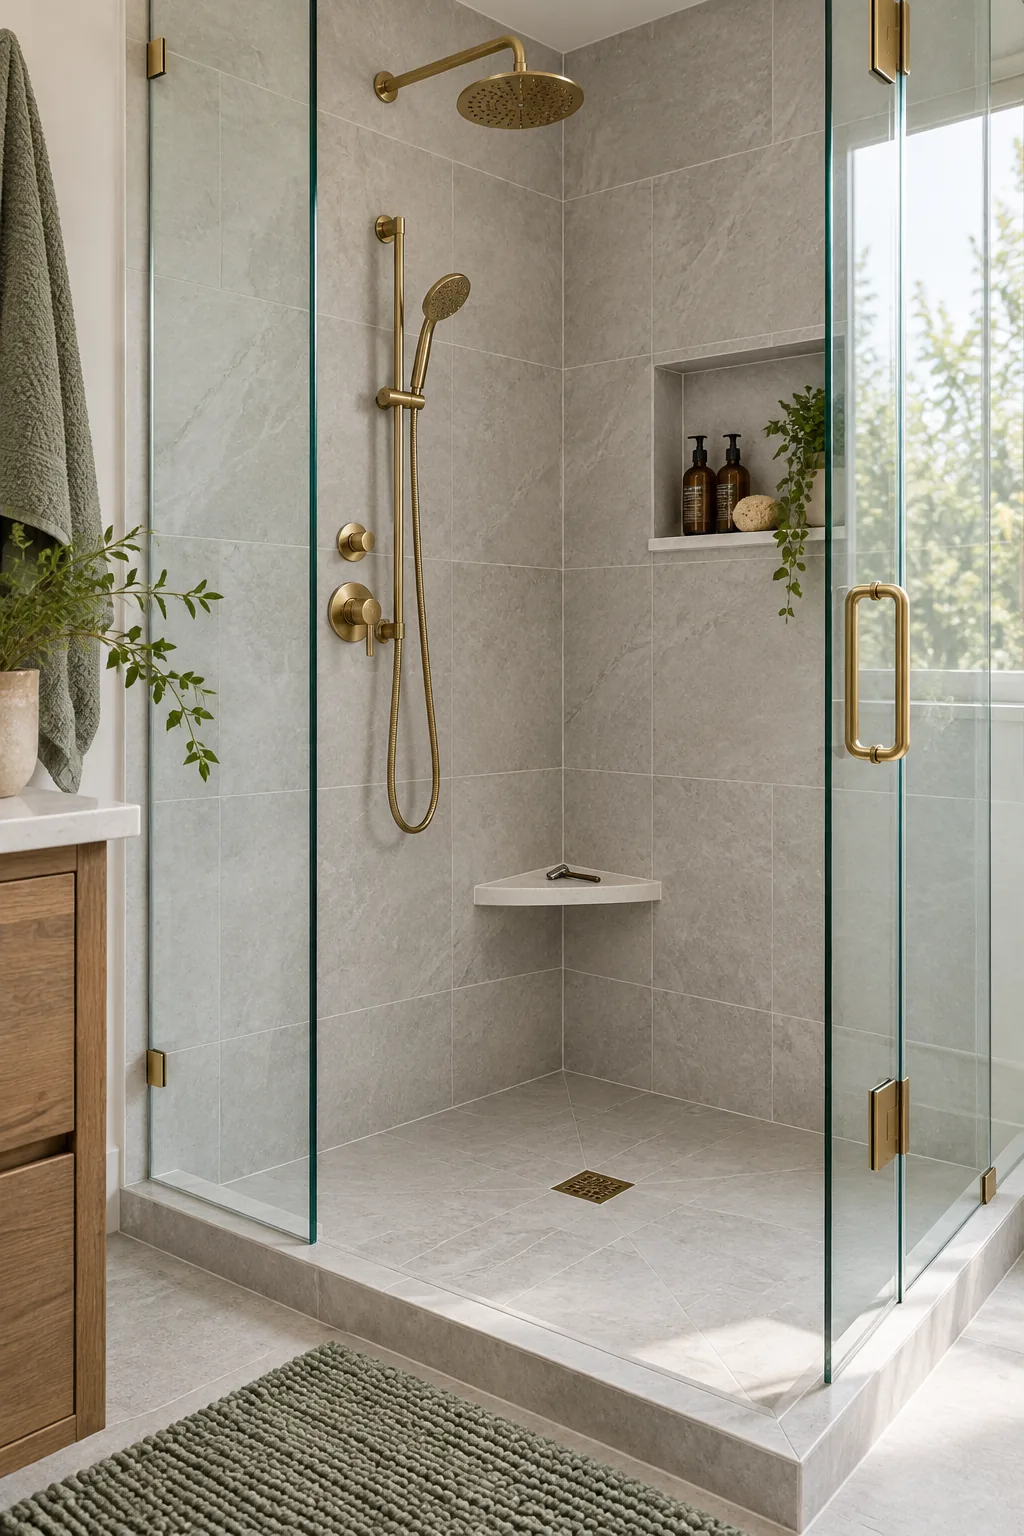
I installed one of these compact triangular shelves in a recent client project, and it completely transformed their daily routine. It offers all the practical leverage of a traditional bench while keeping the floor plan entirely unobstructed and visually light.
Ergonomics: Optimal Shelf Placement
Positioning functional elements at the correct height requires analyzing the specific physical needs of the primary users rather than relying on generic builder standards. Testing these heights against your own range of motion guarantees the finished shower feels custom-tailored to your body.
Structural Support: Anchoring Floating Elements
A floating stone footrest requires robust structural backing installed behind the cement board long before the tile goes up. Securing heavy-duty stainless steel brackets directly into the corner framing ensures the shelf can safely support significant downward pressure.
Small-Space Shower Measurement Guide
A 36-by-36 inch footprint is the absolute minimum for a corner shower, but aiming for 42 inches deep prevents elbows from hitting the glass during daily use. These core dimensions dictate whether the layout feels like a luxurious retreat or a cramped afterthought.
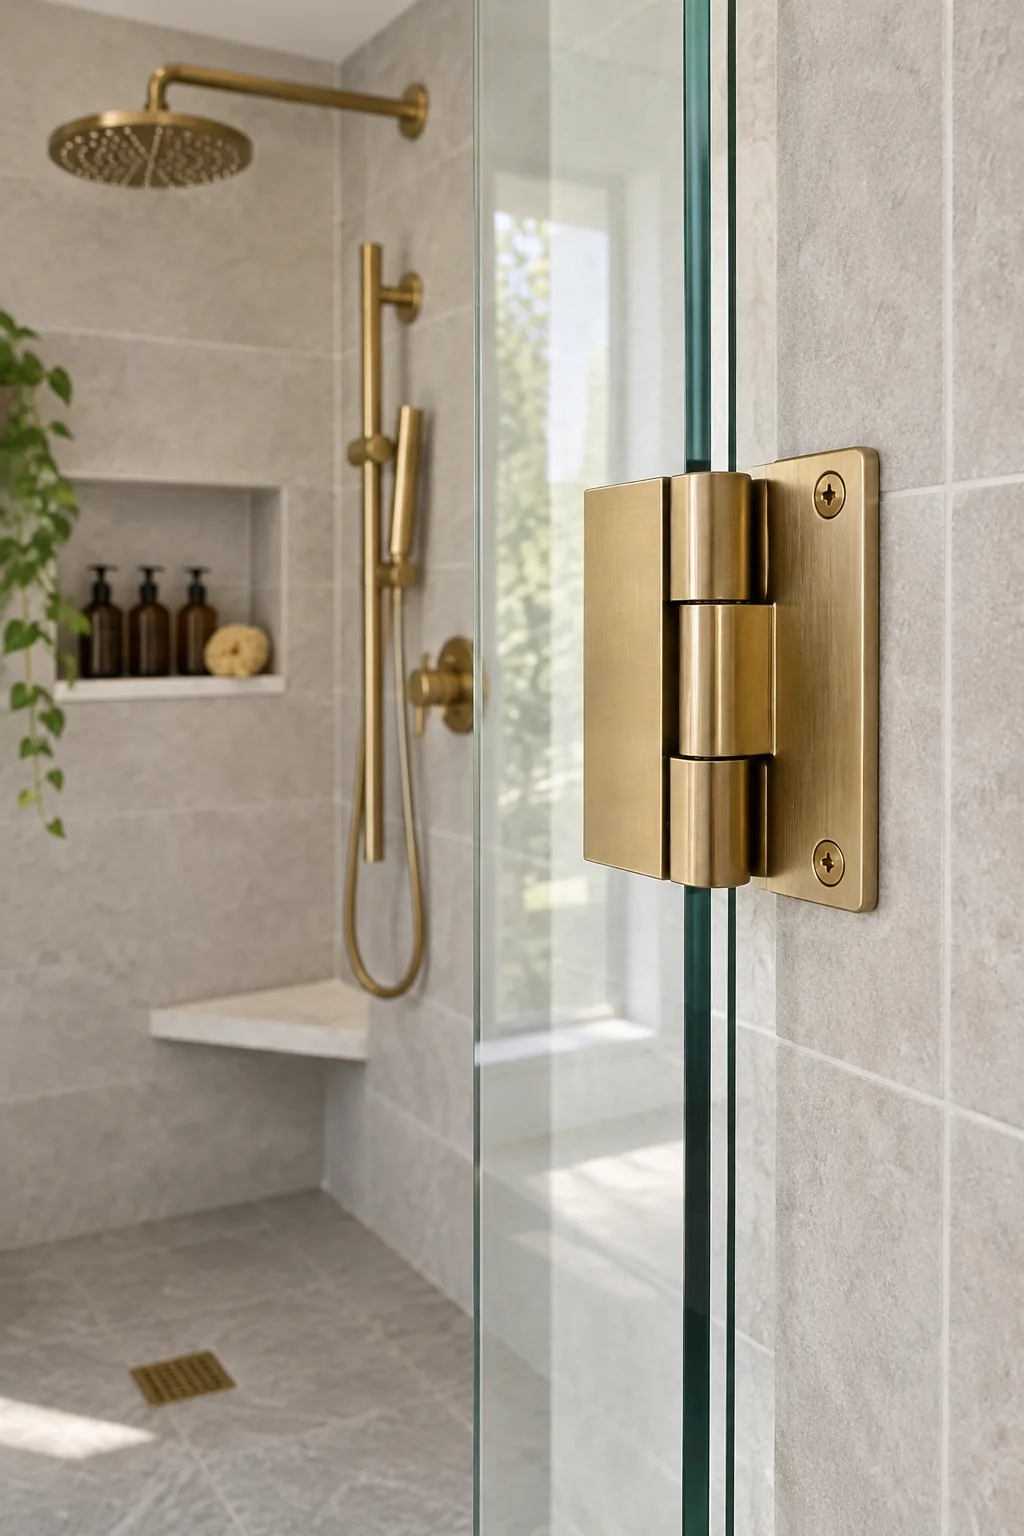
Handing a clear, specific plan to your contractor prevents costly mid-build adjustments and ensures the space functions perfectly for your height. Verify these critical measurements before any plumbing or tile work begins.
Clearance Zones: Door Swing Radius
Swinging glass doors require an unobstructed path that clears the toilet, vanity, and any hanging towel bars by at least two inches. Mapping this radius on the floor with painter’s tape helps visualize the true operational footprint of your new enclosure.
Accessibility: Designing for Future Use
A curbless entry naturally lends itself to universal design, ensuring the bathroom remains safe and functional for all mobility levels. Reinforcing the walls for future grab bars during the initial build adds invisible security without compromising the modern aesthetic.
Lighting: Wet-Rated Recessed Fixtures
A massive-feeling shower requires dedicated overhead lighting to eliminate dark, cramped corners that visually shrink the usable space. Installing wet-rated LED fixtures directly above the primary standing zone ensures the beautiful tile work is properly illuminated.
Heating: Radiant Floor Integration
Running radiant heating mats beneath the shower floor tile transforms a cold morning routine into a deeply comforting, spa-like experience. This invisible luxury dries the floor faster, actively preventing mildew growth while keeping your feet perfectly warm.
4 Ways to Style a Corner Shower
Explore how different tile choices and hardware finishes completely transform the same compact footprint.
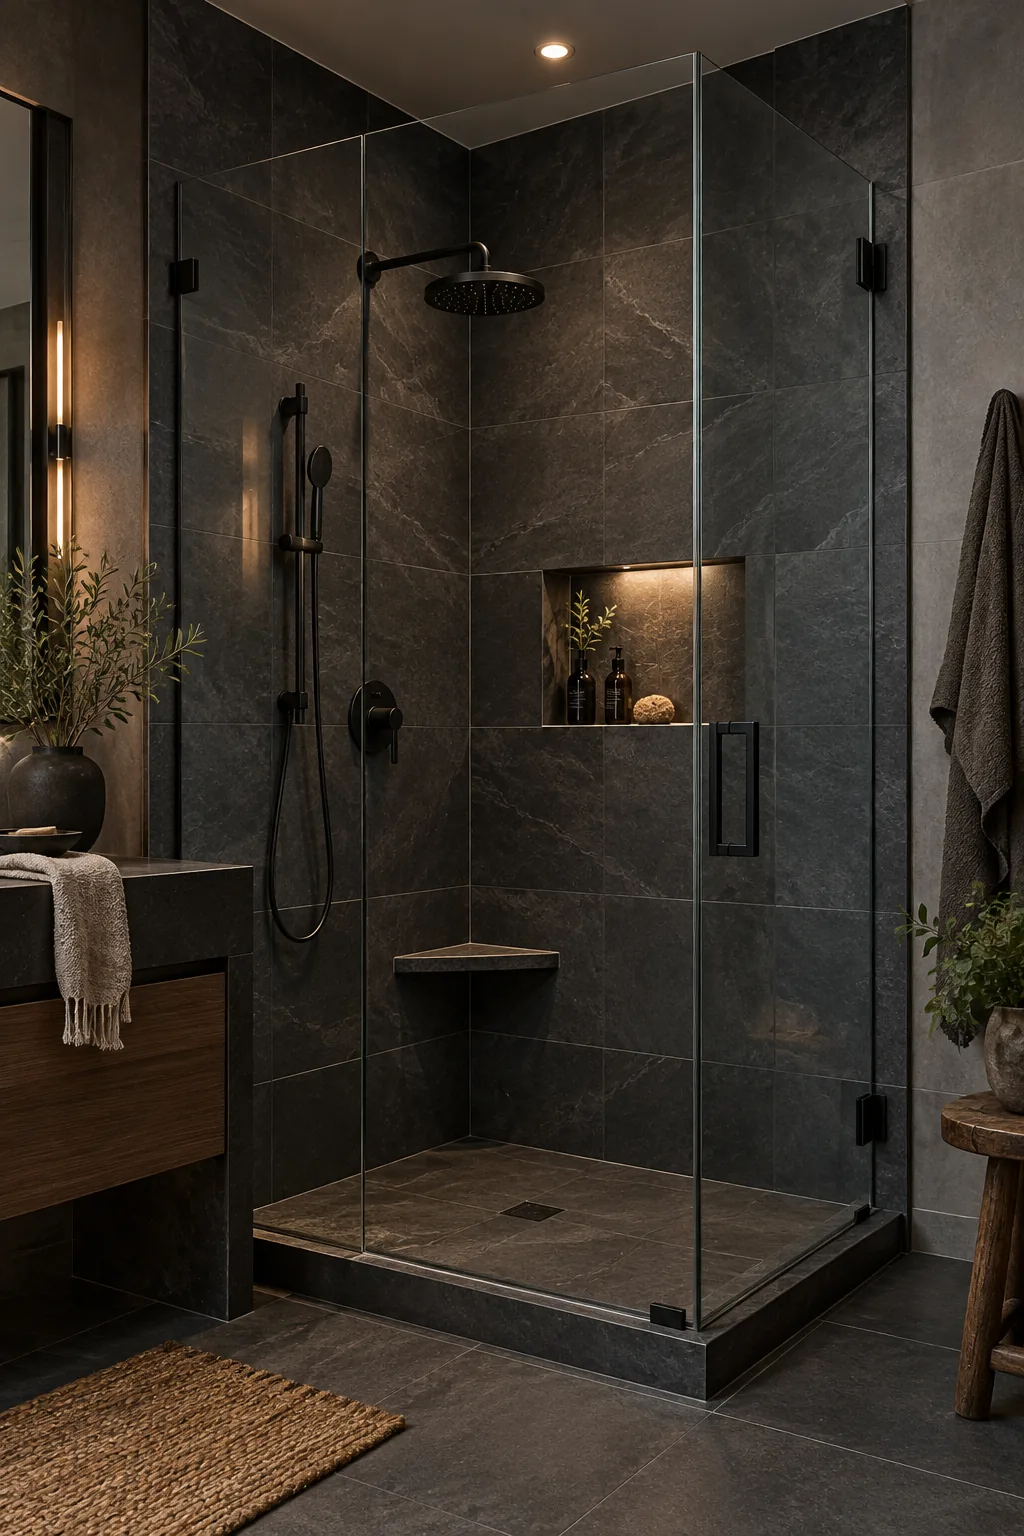
Moody Charcoal and Matte Black: Dark slate tiles and matte black hardware create a dramatic, cave-like atmosphere. Copy this look by matching your drain cover to the black shower hinges.
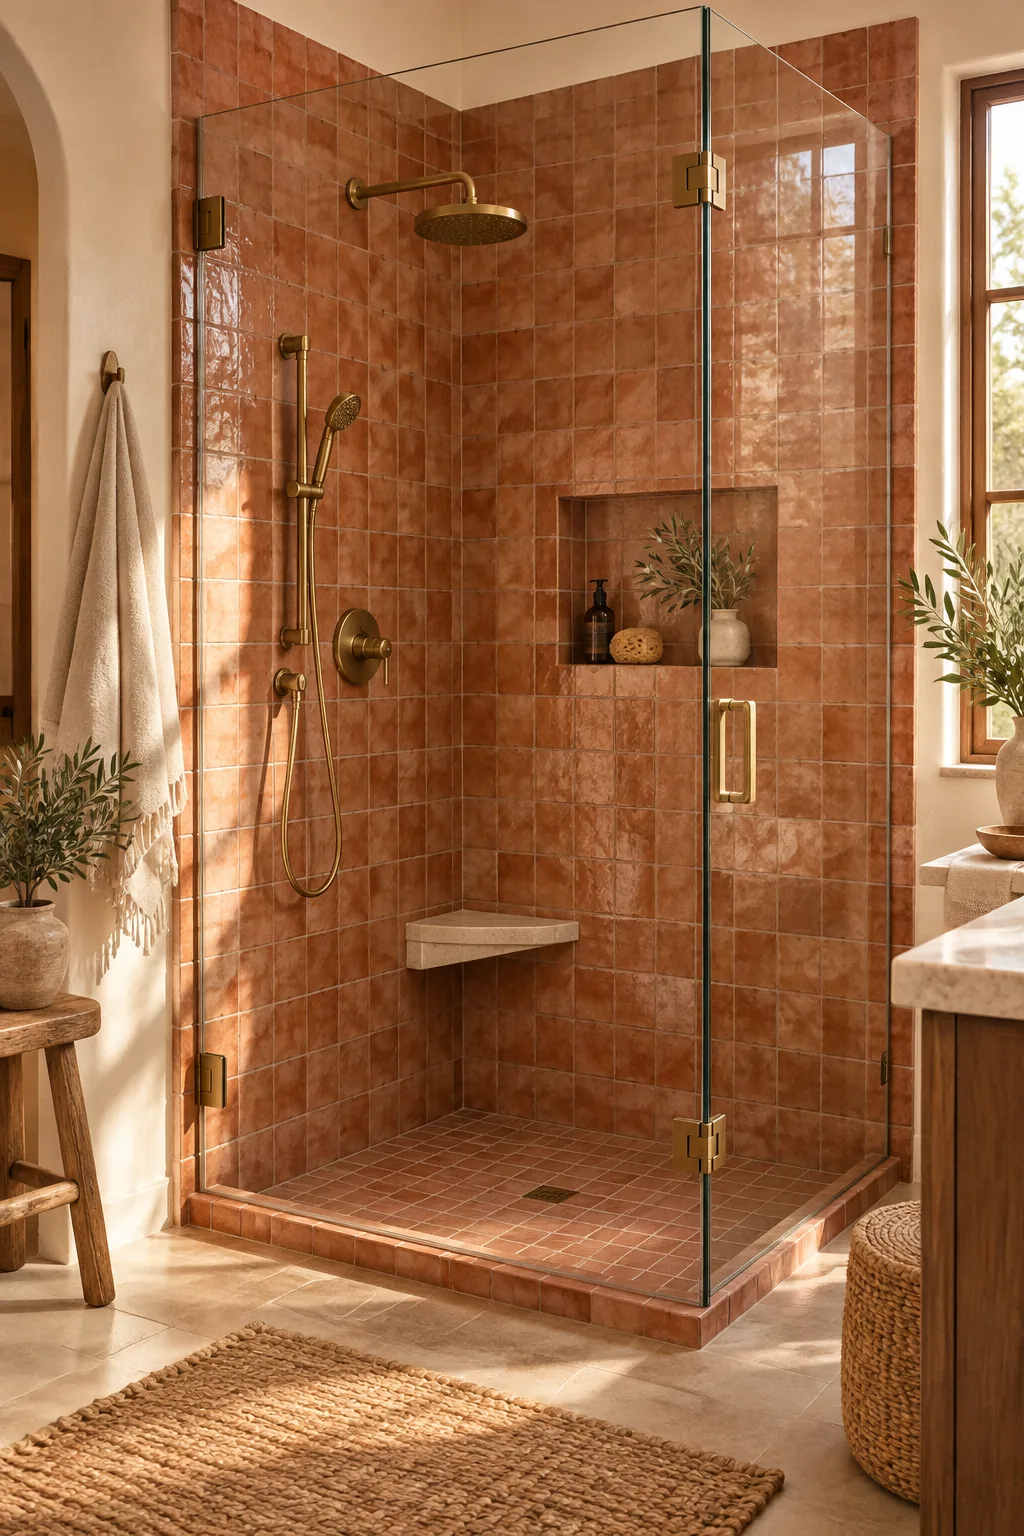
Warm Terracotta and Unlacquered Brass: Square zellige tiles paired with living brass fixtures bring earthy warmth to the bathroom. Use a matching terracotta-toned grout to enhance the handmade texture.
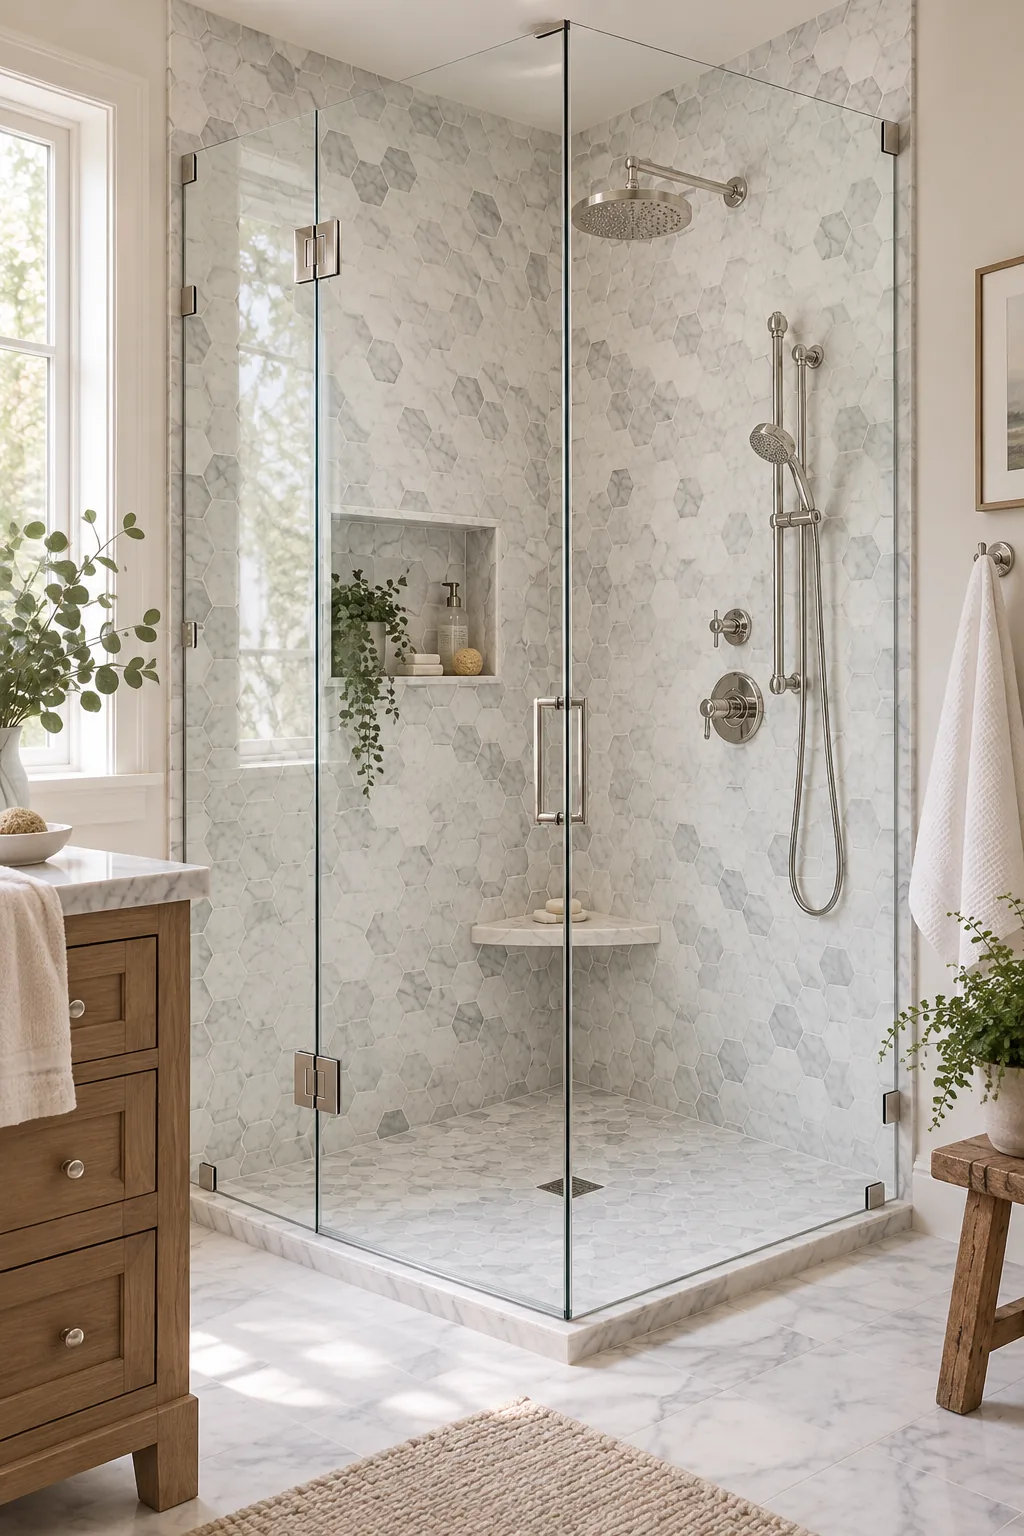
Classic Marble and Polished Nickel: Timeless Carrara marble hexagons and polished nickel fixtures offer enduring elegance. Extend the floor mosaic into the shower pan for a completely seamless transition.
Coastal Blue and Polished Chrome: Vertically stacked blue ceramic tiles draw the eye upward while chrome fixtures add sparkle. Choose a bright white solid surface for the niche sill to pop.
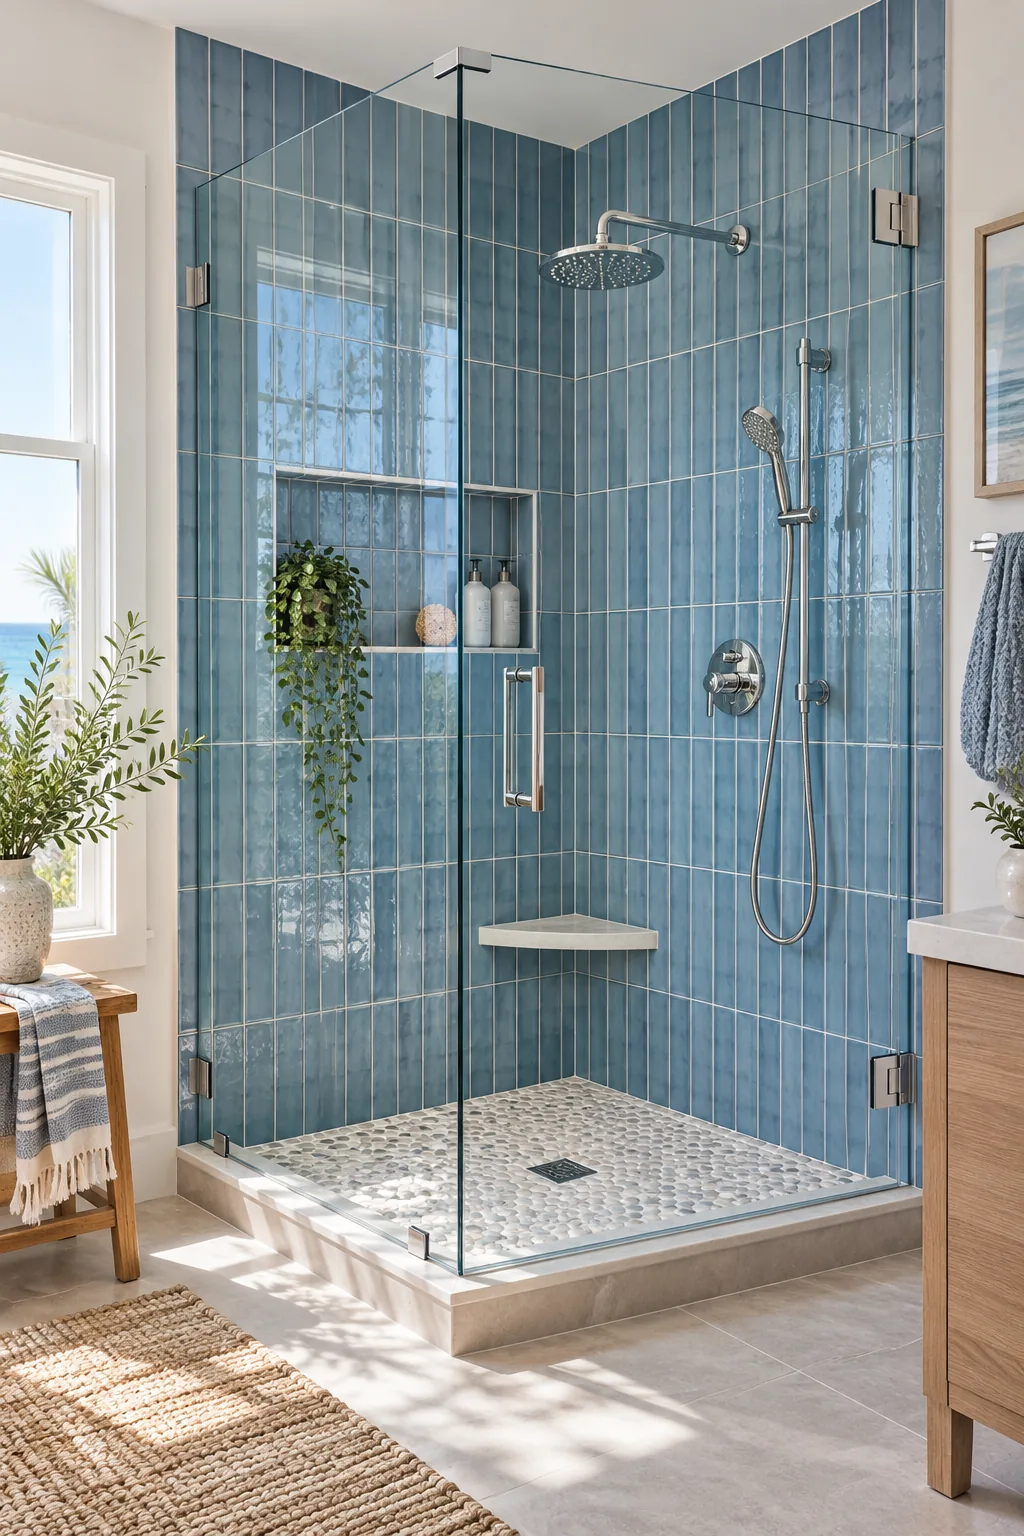
Visual Flow: Coordinating Hardware
Maintaining cohesive finishes is essential in a compact bathroom, where mismatched metals can quickly make the space feel chaotic and poorly planned. Matching the door hinges, handle, and glass clips to the plumbing fixtures creates a unified visual flow across the wet and dry zones.