
The One-Weekend Neutral Bathroom Plan (Printable Schedule)
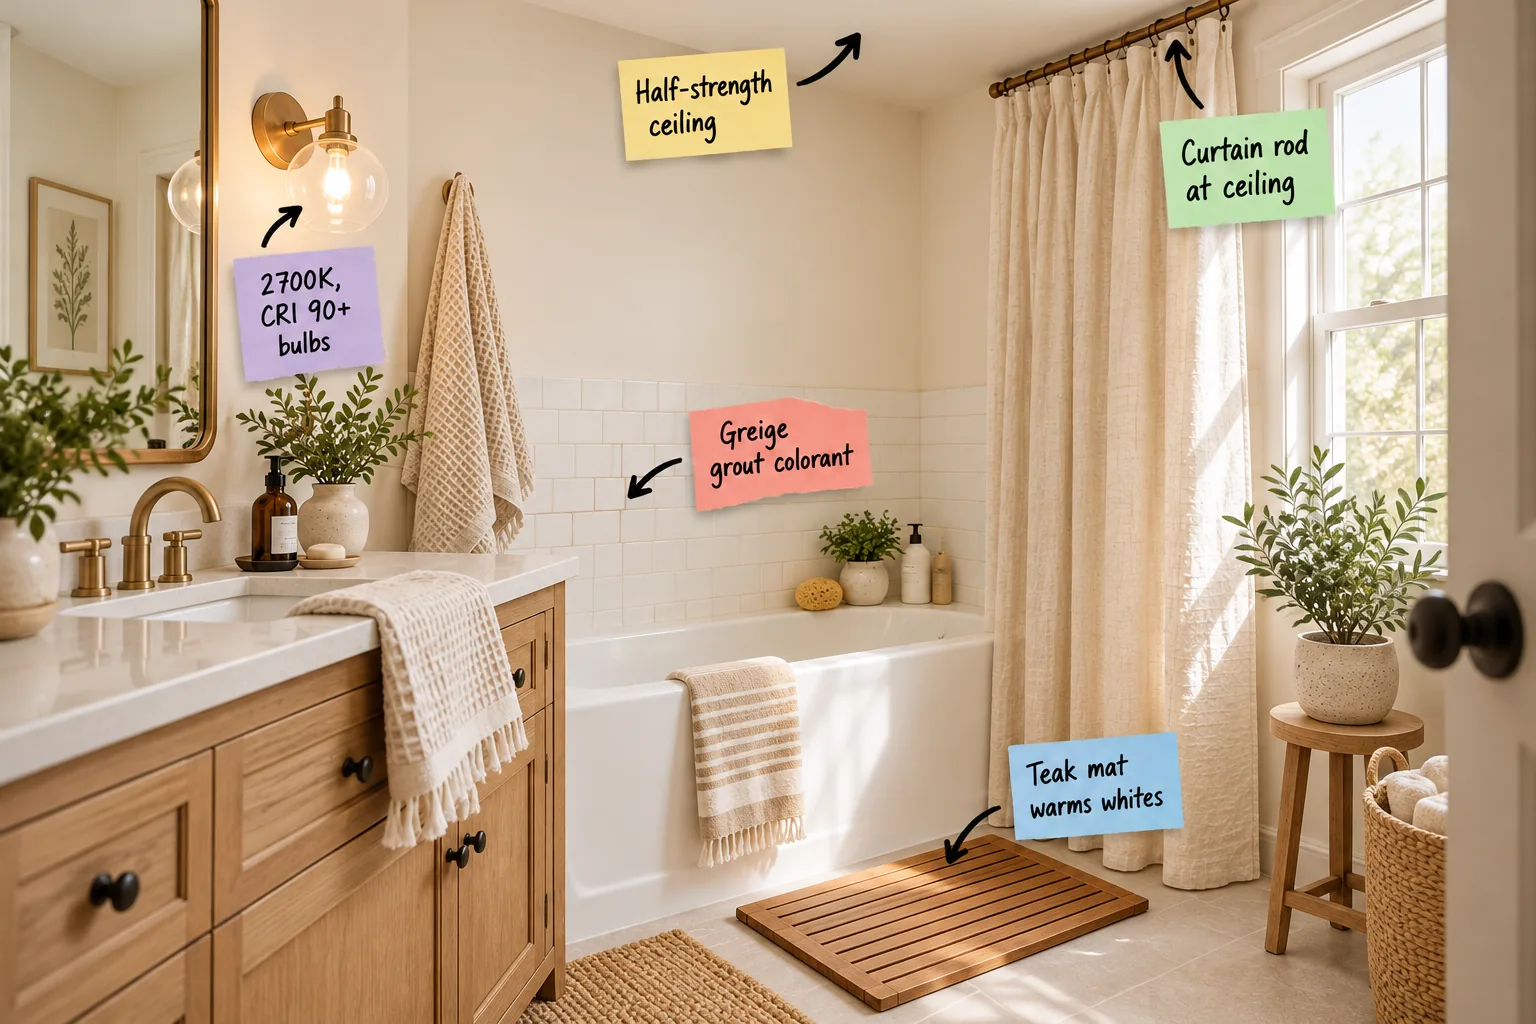
Transforming your space doesn’t require a month of heavy demolition; you just need The One-Weekend Neutral Bathroom Plan, complete with a printable Saturday-to-Sunday schedule and matching shopping list. By following this precise timeline, you will create a warm, airy retreat before Monday morning.
The Saturday-to-Sunday Schedule
Having a comprehensive schedule and shopping list keeps your weekend project moving efficiently from top to bottom. In my own Denver home, mapping out drying times before picking up a brush saved me from staring at wet paint when I needed to install hardware.
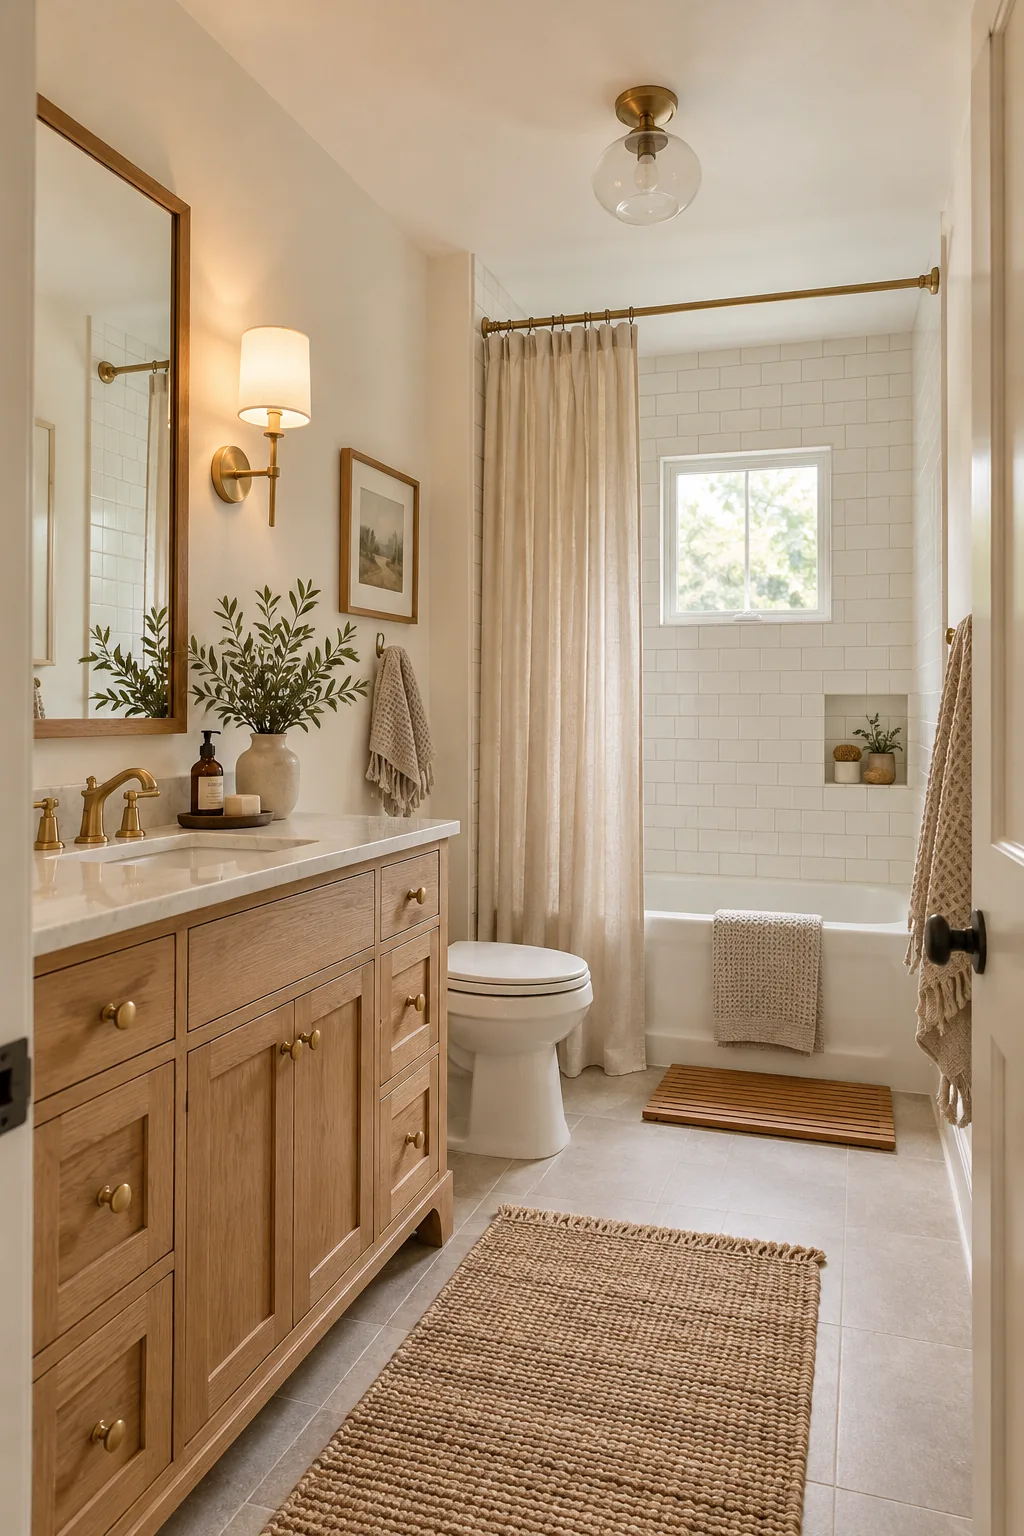
Before starting the clock on Saturday morning, complete these three quick preparation steps to ensure a smooth, uninterrupted workflow.
Gathering Your Supplies Early
A successful weekend transformation relies on having your exact materials staged and ready outside the bathroom door. Sourcing these specific items in advance prevents frustrating mid-project runs to the hardware store that inevitably derail your carefully planned timeline.
Stage these gathered materials in a nearby hallway to keep your working footprint completely clear. Maintaining an empty bathroom floor allows you to maneuver ladders and drop cloths safely while executing the upper ceiling and wall painting phases.
Prepping the Bathroom Canvas
Even the highest quality cream paint will fail to adhere properly if applied over invisible soap scum or aerosol hairspray residue. Washing the walls thoroughly with a degreasing solution ensures your seamless paint envelope cures into a durable, moisture-resistant finish.
The Seamless Paint Envelope
Mix your creamy wall paint at a 50 percent half-strength formula for the ceiling to create a unified, airy atmosphere. Painting the ceiling this lighter matching shade removes harsh contrast lines so the room reads as one soft, seamless envelope.
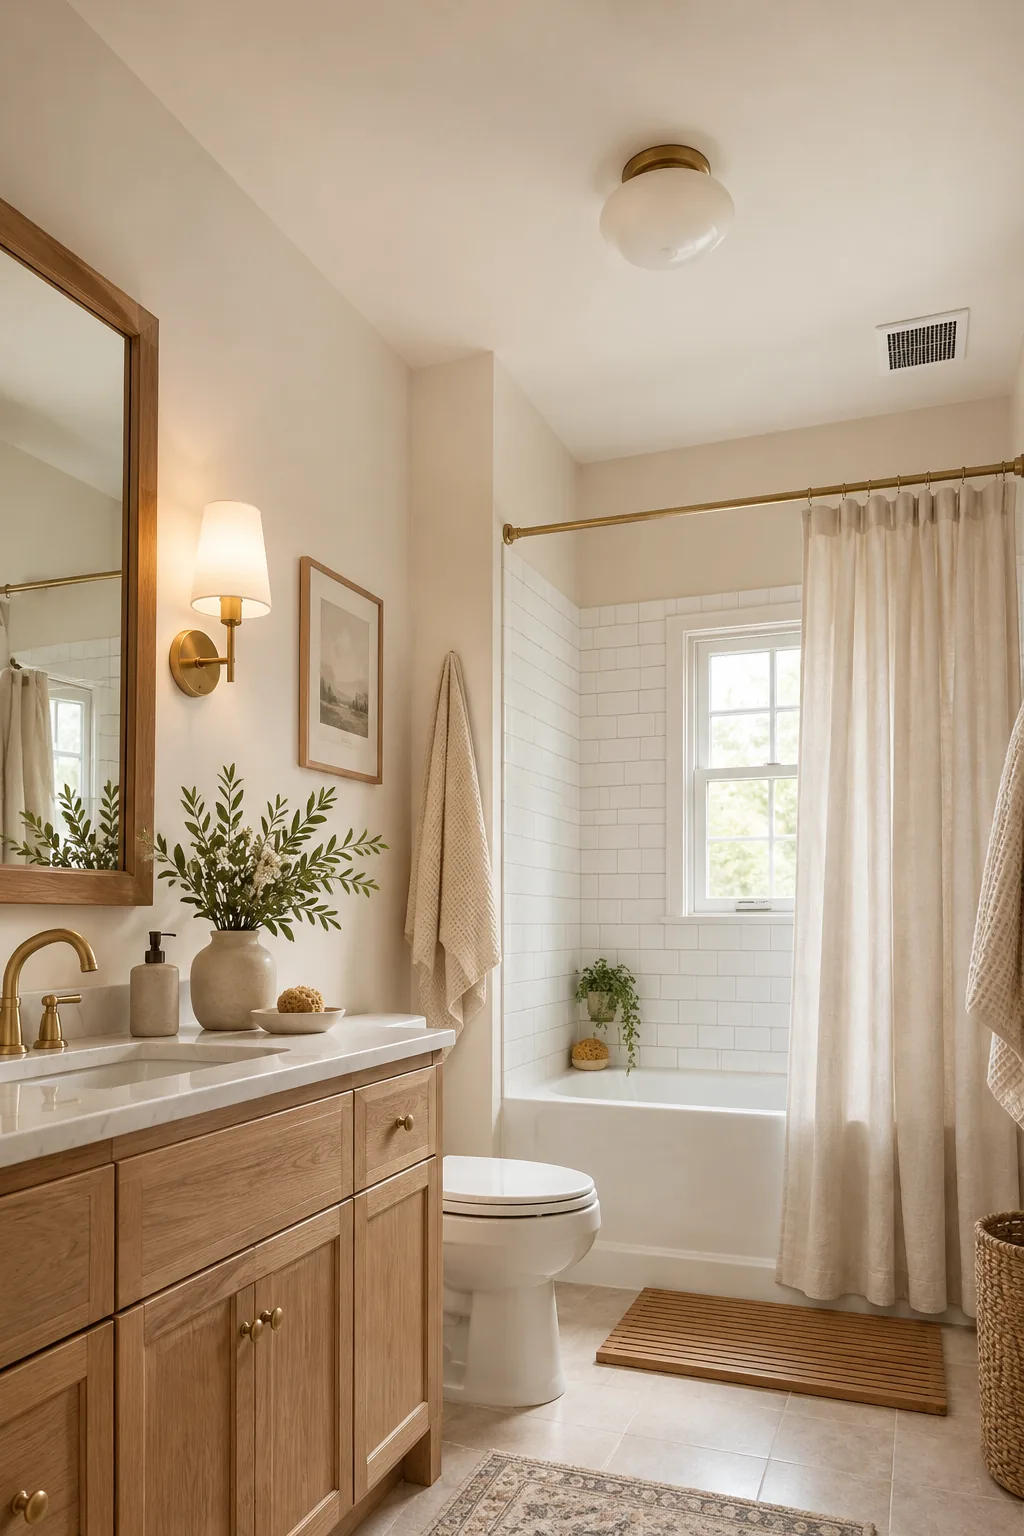
Eliminating that stark white ceiling break visually raises the room height and softens the architectural angles. This tonal wrapping technique borrows from Eastern design principles, establishing a calm, continuous visual field that feels incredibly restful to the eye.
Choosing the Right Paint Finish
Selecting a satin or eggshell finish provides the ideal balance between a soft aesthetic and necessary moisture resistance. These subtle sheens reflect just enough light to enhance the creamy undertones without highlighting every minor drywall imperfection in your space.
Testing Swatches Against the Tub
White tubs carry distinct undertones that can clash violently with new paint, which I learned when a client’s “perfect” cream made their acrylic surround look dingy. Paint a 12-by-12 inch test swatch on heavy paper and tape it directly against the tub.
Evaluating Undertones at Night
Isolating the swatch against the stark white acrylic reveals exactly how the cream will behave in context. If the paper sample casts a yellow or green shadow onto the tub under artificial light, pivot to a slightly cooler neutral before committing.
Flattering Vanity Lighting
Swap out harsh, cool-toned bulbs for 2700K, CRI 90+ bulbs in your vanity sconces. This specific color temperature and high rendering index provides warm, accurate light that flatters skin tones and enhances the creamy walls.
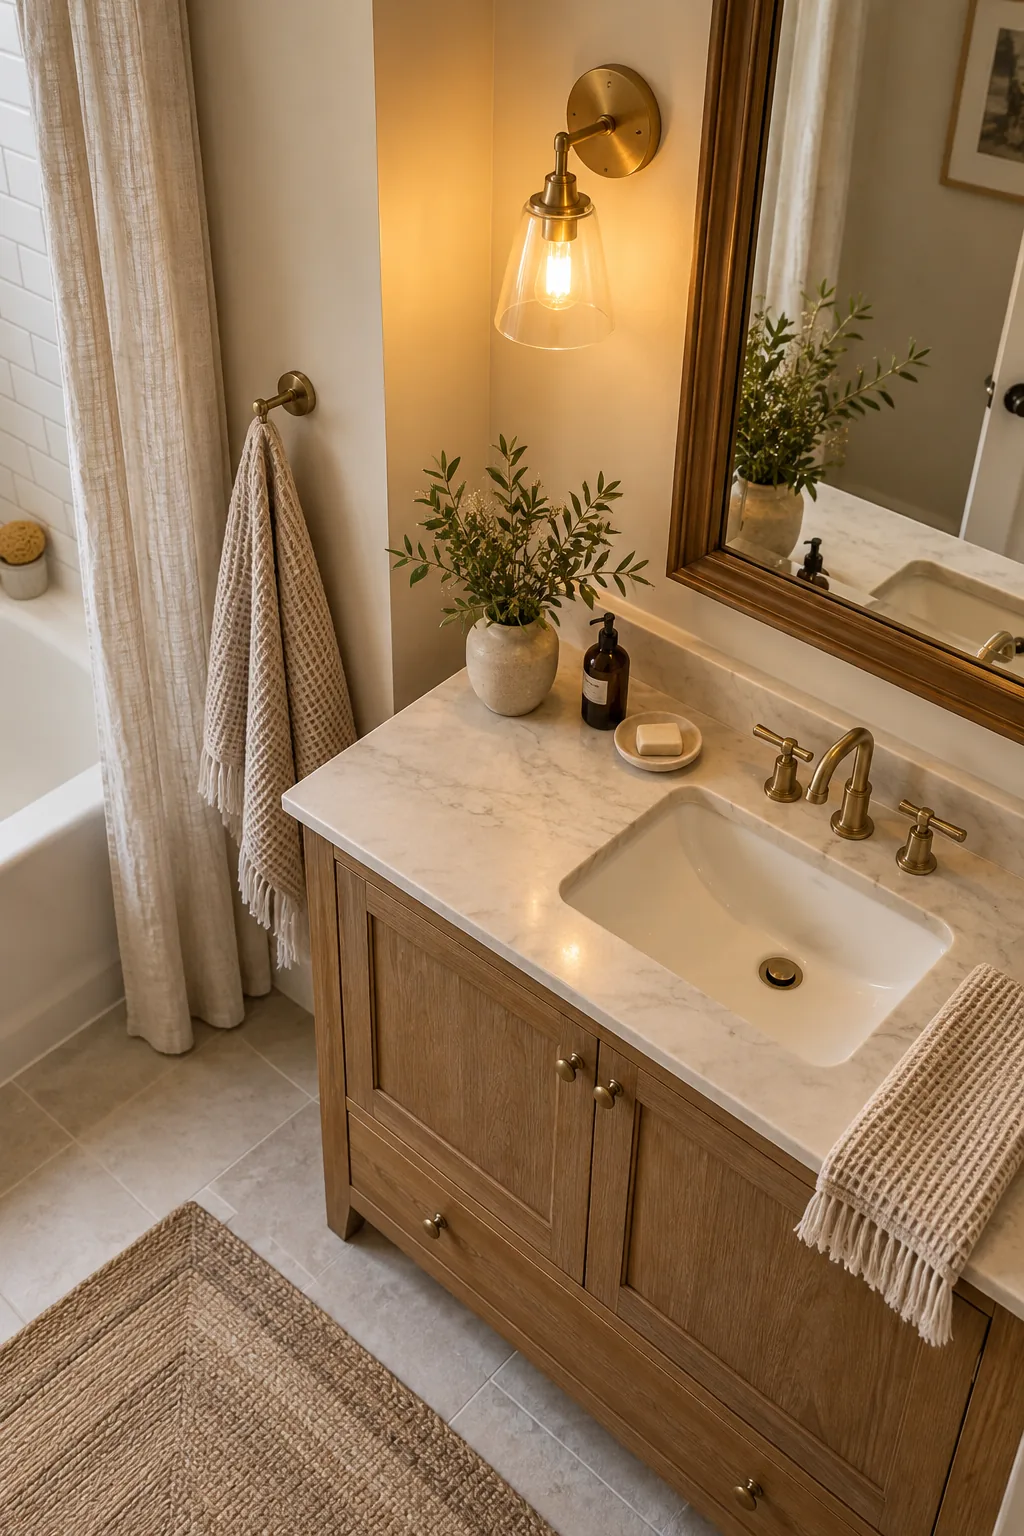
Installing these specialized bulbs replicates the gentle, diffuse glow of golden hour right at your mirror. The high Color Rendering Index ensures that both your complexion and the subtle greige undertones of your new grout are represented with absolute fidelity.
Elevating the Shower Curtain
Mount the shower curtain rod just below the ceiling line, typically 84 to 96 inches high. Hanging a long linen curtain from this elevated height draws the eye upward and softens the room’s hard architectural angles.
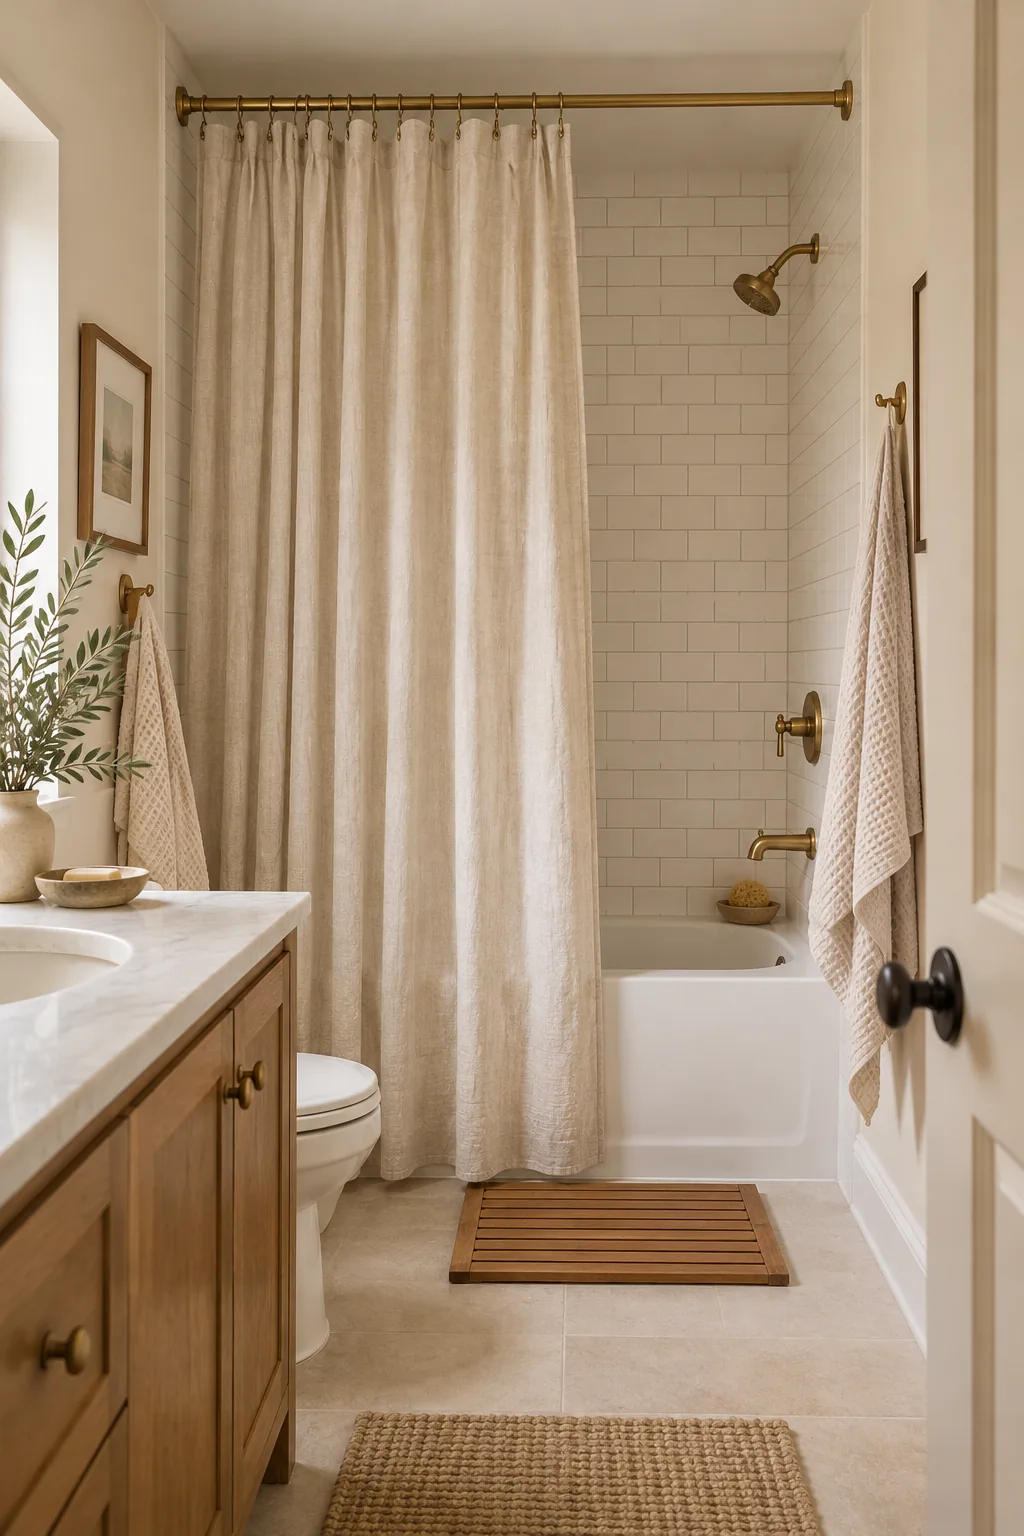
Pushing the rod higher creates an immediate illusion of grander architecture and expanded volume within a standard builder-grade footprint. The dramatic vertical drop of the fabric conceals the utilitarian tub opening while introducing a crucial layer of organic texture.
Selecting the Right Curtain Liner
Pair your elevated linen curtain with a heavy-duty fabric liner rather than a lightweight plastic alternative. A weighted fabric liner prevents annoying inward billowing during a shower while maintaining the crisp, tailored geometry of your newly painted neutral space.
Refreshing the Tub Surround
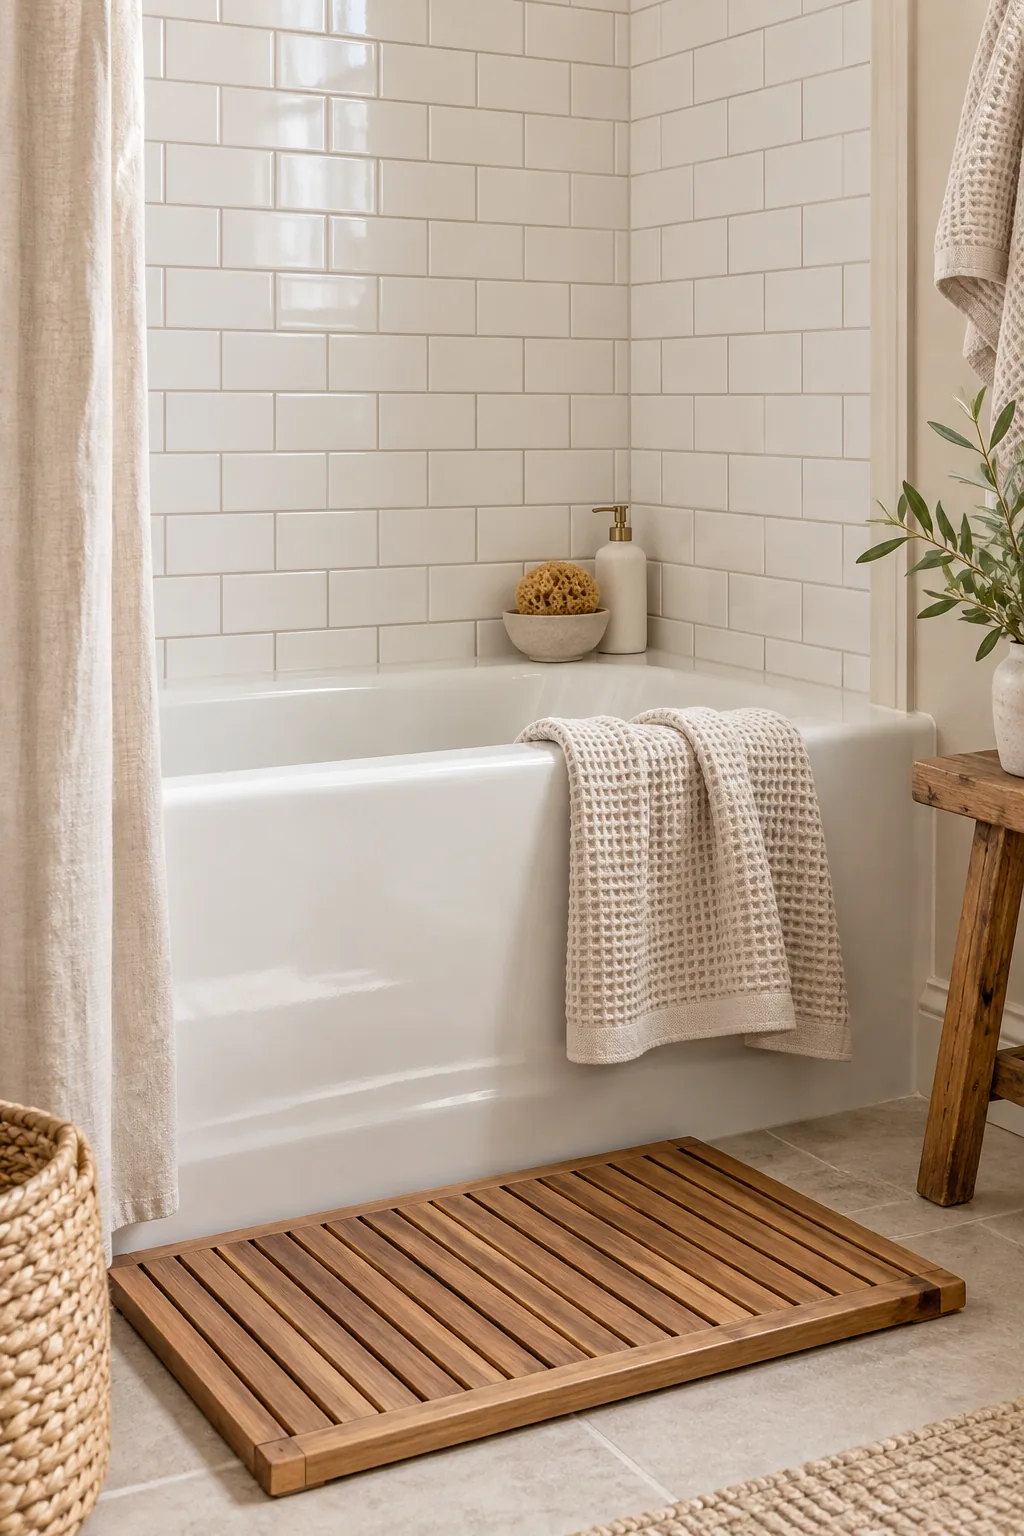
Apply a greige grout colorant to update old grey or discolored grout lines between your subway tiles. I used this exact topical treatment in my guest bath, and it warmed up the stark white tiled surround instantly without heavy demolition.
Brushing on this specialized epoxy stain completely alters the grid’s visual weight, shifting the room’s energy from sterile to inviting. The subtle greige contrast bridges the gap between the bright white acrylic tub and the soft cream walls beautifully.
Grout Colorant Amounts and Drying Times
One standard 8-ounce bottle of colorant provides enough coverage for a standard tub surround. Plan for a 2-hour working time to apply and wipe away excess, followed by a strict 72-hour cure time before running the shower.
| Project Phase | Time Required | Critical Action |
|---|---|---|
| Application | 2 Hours | Brush into joints, wipe excess from tile face |
| Initial Set | 24 Hours | Keep completely dry, avoid touching lines |
| Full Cure | 72 Hours | Do not run shower or introduce steam |
Respecting this rigid curing schedule is the single most important factor in ensuring your new greige lines remain permanent and waterproof. Rushing the process and introducing steam too early will cause the epoxy colorant to lift, bubble, and peel away.
More Ways to Style a Neutral Bathroom
Explore these finished variations to find the perfect neutral palette for your own space.
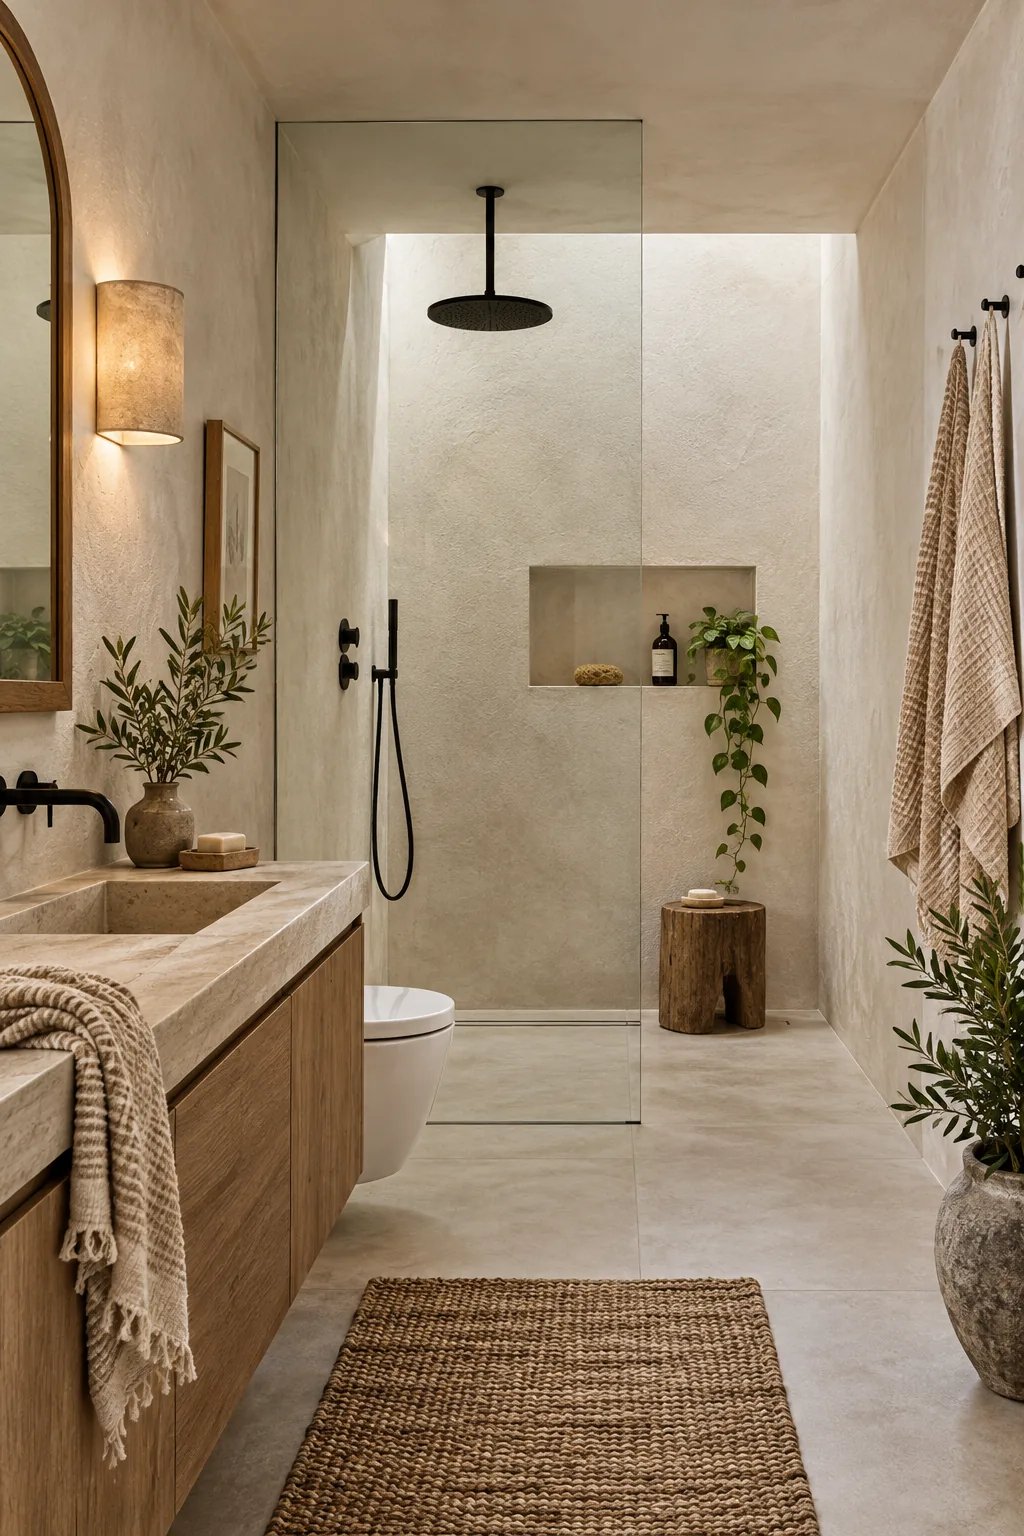
Modern Organic Plaster Wet Room: Textured plaster walls replace traditional tile to give this wet room an earthy, continuous flow.
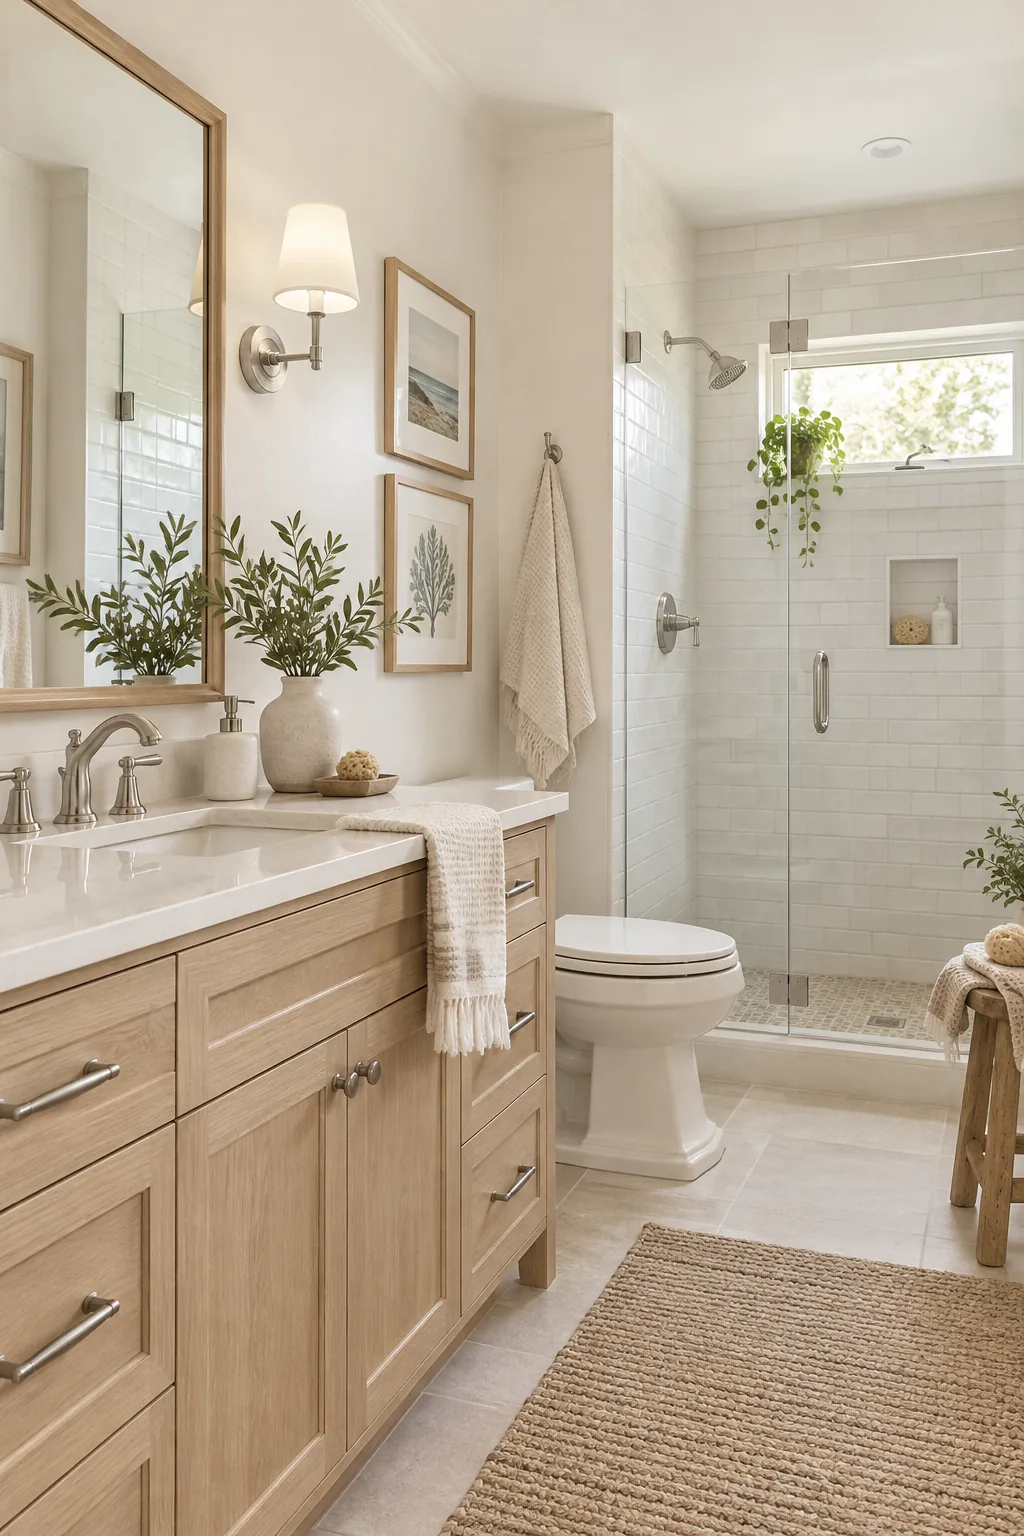
Coastal Neutral Pale Oak Bath: A pale oak vanity paired with sea-salt white walls creates a breezy, relaxed coastal atmosphere.
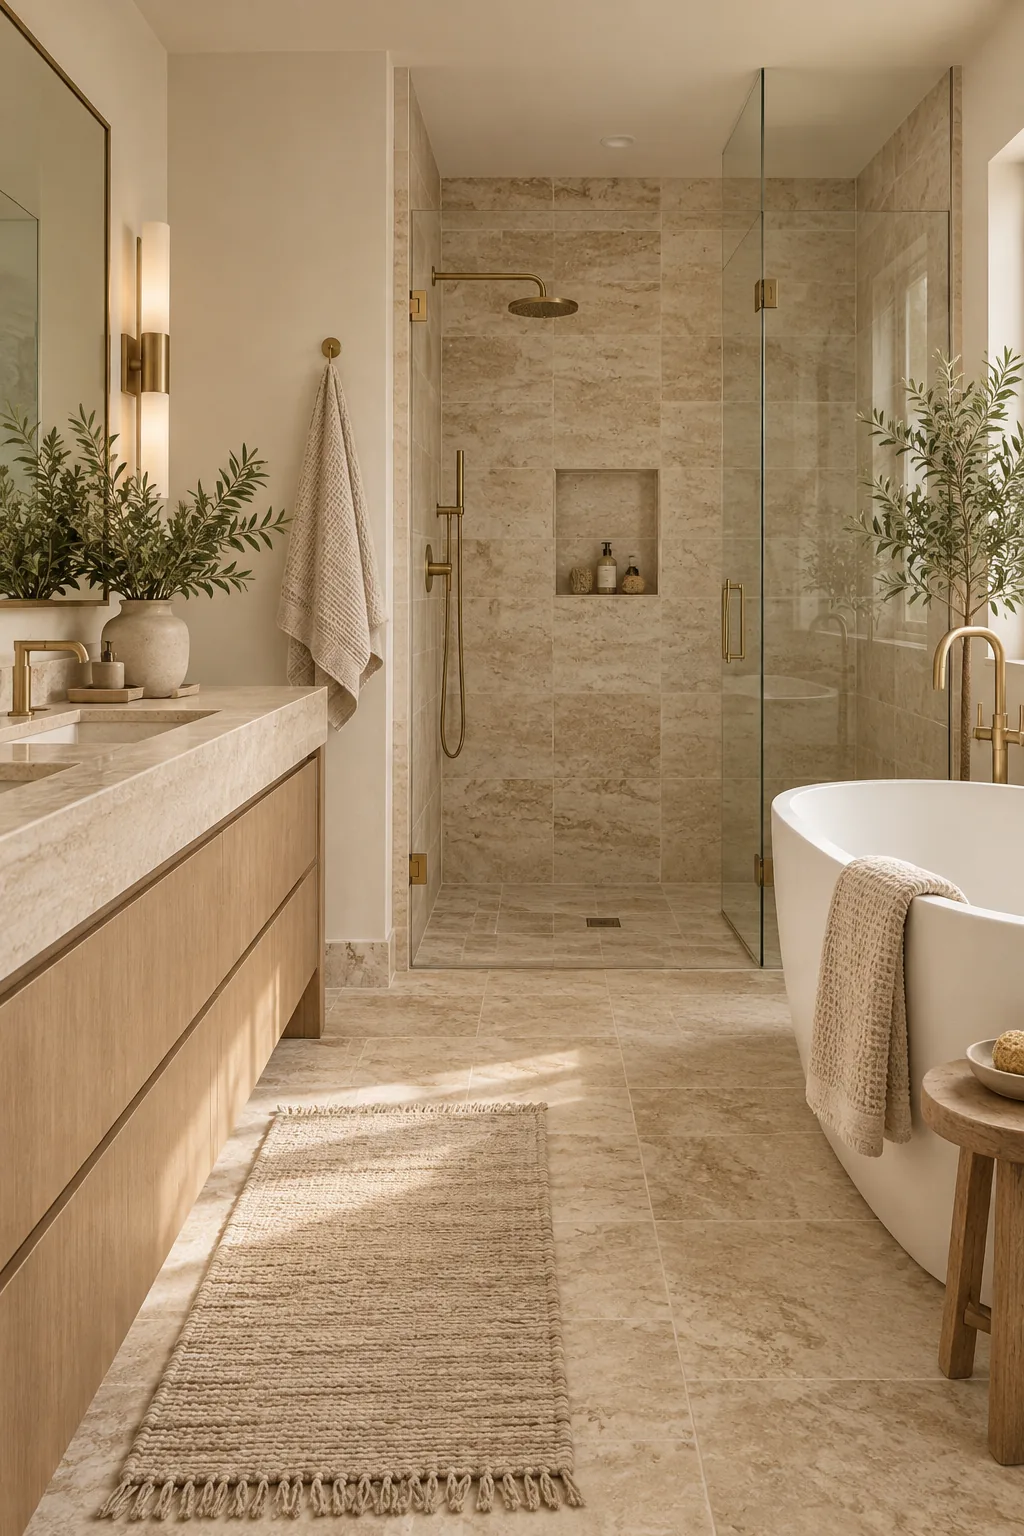
Warm Minimalist Travertine Primary Suite: Large-format travertine tile minimizes grout lines to keep this primary suite feeling expansive and calm.
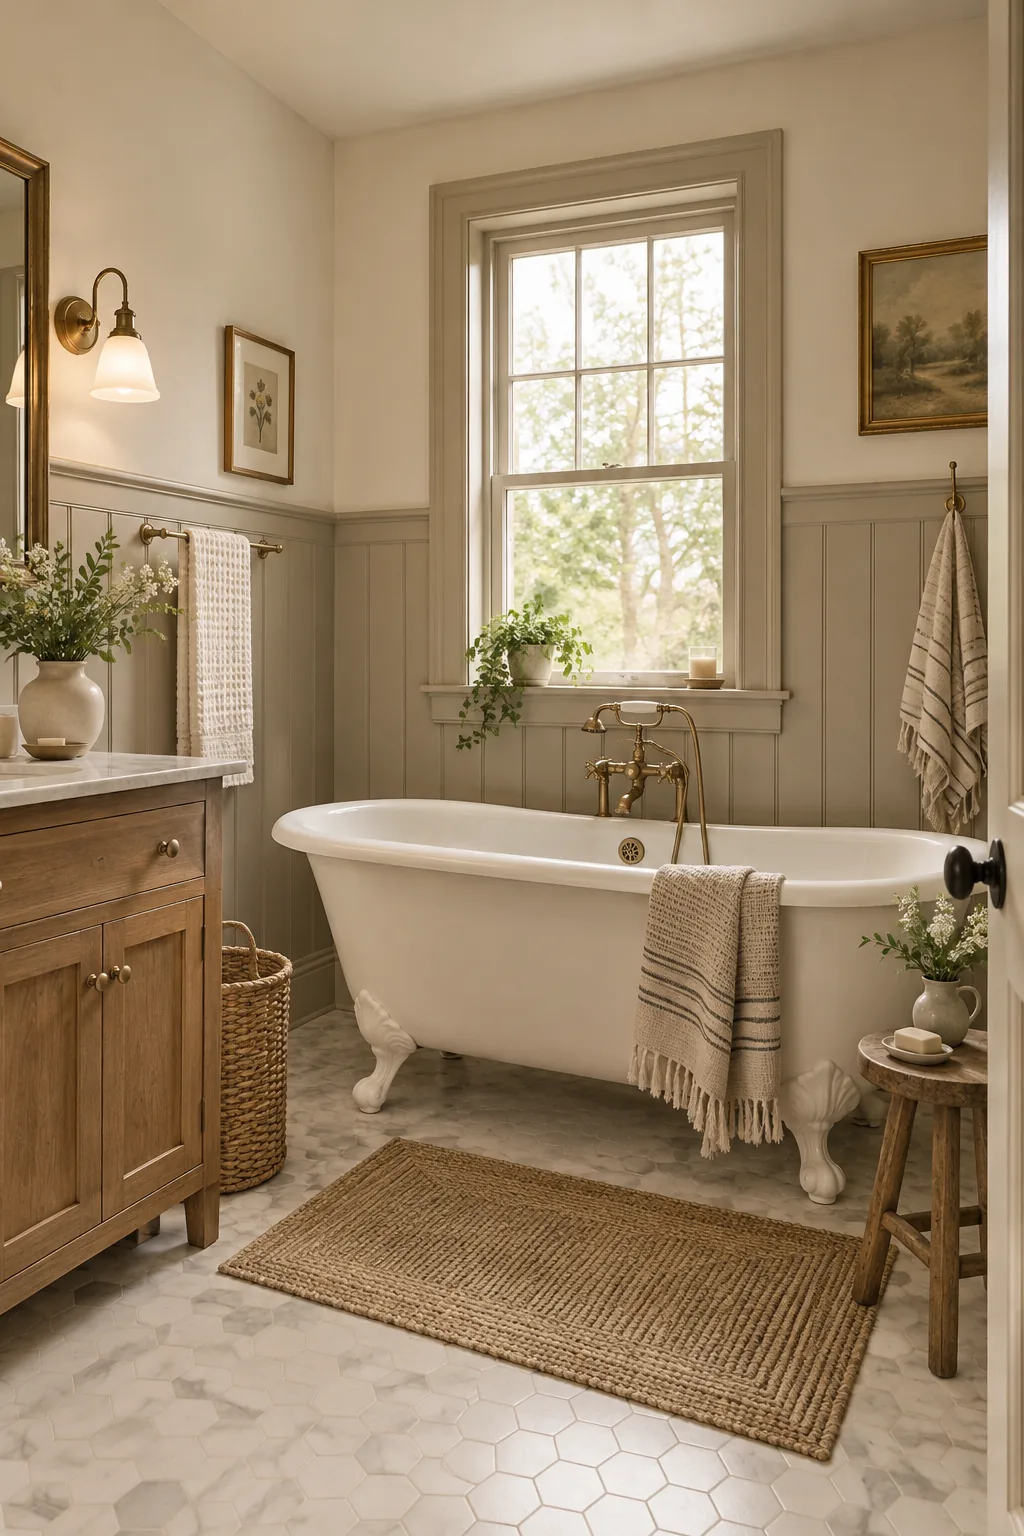
Vintage Greige Clawfoot Tub Retreat: Tall greige wainscoting grounds the room while highlighting the classic silhouette of the clawfoot tub.
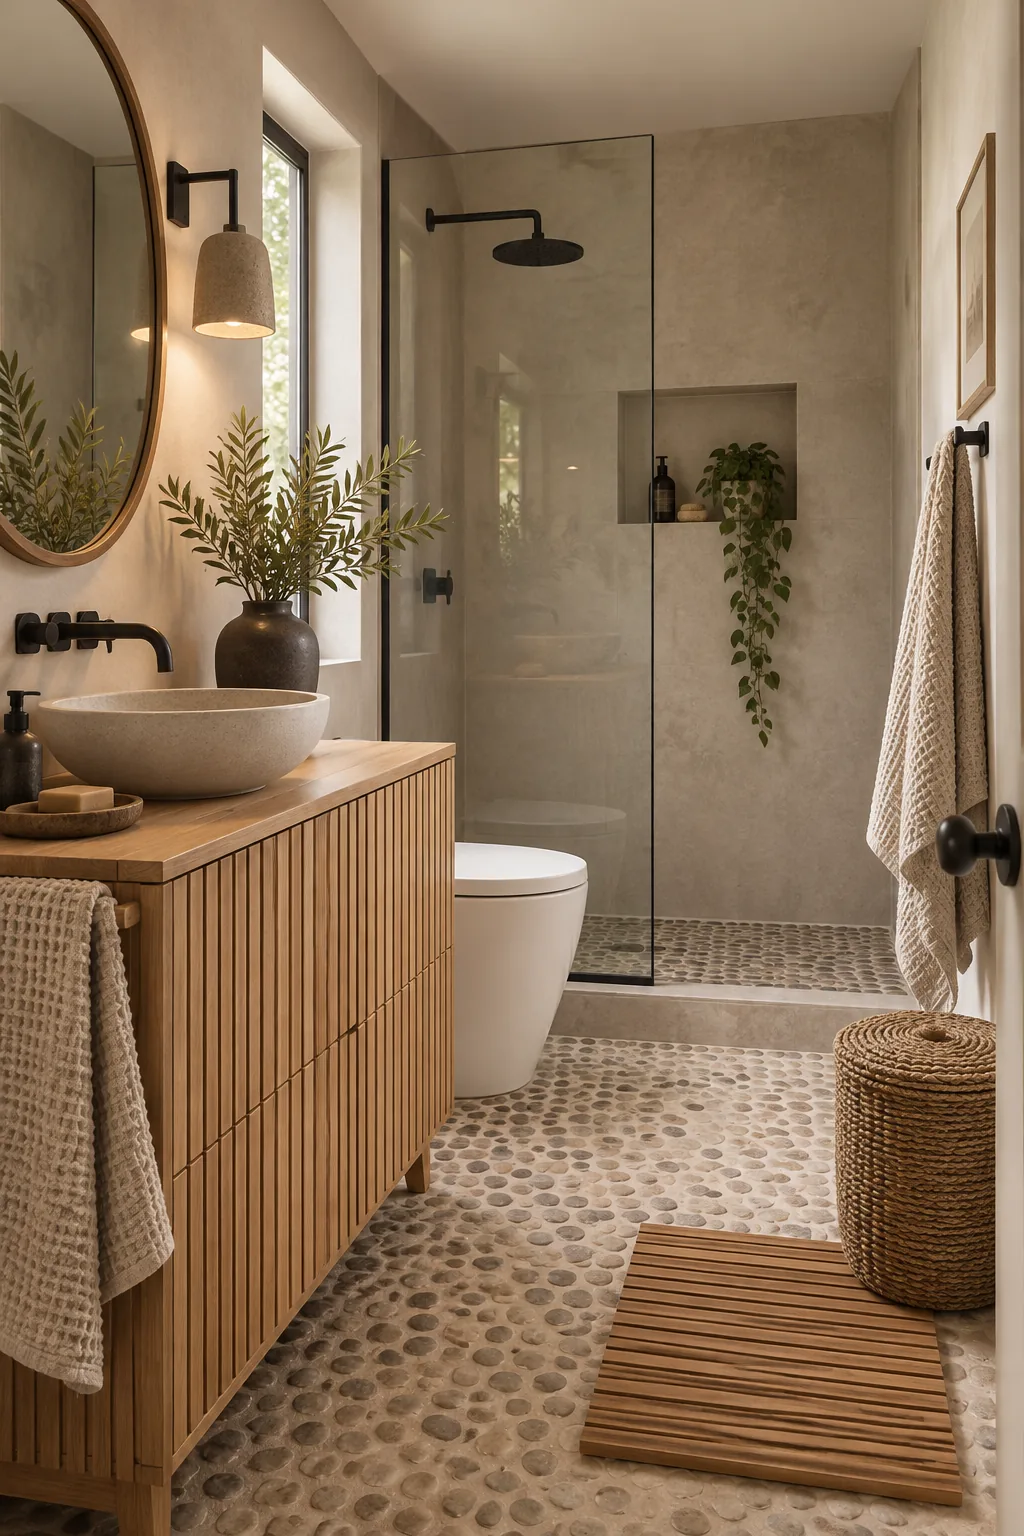
Earthy Japandi Slatted Bamboo Bath: A slatted bamboo vanity introduces rhythmic texture that pairs perfectly with the natural pebble floor.
Grounding with Wood and Textiles
Finish the space by adding a slatted teak bath mat and textured waffle towels. In my own bathroom, the natural wood tones of a teak mat warm up the stark white tub, while the layered textiles add a cozy, spa-like finish.
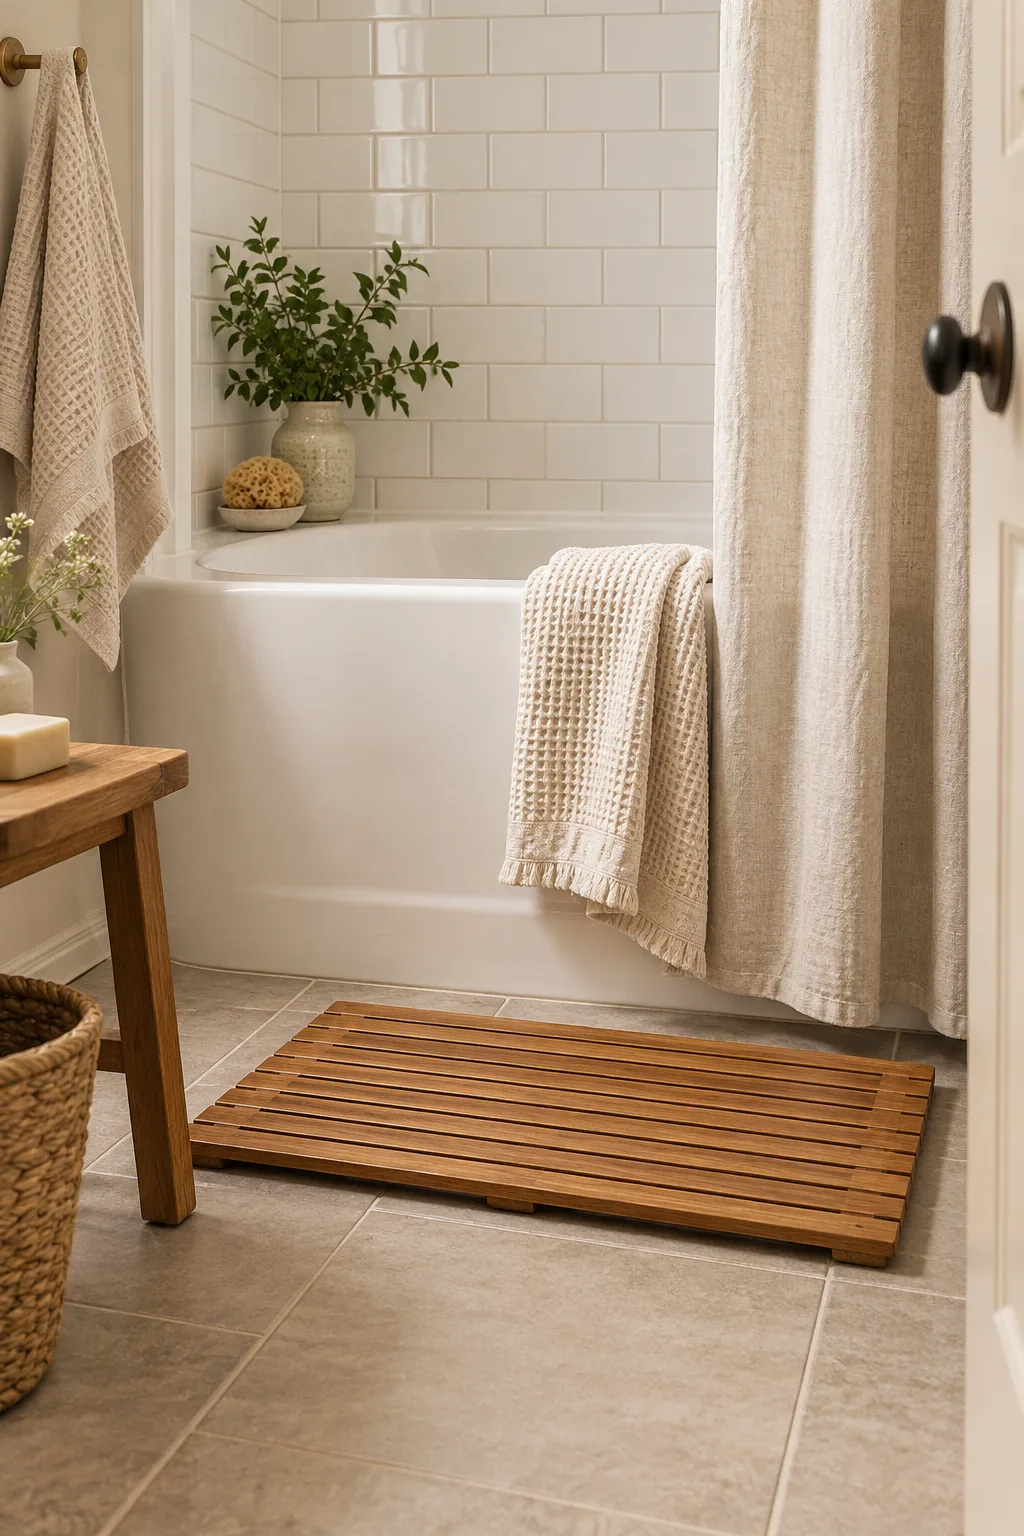
Introducing these organic, tactile elements at floor level grounds the airy, seamless paint envelope hovering above. The rich wood grain and woven cotton break up the expansive white acrylic, completing your weekend transition into a balanced, deeply restorative neutral sanctuary.