
How to Make a Fresh Winter Wreath That Lasts All Season
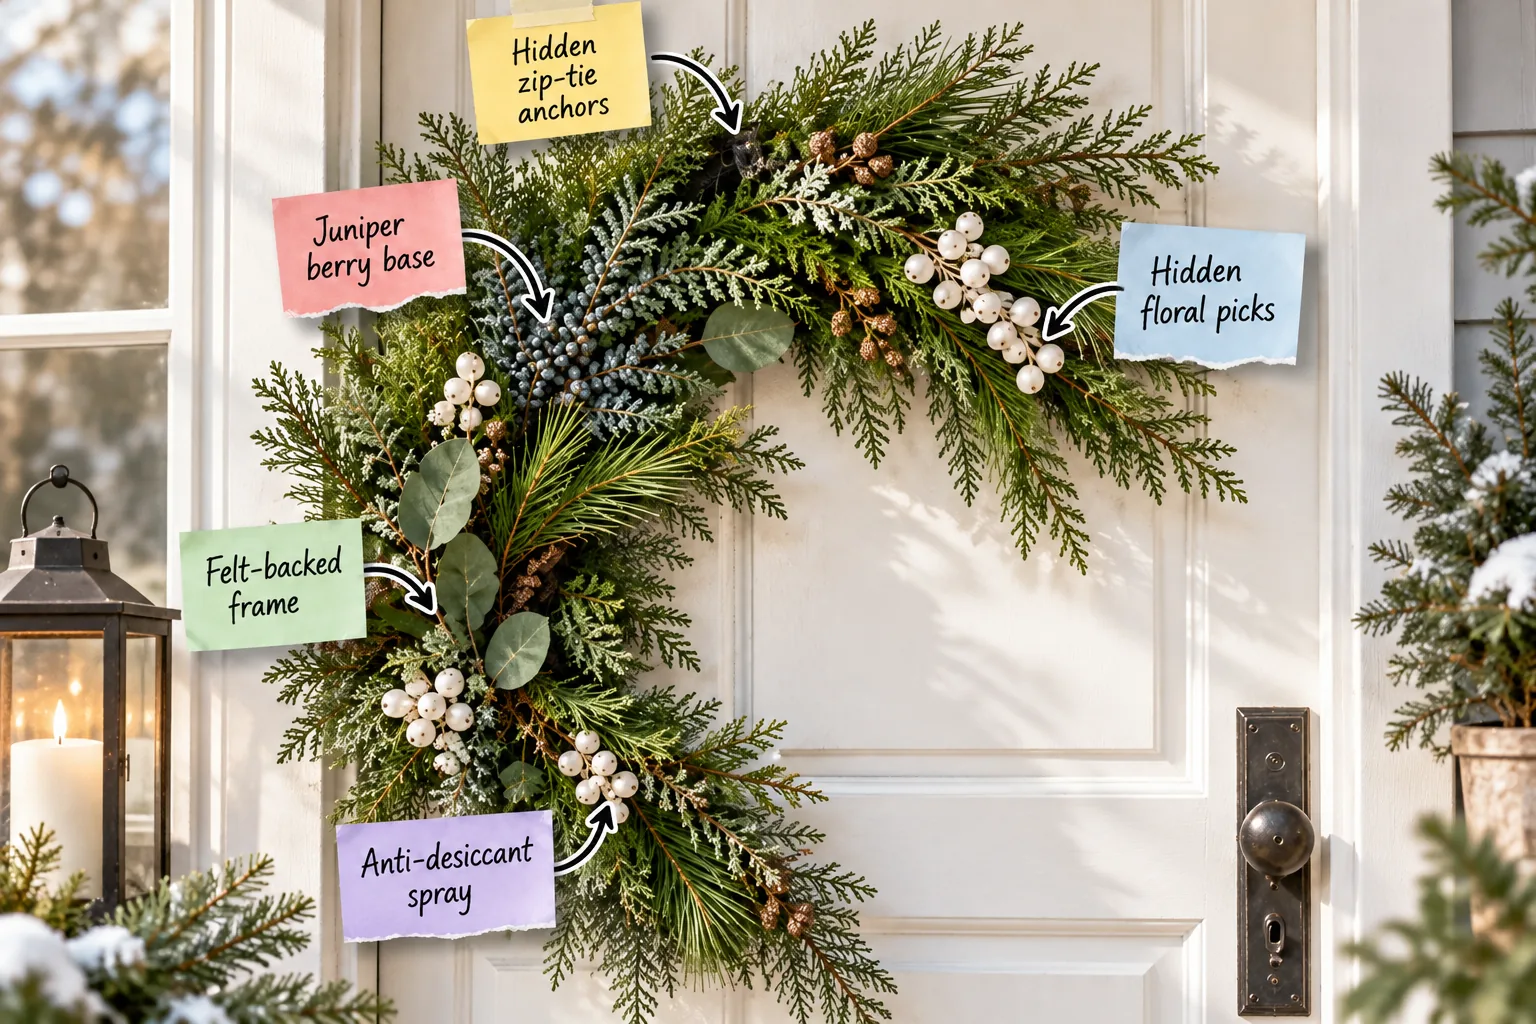
You can absolutely build a secure, asymmetrical evergreen wreath that stays vibrant for weeks without drying out. Grab our essential winter greens checklist below, and let’s master the hidden mechanics of a lush seasonal design that transforms your front entryway.
Protecting the Door with a Felt-Backed Frame
A heavy wreath can easily scratch a painted door every time it opens or closes in the winter wind. Gluing a continuous 1-inch strip of soft felt along the entire back edge of the frame creates a protective barrier that preserves your exterior paint.
The felt-backed frame acts as a gentle cushion against the wood, ensuring your holiday cheer doesn’t leave permanent scuff marks behind.
Sizing the Wreath to Your Entryway
Before clipping a single branch, you need to determine the correct scale for your specific door dimensions. Standard residential doors require a 24-inch finished diameter to look balanced, meaning you should start with an 18-inch bare wire base.
| Door Width | Ideal Bare Frame Size | Finished Wreath Diameter |
|---|---|---|
| Standard 36-inch single | 18 inches | 24 to 26 inches |
| Oversized 42-inch single | 24 inches | 30 to 32 inches |
| Double doors (each 30-inch) | 14 inches | 20 to 22 inches |
Measuring your space accurately prevents the common mistake of building an arrangement that visually overwhelms the hardware or looks lost on a grand porch.
The Winter Greens Selection Checklist
Not all foliage can survive a month without a continuous water source on a freezing porch. I learned this the hard way when my beautiful but delicate hemlock clippings turned completely brown in just three days.

Focus your design on hardy varieties like cedar, pine, and juniper that have the structural integrity to last. Before you start buying, run your potential greenery through this quick durability check to ensure it will survive the season.
Conditioning Your Stems Before Assembly
Proper hydration before assembly drastically extends the lifespan of your cut branches. Giving your greens a deep drink ensures they are fully saturated before they are exposed to harsh outdoor elements.
- Trim the ends: Cut one inch off every stem at a sharp 45-degree angle to open the vascular tissue.
- Submerge overnight: Place the freshly cut stems in a clean bucket of room-temperature water for at least twelve hours.
- Air dry completely: Shake off excess moisture and let the foliage dry on a towel so the stems won’t slip out of the wire later.
Skipping this crucial conditioning phase guarantees your arrangement will dry out prematurely, no matter how much you mist it later.
Establishing the Juniper Berry Base
Start your asymmetrical design by laying down a dense foundation of frosty blue-green juniper. Overlapping 8-inch sprigs in a single direction completely hides the mechanics while adding incredible texture.

Building a thick juniper berry base gives your wreath a professional weight and provides a sturdy anchor for all the delicate accents to come.
Overlapping Stems for Continuous Flow
The secret to a seamless ring of foliage is maintaining a consistent angle as you work around the wire frame. Always cover the cut stems of the previous bundle with the leafy tips of the next one.
Securing Heavy Branches with Zip-Tie Anchors
Standard floral wire often snaps under the weight of thick evergreen boughs. Swap the wire for 4-inch dark green plastic zip ties to anchor your heaviest structural branches securely to the frame.
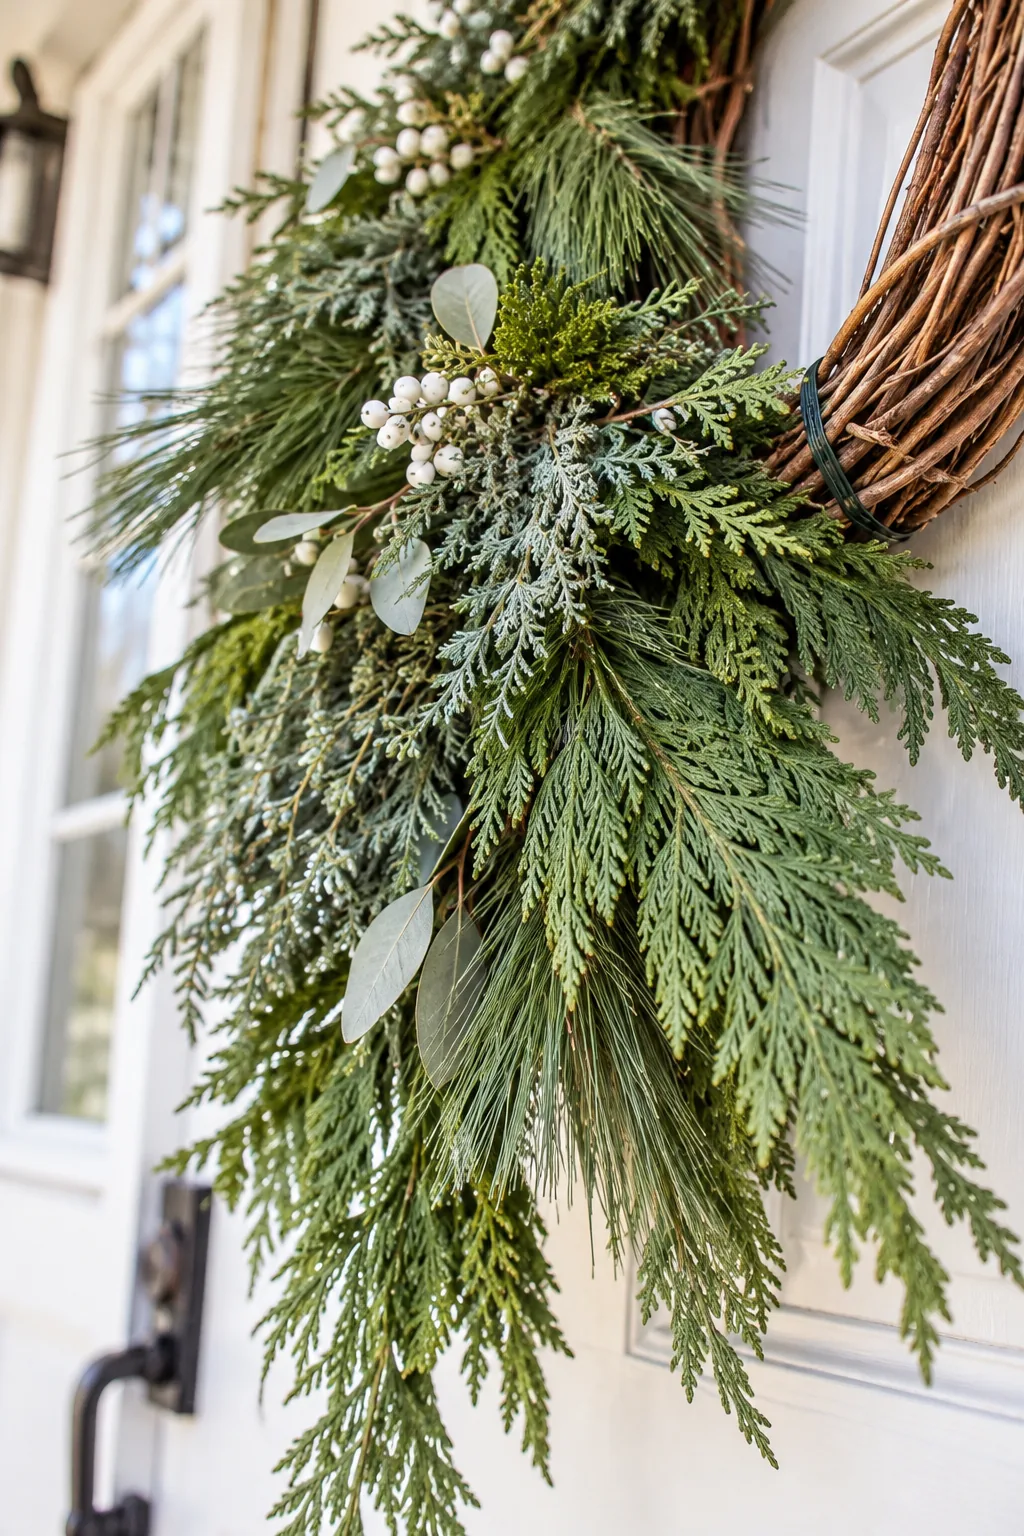
These hidden zip-tie anchors bite firmly into the stems, keeping your heaviest branches from shifting or drooping in harsh winter winds.
Trimming Bulk from the Inner Core
As you attach thicker branches, the inner ring of the frame can quickly become overcrowded and bulky. Strategically pruning the hidden underside of each bough allows it to lay flat against the door.
- Remove all needles from the bottom two inches of the stem to ensure a tight grip against the wire.
- Clip away any inward-facing lateral branches that push the main bough away from the frame.
- Shave down thick, woody knuckles on the back of the branch so it rests flush against the felt backing.
A streamlined inner core guarantees your arrangement hangs perfectly vertical rather than tilting awkwardly away from the glass.
Shaping the Asymmetrical Curve
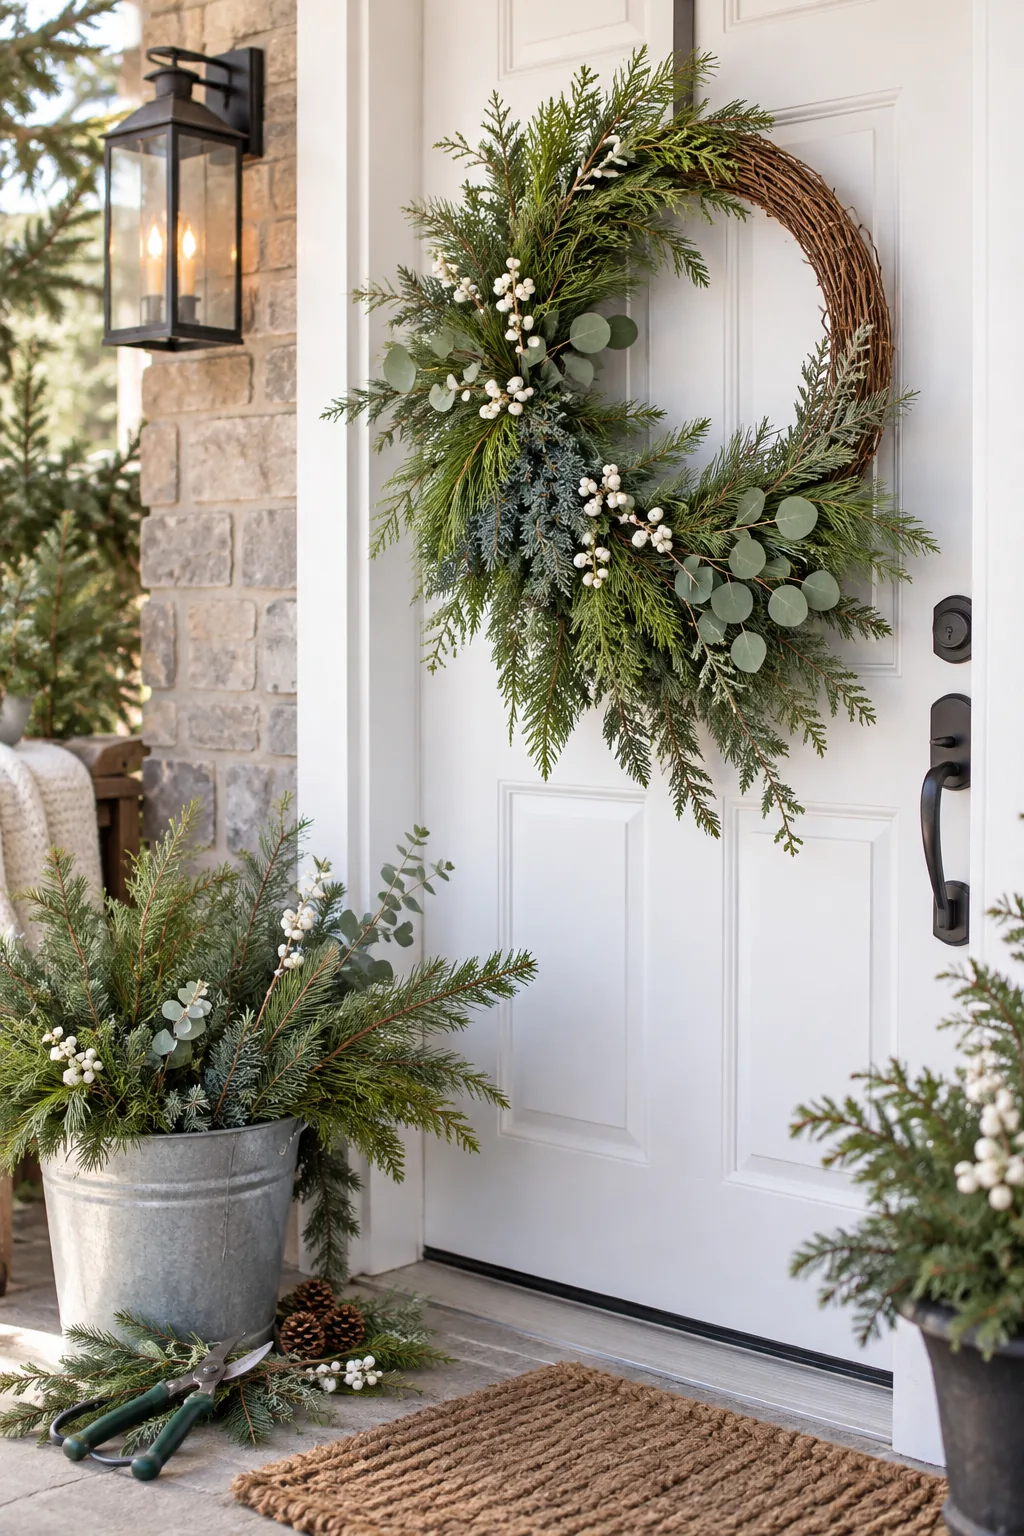
A modern asymmetrical wreath relies on deliberate negative space to highlight the natural vine base. I always hang my bare frame on the door first to visualize exactly where the heavy crescent should sit.

Build a sweeping curve of greens that covers exactly two-thirds of the frame, leaving the remaining top-right section completely exposed.
Integrating the Exposed Vine Frame
The transition between the lush foliage and the bare vine must look intentional rather than unfinished. Tucking a few trailing pieces of soft cedar gracefully along the exposed edge softens the harsh stopping point.
Anchoring Berries with Hidden Floral Picks
Delicate accents like white berries require precise placement that wire cannot always provide. Bind small berry clusters to 3-inch sharp wooden floral picks for a seamless look.

Plunge these hidden floral picks directly into the dense juniper base, ensuring the sharp wood catches firmly inside the tightly bound stems.
Wiring Pinecones for Organic Texture
Pinecones add beautiful rustic contrast but are notoriously difficult to attach cleanly. Wrapping a length of brown floral wire securely through the bottom scales gives you a sturdy tail to twist directly onto the main frame.
Sealing Foliage with Anti-Desiccant Spray
Indoor heating and dry winter winds pull moisture rapidly from cut branches. I lost too many early wreaths to brittle needles before I started sealing the entire arrangement outdoors before hanging it.

A thorough coat of anti-desiccant spray locks in hydration and leaves a subtle, healthy sheen on the needles that lasts for weeks.
Curing the Sealant Outdoors
Anti-desiccant treatments require proper curing time to form an effective moisture barrier. Leave your freshly sprayed arrangement flat in a well-ventilated garage or covered porch for at least two hours until the foliage feels completely dry to the touch.
More Winter Wreath Ideas to Try
Once you master the basic mechanics, explore these distinct styles to perfectly match your home's exterior.
Minimalist Scandi Brass Hoop: Embrace simplicity with a thin brass hoop adorned with just a few sprigs of silver dollar eucalyptus.

Traditional Magnolia and Berry: Create a classic, elegant look by layering glossy magnolia leaves with clusters of vibrant red holly berries.

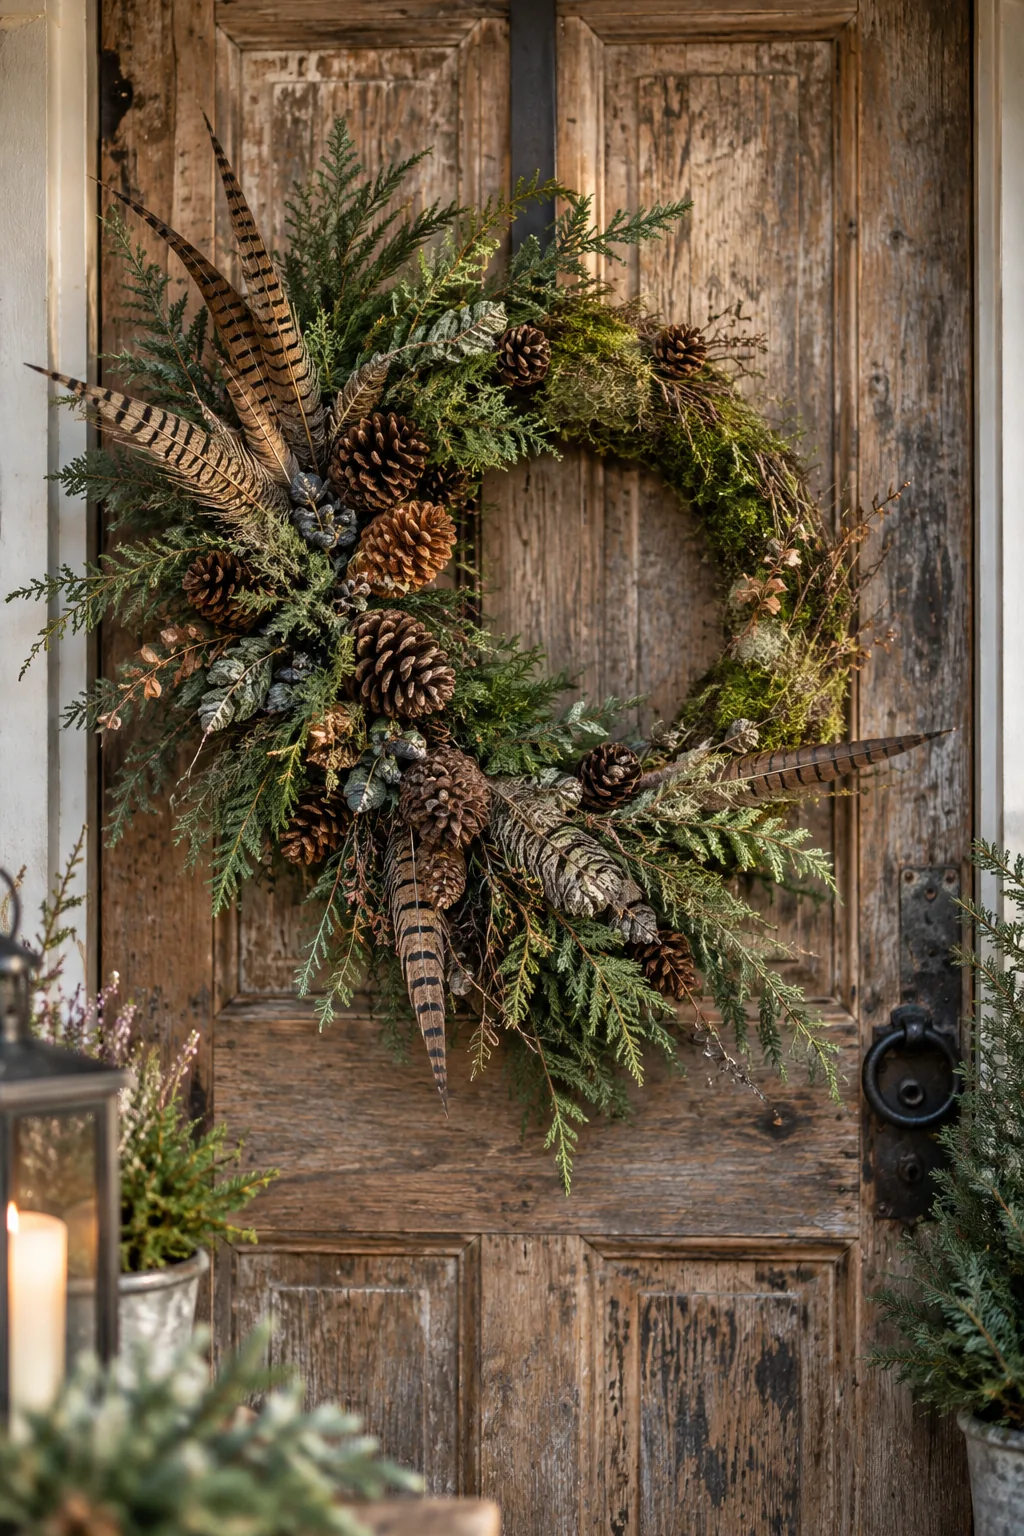
Wild Foraged Woodland Texture: Incorporate foraged elements like natural pinecones and pheasant feathers to give your greenery a rustic, untamed aesthetic.
Routine Misting for Extended Freshness
Even with a protective sealant, cut greens benefit immensely from supplemental hydration. Lightly misting the exposed cut stems at the back of the wreath every three days will noticeably extend the vibrancy of the foliage.

Once your wreath is proudly displayed on the front door, a simple maintenance habit is all it takes to keep it looking freshly cut.