
Small Bathroom Photography: 6 Phone Angles for a Spa Look
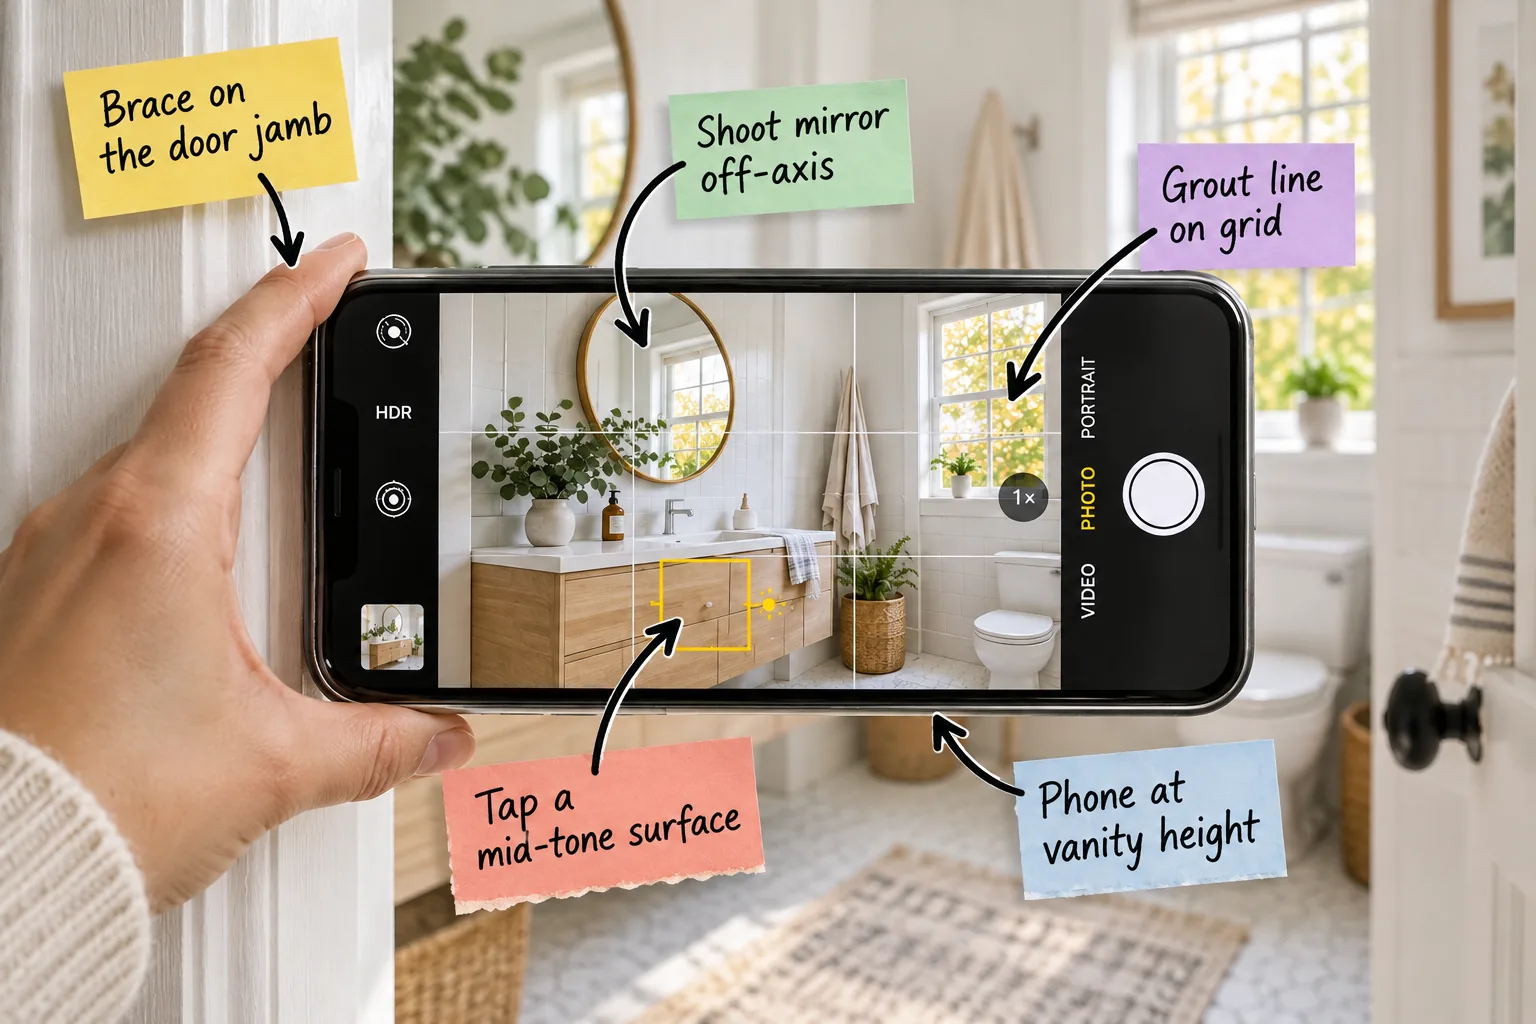
You will be able to capture professional-looking, bright, and spacious photos of your small bathroom using just your smartphone. Grab our printable small-bathroom phone shot list featuring six framed angles with the exact camera spot, plus a 10-minute pre-shoot styling checklist.
Anchor the Shot at the Doorway
Start by physically stabilizing the camera to avoid low-light blur by pressing the long edge of your phone flat against the painted door jamb. This structural brace acts exactly like a traditional tripod to completely eliminate frustrating camera shake in tight spaces.
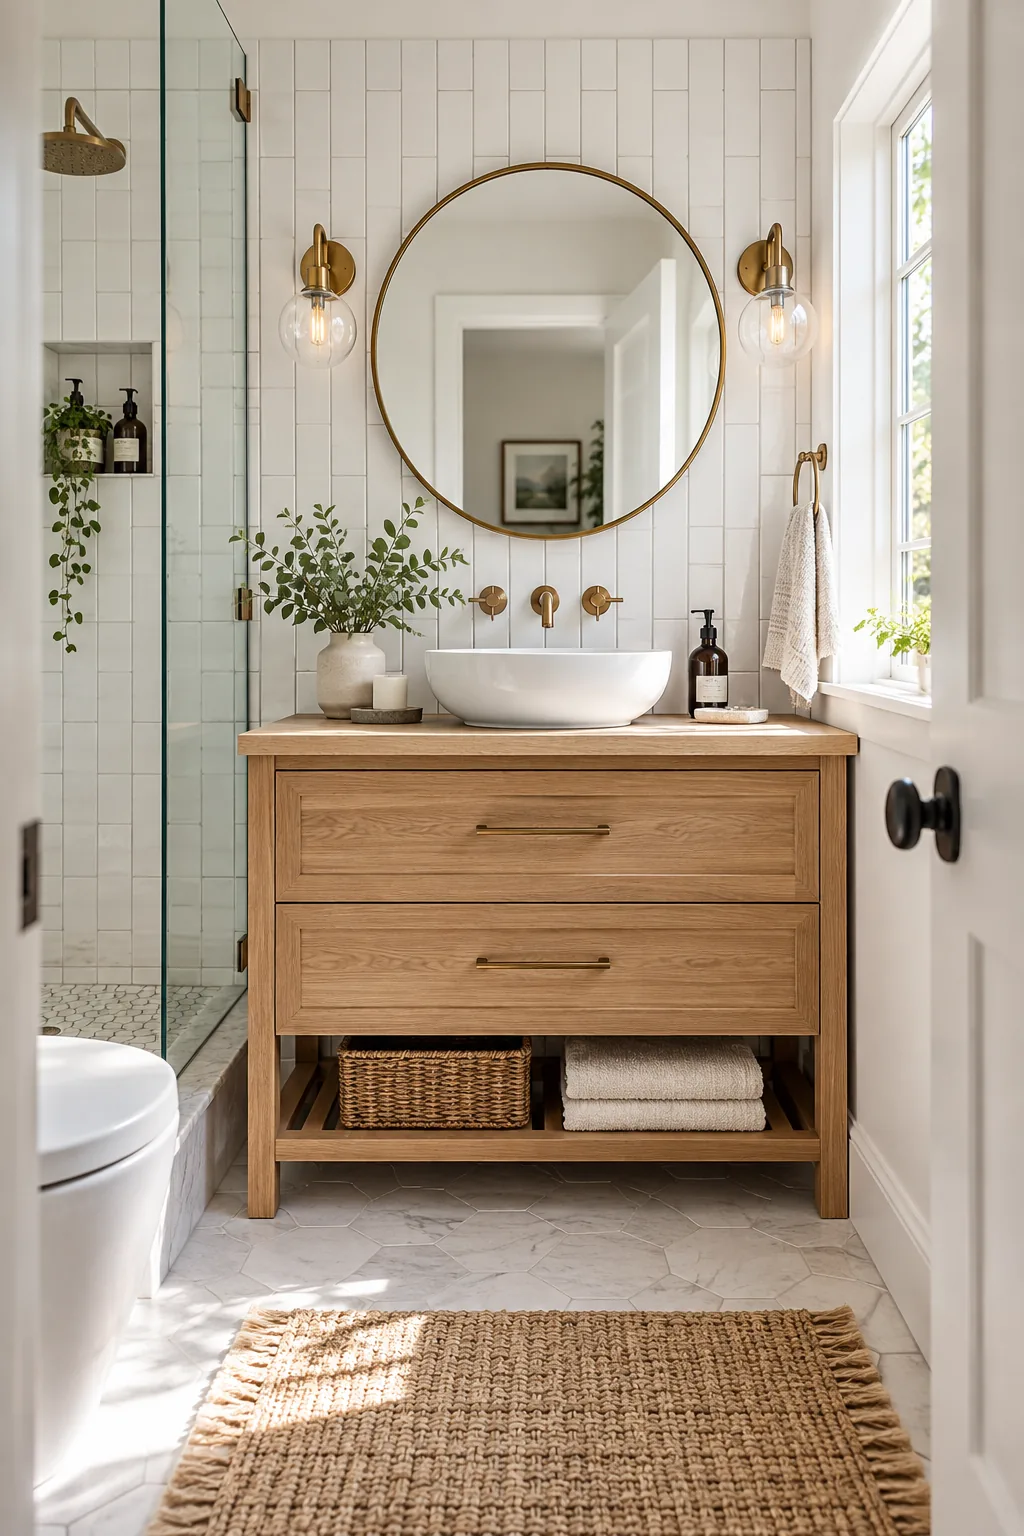
Using this built-in architectural support guarantees perfectly sharp images, even when your tiny bathroom lacks natural light and the digital sensor automatically requires a much longer exposure time to gather enough illumination.
Eliminate Micro-Vibrations
Even with your device braced firmly against the doorway trim, subtle human movement and heavy breathing can still introduce unwanted micro-blur into the final photograph of your compact, heavily shadowed space.
- Tuck your elbows tightly against your ribs to create a solid human tripod.
- Exhale completely and pause before tapping the digital shutter button.
- Hold your physical position for one full second after capturing the image.
Position the Lens Carefully
Ensure that your smartphone lenses are wiped completely clean with a microfiber cloth before you begin shooting. Fingerprint smudges will instantly create glowing, hazy halos around your window light, ruining that crisp, high-end editorial aesthetic we want to achieve.
Shoot at Vanity Counter Height
Hold the phone so its lower edge is exactly level with the vanity countertop, which establishes a grounded, realistic perspective at typically 36 inches off the floor. This specific height prevents vertical lines from leaning backward or forwards.
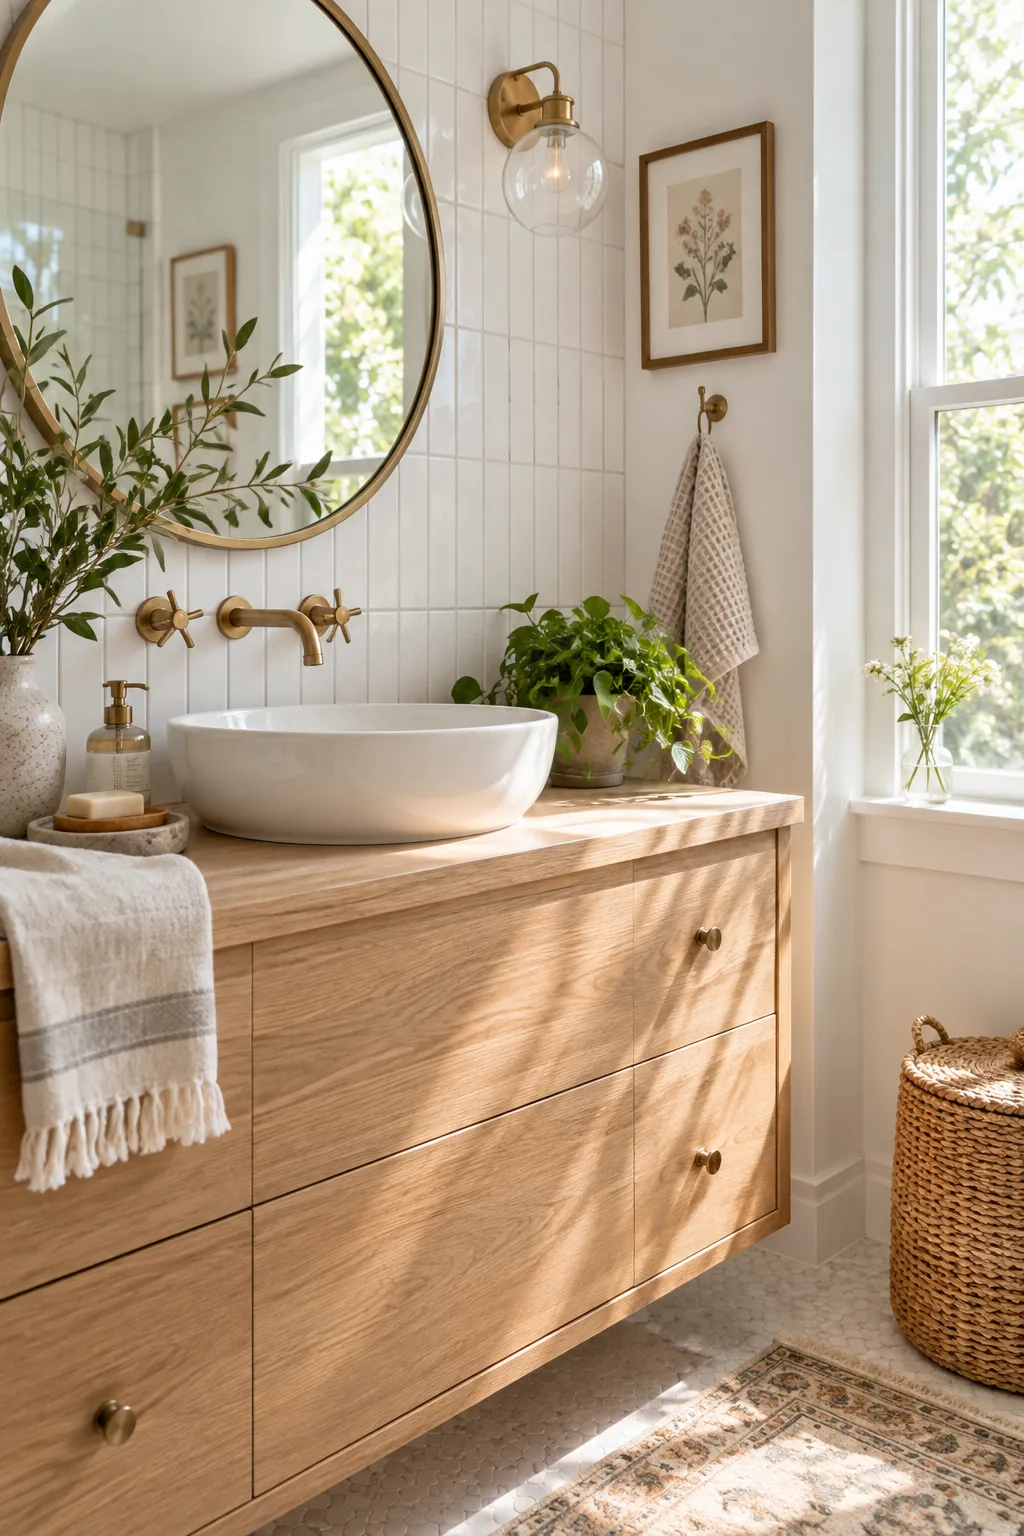
Shooting exactly at this 36-inch level keeps the room from looking unnaturally deep or distorted, placing the viewer exactly where the human eye naturally expects to interact with a functional daily surface.
Establish the Room Depth
Capturing the space from the hallway threshold at counter level provides the maximum possible focal distance. This deliberate positioning makes the opposite shower wall appear significantly further away than it actually is, instantly doubling the perceived square footage.
Lock Exposure on a Mid-Tone
Avoid tapping the bright window pane or deep corner shadows to set your exposure, as this forces the digital sensor to overcompensate and lose crucial detail in the opposite extremes. You want a harmonious, Eastern-inspired balance of light and shadow.
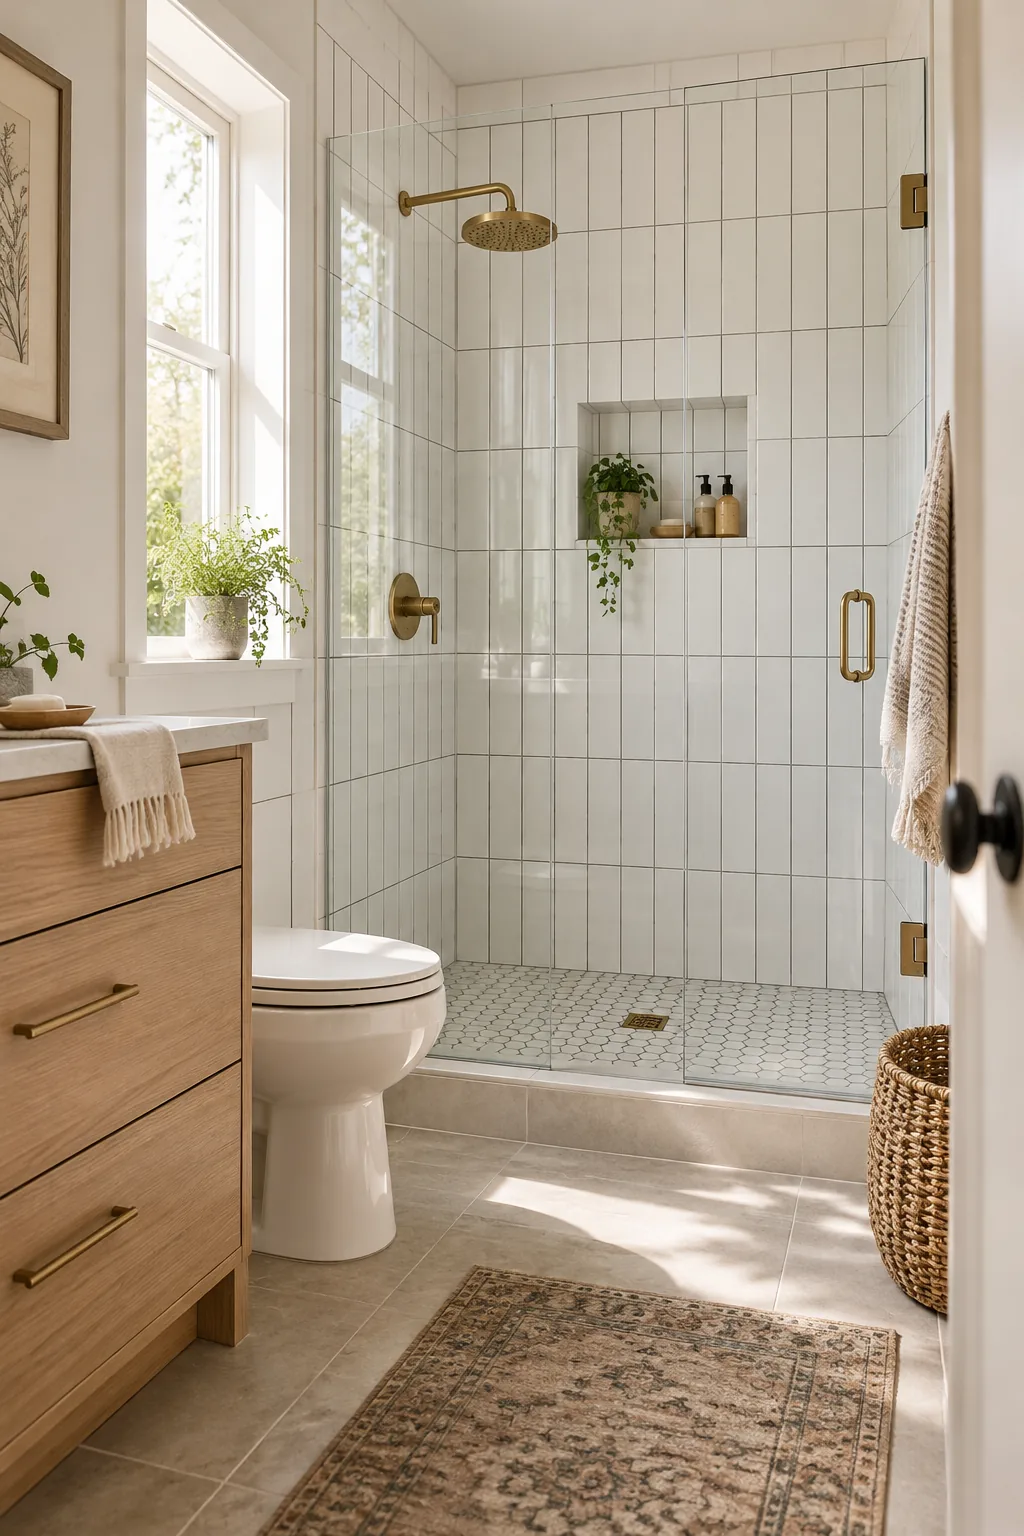
Instead, tap the yellow focus square on a mid-tone surface like a light oak vanity front or a soft gray tile to keep the entire room beautifully balanced without overexposing the natural daylight.
Lock the Focus and Brightness
Securing your exposure settings ensures that passing clouds or unexpected reflections do not suddenly darken your carefully composed interior shot right as you tap the digital shutter button.
- Press and hold the mid-tone screen area until the AE/AF Lock badge appears.
- Drag the small sun icon slightly downward to preserve delicate window highlight details.
- Keep the phone perfectly still while the sensor adjusts to the locked parameters.
Align the Grid to Vertical Grout
Keep the room looking architecturally sound by finding a prominent vertical grout line in the shower to serve as your primary visual anchor. Line it up perfectly with one of the vertical lines on your camera’s digital grid overlay.
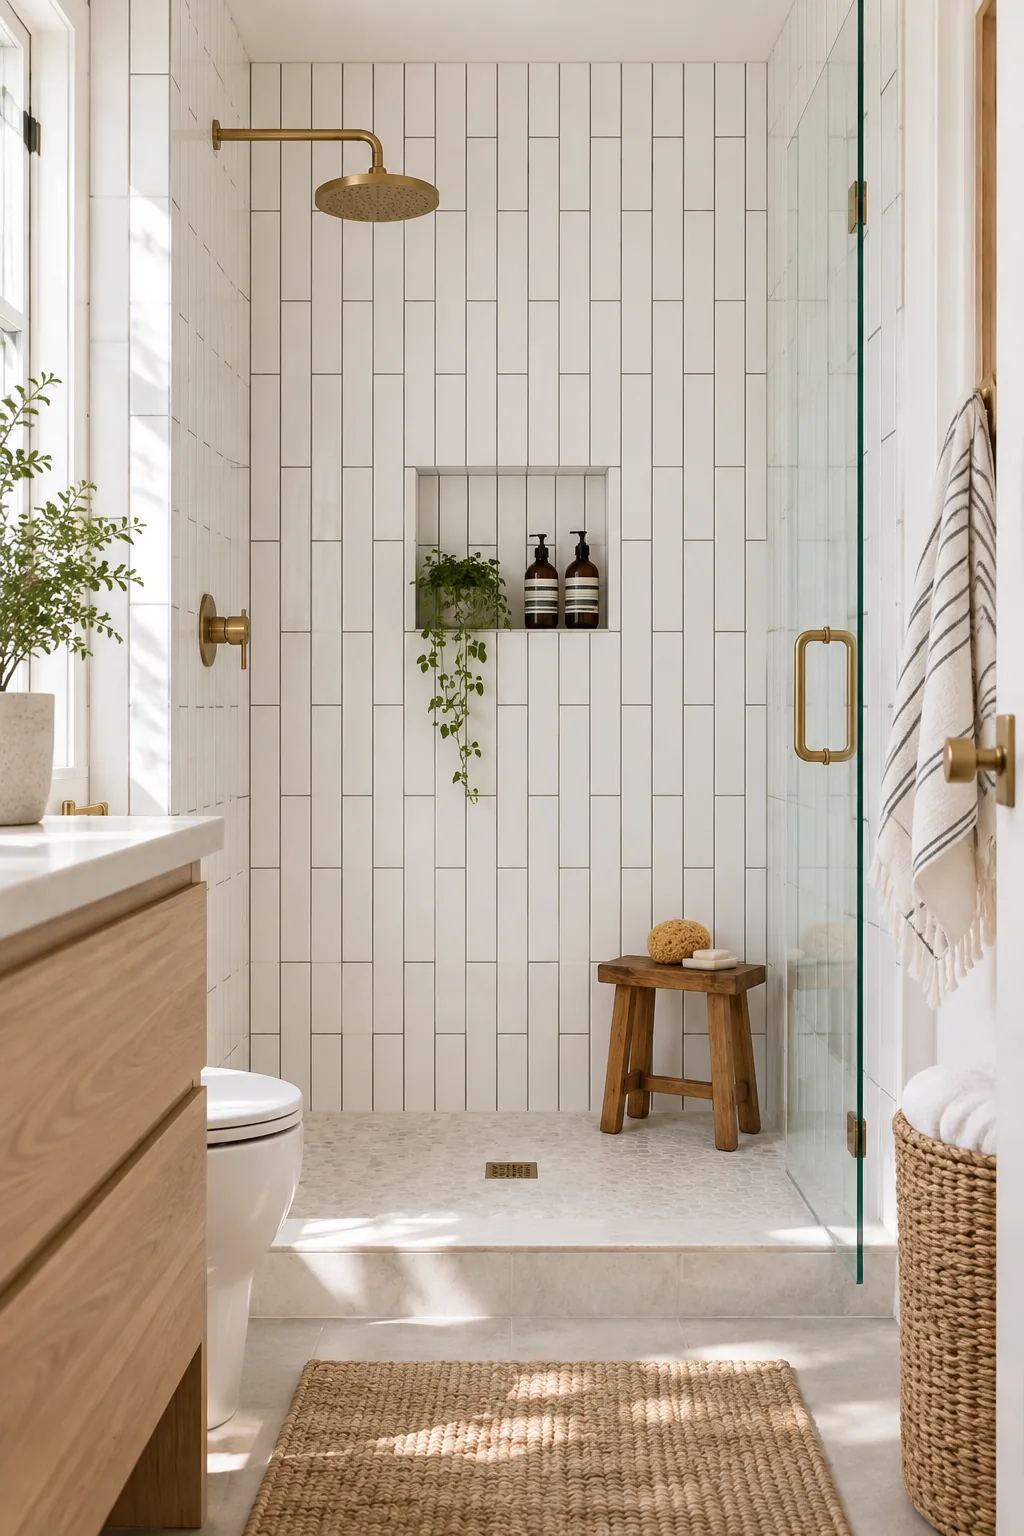
If you cannot see the intersecting guidelines on your phone screen, you will need to activate them outside of the camera app to ensure the walls do not appear to lean awkwardly inward.
Correct Perspective Distortion Early
Lining up that vertical grout perfectly with your camera’s grid overlay guarantees that your structural elements remain straight and true. This analytical approach to framing mimics the precise perspective control lenses used by professional architectural photographers.
Check the Ceiling Margins
Leaving a slender, intentional sliver of the ceiling visible at the top of your frame provides essential context for the room’s overall height. This subtle visual cue makes the compact floor plan feel significantly more expansive and breathable.
Angle Away from the Mirror
To capture the vanity without capturing yourself in the glass, step about 12 to 18 inches left or right of the center line. This off-axis perspective requires a bit of geometric strategy to execute correctly.
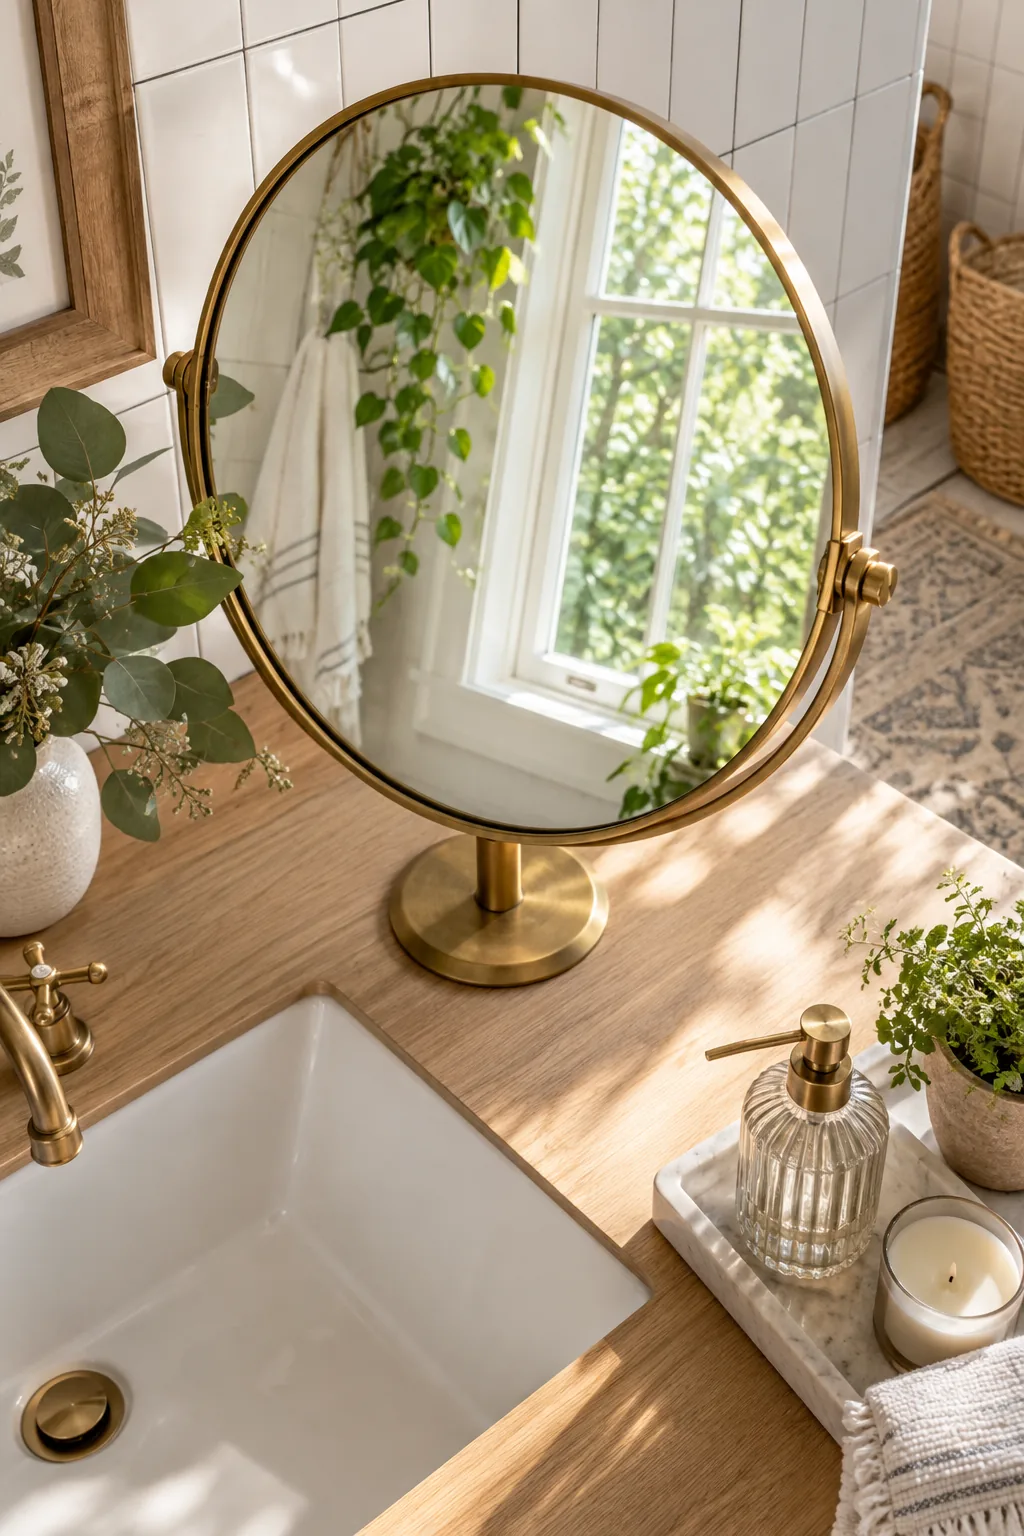
I use this exact off-axis trick in my own Denver powder room to bounce the bright window light directly into the lens while staying completely hidden from the final reflection.
Utilize the Reflection
Shooting from a slight diagonal not only hides the photographer but also allows the mirror to act as a powerful secondary light source. It catches the exterior daylight and throws it back into the darkest corners of your bathroom.
Maximize Indirect Window Light
Turn off all overhead artificial lights and vanity sconces immediately. Relying entirely on indirect window light eliminates harsh yellow color casts that fight aggressively with the cool daylight pouring inside.
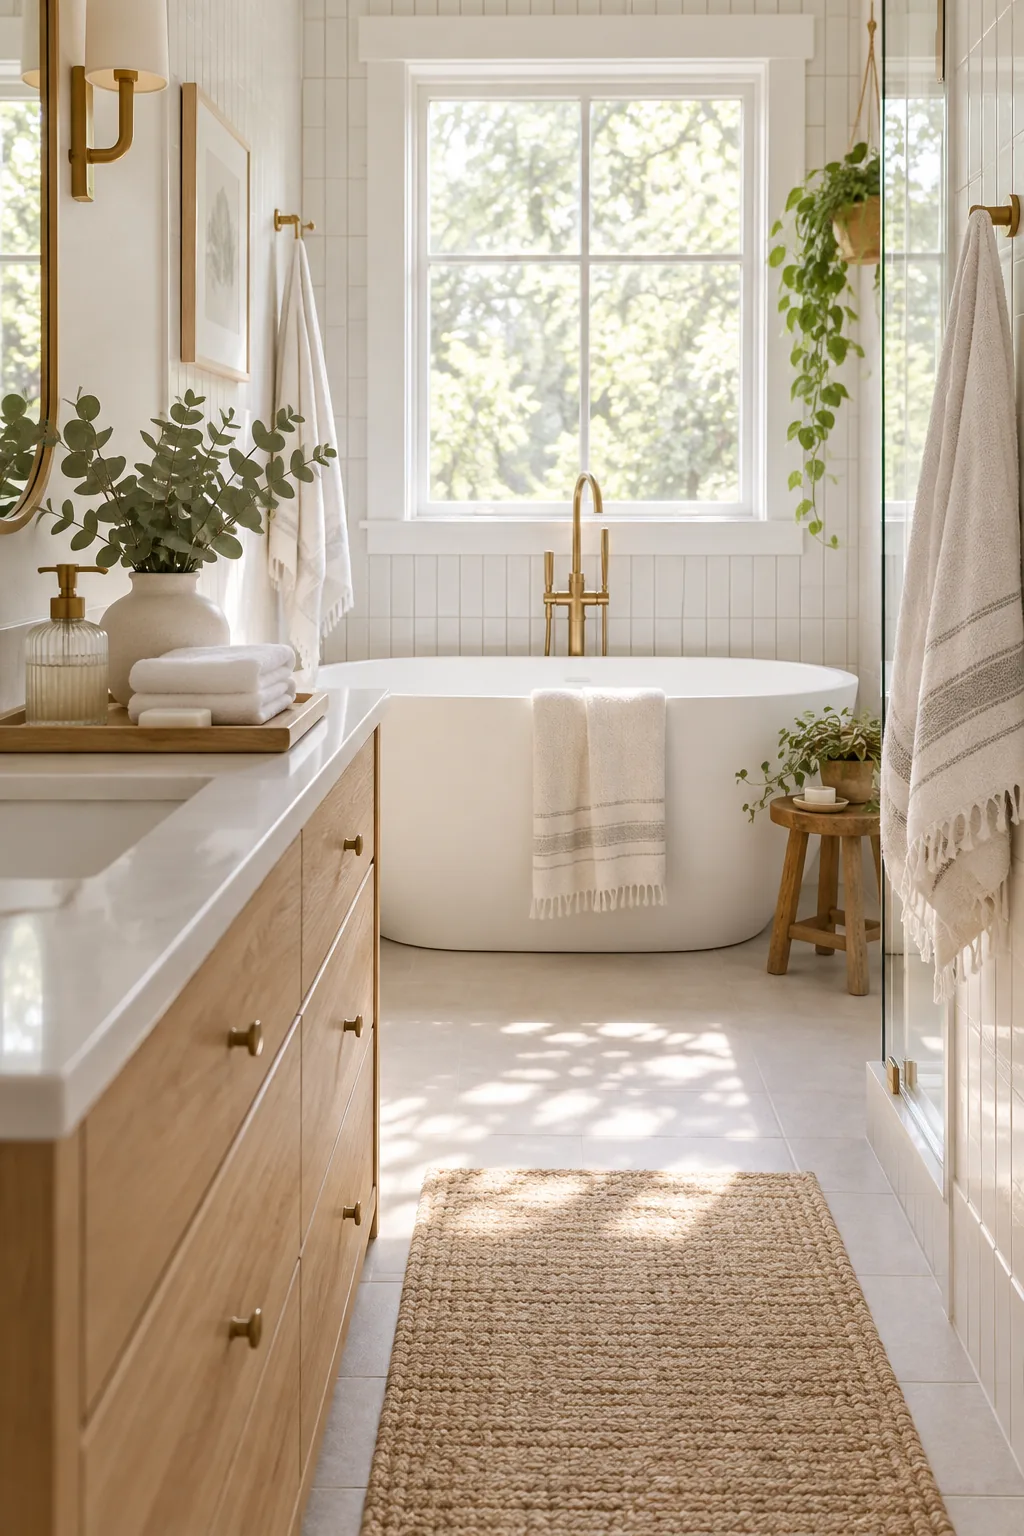
Embracing this natural illumination gives the bathroom a serene, spa-like atmosphere, a crucial lesson I learned quickly when photographing my first heavily shadowed basement remodel years ago.
Diffuse Harsh Sunlight
If direct morning sunbeams are creating blown-out, glowing white patches on your floor tile, pull a sheer white curtain across the glass. This simple physical filter softens and scatters the harsh illumination into a beautiful, even wash of light.
Manage the Door Swing
If the bathroom door swings inward and physically blocks your ideal wide shot from the hallway, temporarily tap the hinge pins out. Removing the heavy slab entirely opens up the sightlines and gives you crucial extra inches for framing.
The 10-Minute Styling Sweep
Before taking a single photo, clear away the visual clutter that distracts from the architecture. Hide daily grooming products, thoroughly wipe down the fixtures, and leave only intentional decorative elements visible on the stone surfaces.
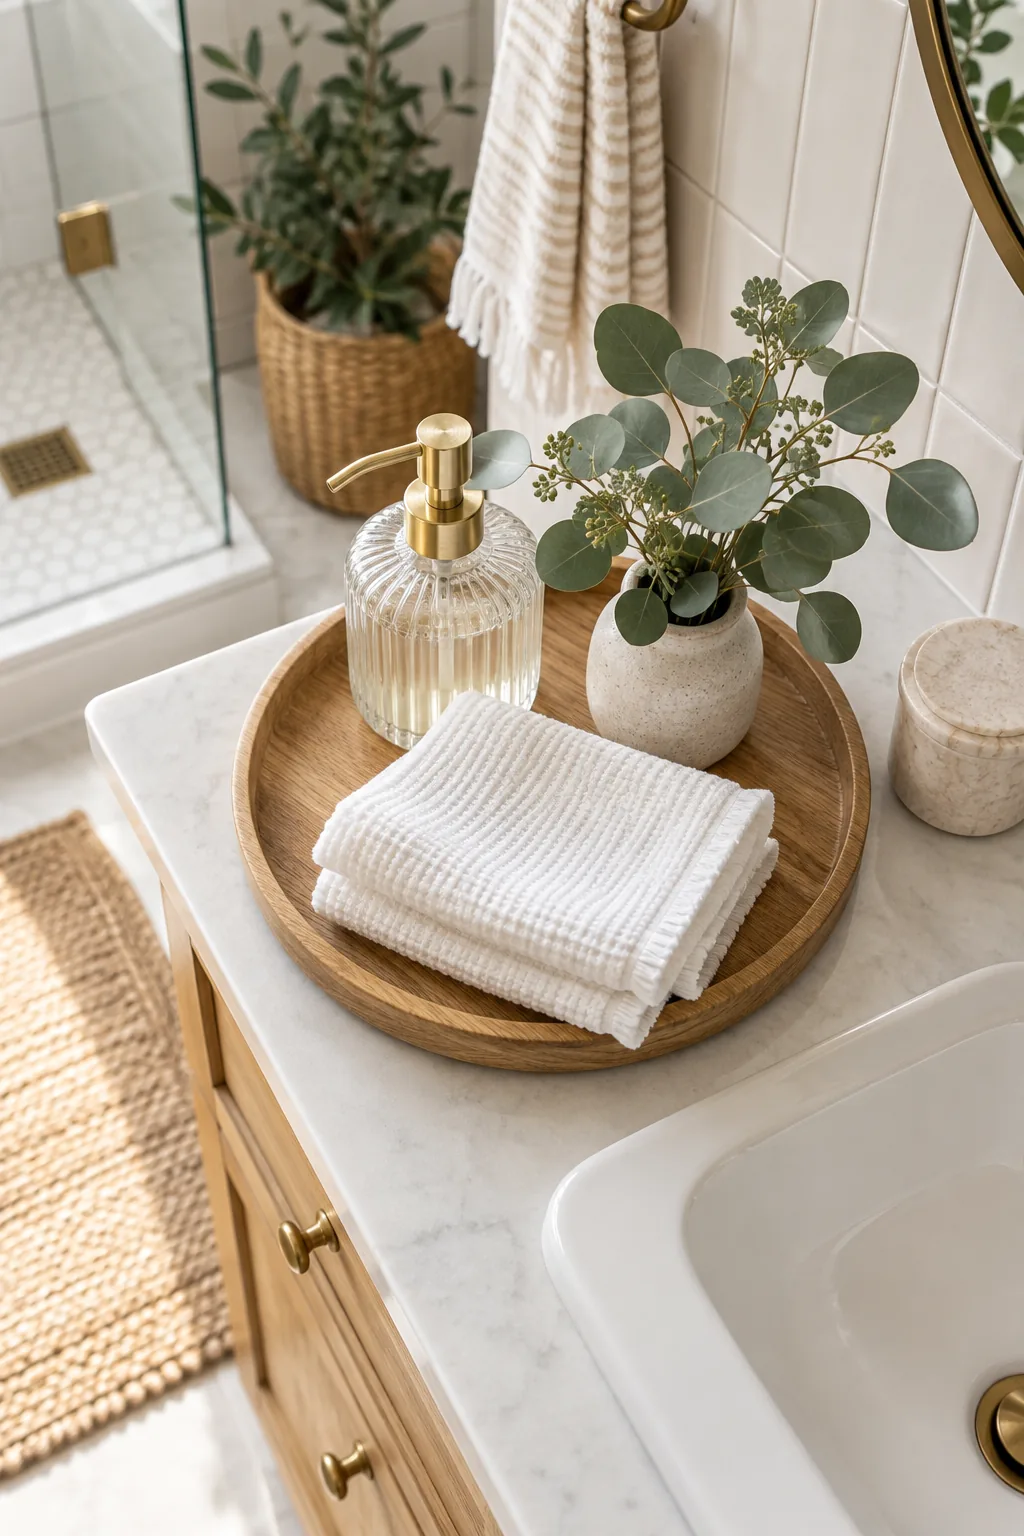
Run through this quick visual sweep to ensure the room looks thoughtfully styled rather than simply lived-in, a mandatory habit I always practice before handing a finished space back to a client.
Group Essentials on a Tray
Consolidating your remaining aesthetic items onto a single stone or warm wood tray provides a purposeful focal point. This structured arrangement prevents the vanity counter from feeling empty while maintaining a rigorous sense of visual order.
Polish the Metal Fixtures
Take a dry microfiber cloth to every visible faucet, showerhead, and cabinet pull right before shooting. High-resolution smartphone cameras will mercilessly highlight every single dried water spot on your polished brass or chrome hardware.
5 Small Bathrooms Styled for the Camera
Explore how different palettes and materials shine when photographed with these techniques.
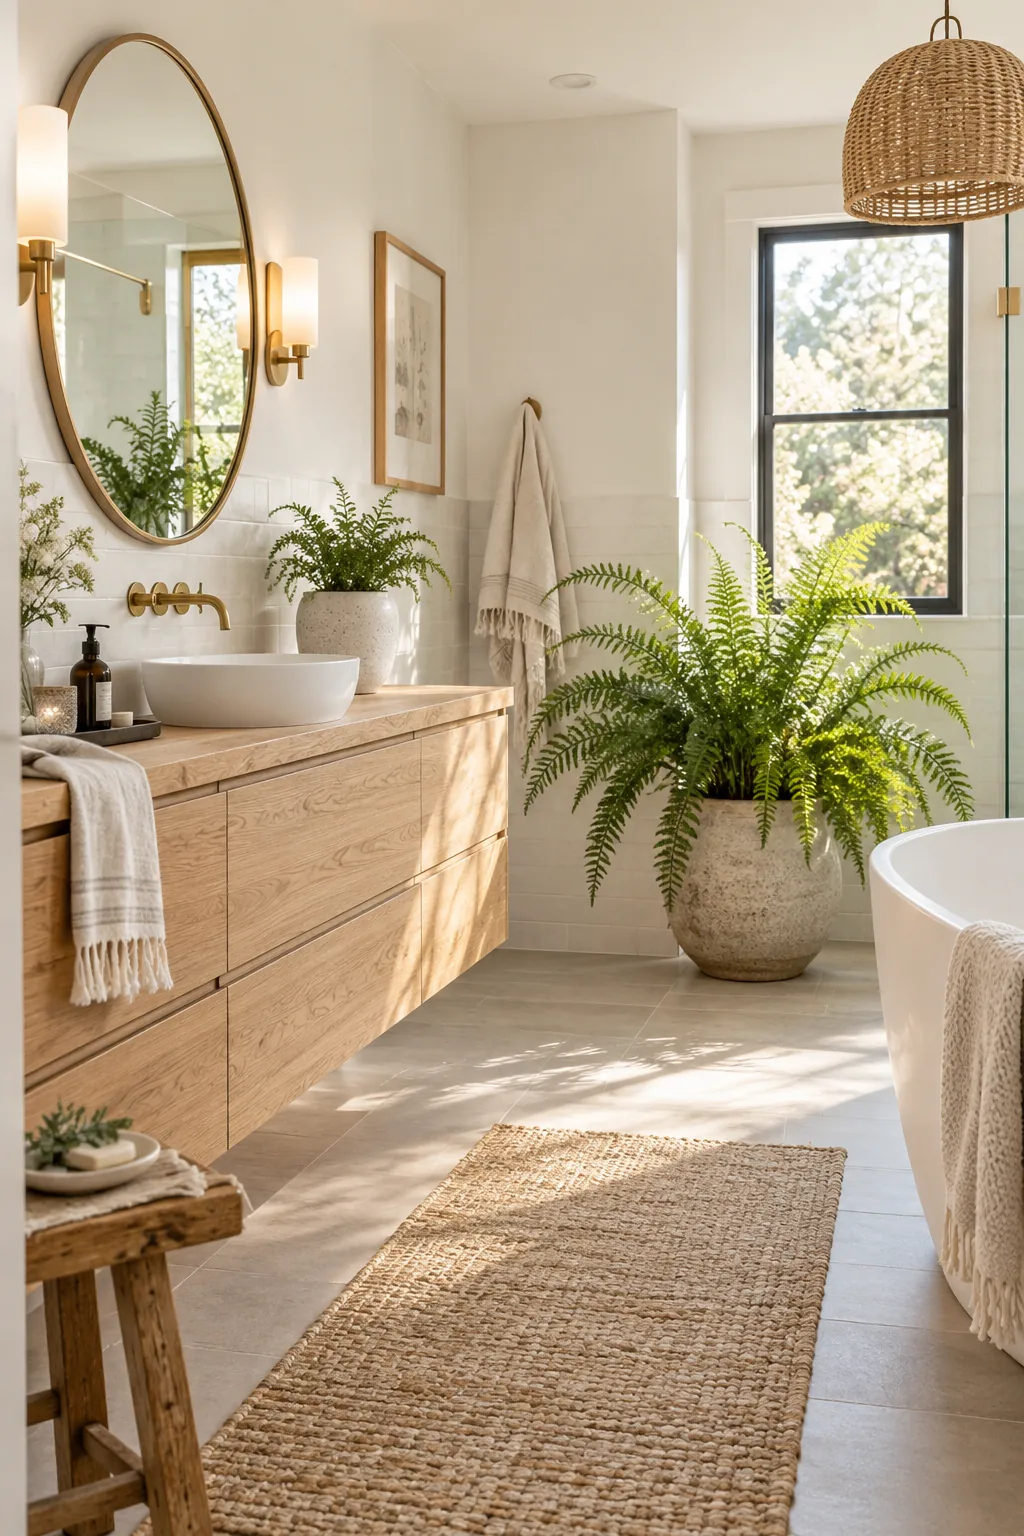
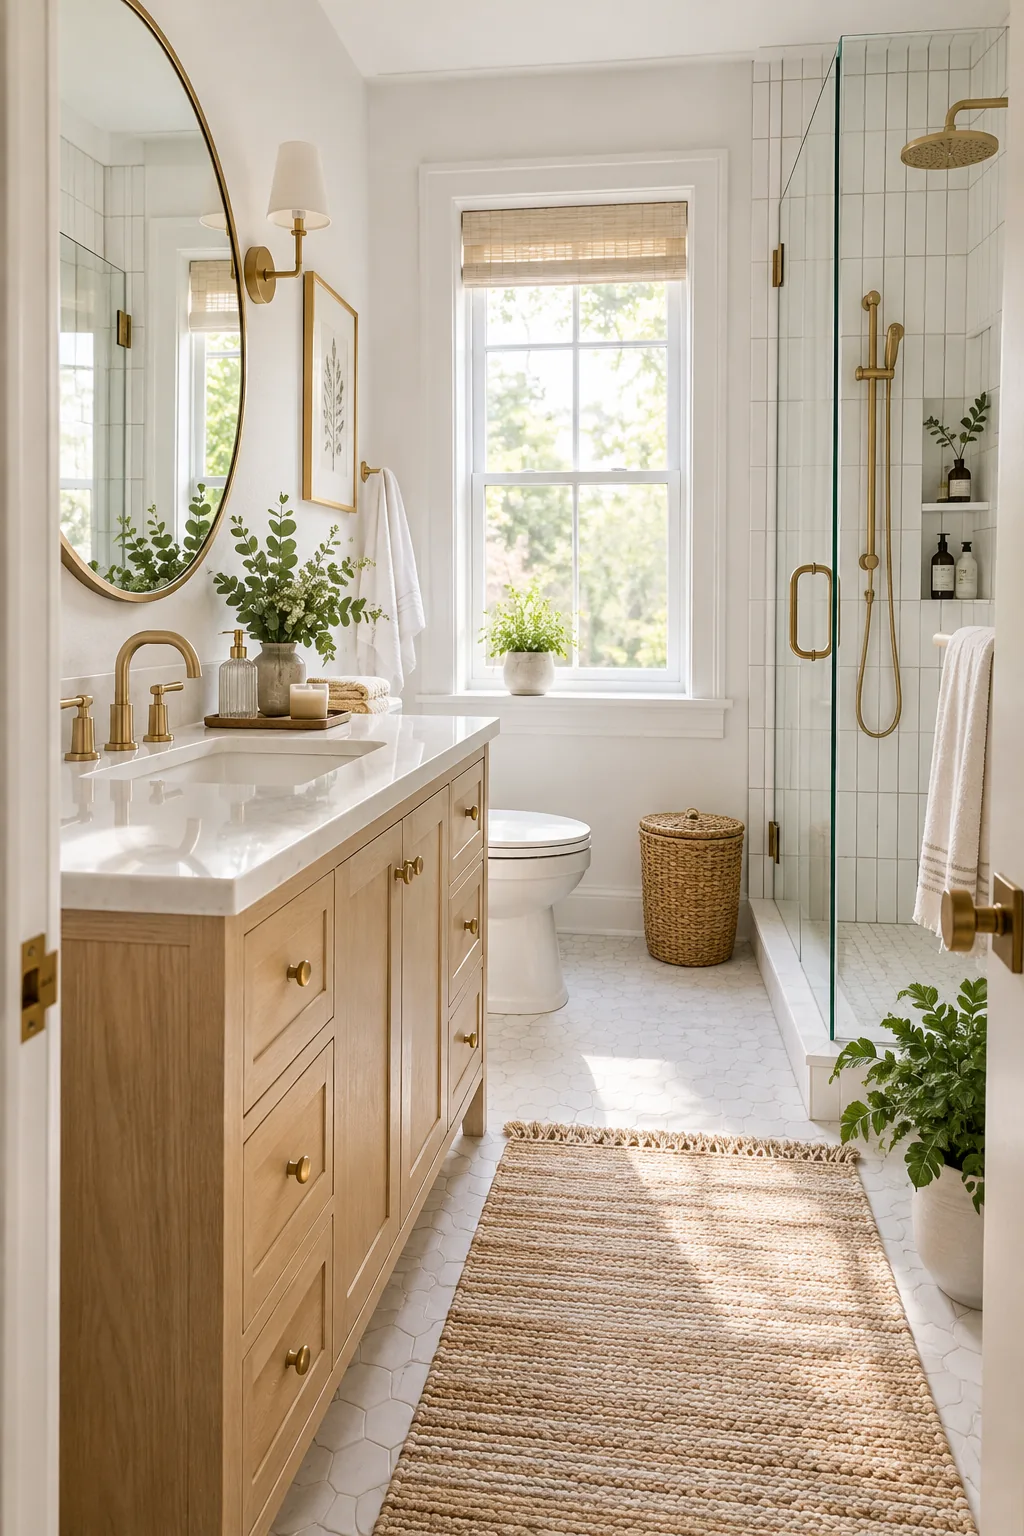
Modern organic with white oak: Warm wood tones and vibrant greenery soften the stark white walls for a natural, spa-like retreat.
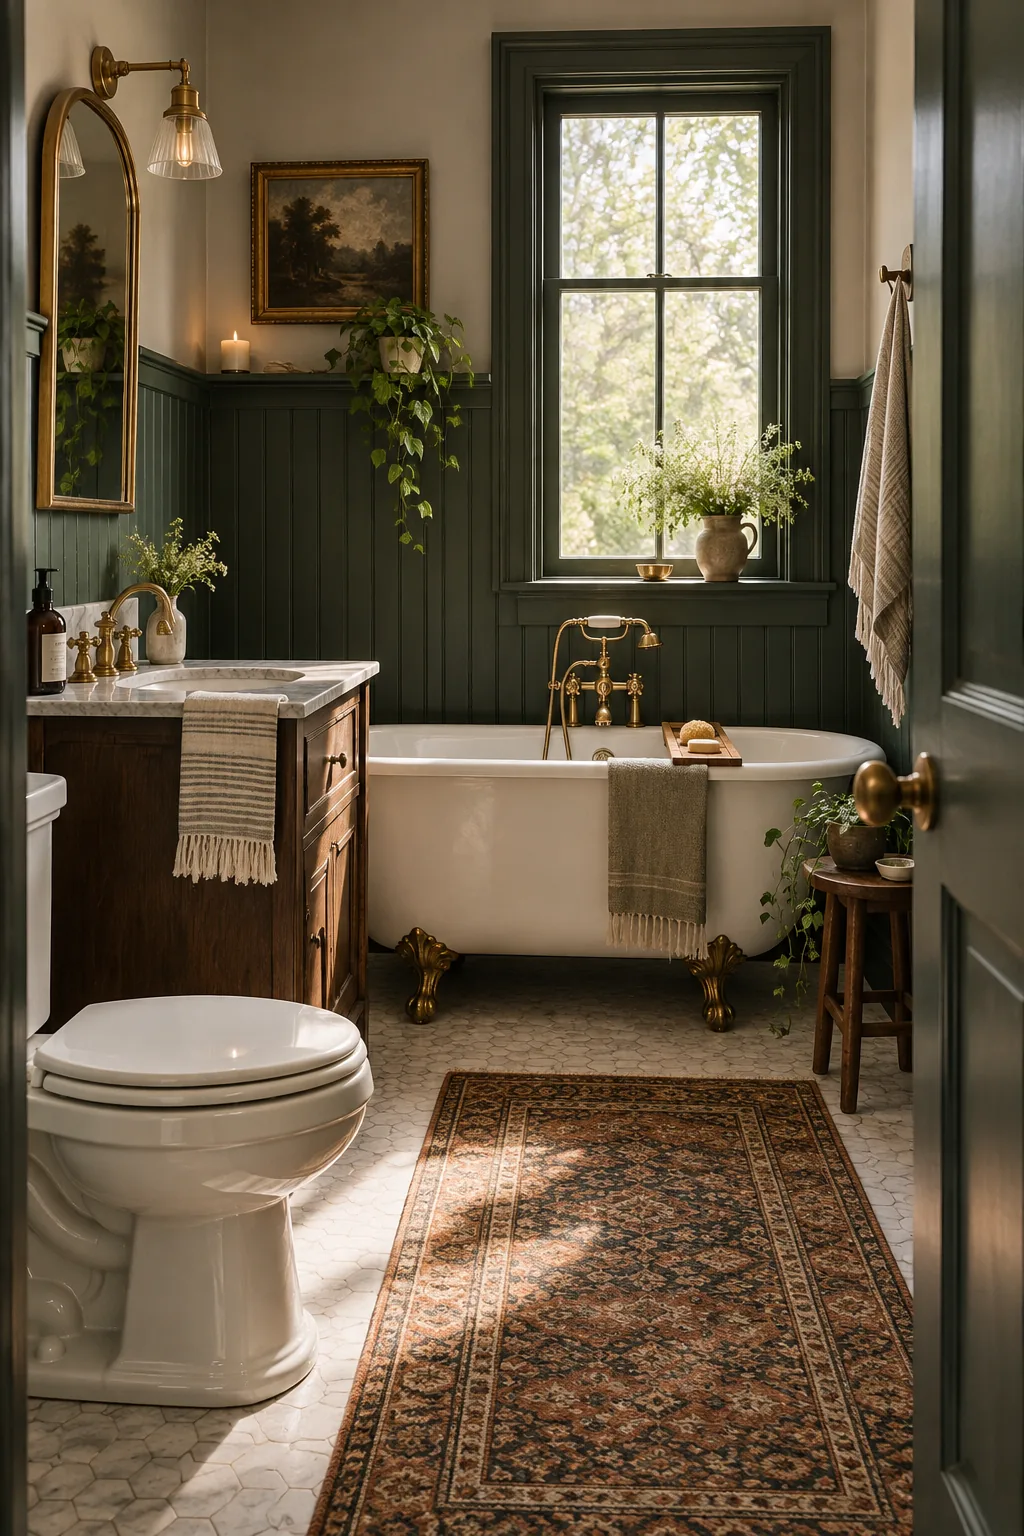
Moody vintage with dark green: Deep green beadboard adds instant historic charm when paired with living brass finishes.
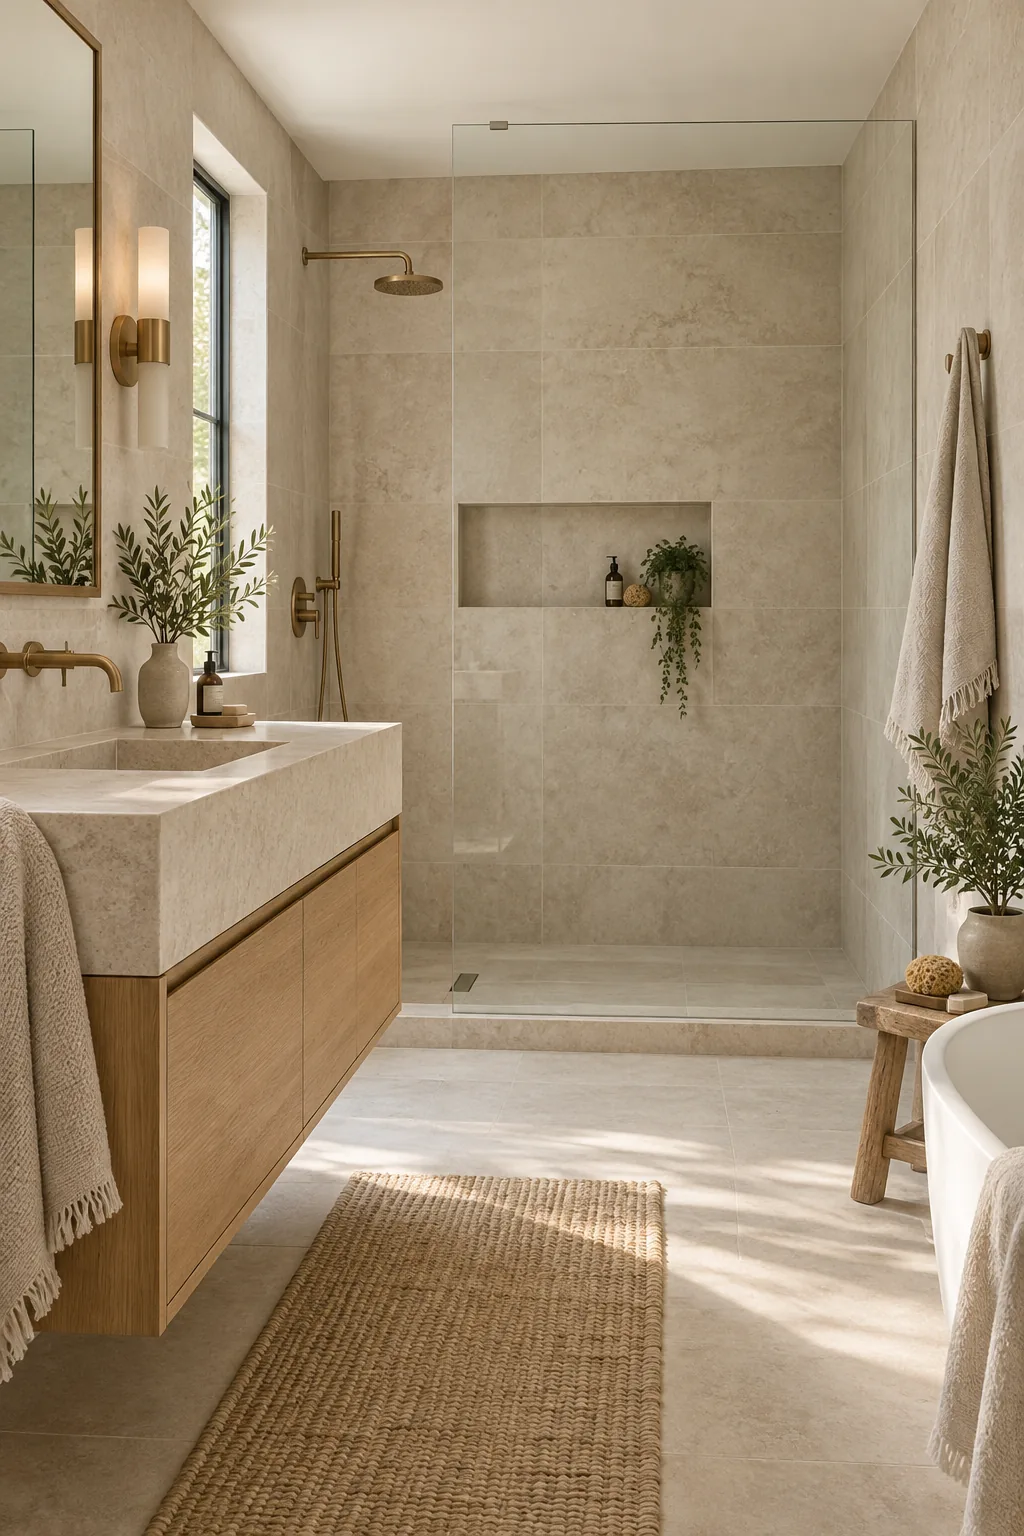
Minimalist spa in warm limestone: Large-format stone tiles reduce grout lines, making a tight footprint feel expansive and seamless.
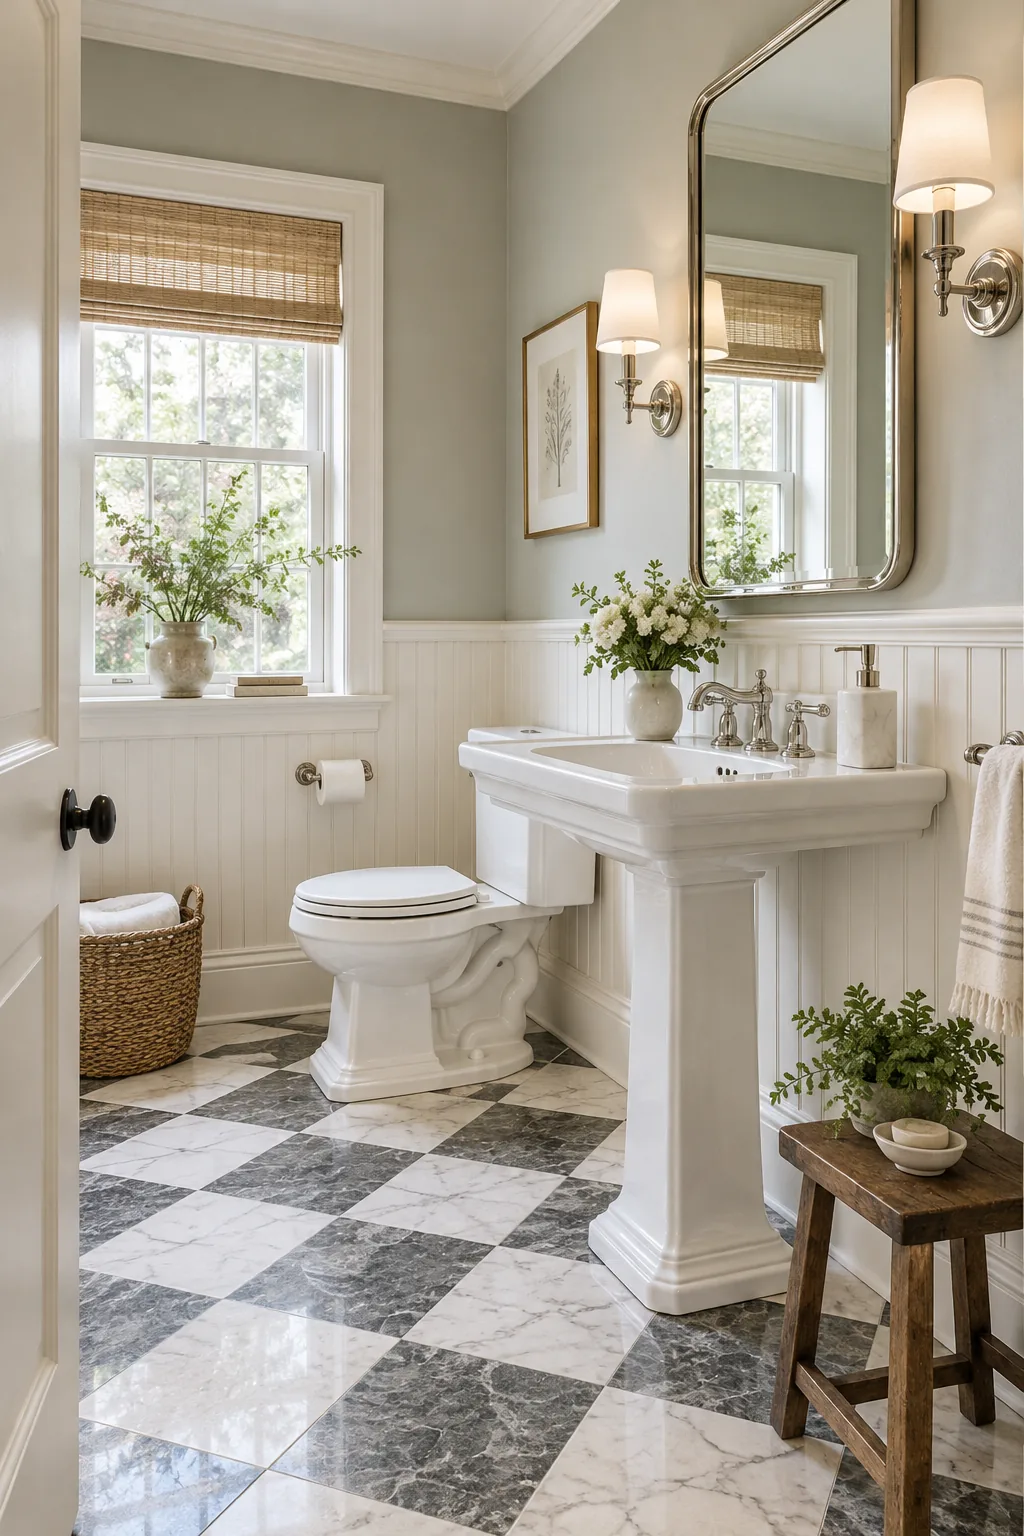
Traditional elegance with marble checkerboard: A classic black and white marble floor anchors the room with timeless, elegant contrast.
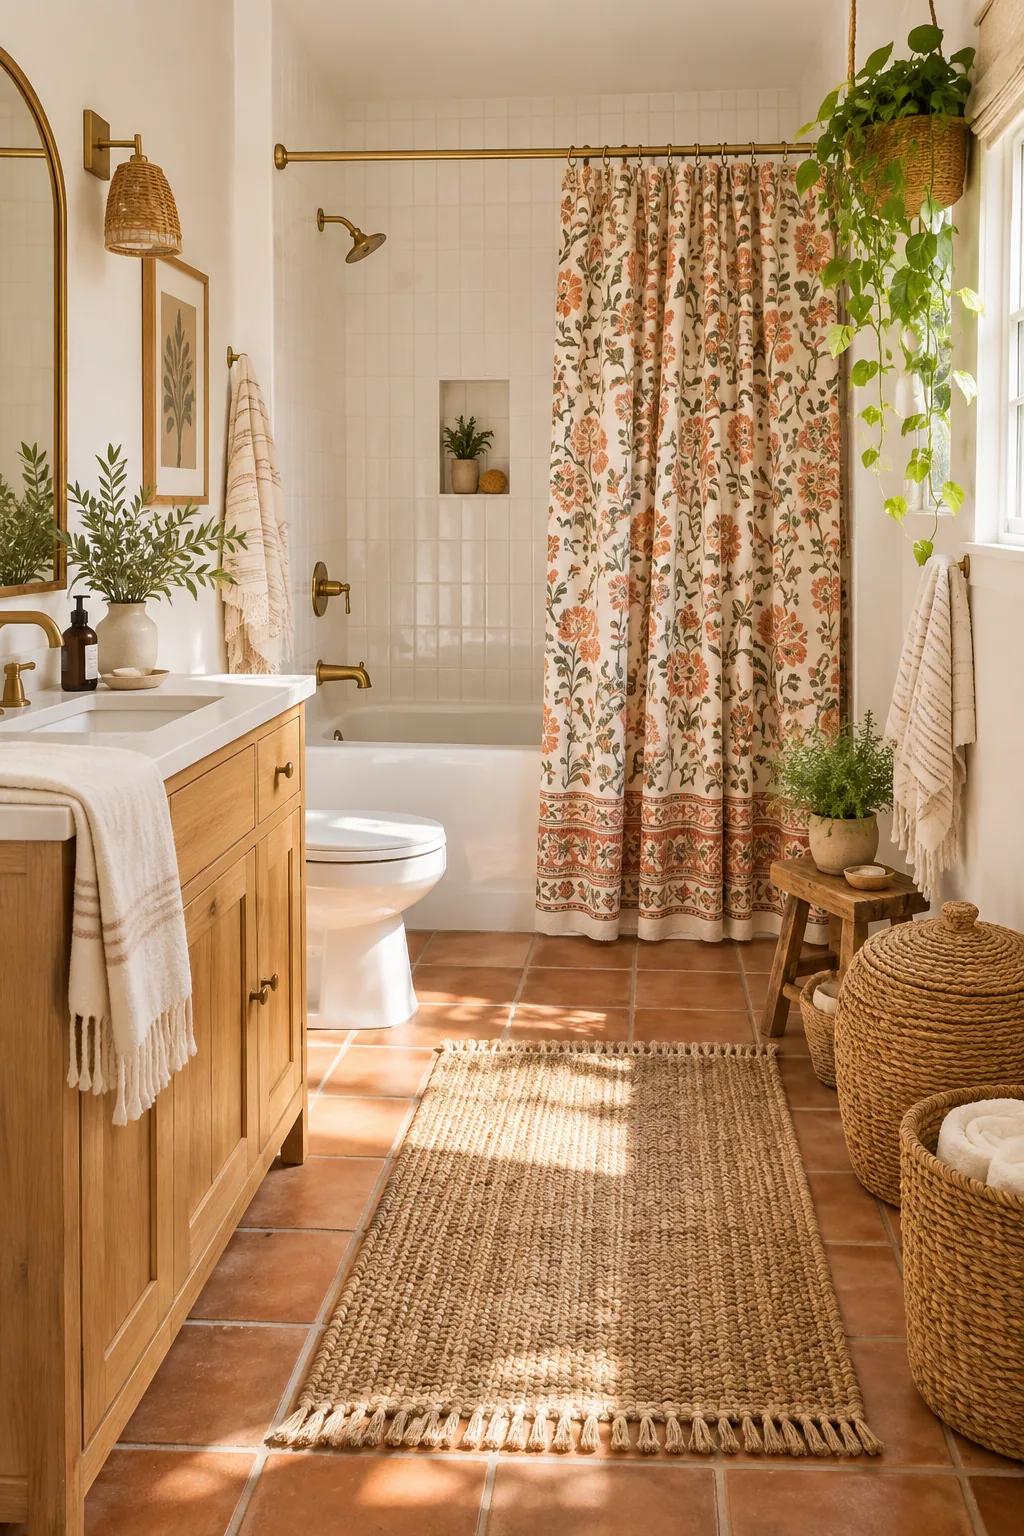
Bohemian bright with terracotta floors: Woven baskets and earthy terracotta floors bring warmth and relaxed texture to the space.
Your 6-Angle Bathroom Shot List
Capture the complete story of the space by moving systematically through these six specific setups. Using a planned sequence ensures you get every exact camera spot and height needed for a cohesive, professional portfolio look.
Print this list and reference the specific measurements as you move around the room. Checking off each angle guarantees you build a complete, magazine-quality visual narrative of your tiny spa.
| Shot Angle | Camera Spot | Phone Height |
|---|---|---|
| 1. Wide Entry | Braced on door jamb | 36 inches |
| 2. Vanity Straight | Centered on sink | 36 inches |
| 3. Mirror Off-Axis | 18 inches left/right | 48 inches |
| 4. Shower Detail | Inside shower door | 60 inches |
| 5. Tub Profile | Opposite corner | 24 inches |
| 6. Floor Tile | Looking down | 48 inches |