
Bathroom Accent Wall: The High-Humidity Installation Guide
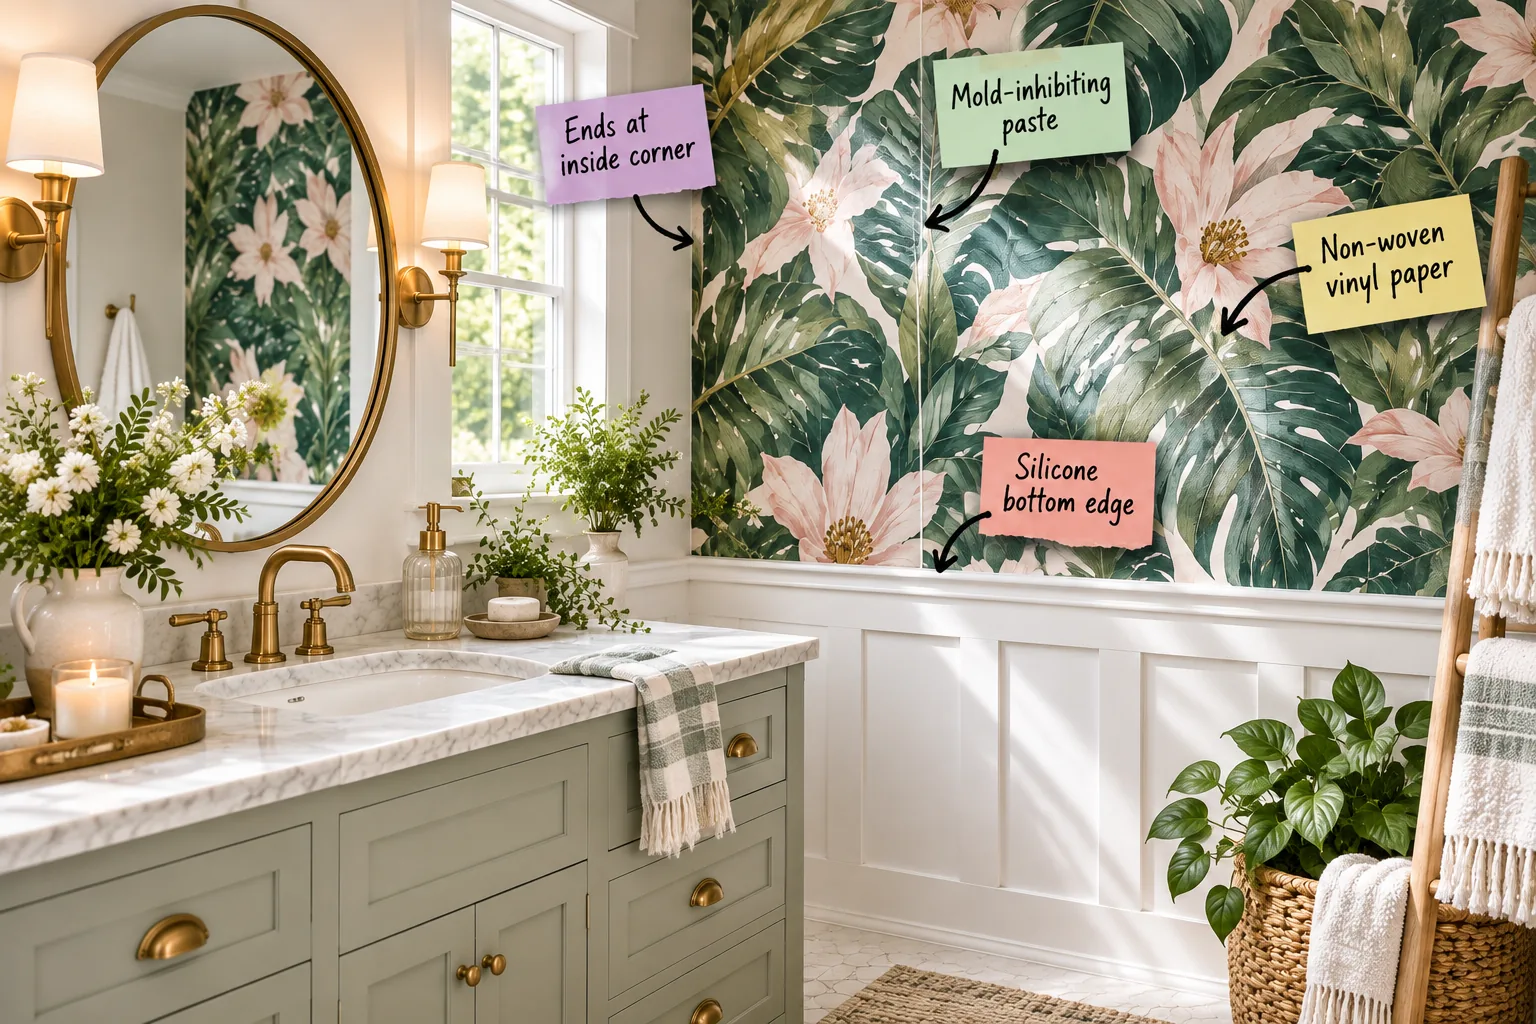
If you’re dreaming of a bold bathroom accent wall, grab my step-by-step humidity prep checklist so your beautiful botanical wallpaper survives daily hot showers without peeling. I’ll show you exactly how to prep, paste, and seal your space for a flawless finish that lasts for years.
Evaluating Your Bathroom Lighting
Before you even buy materials, evaluate how much natural window glare hits your target wall throughout the day. Bright, direct sunlight highlights every single flaw in a damp environment, so you need a perfectly smooth substrate to avoid casting harsh shadows.
Understanding Washable Ratings
Always check the manufacturer’s specifications for a highly washable rating before committing to a pattern. Standard paper degrades quickly under steam, but a highly washable rating ensures the surface withstands typical bathroom conditions without losing its vibrant color.
Choosing Non-Woven Vinyl Paper
When planning your installation, select a non-woven vinyl paper for its superior moisture resistance and breathability compared to traditional cellulose options.
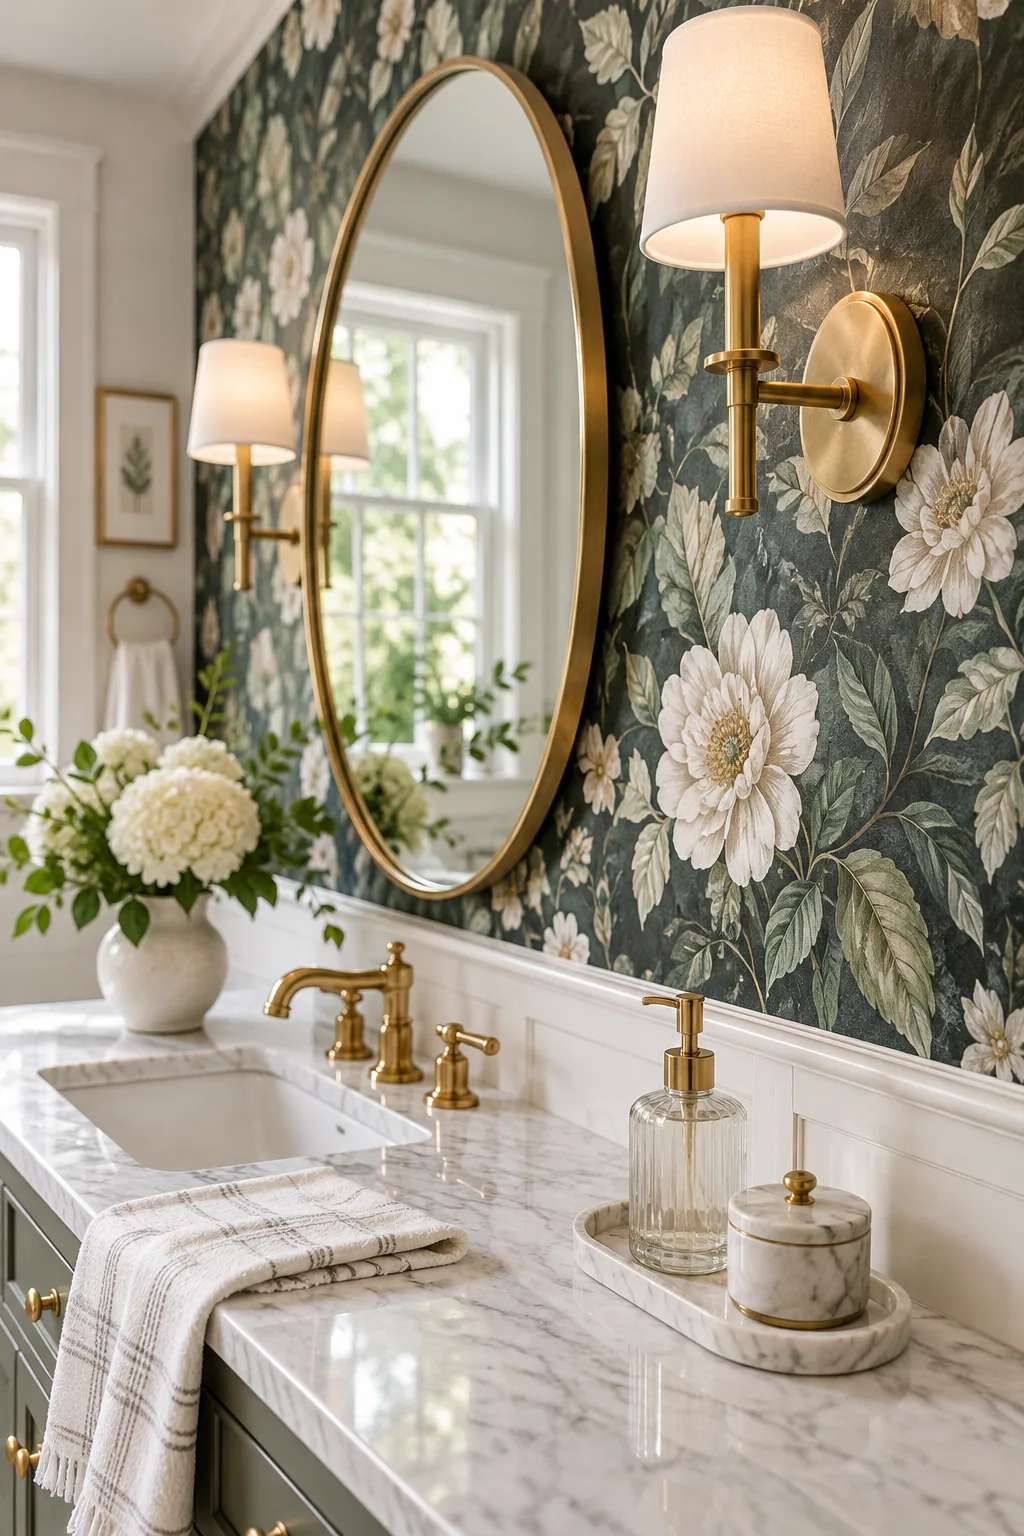
The subtle texture of this material mimics traditional paper beautifully while providing a wipeable, moisture-resistant surface that easily repels daily splashes.
Measuring Your Bathroom Space
Measure your wall width and height in inches, then divide the total square footage by the yield of your chosen roll to determine exact quantities.
| Wall Width | Wall Height | Total Square Feet | Rolls Needed |
|---|---|---|---|
| 60 inches | 96 inches | 40 sq ft | 2 rolls |
| 84 inches | 96 inches | 56 sq ft | 2 rolls |
| 108 inches | 96 inches | 72 sq ft | 3 rolls |
Always order one extra roll beyond your calculated minimum to account for pattern matching and accidental tears during the damp installation process.
Cleaning the Baseboards
Scrub the wainscoting ledge and baseboards with a degreasing cleaner to remove hidden soap scum and hairspray residue. A perfectly clean lower edge is absolutely critical for your final waterproofing seal to adhere properly.
Pre-Washing the Drywall
Wipe down the entire drywall surface with a damp sponge and a mild trisodium phosphate substitute to remove construction dust. Any lingering dust prevents your expensive primer from bonding correctly to the porous wallboard.
Priming for High Moisture
Coat the drywall with a high-quality acrylic primer to create a sealed barrier that stops moisture from soaking into the wallboard. In my guest bathroom, skipping this exact step meant I had to scrape off ruined paper just six months later!
Waiting for the Primer to Cure
Let the acrylic primer cure for a full 72 hours before you even think about opening your adhesive. A surface that feels dry to the touch might still off-gas, which creates massive bubbles under your heavy vinyl paper.
Gathering the Right Tools
Set up a dedicated workspace outside the damp bathroom and gather all your specialized hanging tools before mixing any paste.
- A heavy-duty paint roller for even adhesive application.
- A flexible plastic smoothing tool to push out air pockets.
- A breakaway utility knife with plenty of fresh blades.
Having these specific items within arm’s reach prevents you from scrambling while your expensive adhesive starts to dry on the wall.
Mixing the Adhesive Perfectly
If you buy powdered adhesive, stir it vigorously into cold water until it reaches the consistency of thick pancake batter. Let the mixture rest for ten minutes so the starches fully activate before you start rolling it onto the wall.
Applying Mold-Inhibiting Paste
Use a commercial-grade mold-inhibiting paste to secure the wallpaper, rolling an even layer so the edges receive adequate adhesive.
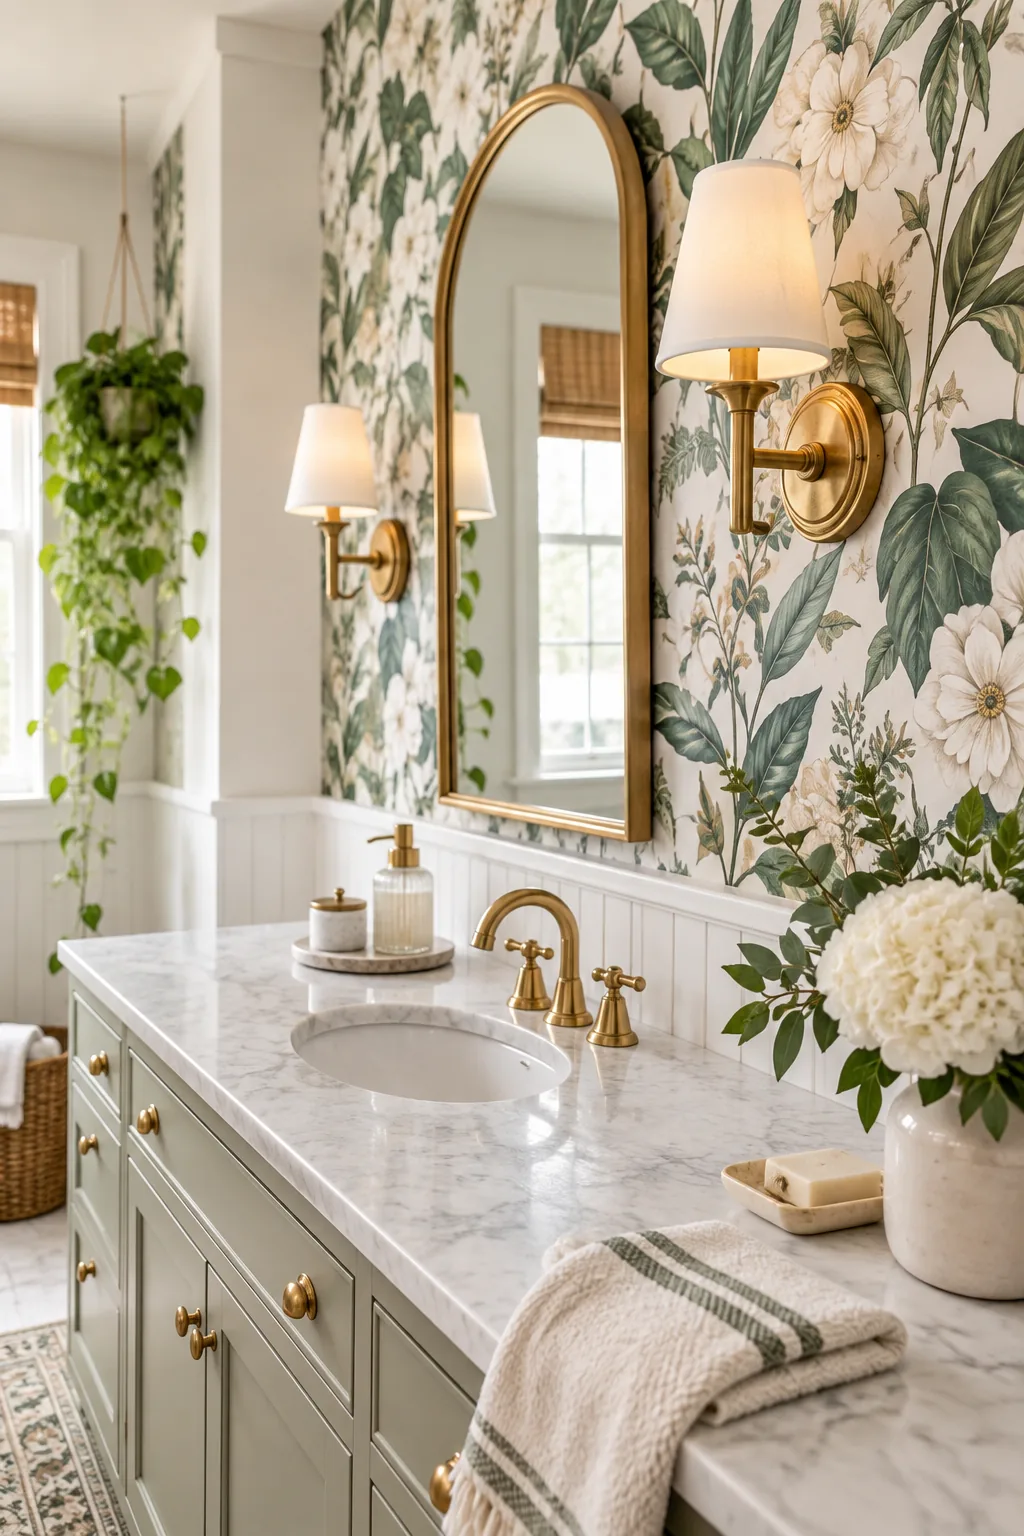
A flawless, seamless wallpaper installation looks incredible when secured properly with this specialized paste to prevent hidden fungal growth behind the paper.
Positioning the First Panel
Draw a perfectly plumb vertical line on the wall using a four-foot level to guide your very first drop of paper. Never trust a bathroom corner to be truly straight, or your entire botanical pattern will tilt sideways.
Matching Patterns Across Panels
Slide the second panel gently against the first while the paste is still wet to align the intricate botanical leaves perfectly. Take your time nudging the heavy vinyl until the graphic completely hides the vertical split.
Choosing the Right Seam Roller
Buy a soft urethane seam roller rather than a hard wooden one to protect the delicate printed face of your vinyl paper. Hard rollers can easily crush the subtle embossed texture and leave permanent shiny tracks down your beautiful accent wall.
Smoothing and Setting Seams
Press the panels together to create a tight, flawless seam, using your roller gently to secure the edges without squeezing out the adhesive. I learned the hard way that pressing too aggressively just pushes all your moisture-proofing paste right out the sides.
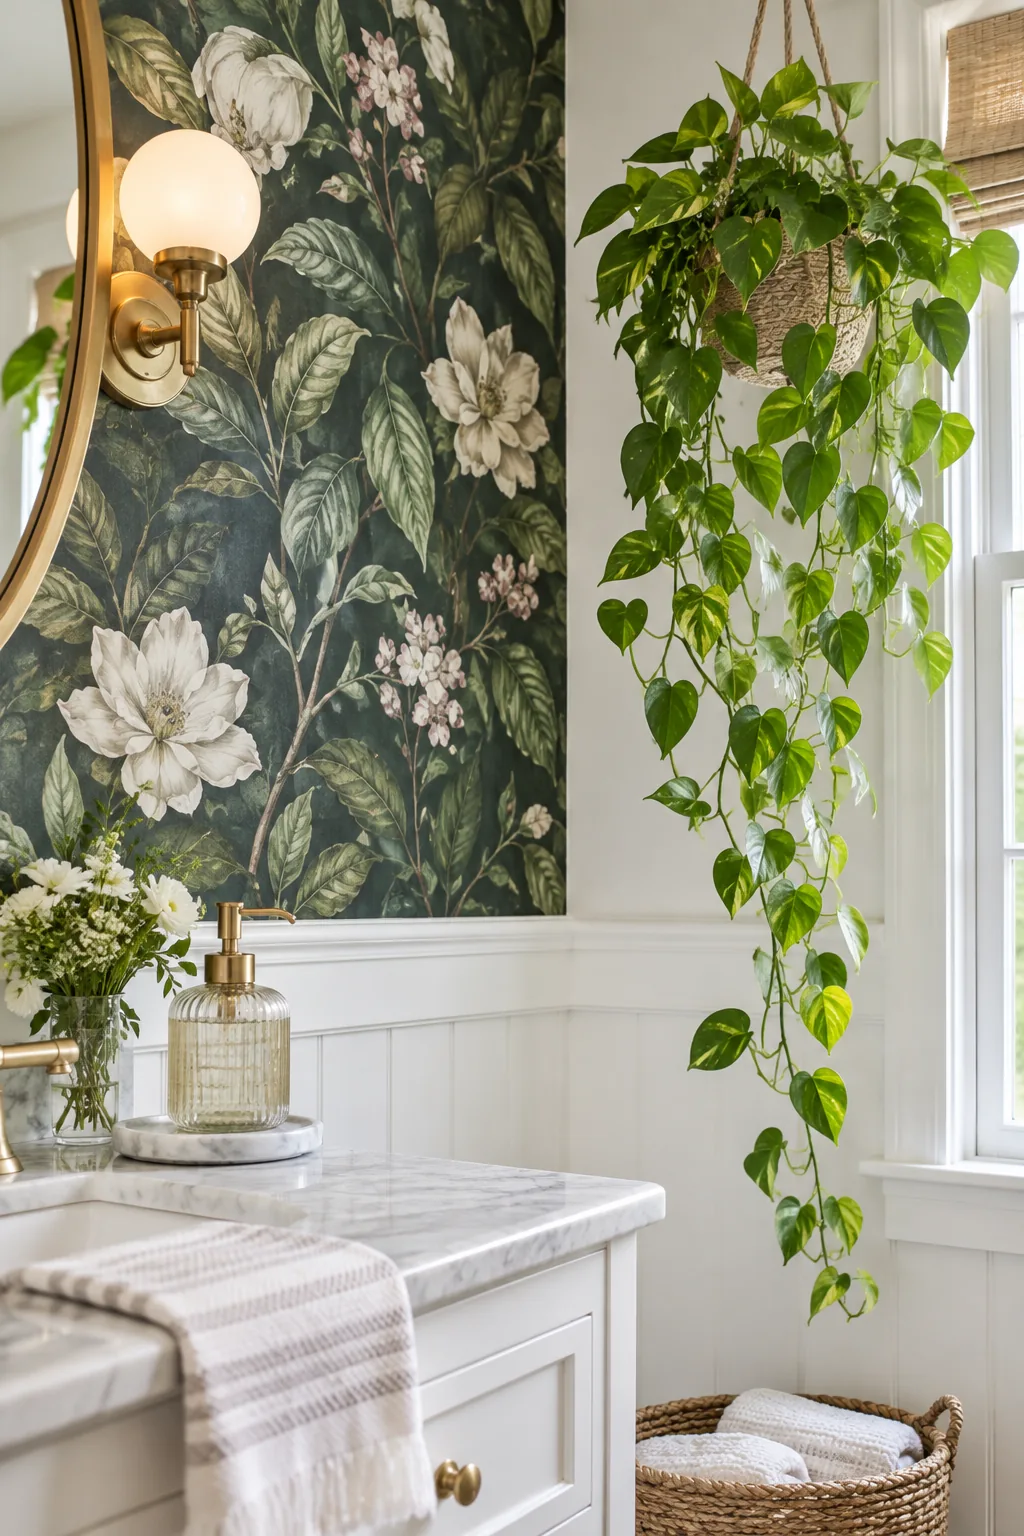
This careful rolling yields the visual result of a crisp, tension-free corner seam exactly where the wallpaper meets the plain painted wall.
Handling Outside Corners
If your accent wall features an outside corner, wrap the vinyl paper at least three inches around the bend to prevent fraying. A seam placed directly on an outward-facing edge will quickly peel from people brushing past it after a shower.
Ending at the Inside Corner
Never wrap wallpaper around an inside corner in a damp space where it can easily pull away from the drywall. In my own master bath, cutting the paper so it ends at the inside corner completely eliminated the tension that causes peeling.
Trimming Around Fixtures
Turn off the power and remove all vanity light faceplates so you can trim the paper cleanly behind the electrical boxes. Always use a brand-new blade for every single fixture cut to prevent the wet vinyl from snagging and tearing.
Wiping Down Fresh Adhesive
Immediately wipe away any stray paste that oozes onto the front of the wallpaper using a clean, damp microfiber sponge. Dried adhesive leaves a milky, permanent haze on dark botanical prints that becomes glaringly obvious under bright vanity lights.
Managing Bathroom Ventilation
Run the bathroom exhaust fan during every shower and leave it on for at least 30 minutes afterward to clear residual humidity. In my windowless half-bath, installing a timer switch was the only way I remembered to keep the air flowing long enough.
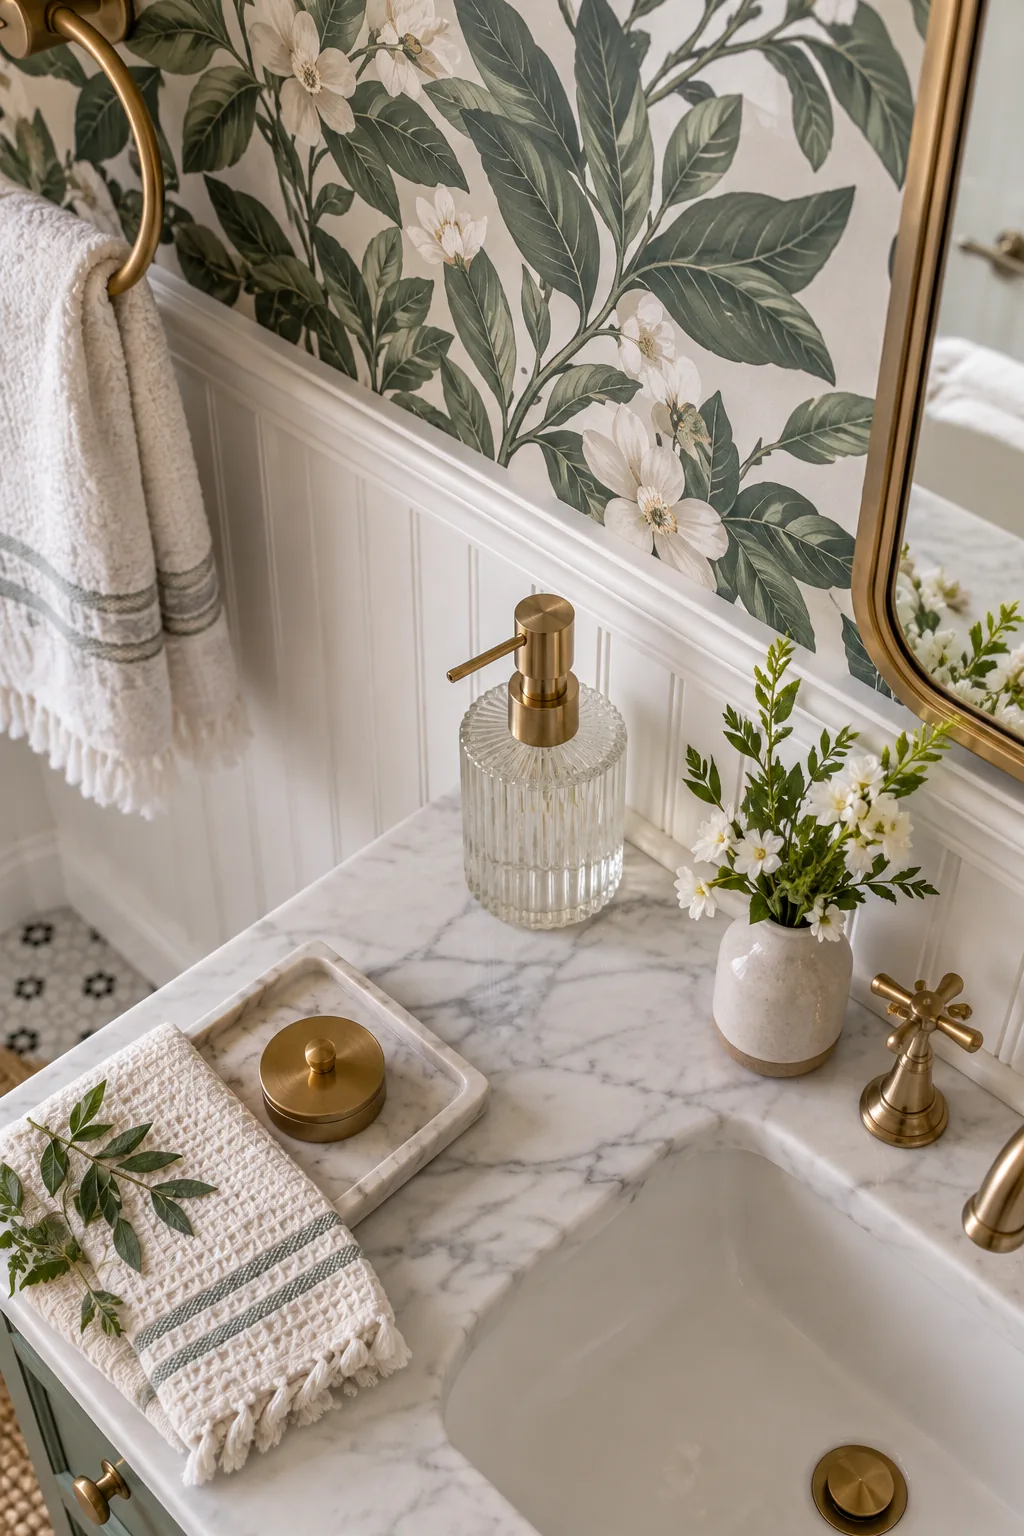
Even with great airflow, you still need the invisible protection provided by a thin bead of clear silicone along the wainscoting ledge.
Sealing the Bottom Edge
Protect the vulnerable bottom edge of the wallpaper where it meets the wainscoting by applying a 1/8-inch continuous bead of 100% silicone.
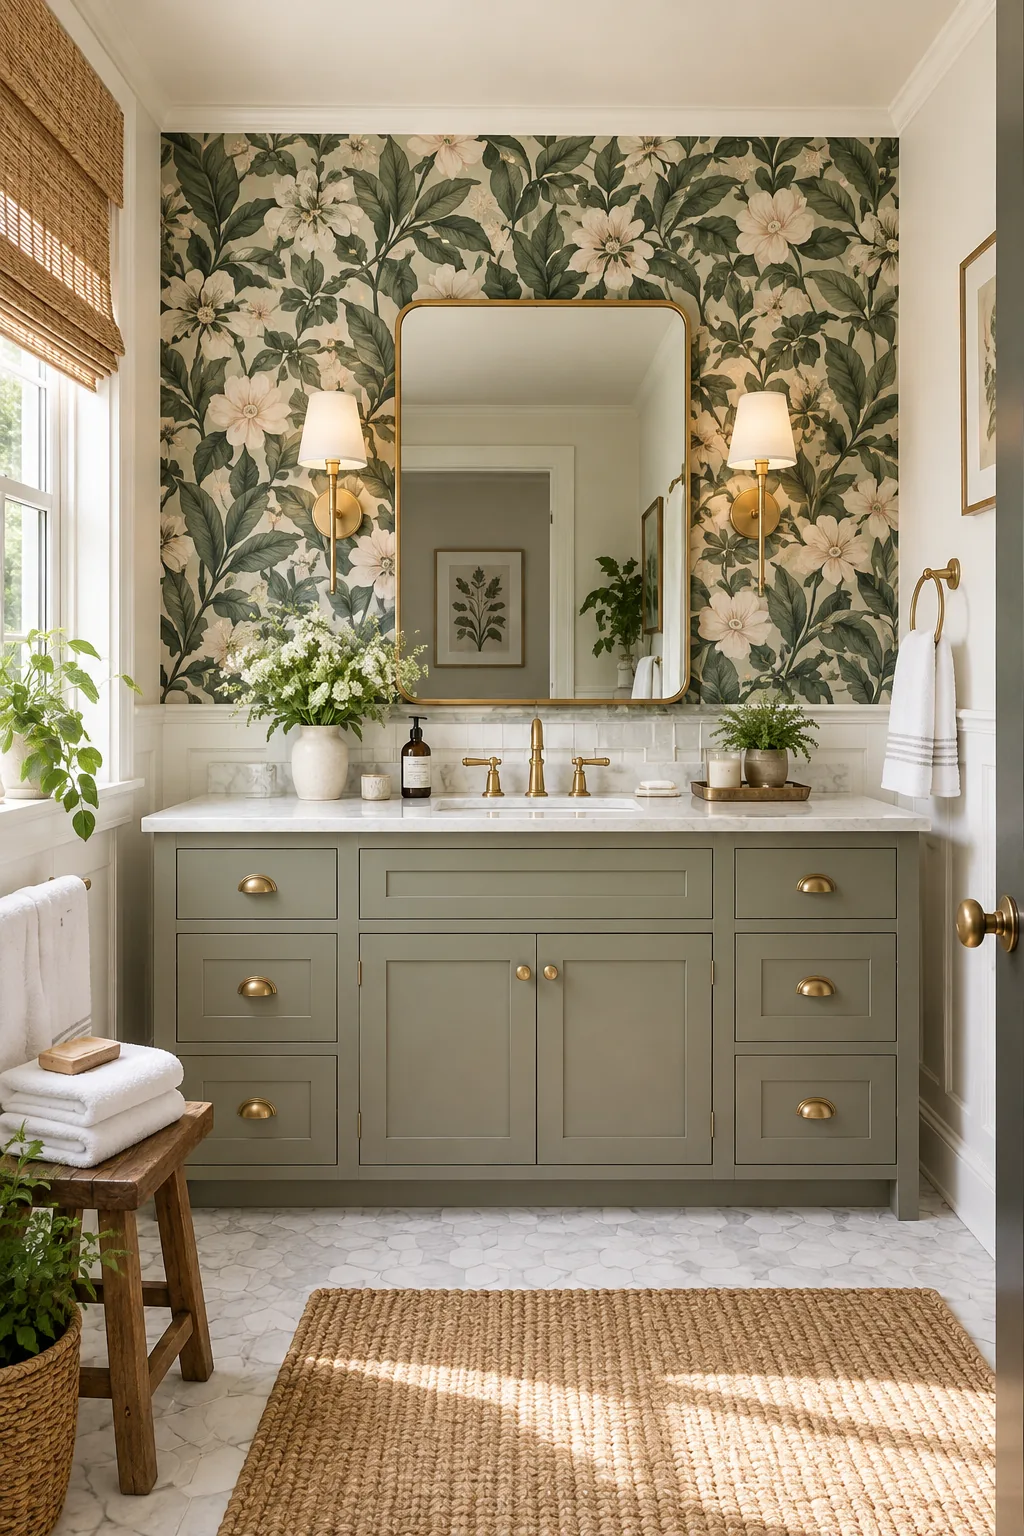
A fully prepped and moisture-proofed bathroom accent wall seamlessly integrates into a functional vanity space when that lower boundary is completely watertight.
The Complete Humidity Prep Checklist
Keep this quick reference guide handy to verify you have completed every crucial moisture-proofing step before you begin your installation.
Troubleshooting Bubbles
If a stubborn air bubble appears the next morning, resist the urge to slice it open with your utility knife. Most small pockets of trapped moisture will naturally evaporate and pull tight against the wall as the heavy vinyl cures over a week.
5 Bathroom Accent Wall Styles to Inspire You
Explore these distinct wallpaper looks to find the perfect moisture-resistant design for your own bathroom.
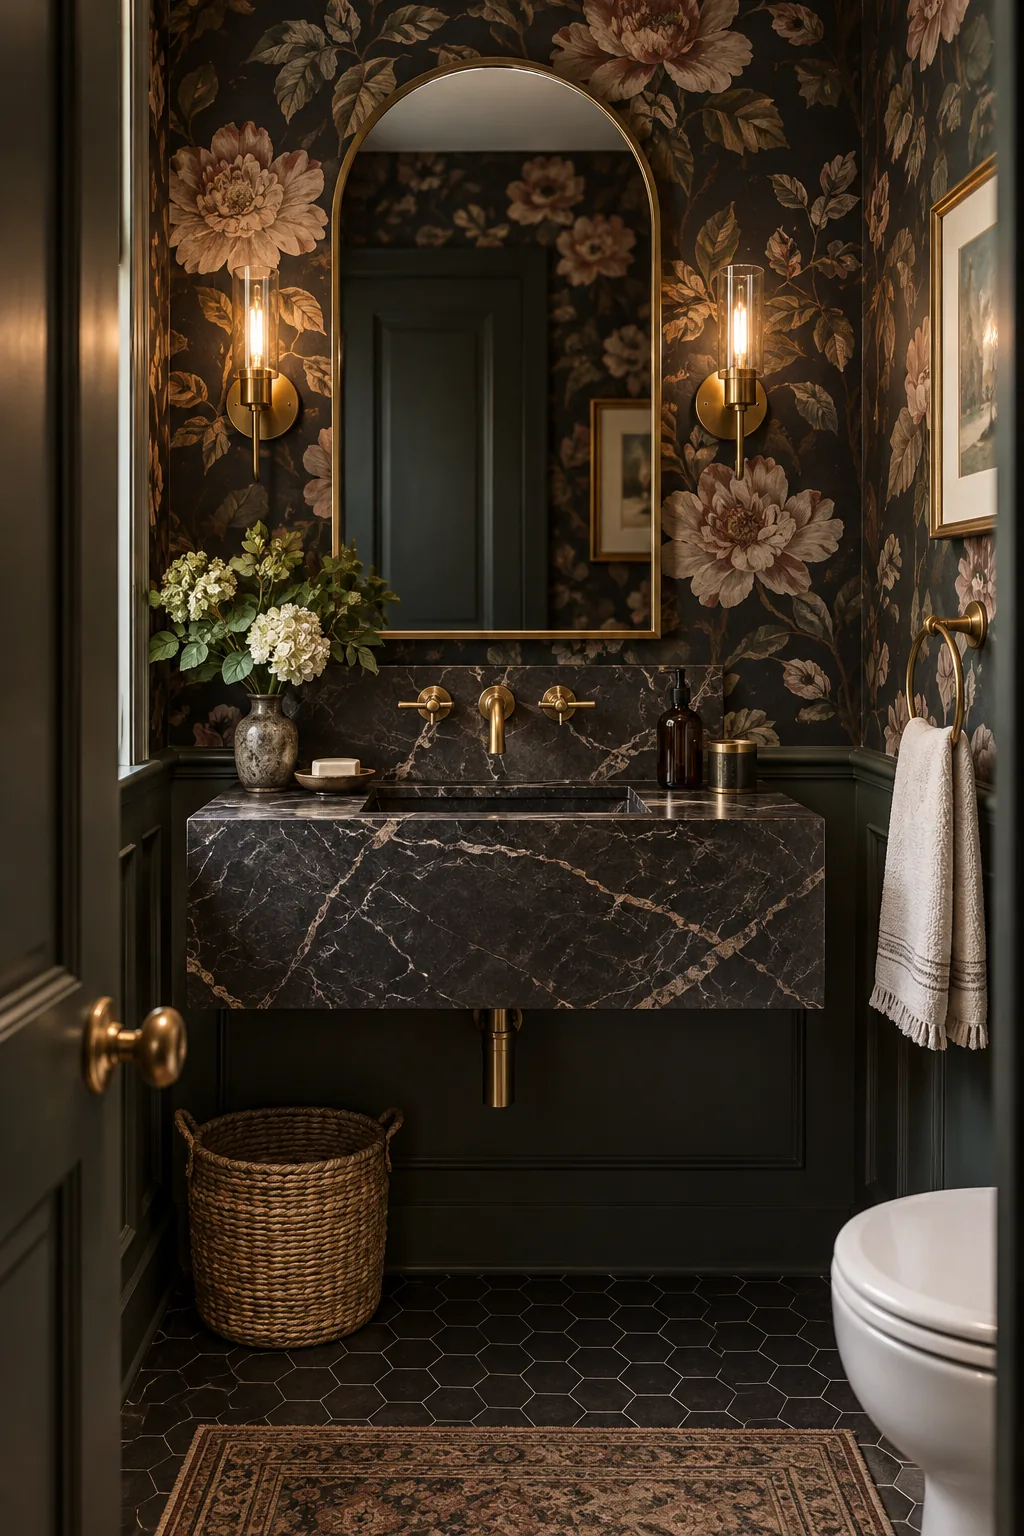
Moody Floral Powder Room: Dark backgrounds hide minor splashes, making this dramatic floral print perfect for a high-traffic powder room. Pair it with unlacquered brass for a classic touch.
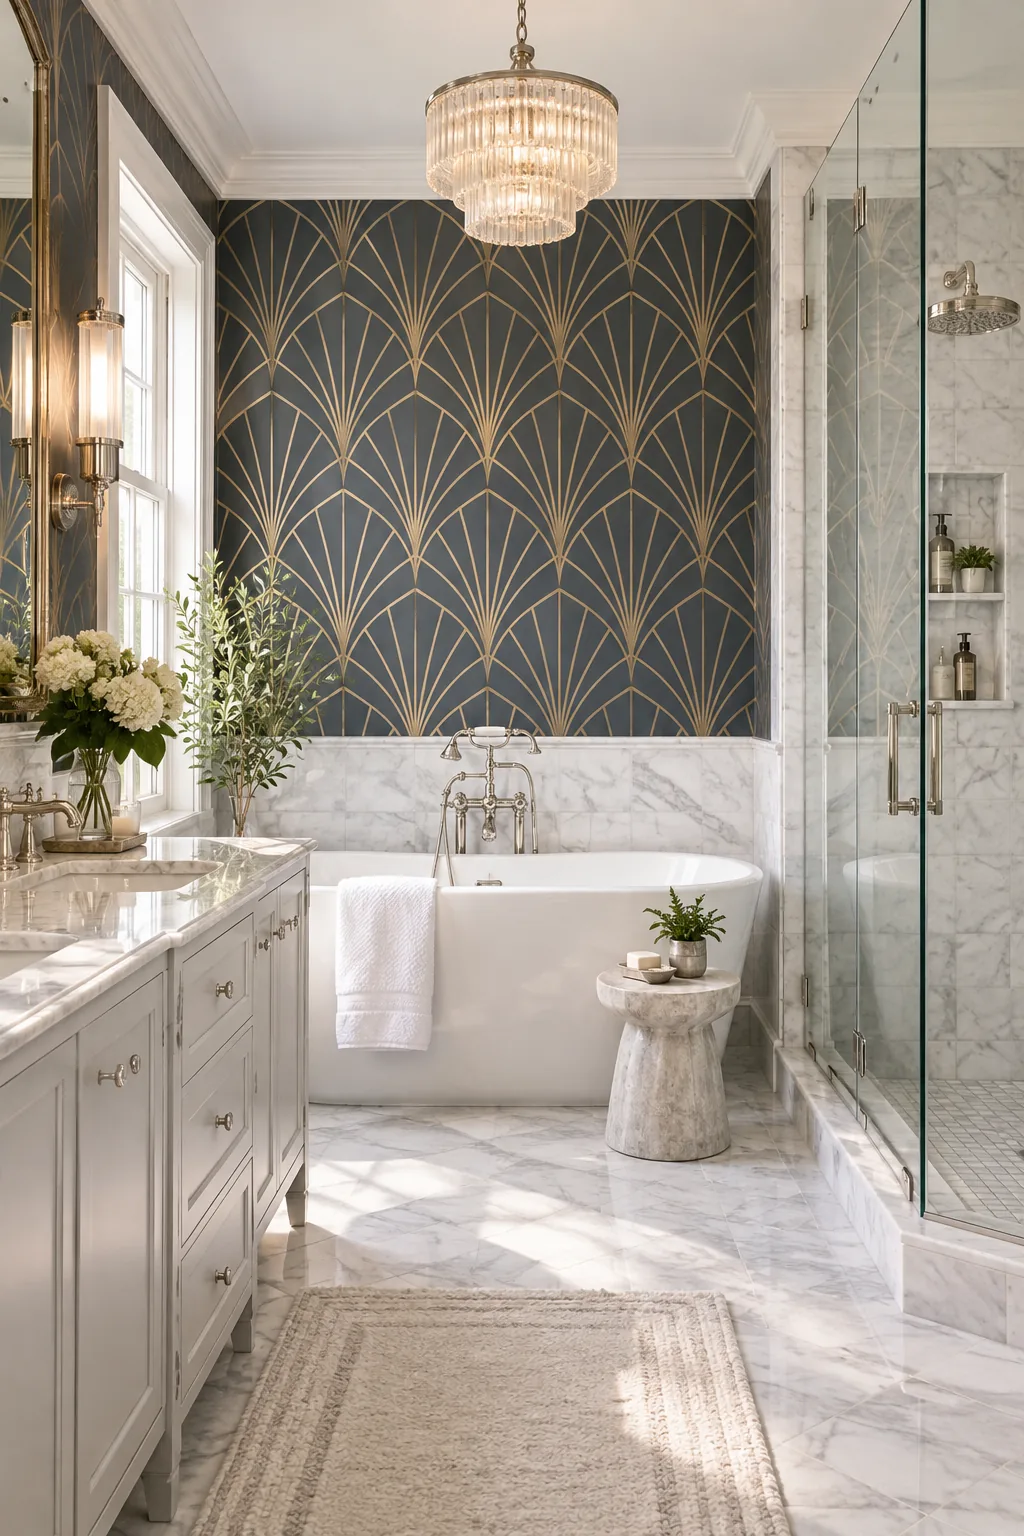
Art Deco Marble Bath: Geometric patterns bring structured elegance to a primary bathroom. Match the metallic accents in the paper to your plumbing fixtures for a cohesive design.
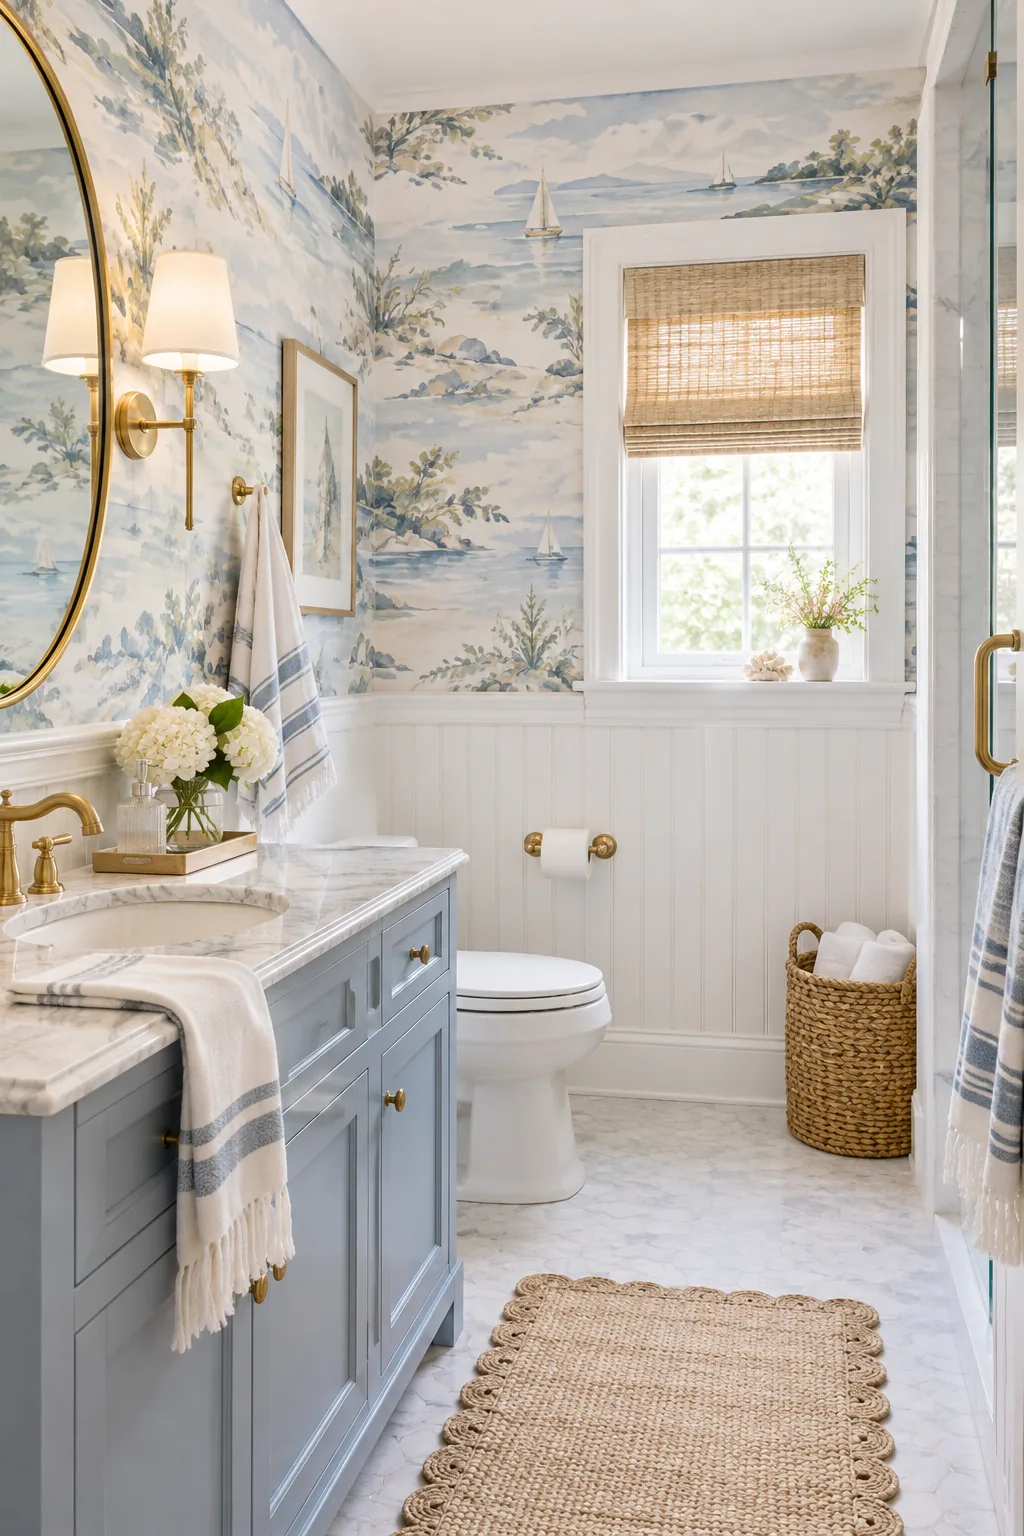
Coastal Watercolor Guest Bath: A soft watercolor pattern pairs beautifully with traditional beadboard. Keep the colors light and airy to make a small guest bathroom feel more spacious.
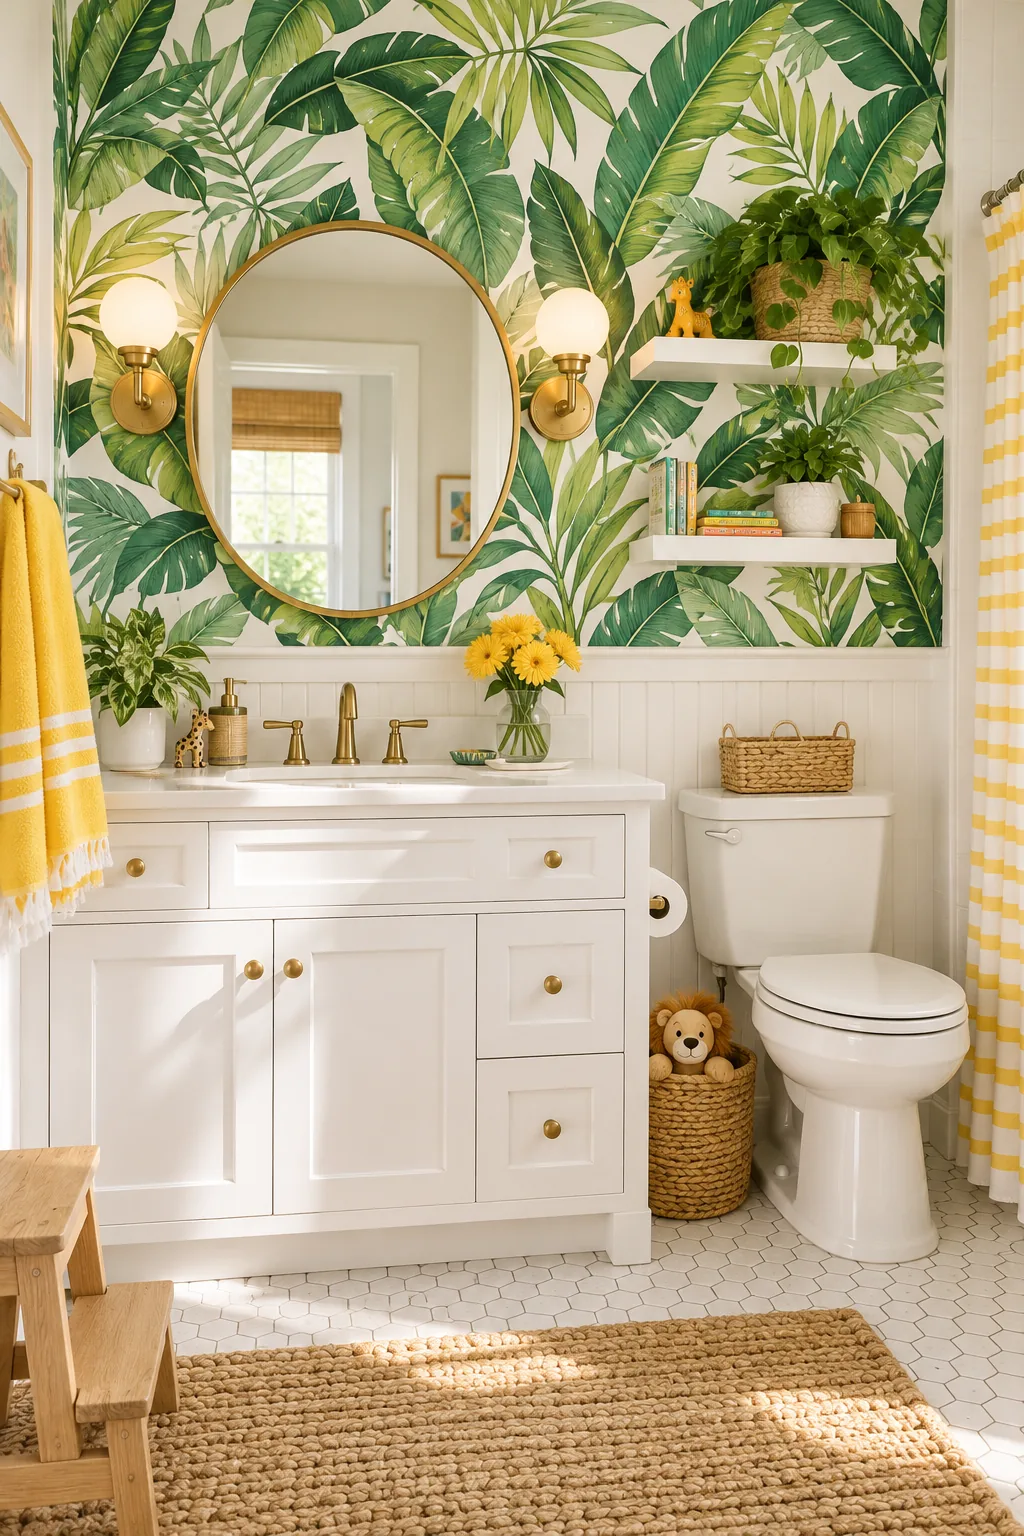
Vibrant Tropical Kids Bathroom: Bold, oversized leaves inject playful energy into a kids' bathroom. Choose a highly scrubbable vinyl finish to easily wipe away toothpaste splatters.
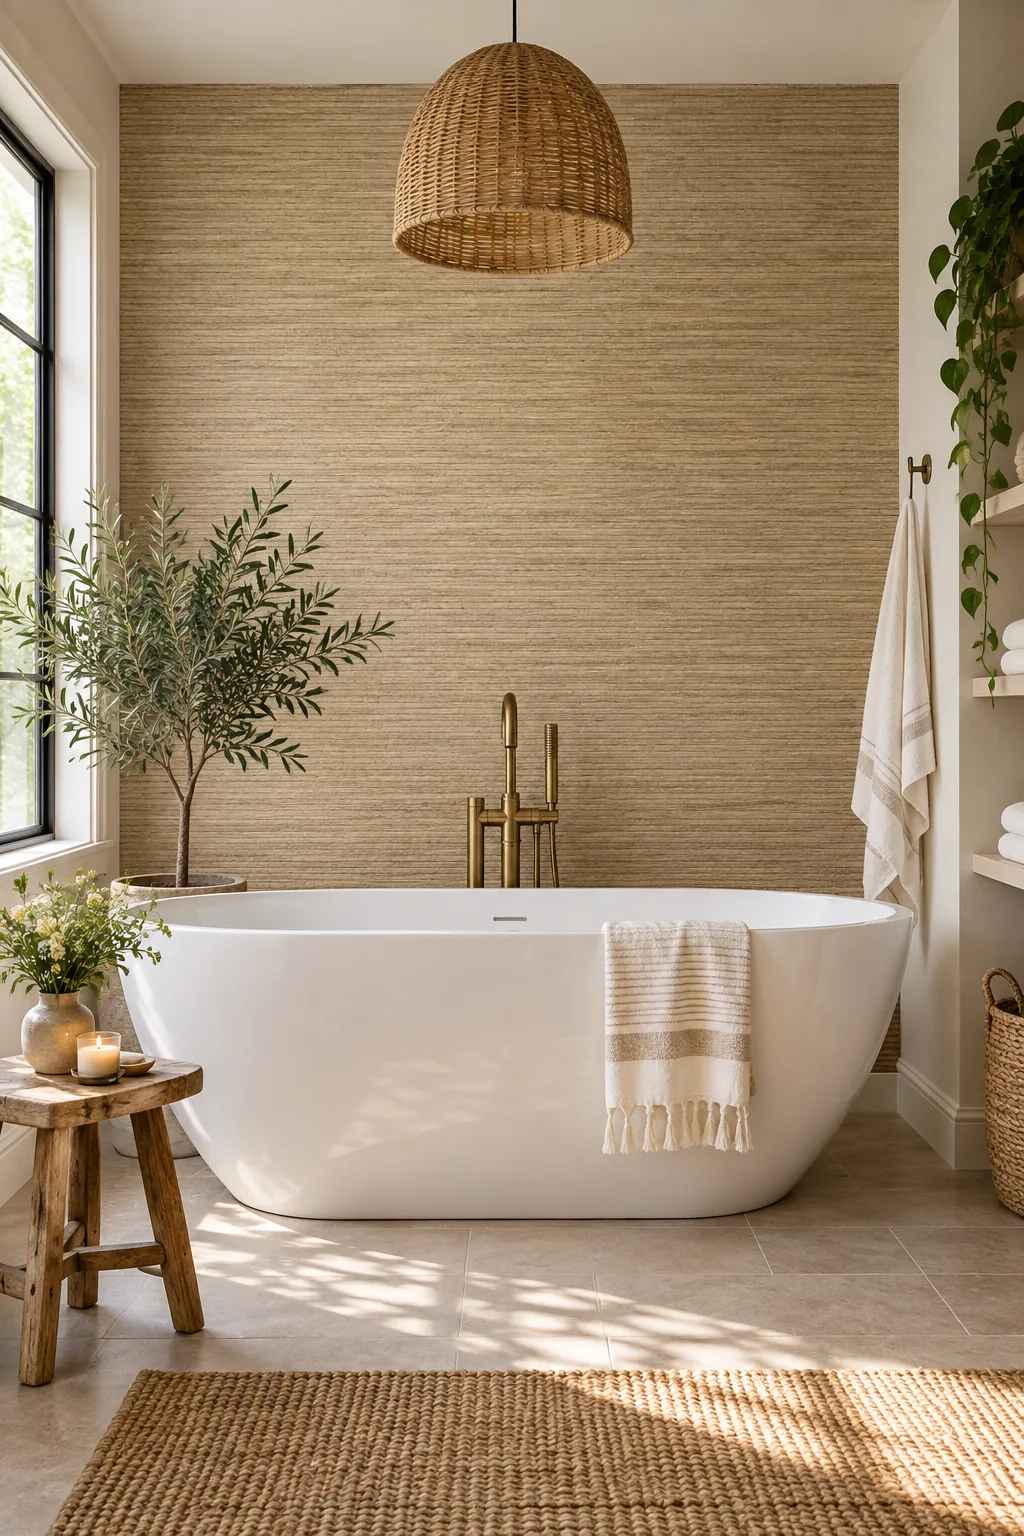
Minimalist Spa Texture: Faux grasscloth offers the rich texture of natural fibers without the moisture risks. Use this subtle backdrop to highlight a freestanding soaking tub.
Long-Term Wallpaper Maintenance
Keep your botanical accent wall looking fresh by gently wiping away water spots with a damp microfiber cloth every few weeks.
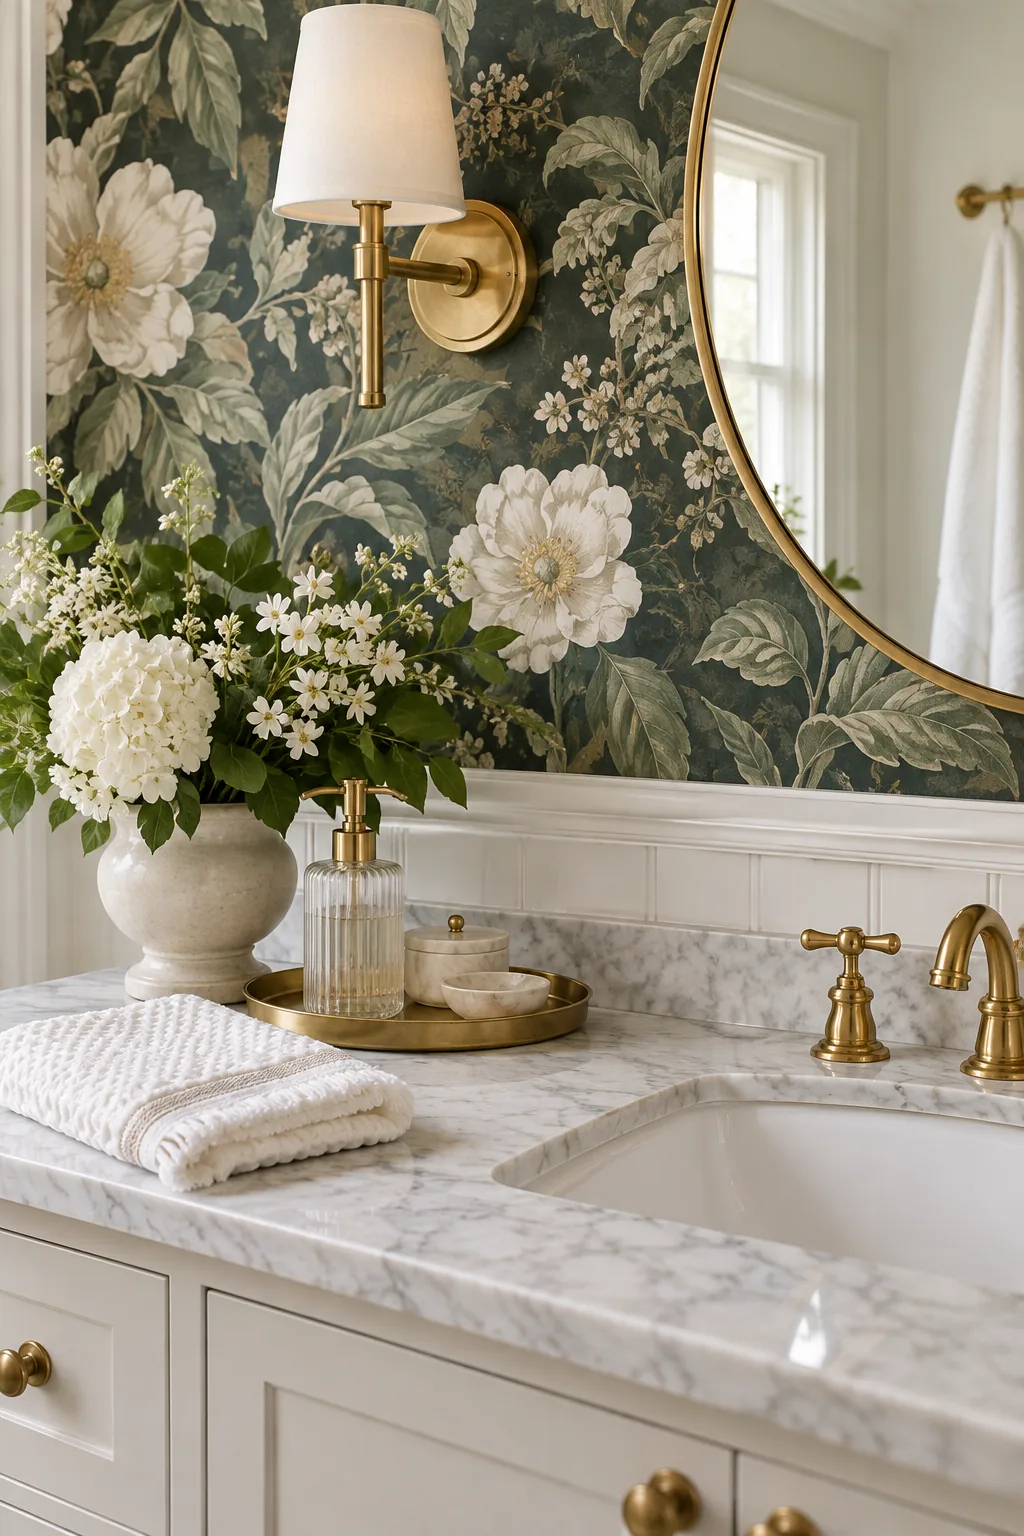
This simple habit preserves the everyday beauty of a well-maintained botanical wallpaper backdrop behind your styled vanity countertop.