Weekend Kitchen Updates: The Complete Hour-by-Hour Plan
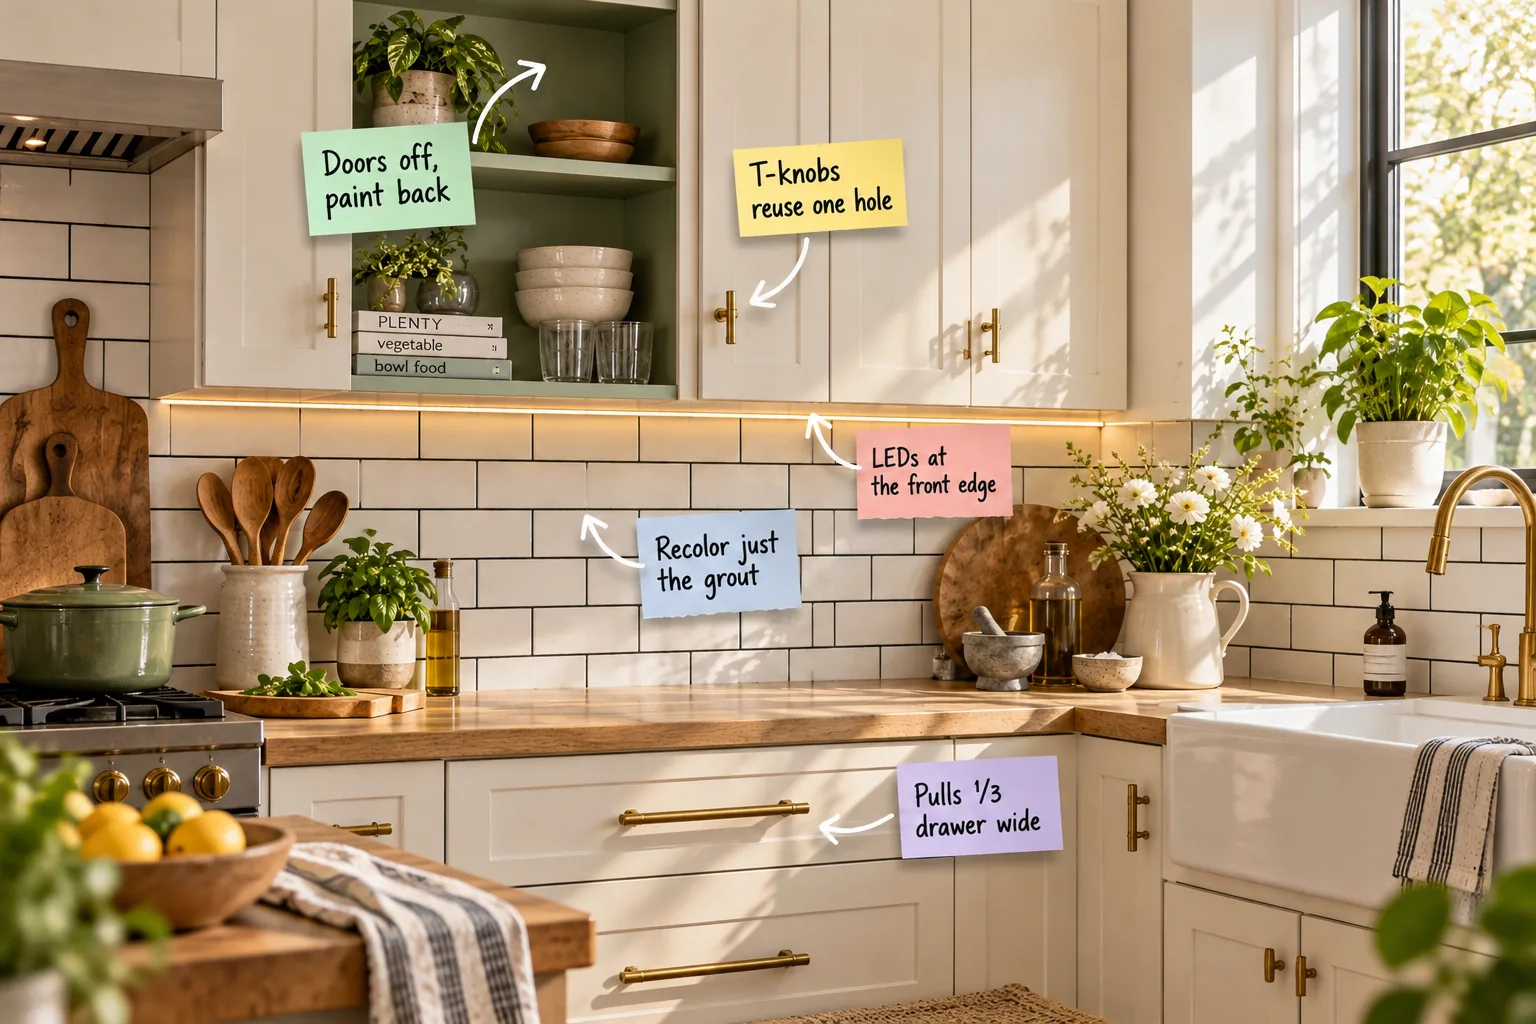
Refresh your space with five easy weekend kitchen updates by downloading our printable hour-by-hour schedule, shopping list, and measurement guide. You will be able to print the complete weekend schedule, buy exactly what you need, and execute all five updates before Sunday evening.
Remove Doors and Paint the Cabinet Back
When I took the doors off one upper cabinet in my own kitchen, it instantly broke up that heavy, imposing wall of wood. Framing an accent color inside the cabinet box prevents it from overwhelming a small kitchen while adding beautiful architectural depth.
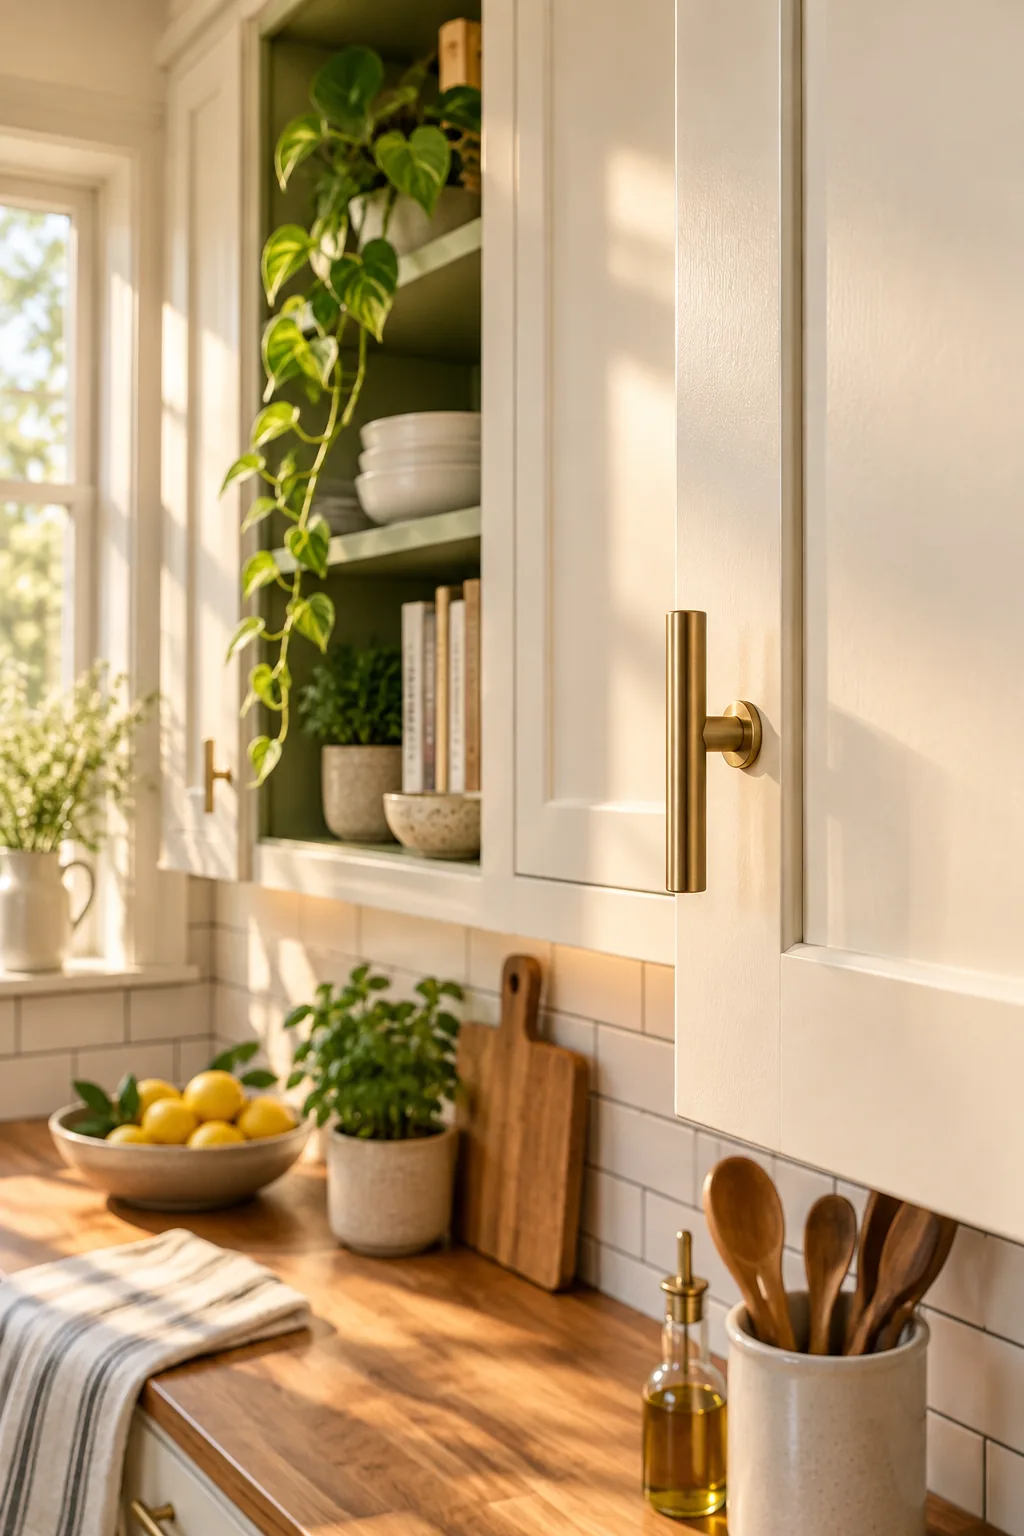
You will need exactly 1 quart of cabinet-grade enamel to coat the back panel in a soft accent color like sage green. Removing just one pair of doors creates an intentional focal point without sacrificing too much concealed storage space.
Remove the Cabinet Doors Safely
Start your weekend transformation by unscrewing the hinges from the cabinet frame rather than the door itself to prevent the heavy wood from dropping unexpectedly. Keep a small magnetic tray nearby to catch all the loose screws so they never disappear under the refrigerator.
Patch the Old Hinge Holes
Once the doors are completely gone, you will notice the bare metal hinge plates or empty screw holes left behind on the interior frame. Fill these tiny gaps with a color-matched wood putty to create a seamless, professional look before you begin priming.
Tape Off the Cabinet Edges
Run a strip of high-quality painter’s tape along the inner front lip of the cabinet box to protect the remaining exterior finish from accidental brush strokes. Press the tape edges down firmly with a plastic putty knife to prevent the thin enamel from bleeding underneath.
Prep the Exposed Cabinet Box
Before opening your paint can, lightly scuff the interior surfaces with a 120-grit sanding sponge to remove the slick factory clear coat. Wipe away all the resulting dust with a slightly damp microfiber cloth so your new enamel adheres perfectly to the wood.
Apply the Enamel Finish
Use a small, high-density foam roller to apply the sage green paint, which guarantees a smooth, brushstroke-free finish on the flat back panel. Let the first coat dry for a full four hours before applying the second layer for opaque, durable coverage.
Clean the Hardware Before Installation
Even brand new brass hardware arrives with manufacturing oils and dust that can dull the beautiful metallic finish over time. Wipe each T-knob and long drawer pull with a soft microfiber cloth before installation to ensure they shine brilliantly under your new kitchen lighting.
Swap Upper Knobs for Single-Hole T-Bars
I used to dread hardware updates because of the tedious wood filler, but switching to brass T-bar knobs changed my entire approach. These clever pieces give you the visual length of a traditional pull while mounting vertically through the single existing hole.
Fill Old Hardware Holes
If you accidentally damage the surrounding wood while removing the old hardware, press a tiny amount of stainable wood filler into the gouge. Sand it completely flush once dry, ensuring your new vertical T-knobs sit perfectly flat against the freshly prepped cabinet door.
Select the Right Brass Finish
Unlacquered brass develops a stunning natural patina over time, making it the perfect choice for kitchens with warm, organic color palettes. If you prefer a maintenance-free option, brushed brass offers a similarly soft glow without the constant evolution of a living metal finish.
Size Lower Drawer Pulls Correctly
The installation shortcut of using T-knobs to upgrade the hardware profile without patching old holes works perfectly for uppers, but base cabinets need a different approach. I learned the hard way that heavy lower drawers require properly scaled hardware for leverage.
Getting the scale right on base cabinets prevents your new hardware from looking lost or putting undue stress on the drawer glides. As a strict rule, lower pulls should span approximately one-third of the drawer’s total width for ideal visual balance.
Align the New Drawer Pulls
Use a plastic cabinet hardware template to mark the exact center of your wide lower drawers before drilling any new holes for the upgraded pulls. Double-check your pencil marks with a small level to guarantee the heavy brass handles sit perfectly horizontal across the wood.
Clean the Tile Surface
Scrub your entire backsplash with a heavy-duty degreaser and a stiff bristle brush to remove years of invisible cooking oil buildup. Rinsing the tile thoroughly with warm water ensures the new colorant bonds directly to the porous grout rather than sitting on surface grease.
Recolor the Backsplash Grout
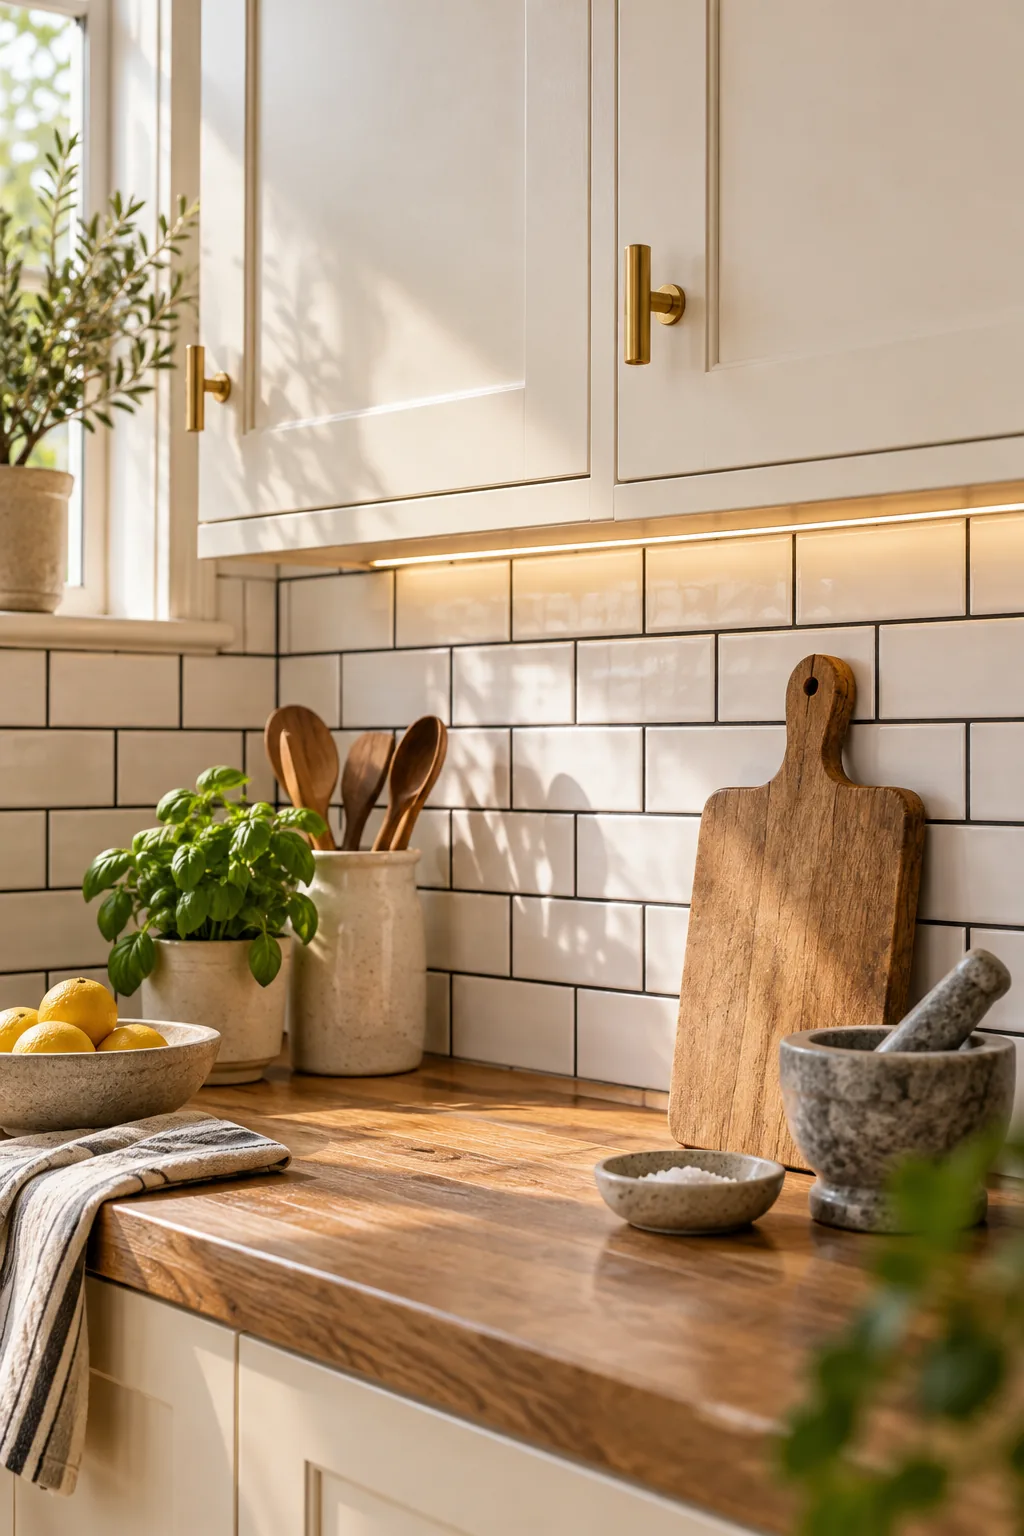
Using a grout colorant pen to change standard white or gray grout to a crisp charcoal transforms the entire room in a single afternoon. This simple coloring process seals the porous lines while completely hiding stubborn old tomato sauce and coffee stains.
| Backsplash Height | Linear Length | Pens Needed |
|---|---|---|
| Standard 18-inch | Up to 10 feet | 1 pen |
| Standard 18-inch | 10 to 20 feet | 2 pens |
| Standard 18-inch | 20 to 30 feet | 3 pens |
A standard 18-inch high backsplash usually requires two colorant pens to complete a medium-sized kitchen. Work in small two-foot sections, carefully wiping away any excess colorant from the slippery tile surface before it has a chance to dry permanently.
Wipe Away Excess Grout Colorant
The specialized grout pen applies a thick, paint-like liquid that easily spills over onto the glossy subway tile during application. Keep a damp paper towel in your non-dominant hand to quickly wipe the tile faces clean while leaving the colorant safely inside the recessed grout lines.
Seal the Fresh Grout Lines
Most high-quality colorant pens include a built-in sealer, but adding a dedicated penetrating grout sealer after 48 hours provides ultimate protection. This invisible barrier repels future moisture and oil, keeping your bold new charcoal lines looking incredibly crisp for years to come.
Mount LED Tape at the Front Edge
Before adding illumination, remember how high-contrast grout instantly modernizes basic subway tile without the messy expense of demolition. Once those dark grout lines are crisp, you want to wash the counter with light rather than glaring directly onto the freshly colored tile.
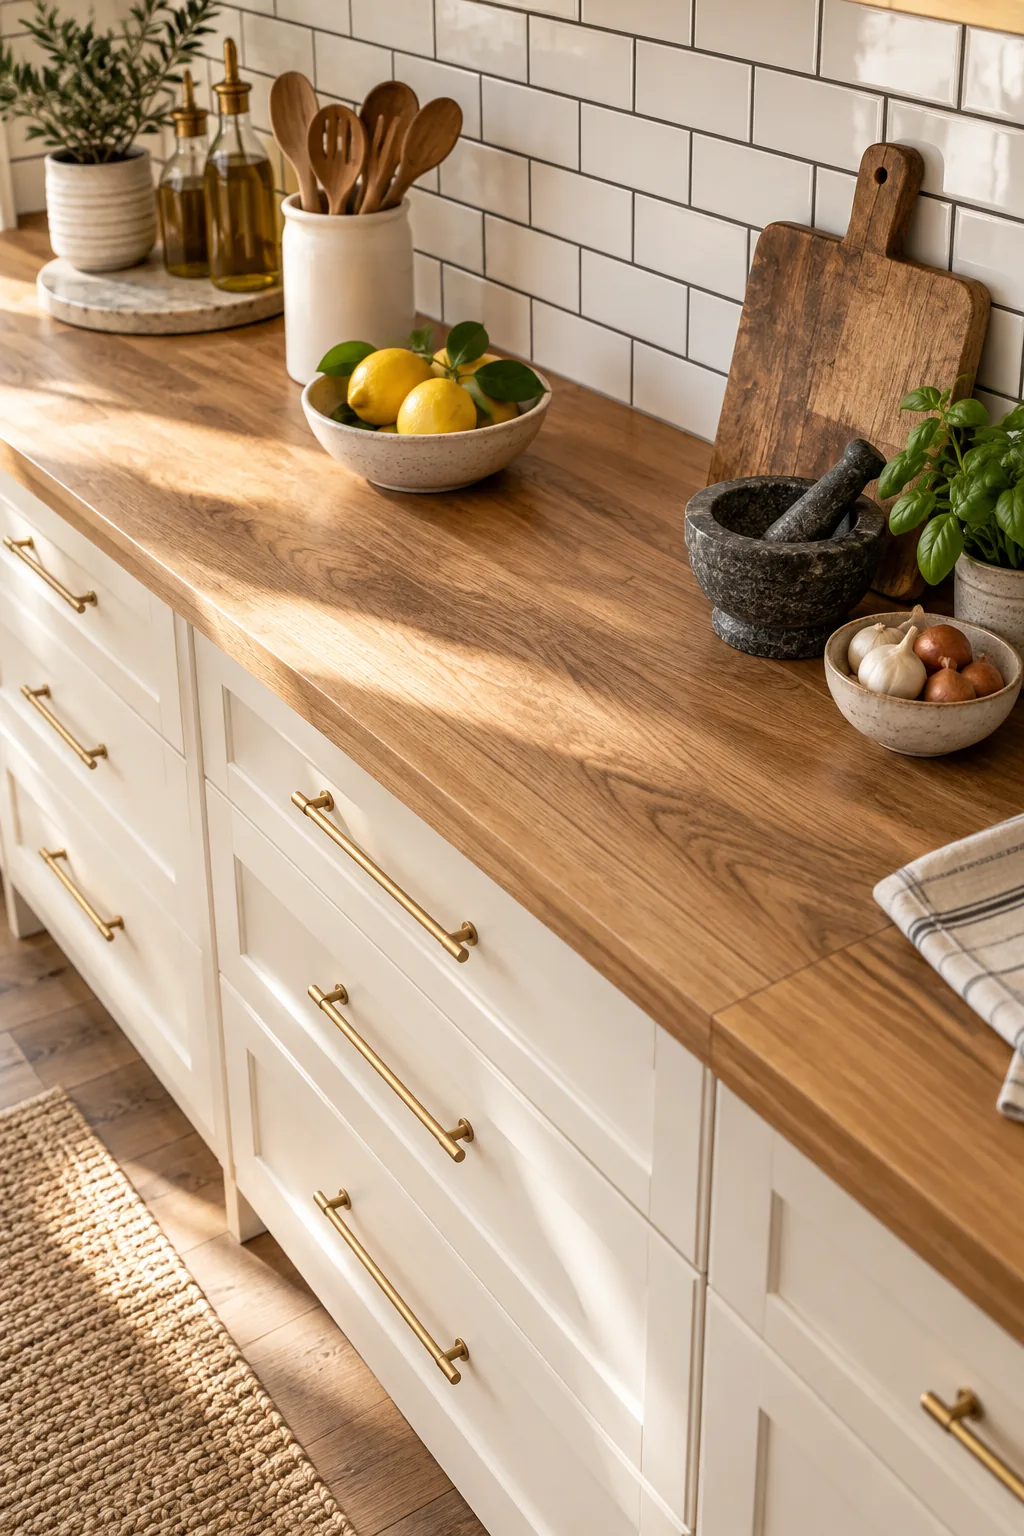
Proper placement is only half the battle; the lighting tape must adhere firmly to a surface that is notoriously prone to hidden cooking grease. Mount warm 2700K-3000K LED tape along the front lip of the upper cabinets, facing downward.
Test the Lighting Angles
Temporarily tape a small section of the LED strip in place and turn it on before removing the permanent adhesive backing. This quick test ensures the light washes evenly across your workspace without reflecting harshly off polished stone countertops or glossy appliances.
Route the Power Cables
Drill a tiny half-inch hole in the bottom corner of your upper cabinet to thread the thin LED power cable out of sight. Plugging the transformer into a hidden microwave or range hood outlet keeps your newly refreshed backsplash completely free of dangling black wires.
Measure Your Kitchen Before Shopping
The importance of mapping out linear footage and drawer spans to avoid mid-project store runs cannot be overstated. Grabbing accurate numbers right now ensures you purchase the correct hardware sizes and enough coloring supplies for the entire weekend.
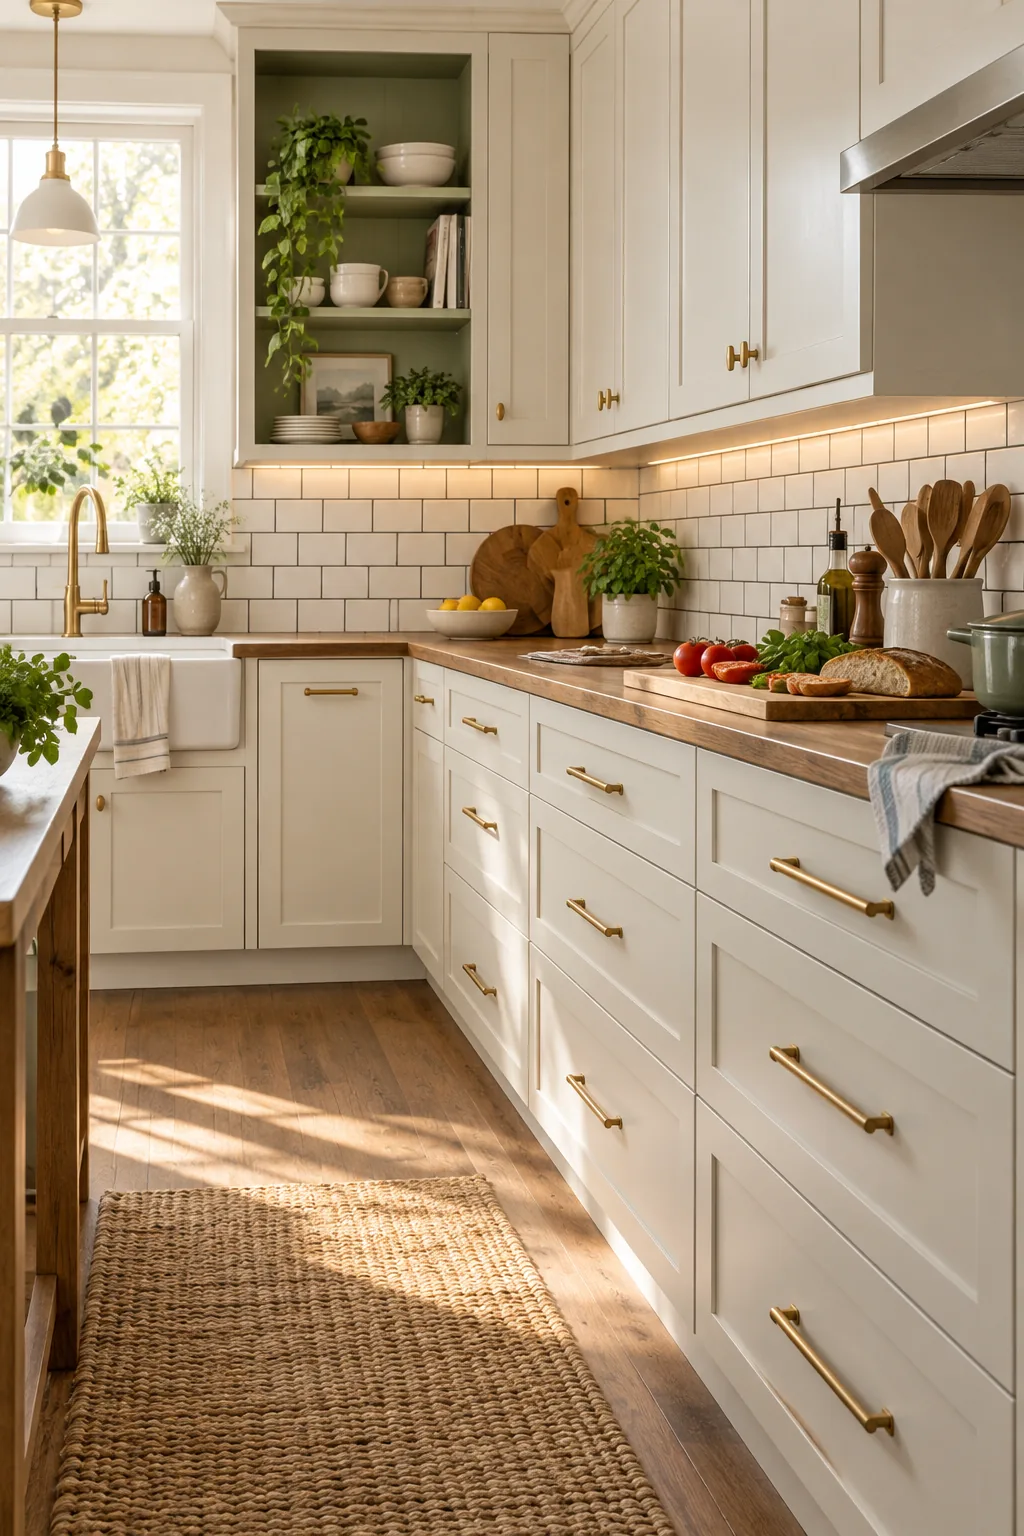
Before heading to the hardware store, grab your tape measure and record the exact dimensions of your primary work zones. Having these specific numbers written down makes the shopping trip incredibly fast, completely stress-free, and surprisingly affordable.
- Measure exact drawer widths to calculate the one-third rule for pulls.
- Calculate the linear feet of the backsplash for grout pens.
- Measure the continuous length of the upper cabinets for LED tape.
Organize Your Shopping Trip
Group your shopping list by store department to minimize wandering through massive home improvement aisles on a busy Saturday morning. Pick up the paint and degreaser first, grab the specialized grout pens in flooring, and finish in the hardware aisle for your brass pulls.
Style the Open Cabinet Shelves
Treat your newly exposed cabinet as a functional display case rather than a dumping ground for mismatched plastic containers. Stack everyday items like plain white plates and heavy ceramic bowls on the lower shelves so they remain incredibly easy to grab while cooking.
Display Everyday Dishes
Removing cabinet doors forces you to curate your collection, keeping only the pieces you genuinely love and use daily. A neat stack of matching cereal bowls looks beautifully intentional against the fresh sage green background, turning basic storage into a lovely design feature.
Curate a Cohesive Display
Place decorative or less-used items like trailing pothos plants or vintage mortar and pestles on the top shelf to keep the look intentional. Sticking to a tight color palette of white, wood, and brass prevents the open shelving from feeling cluttered or chaotic.
The Saturday-to-Sunday Update Plan
Our printable two-page schedule shows exactly how the two-day schedule sequences wet work like paint and grout before dry installation like hardware and lighting. This strategic workflow guarantees everything cures properly without slowing down your weekend momentum.
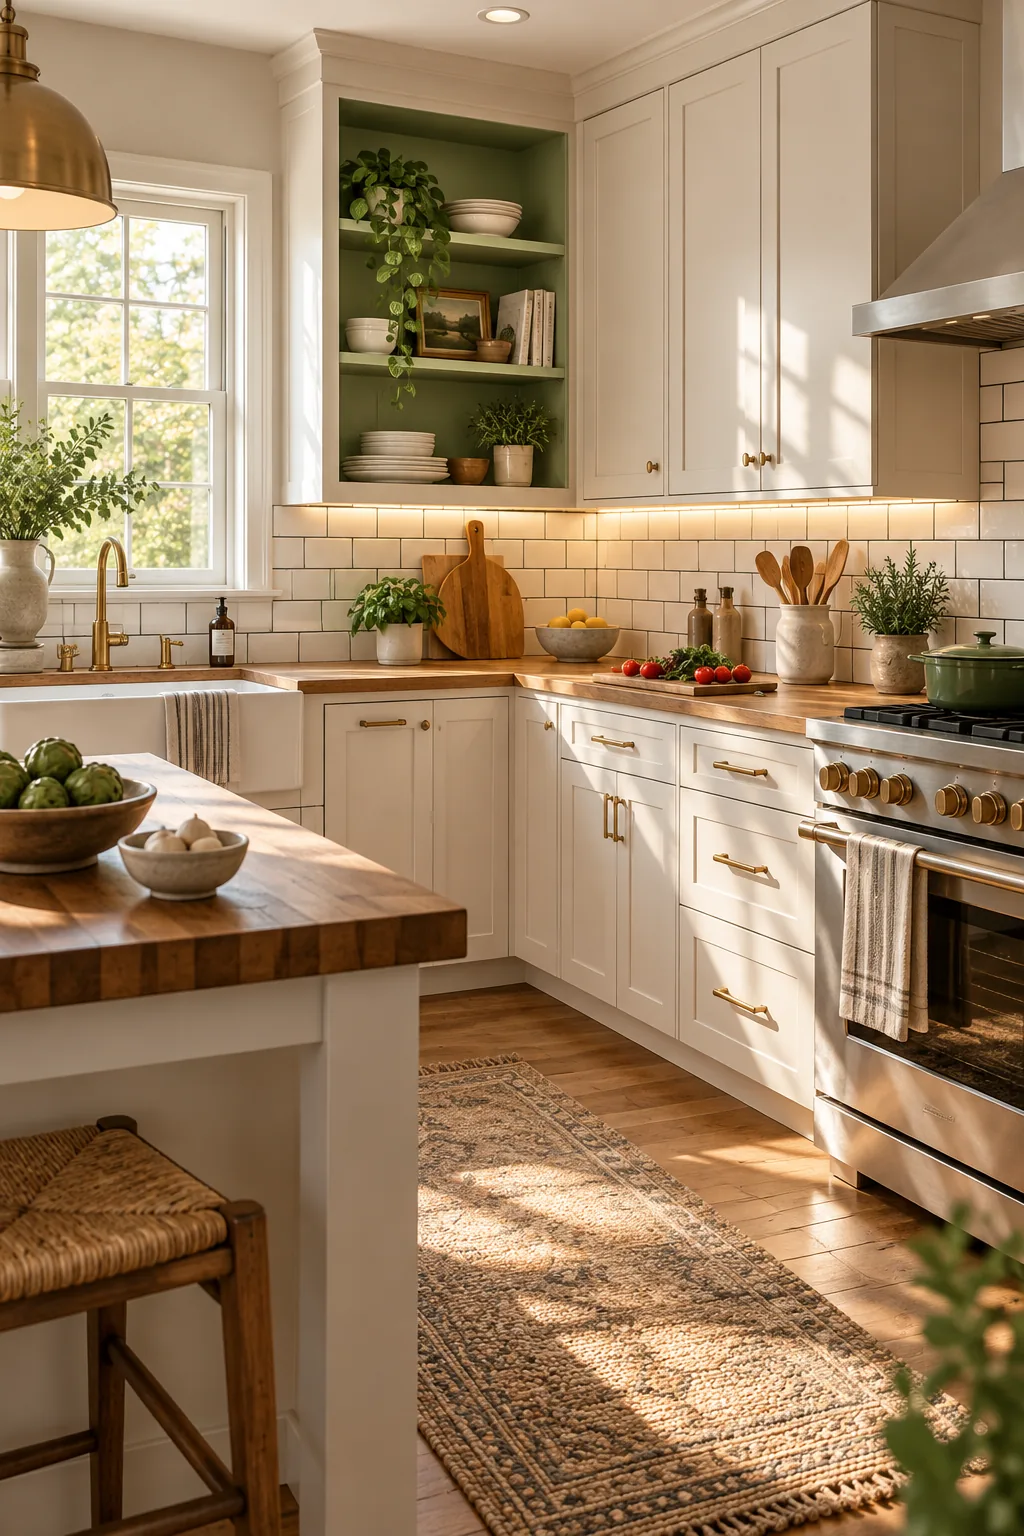
Saturday focuses heavily on prep work, painting the cabinet back, and meticulously recoloring the grout lines. Sunday covers the satisfying finishes, allowing you to easily complete the hardware installation, lighting, and styling right before Sunday dinner.
Four Distinct Kitchen Hardware Styles
If you want to adapt this weekend refresh to your own home's architecture, draw inspiration from these four distinct kitchen styles.
Warm Minimalist Oak Kitchen: Flat-panel oak cabinetry paired with matte black hardware creates a streamlined look that feels both modern and deeply inviting.
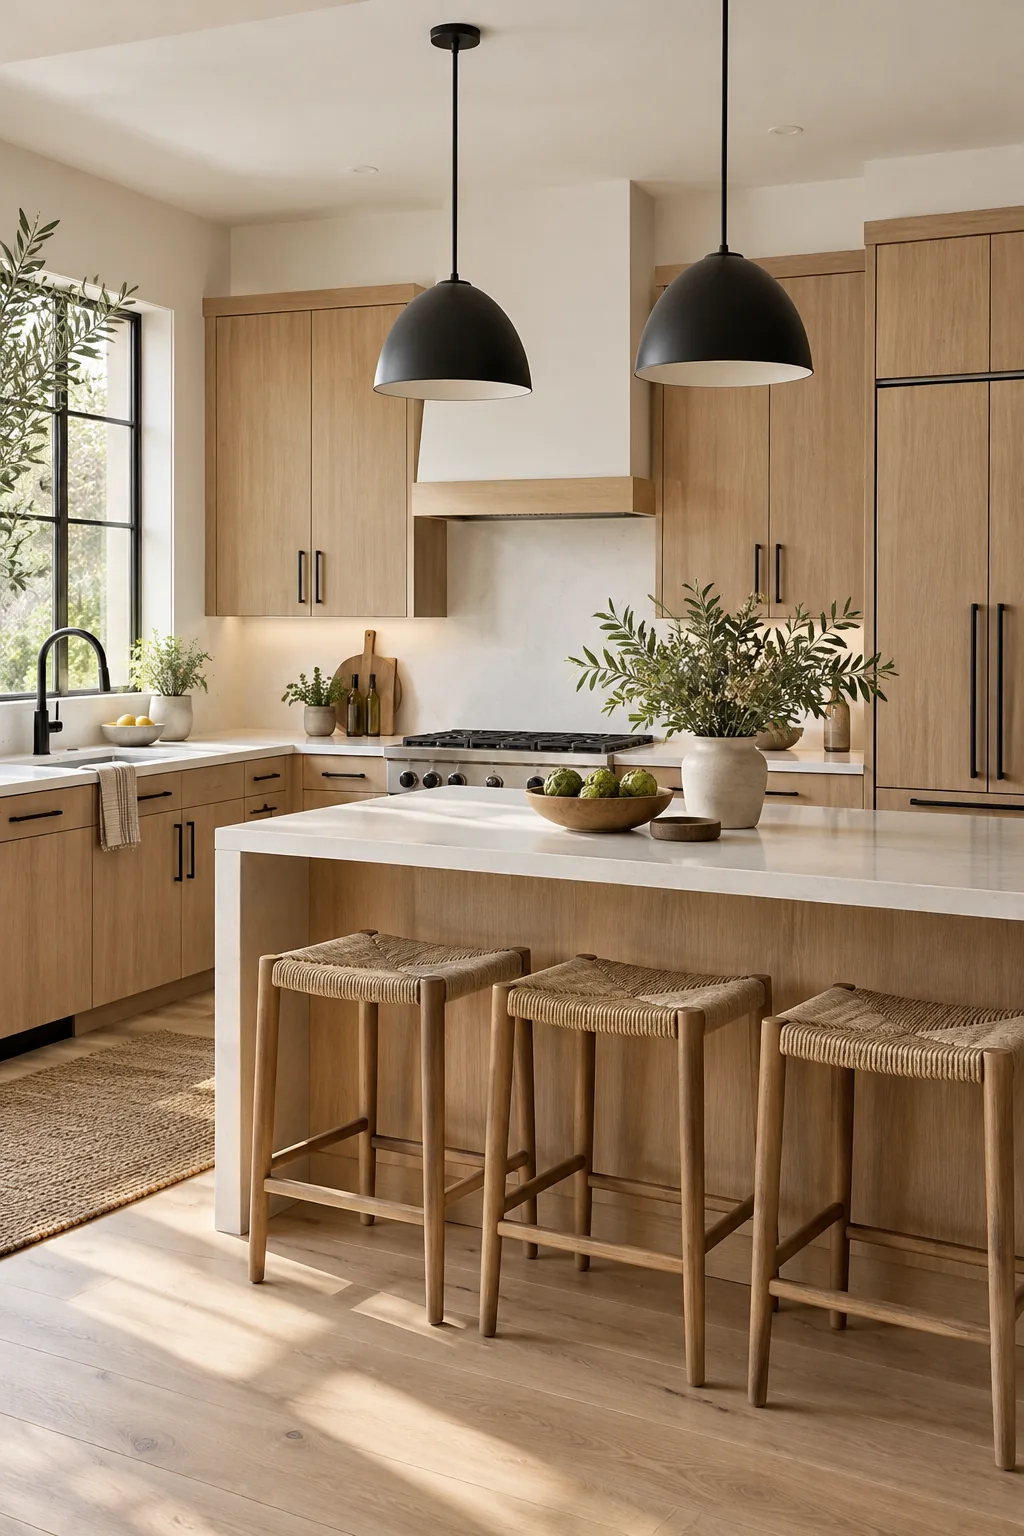
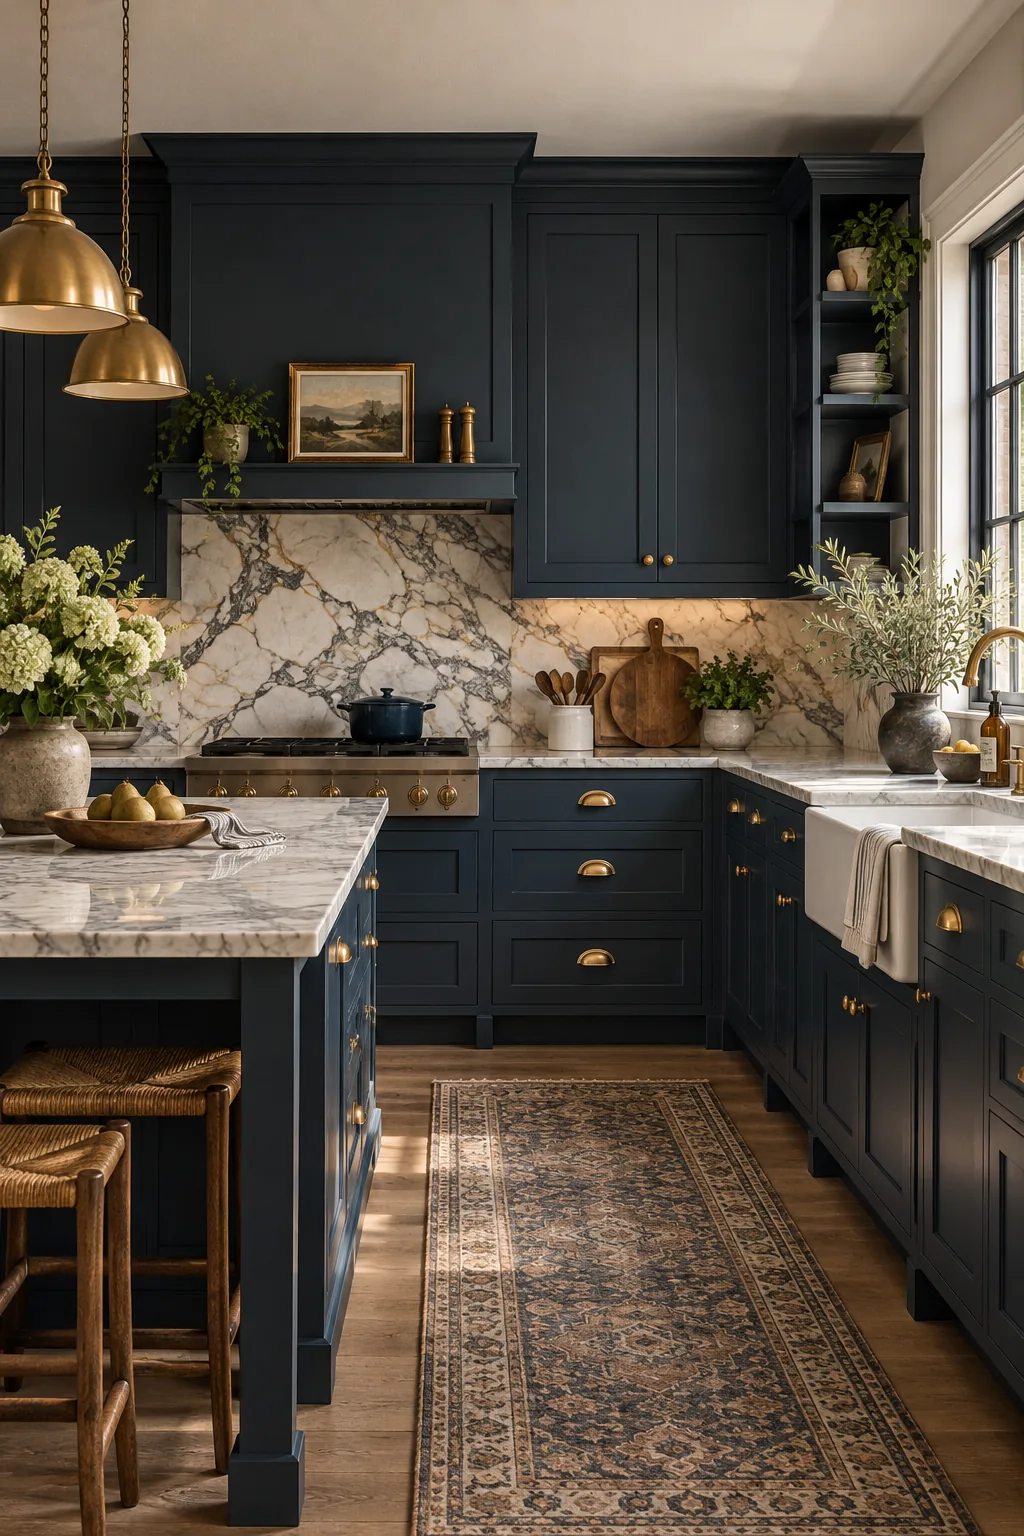
Moody Traditional Navy Cabinetry: Deep navy blue shaker doors ground the space, allowing unlacquered brass bin pulls to develop a beautiful natural patina over time.
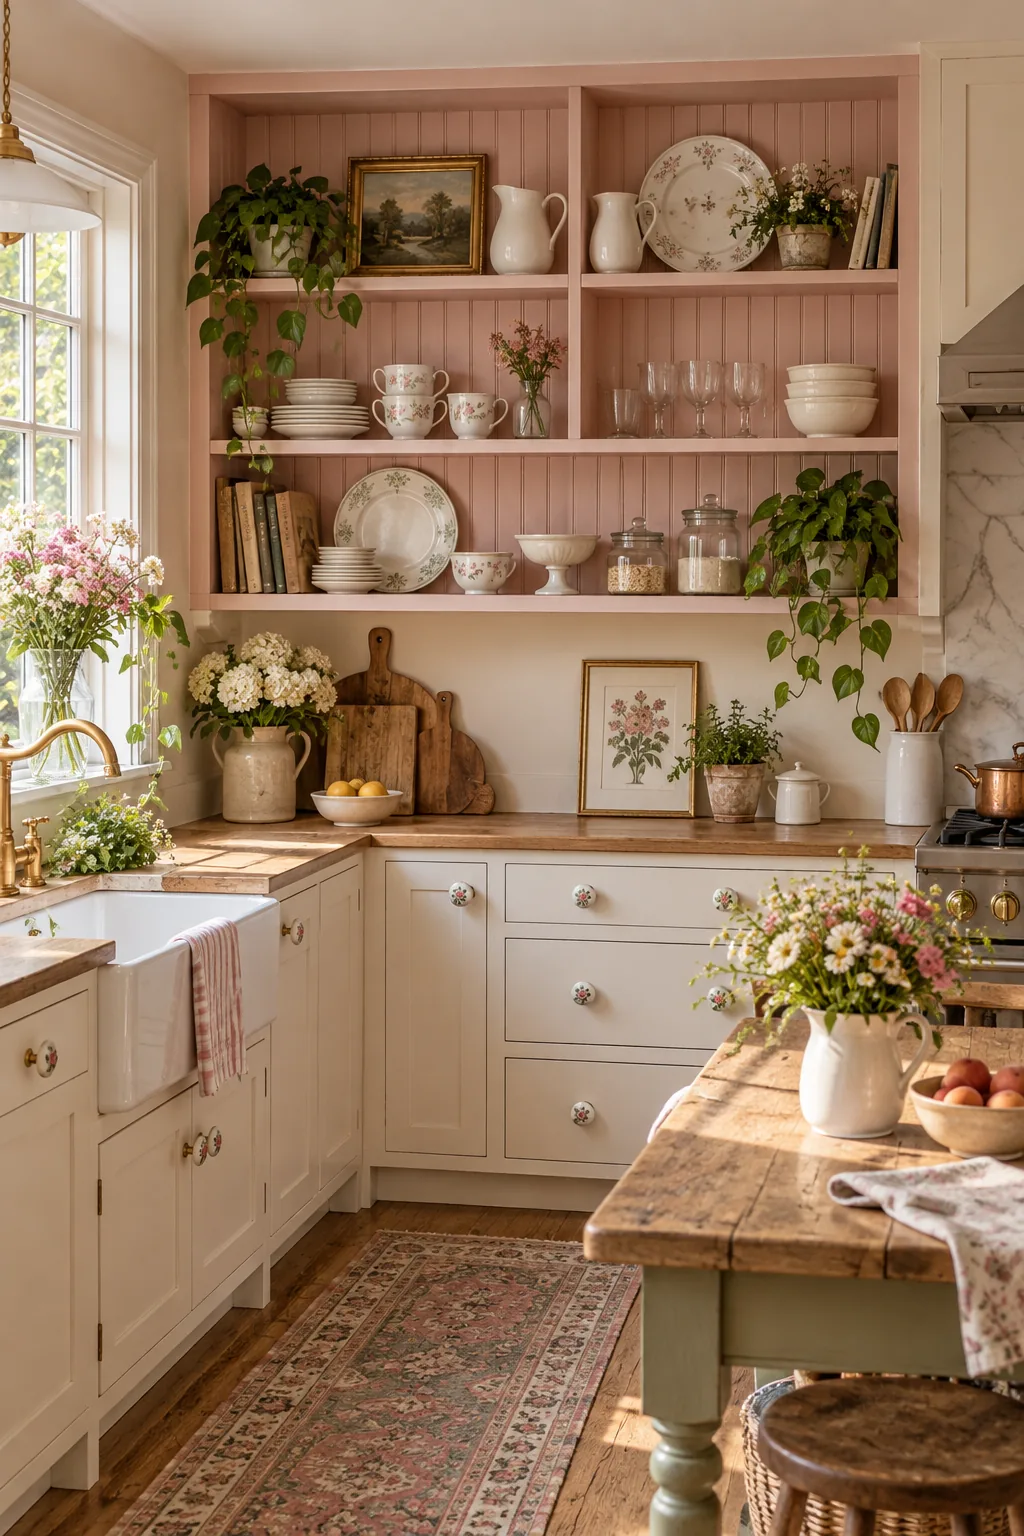
Cottage Core Pink Accents: Painting beadboard cabinet backs in a dusty pink adds instant charm and beautifully highlights a collection of vintage white ironstone pitchers.
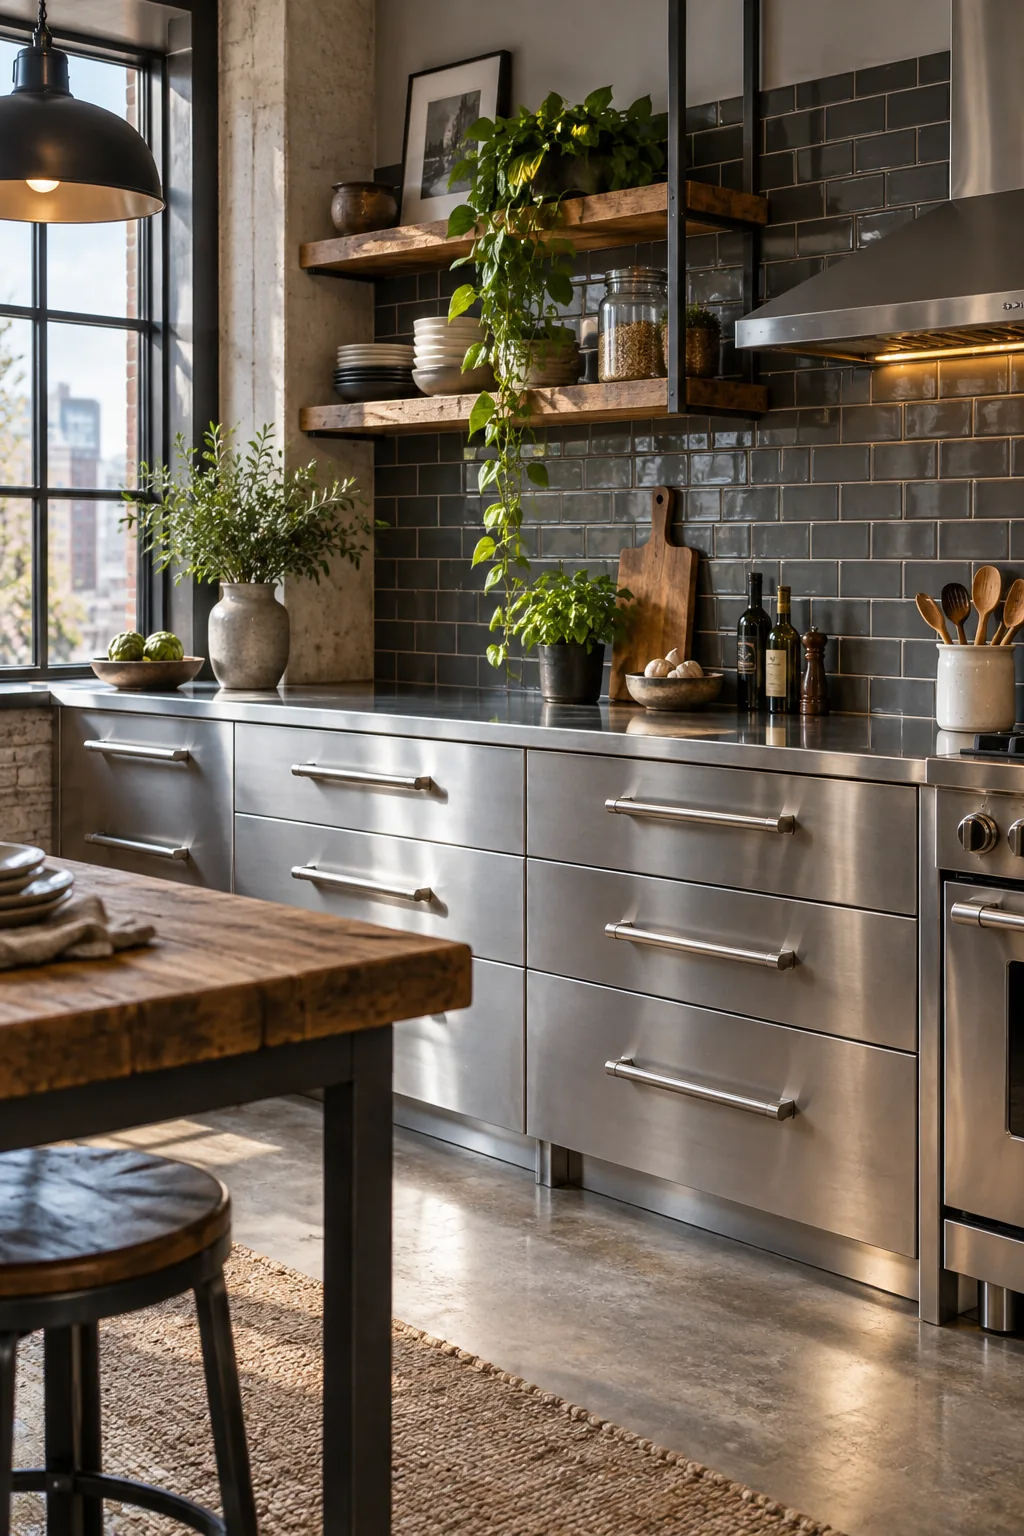
Industrial Loft Stainless Steel: Oversized bar pulls on stainless steel lower drawers bring functional, restaurant-grade durability to a hard-working urban loft kitchen.