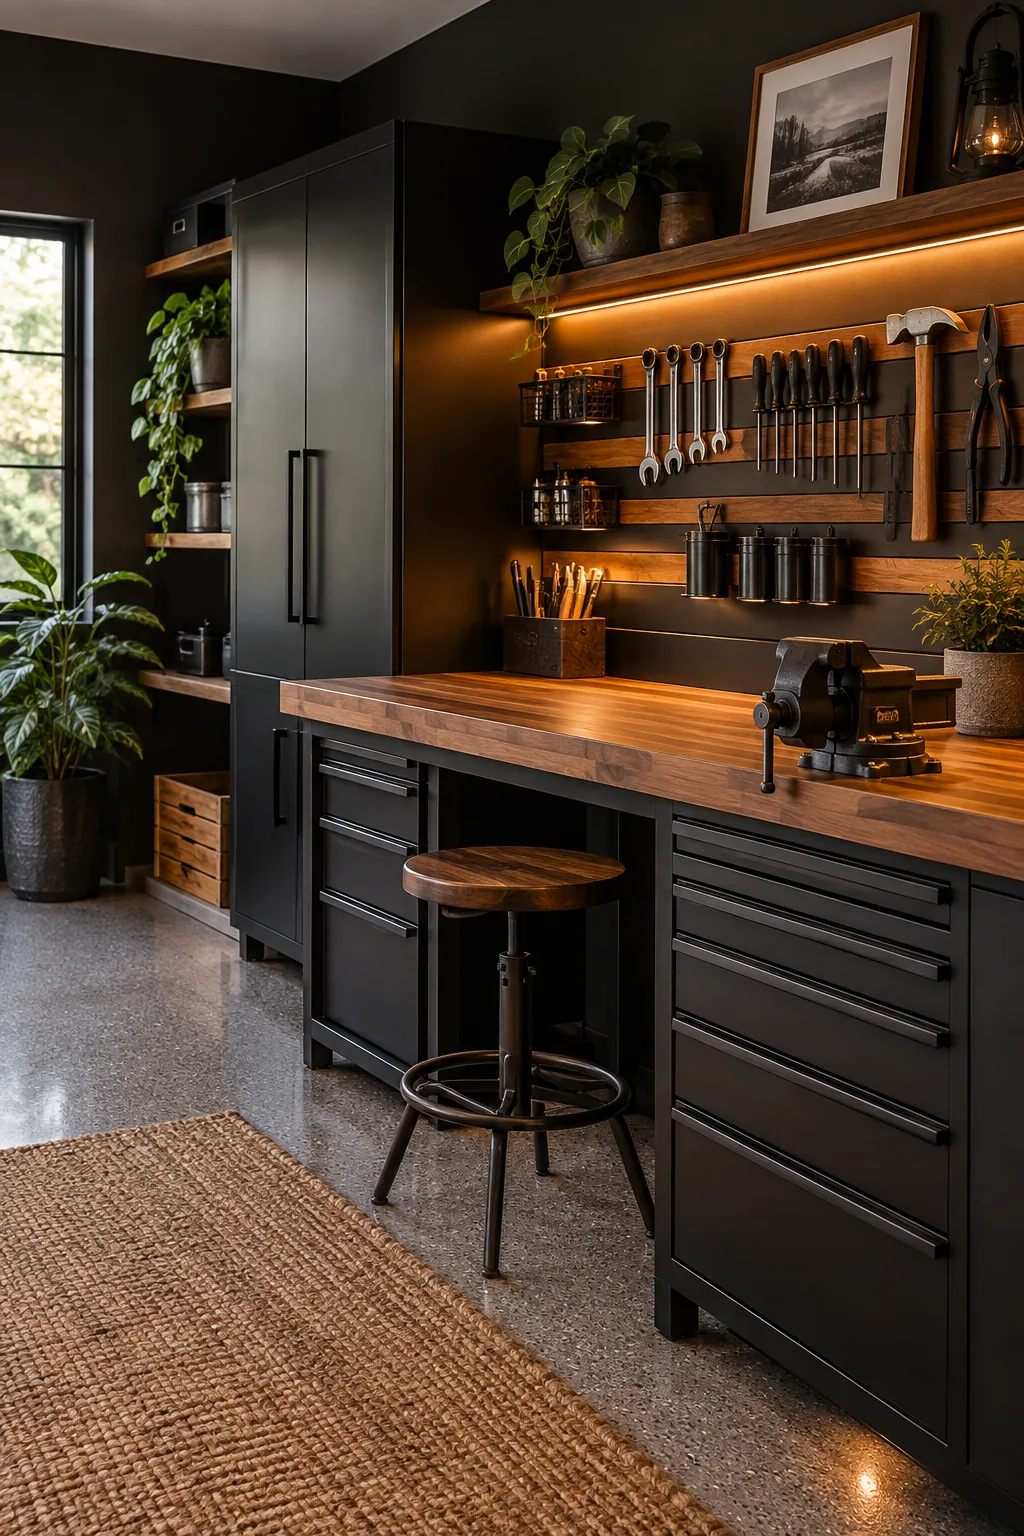
Cool Garages: The Pro Setup and 6-Zone Layout Plan
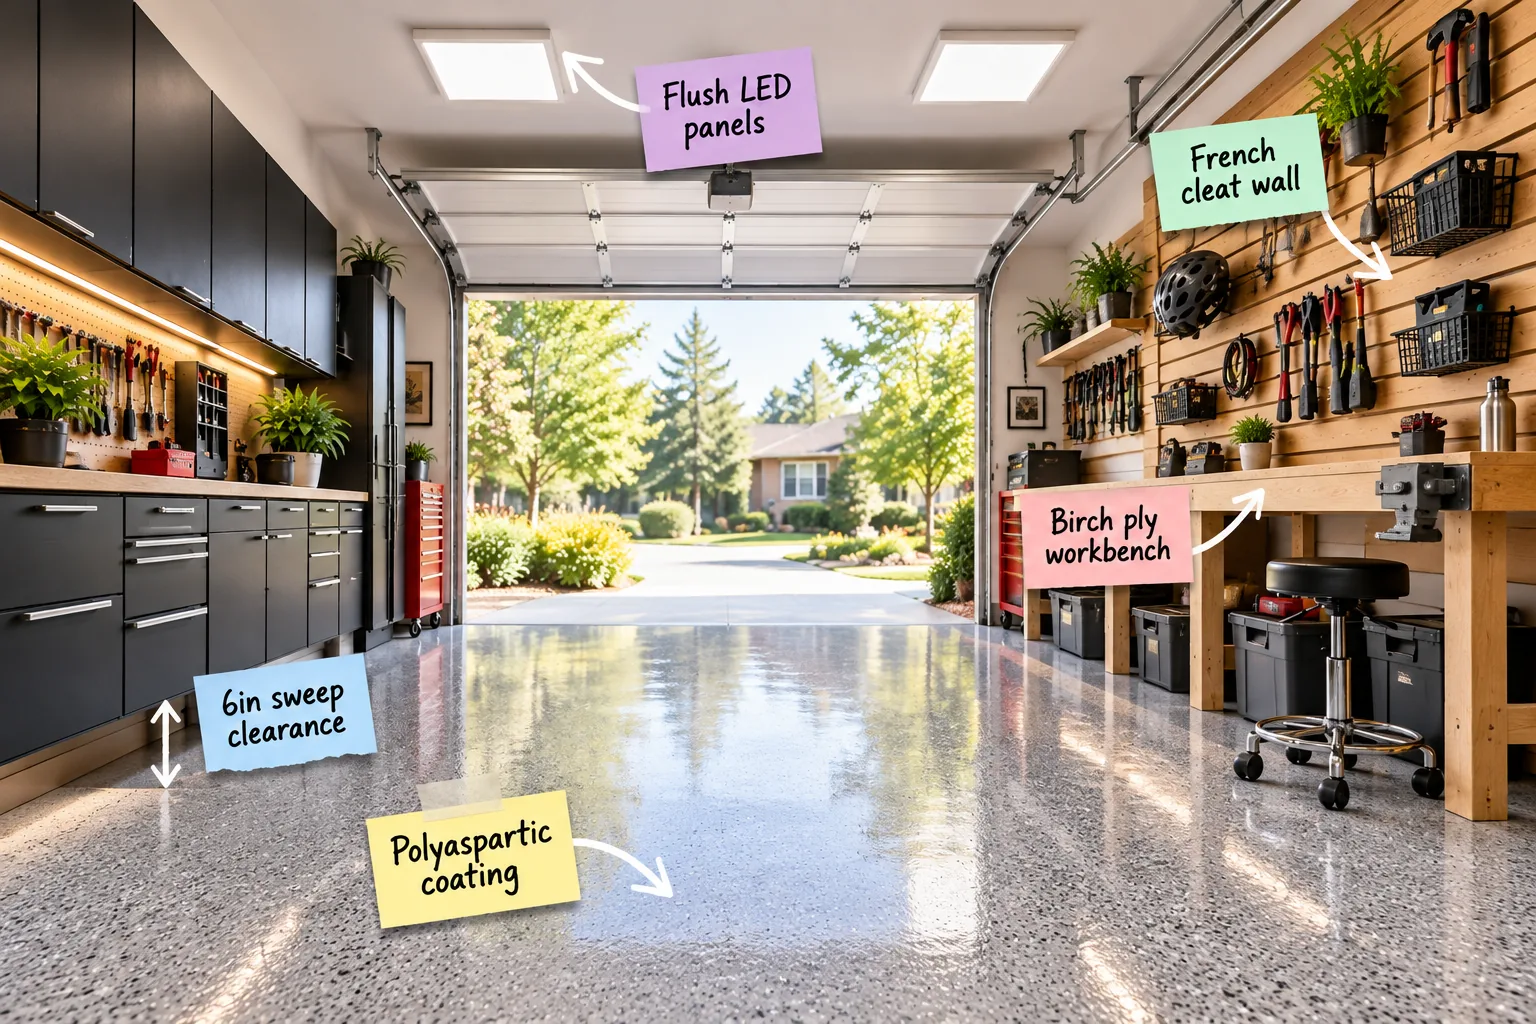
Transform your cluttered space into a pristine workspace with this exact 6-zone garage layout plan. You will be able to map out and install a highly functional setup that balances a heavy-duty workshop with beautifully organized storage.
The Foundation: Polyaspartic Floor Coating
When I finally upgraded my Austin garage, ditching the stained concrete for a gleaming, speckled grey floor completely changed the vibe. A polyaspartic coating beats traditional epoxy because it resists hot-tire pickup and offers superior UV stability near open doors.
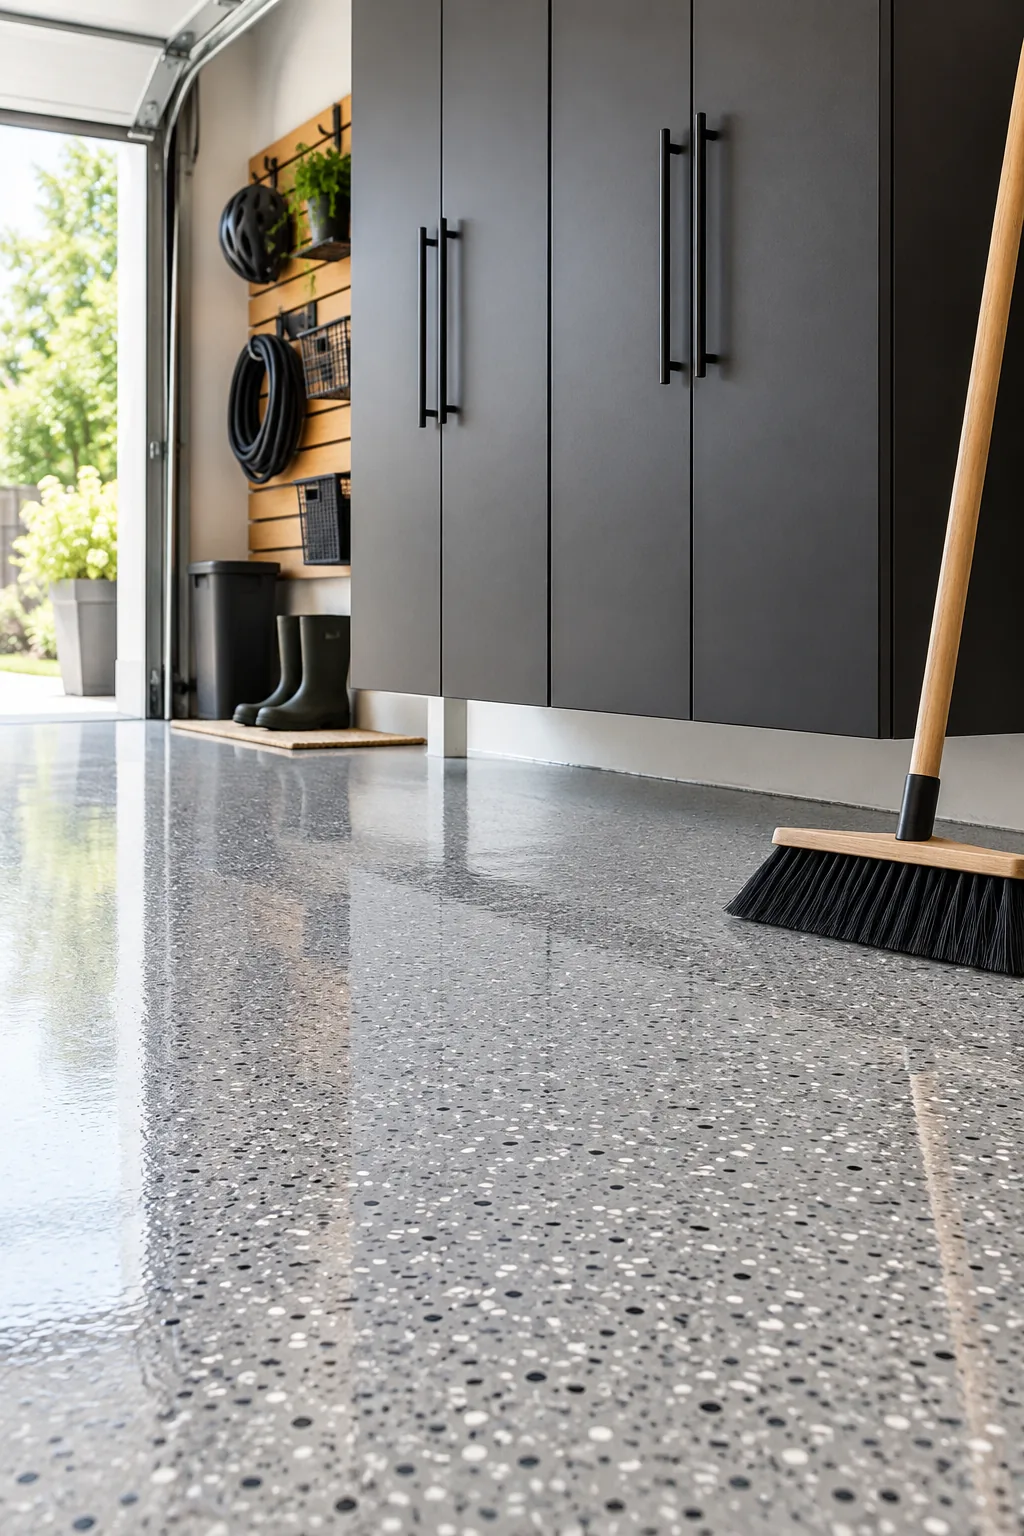
This advanced material cures hard enough for heavy foot traffic in just 24 hours. It creates a waterproof, slip-resistant foundation that easily wipes clean after messy potting projects or accidental oil spills.
Repairing Concrete Cracks and Divots
A flawless finish requires filling every imperfection with a fast-curing concrete patch compound. Grind these patched areas completely flush with the surrounding slab so your final resin coating lays perfectly flat without pooling.
Curing Times and Temperature Limits
Planning your installation around the local weather ensures the chemical bond sets correctly. Always verify the ambient surface temperature with an infrared thermometer before mixing your two-part resin to avoid bubbling.
| Coating Type | Ideal Temp | Foot Traffic | Vehicle Traffic |
|---|---|---|---|
| Polyaspartic | 30°F to 90°F | 24 hours | 72 hours |
| Standard Epoxy | 55°F to 80°F | 48 hours | 7 days |
| Acrylic Sealer | 50°F to 85°F | 12 hours | 48 hours |
Base Storage: 6-Inch Sweep Clearance
I used to hate chasing sawdust behind heavy tool chests, so floating my matte black cabinets was a total game-changer. Maintaining a clear 6-inch sweep clearance between the cabinet bottoms and the floor visually expands the room.
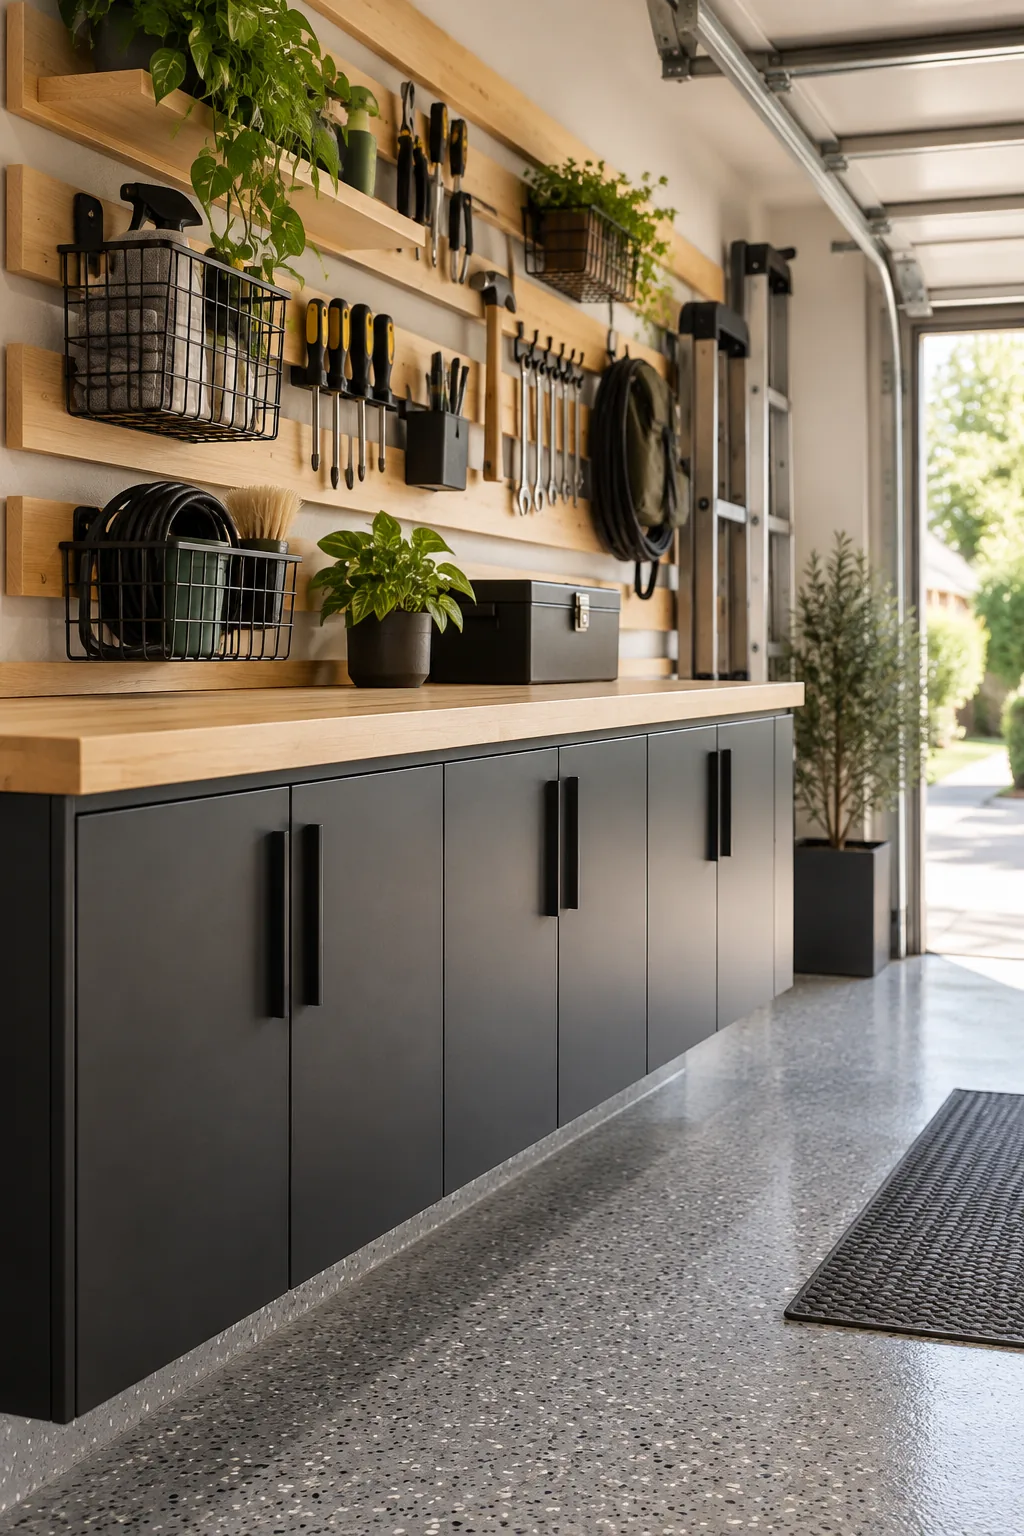
Getting that floating look requires absolute precision during installation so the heavy boxes never sag over time. This exact height easily accommodates standard push brooms and prevents water damage from melting snow or heavy rain.
Securing the Temporary Ledger Board
A ledger board acts as an extra set of hands to support the cabinet weight while you adjust the plumb. Fasten a straight two-by-four directly into the wall studs at your desired baseline height.
- Mark the absolute high point of your garage floor slope.
- Measure up exactly six inches from that specific high point.
- Strike a level laser line across the entire mounting wall.
- Screw the temporary ledger directly below this laser line.
Selecting Heavy-Duty Mounting Hardware
Floating cabinets require serious anchoring to handle the immense weight of power tools and dense hardware bins. Always use structural lag screws driven deeply into the wooden wall studs rather than relying on flimsy drywall anchors.
Cabinet Configuration Strategy
Mixing different cabinet depths keeps the workspace feeling open while maximizing your total storage volume. A smart cabinet configuration strategy balances bulky equipment storage below with easy-to-reach crafting supplies safely tucked away above.
Maximizing the 24-Inch Deep Base Units
Reserve your lower wall space for deep 24-inch base cabinets that can easily swallow circular saws and heavy soil bags. Installing pull-out sliding shelves inside these deep units prevents smaller tools from getting lost in the back corners.
Optimizing the 12-Inch Upper Cabinets
Pairing those deep bases with shallower 12-inch upper cabinets is the secret to a comfortable standing desk. This specific depth ratio prevents you from bumping your head while leaning closely over your intricate projects.
Vertical Storage: The French Cleat Wall
Hanging horizontal wooden beveled strips creates a fully modular system for organizing your most-used hand tools. A French cleat wall lets you rearrange hooks, shelves, and wire baskets without ever drilling new holes in the drywall.
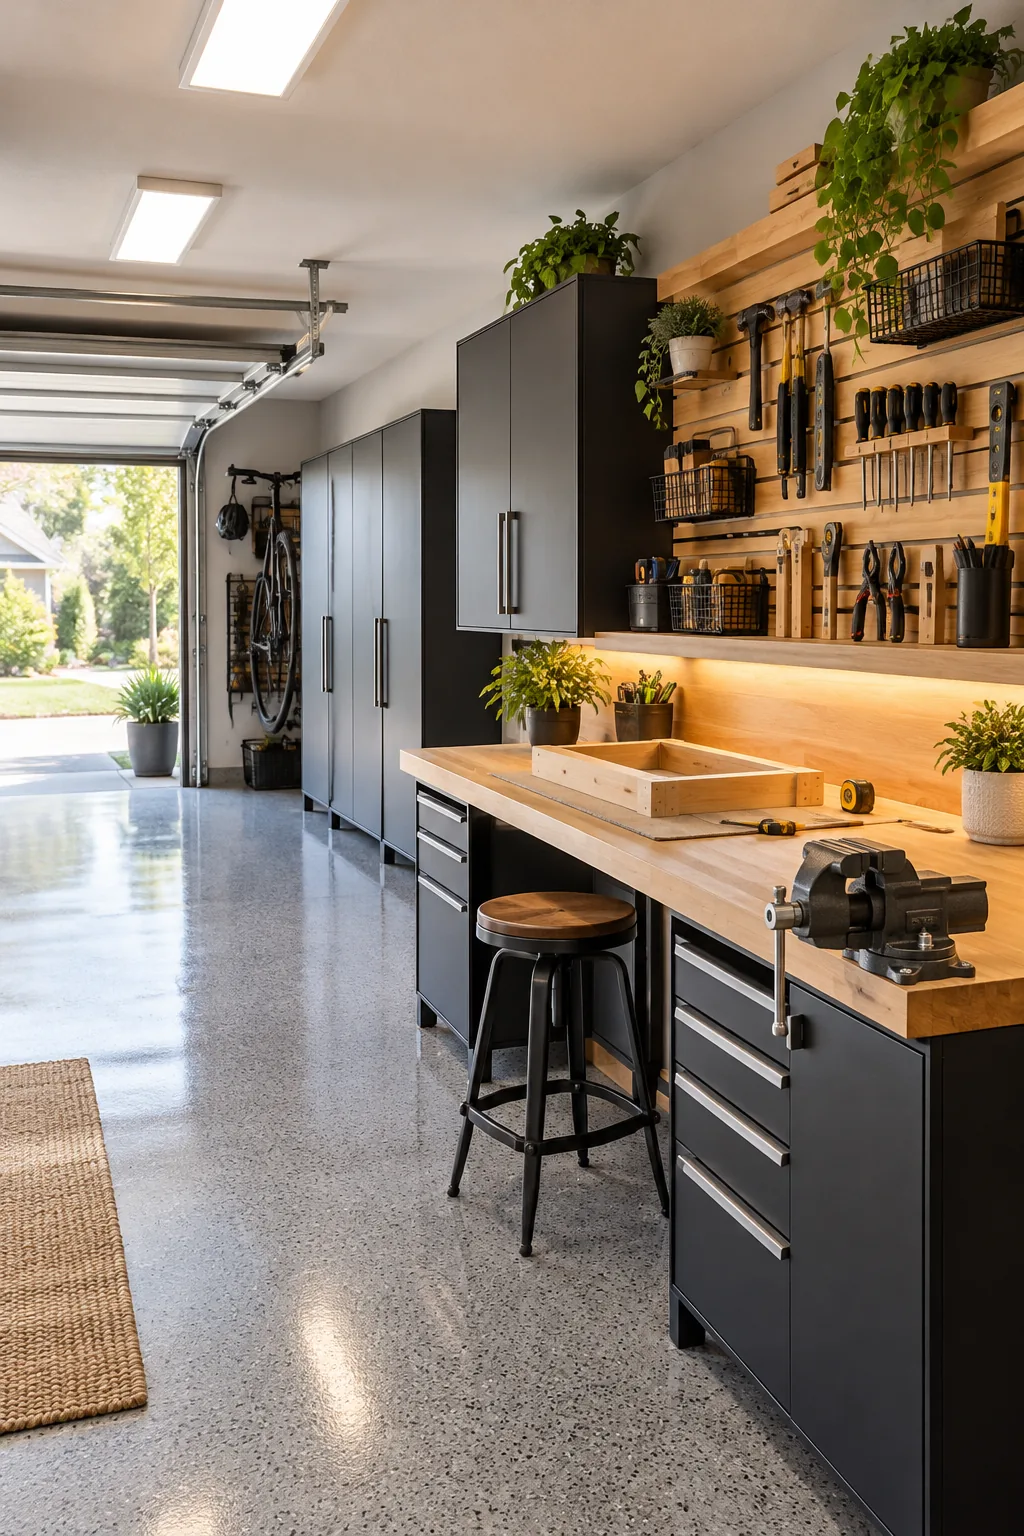
Spacing the cleats exactly 8 inches apart vertically maximizes the flexibility for hanging different basket sizes. This precise grid ensures your custom tool holders always align perfectly across multiple rows as your collection grows.
Cutting the Perfect 45-Degree Bevel
The magic of this vertical system relies on the interlocking gravity joint created by a 45-degree angle cut. Rip your boards on a table saw with the blade tilted precisely to ensure a snug, slip-free fit.
Choosing the Right Cleat Material
Skip the cheap MDF and build your cleats from high-quality three-quarter-inch hardwood plywood. The layered veneer provides incredible sheer strength to support heavy sledgehammers and cast-iron clamps without splitting under the constant load.
The Work Zone: Birch Ply Workbench
Every good shop needs a dedicated zone where you can hammer, clamp, and assemble without worrying about ruining the finish. A thick, warm birch ply workbench adds a refined, natural texture to the industrial metal space.
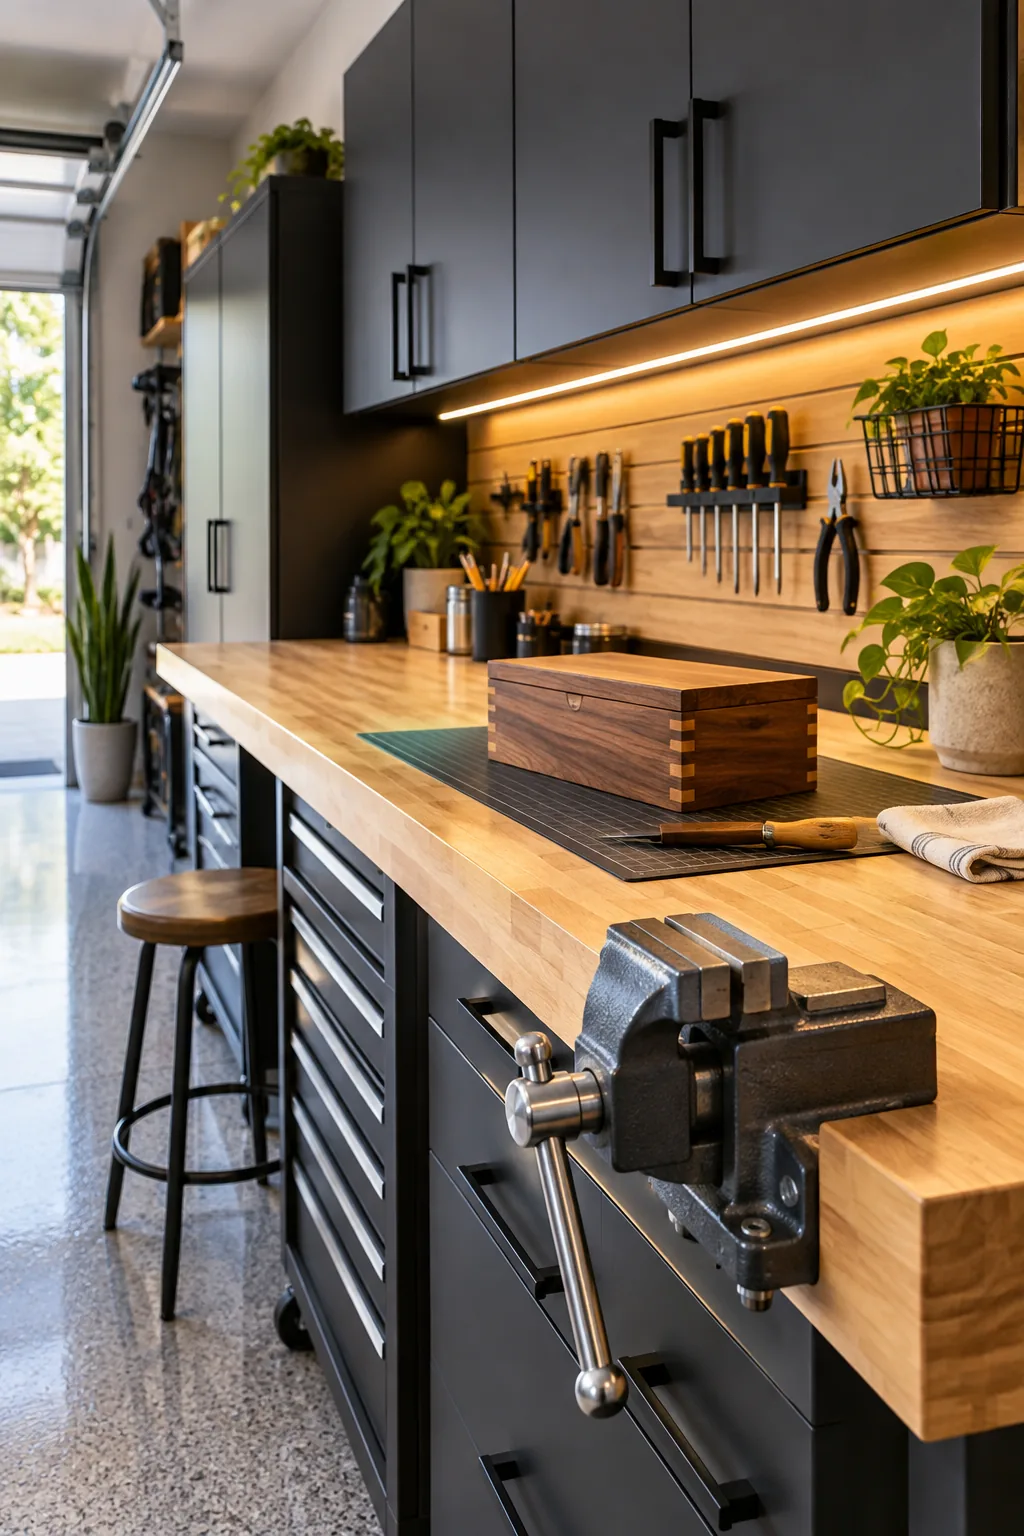
Gluing together two sheets creates a massive 1.5-inch thick surface that provides excellent shock absorption for heavy projects. This dense core easily handles the aggressive vibrations of a bench grinder or a heavy-duty metal vise.
Sealing the Plywood Edges
Exposed plywood edges can easily splinter or absorb ambient humidity from the fluctuating garage air. Ironing on a strip of birch edge banding protects the delicate layers and gives the top the polished look of a solid wood slab.
Overhead Illumination: Flush LED Panels
Swapping my old buzzing fluorescent tubes for flat, bright rectangular light fixtures integrated into the ceiling made crafting at night incredible. Upgrading to flush LED panels completely transforms the room from a murky cave into a vibrant studio.
These broad panels cast an incredibly even glow that eliminates harsh shadows directly over the workbench. Replacing single bare bulbs with this wide-angle lighting prevents eye strain during highly detailed woodworking or painting tasks.
Choosing the Right Color Temperature
The color of your light dramatically affects how paint swatches and wood stains look during your finishing projects. Always choose fixtures with a 5000K color temperature to perfectly mimic crisp, bright daylight without looking overly blue.
Power and Cable Management
Before securing the final wall panels or cabinets, verify your electrical layout to ensure every heavy-duty tool has dedicated power. Routing power strips along the back edge of the workbench keeps cords entirely off the floor to eliminate tripping hazards.
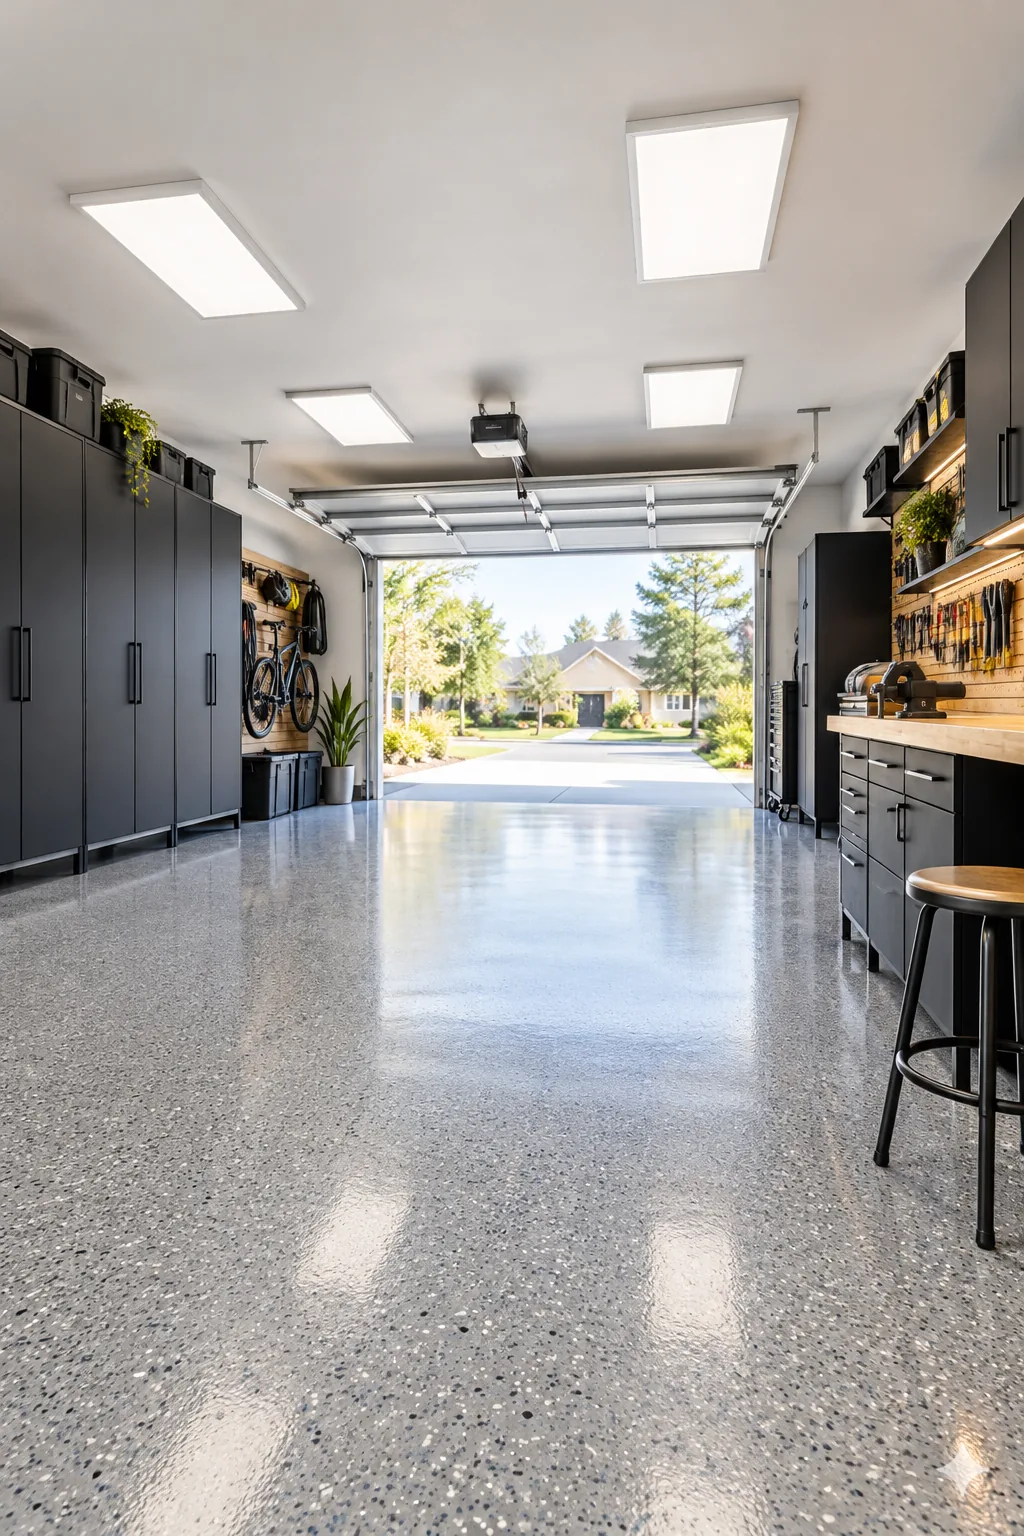
Concealing Heavy-Duty Extension Cords
Loose cables dangling from the wall ruin the clean aesthetic of your newly organized space. Run your essential power lines through paintable cable raceways mounted flush against the baseboard or discreetly tucked beneath the floating cabinets.
Planning the Daily Drop and Bulk Zones
Place the daily drop zone right next to the interior house door for shoes, keys, and reusable grocery bags. Position your bulk storage on high overhead racks to hold seasonal decorations and camping gear completely out of the way.
Designing the Workshop and Garden Areas
Anchor the active workshop along the deepest side wall to accommodate the workbench, tool cabinets, and bright task lighting. Dedicate the corner nearest the garage door to garden and yard gear so muddy shovels never cross the clean floor.
Reserving Space for Sports and Vehicles
Group all the bicycles, basketballs, and sports equipment on specialized wall racks opposite the workshop to prevent accidental door dings. Maintaining this strict boundary ensures your expensive gear stays protected from daily car traffic.
The Complete 6-Zone Garage Layout Plan
Bringing all these functional areas together requires a precise spatial blueprint that maximizes every single square foot. This strategic 6-zone garage layout plan balances your active, heavy-duty workspace with essential daily vehicle parking.
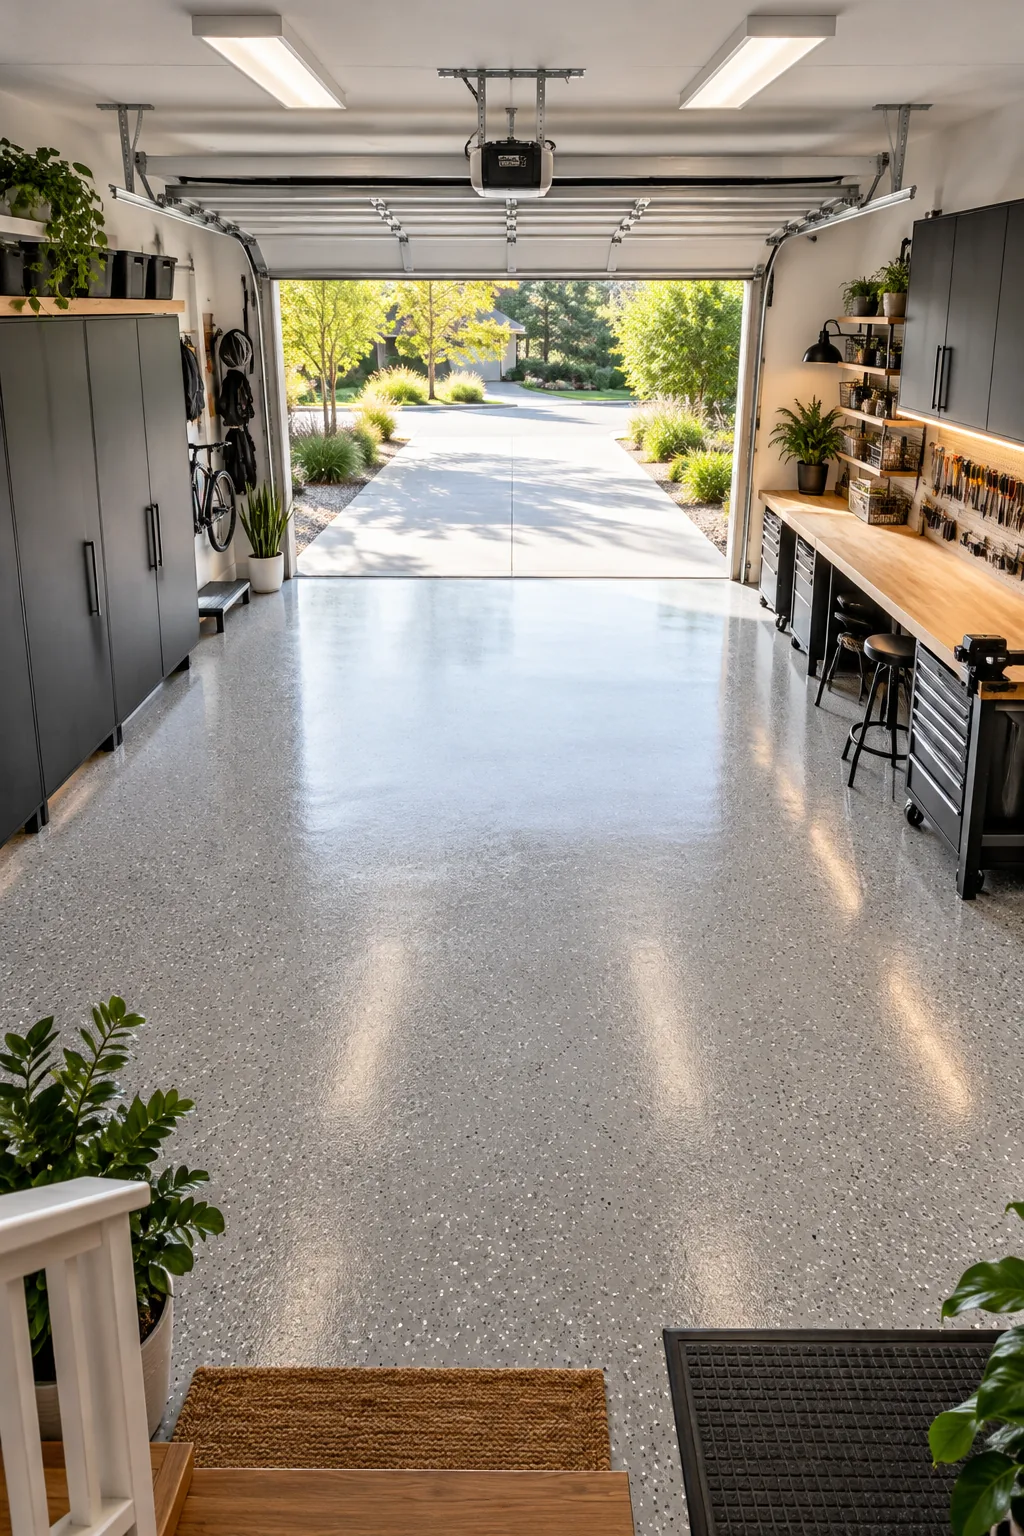
You can easily adapt this exact footprint to fit a standard two-car bay while keeping the central traffic flow completely unobstructed. The final design cleanly separates the six distinct areas so your pristine storage and messy projects never overlap.
4 Ways to Style a Pro Garage
Explore these distinct finishes to find the perfect aesthetic for your high-performance workspace.
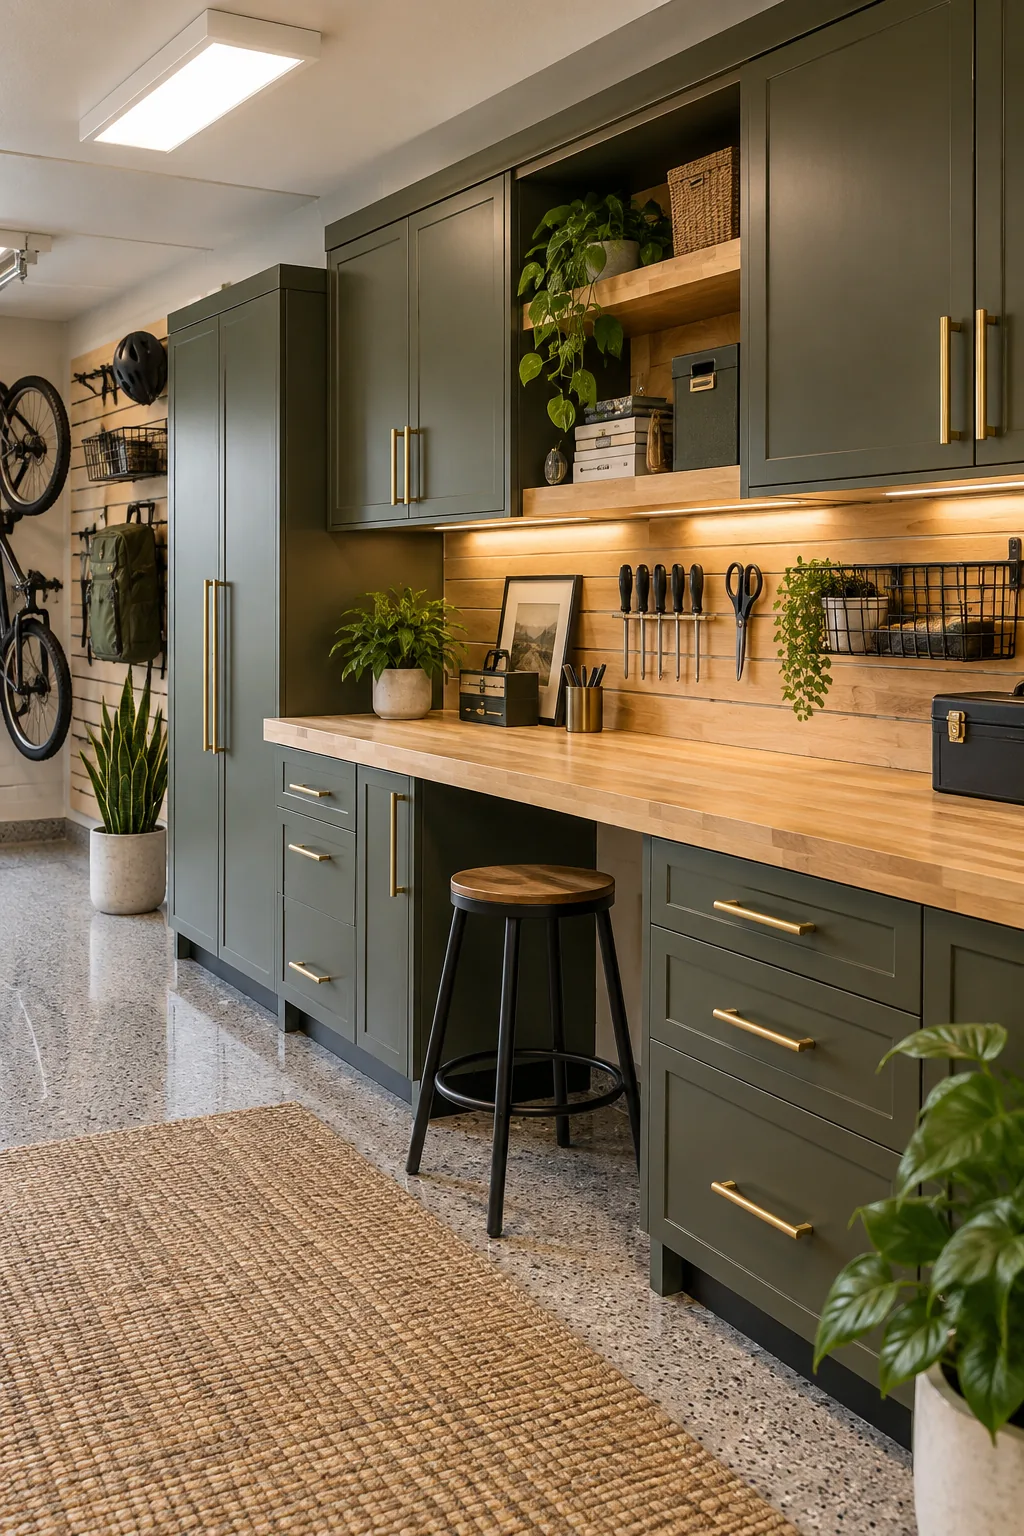
Matte Olive & White Oak: Earthy green tones soften the industrial edge, while white oak provides a bright, inviting surface.
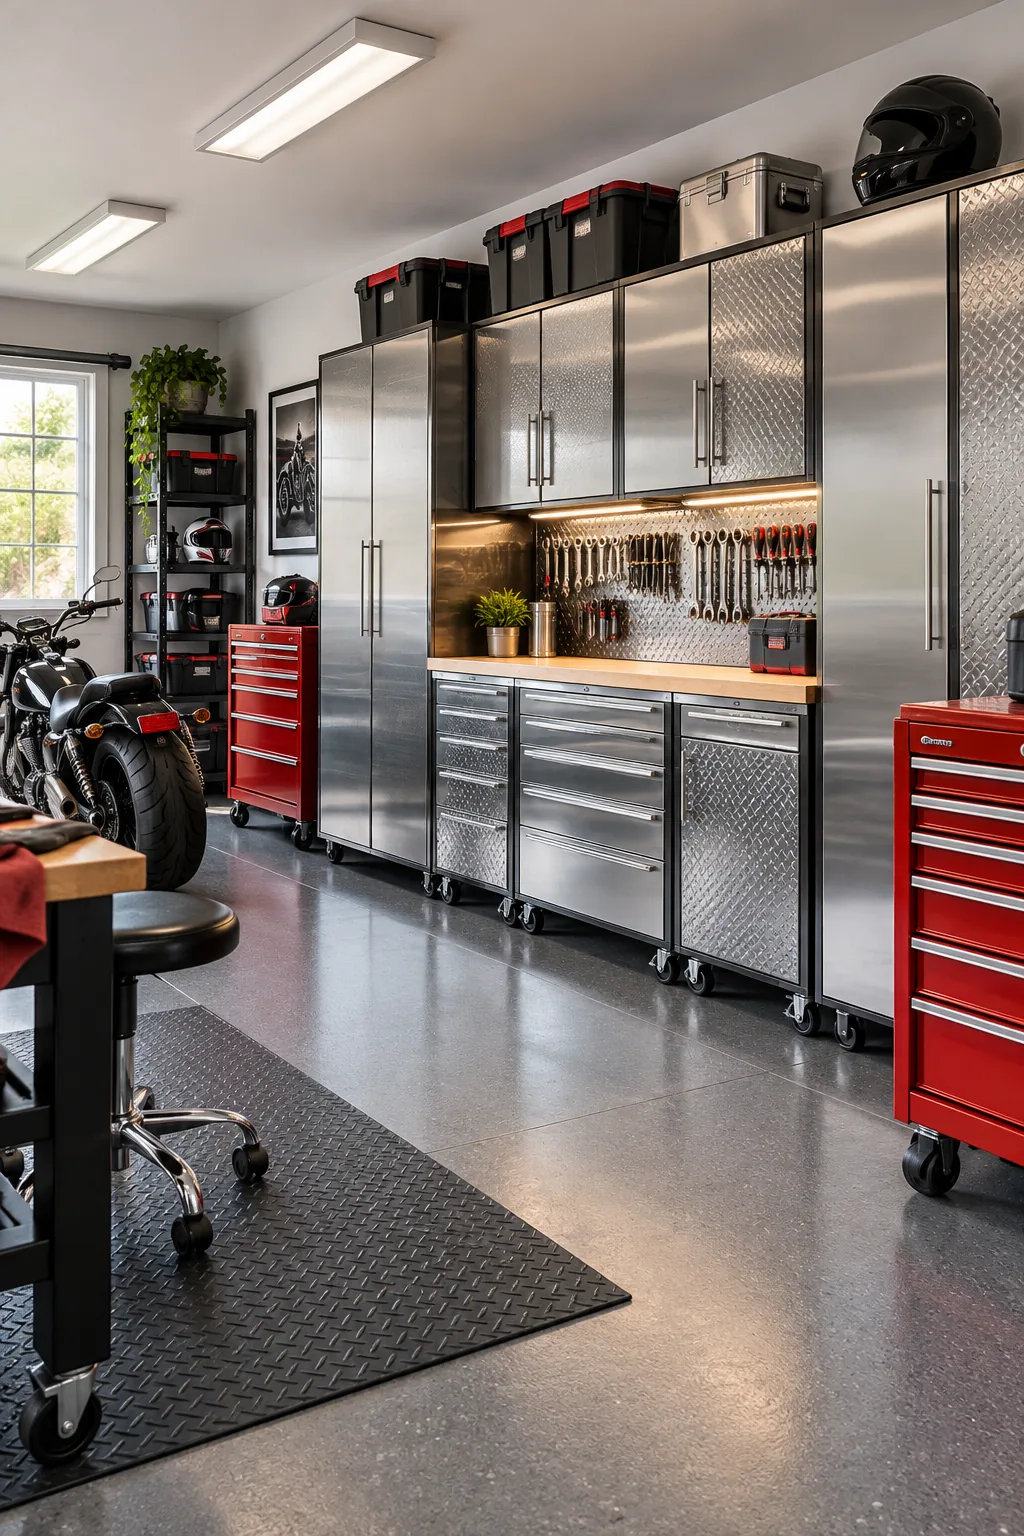
Industrial Stainless & Diamond Plate: Lean into a classic mechanic aesthetic with ultra-durable steel surfaces that wipe clean instantly.
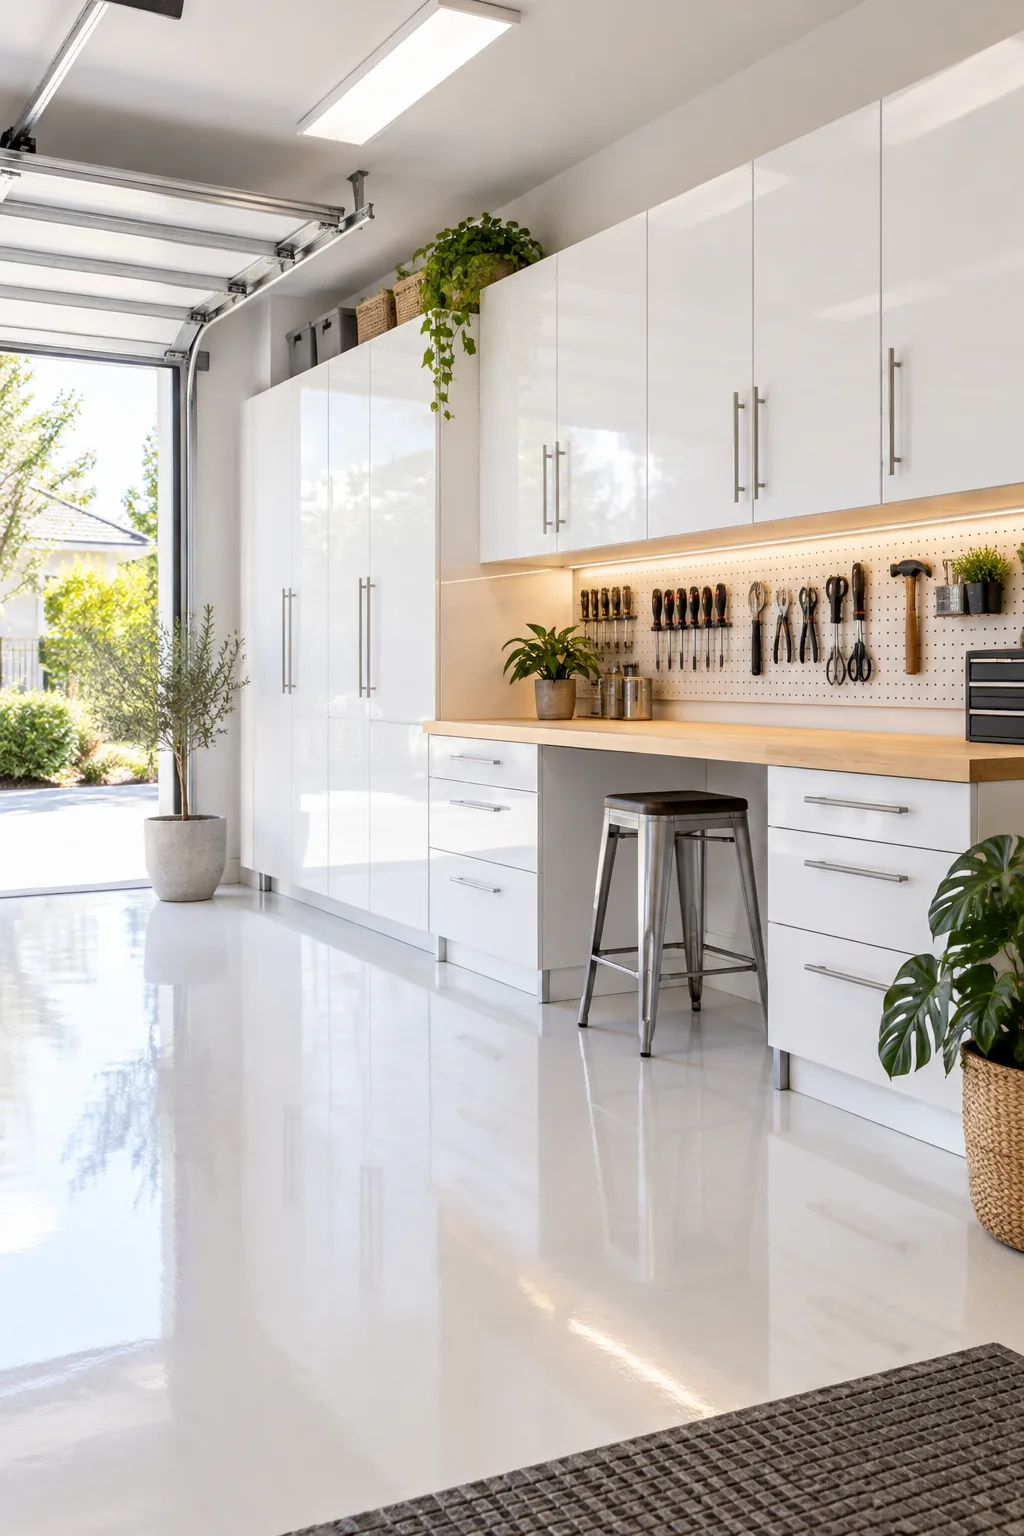
Bright Minimalist White: Maximize light reflection in a windowless space by pairing glossy white storage with pale woods.
Moody Charcoal & Walnut: Create a sophisticated, den-like atmosphere by combining dark charcoal walls with rich walnut grain.