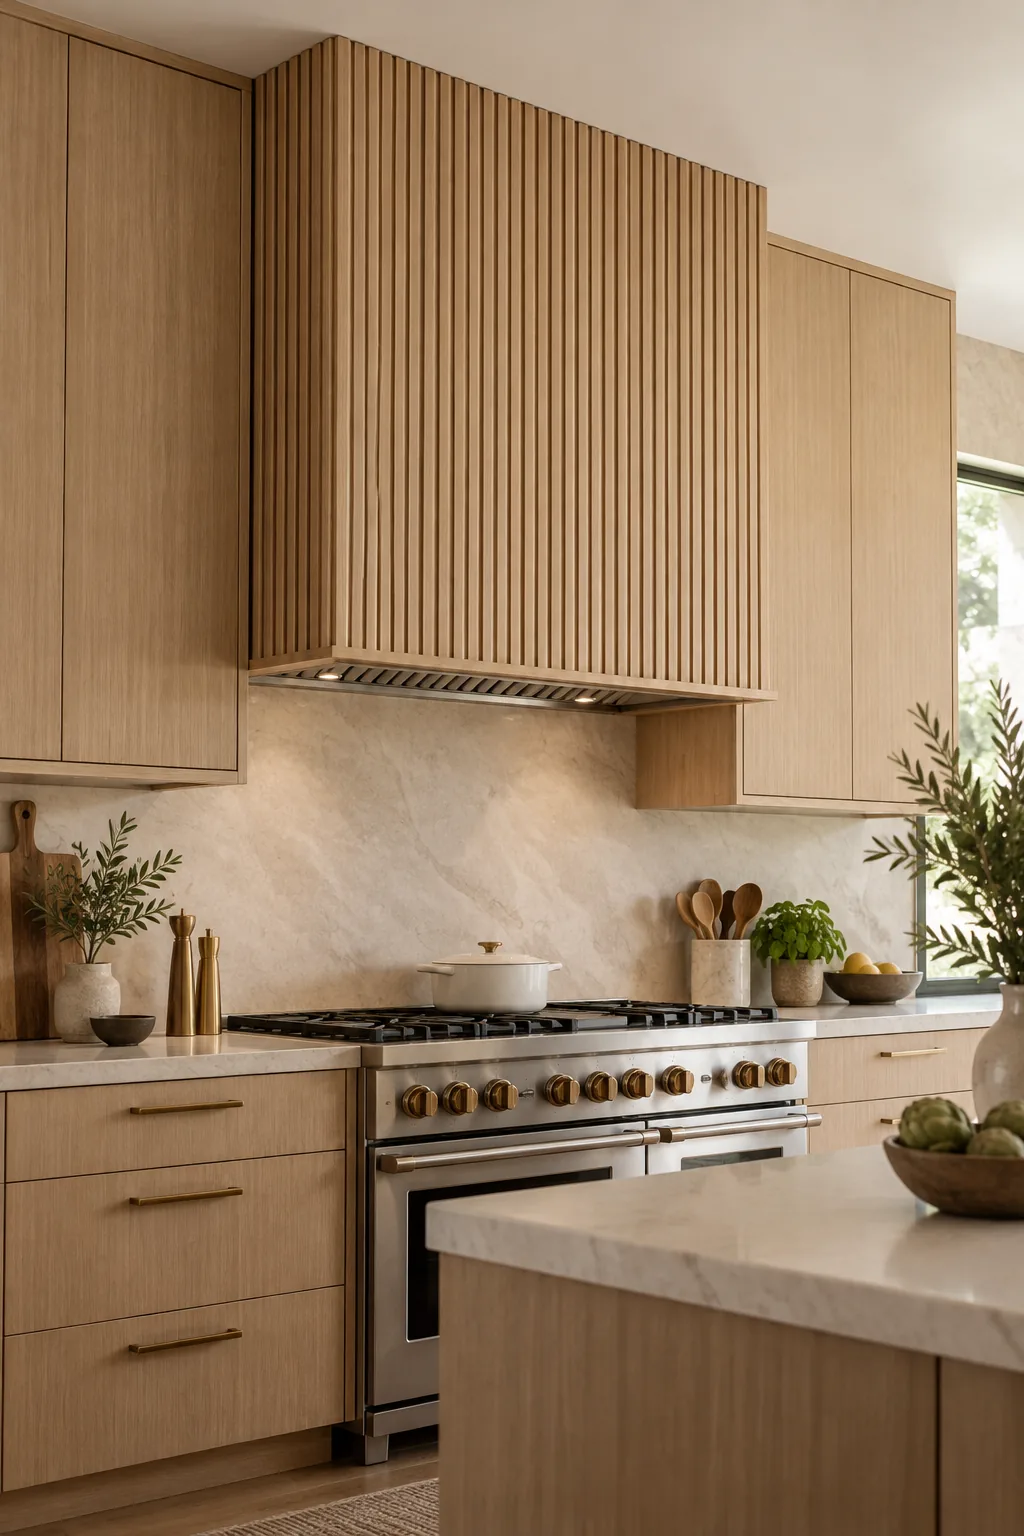
Custom Range Hood Sizing Guide and Printable Spec Sheet
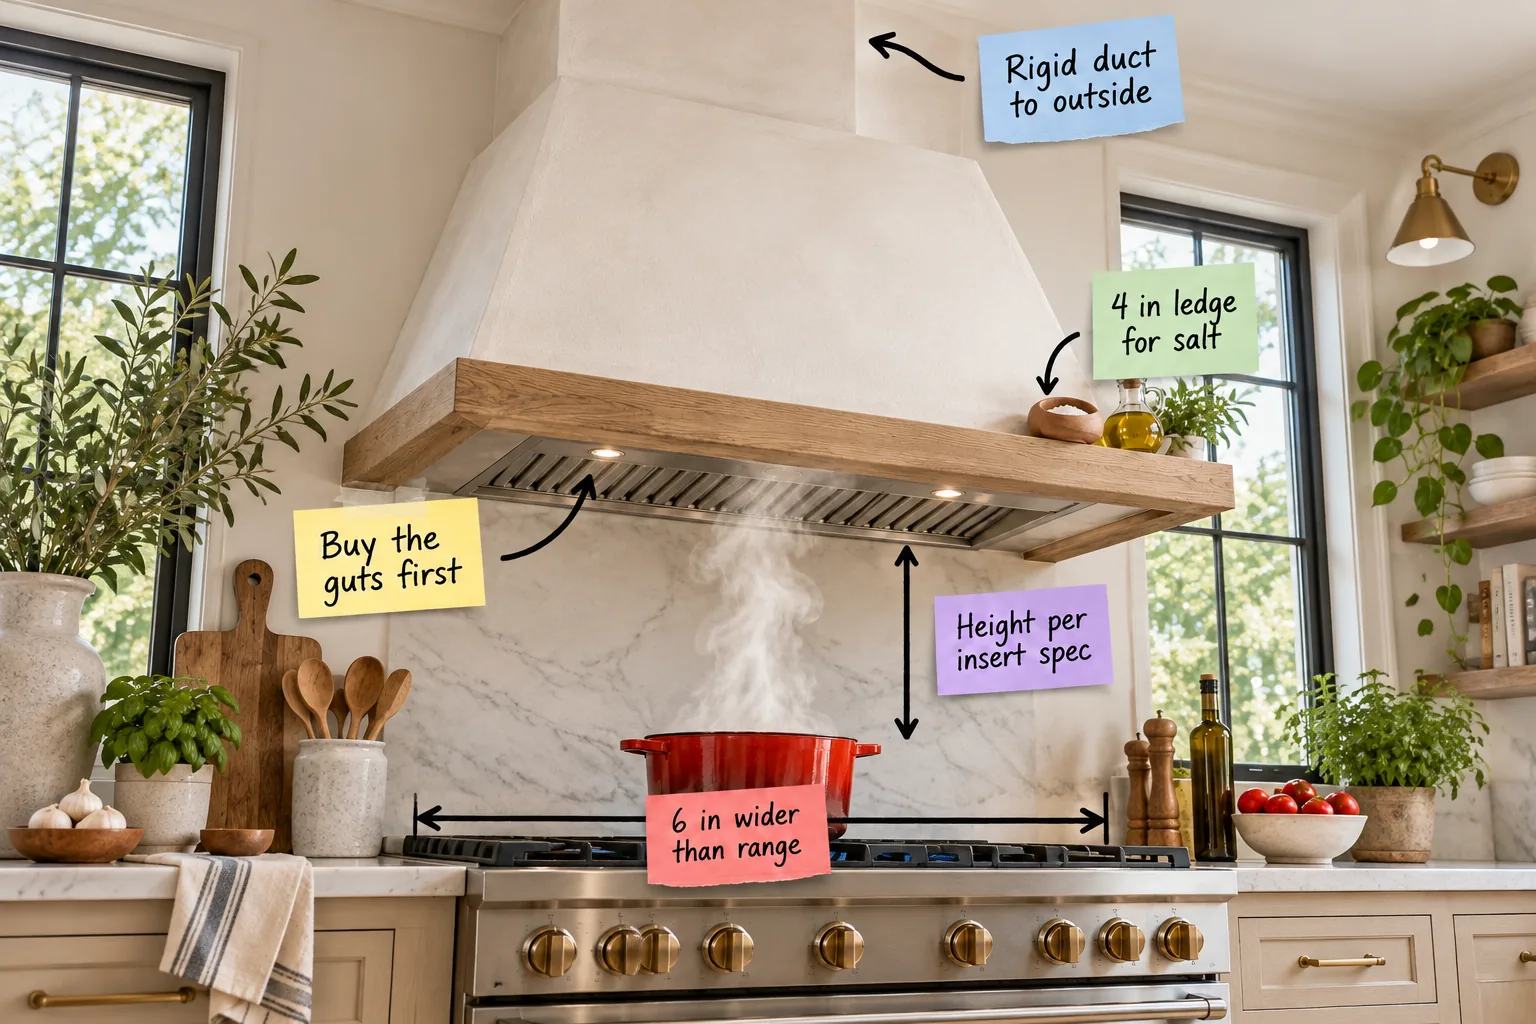
You can build a stunning architectural feature that actually clears the air by using our printable Custom Range Hood Sizing Sheet to calculate your exact hood width, mounting height, CFM, and framed box dimensions.
Start With the Stainless Liner Insert
Before building anything, you absolutely must purchase the mechanical insert because its specific dimensions dictate your entire framing structure.
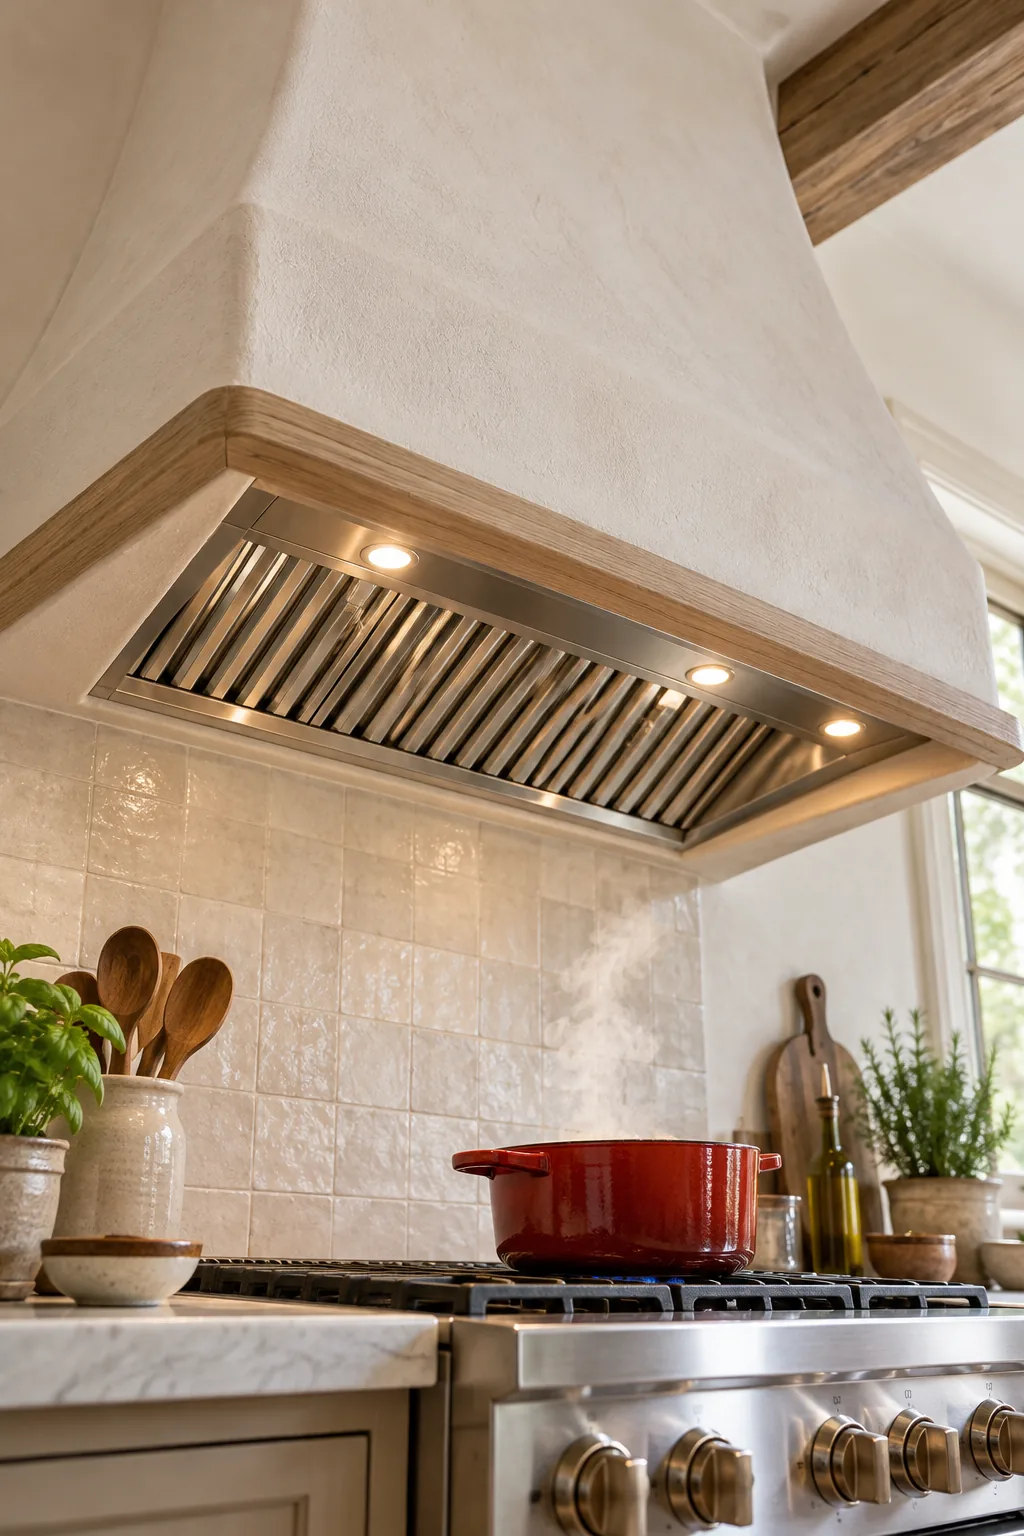
Having the physical unit on hand ensures your wooden skeleton is perfectly sized to hold the stainless liner insert without any frustrating modifications later.
Calculate the Minimum Airflow
Your insert needs enough power to handle your specific cooktop, which is measured in cubic feet per minute or CFM.
| Total Gas BTUs | Electric Range Size | Minimum Recommended CFM |
|---|---|---|
| Up to 40,000 | 30-inch standard | 400 CFM |
| 40,000 – 60,000 | 36-inch standard | 600 CFM |
| 60,000 – 90,000 | 36-inch pro-style | 900 CFM |
| 90,000+ | 48-inch pro-style | 1200 CFM |
Size the Box Six Inches Wider
Design the hood to be exactly 6 inches wider than your cooking surface to create a truly functional capture area.
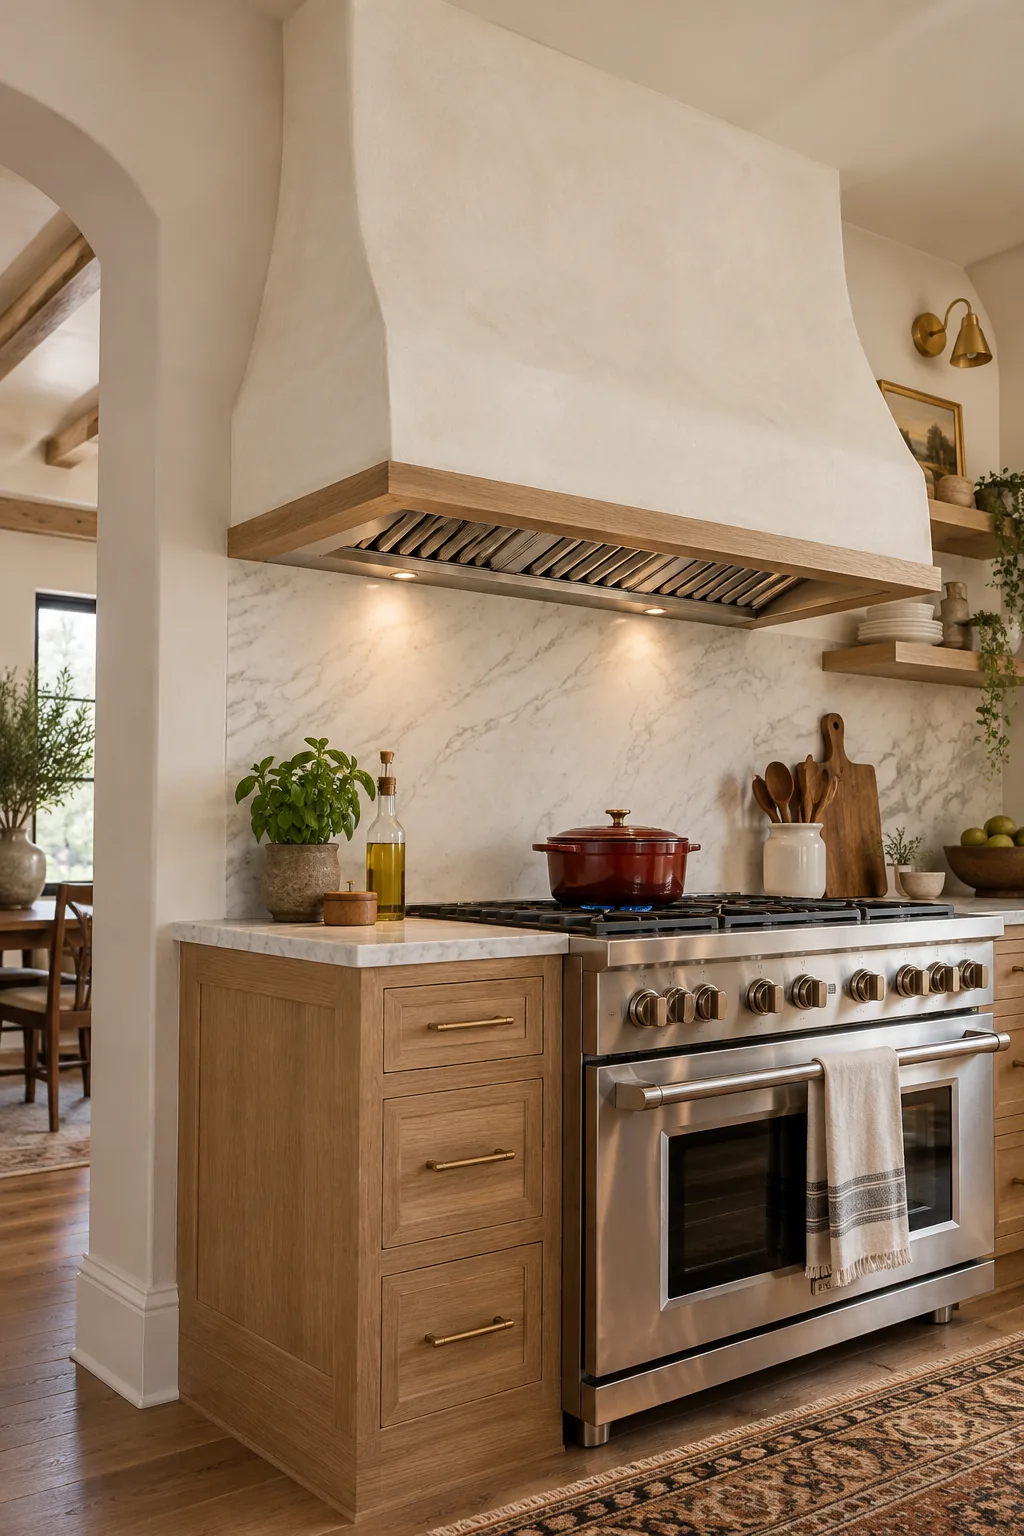
This creates a 3-inch overhang on both the left and right sides, effectively catching the steam that naturally billows outward before it escapes into the room.
Set the Mounting Height by the Spec
Check the manufacturer specifications for your specific insert to determine the mounting height, which usually requires the bottom edge to sit 30 to 36 inches above the grates.
Route Rigid Ducting to the Outside
Plan for smooth, rigid metal ducting that vents completely outside the house to maximize your airflow and keep the kitchen fresh.
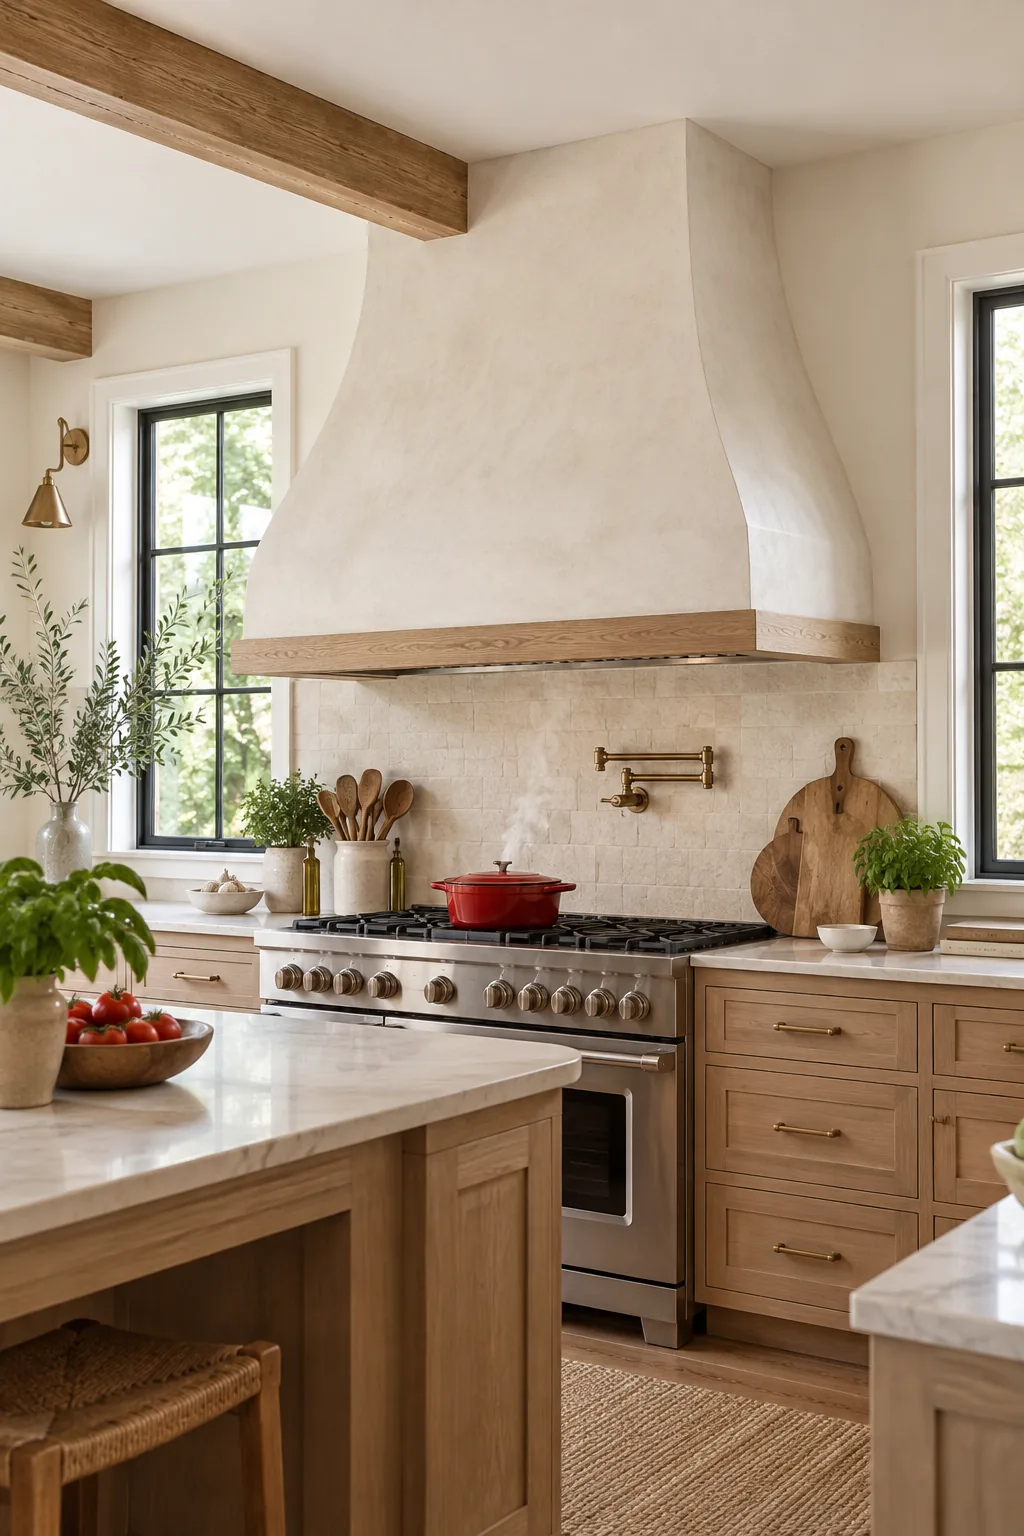
Avoid flexible corrugated pipes entirely, because their ridges trap grease and severely reduce the cubic feet per minute (CFM) your fan can actually move.
Plan the Ducting Path
Finding the shortest, straightest route to the exterior wall or roof is critical for maintaining strong suction and quiet operation.
- Locate the joists: Use a stud finder to map out the ceiling joists so your pipe can run parallel between them.
- Minimize elbows: Keep turns to an absolute minimum, as every 90-degree bend drastically reduces the effective airflow.
- Cut the exterior hole: Drill a pilot hole from the inside, then use a reciprocating saw outside to fit the vent cap.
Frame the Box Around the Cutout
Build the wooden skeleton using standard 2×4 framing lumber, anchoring it directly into the wall studs and ceiling joists to support the heavy plaster finish.
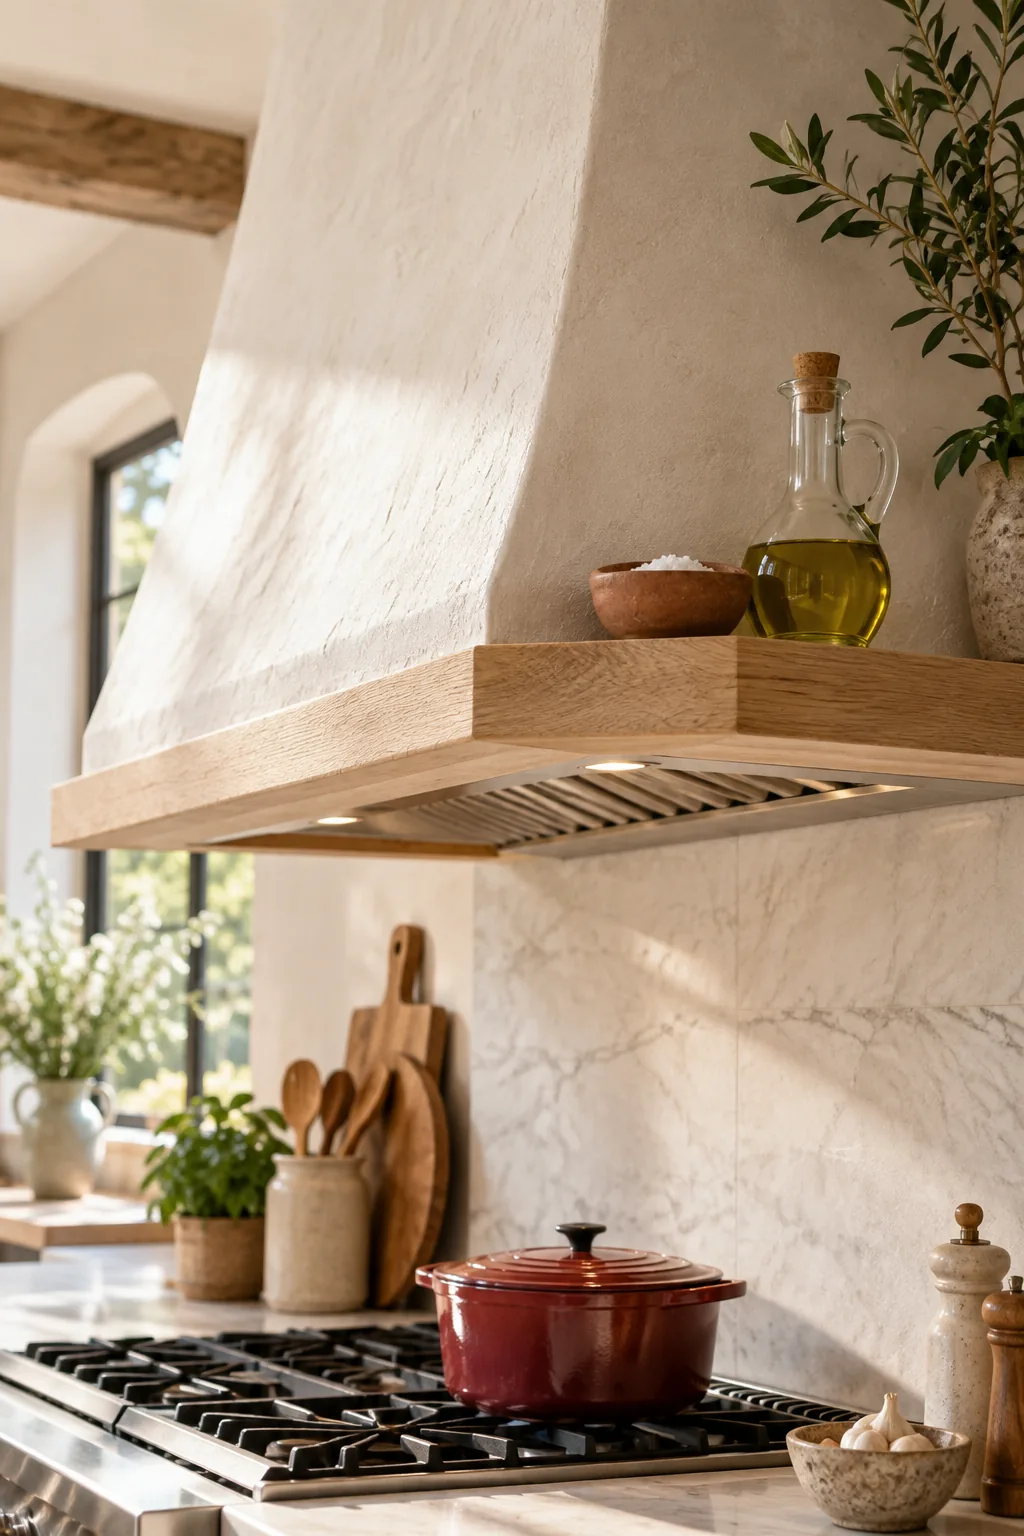
Add a Shallow Ledge for Essentials
Incorporate a slim 4-inch oak ledge along the bottom edge of the hood frame to hold your most-used cooking tools.
I added one of these to my own kitchen last year, and having my salt cellar right there while keeping combustible items safely away from direct heat is a total game-changer.
Install Drywall and Corner Bead
Wrap the entire wooden skeleton in half-inch drywall, securing it with coarse-thread screws to create a solid substrate for your final finish.
Finish With a Smooth Clay Plaster
Coat the exterior in a warm-white clay plaster applied in thin layers over the drywall for a seamless, structural look.
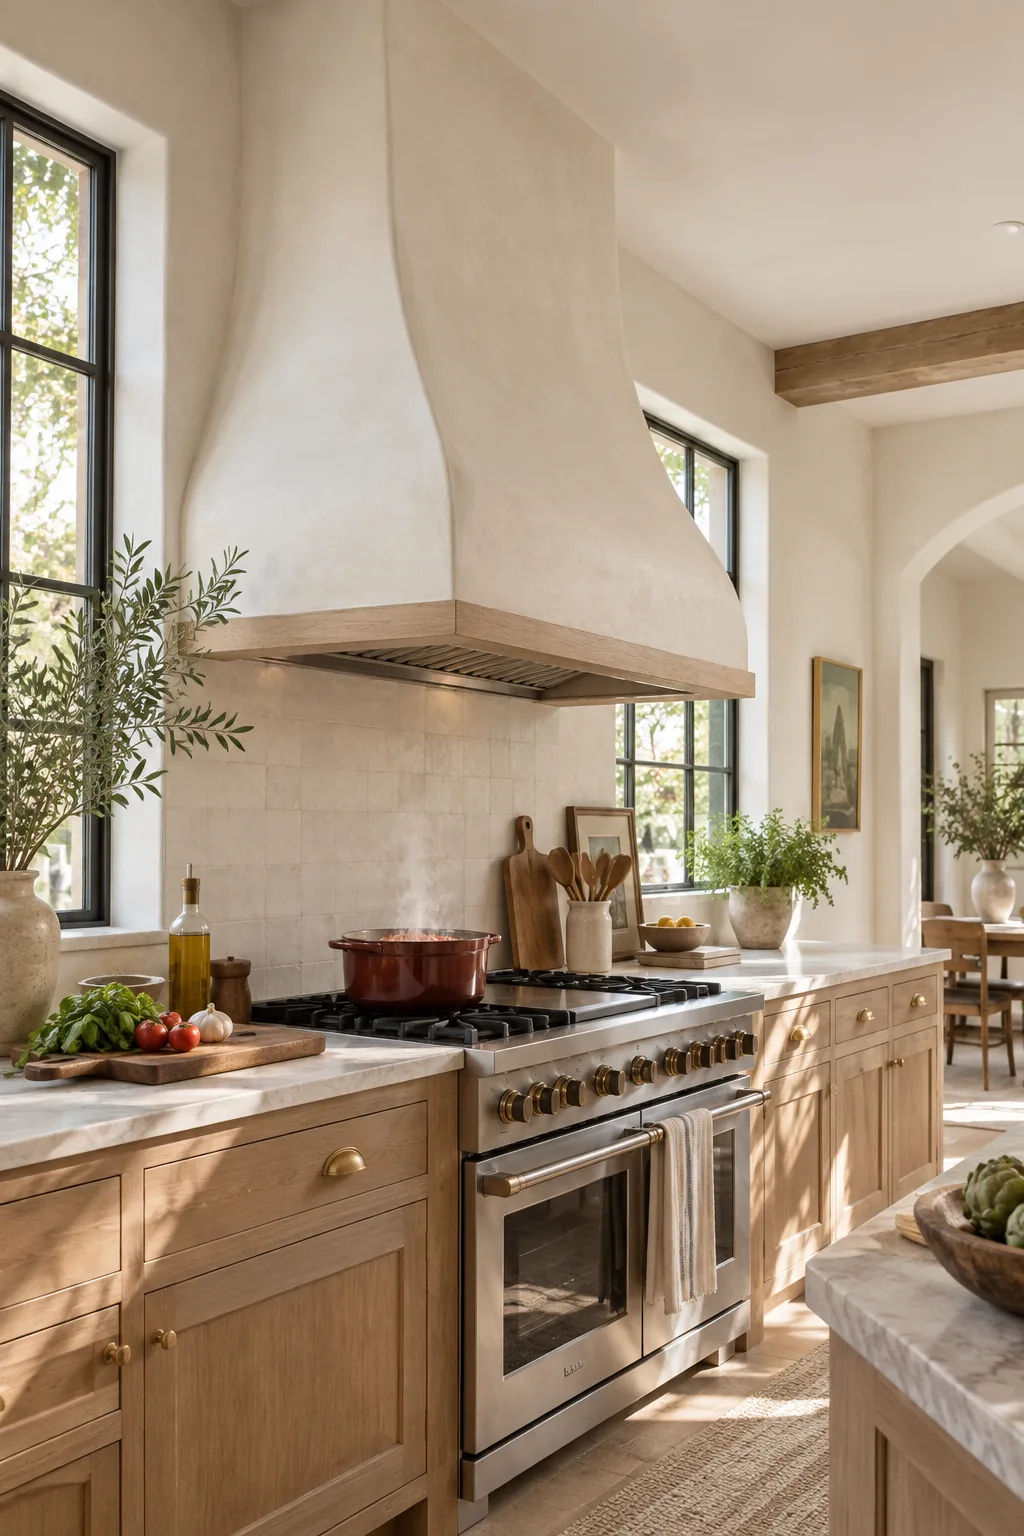
When I plastered my own hood, I learned the hard way that you must seal the plaster thoroughly to protect that beautiful matte surface from inevitable cooking splatters.
Download Your Custom Hood Sizing Sheet
Take the guesswork out of your build by filling in your range width, burner BTUs, and ceiling height on the Custom Range Hood Sizing Sheet.
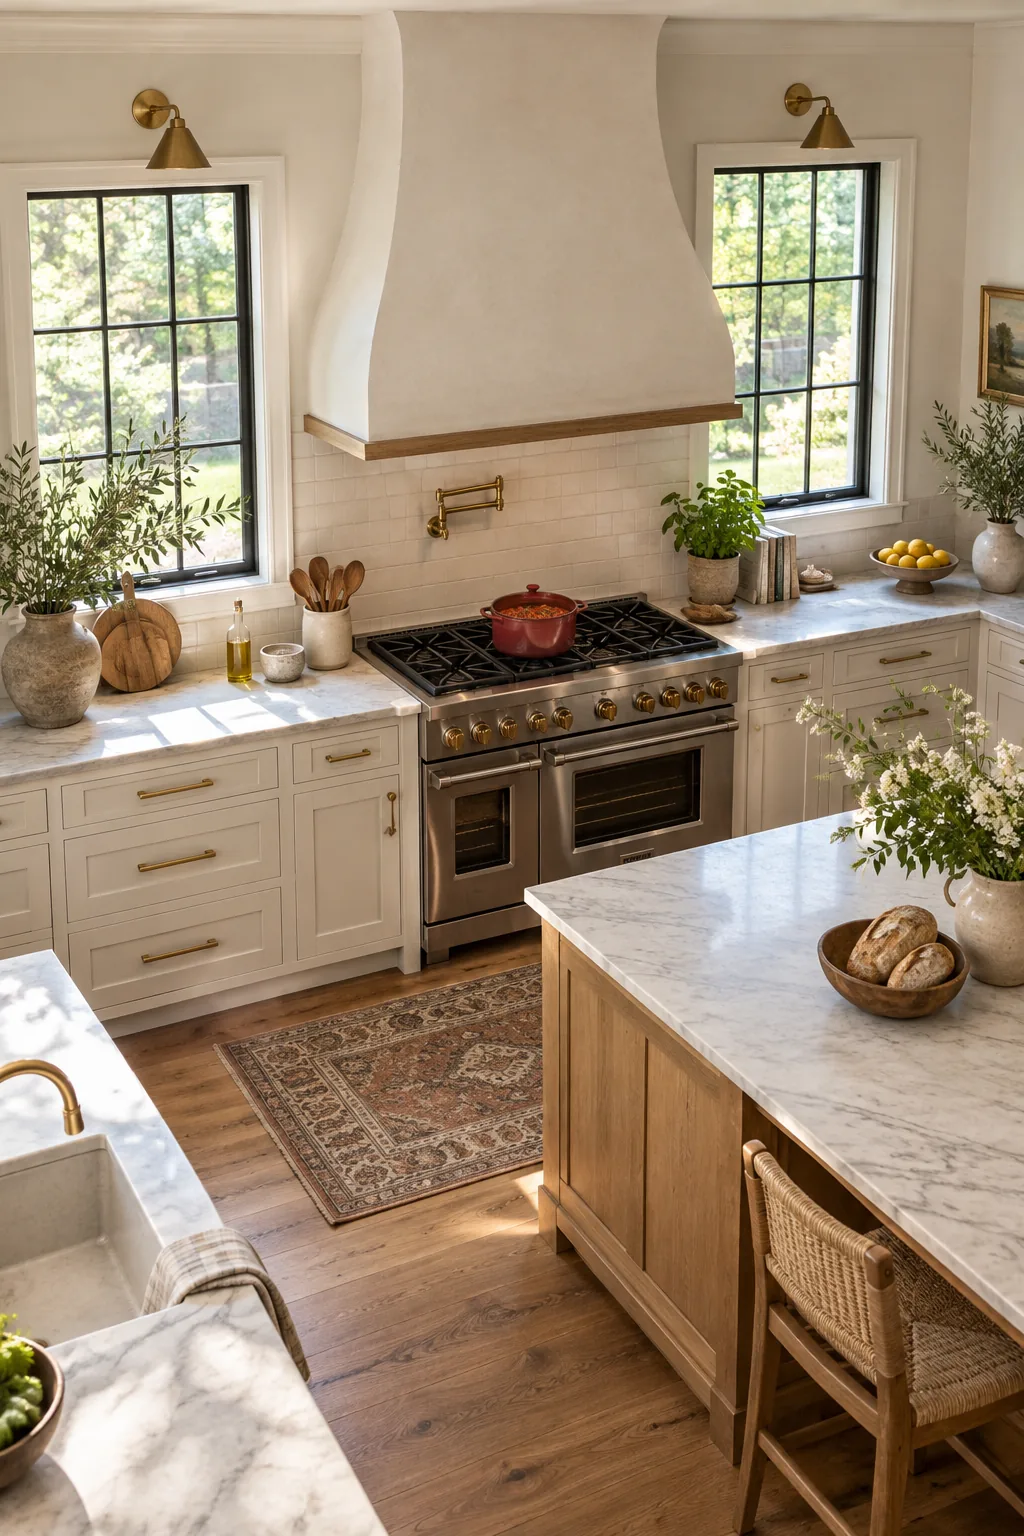
This instantly gives you the exact hood width, mounting height, minimum CFM, and framed-box dimensions needed to make this massive architectural feature look completely intentional.
Custom Range Hood Design Ideas
Explore these distinctive finishes and shapes to find the perfect look for your kitchen's architecture.
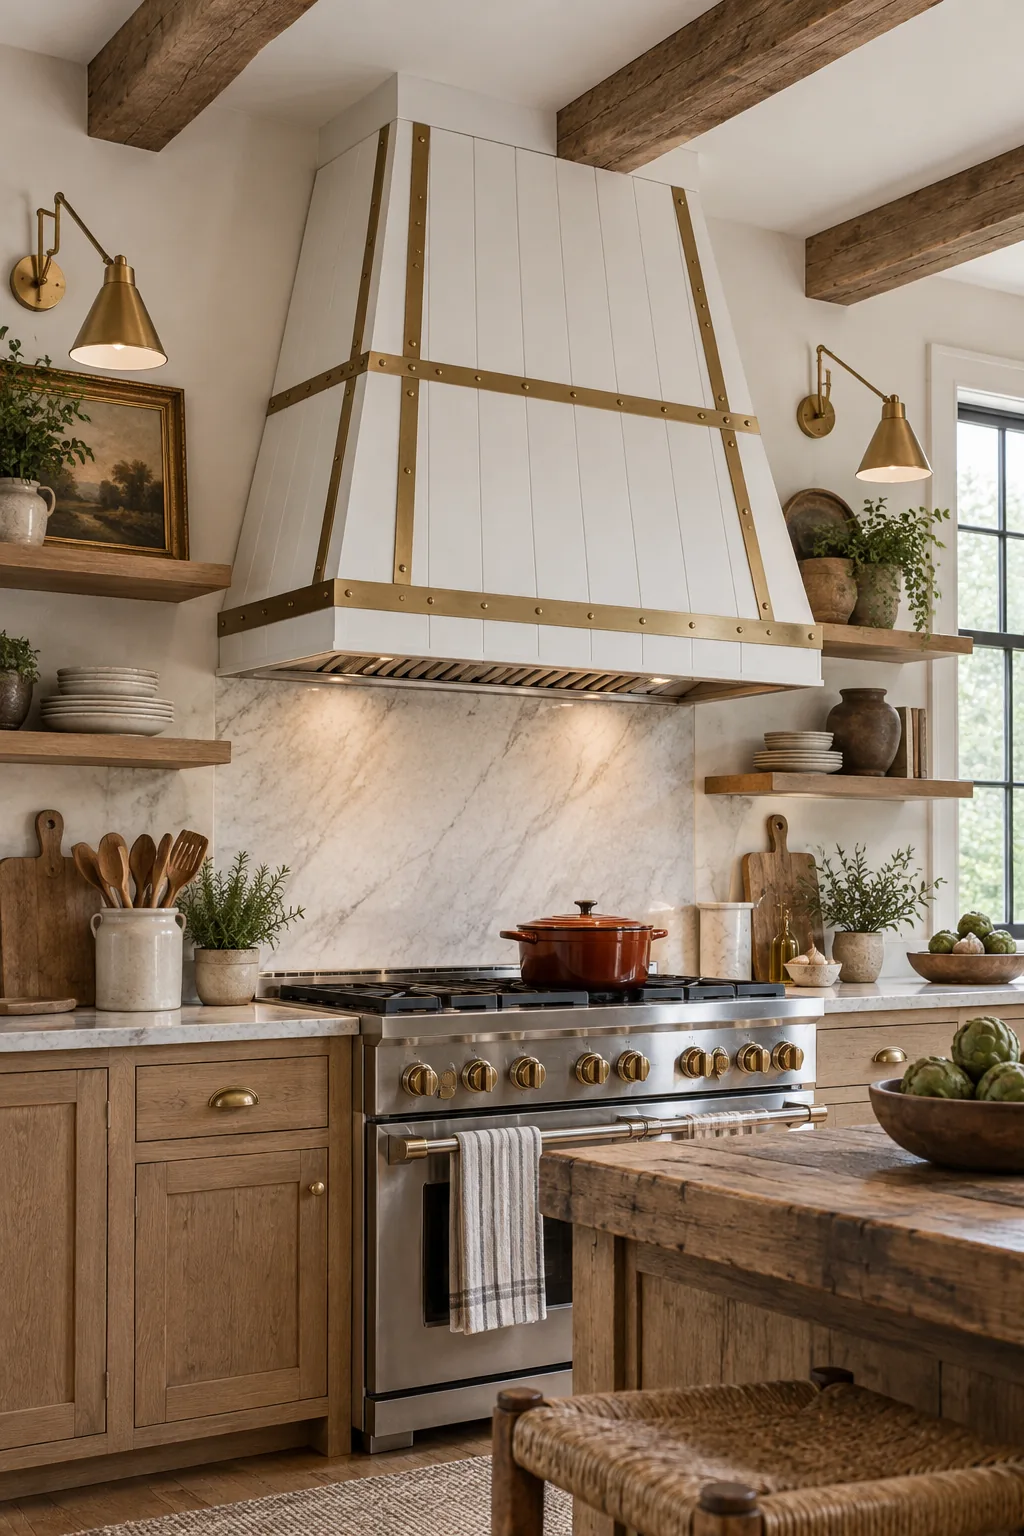
Modern Farmhouse Shiplap: Vertical white shiplap brings subtle texture, while decorative brass strapping adds a polished metallic detail.
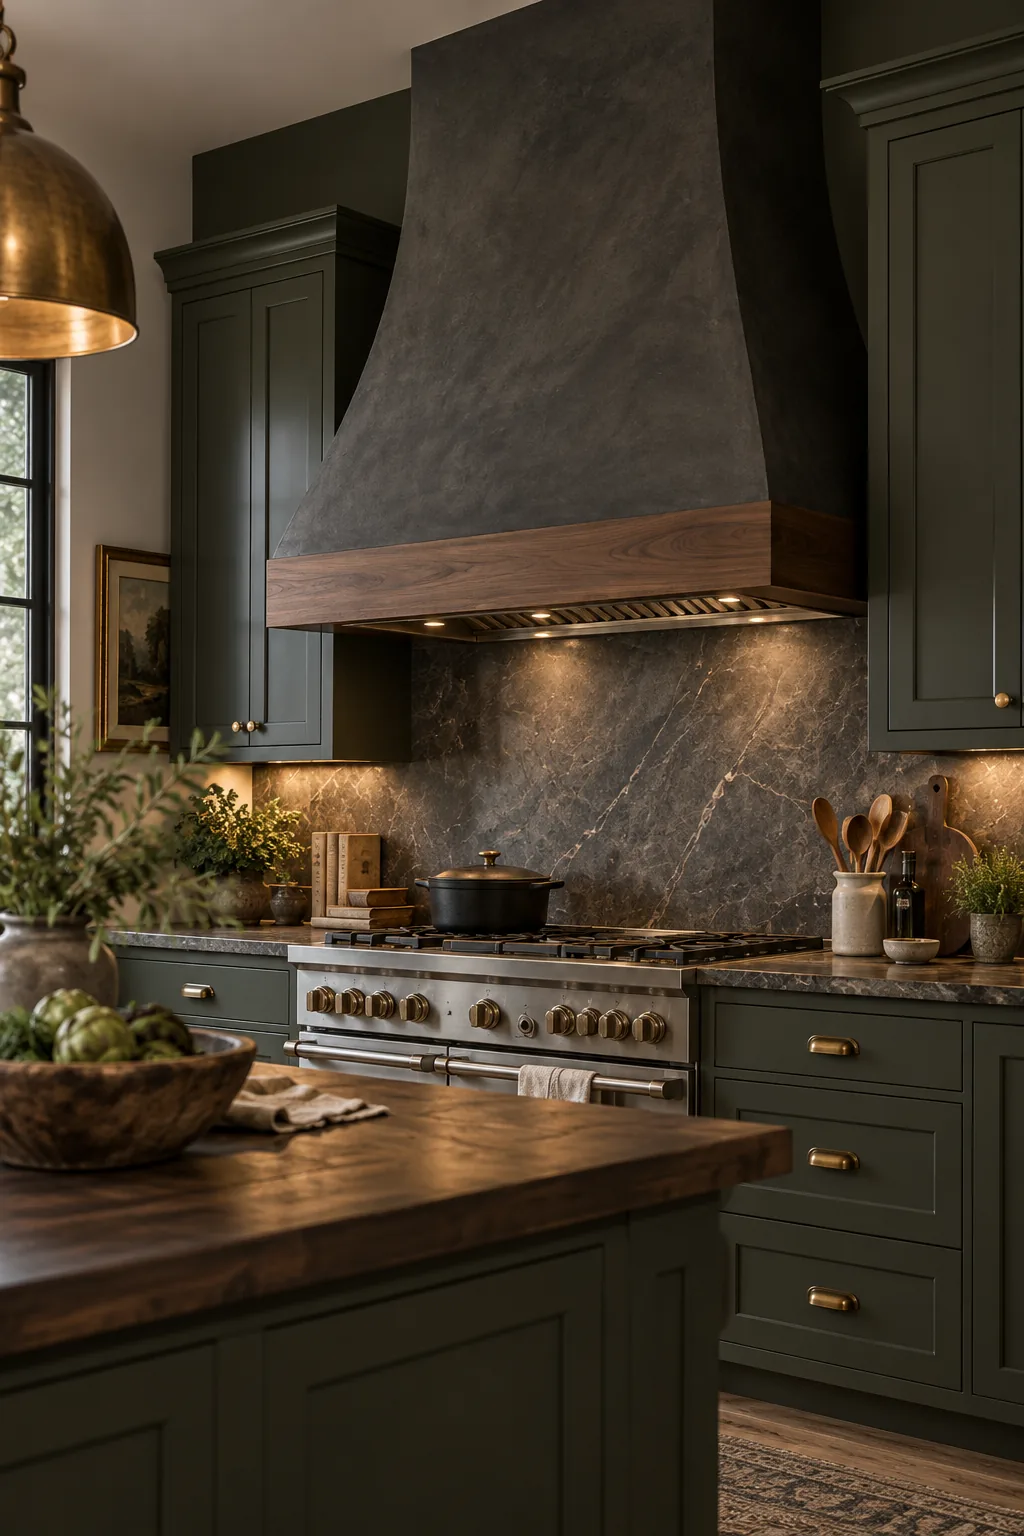
Dark Moody Roman Clay: Charcoal roman clay creates a dramatic focal point that pairs beautifully with rich walnut wood trim.
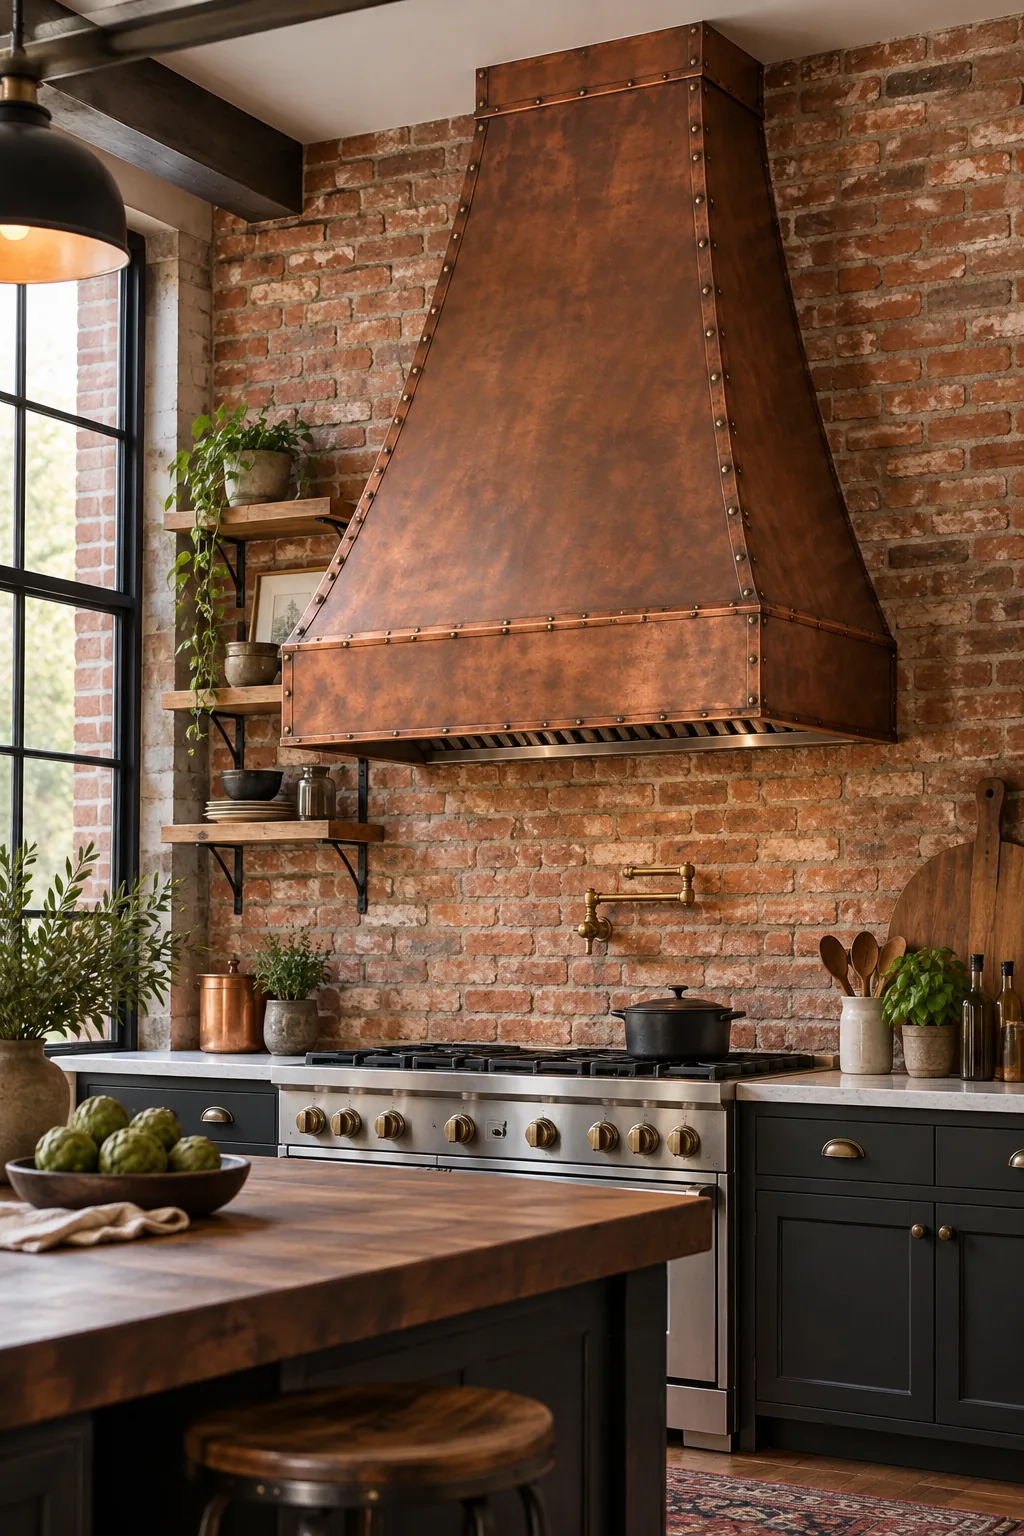
Tapered Copper Canopy: Aged copper develops a living patina over time, and exposed rivets emphasize an authentic industrial aesthetic.
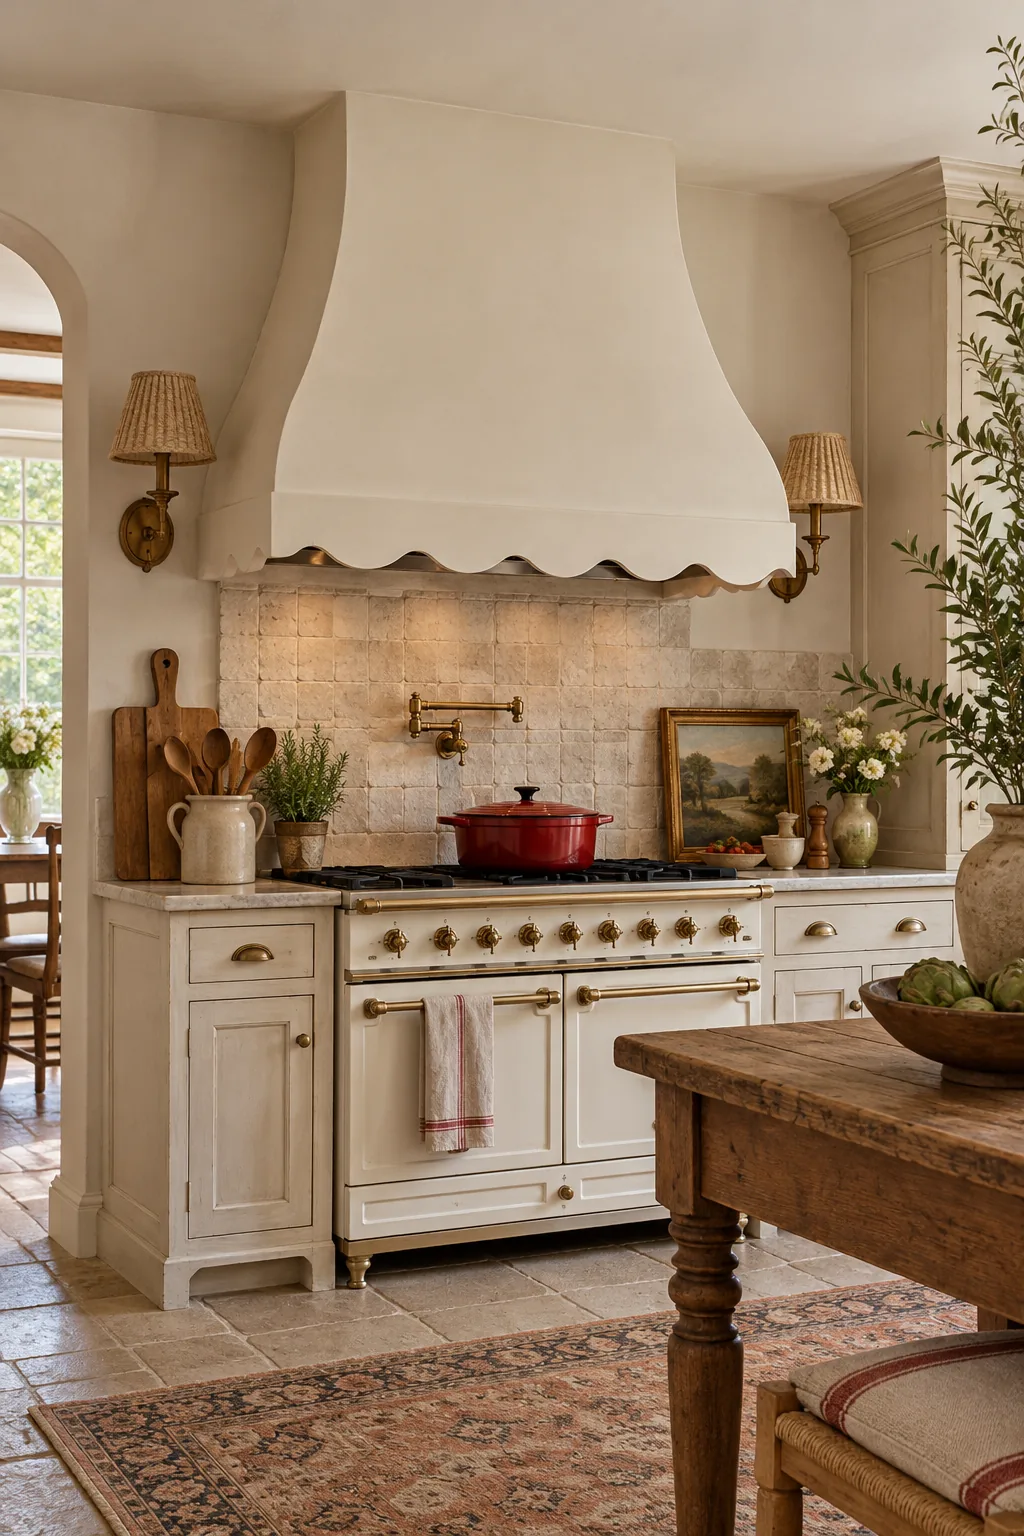
Scalloped French Country: A gentle scalloped detail along the bottom edge softens the large structure for a romantic cottage feel.
Minimalist Fluted Oak: Vertical fluted oak panels conceal the ventilation entirely while adding warm, rhythmic texture to a modern space.