The Small-Bookshelf Spacing Sheet for 4 Book Formats
You will be able to print the Small-Bookshelf Spacing Sheet and set perfectly measured shelf heights for every book format in your collection. This exact measurement chart removes the guesswork from hidden risers and baseboard notches, helping you maximize your small reading nook instantly.
The Small-Bookshelf Spacing Sheet
Download and print the one-page spacing sheet to plan your physical shelf layout before moving a single book into the space. It includes exact vertical clearances for mass-market paperbacks, trade paperbacks, standard hardcovers, and oversized art books.
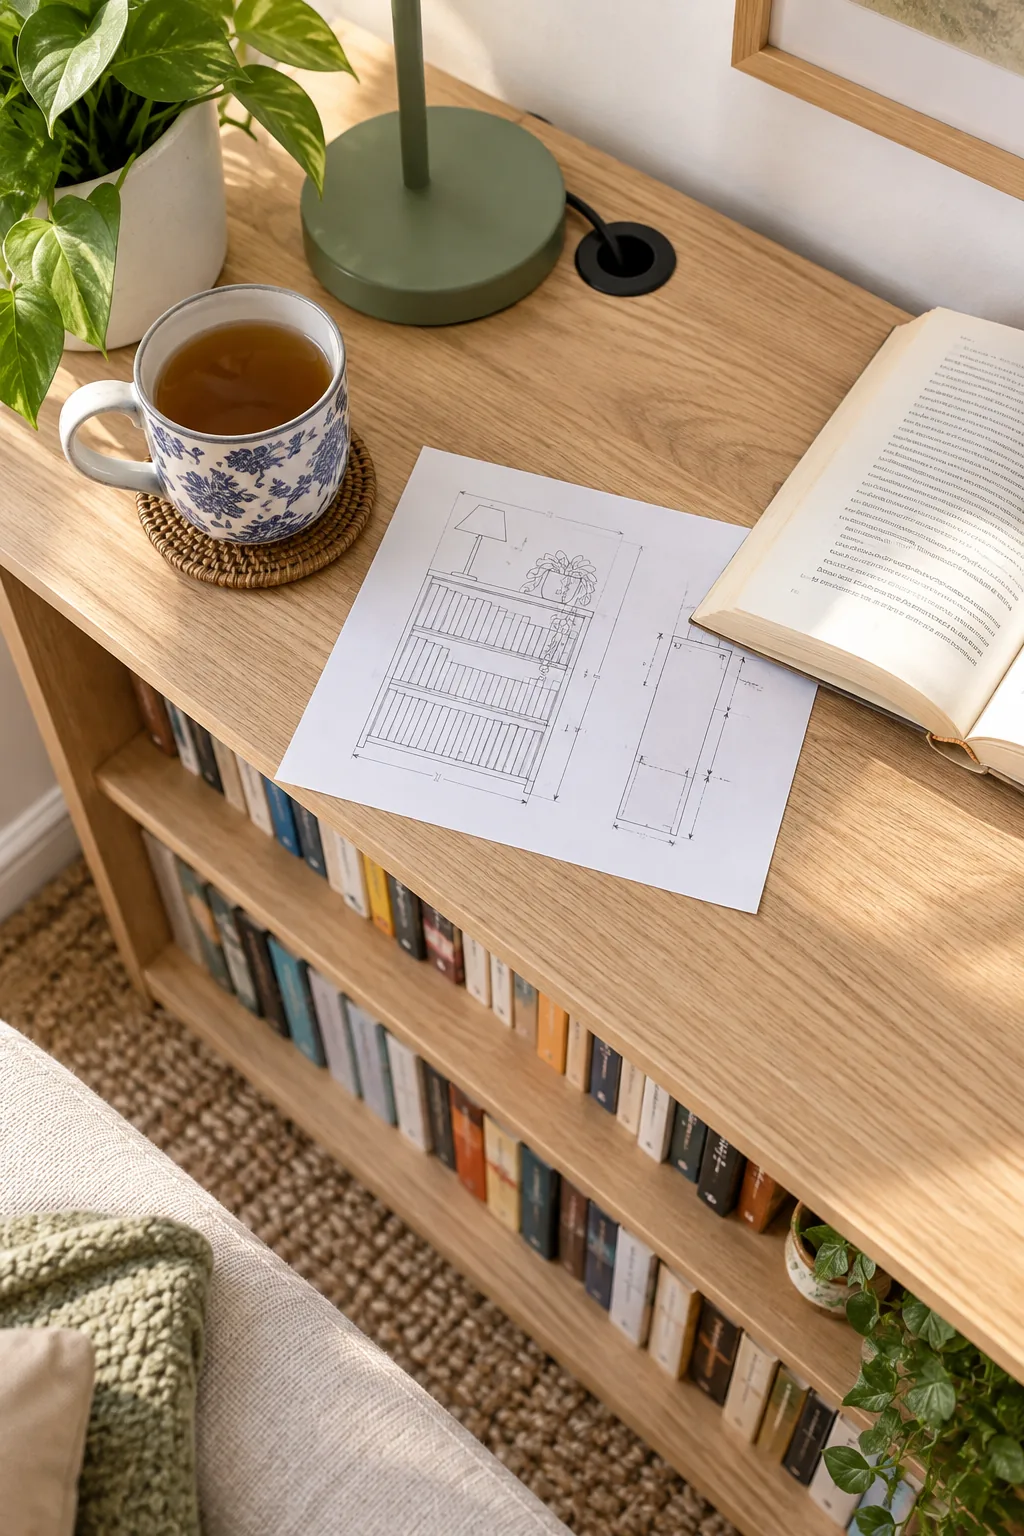
I always use this printed reference to map out my shelf pins first, as adjusting loaded shelves later disrupts the delicate balance of the room. Review the core measurements below to visualize exactly how each format stacks up inside your cabinet.
| Book Format | Clearance Height | Shelf Depth | Visual Effect |
|---|---|---|---|
| Mass-Market | 8 inches | 6 inches | Snug framing |
| Trade Paperback | 10 inches | 8 inches | Balanced center |
| Standard Hardcover | 12 inches | 10 inches | Grounded base |
| Deep Base Storage | 14 inches | 12 inches | Tiered display |
Evaluating Your Book Collection
Take a complete inventory of your current library before committing to any permanent pin placements or physical shelf adjustments. Sorting your volumes by physical format rather than genre allows you to calculate exactly how many linear inches of mass-market shelving you actually need.
Accounting for Hardcovers
Standard hardcovers demand a full 12-inch clearance, which usually dictates the spacing for your lowest visible shelves. Grouping these heavier volumes near the bottom grounds the entire piece visually, providing a solid foundation that prevents the bookshelf from looking top-heavy.
The Philosophy of Precision
I approach small-space styling like a well-planned chess move, where establishing exact vertical clearance zones dictates the final harmony of the room. Blending Western practicality with Eastern concepts of balanced negative space ensures your collection feels intentionally curated rather than haphazardly cluttered.
Harmonizing with Room Architecture
Every freestanding piece of furniture should acknowledge the room’s existing architectural lines rather than fighting against them. Aligning your shelf heights with nearby window sills or wainscoting creates a subliminal sense of order that makes small spaces feel significantly larger.
Matching the Sofa Arm Height
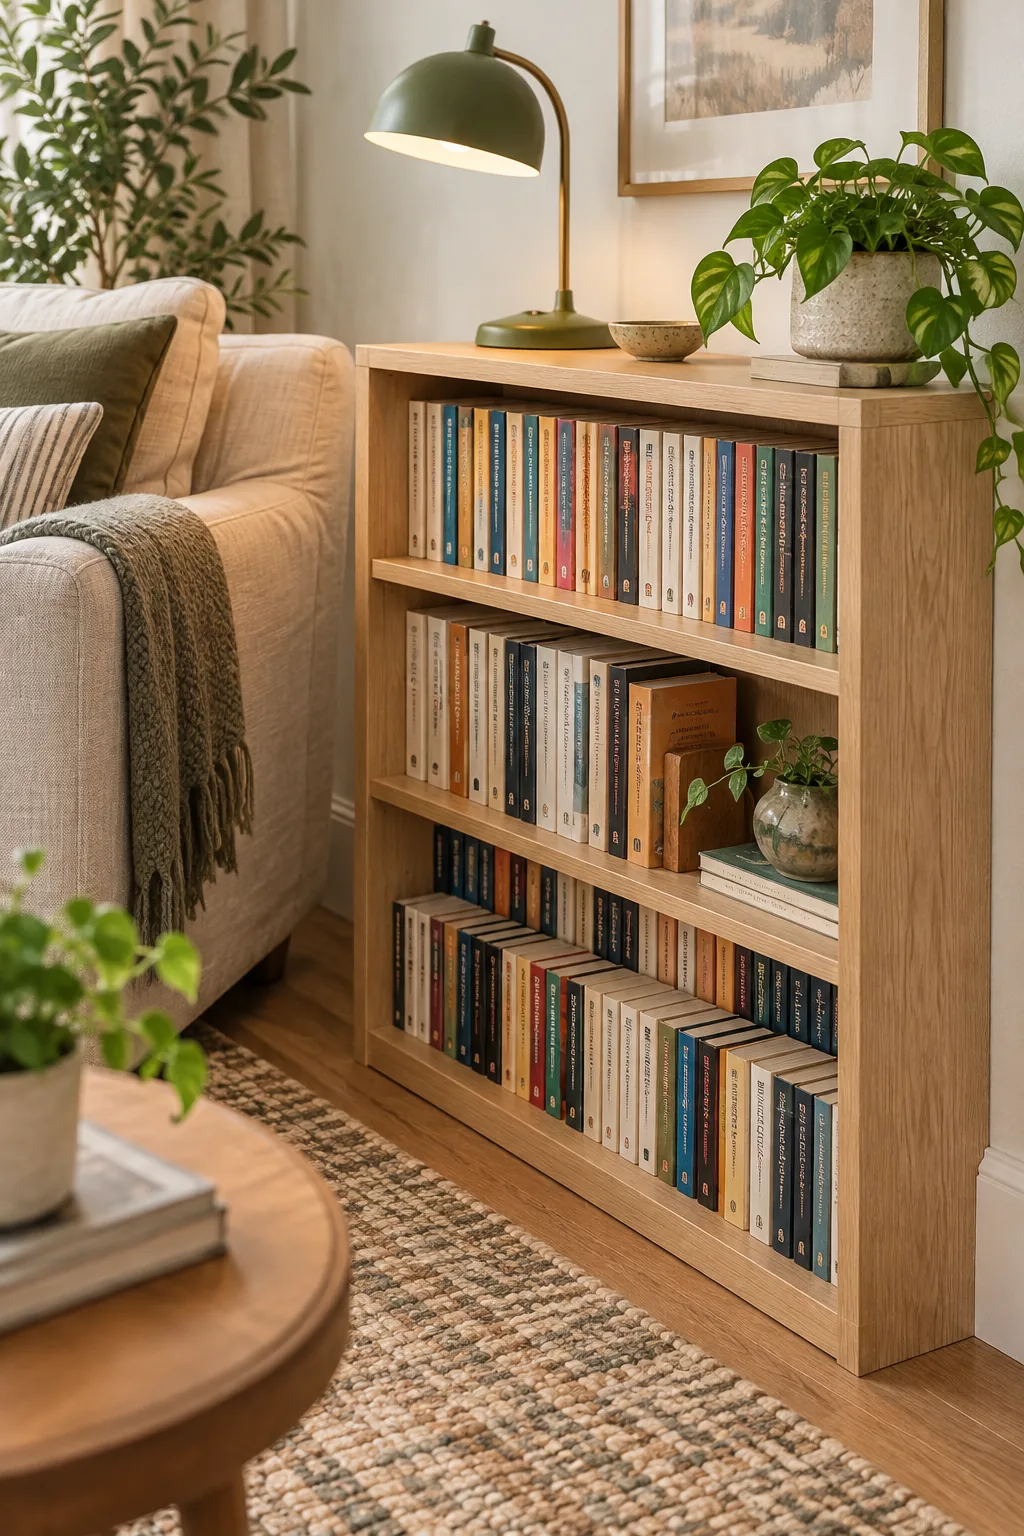
Position the bookshelf so its top surface sits flush with your sofa arm, typically requiring a height between 24 and 28 inches. In my own Denver living room, aligning a 26-inch oak shelf perfectly with my linen sofa arm immediately calmed the entire seating area.
- Creates a seamless, uninterrupted horizontal sightline across the furniture.
- Provides a highly ergonomic resting place for a heavy tea mug.
- Keeps your current reading material within easy arm’s reach.
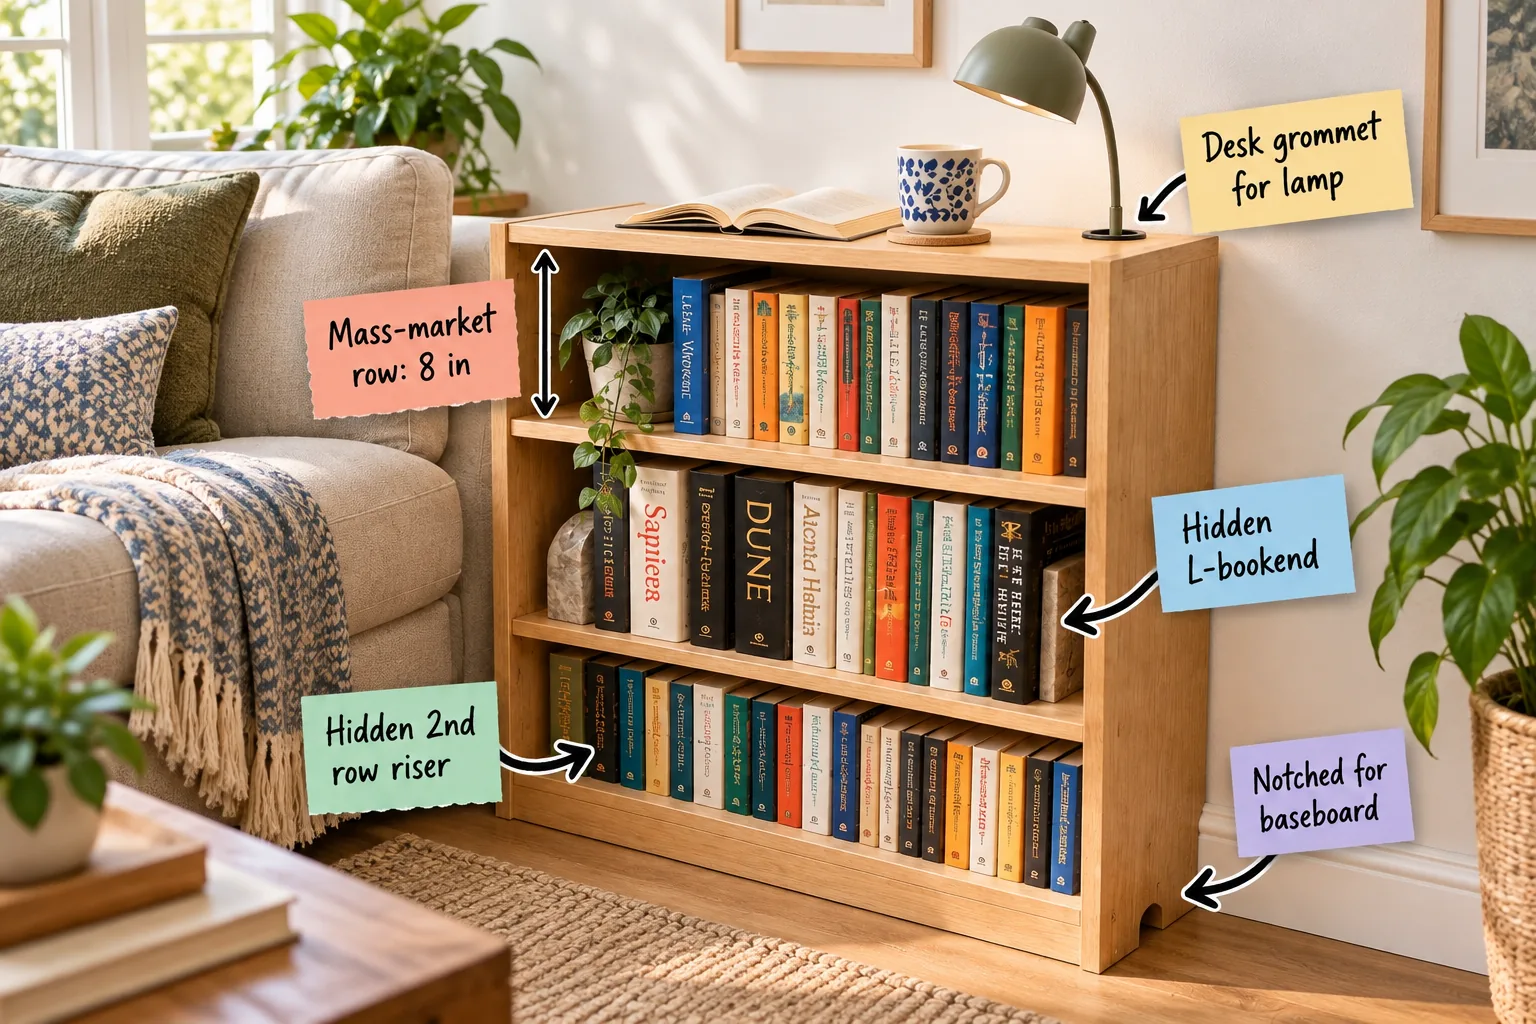
To maintain that flawlessly clean surface, you must position a standard desk grommet in the back corner to hide the lamp cord completely. Routing the wire downward prevents it from draping clumsily over the front edge and breaking the room’s visual plane.
Routing the Reading Lamp Cord
Install a standard desk grommet for lamp management into the back corner of the top surface using a simple hole saw. This technique allows the reading lamp’s cord to drop neatly down behind the shelf, preserving the pristine styling of your upper ledge.
- Measure the diameter of your lamp’s plug to select the correct grommet size.
- Tape the wood surface before drilling to prevent the veneer from splintering.
- Press the plastic grommet firmly into the cavity until the flange sits flush.
With the top surface cleared of unsightly wires, you can focus on the visual benefit of an exactly 8-inch clearance for mass-market paperbacks inside the cabinet. Tight vertical spacing prevents these smaller volumes from leaning awkwardly and warping their fragile spines over time.
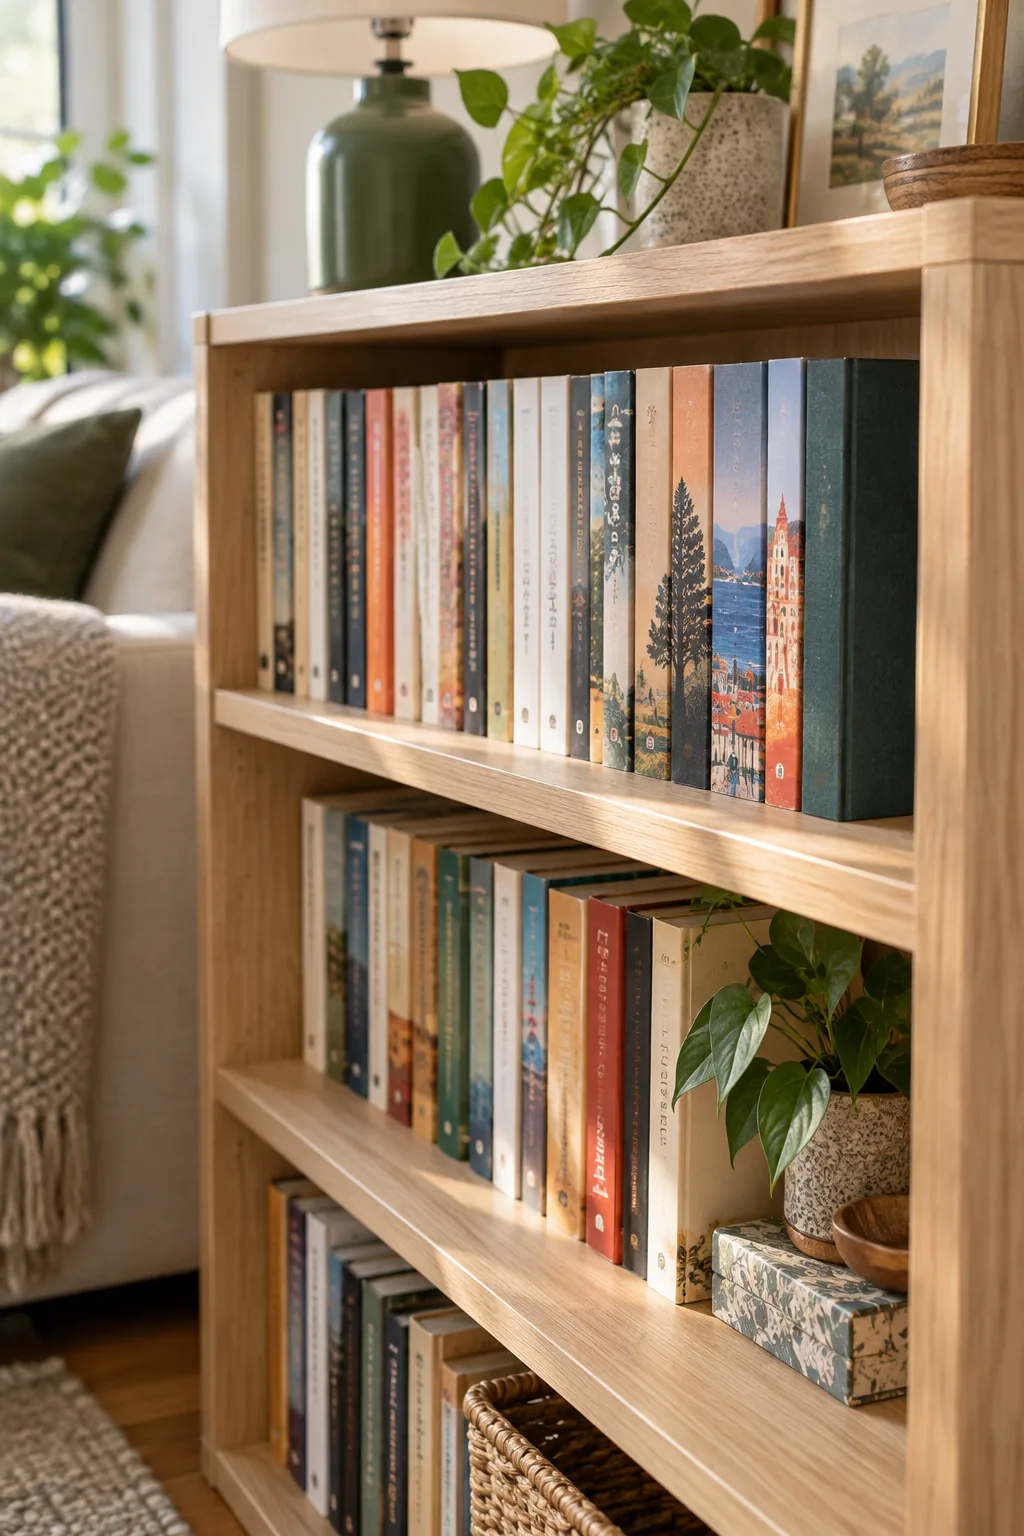
Sizing the Mass-Market Row
Set the top interior shelf to exactly an 8-inch clear opening to create the definitive mass-market row: 8 in zone. This highly specific height fits small paperbacks snugly, eliminating wasted vertical space while keeping your most-read titles right at eye level.
The Impact of Negative Space
Leaving too much empty air above small paperbacks creates a visually heavy, unbalanced aesthetic that draws the eye to the shadows rather than the covers. Tightening that clearance frames the books beautifully and honors the Eastern principle of deliberate, measured proportion.
Creating Visual Breathing Room
While maximizing storage is essential, packing every shelf edge-to-edge creates a claustrophobic atmosphere that discourages relaxed reading. Leaving a few inches of empty space at the end of a row allows the eye to rest and highlights the books as curated objects.
Organizing Small Spines
When shelves are this compact, visual noise builds up fast.
Securing the Middle Row
Keep trade paperbacks perfectly upright without bulky supports by tucking a thin metal hidden L-bookend under the last book on the middle shelf. When I styled a narrow reading nook last winter, this invisible support made the row look miraculously self-balancing.
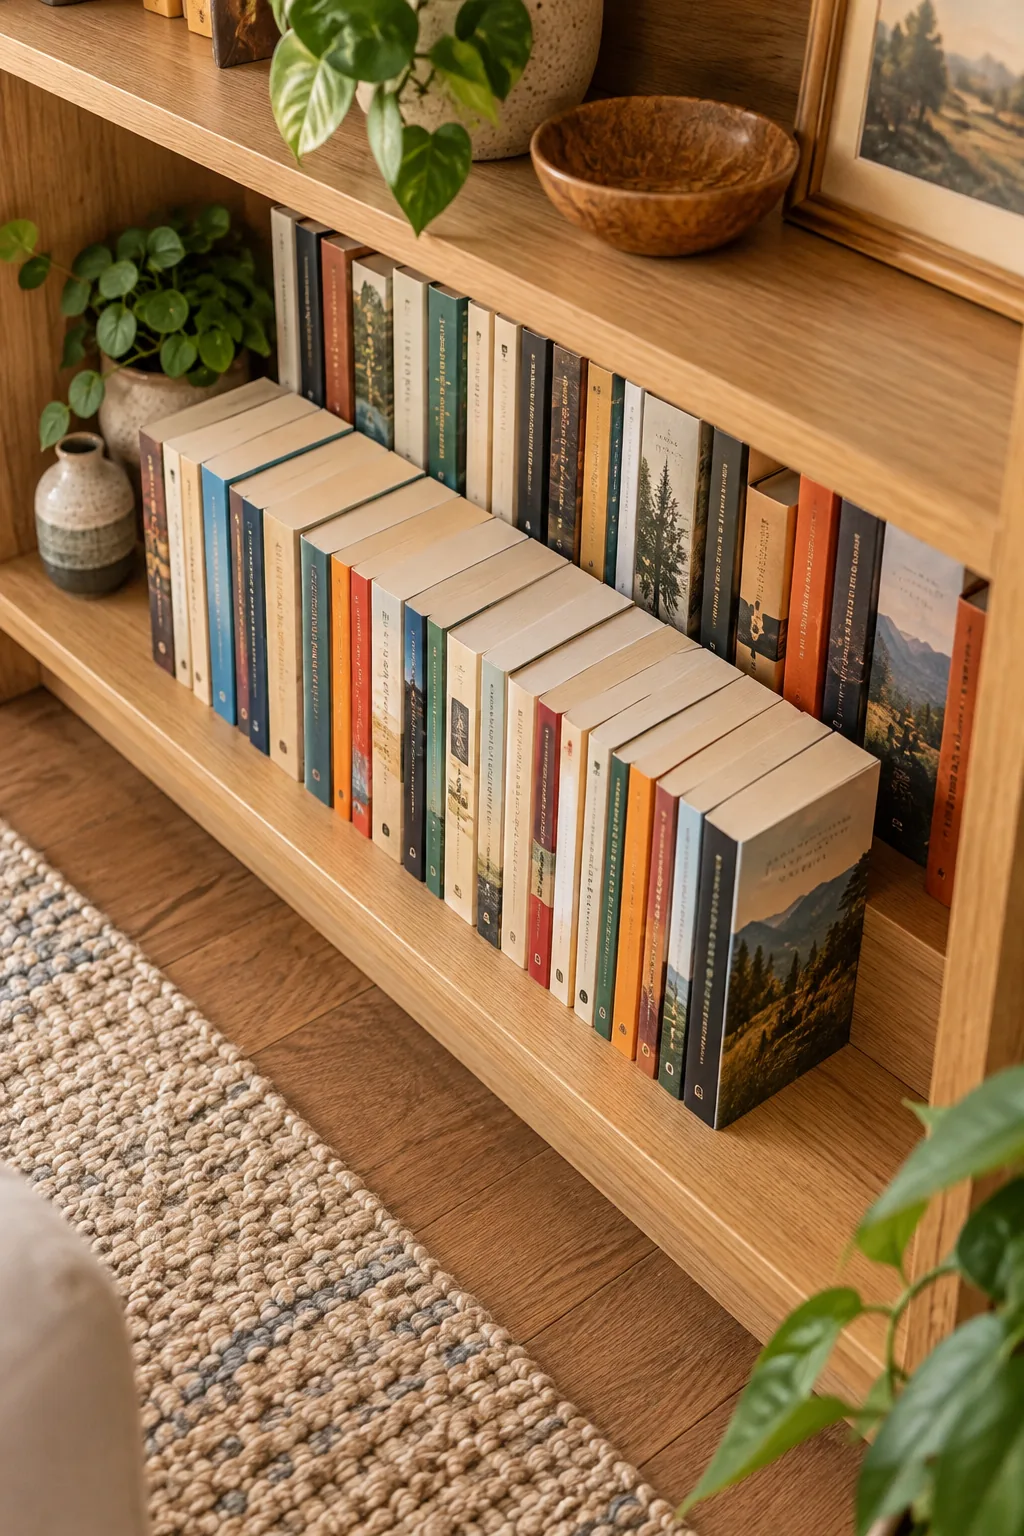
The upright leg hides completely behind the final cover, allowing the sheer weight of the pages to lock the horizontal metal base firmly against the wood. This structural trick maintains crisp vertical lines without introducing distracting decorative objects into the tight space.
Managing Trade Paperbacks
Trade paperbacks require a generous 10-inch clearance, making this middle zone the perfect architectural transition between the tight upper shelf and the deep base. Giving these mid-sized volumes proper breathing room honors the Eastern design principle of intentional emptiness.
Balancing Visual Weight
Placing your mid-sized trade paperbacks in the center of the unit anchors the design, preventing the bookshelf from feeling top-heavy or precariously loaded. I always treat this middle zone as the visual equator of the room, keeping the most vibrant spine colors grouped here.
Color Blocking Your Collection
Arranging books by color remains one of the most effective strategies for calming a visually chaotic reading nook. Transitioning smoothly from dark spines on the left to lighter spines on the right mimics the natural progression of daylight across a room.
Integrating Small Objects
Once your mid-sized books are secured, you can introduce a single, meaningful object to break up the dense rows of paper. A small ceramic bowl or a piece of natural stone adds textural contrast and reinforces the Eastern concept of mindful placement.
Doubling Capacity with a Riser
Maximize the deep bottom shelf by adding a pale wood block at the back to serve as a hidden 2nd row riser for extra paperbacks. This structural addition lifts the rear volumes just enough so their spines show clearly above the front row.
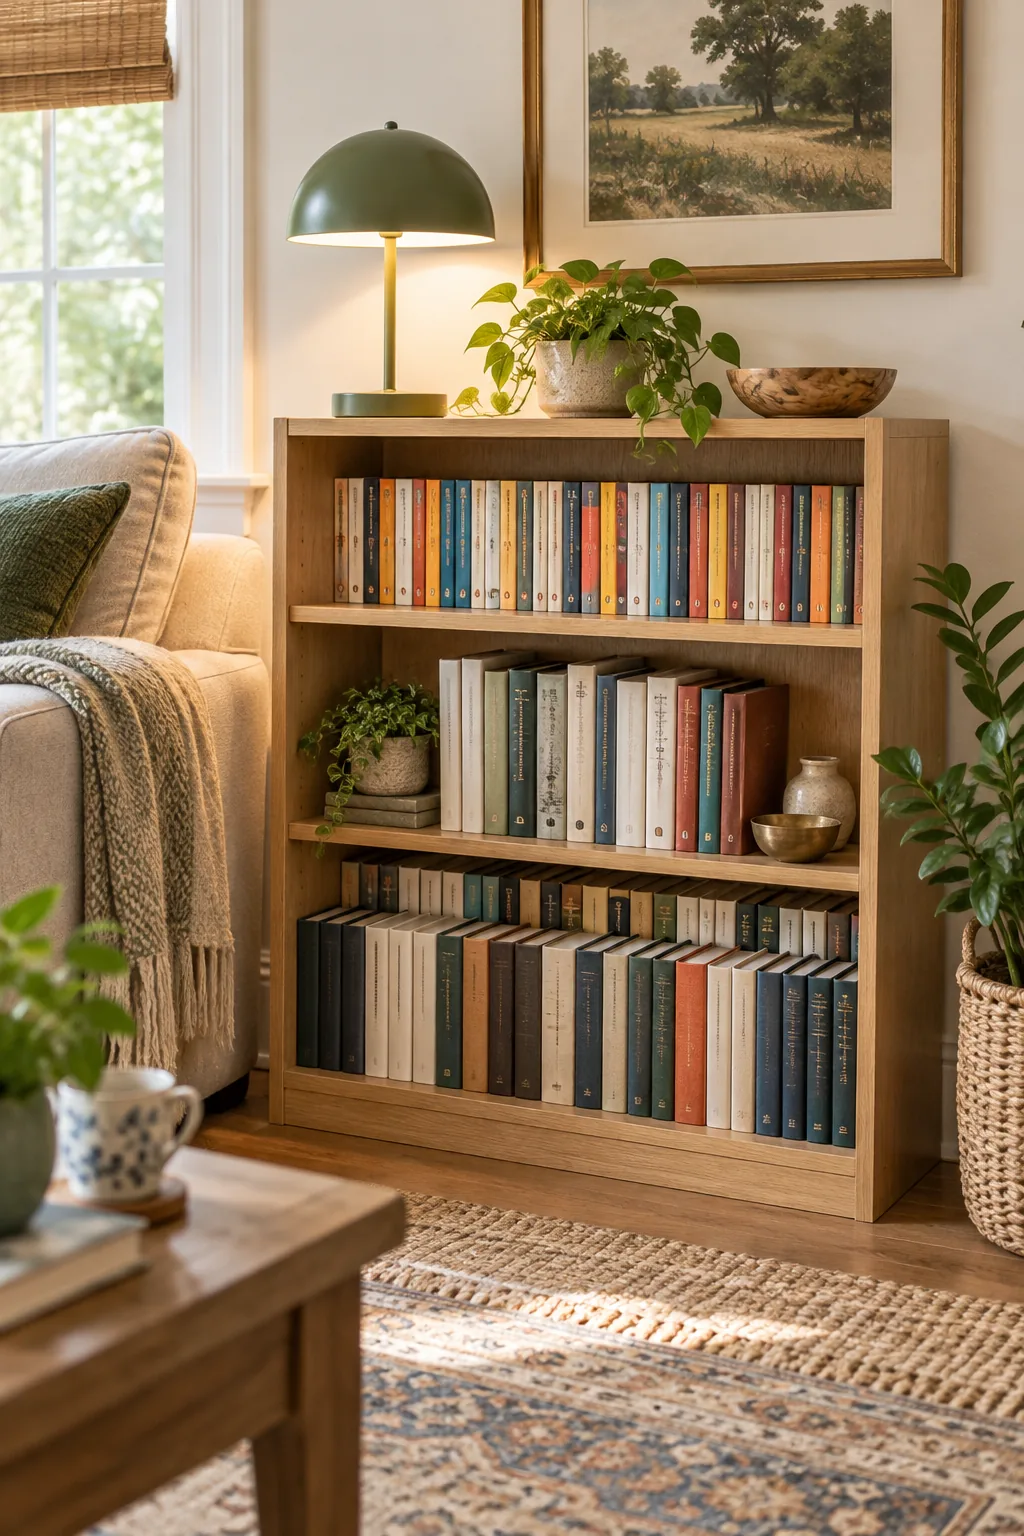
This simple elevation technique ensures every title remains readable and accessible, effectively doubling your storage capacity without requiring a larger piece of furniture. It turns a dark, frustrating cavern into a highly functional, beautifully tiered display space.
Strategic Depth Planning
A standard bottom shelf measures roughly 12 inches deep, which easily accommodates two staggered rows of 5-inch paperbacks with room to spare. Planning this depth strategically prevents the front row from hanging over the front edge and disrupting the cabinet’s clean profile.
Maximizing Deep Base Cabinets
If your bookshelf features a closed cabinet at the base, reserve that 14-inch deep space for oversized art books and unsightly binders. Keeping the heaviest, least attractive items hidden behind solid doors maintains the pristine, curated aesthetic of your open upper shelves.
Lighting the Lower Tiers
Deep bottom shelves often suffer from heavy shadows, making it difficult to read the titles tucked into the back row. Positioning a small, battery-operated LED puck light beneath the shelf above instantly illuminates this dark zone without requiring complicated wire routing.
Selecting the Riser Material
Choose a dense, solid wood like oak or maple for your hidden riser rather than hollow composite materials that might bow under heavy paperbacks. The raw, unvarnished grain of natural wood provides essential friction, keeping the elevated books firmly planted in their designated row.
Building the Hidden Riser
Cut the riser block to 4 inches high and 5 inches deep to support standard paperbacks safely and symmetrically. I learned to measure this precisely after a makeshift cardboard riser collapsed in my own home office, spilling dozens of novels across the floor.
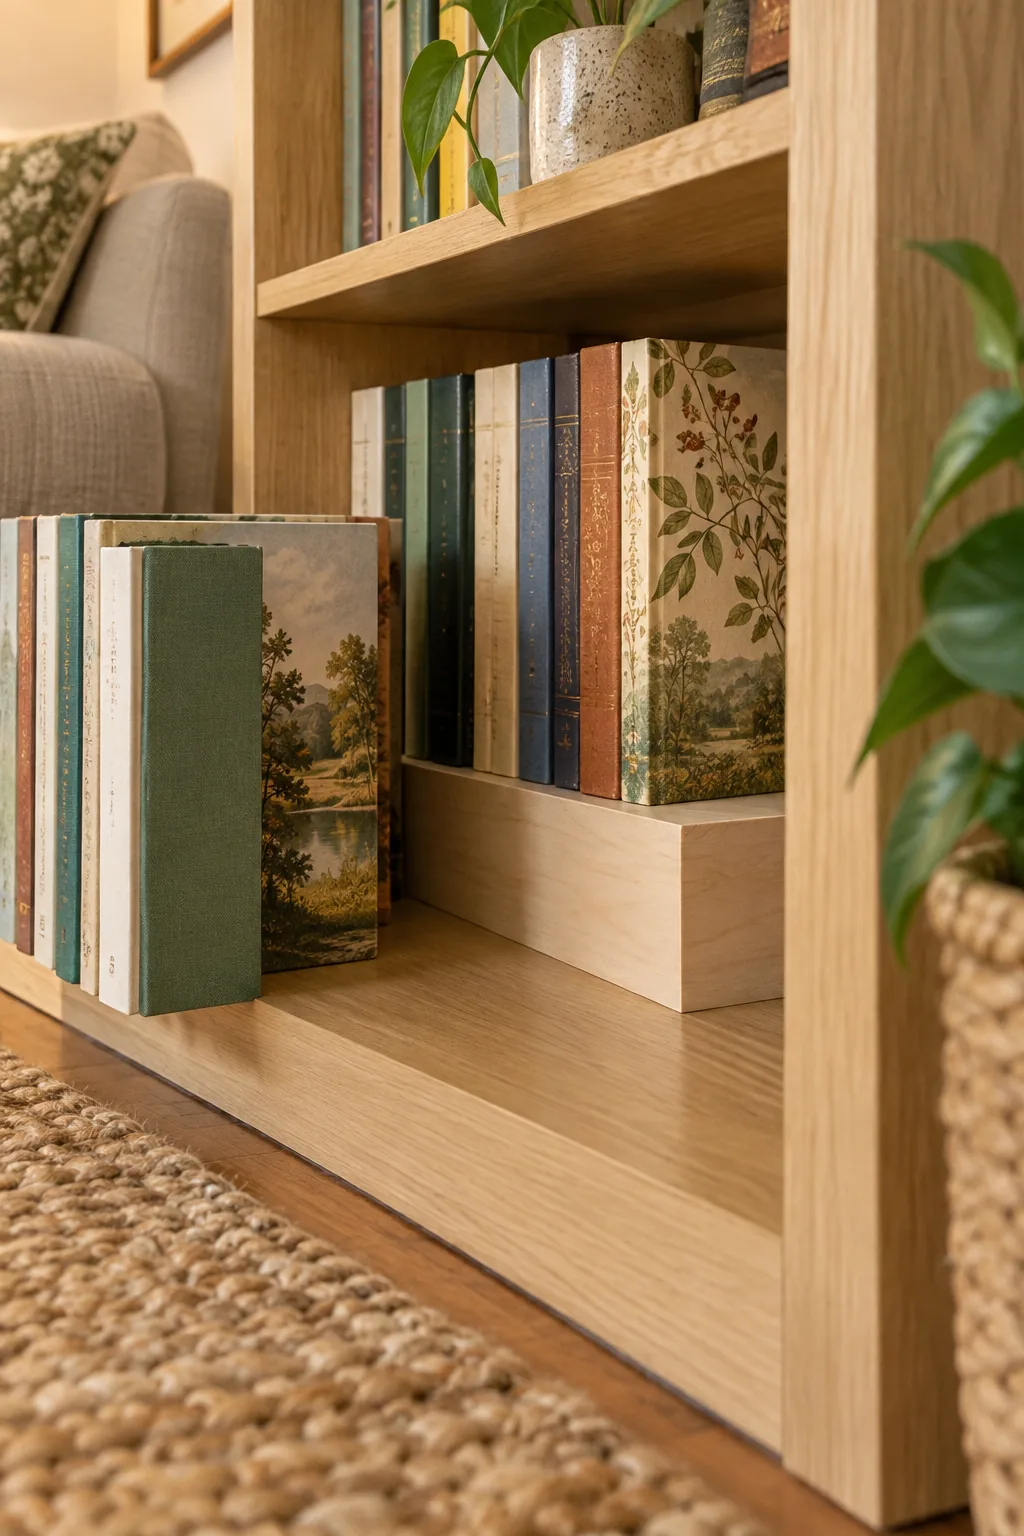
A hidden riser only works if the back row feels as stable as the front.
Securing the Shelf Base
Before making any permanent cuts, push the empty bookshelf against the wall to evaluate how much the existing baseboard pushes the frame outward. Even a half-inch gap at the floor translates to a significant, unstable lean at the top of the cabinet.
Anchoring the Cabinet
A bookshelf that leans away from the wall poses a serious tipping hazard, especially when loaded with hundreds of pounds of dense paper. Eliminating that baseboard gap is the only guaranteed way to transfer the structural load safely straight down into the floor joists.
Preparing Your Scribing Tools
Transferring the exact curve of your baseboard onto the wood panel requires a simple drawing compass and a steady hand. Setting the compass width to the deepest part of the baseboard guarantees that your custom cut will hug every architectural quirk perfectly.
Cutting the Baseboard Notch
Cut a small notch into the back bottom corner of the side panel to ensure the unit is perfectly notched for baseboard clearance. This critical modification allows the entire bookshelf to sit completely flush against the wall, anchoring it securely to the room’s architecture.
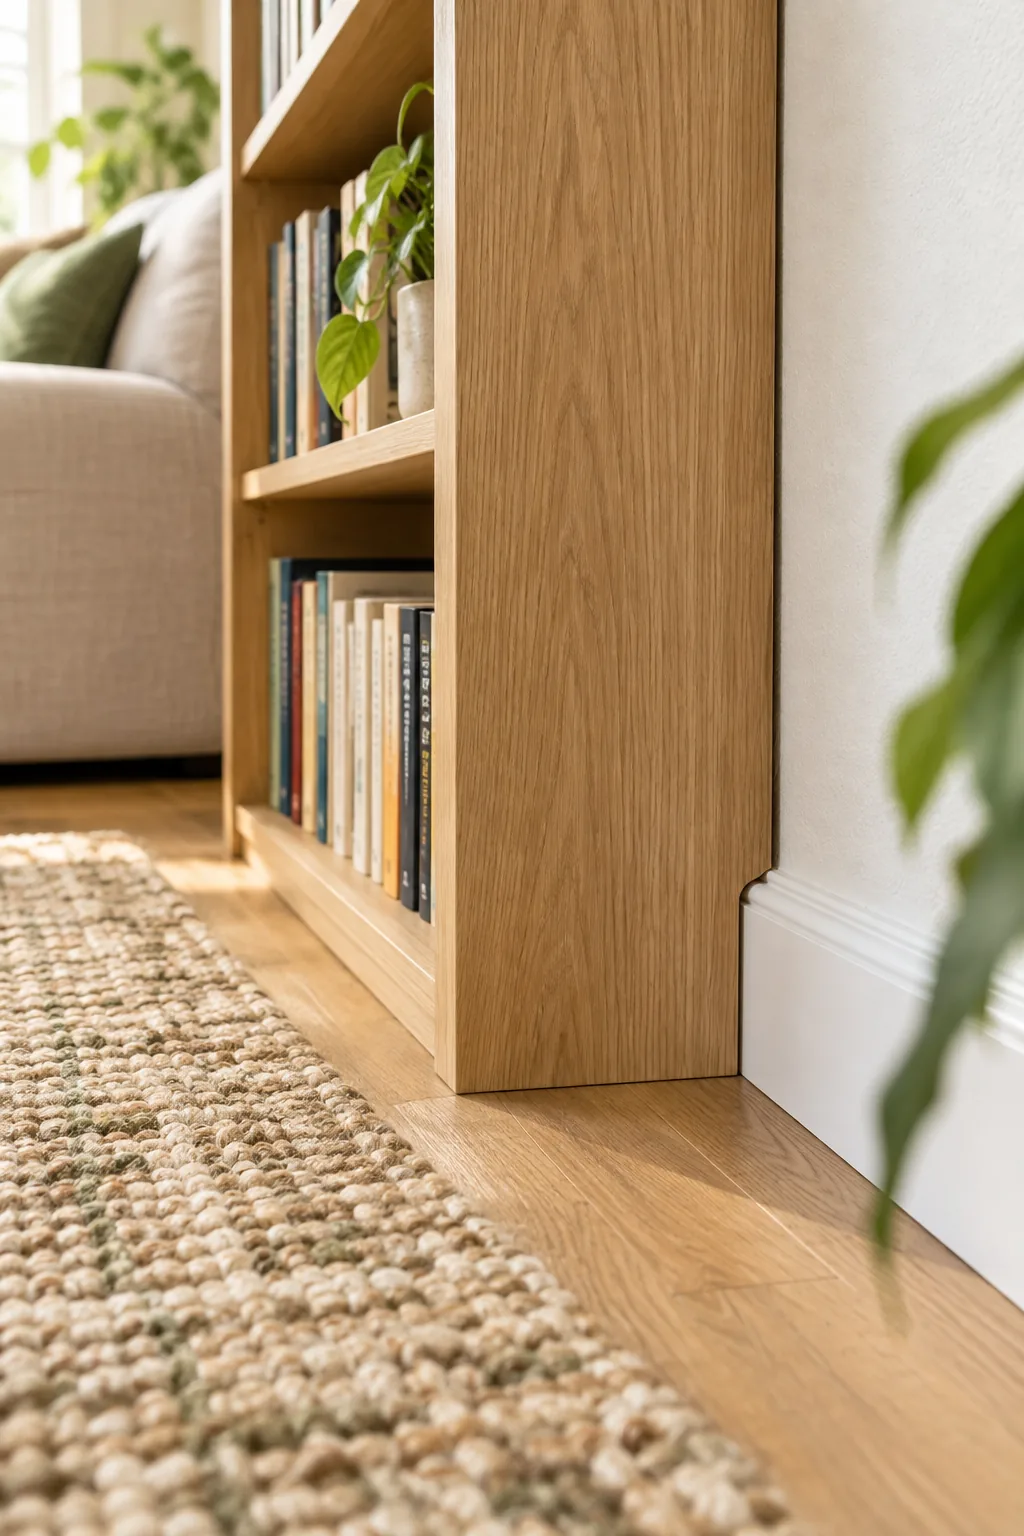
I always scribe this profile directly from the room’s trim, as standard baseboards rarely match their stated dimensions perfectly. A truly flush fit prevents small items from slipping behind the unit and creates a permanent, built-in aesthetic for a freestanding piece.
4 Ways to Style a Small Bookshelf
Find the perfect aesthetic for your reading nook by exploring these distinct styling approaches.
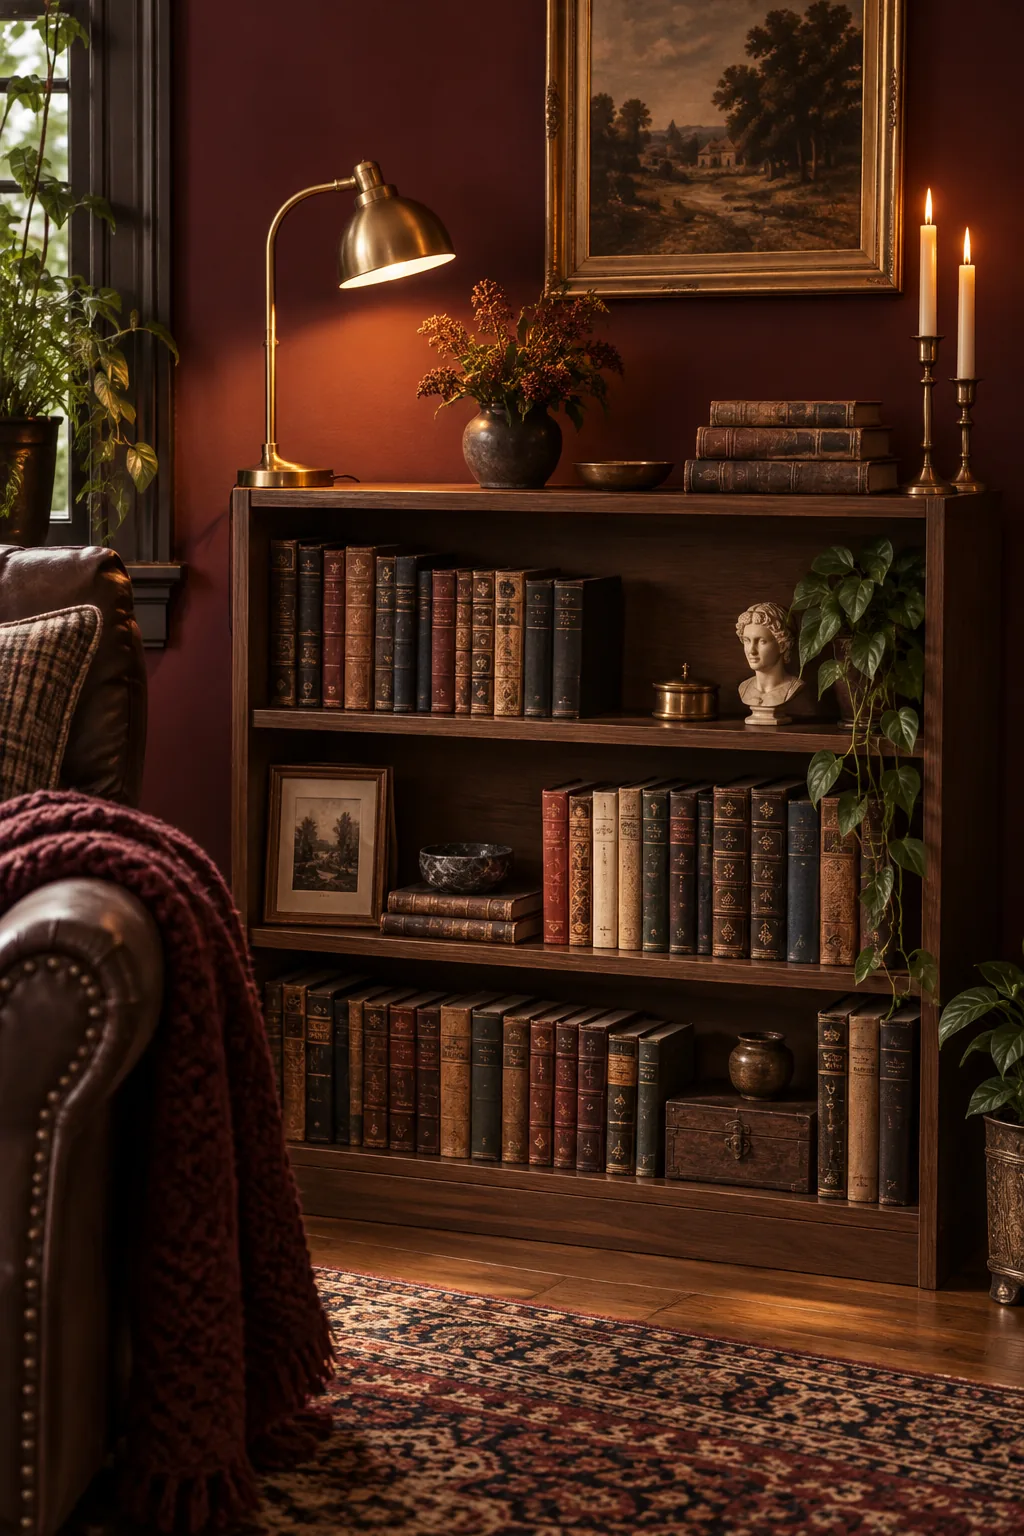
Moody Dark Academia: Rich walnut wood and a brass lamp create a sophisticated, library-inspired feel against a deep burgundy backdrop.
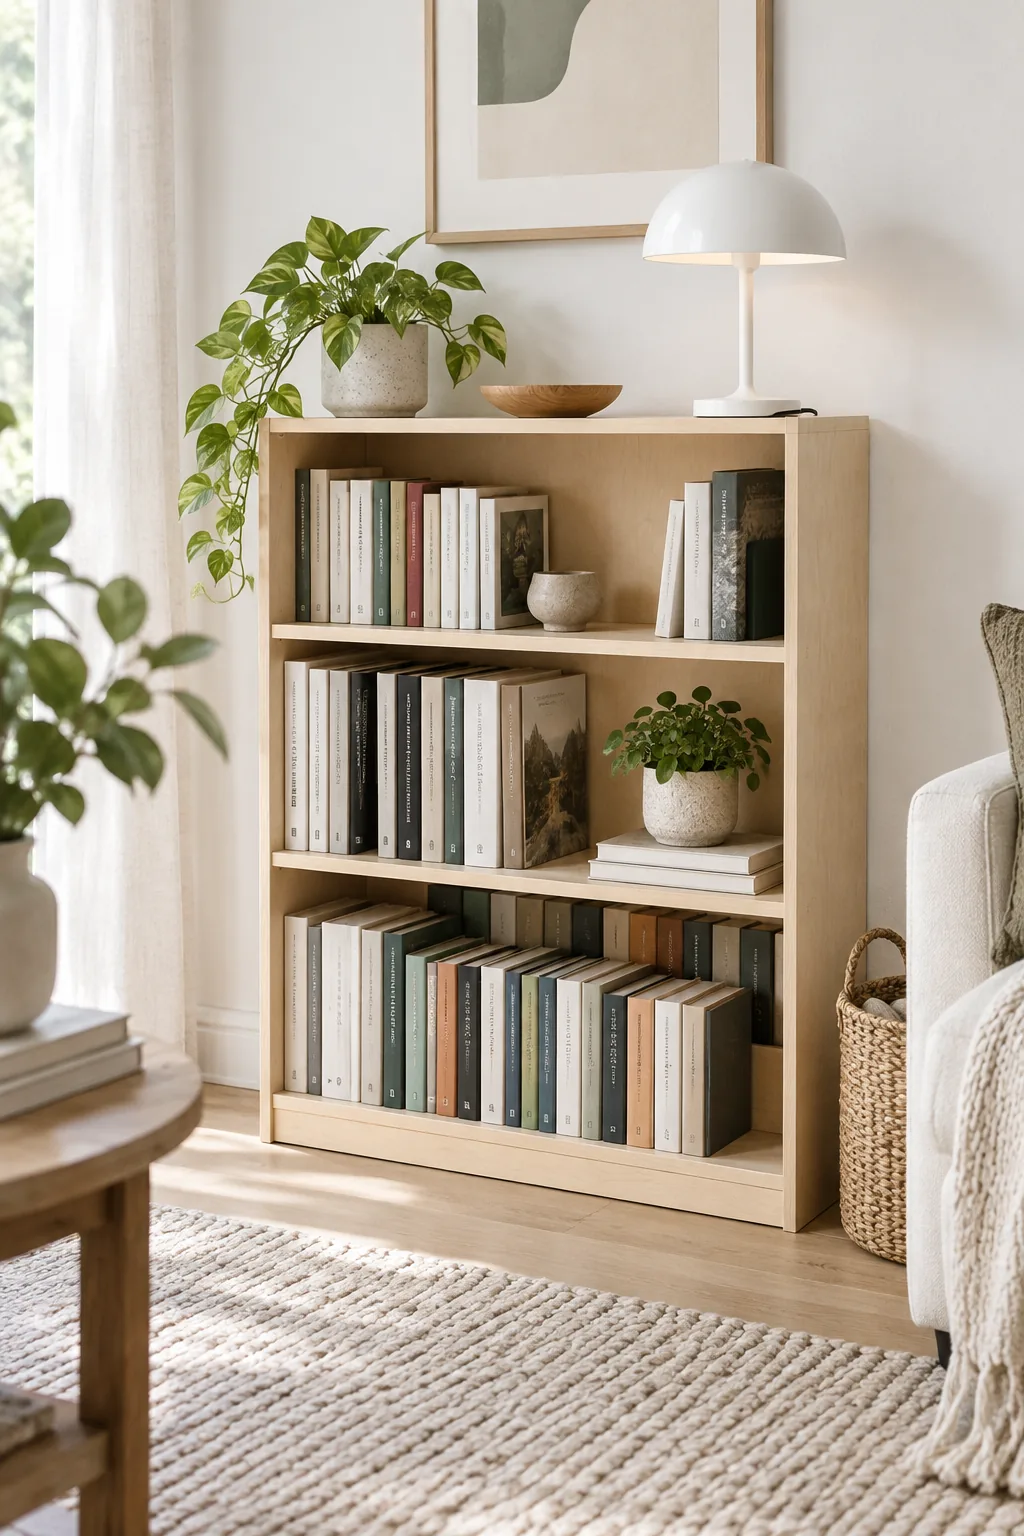
Minimalist Scandinavian: Raw birch plywood and a matte white lamp keep the reading corner bright, airy, and perfectly uncluttered.
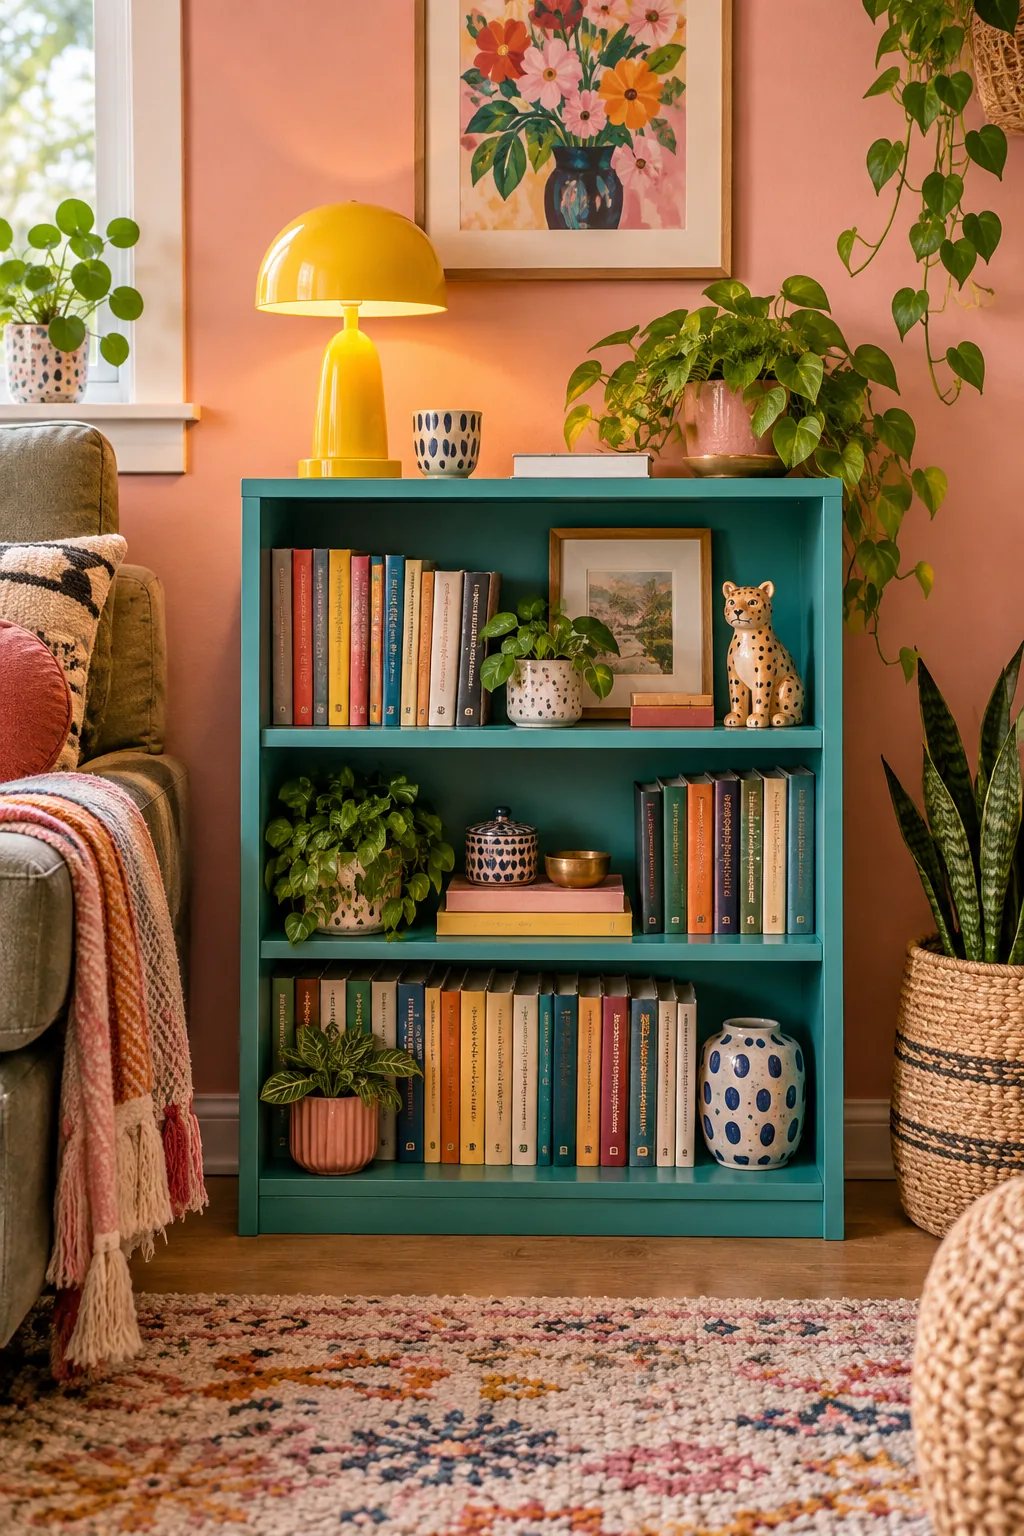
Vibrant Eclectic Mix: A painted teal finish and a bright yellow lamp inject playful energy into a soft pink reading nook.
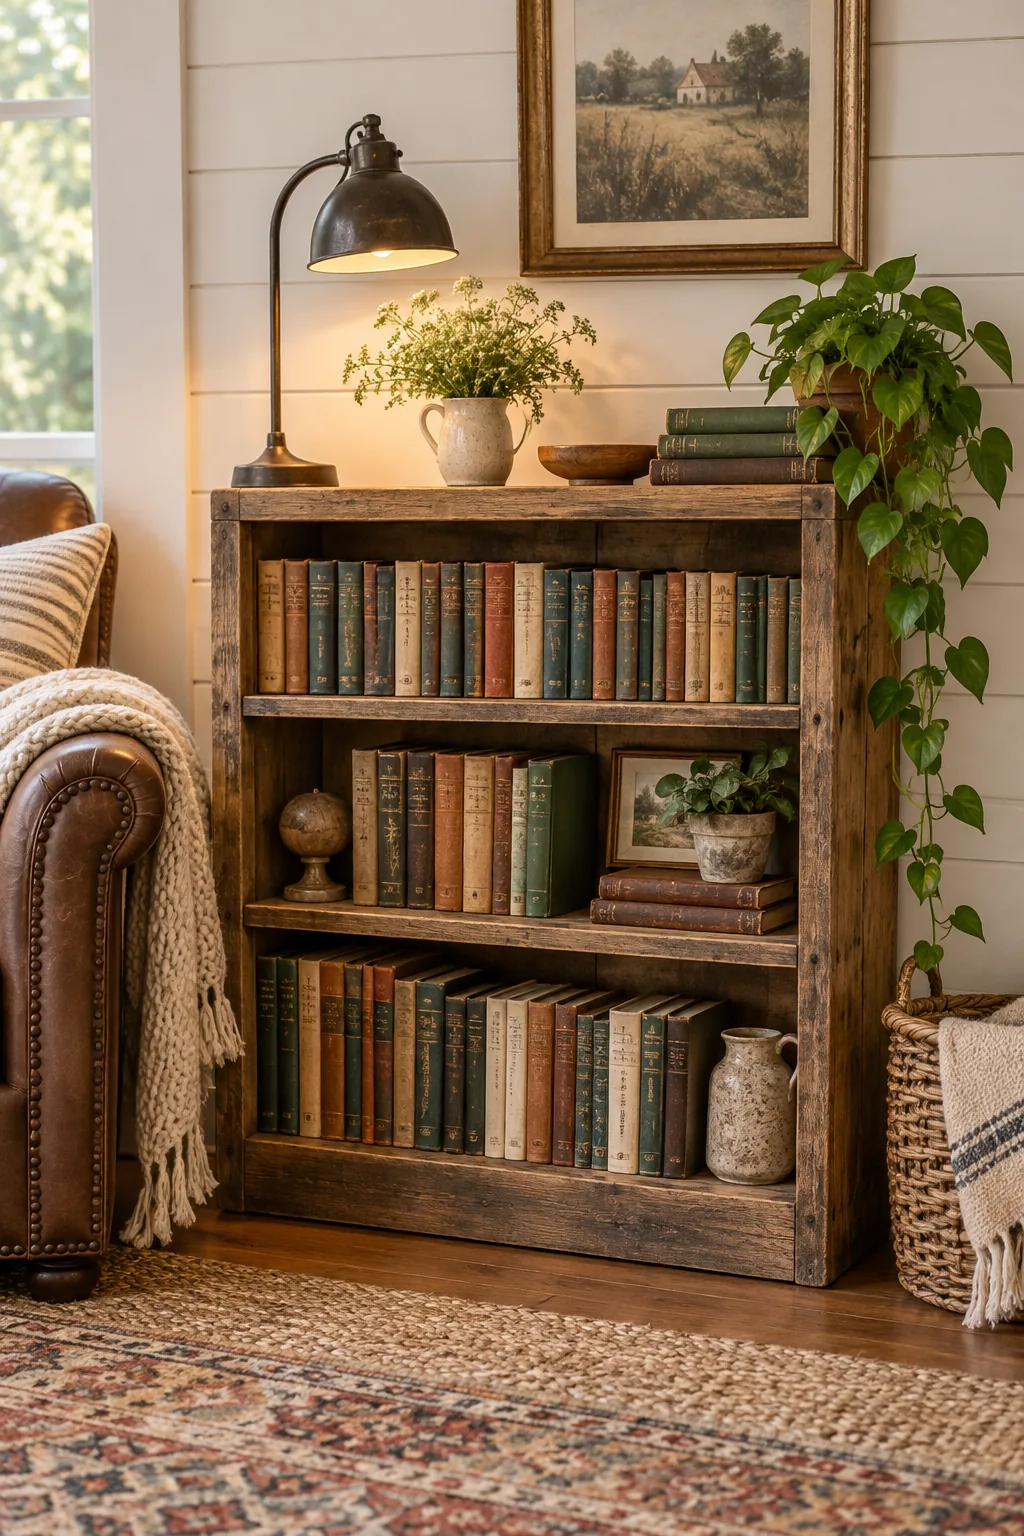
Rustic Farmhouse Charm: Reclaimed barn wood and an industrial iron lamp bring warm, textural character to a classic shiplap wall.