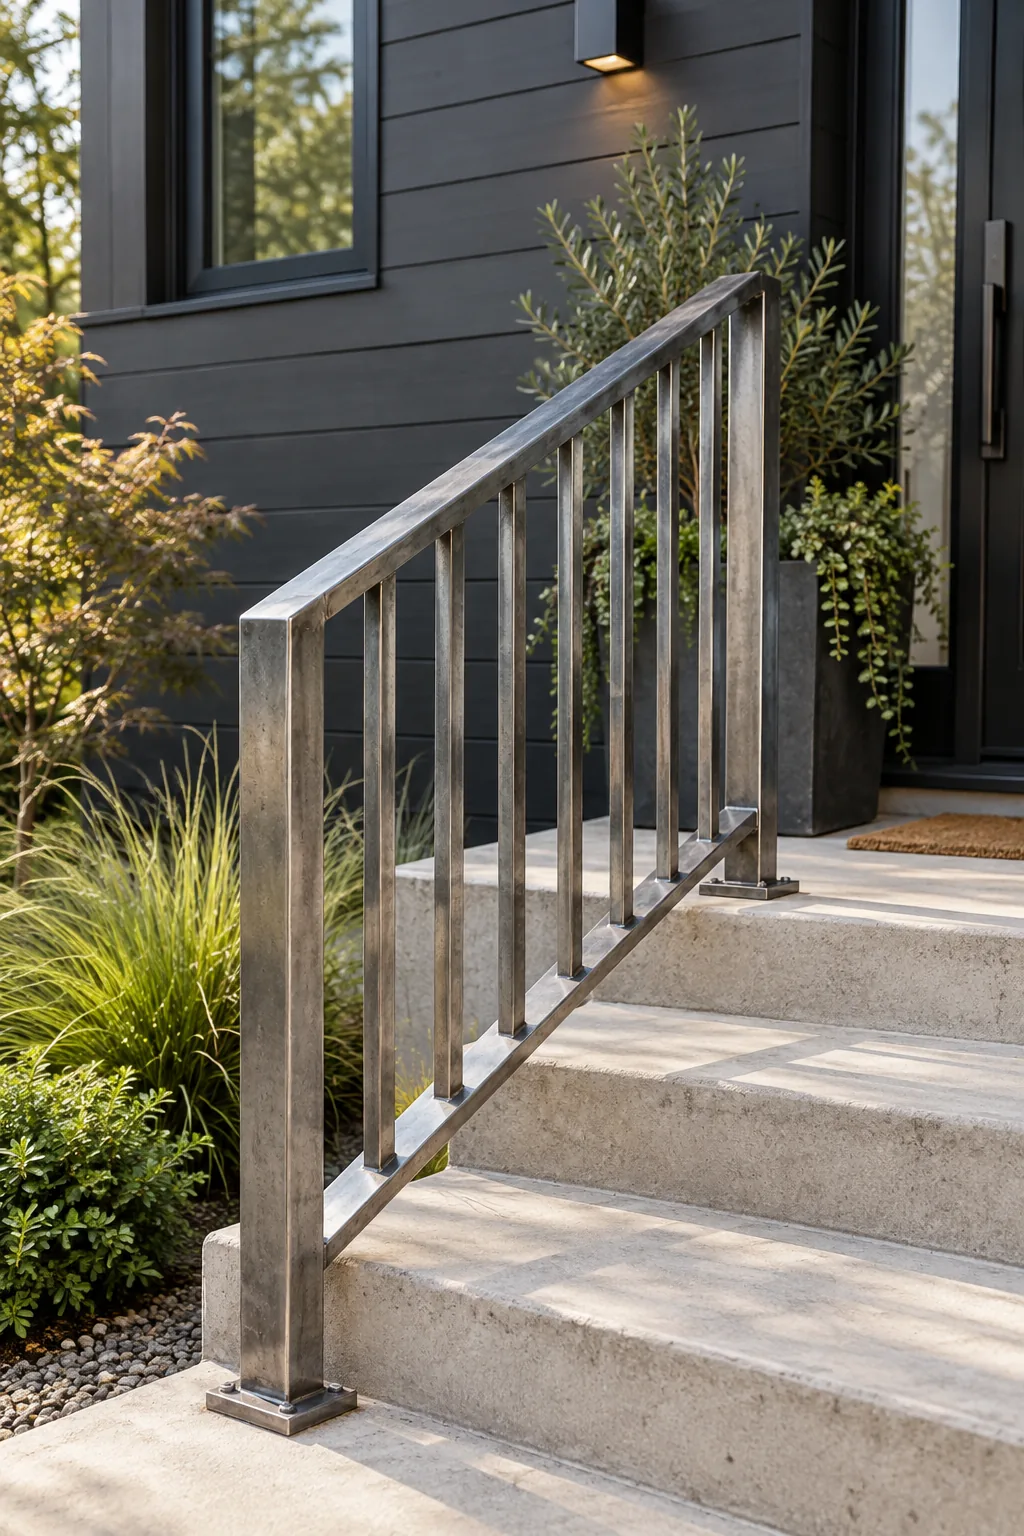
Rock Solid Front Steps Railing: Measurement Cheat Sheet
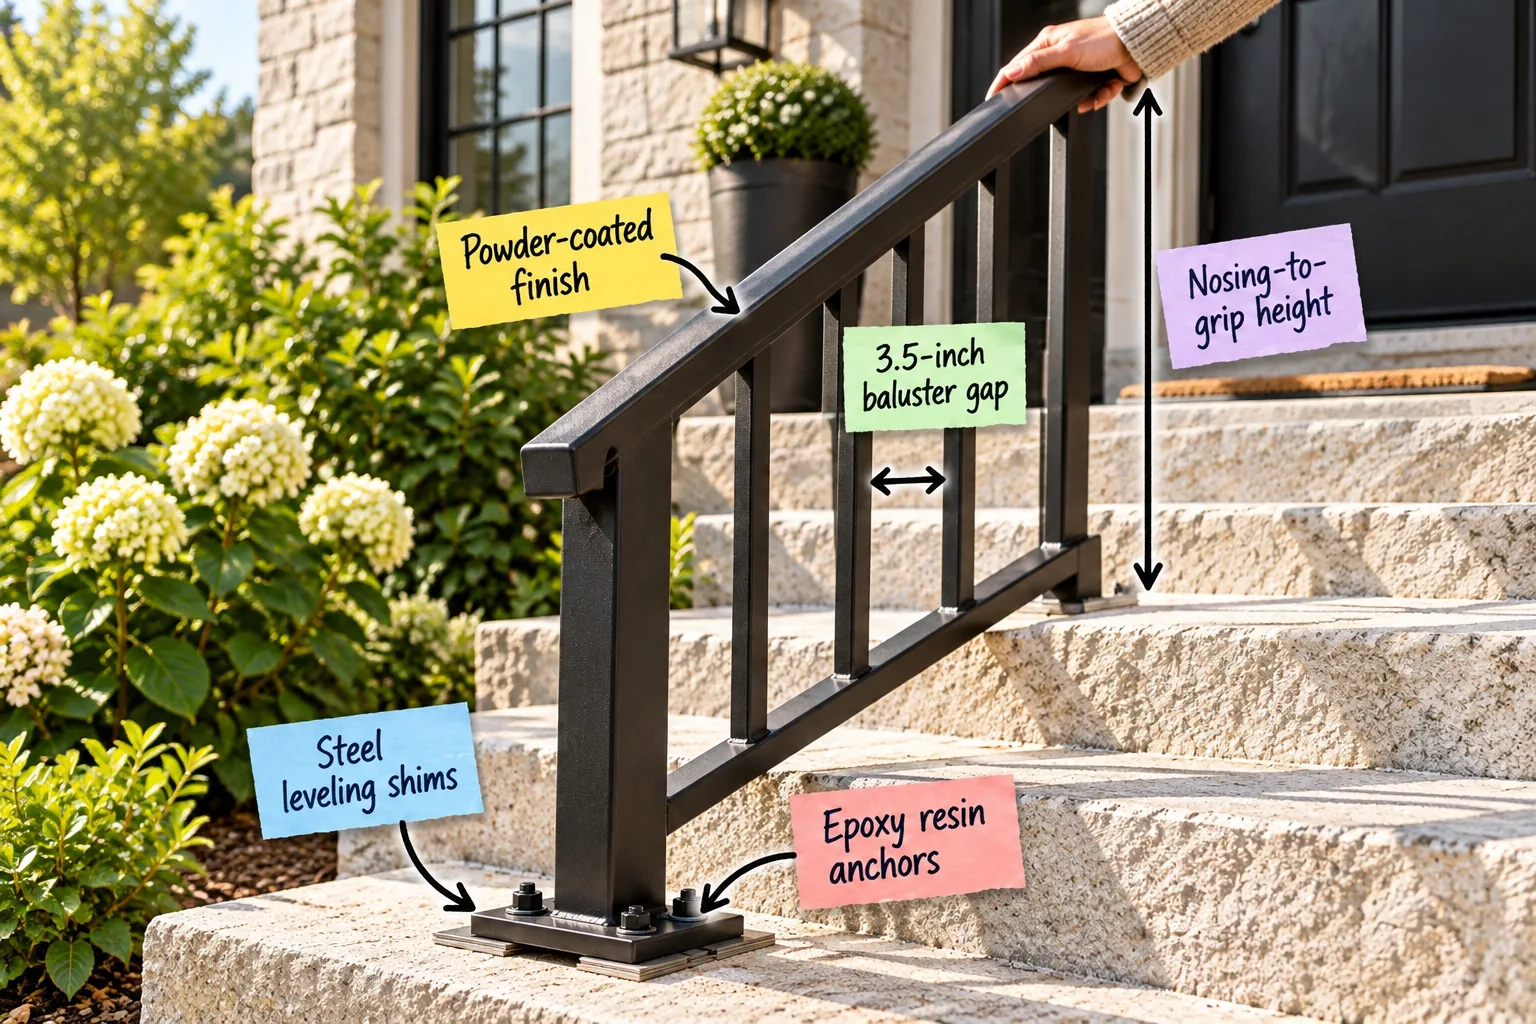
Planning a new outdoor handrail can feel daunting, but you will be able to confidently measure, space, and securely mount a rock-solid outdoor handrail using this complete railing measurement cheat sheet. Let’s walk through the exact specs and anchoring rules to transform your front entry.
Choosing the Right Metal Gauge
Before you even measure your steps, selecting a heavy-duty steel ensures your final build will never flex under pressure. I always recommend 11-gauge tubular steel for the main support posts, providing the necessary wall thickness to handle heavy daily traffic without bending or warping.
Evaluating Your Stone Steps
Your new railing is only as secure as the masonry beneath it, so inspect every tread carefully before drilling. Look closely for hairline cracks or loose mortar near the edges, because drilling into compromised stone will simply cause the entire block to fracture instantly.
Marking the Post Locations
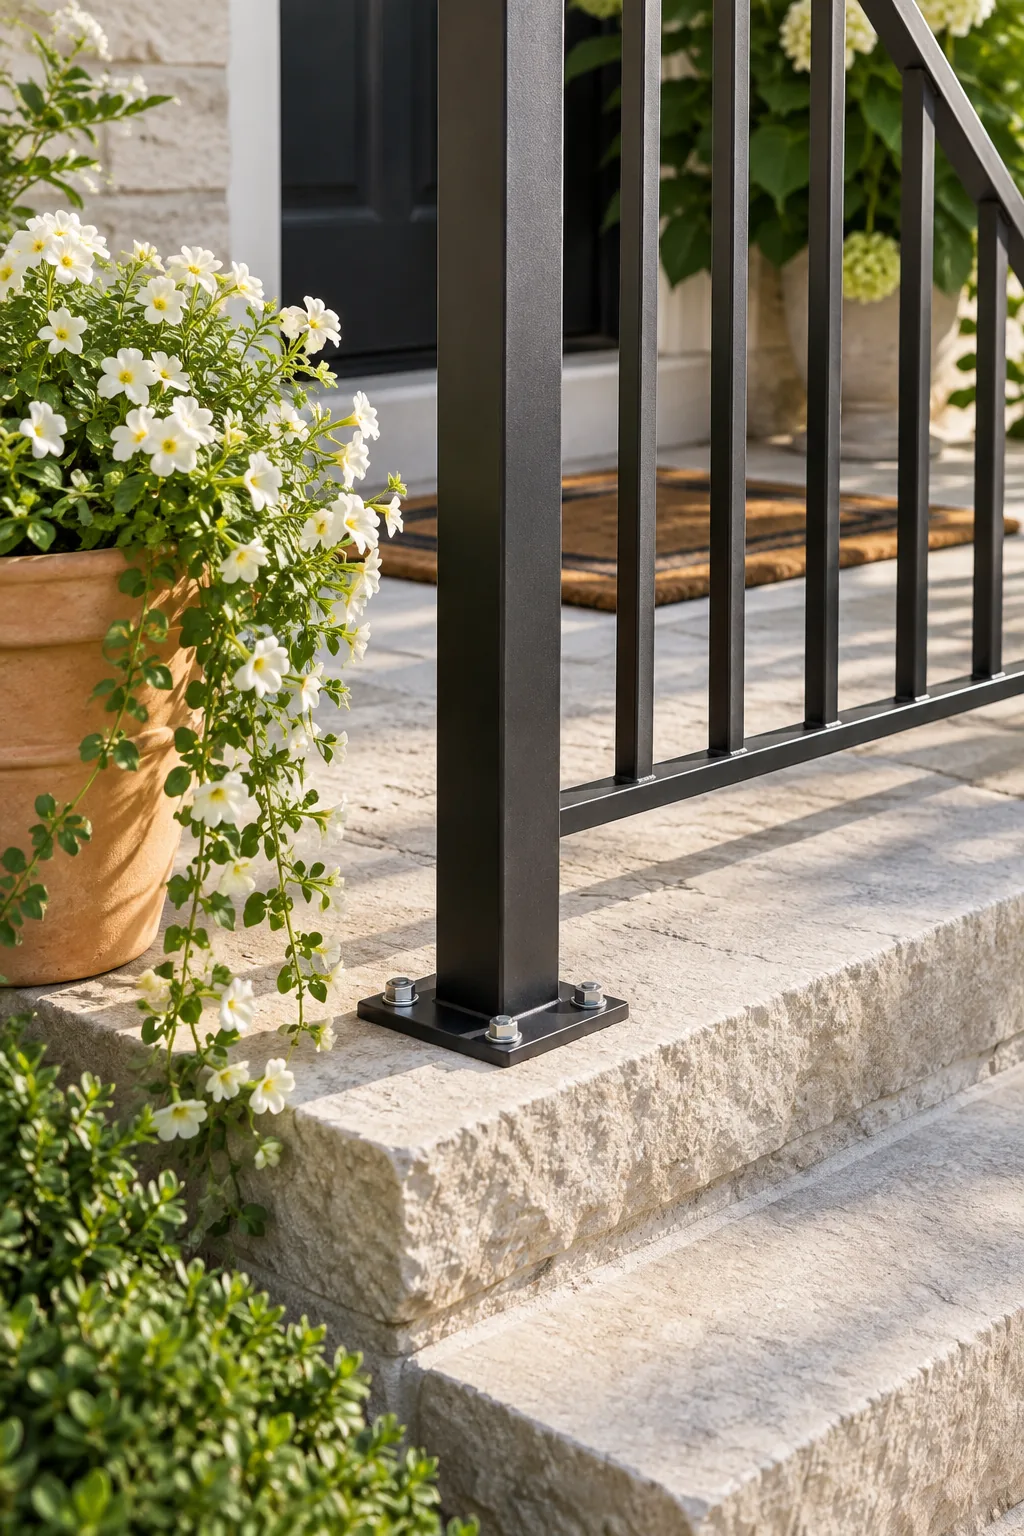
Positioning your base plates correctly prevents the stone edges from breaking off under a heavy load. Keep the center of your mounting holes a minimum of four inches away from any edge to ensure the chemical anchors have enough solid material to grip tightly.
Selecting the Proper Drill Bit
Matching your drill bit to your anchor size is critical for a snug fit. Always use a masonry bit exactly sized to the epoxy manufacturer’s specifications, preventing oversized holes that waste adhesive and reduce the overall pull-out strength of the installation.
Drilling the Masonry Holes
Using a high-quality hammer drill with a fresh carbide bit keeps the holes perfectly cylindrical and clean. Tape your drill bit to mark the exact depth needed, ensuring you do not punch entirely through the tread and weaken the underlying structural foundation.
Clearing Dust for a Strong Bond
Chemical anchors require a pristine, textured surface to adhere properly to the stone interior. Use a stiff wire brush and a shop vacuum to remove all masonry dust from the holes, as any leftover debris will severely compromise the adhesive strength of the resin.
Securing the Base with Epoxy Anchors
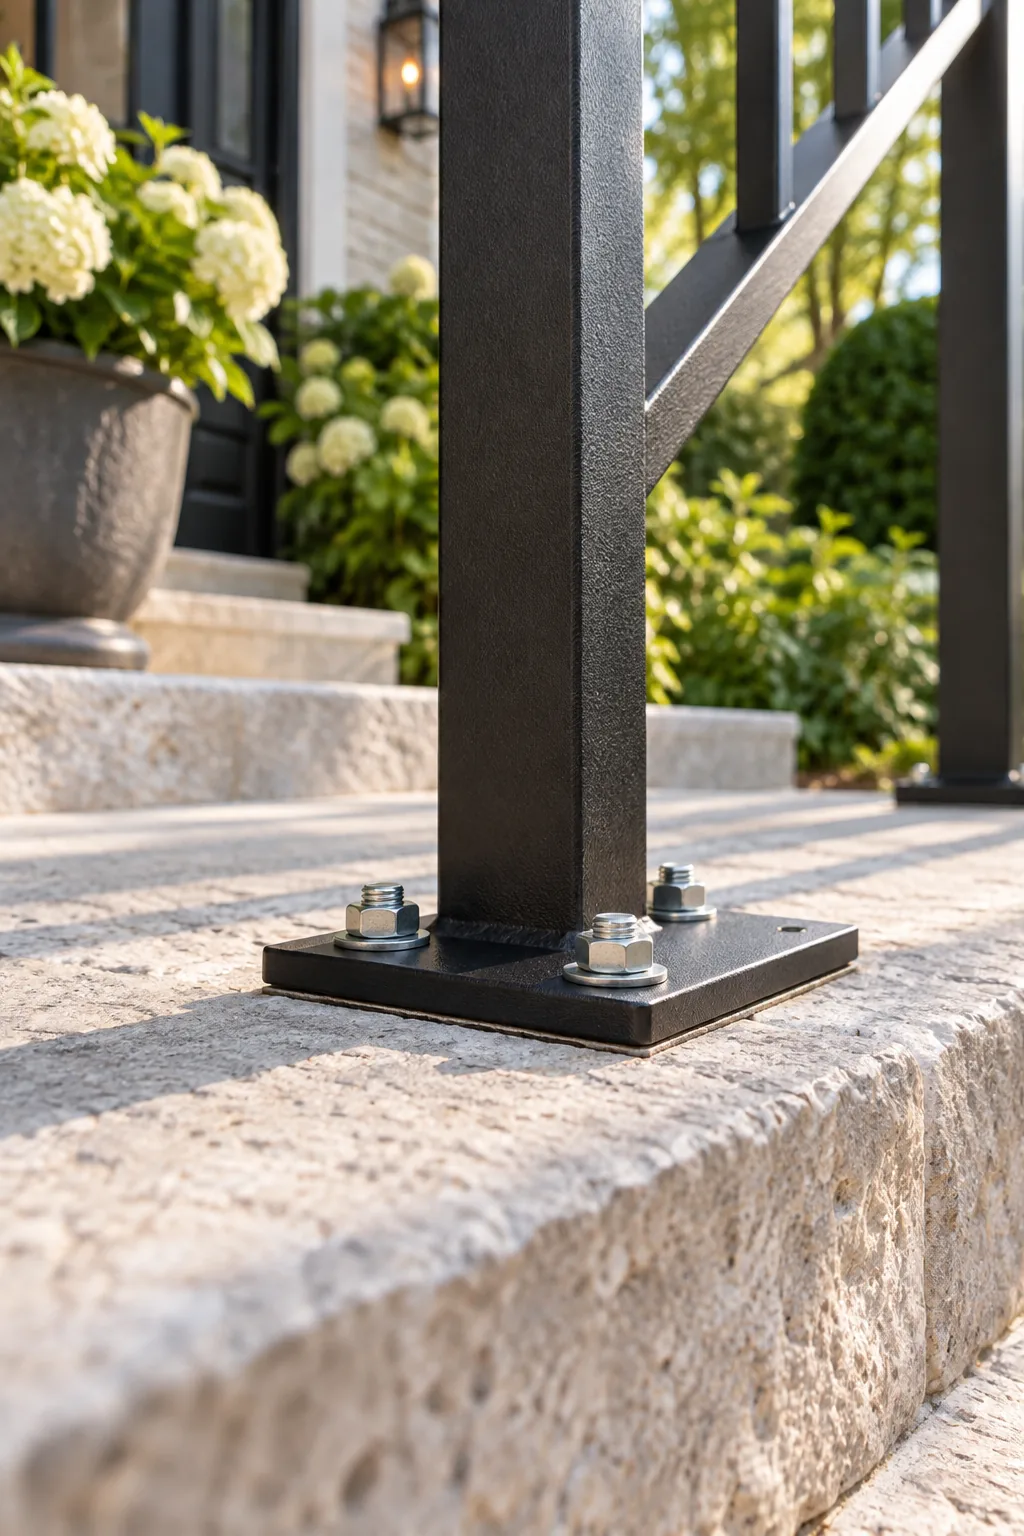
Mounting a heavy metal railing into natural stone requires a specialized foundation, which is why epoxy resin anchors are your best bet. These chemical anchors bond the threaded rods directly to the stone, preventing the cracking and splitting that traditional mechanical wedge anchors often cause in masonry.
Setting the Threaded Rods
Once you inject the structural adhesive, carefully twist the stainless steel rods into the filled holes to eliminate trapped air pockets. Leave exactly one inch of exposed thread above the stone surface to accommodate the base plate thickness, leveling shims, and locking nuts.
Testing the Dry Fit
Before the epoxy sets permanently, gently lower the base plate over the threaded rods to confirm perfect alignment. Testing the dry fit immediately allows you to make micro-adjustments to the rod angles while the resin is still pliable and workable.
Curing Time for Epoxy Anchors
Patience is absolutely crucial before you begin bolting down the heavy metal structure. Let the chemical adhesive cure for a full 24 hours, allowing it to reach maximum holding capacity before you apply any torque or lateral pressure to the base.
Perfecting Plumb with Steel Shims
Exterior steps are never perfectly level because they must slope slightly to shed water, so your railing post needs adjustment. Tucking steel leveling shims under the base plate easily compensates for this drainage slope, ensuring the main post stands perfectly plumb.
Because these tiny spacers bear the weight of the entire railing and are constantly exposed to rain, material choice is critical.
Tightening the Base Plate Bolts
Locking down the base requires even pressure across all four corners to prevent the post from tilting. Use a torque wrench to tighten the nuts in a star pattern, securing the plate firmly against the shims without crushing them or stripping the threads.
Choosing the Right Fasteners
Standard zinc-coated nuts will quickly corrode when exposed to ground-level moisture and snow. Upgrade to marine-grade stainless steel acorn nuts to secure the base plates, providing superior rust resistance while leaving a smooth, finished look without exposed sharp threads.
Sealing the Base Against Moisture
Water pooling beneath the metal plate will eventually cause issues during freezing weather. Run a neat bead of exterior-grade polyurethane sealant around the perimeter to block moisture, leaving a small weep hole at the lowest point for internal drainage.
The Complete Measurement Cheat Sheet
To pass inspection and feel secure, your installation needs to hit specific geometric targets across the entire stair run. Keep these standard residential railing measurements handy when you start planning your layout or ordering custom metalwork for your entry.
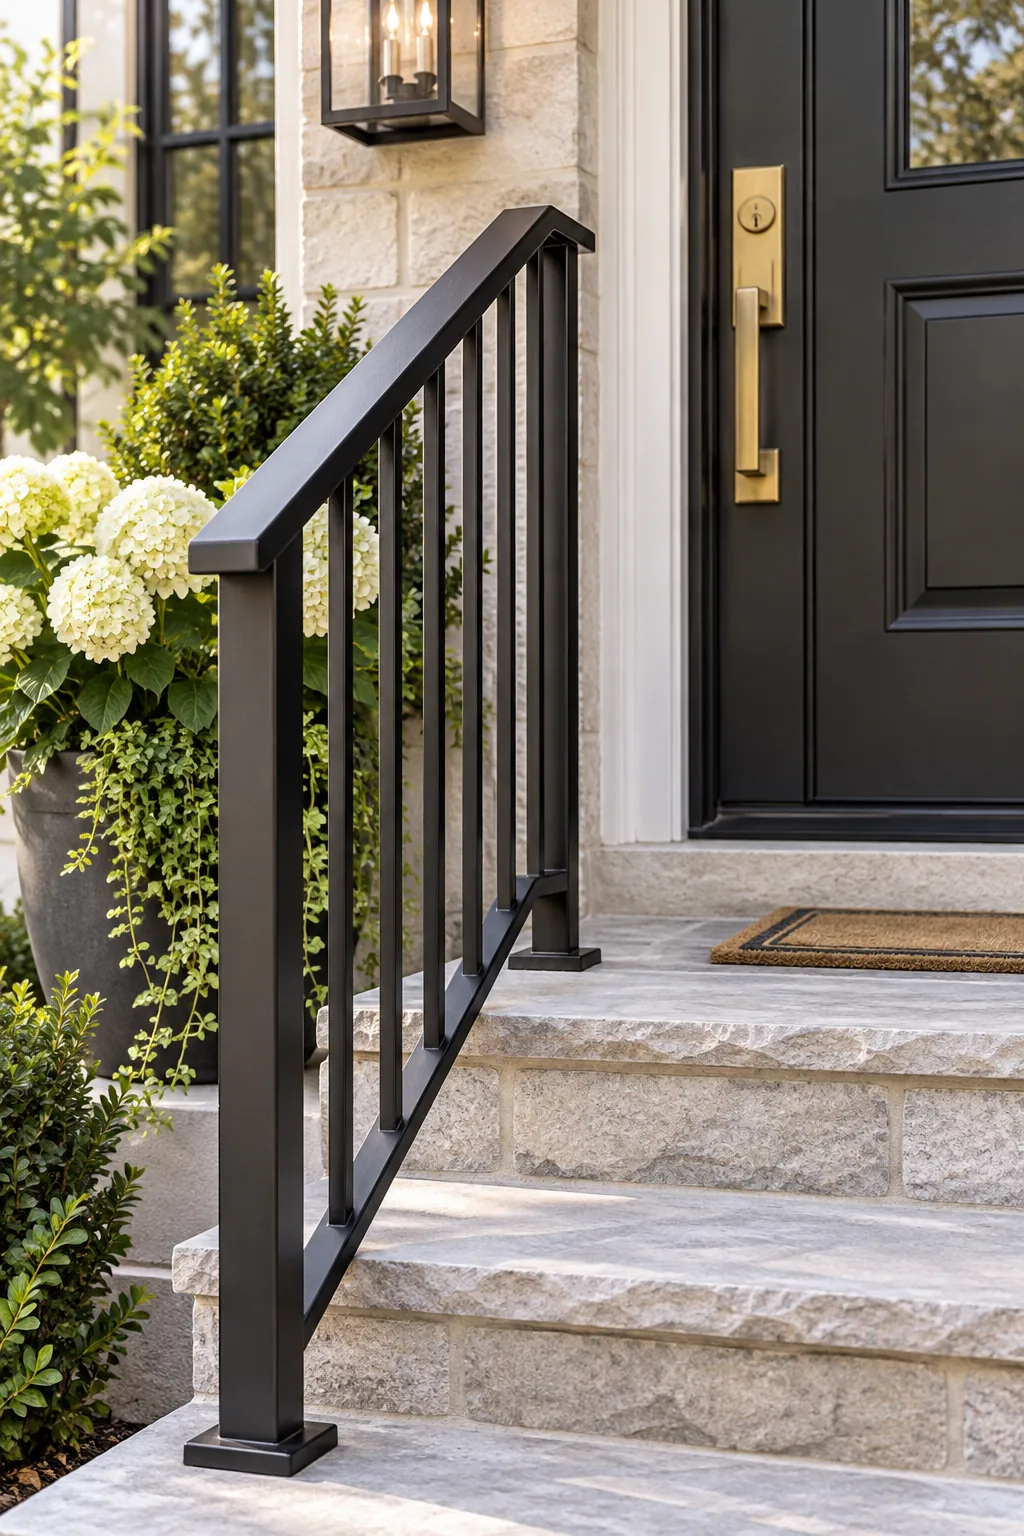
These accepted target ranges ensure both safety and comfort for anyone navigating your front steps in any weather.
| Measurement | Target Range |
|---|---|
| Overall height | 34 to 38 inches |
| Baluster gap | Max 4 inches |
| Wall clearance | Min 1.5 inches |
Calculating the Stair Angle
Your handrail must run perfectly parallel to the pitch of your steps for a professional and comfortable look. Lay a long straightedge across the stair edges and use an angle finder to match the exact stair slope before fabricating the top rail.
Aligning the Top Rail
A continuous, straight top rail provides the safest support for anyone walking up to your door. Clamp a string line tightly between your top and bottom posts to establish a perfectly straight reference plane before attaching the handrail permanently.
Verifying the Handrail Overhang
A proper handrail should extend slightly past the bottom step to assist guests as they transition to the walkway. Plan for a twelve-inch horizontal overhang past the final riser to provide continuous support until both feet are safely on flat ground.
Finding the Right Nosing-to-Grip Height
To meet that 34-to-38-inch standard, you have to measure the nosing-to-grip height exactly right. Pull your tape measure from the stair nosing—the very front edge of the tread—straight up to the top of the handrail grip.
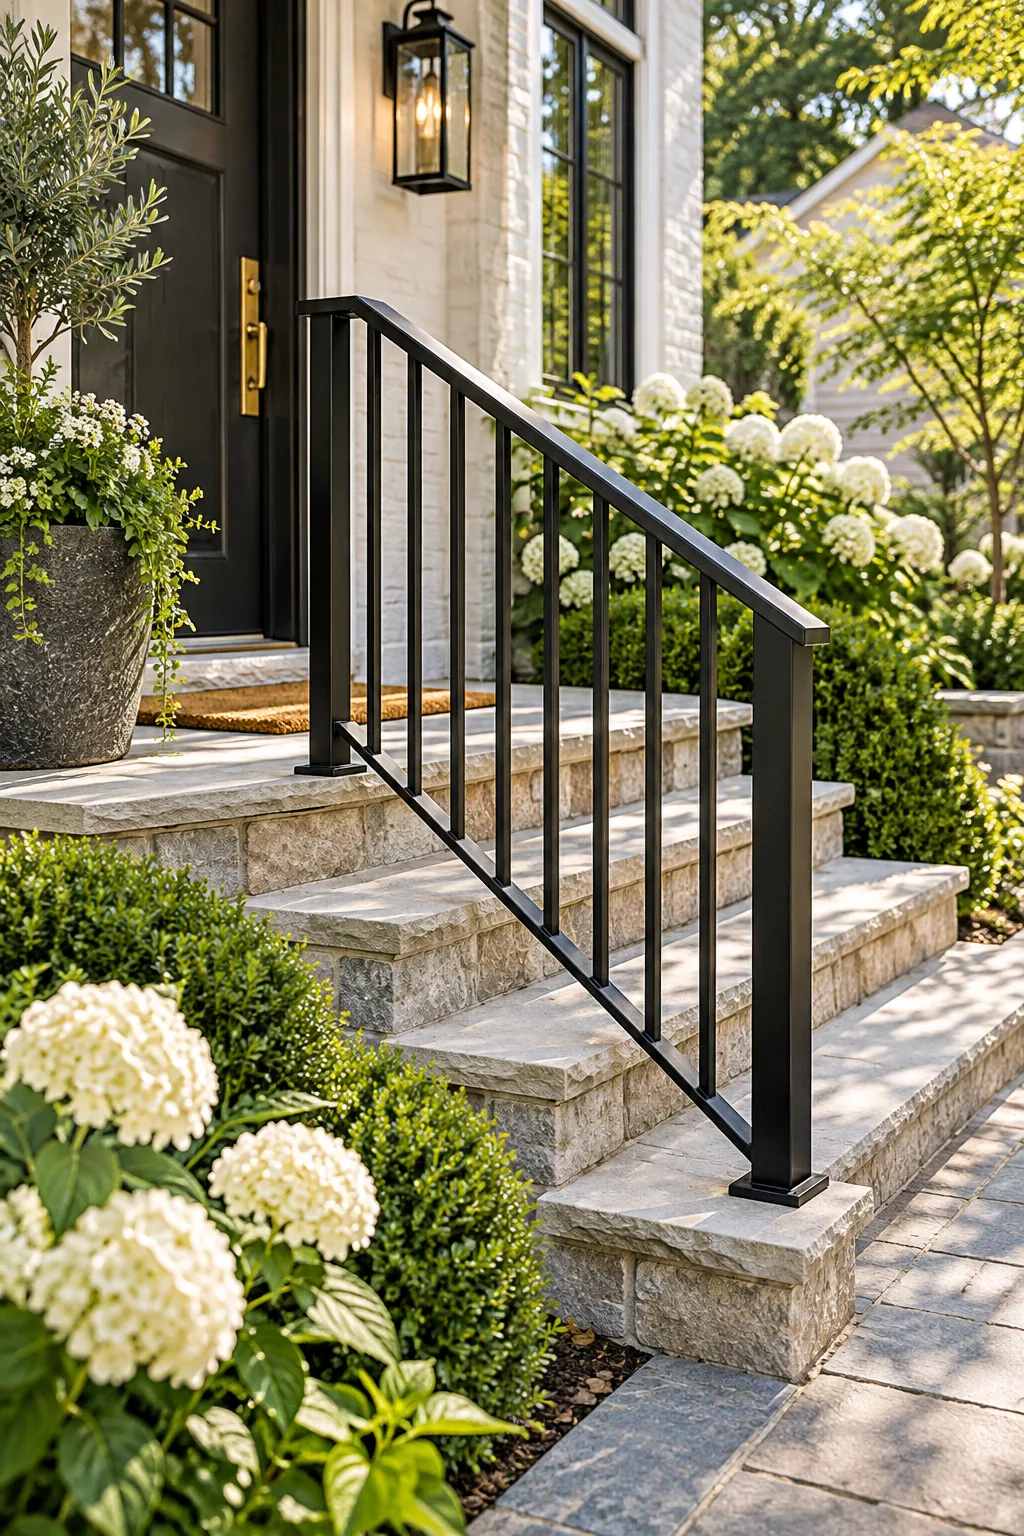
Getting the height wrong is one of the most common DIY errors, and it usually stems from choosing the wrong starting point.
Spacing for the 3.5-Inch Baluster Gap
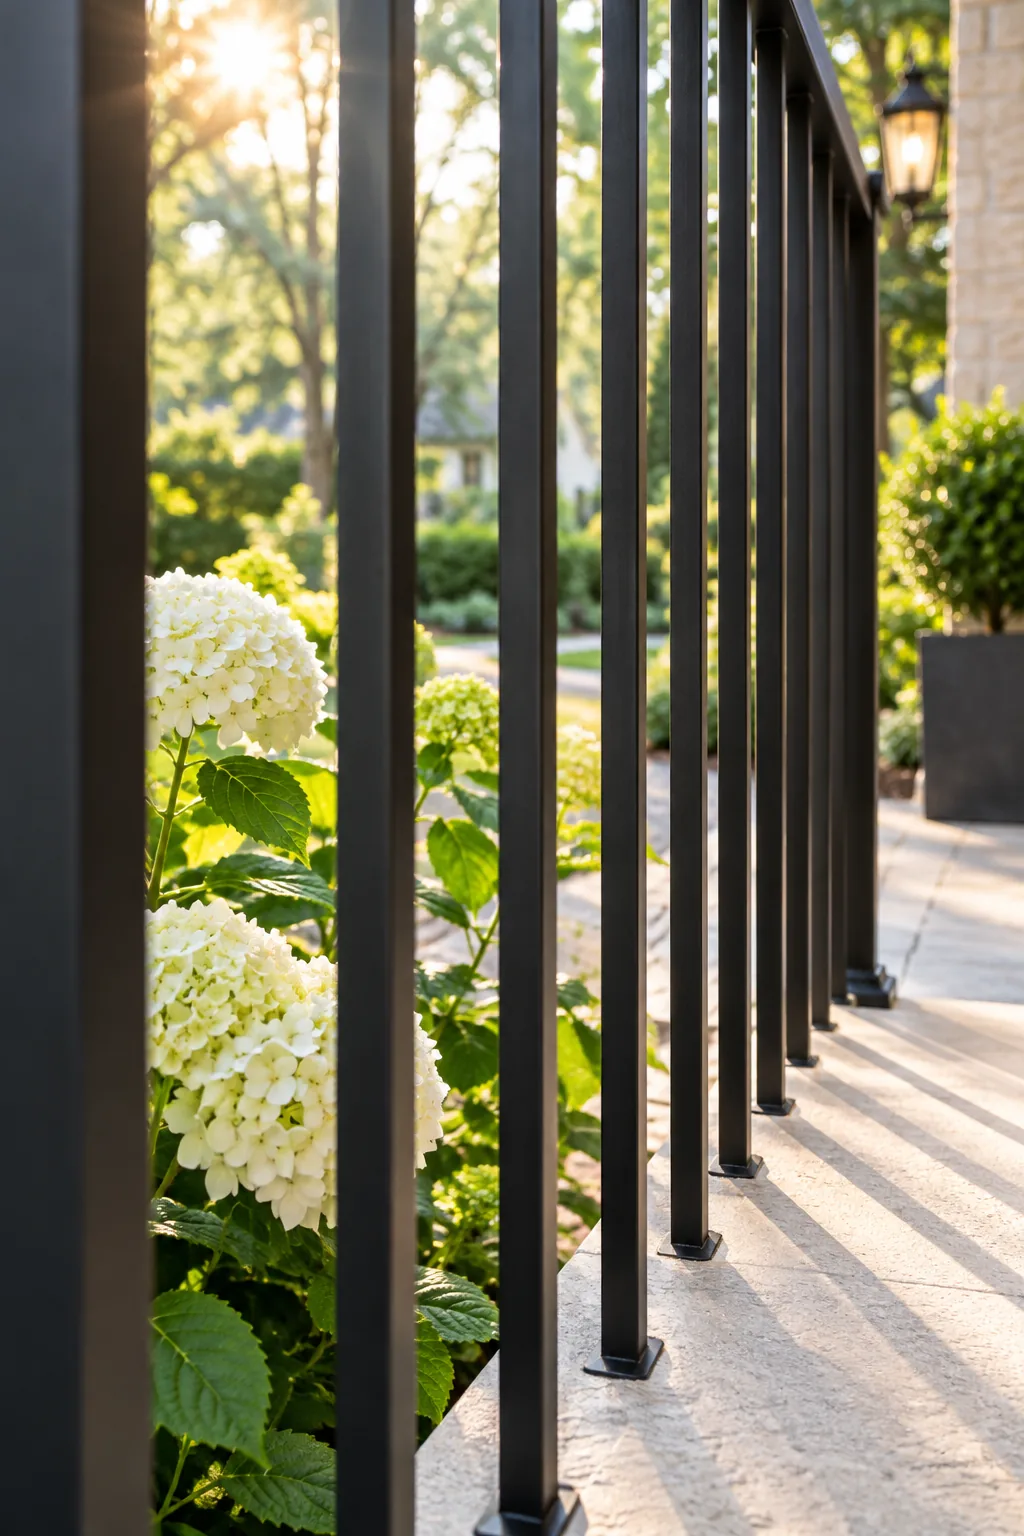
Building codes typically require gaps to be smaller than 4 inches to prevent small children from slipping through, but aiming for a 3.5-inch baluster gap provides a comfortable margin of error during fabrication. When I built my own porch railing, this slightly tighter spacing saved me from failing inspection when one post shifted slightly during welding.
Inspecting the Baluster Plumb
Even a slightly crooked vertical spindle will ruin the clean geometric lines of your installation. Use a small magnetic torpedo level to check every single baluster for perfect plumb before you permanently weld or bolt them into place.
Welding Solid Baluster Joints
If you are fabricating the metalwork yourself, the connections must withstand significant lateral force over time. Ensure you achieve full penetration welds at the top and bottom of every spindle, fusing the metal completely rather than just tacking the surface.
Grinding the Welds Smooth
Rough joints not only look unfinished but can also create sharp edges that catch clothing and skin. Run an abrasive flap disc over all visible connections to blend the welds seamlessly into the surrounding metal before applying any surface treatment.
Priming the Bare Metal
If you are painting the railing yourself instead of outsourcing it, bare steel requires immediate protection from ambient humidity. Apply a high-quality zinc-rich etching primer within hours of grinding the welds to create a rust-proof barrier beneath your final topcoat.
Why Powder-Coated Finishes Last Longer
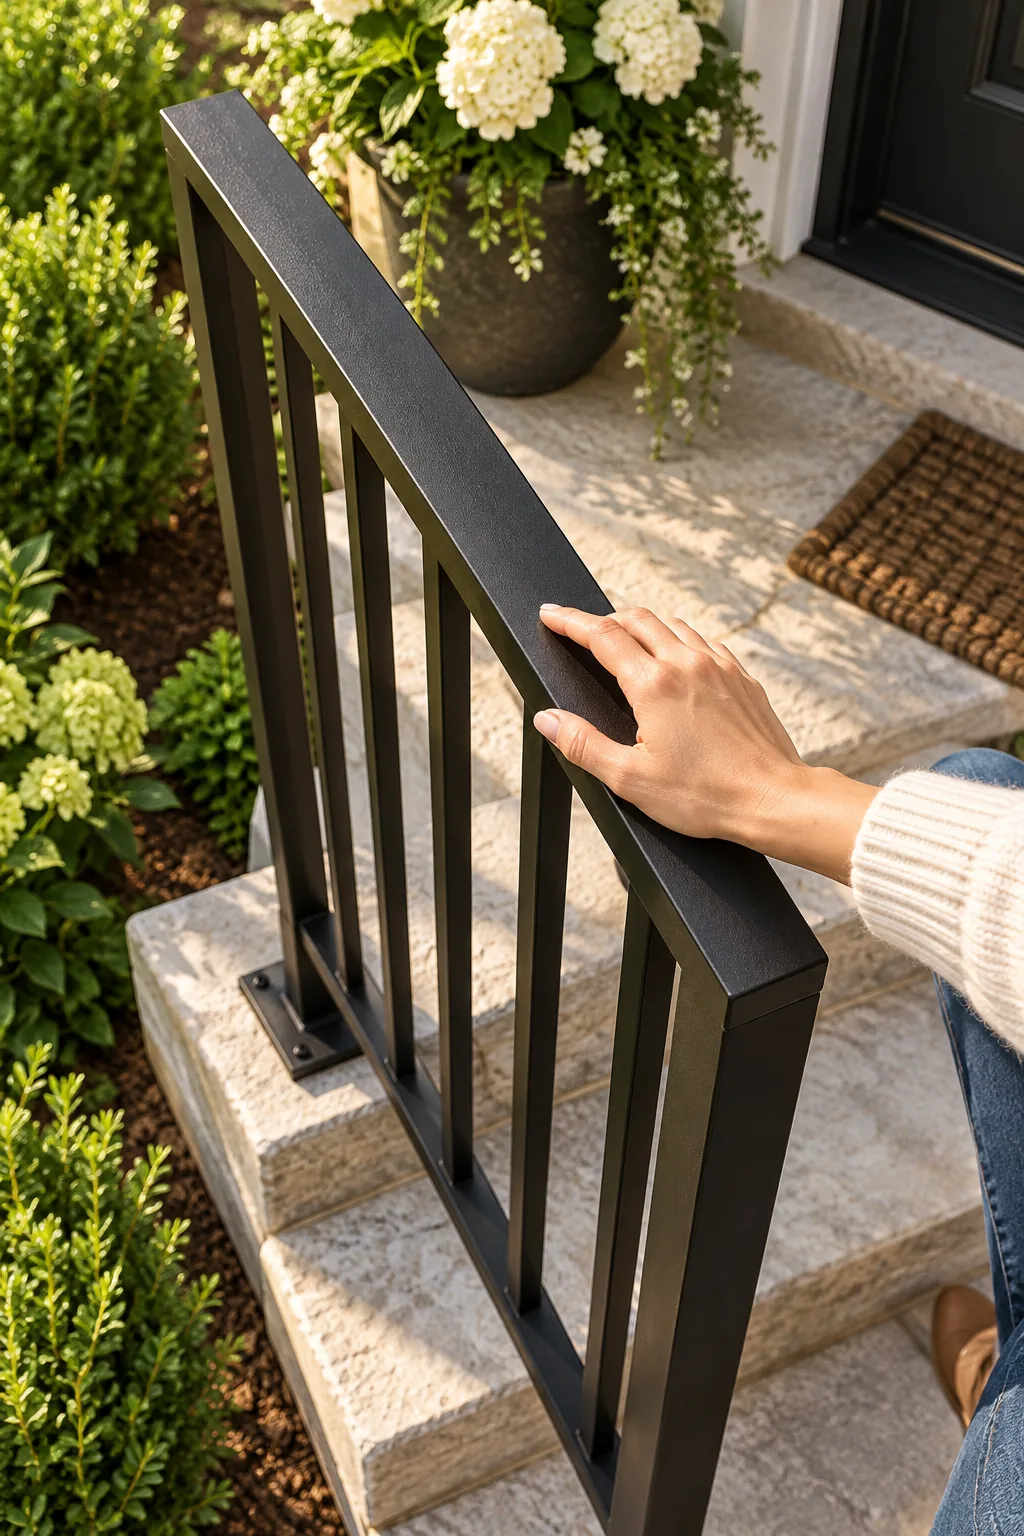
Contrast standard exterior paint with a baked-on powder-coated finish, which creates a durable, even shell. This specialized surface treatment resists chipping, fading, and rust, holding up beautifully even in harsh morning sun and freezing rain.
Protecting the Finish During Install
That flawless matte black shell is highly vulnerable to tool strikes while you are bolting everything together. Wrap the posts in heavy painter’s tape and cardboard sleeves to prevent accidental scratches from your heavy wrenches and metal levels.
Touching Up Installation Scratches
Even with careful handling, tiny nicks can expose raw steel to moisture and start the rusting process rapidly. Keep a bottle of color-matched enamel touch-up paint handy to immediately seal any bare metal spots the moment you finish tightening the bolts.
Maintaining the Finished Surface
Even the toughest exterior coatings benefit from simple seasonal maintenance to extend their lifespan and keep them looking pristine. Wash the metalwork twice a year using mild dish soap and water to remove corrosive salt deposits and environmental pollutants.
Designing a Comfortable Handrail Grip
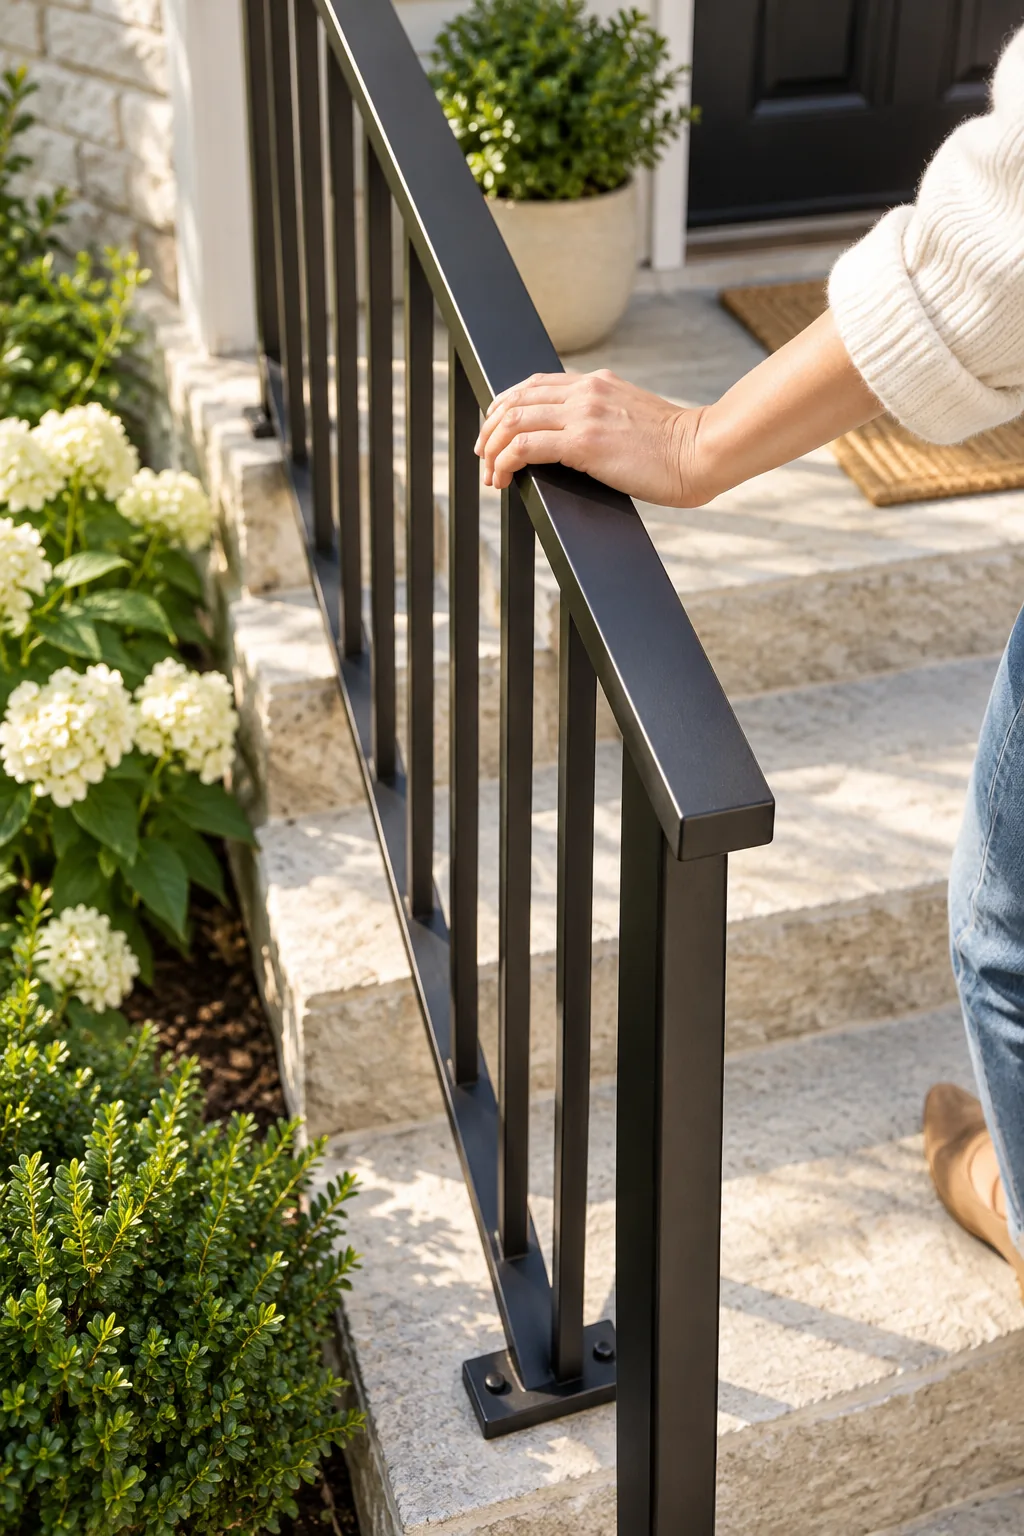
The tactile experience of your top rail matters just as much as its structural integrity. A flat or gently rounded profile provides the most secure, ergonomic grip for hands of all sizes, keeping the surface continuous and free from decorative interruptions.
Capping the Handrail Ends
Leaving the ends of tubular steel open invites wasps to build nests and traps corrosive moisture inside the frame. Weld flat steel caps to seal the handrail ends completely, grinding them flush so they feel like a natural extension of the grip.
Final Safety and Stability Checks
Before calling the job done, you need to physically verify a rock-solid installation using the push-test method. I always lean my full body weight into the top rail at my house to ensure there is zero wobble at the base or deflection in the middle of the span.
Perform these final stress tests to confidently confirm your new railing is completely ready for daily use.
- Push firmly against the main posts to check for base plate shifting.
- Press down on the center span to verify the balusters hold rigid.
4 Ways to Style a Metal Front Railing
See how different finishes and architectural pairings completely change the look of a solid metal handrail.
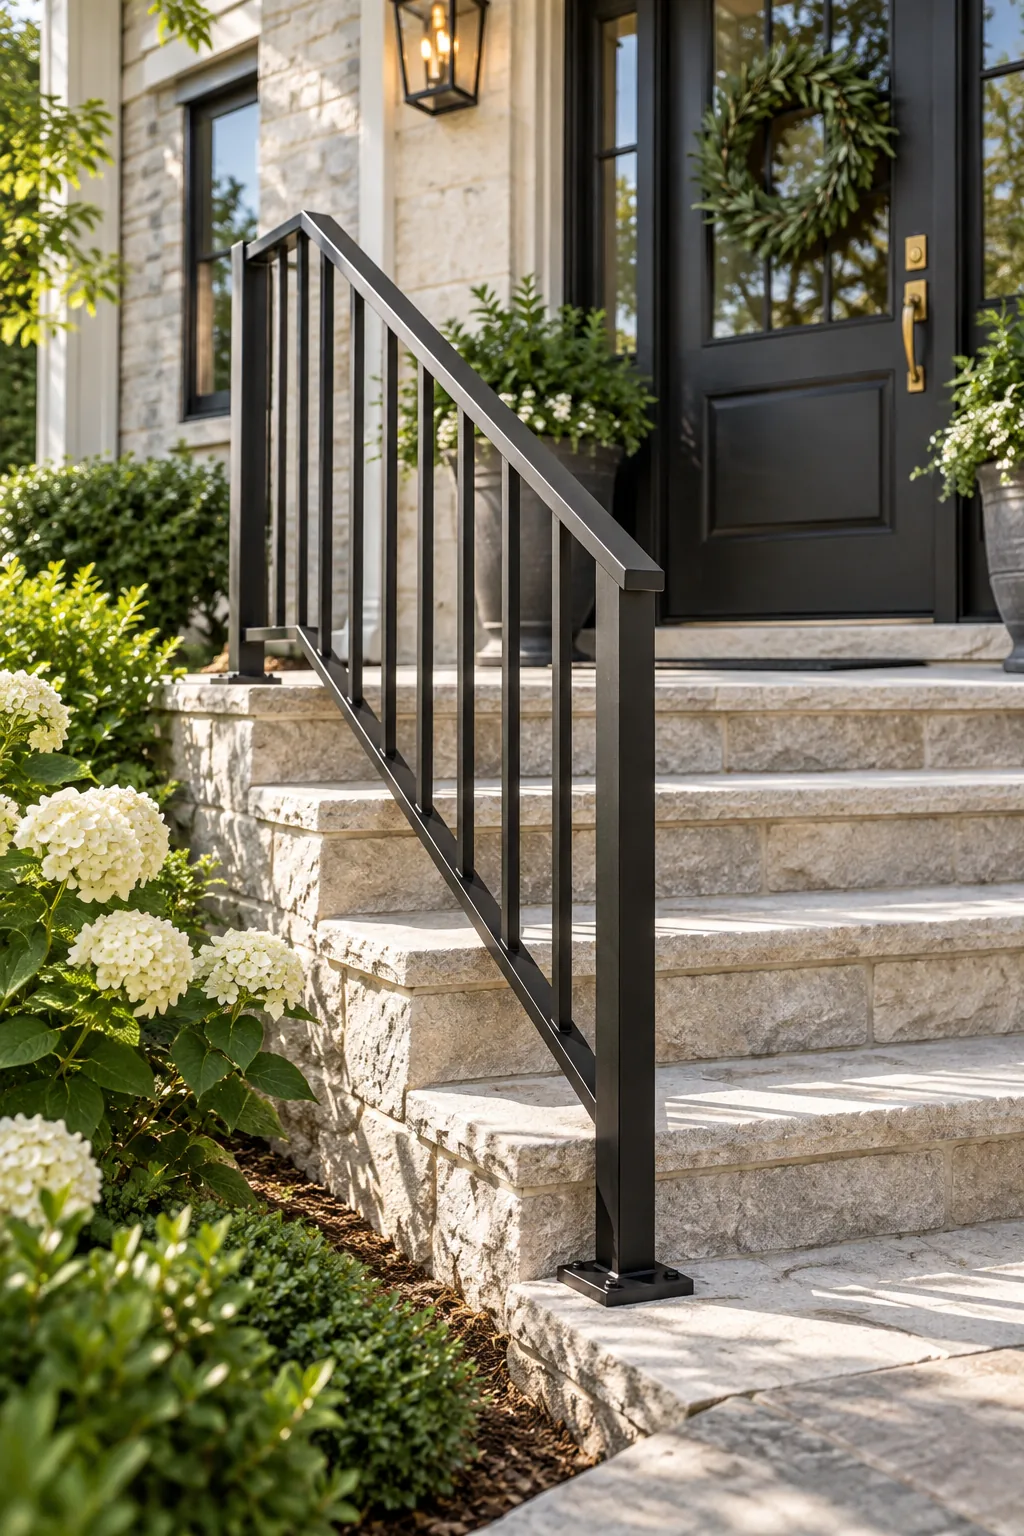
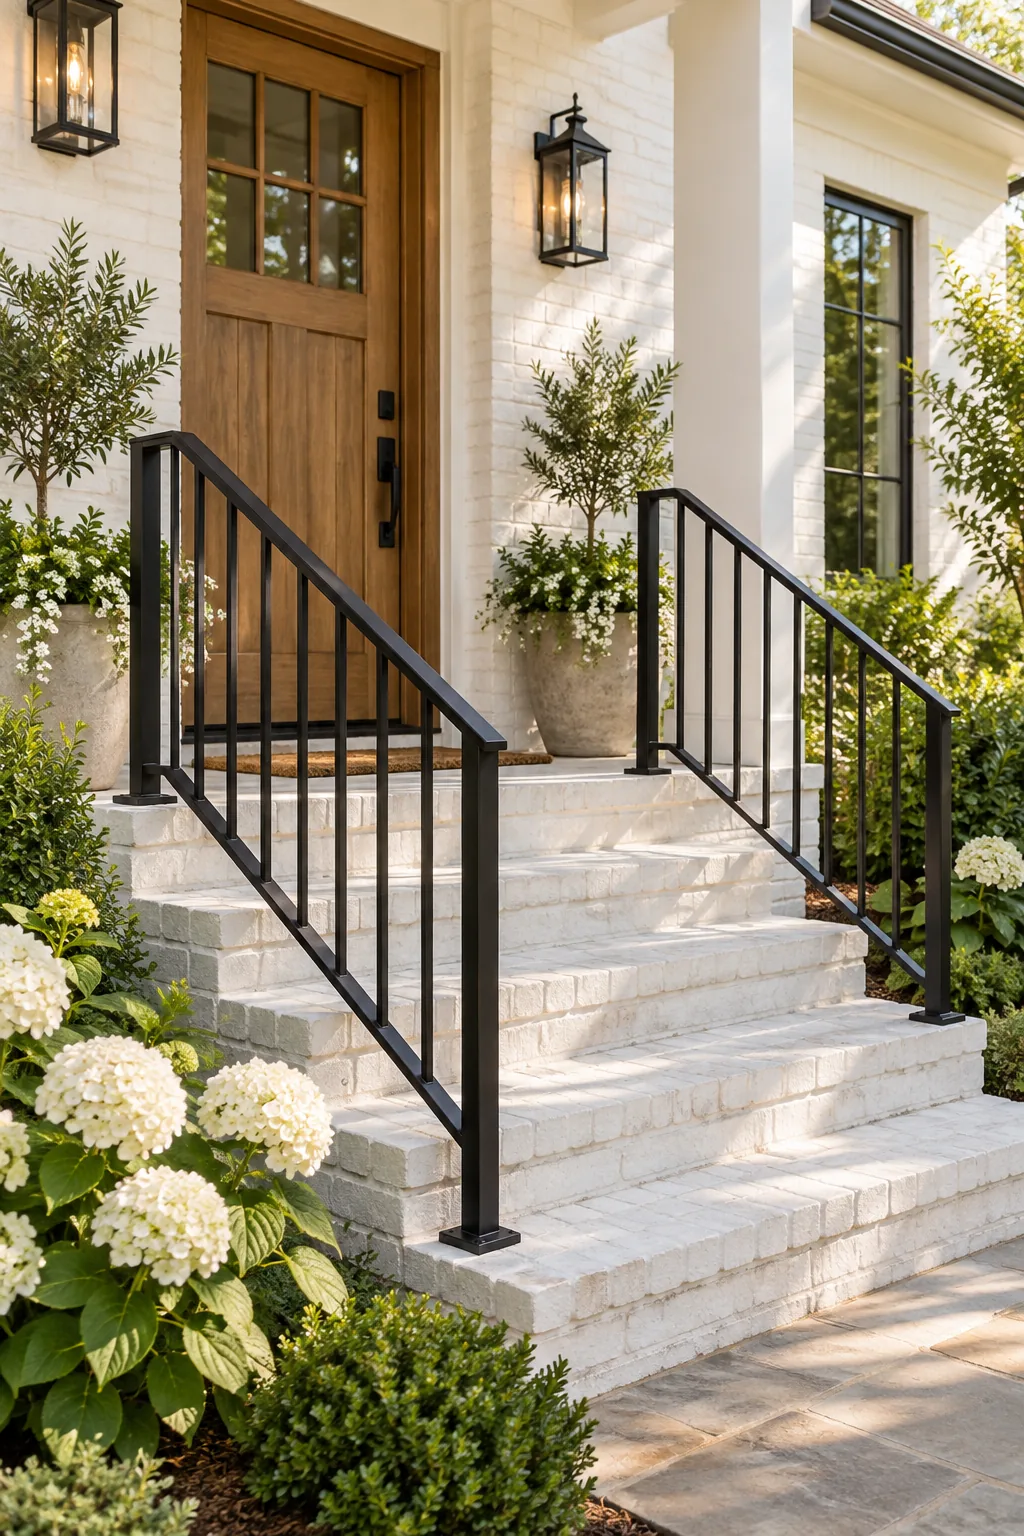
Modern Farmhouse Contrast: Pairing stark matte black metal with crisp white painted brick creates a striking, high-contrast entry.
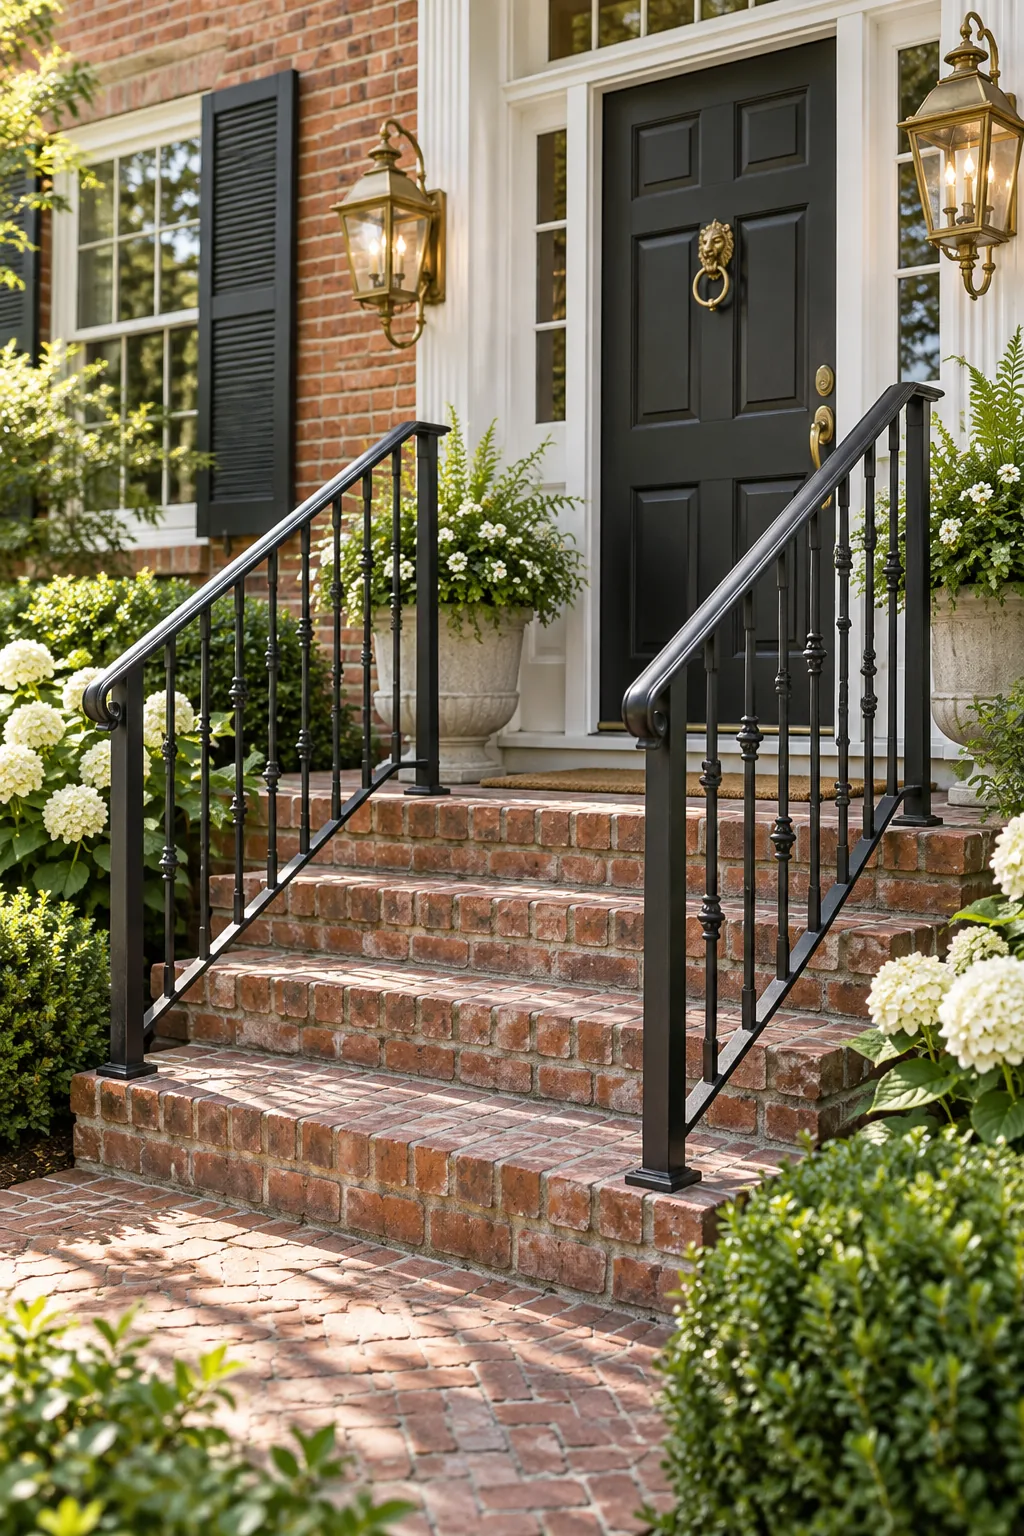
Classic Colonial Elegance: Adding subtle decorative knuckles to the balusters softens the metalwork for a traditional red brick home.
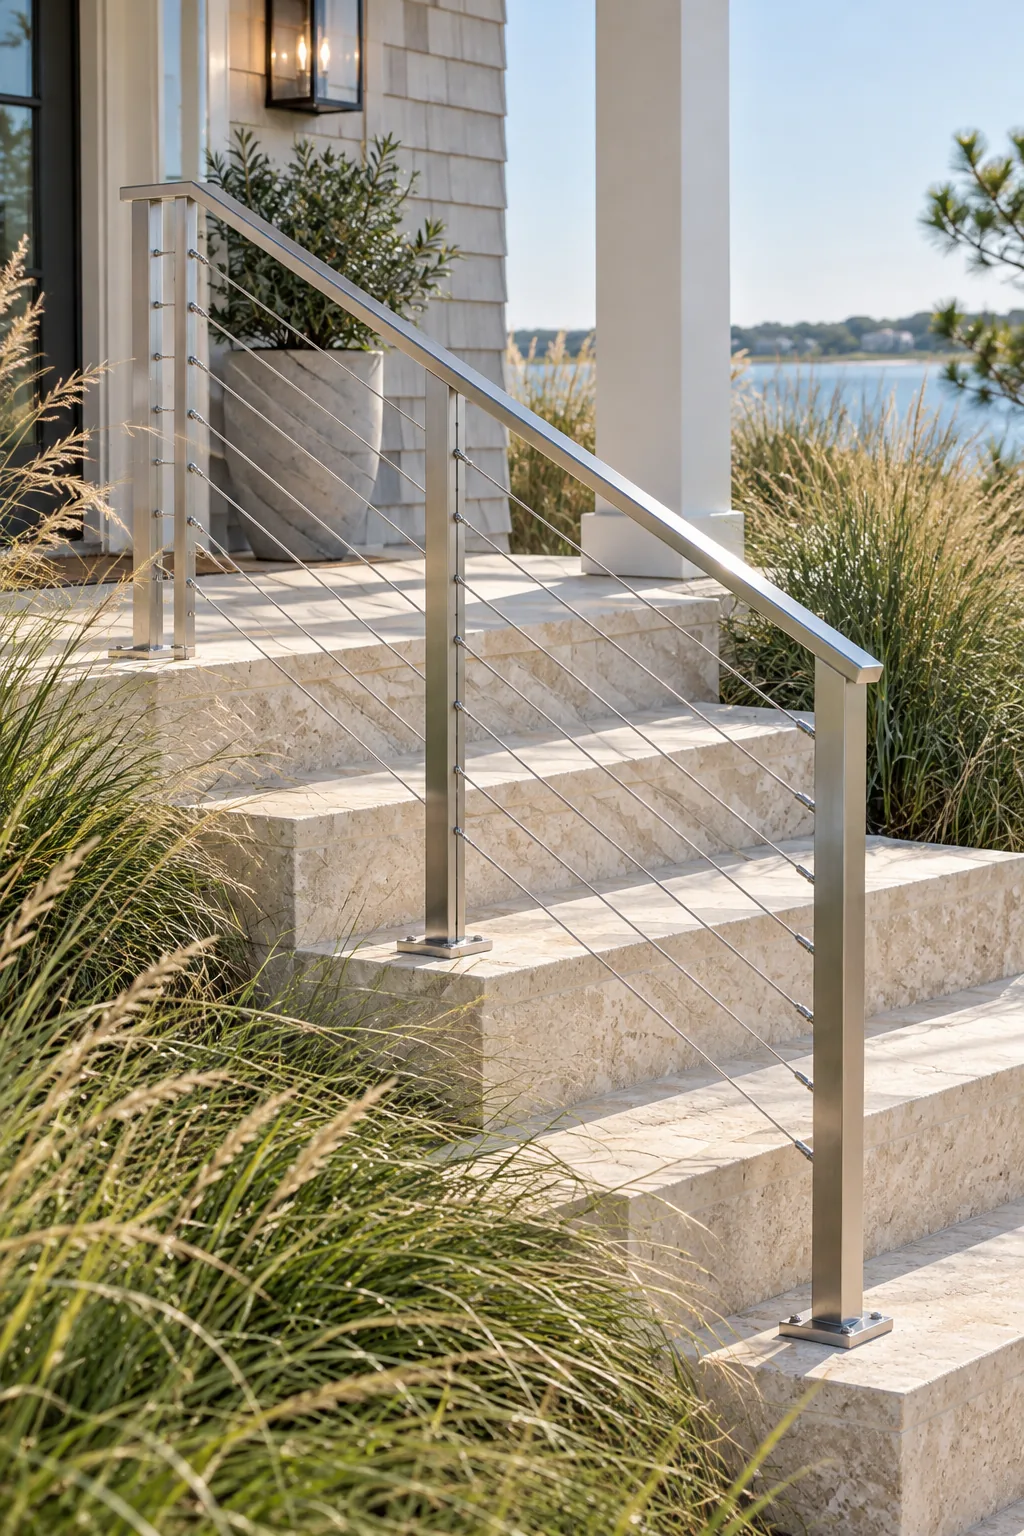
Coastal Contemporary Cables: Swapping vertical balusters for horizontal stainless steel cables keeps the ocean breeze and sightlines completely open.
Urban Industrial Edge: Leaving the heavy steel welds visible under a clear coat perfectly complements minimalist poured concrete architecture.