Designer Apartment Styling: Renter-Friendly Upgrade Checklist
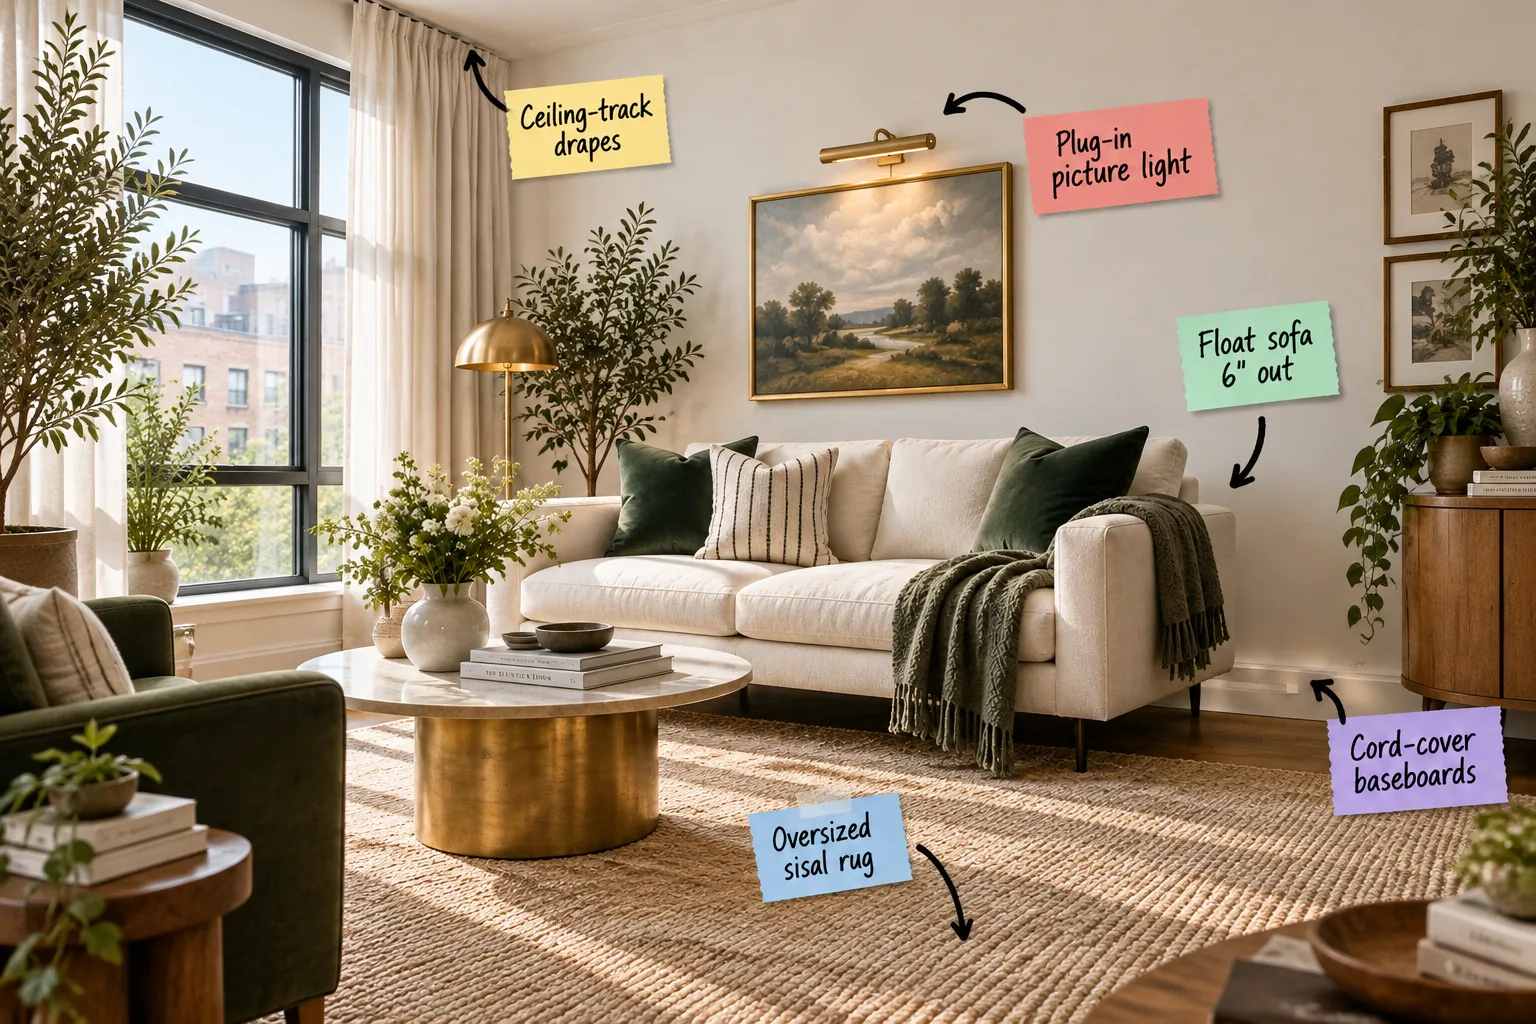
Transform your basic rental into a custom-feeling home using this room-by-room renter-friendly upgrade checklist. You will be able to execute five reversible, high-impact design upgrades that make any standard apartment look professionally customized.
Install Ceiling-Mounted Drapery Tracks
Mounting discreet ceiling-track drapes directly to the overhead drywall immediately draws the eye upward to fake the illusion of custom architecture. This vertical extension visually erases standard, choppy apartment window heights.
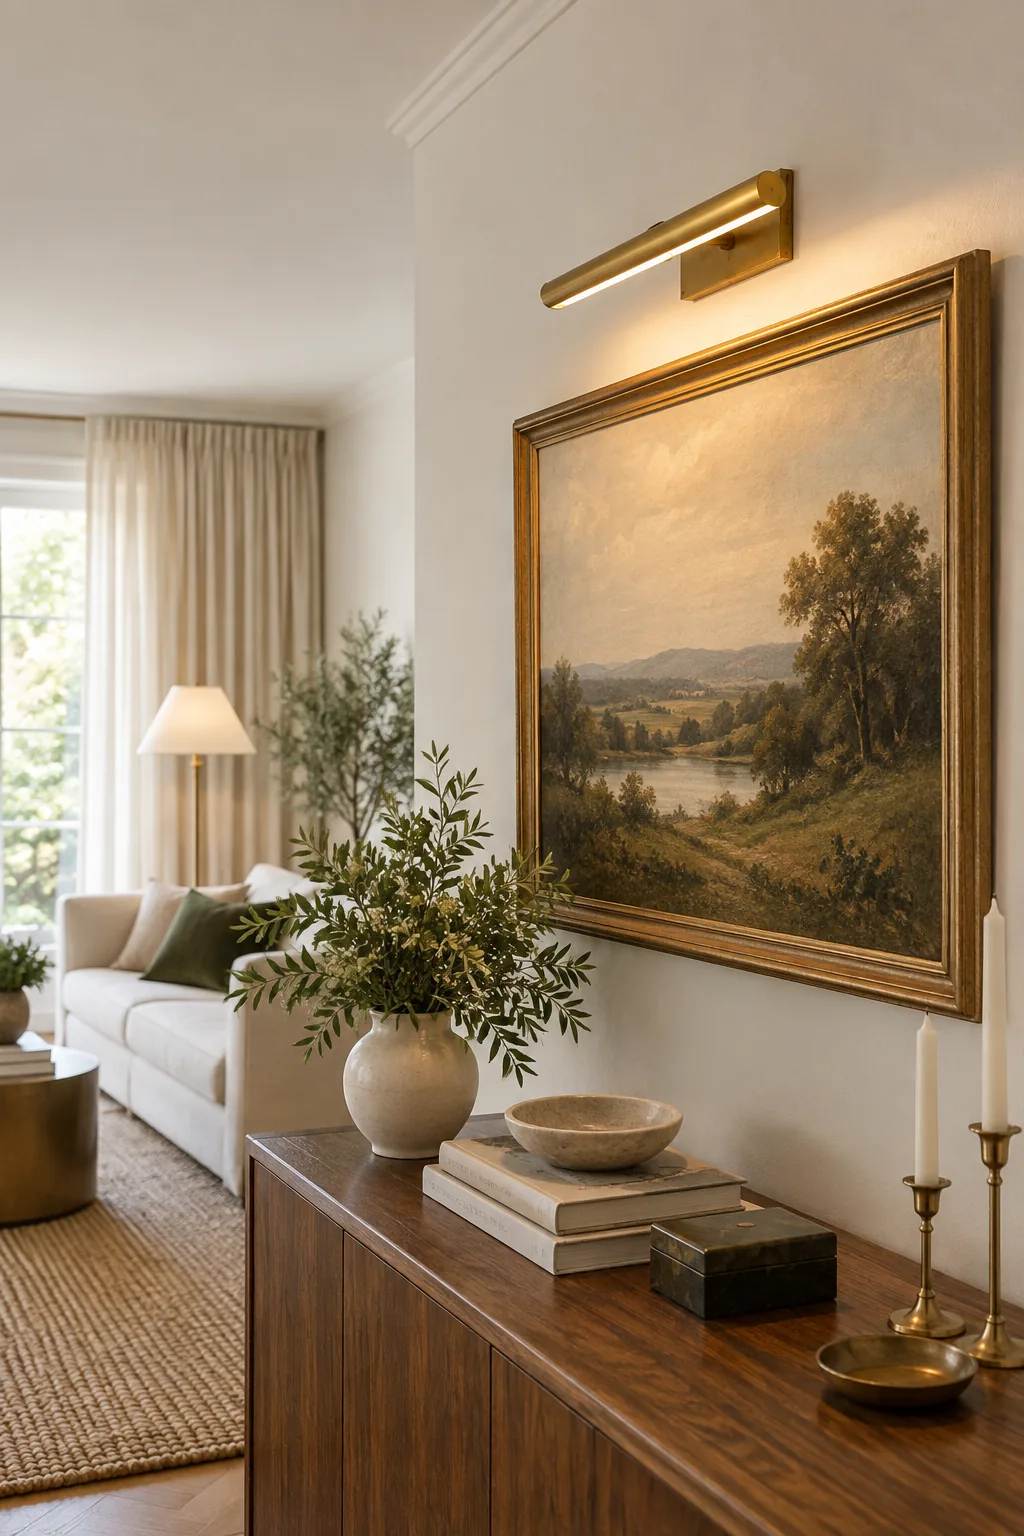
To keep this renter-friendly, always specify lightweight PVC tracks secured with minimal drywall anchors. These require only tiny pilot holes that you can easily patch with a dab of spackle on move-out day.
Select the Right Drywall Anchors
Standard screws will rip right out of unreinforced apartment ceilings under the weight of heavy fabric. You must use toggle bolts or specialized drywall anchors rated for at least twenty pounds to ensure the track stays firmly attached overhead.
Choose the Ideal Drapery Fabric
Heavy velvets can pull dangerously on temporary ceiling anchors, so you must prioritize lighter textiles. Crisp linen blends offer the perfect structural drape without compromising the integrity of your renter-friendly installation.
- Opt for unlined linen to maximize natural light filtering.
- Choose a pinch-pleat header to mimic custom tailoring.
- Avoid weighted hems that add unnecessary tension to the track.
Hanging these lighter panels ensures your window treatments glide effortlessly across the track. This effortless movement protects the ceiling drywall from sudden jerks or sustained pulling over time.
Measure for a Perfect Floor-Skimming Hem
Custom drapery should barely kiss the floor, creating a tailored finish that elevates the entire room. Measure from the ceiling track directly down to the floorboards, subtracting exactly one half-inch for clearance.
Layer Lighting With Plug-In Fixtures
Adding a brass plug-in picture light above your artwork introduces high-end atmospheric warmth without requiring an electrician or hardwiring. This targeted glow gives flat rental walls the depth and focus of a curated gallery.
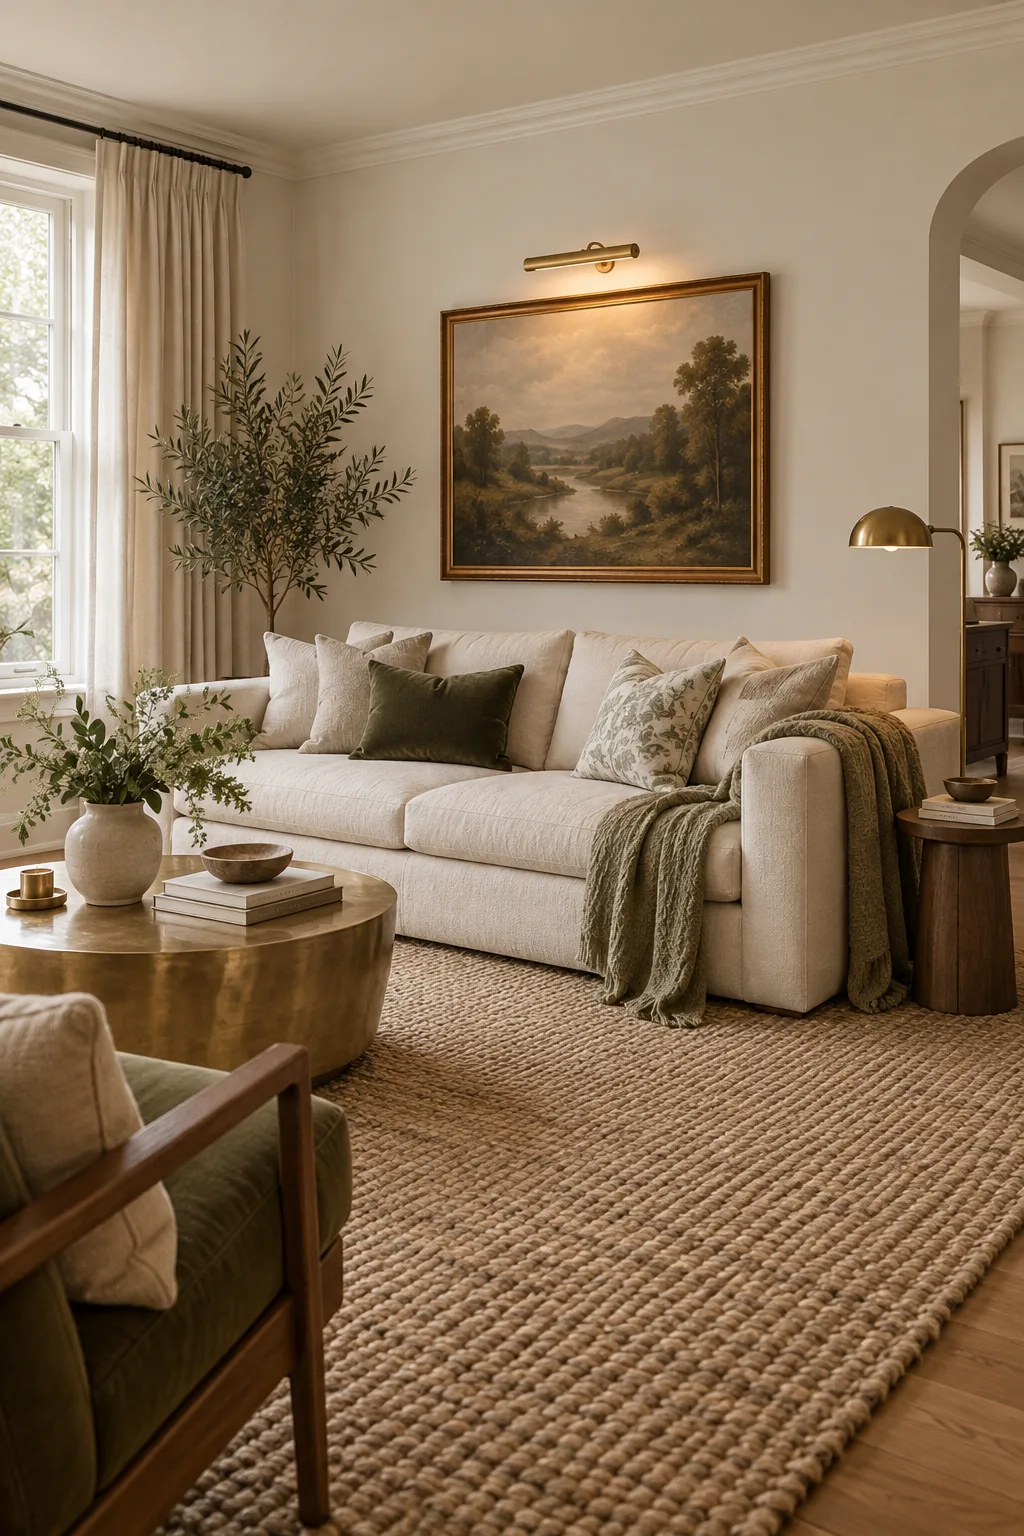
If you lack an outlet directly below the frame, simply swap the standard bulb for a battery-operated LED puck. This bypasses cord management entirely while maintaining that sophisticated, tailored aesthetic.
Hide the Picture Light Battery Pack
Most wireless puck lights come with a small remote receiver or battery housing that can look bulky. Mount this small power pack directly behind the canvas stretcher bars using double-sided mounting tape to keep the fixture profile sleek.
Choose the Optimal Color Temperature
The wrong bulb temperature will severely distort the colors in your artwork and make the room feel sterile. Always select bulbs rated between 2700K and 3000K to cast a warm, inviting glow across the canvas.
| Bulb Temp | Visual Effect | Best Application |
|---|---|---|
| 2700K | Warm amber glow | Vintage oil paintings |
| 3000K | Crisp soft white | Modern photography |
| 4000K | Harsh blue tint | Avoid in living spaces |
Matching the lighting temperature to your specific art medium ensures the pigments render accurately. This subtle adjustment dramatically improves the perceived quality of both the fixture and the framed piece.
Position the Sconce for Ideal Light Distribution
Mounting the fixture too high washes out the canvas, while mounting it too low creates harsh, distracting hotspots. Center the light exactly five inches above the top edge of the picture frame.
- Find the exact center point of the frame’s top edge.
- Measure straight up five inches and mark the wall lightly.
- Align the bottom of the sconce backplate with your pencil mark.
This precise spacing allows the light beam to spread evenly across the canvas, highlighting textures without glare. It creates a balanced, professional presentation that anchors the entire wall.
Float the Sofa Six Inches Out
Pulling your seating away from the drywall creates vital visual breathing room that makes a cramped living area feel intentional. In my own Denver loft, leaving a deliberate 6-inch gap behind the sofa instantly made the room feel wider.
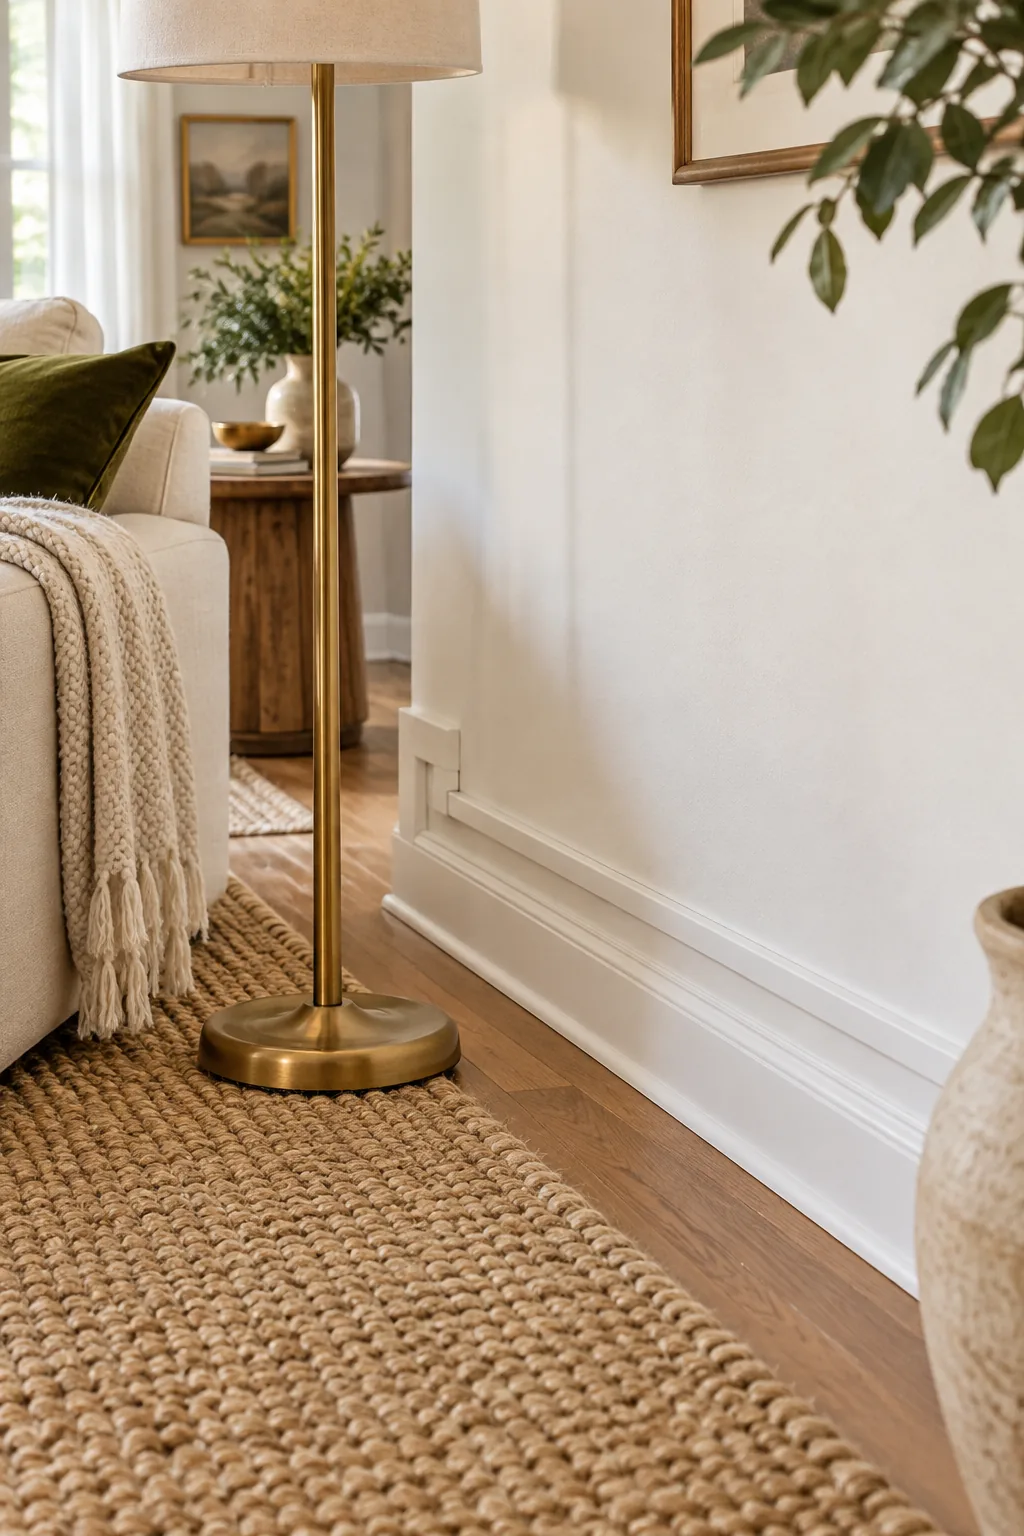
Once you find the perfect placement, keeping the furniture from slowly drifting back against the drywall requires a small adjustment.
Manage Traffic Flow Around Floating Furniture
Shifting the sofa away from the wall fundamentally changes how people navigate through your living space. You must ensure at least 36 inches of clearance remains in the primary walkways to prevent the room from feeling obstructed.
Balance the Room With Symmetrical Side Tables
When you pull the sofa forward, the empty space on either side becomes much more prominent. Flanking the seating with identical end tables anchors the arrangement and prevents the floating furniture from looking accidental.
Conceal Cords Along the Baseboards
Older apartments inevitably leave you wrestling with a tangled web of lamp and electronics cords along the floor. Installing sleek, paintable cord-cover baseboards directly above your existing trim cleanly routes these wires out of sight.
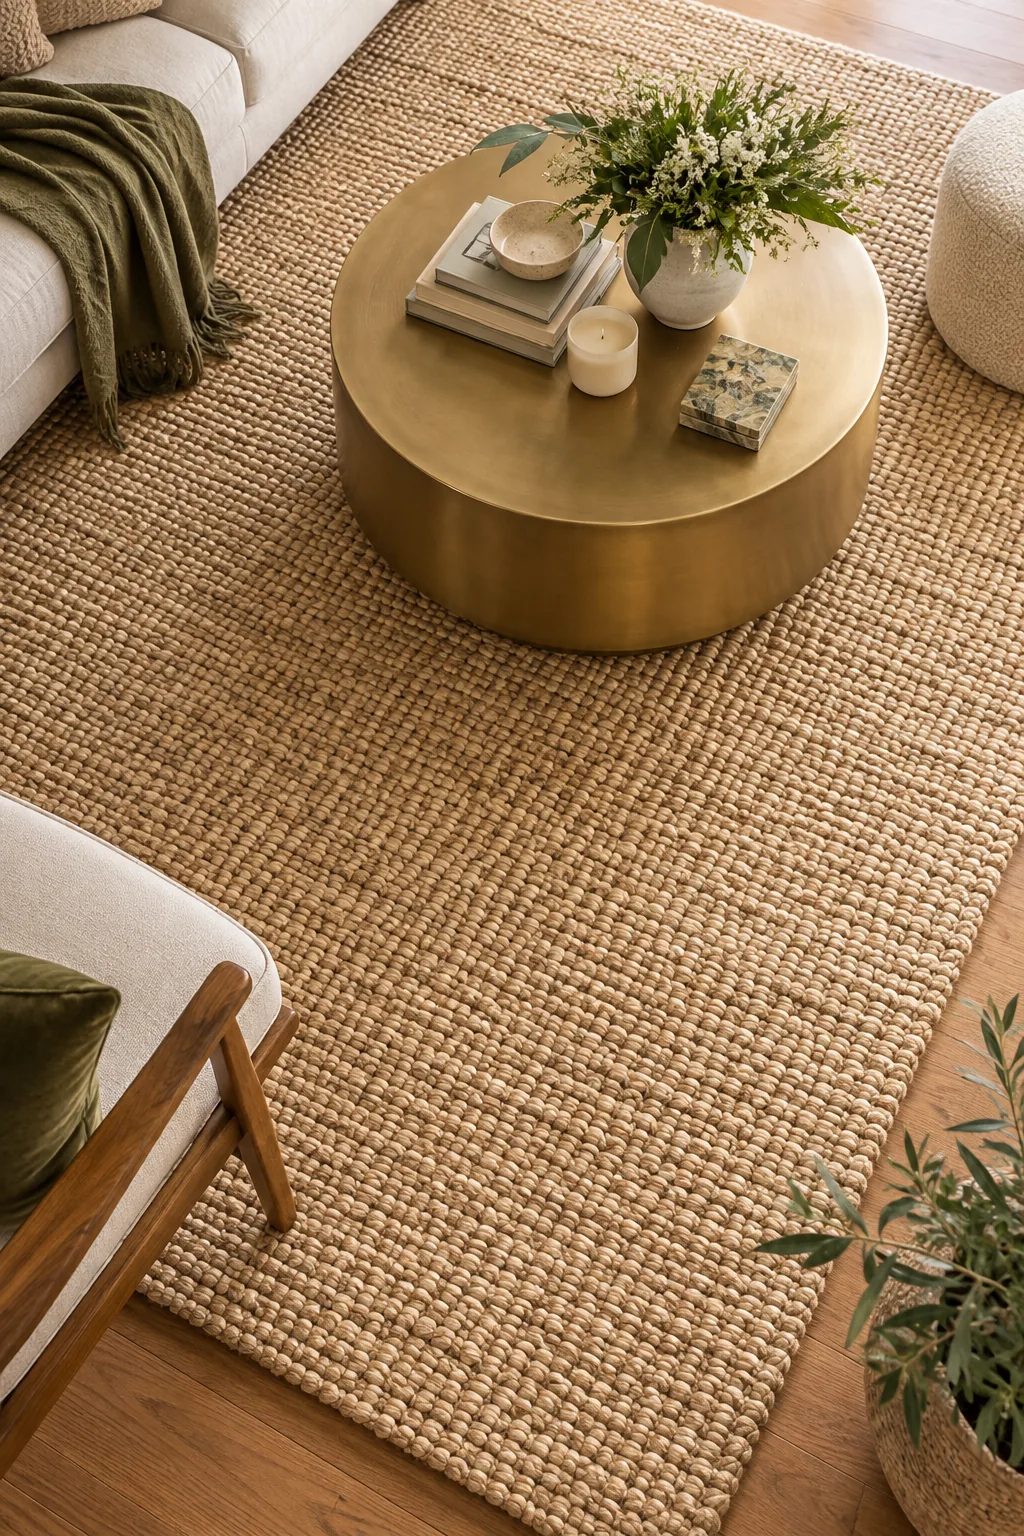
These adhesive channels mimic the structured look of expensive custom millwork when seamlessly integrated into the room. They snap shut securely, turning chaotic floor clutter into a crisp architectural detail.
Choose the Right Cord Cover Profile
Selecting a channel that matches the specific shape of your existing trim is crucial for a seamless disguise. A quarter-round profile blends perfectly into traditional baseboards, while a flat rectangular channel suits modern, minimalist apartment finishes.
Paint the Channels to Match
Leaving the plastic covers stark white often draws more attention to the cables than leaving them exposed. Lightly sand the covers and apply two coats of your exact wall or trim paint so they disappear completely.
Anchor the Room With Oversized Sisal
You can effectively hide unsightly or generic rental flooring by rolling out a massive, highly textured oversized sisal rug. When I styled my first basic apartment, this single layer completely neutralized the distracting orange laminate underneath.
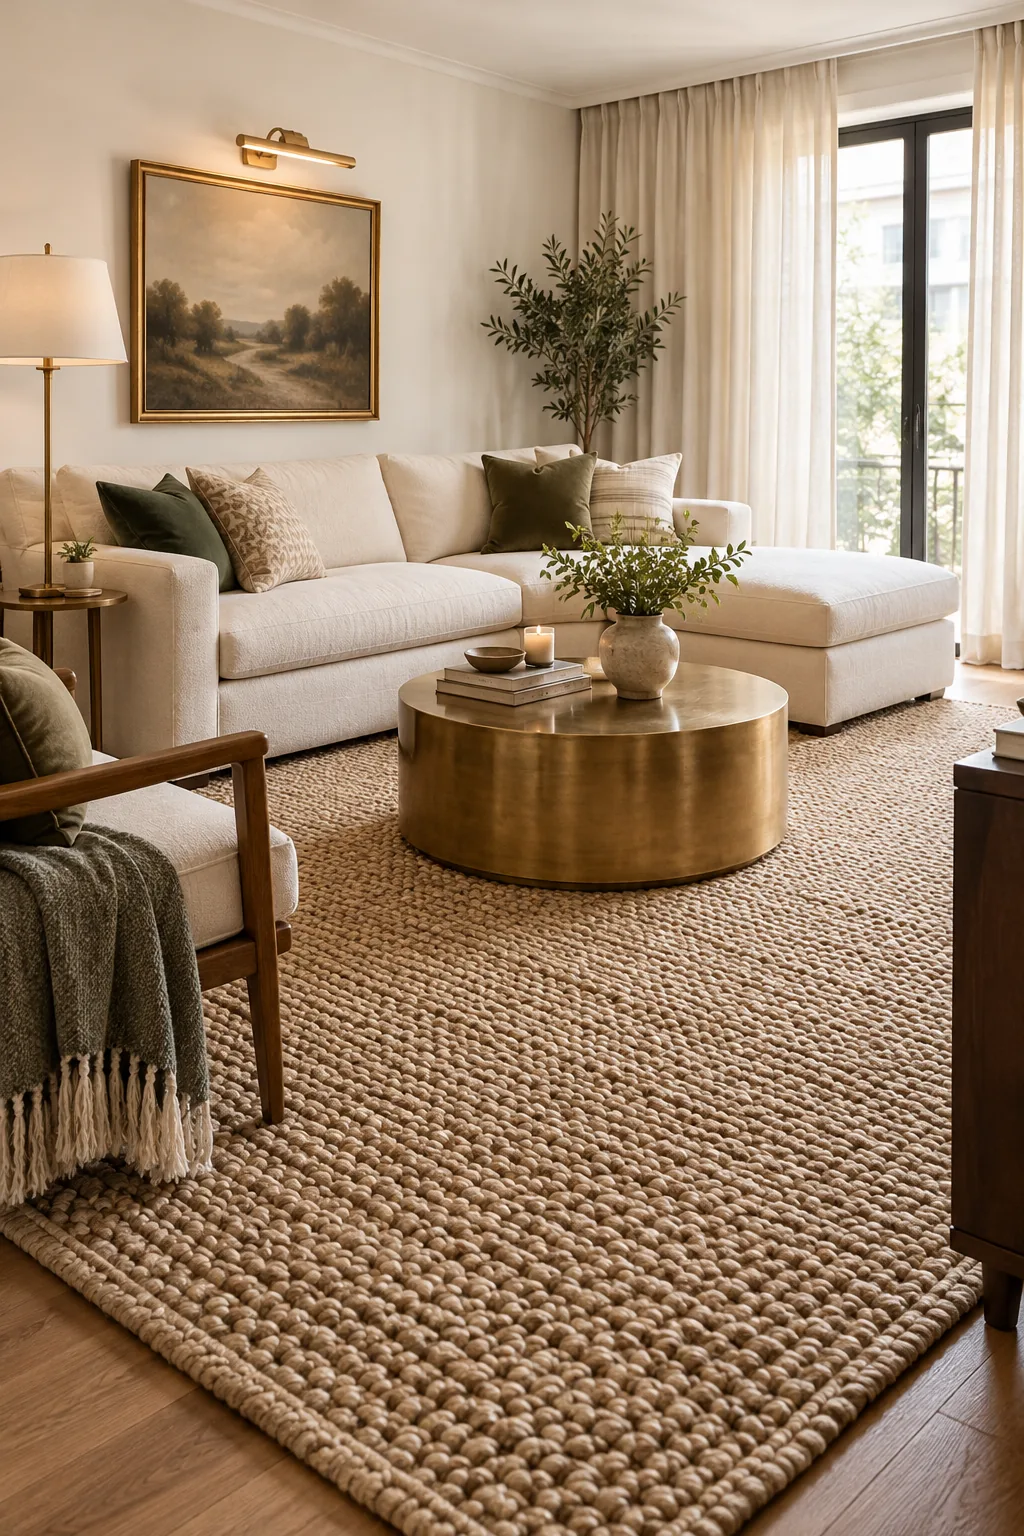
For a truly custom look, size your natural fiber rug to leave exactly 12 to 18 inches of original floor exposed around the room’s perimeter. This precise border frames the space beautifully without revealing too much of the builder-grade finish.
Layer a Vintage Accent Rug Over the Sisal
A giant natural fiber rug provides an excellent neutral foundation, but it can feel a bit rough underfoot in lounging zones. Centering a softer, colorful Turkish rug over the sisal adds necessary warmth and defines the seating area.
Secure the Foundation With a Gripper Pad
Large natural fiber rugs notoriously buckle and shift on slippery laminate or hardwood rental floors. Placing a thick, felted rubber rug pad underneath protects the existing floor from scratches while keeping your heavy sisal perfectly flat.
Your Renter-Friendly Upgrade Checklist
Executing these five upgrades in the correct order minimizes mess and prevents frustrating rework in your newly styled space. I always tackle projects from the ceiling down to the floor in my own home to keep dust off the fresh textiles.
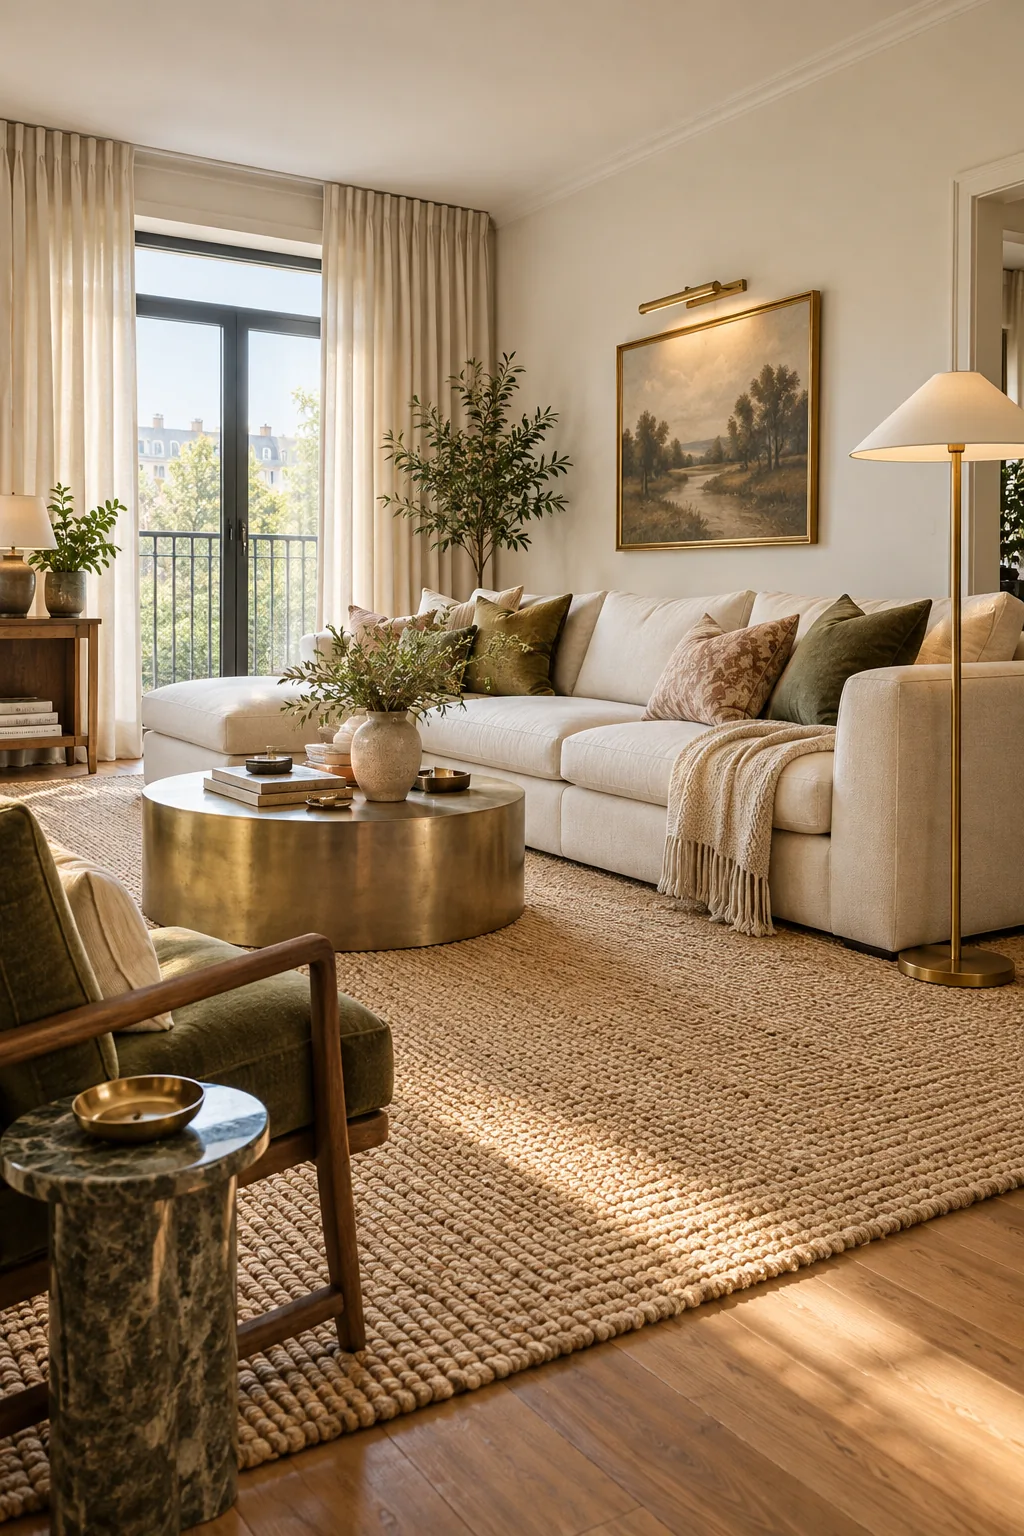
Before heading to the hardware store, use this step-by-step action plan to sequence your weekend project efficiently.
More Renter-Friendly Room Transformations
See how these same non-permanent architectural upgrades adapt to different styles and spaces.
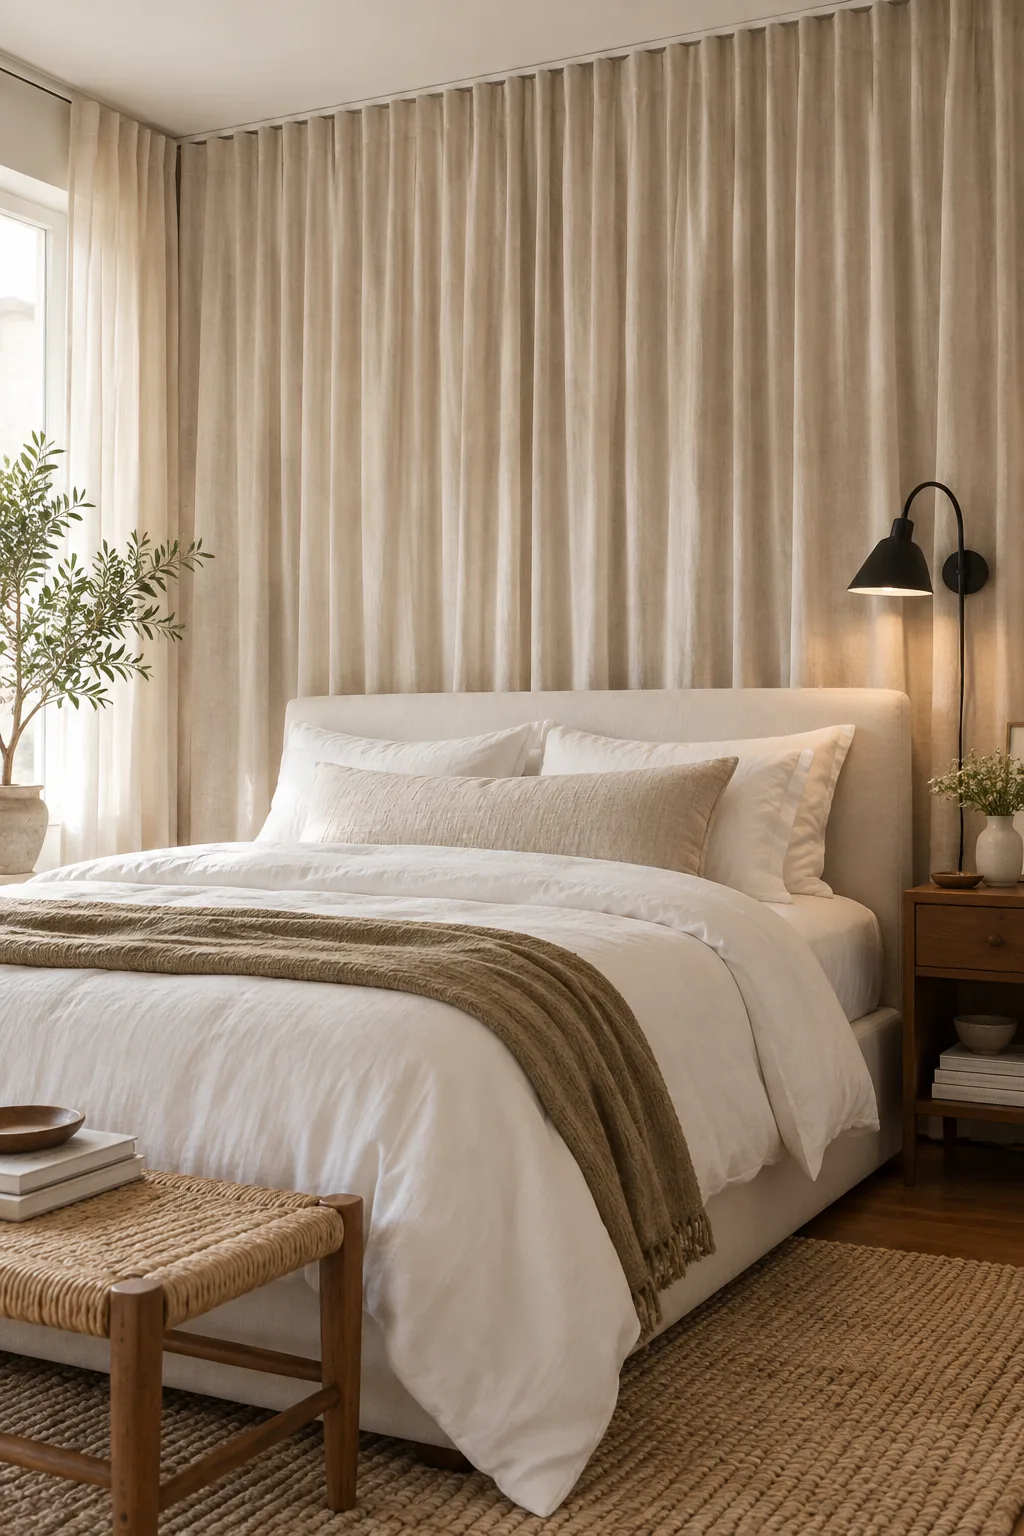
Warm Minimalist Bedroom Retreat: Wall-to-wall drapery behind the headboard softens the room's acoustics and hides off-center apartment windows entirely.
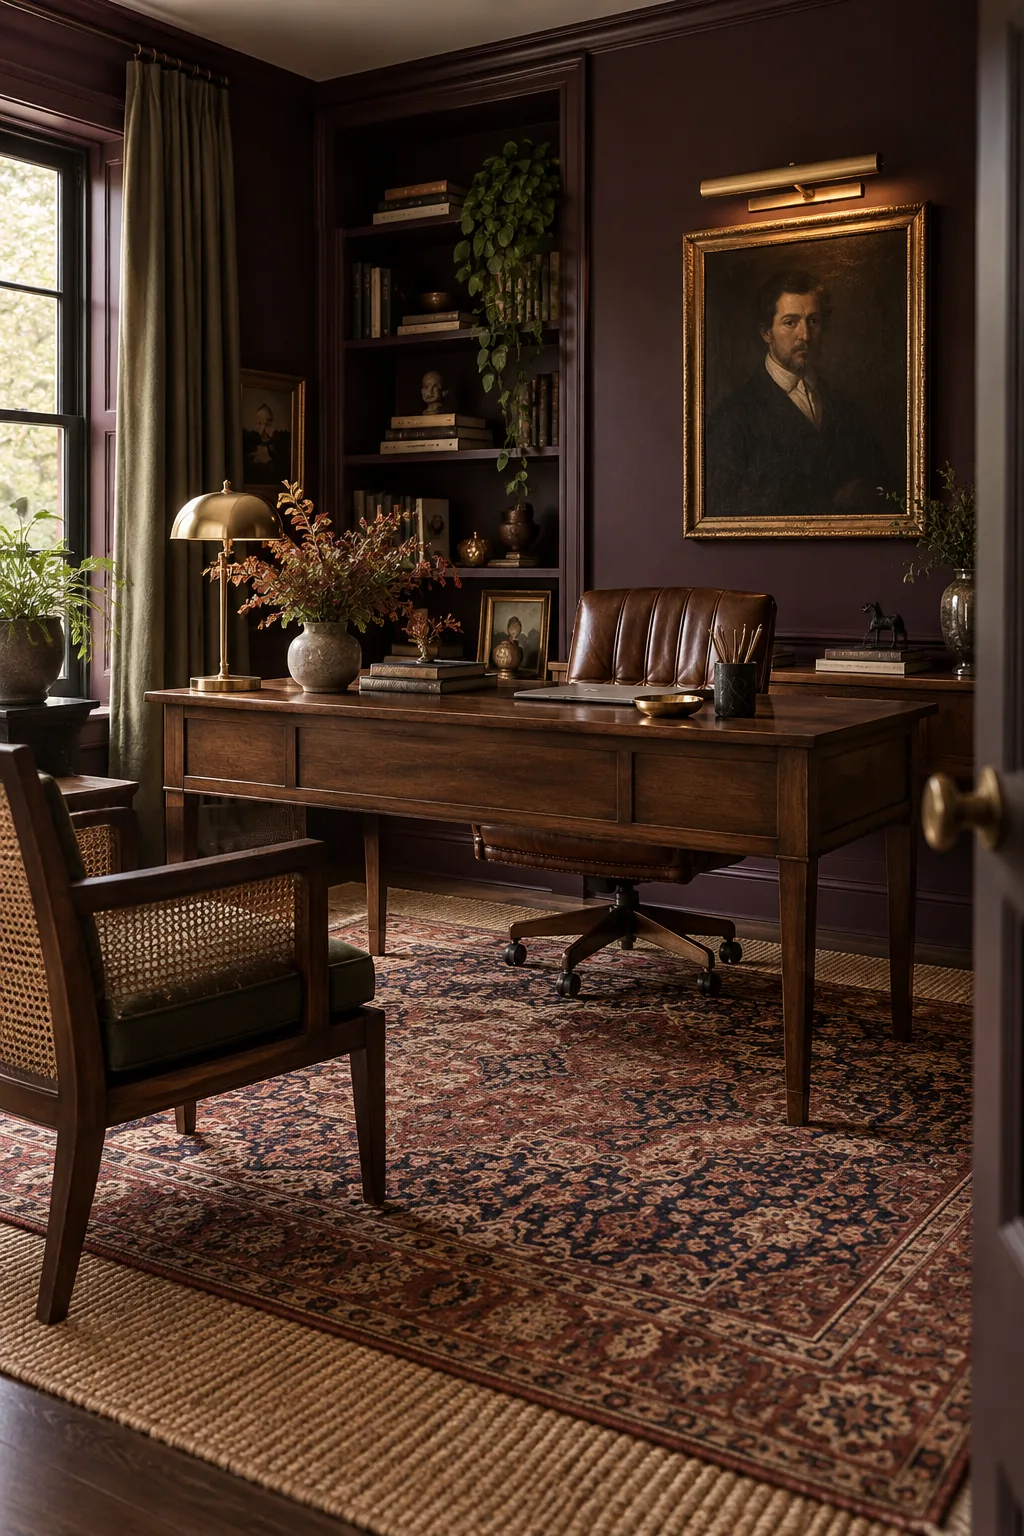
Moody Vintage Home Office: Floating the desk away from dark walls creates a commanding executive layout while protecting the paint from chair scuffs.
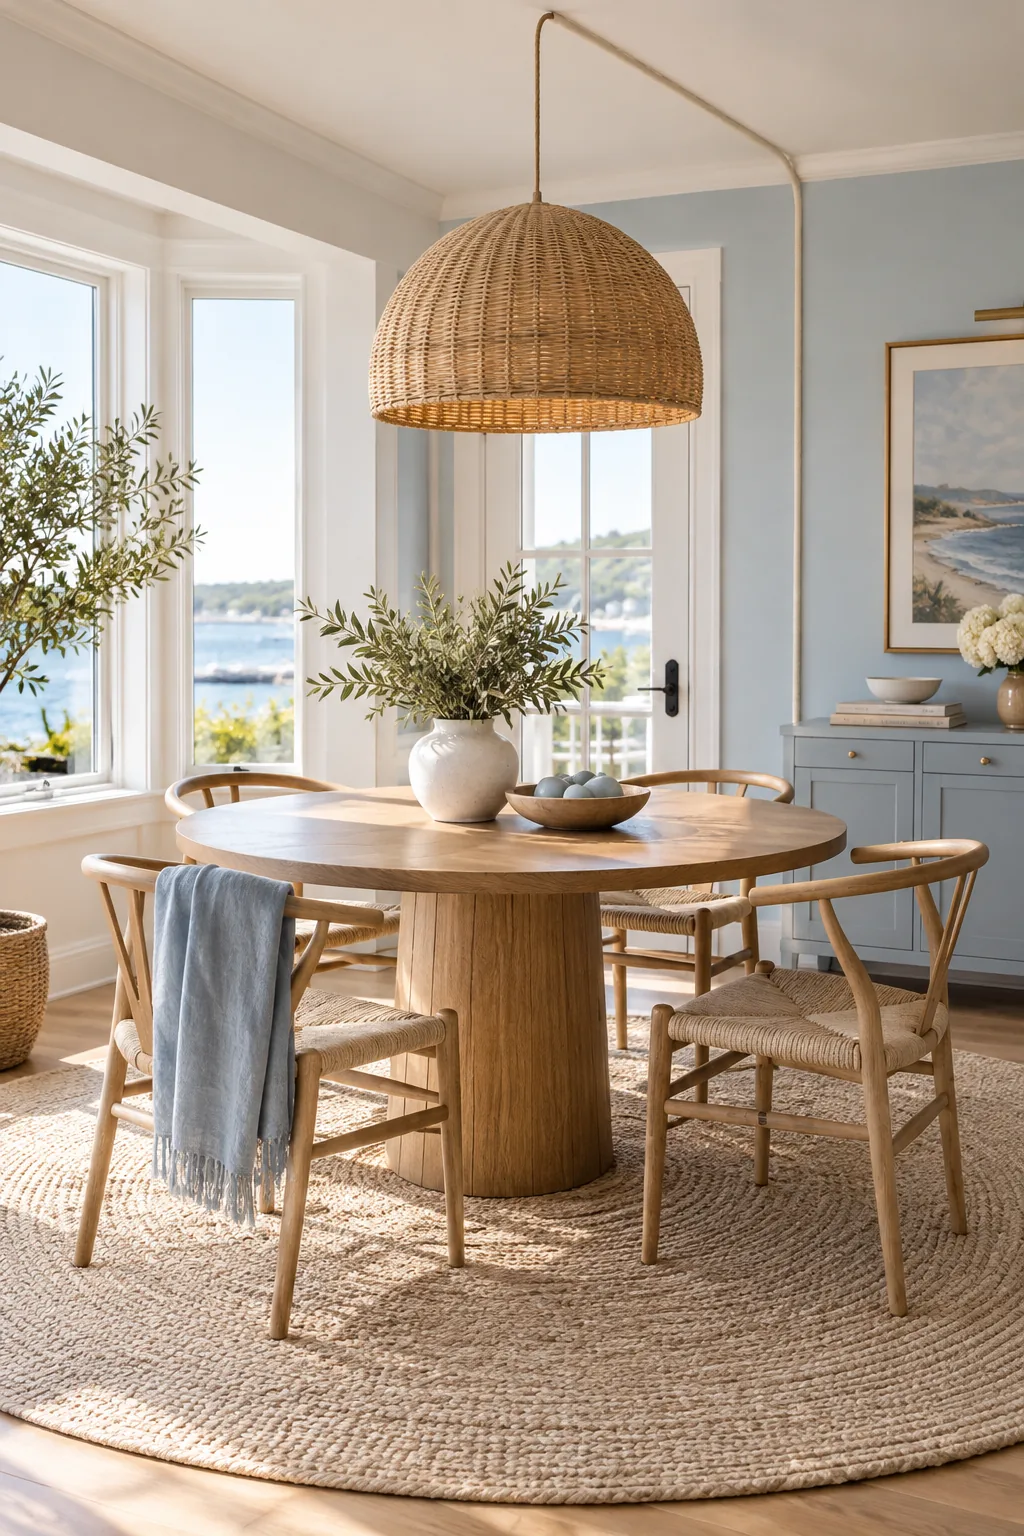
Coastal Transitional Dining Nook: A plug-in pendant light anchored to the ceiling with adhesive hooks centers the dining zone without requiring an electrician.