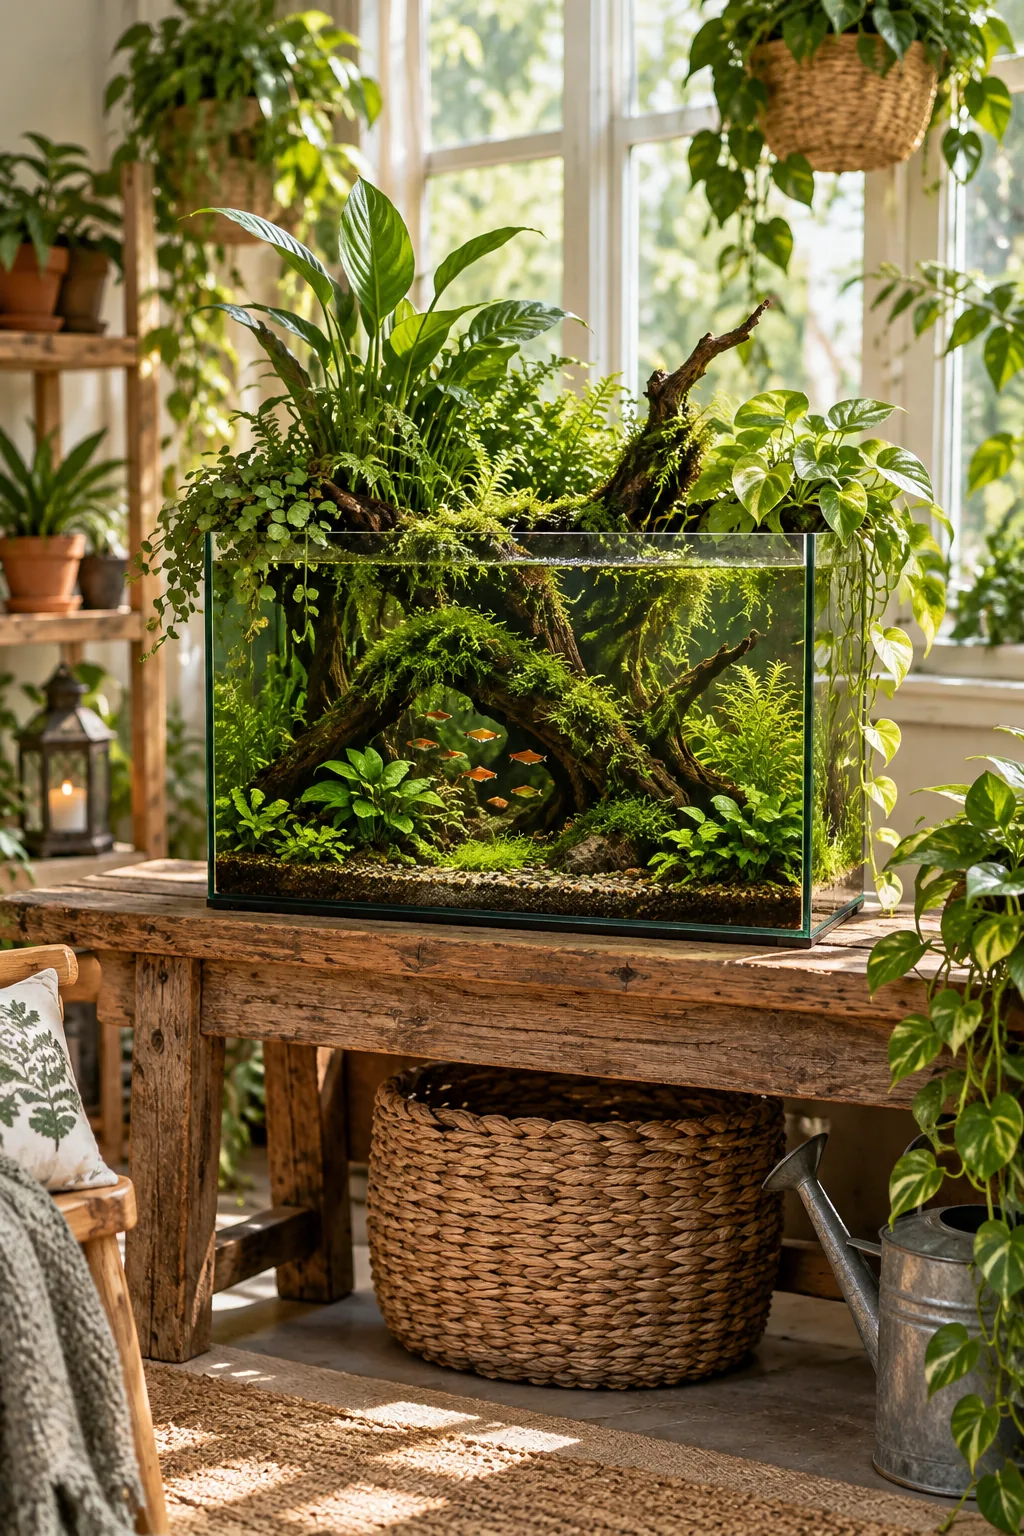
10-Gallon Fish Tank: Complete Nano Stocking & Plant Guide
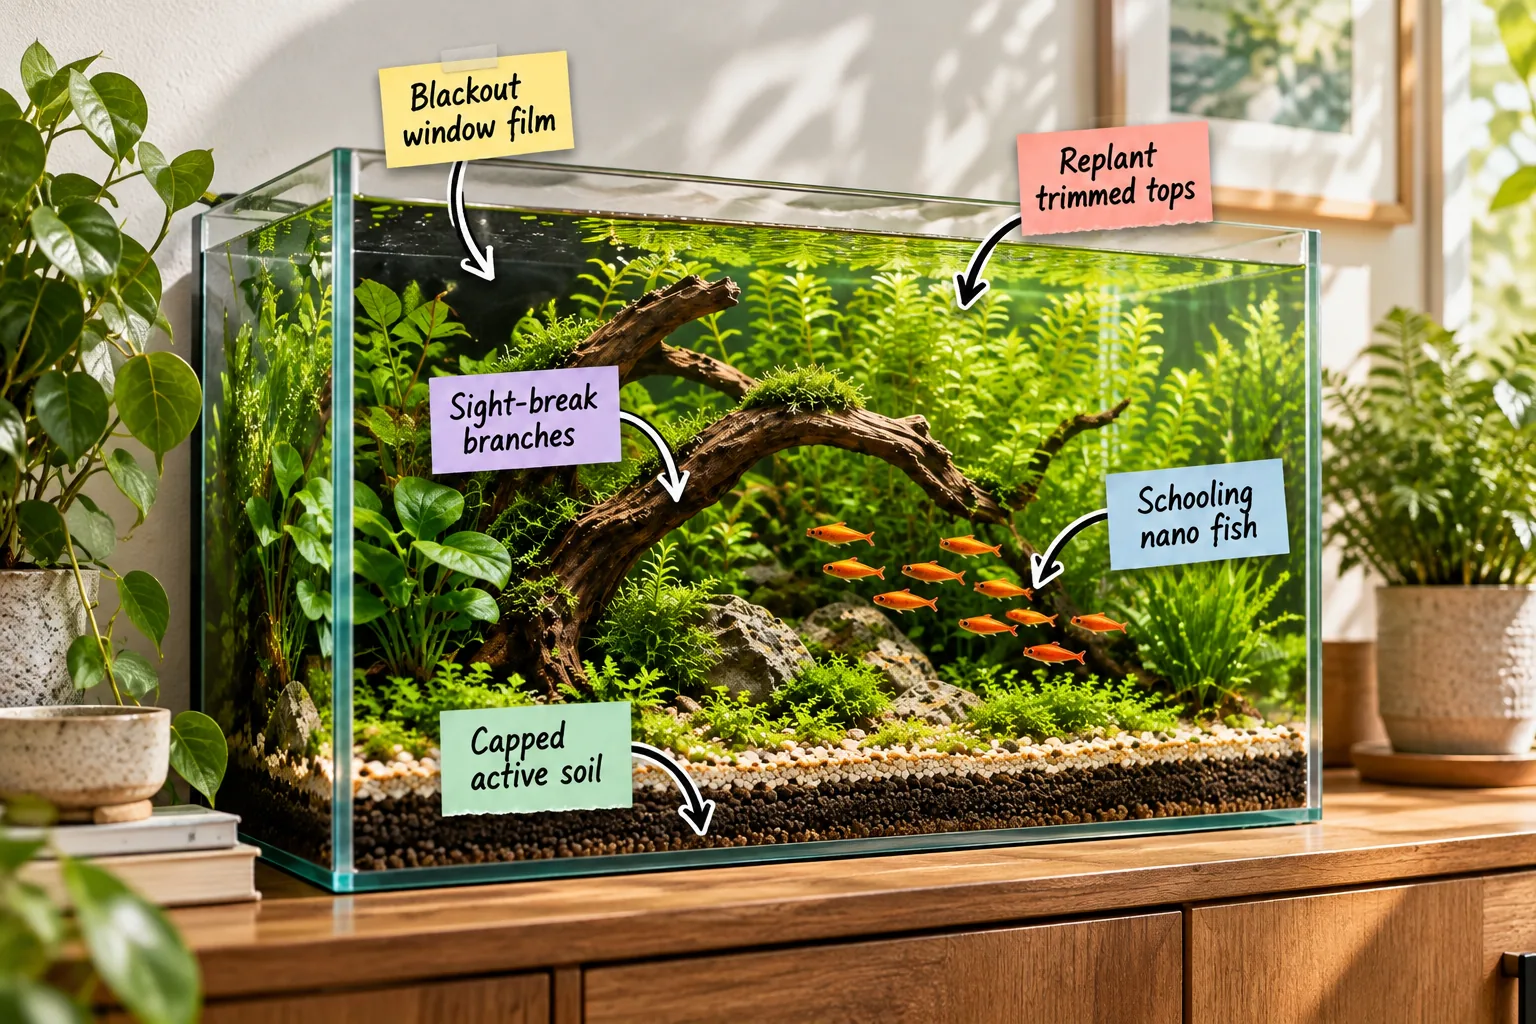
I know firsthand how tricky small aquariums can be, but you will be able to layer your substrate, arrange your hardscape, and confidently select the right plants and fish using this complete 10-gallon nano stocking and plant checklist.
Layering Capped Active Soil
Start the foundation with 1 to 1.5 inches of active soil to feed deep plant roots, which I learned the hard way after my first Austin apartment tank severely lacked the necessary nutrients to keep delicate stems alive.
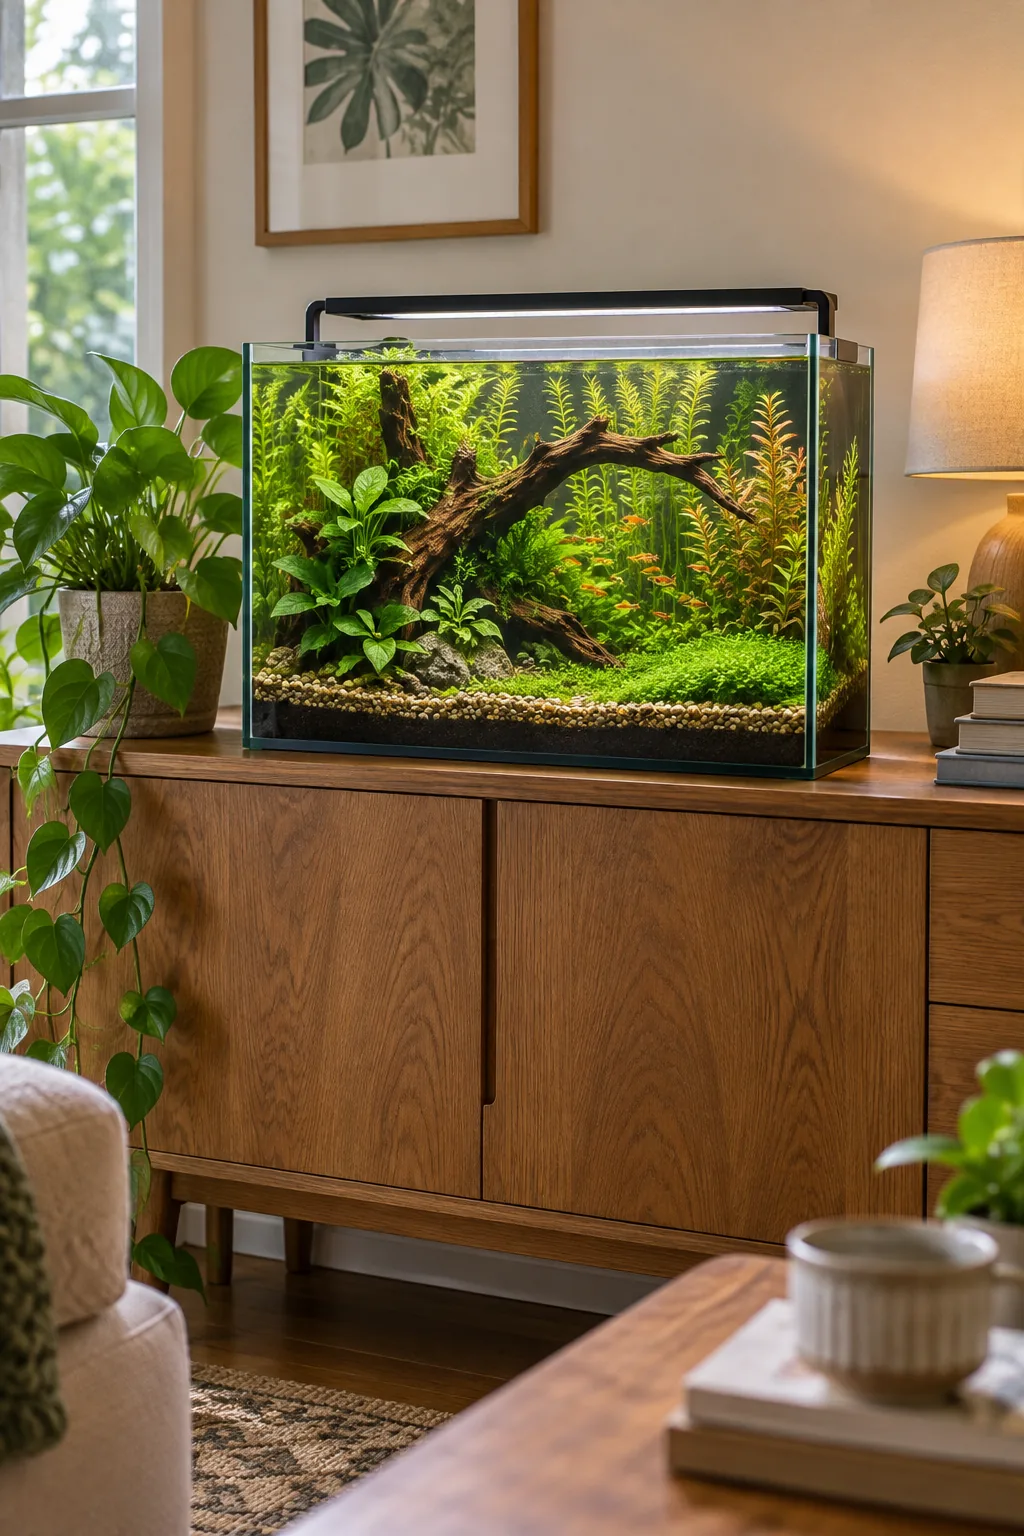
A thick inert cap is required to lock nutrients into the soil layer, so you must cover that base with exactly 1 inch of inert sand to keep the water column crystal clear and prevent massive algae outbreaks.
Choosing the Right Inert Cap
Selecting the correct top layer prevents the lightweight active soil from floating up into the water column, which would otherwise cause massive ammonia spikes during the crucial first month of your tank’s lifecycle.
| Material | Grain Size | Best For | Cap Depth |
|---|---|---|---|
| Pool Filter Sand | 0.5 to 1.0 mm | Delicate root systems | 1 inch |
| Fine Gravel | 2.0 to 3.0 mm | Strong water flow | 1.5 inches |
| Cosmetic Sand | 0.2 to 0.5 mm | Foreground aesthetics | 1 inch |
Always rinse your chosen cap material thoroughly in a large plastic bucket, stirring it repeatedly until the runoff water runs completely clear before adding it to your pristine glass enclosure.
Creating a Dynamic Substrate Slope
Pushing the substrate much higher in the back creates a forced perspective that makes a standard 10-gallon footprint look significantly deeper than it actually is, giving your aquascape a professional, sweeping landscape feel.
Applying Blackout Window Film
A solid black background hides unsightly filter tubes, heater cords, and airline tubing while making the vibrant greens of your aquatic plants pop dramatically against the dark rear glass.
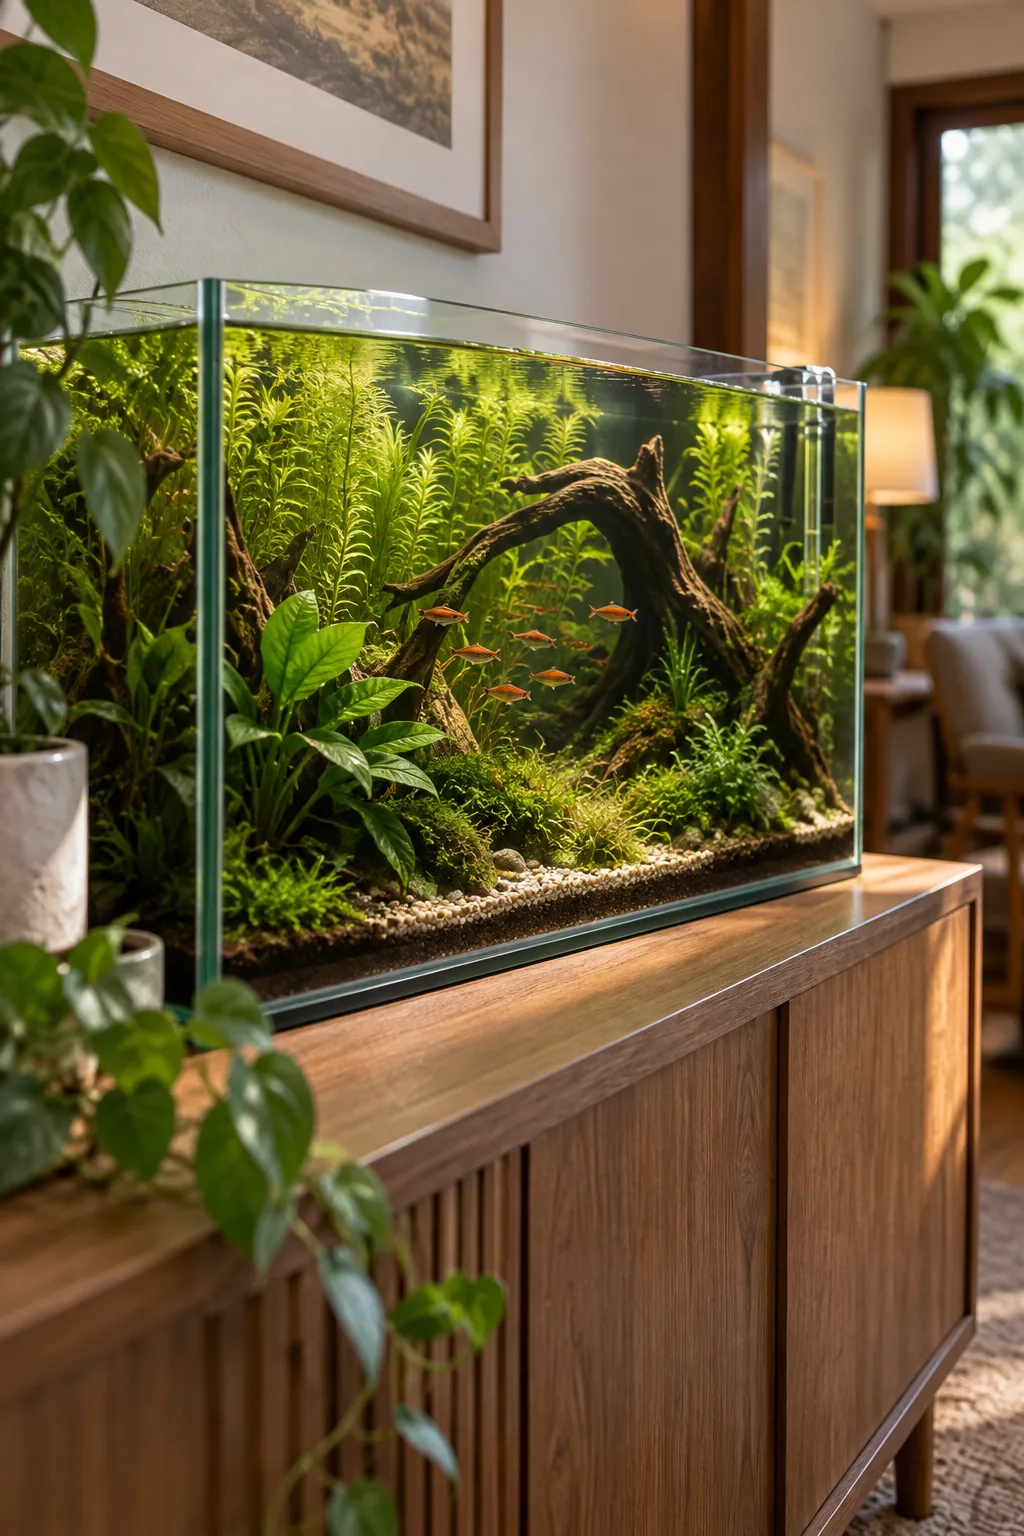
Getting a perfectly smooth, bubble-free background takes just one simple household trick, especially when framing strategic wood placement that provides essential hiding spots to keep your small fish completely stress-free.
Gathering Application Tools
Grab white vinegar, a fresh razor blade, and lint-free microfiber cloths to ensure you have everything needed to properly prep the glass before starting the film application process.
Preparing the Glass Surface
Any dust, pet hair, or stubborn mineral deposits left on the outside of the tank will create permanent, highly visible air bubbles under your static-cling film that you cannot remove later.
Wiping Down the Rear Panel
Wipe down the entire rear glass panel twice with a lint-free cloth to ensure absolutely no debris remains before you measure and cut your vinyl background material to the exact tank dimensions.
Trimming the Window Film Edges
Leave a half-inch overhang on all four sides when initially placing the film to account for unexpected shifting during the squeegee process, then trim the excess away with a sharp blade.
Positioning Sight-Break Branches
Use an arching piece of spider wood to create distinct zones within the small footprint, which completely stopped the territorial chasing in my own kitchen tank by breaking up the open swimming space.
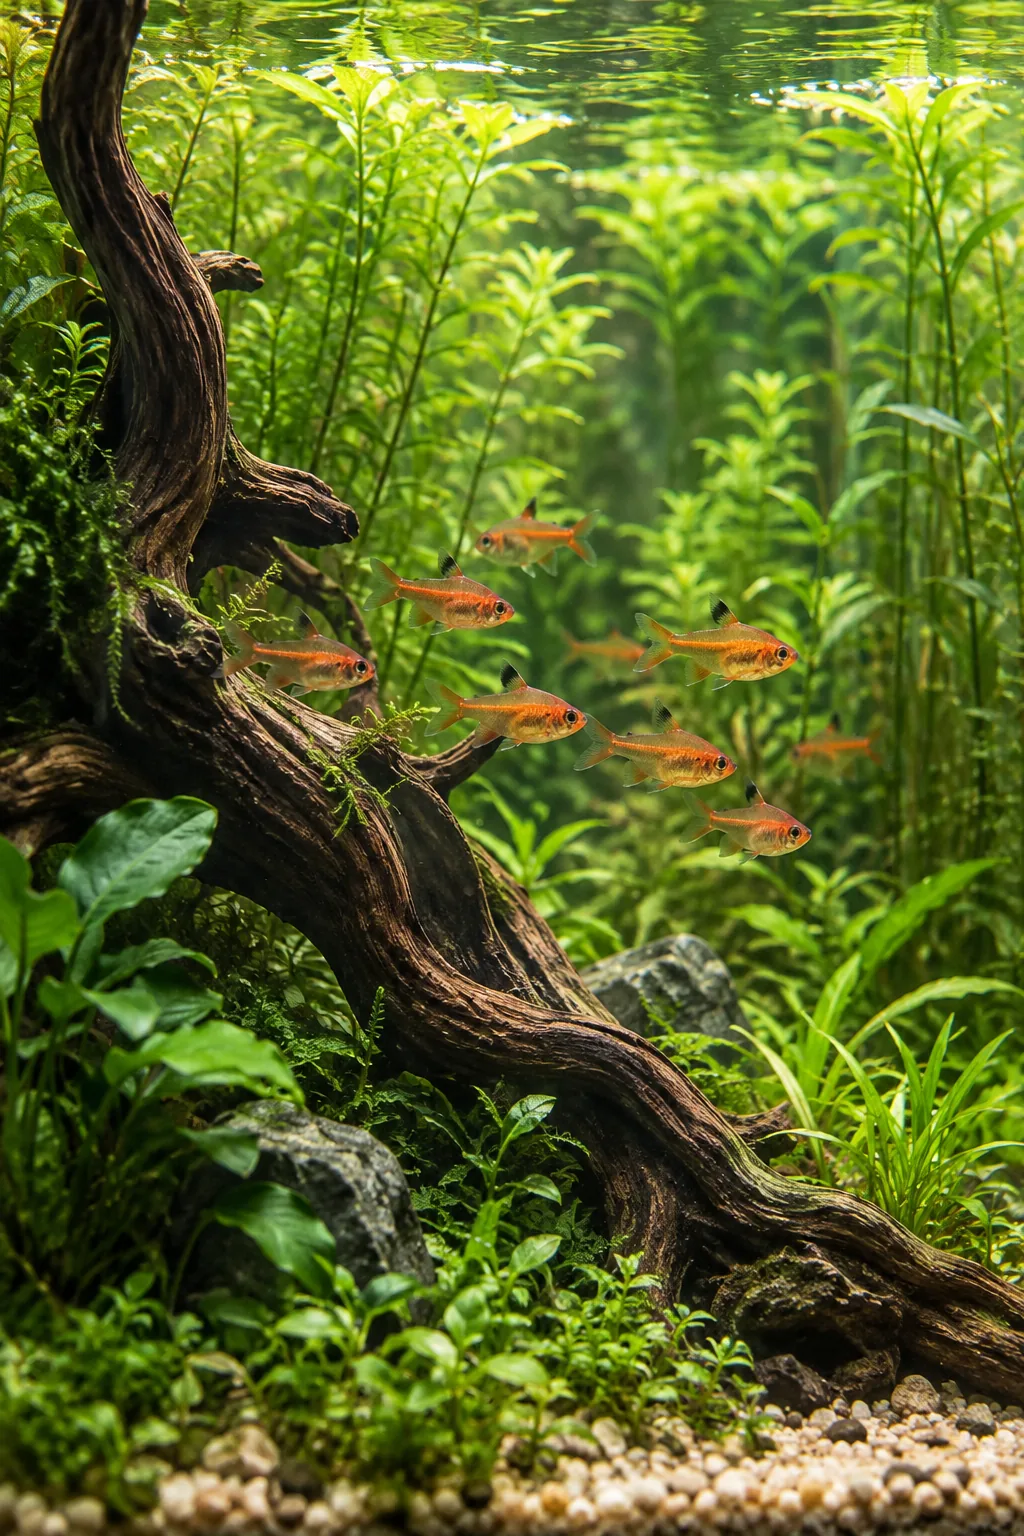
Replanting cut stems is the fastest way to achieve a lush background, and tucking them directly behind these sight-break branches protects their delicate new roots from curious, foraging tank mates.
Securing the Hardscape Foundation
Bone-dry spider wood is incredibly buoyant and will violently float to the surface, instantly uprooting your carefully planted ecosystem the moment you fill the glass with tap water.
Creating Shaded Resting Zones
Arching branches naturally cast deep shadows over the bright substrate, giving shy nano species a dark, secure place to retreat and rest when the overhead aquarium lights are at their absolute brightest.
Propagating Trimmed Tops
Maintain dense background stem plants by cutting them just above a healthy, vibrant leaf node as soon as they reach the water surface and begin bending across the top of the tank.
- Snip the top 3 to 4 inches off the healthiest, brightest stems.
- Strip the bottom two leaves to expose a bare rooting node.
- Push the trimmed stem two inches deep into the substrate cap.
Multiplying your plant mass for free keeps the entire ecosystem balanced, as these fast-growing stems rapidly absorb excess nitrates from the water column and aggressively outcompete nuisance algae for available nutrients.
Spacing Your Stem Plants
Plant each individual stem roughly one inch apart using long stainless-steel aquascaping tweezers to ensure intense light can penetrate all the way down to the lowest leaves without casting heavy shadows.
Balancing Light and Plant Growth
Run your full-spectrum LED light for exactly six to eight hours daily on a simple plug-in smart timer to fuel vigorous plant growth without accidentally triggering a severe green water algae bloom.
Selecting Schooling Nano Fish
Choose tiny, peaceful species like Ember Tetras that naturally thrive in a standard 10-gallon footprint without ever outgrowing the limited swimming space or becoming aggressive toward their smaller tank mates.
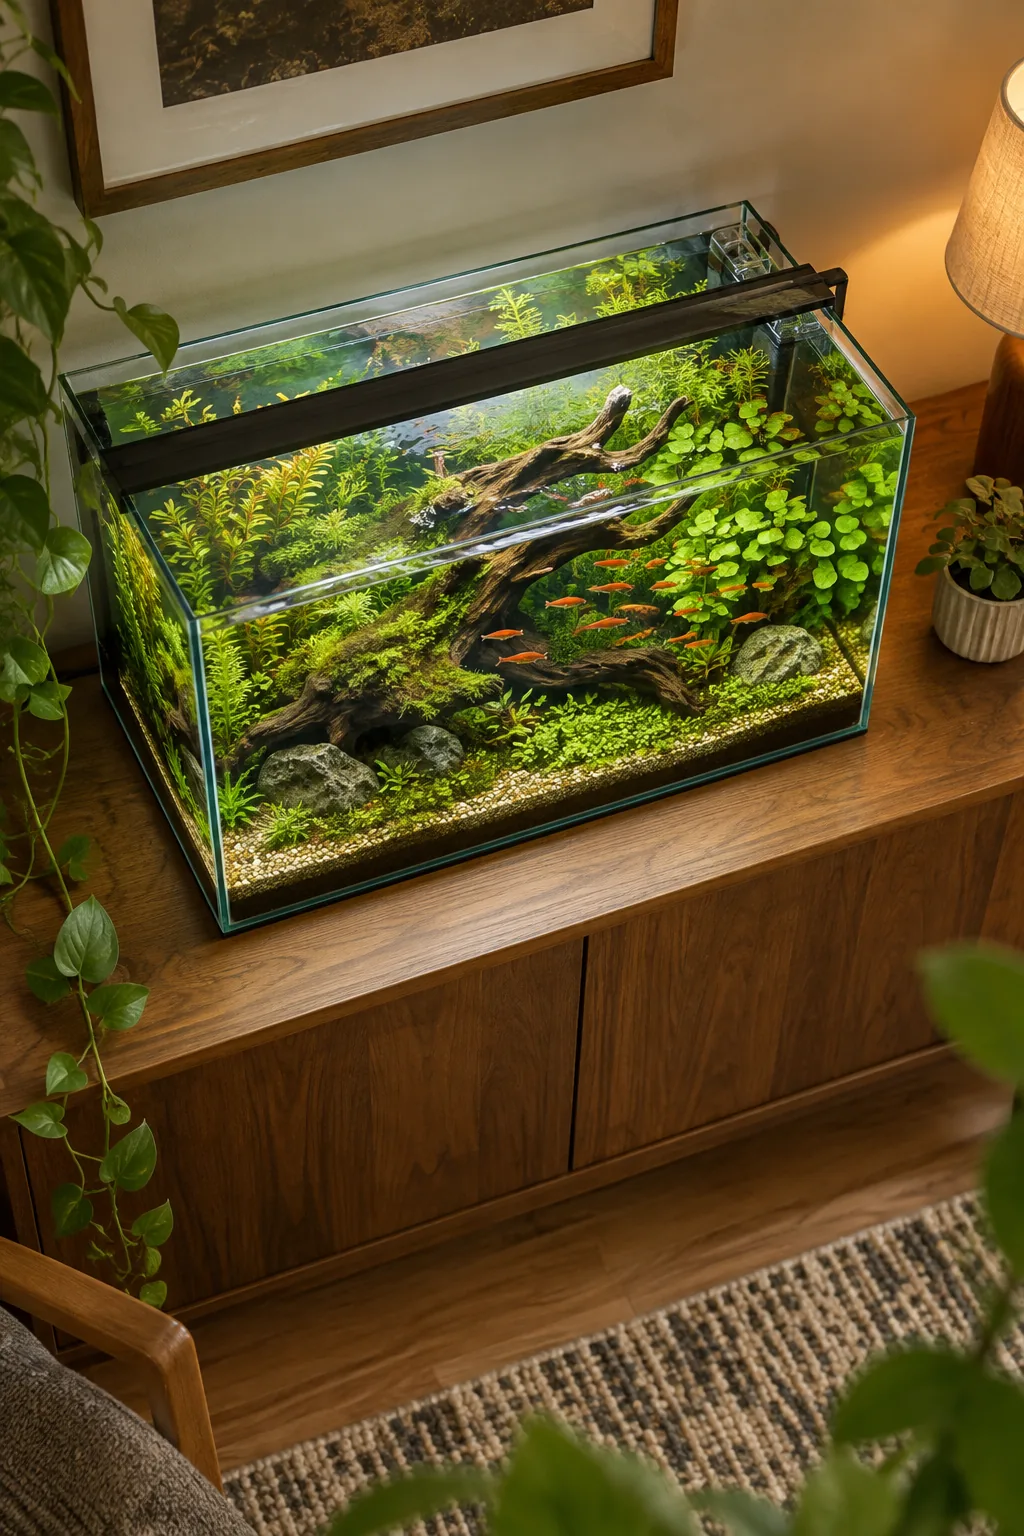
Micro predators require the security of a large group to explore openly, so keeping a tight school of 8 to 10 individuals ensures they feel safe enough to display their brightest orange coloration.
Acclimating Your Micro Predators
Float the sealed transport bag in your tank for twenty minutes to equalize the temperature before slowly dripping aquarium water into the bag over the next hour to prevent dangerous osmotic shock.
Feeding a Nano Community
Crush high-quality tropical flake food into a fine, dust-like powder between your fingers, as nano fish have incredibly small mouths and physically cannot swallow standard community pellets or large freeze-dried worms.
Establishing the Cleanup Crew
Add three hardworking Amano shrimp to your ecosystem to constantly graze on decaying plant matter and keep the intricate spider wood branches completely free of stubborn hair algae and unsightly biofilm.
Testing Your Water Parameters
Invest in a liquid test kit to monitor your cycle, ensuring ammonia and nitrite levels read exactly zero before you introduce any sensitive livestock to the newly flooded aquarium environment.
Performing Weekly Maintenance
Commit to changing out twenty percent of the water every single week using a small gravel vacuum to pull detritus from the sand without disturbing the nutrient-rich soil capped underneath.
Managing Fertilizer Dosing
Supplement the active soil with a high-quality liquid all-in-one fertilizer once a week, providing essential micronutrients like iron and potassium that keep your demanding stem plants looking vibrant and healthy.
10-Gallon Stocking & Plant Checklist
Stocking a nano tank requires strict discipline to avoid overloading the delicate biological filter with far more organic waste than the beneficial bacteria colonies can naturally process and convert.
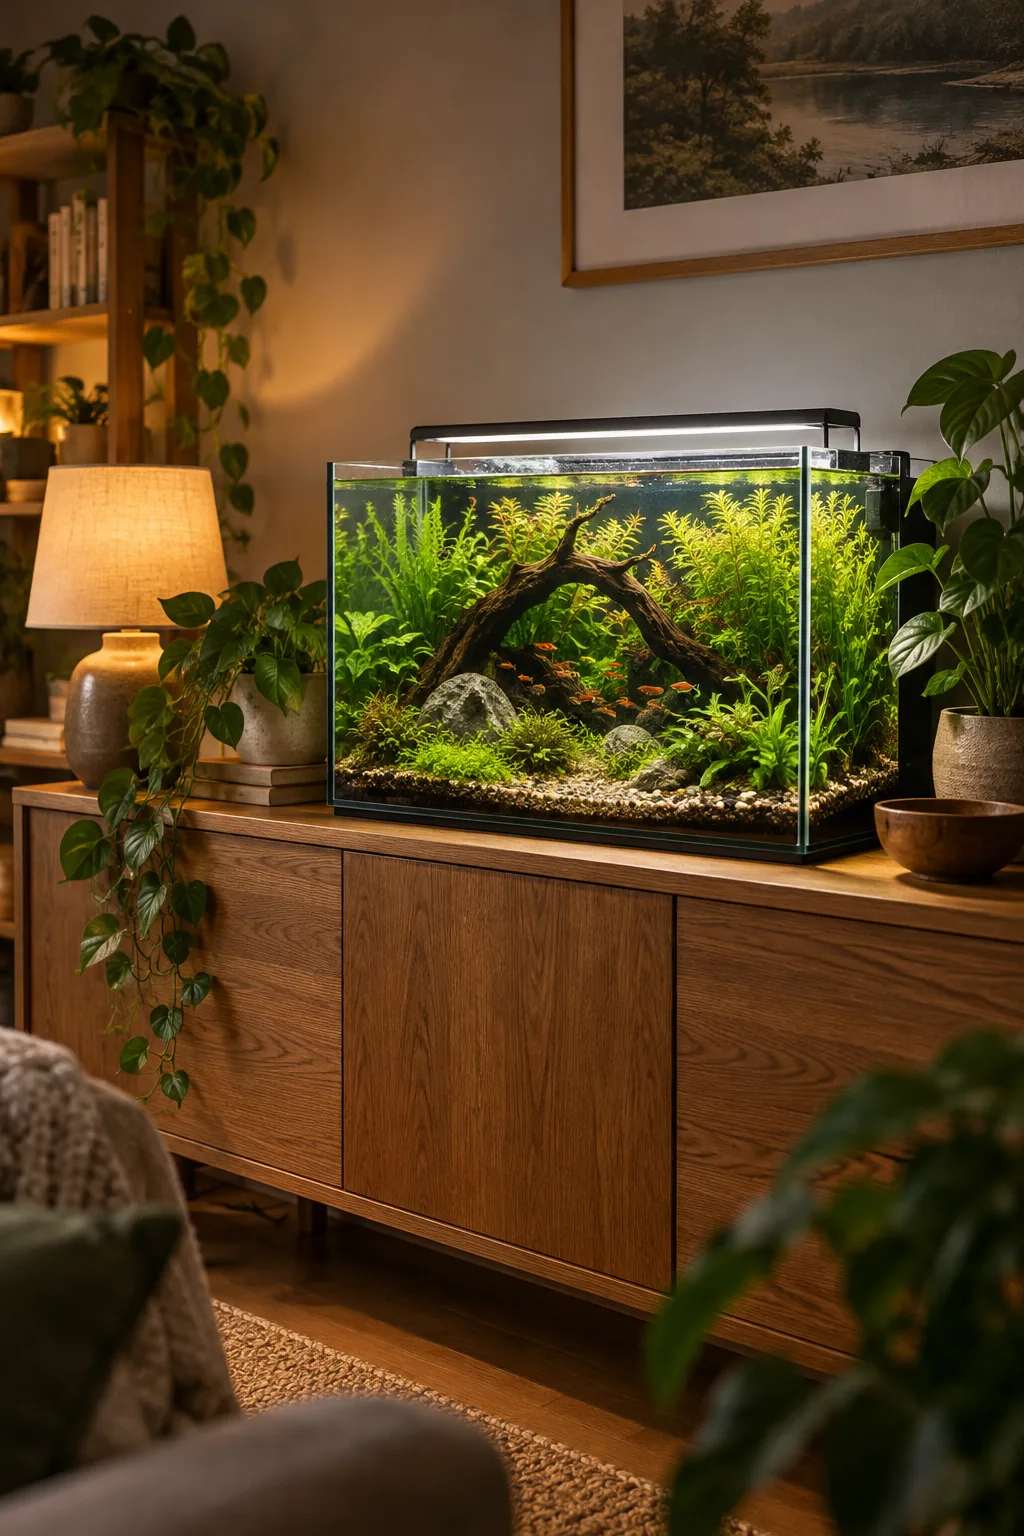
Take this exact inventory list to your local aquarium shop to replicate this balanced ecosystem, which prevents overloading the bio-load and requires significantly fewer manual water changes over time.
More 10-Gallon Ecosystem Ideas
Explore these distinct aquascaping styles to find the perfect match for your space.
Minimalist Iwagumi style: This clean layout relies entirely on striking stone placement and a single carpeting plant for a modern look.
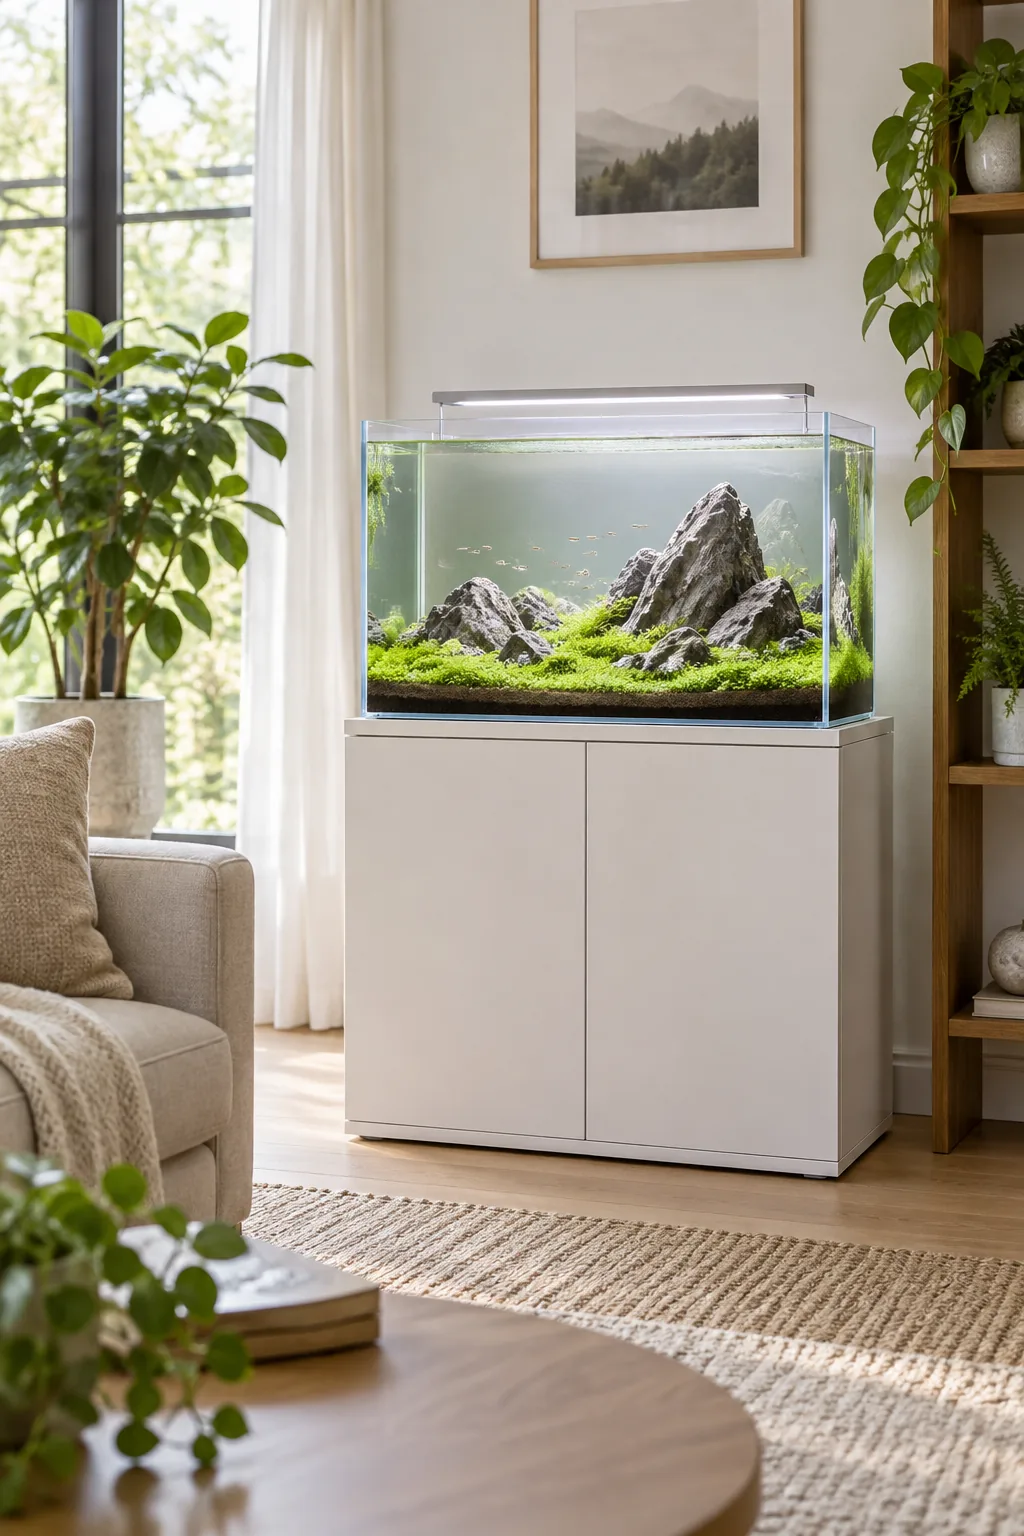
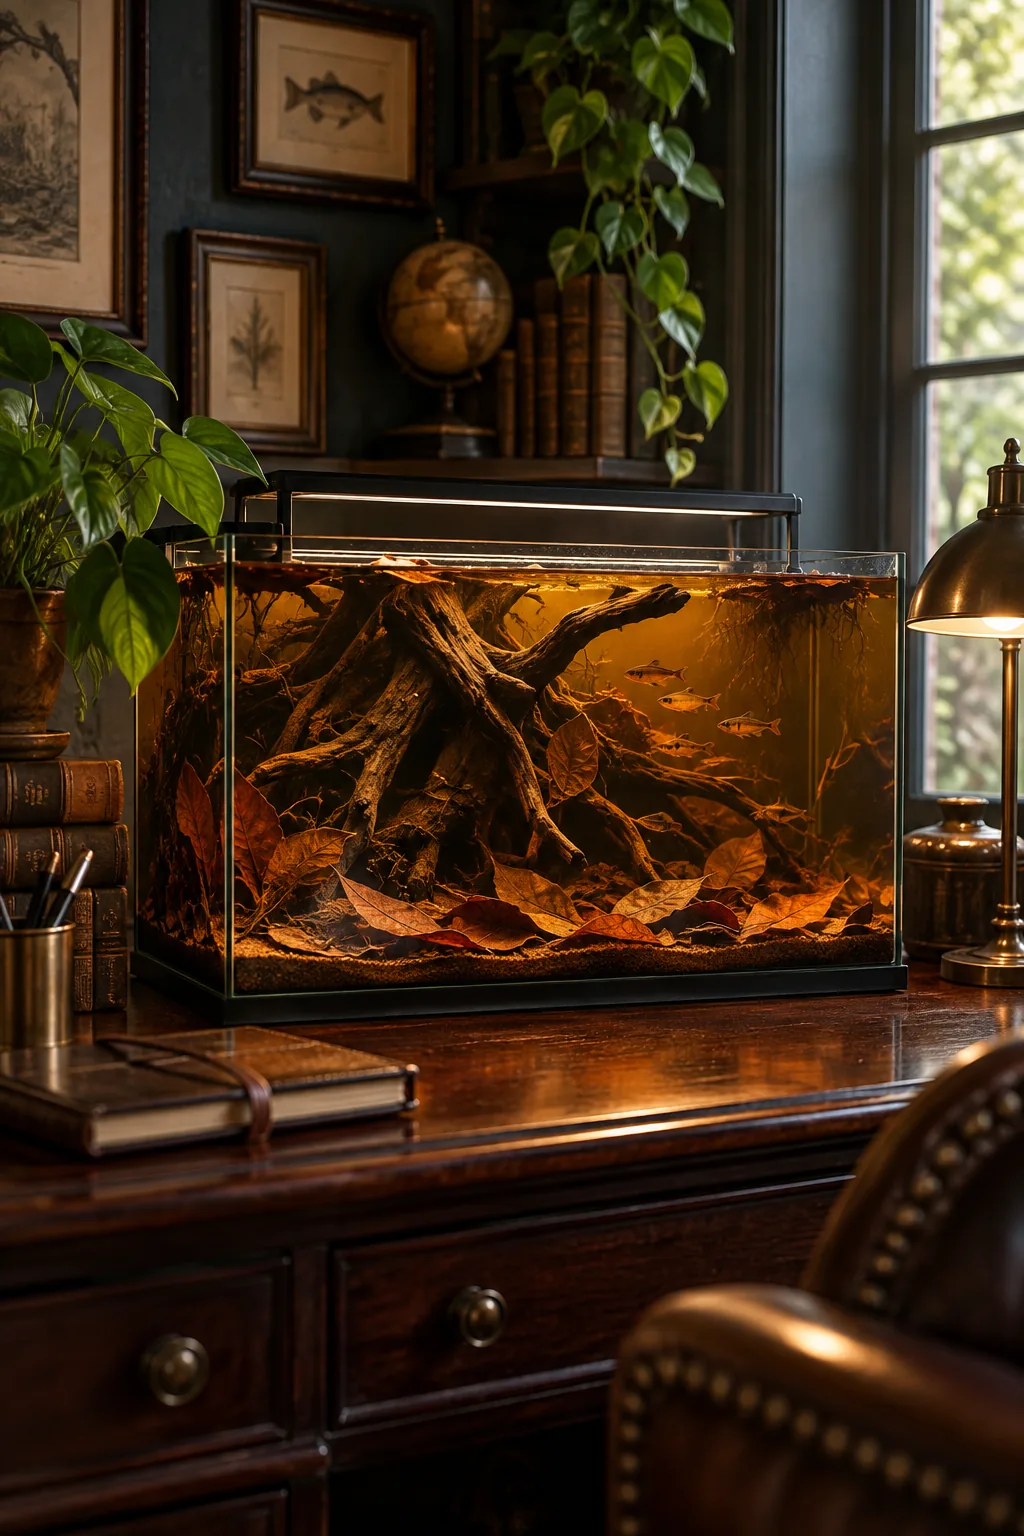
Tinted blackwater biotope: Botanicals release tannins that tint the water amber, creating a natural and stress-free environment for shy fish.
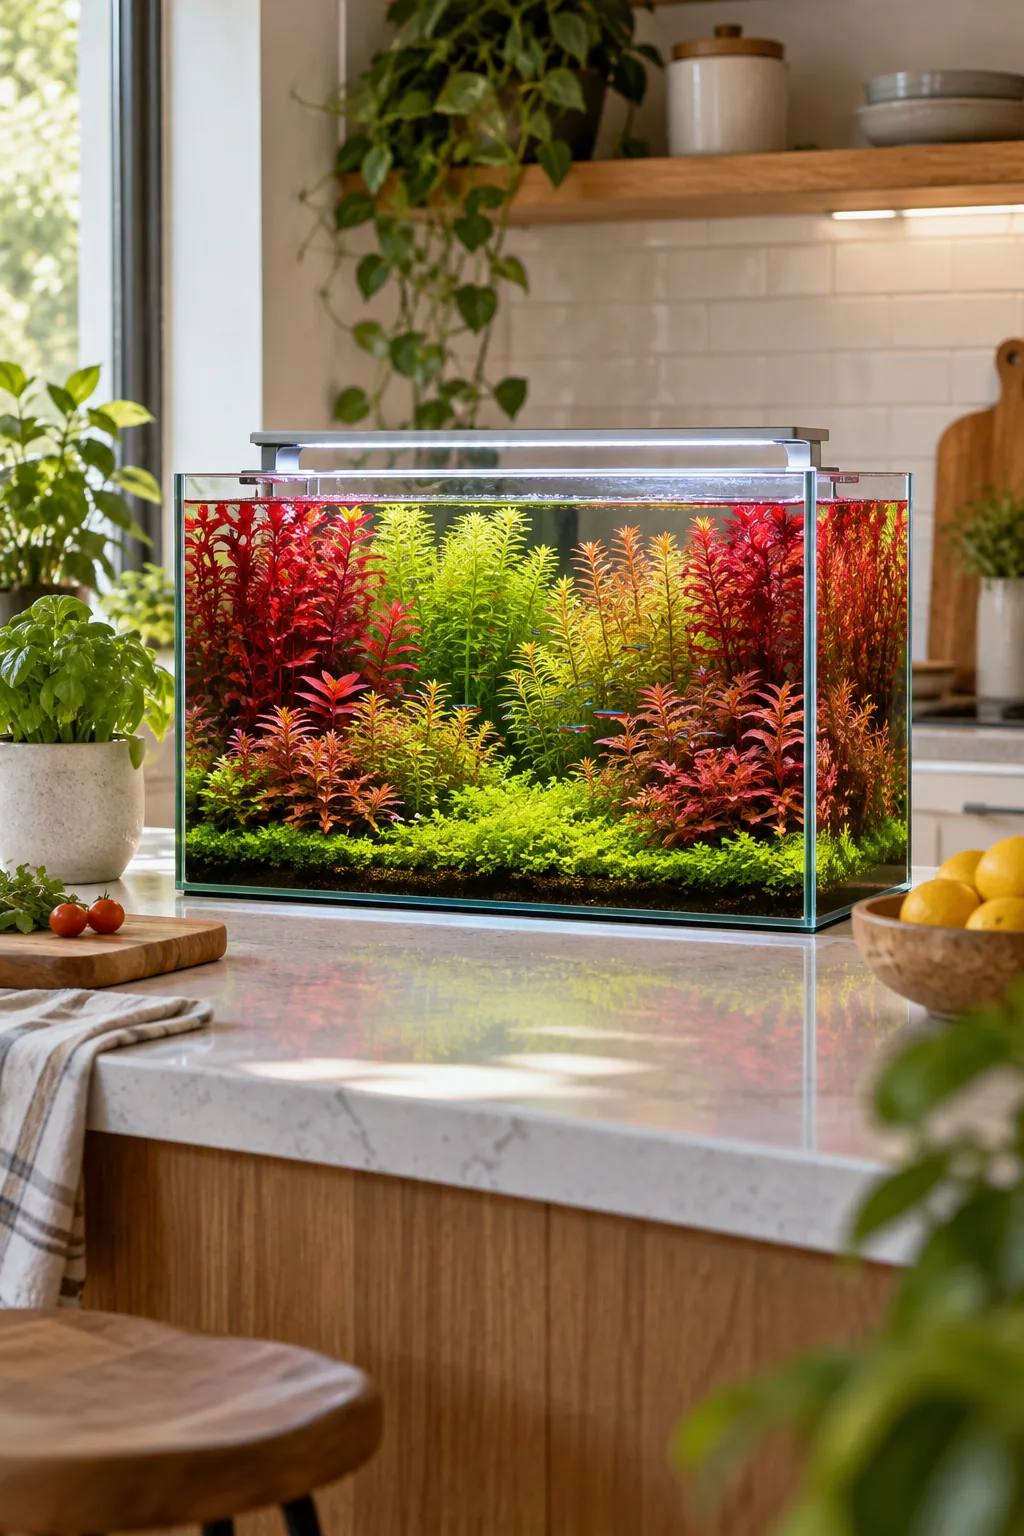
Vibrant Dutch style: Skip the rocks and wood entirely to focus on contrasting colors and textures of densely packed stem plants.
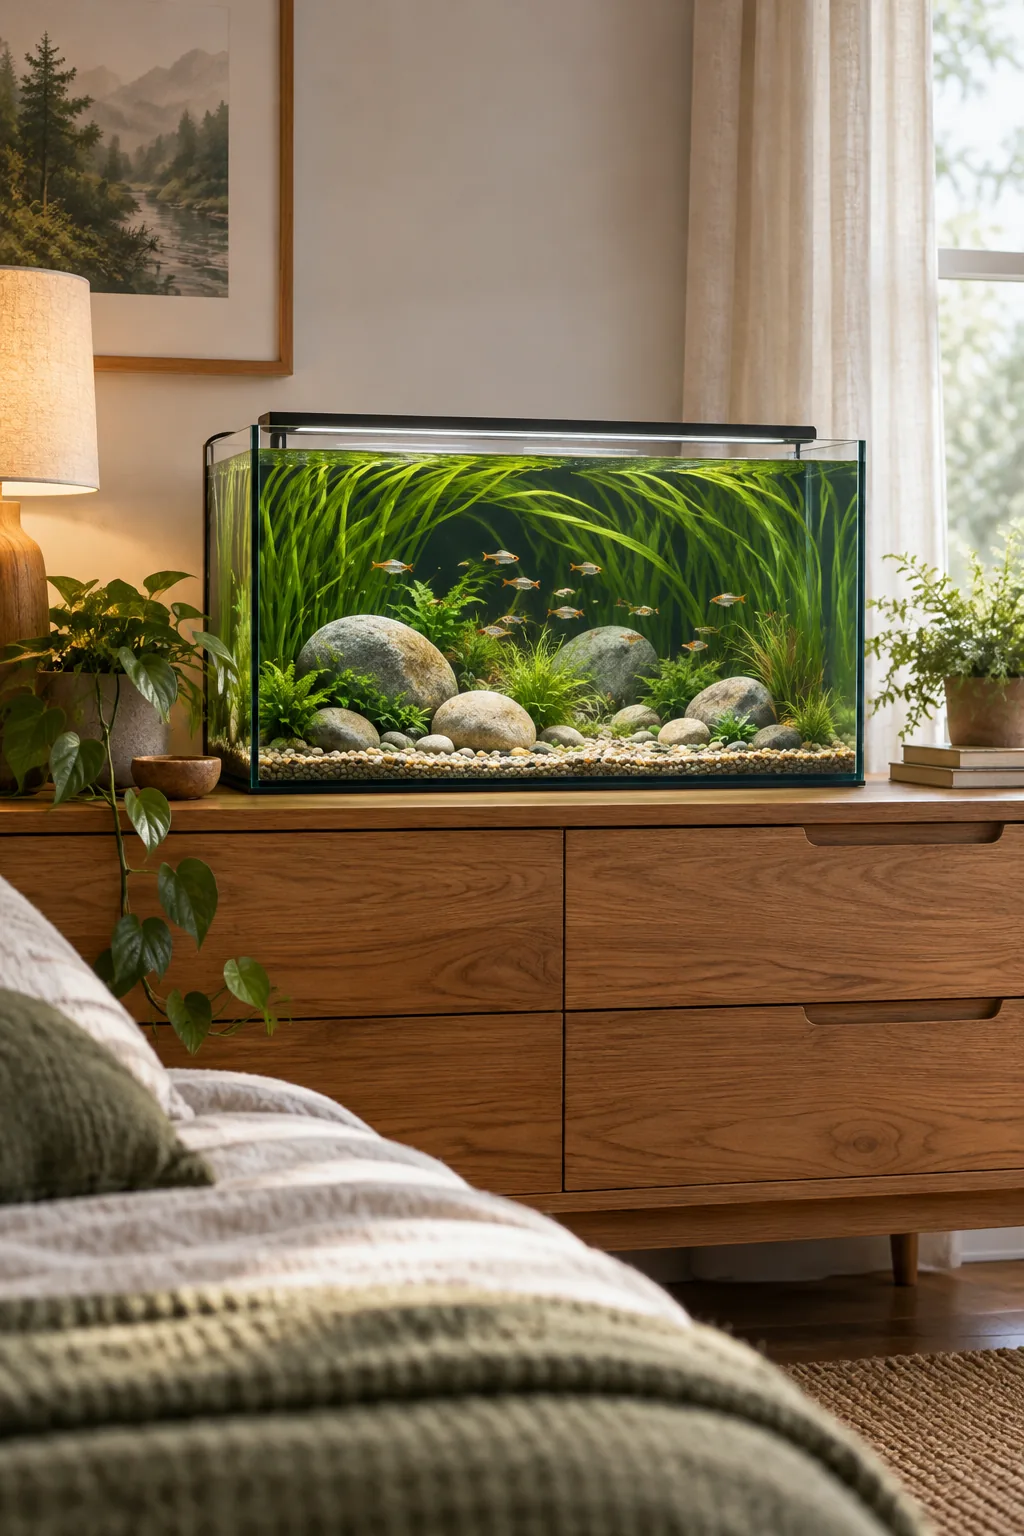
Zen riverbed style: Smooth river stones and tall, grass-like plants flowing in the filter current create a deeply calming atmosphere.
Overgrown emergent jungle: Allowing hardy plants to break the water surface blurs the line between the aquarium and your room.