
DIY Bedroom Accent Wall Under $100: Layout & Cut List
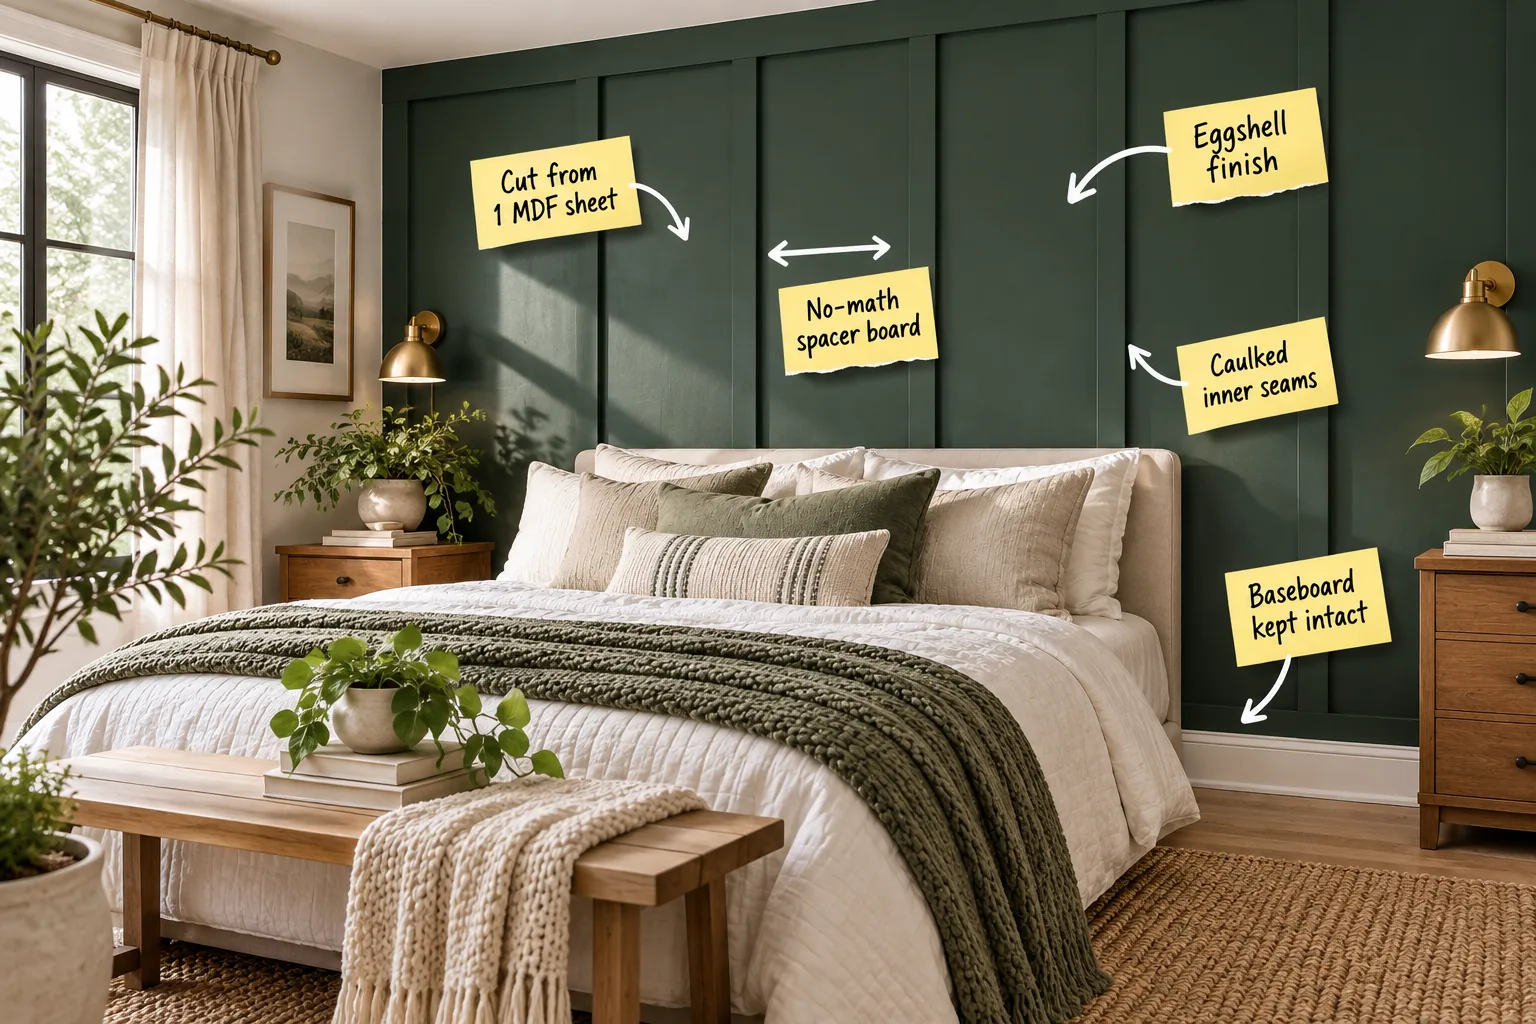
Transform your space with a DIY bedroom accent wall under $100. You will be able to purchase the right materials, follow a precise one-sheet MDF cut list, and install a perfectly spaced board-and-batten trim layout over a single weekend.
The Complete Trim Layout and Cut List
When I first mapped out my own master bedroom, I quickly realized that spacing multiple horizontal rails is the hardest part, so sticking to continuous vertical battens simplifies everything. Designing a clean, vertical-heavy grid reduces complex cross-cuts and keeps the overall aesthetic modern.

For a standard 10-foot wide wall, you only need one horizontal top rail and seven 54-inch vertical battens to create a balanced, symmetrical grid. This specific layout resolves the challenge of filling empty wall space without making the room feel overly heavy.
Exact Measurements for a 10-Foot Wall
Having a strict, pre-planned cut list prevents frustrating mid-project hardware store runs and ensures every single piece fits your exact ceiling height. Knowing your numbers upfront allows you to purchase exactly what you need, completely eliminating expensive material waste.
| Part Name | Quantity | Width | Length |
|---|---|---|---|
| Top Horizontal Rail | 1 | 3 inches | 120 inches |
| Vertical Battens | 7 | 3 inches | 54 inches |
| Spacer Board | 1 | 3 inches | 18.5 inches |
These specific dimensions assume you are working with standard eight-foot ceilings and a typical bedroom footprint, leaving enough breathing room above the trim. Following this chart guarantees your materials will stay well within the strict $100 budget limit.
Mapping the Wall Studs
Before any cut wood touches the drywall, locating and marking your hidden vertical studs ensures your adhesive and brad nails have a solid structural anchor. Relying solely on drywall for support will eventually cause the heavy trim to pull away.
- Scan the wall horizontally with a reliable magnetic stud finder, marking every solid hit with a small pencil dash.
- Verify the standard 16-inch spacing between each mark to confirm you have found the actual framing rather than a random pipe.
- Run a strip of blue painter’s tape vertically down each located stud so the lines remain visible after the battens go up.
Marking these hidden supports clearly prevents you from shooting fasteners into empty drywall space where they cannot securely grip. This crucial preparatory step guarantees your new architectural feature will withstand decades of seasonal temperature shifts and daily household bumps.
Leaving the Existing Baseboard Intact
Resting your newly cut vertical battens directly on top of the existing white baseboard entirely eliminates messy demolition, drywall repairs, and complicated angle cuts. This practical approach preserves the room’s original foundation while seamlessly integrating the new architectural details.
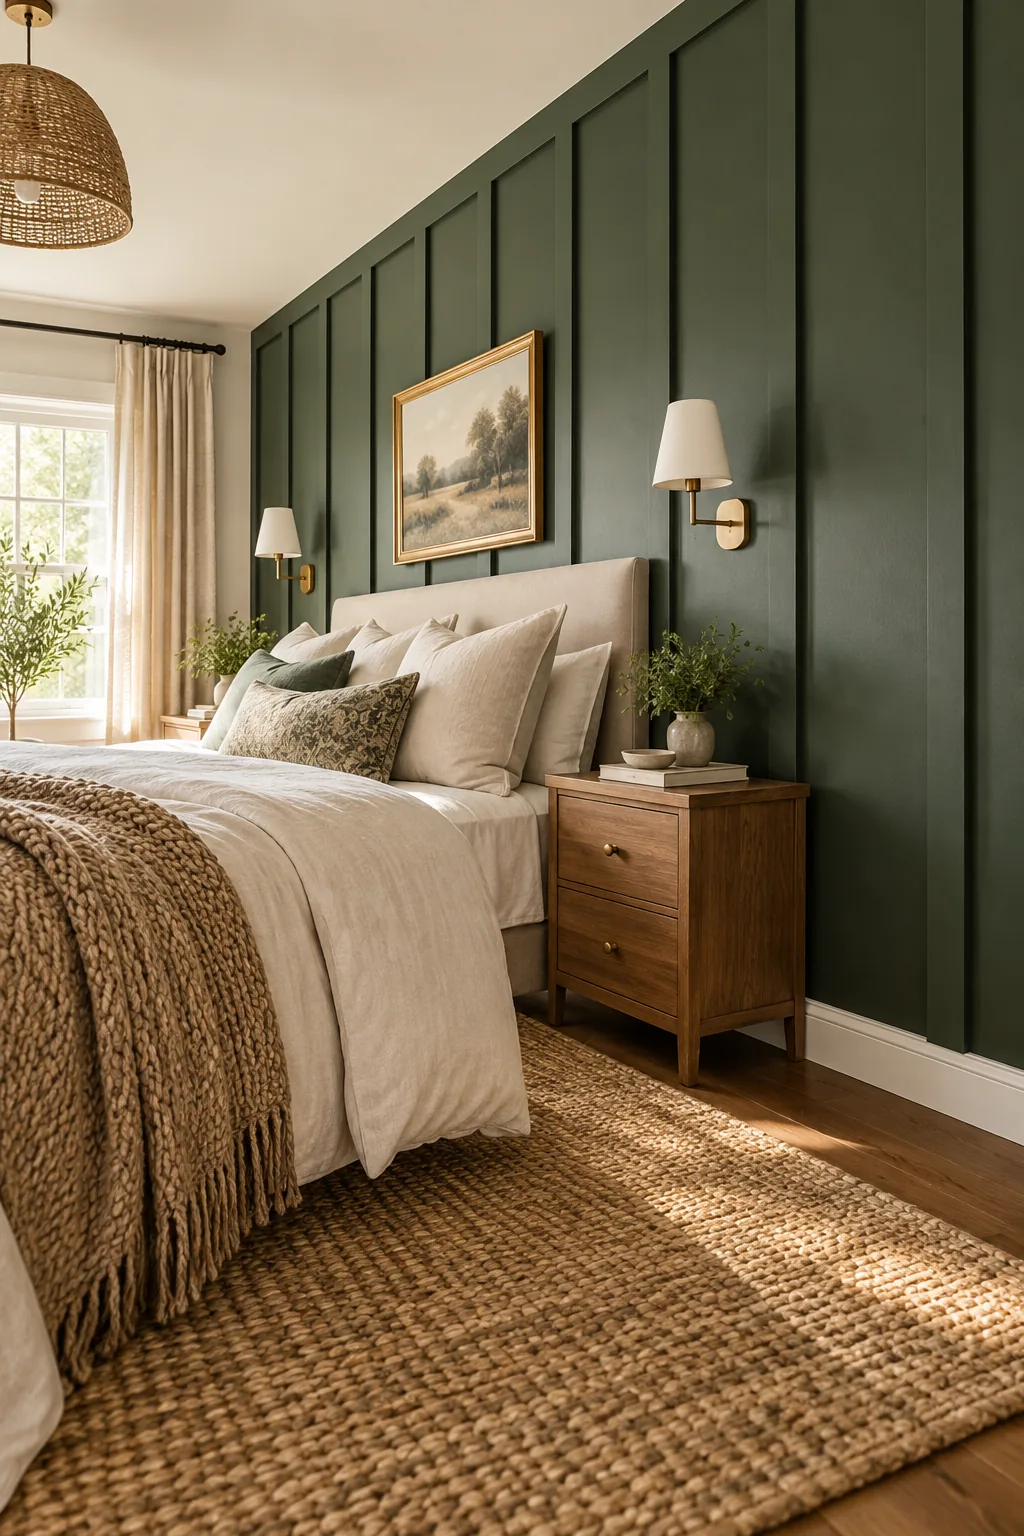
This straightforward baseboard kept intact strategy saves hours of grueling physical labor and keeps the total project cost strictly under control. Bypassing baseboard removal means you can immediately focus on building the grid rather than repairing torn drywall paper.
Handling Uneven Floors
Older homes rarely have perfectly level floors, meaning your existing baseboard might dip slightly from one corner of the bedroom to the other. If you blindly trust the floor line, your entire upper rail will inherit that exact same crooked slope.
Checking these structural variations with a long spirit level before attaching the vertical strips guarantees your horizontal top rail will sit perfectly parallel. Adjusting the height of individual battens slightly compensates for any settling that has occurred over the years.
Maximizing One Standard MDF Sheet
I used to struggle fitting expensive lumber into my car until I learned that a single 4×8 foot, 1/2-inch thick MDF sheet yields all the material for this design. Medium-density fiberboard provides a flawlessly smooth surface that takes paint beautifully.
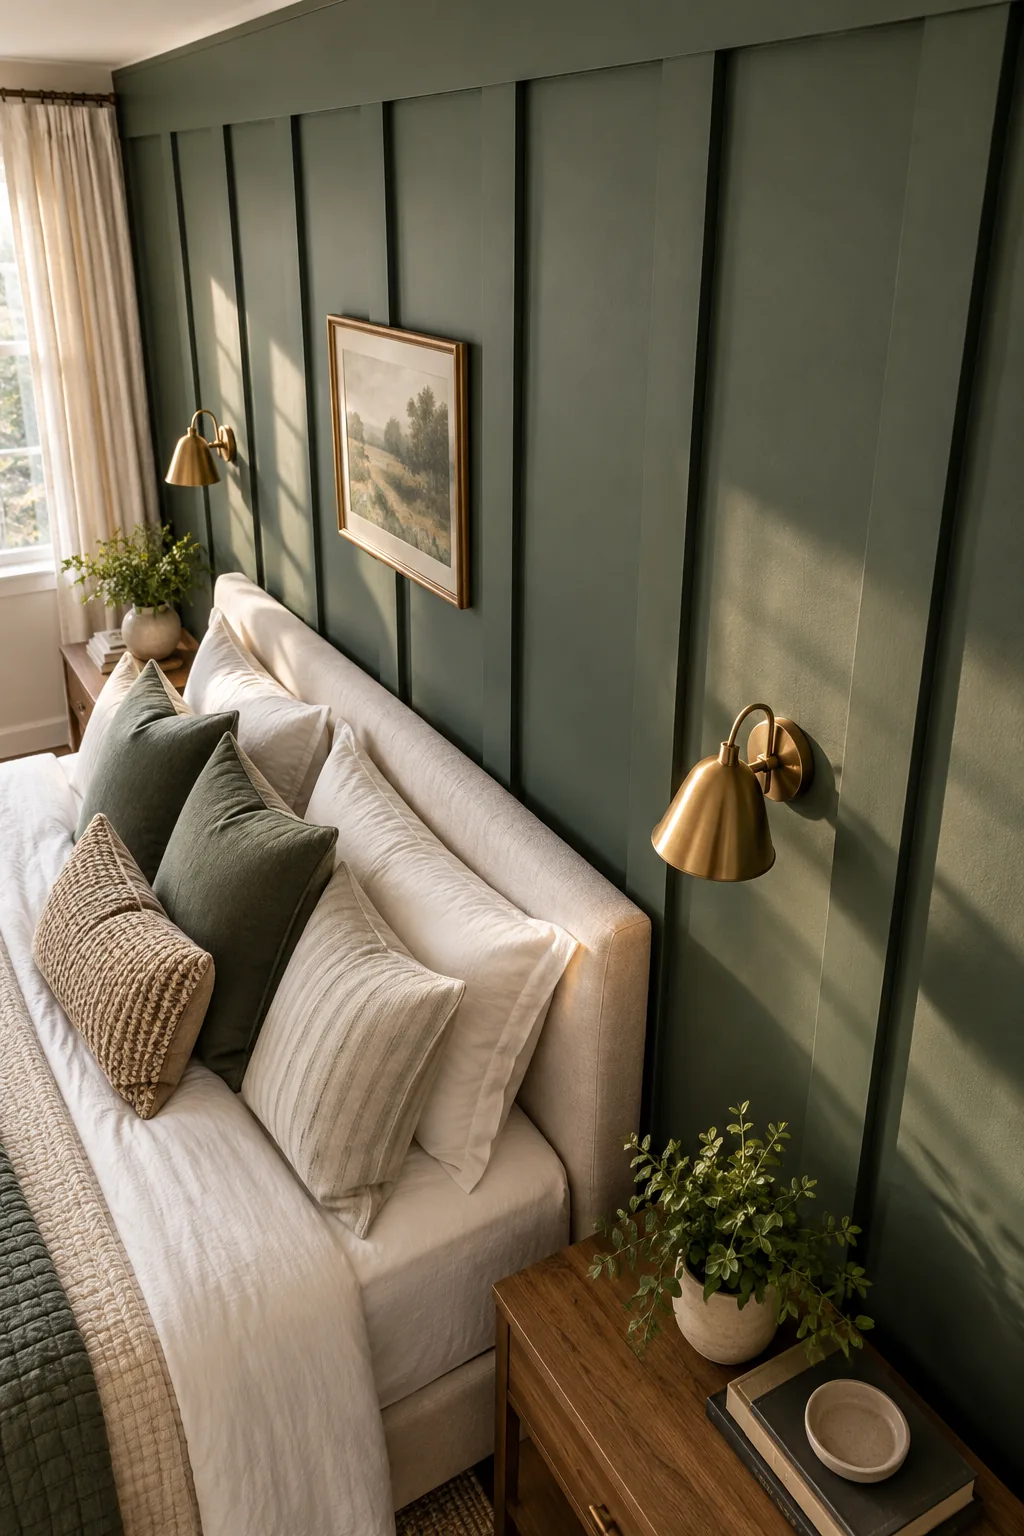
Having the hardware store rip the sheet into uniform 3-inch wide strips makes transportation a breeze and guarantees perfectly straight, factory-like edges. This single-sheet method completely fulfills the promise of keeping the entire accent wall project under the $100 mark.
The No-Math Spacer Board Trick
Cutting a scrap board to exactly 18.5 inches creates a reliable physical template that you simply place between battens for instant, perfectly parallel spacing. This brilliant shortcut entirely removes the need to repeatedly read a tape measure across a long wall.
- Press the custom spacer board completely flat against the side of your previously secured vertical batten.
- Slide your next loose MDF strip firmly against the opposite end of the spacer until there are no visible gaps.
- Hold the new batten securely in place, remove the spacer board, and drive your brad nails through the wood into the wall.
While the spacer board eliminates math, holding it level while operating a nail gun can feel clumsy if the board is too heavy.
Securing the Battens to the Drywall
Attaching the MDF strips requires running a continuous zigzag bead of heavy-duty construction adhesive down the back of each board before pressing it firmly. The glue provides the long-term holding power, preventing the wood from warping away from the wall.
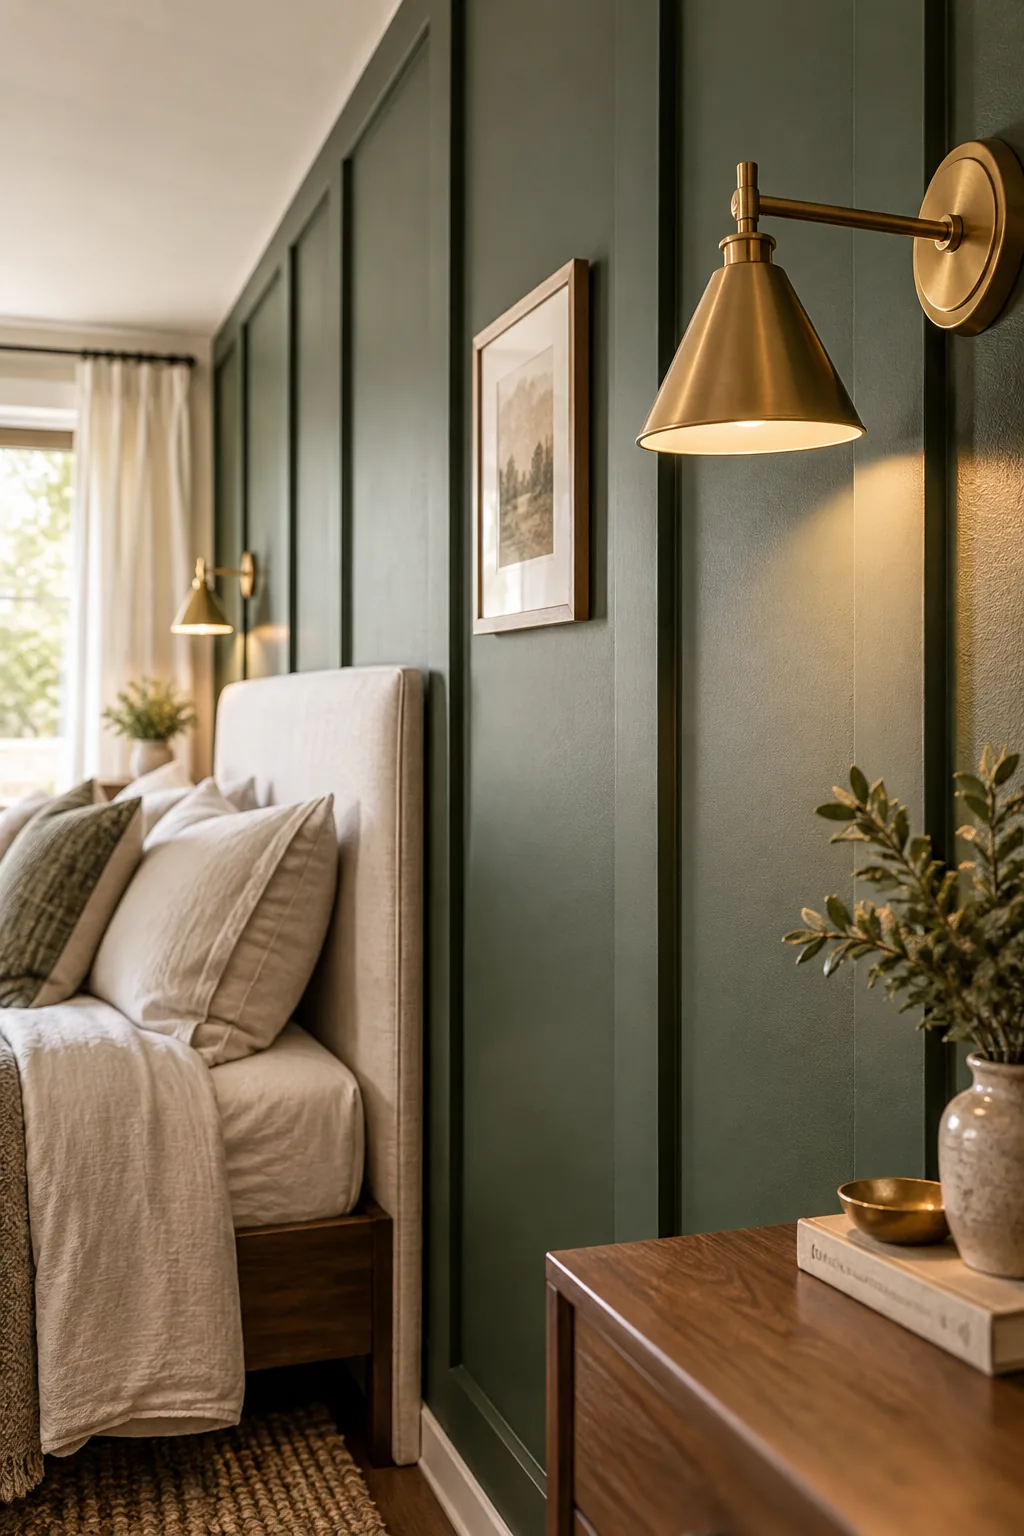
You must follow up with 2-inch brad nails to penetrate the half-inch MDF, pierce the drywall layer, and securely grip the wooden studs behind it. These fasteners act as temporary clamps, holding the trim perfectly tight while the adhesive cures.
Caulking the Inner Seams
Running a thin, consistent bead of paintable acrylic latex caulk along every inner corner where the MDF meets the drywall is the ultimate secret. This essential finishing step fills any slight bowing in the walls and completely eliminates dark, distracting shadow lines.

Achieving a flawless transition between the raw wood and the drywall requires precision, and a few common caulking errors can ruin the final painted finish.
Filling and Sanding the Nail Holes
Sinking brad nails leaves tiny indentations across the face of your perfectly smooth vertical MDF battens. Pressing shrinking wood filler into each hole and sanding it flush once dry ensures the final installation looks like original, high-end custom carpentry rather than a weekend project.
Protecting Your Floors Before Painting
Rolling dark green paint over a newly installed wall grid creates a significant risk of splattering your bedroom carpet or hardwood floors. Taping heavy-duty canvas drop cloths tightly against the intact baseboard guarantees your flooring remains completely pristine during the final finishing stages.
Prepping and Priming the Raw Edges
Before my first major trim installation, I skipped the priming phase and the highly porous edges soaked up all the expensive topcoat. Taking the time to properly seal the material ensures the sides look just as smooth as the factory face.
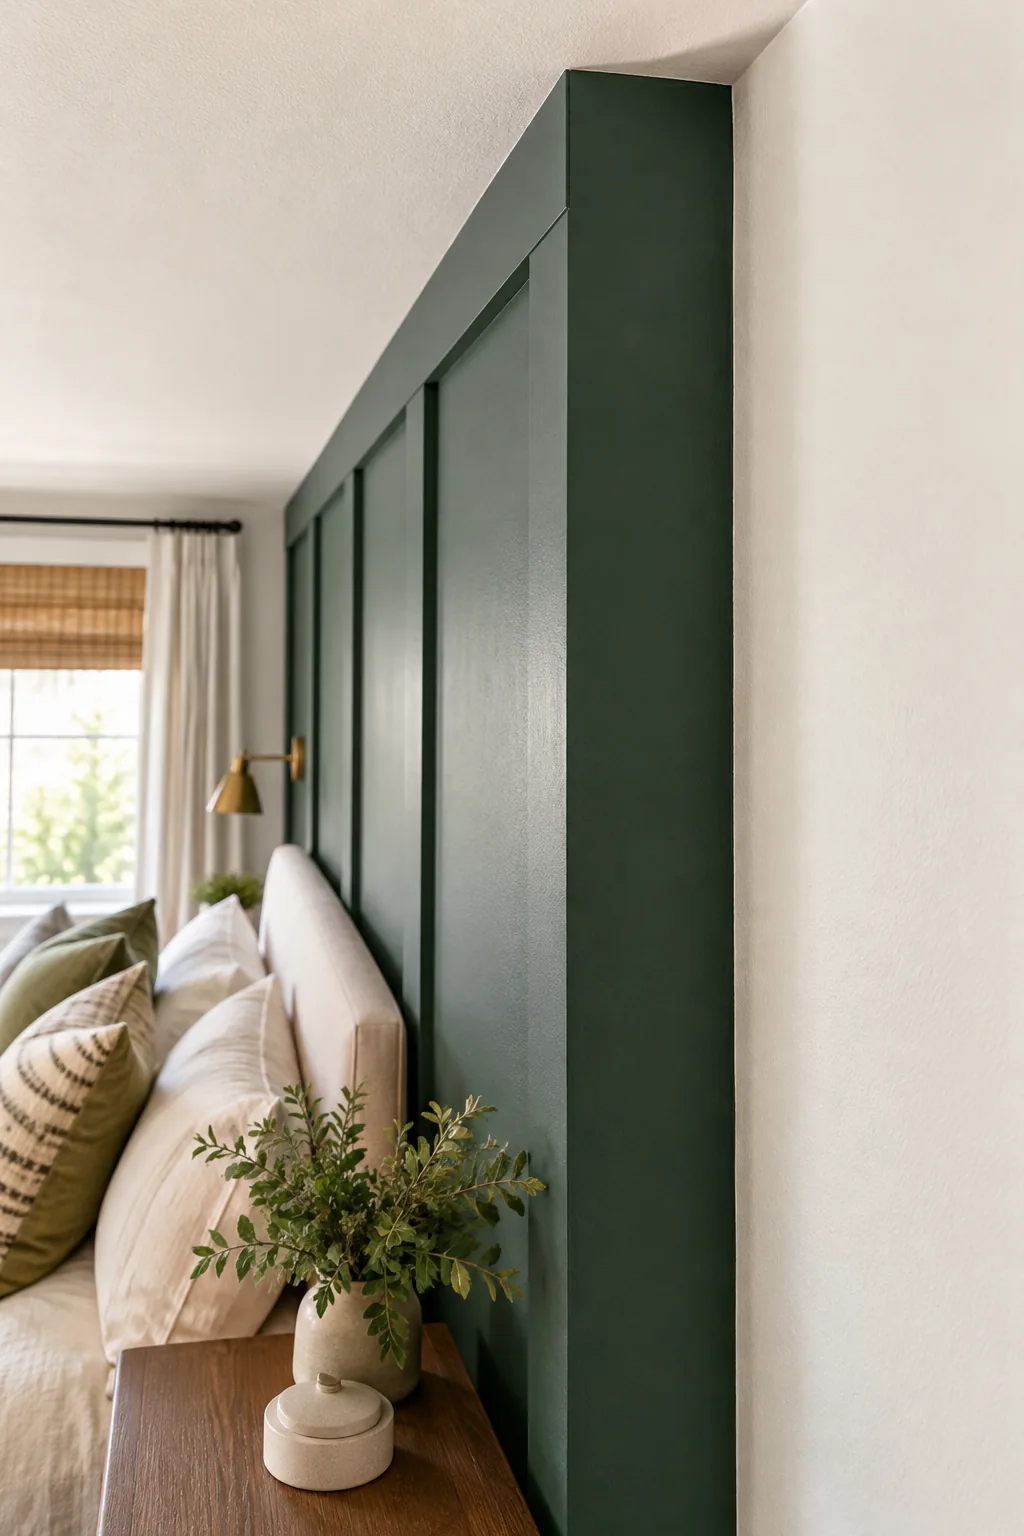
Sanding all freshly cut edges lightly with 220-grit sandpaper and applying a dedicated MDF primer prevents a rough, uneven texture from ruining your wall. This specialized primer blocks moisture absorption, locking down the wood fibers before the final color goes on.
Testing Your Paint Color in Natural Light
Before committing to your final coat, painting a large test swatch on the primed MDF allows you to observe how the deep green shifts throughout the day. Natural morning sunlight often highlights cool undertones, while warm evening lamps can make the hue appear significantly darker.
More Board-and-Batten Inspiration
Explore how different paint colors and styling choices can completely change the mood of this simple trim treatment.
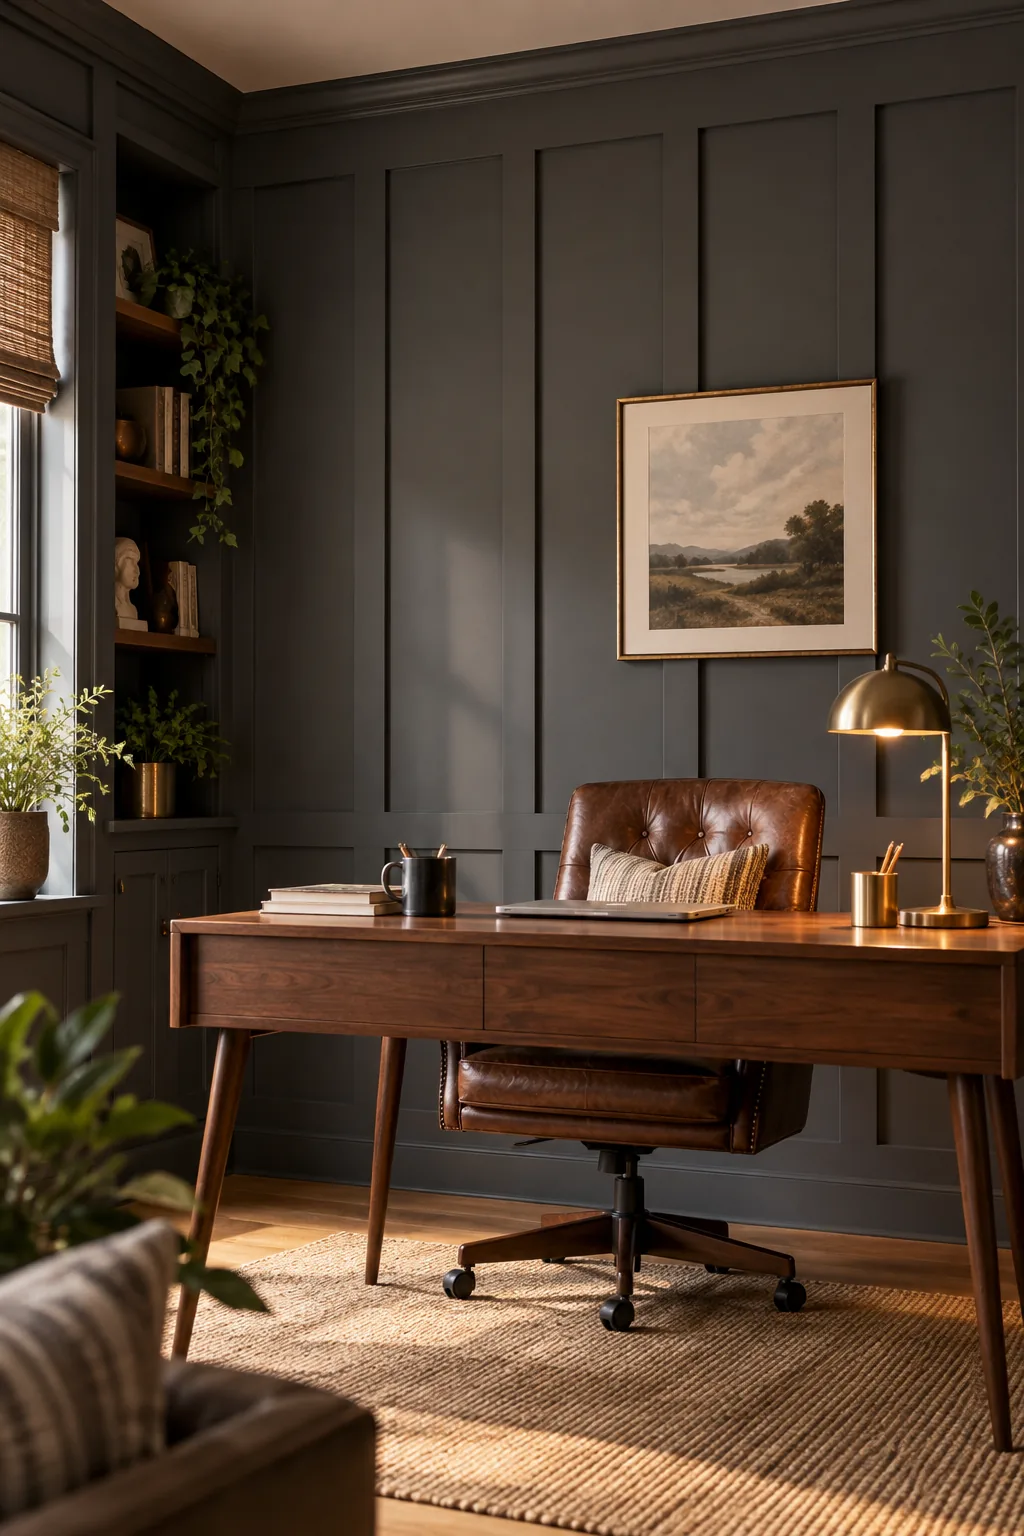
Moody Charcoal Home Office: Deep charcoal paint transforms this simple trim into a sophisticated backdrop for warm leather and rich walnut furniture.
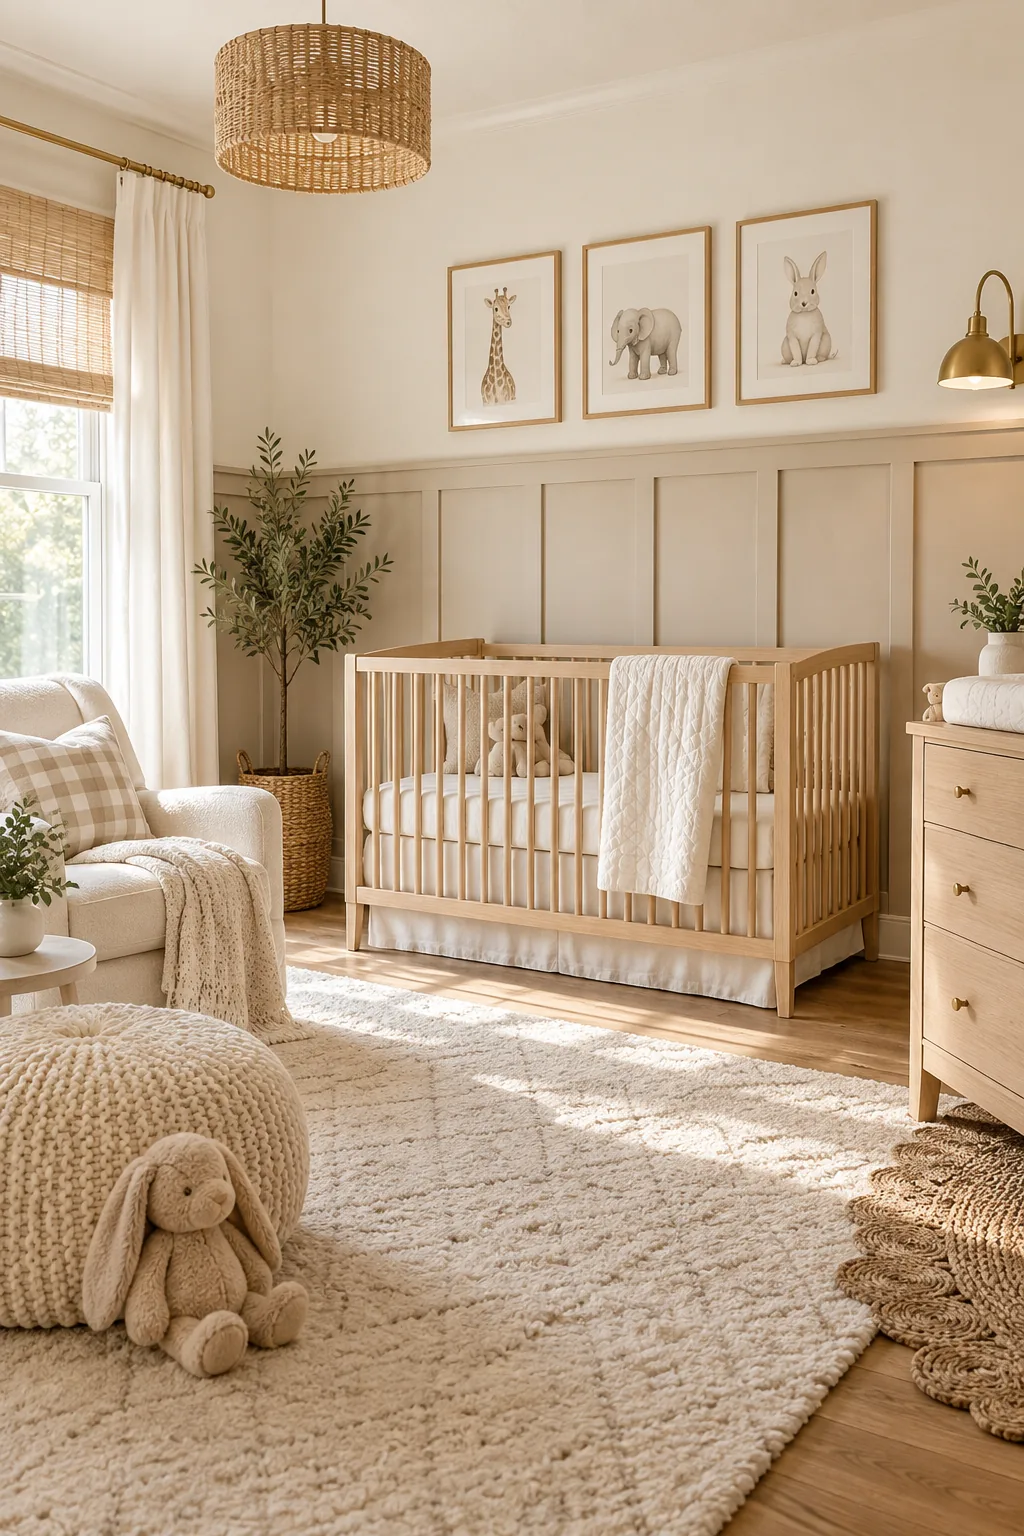
Soft Beige Nursery Wainscoting: Stopping the trim at chair-rail height creates a cozy, grounding effect that perfectly suits a calming, neutral nursery.
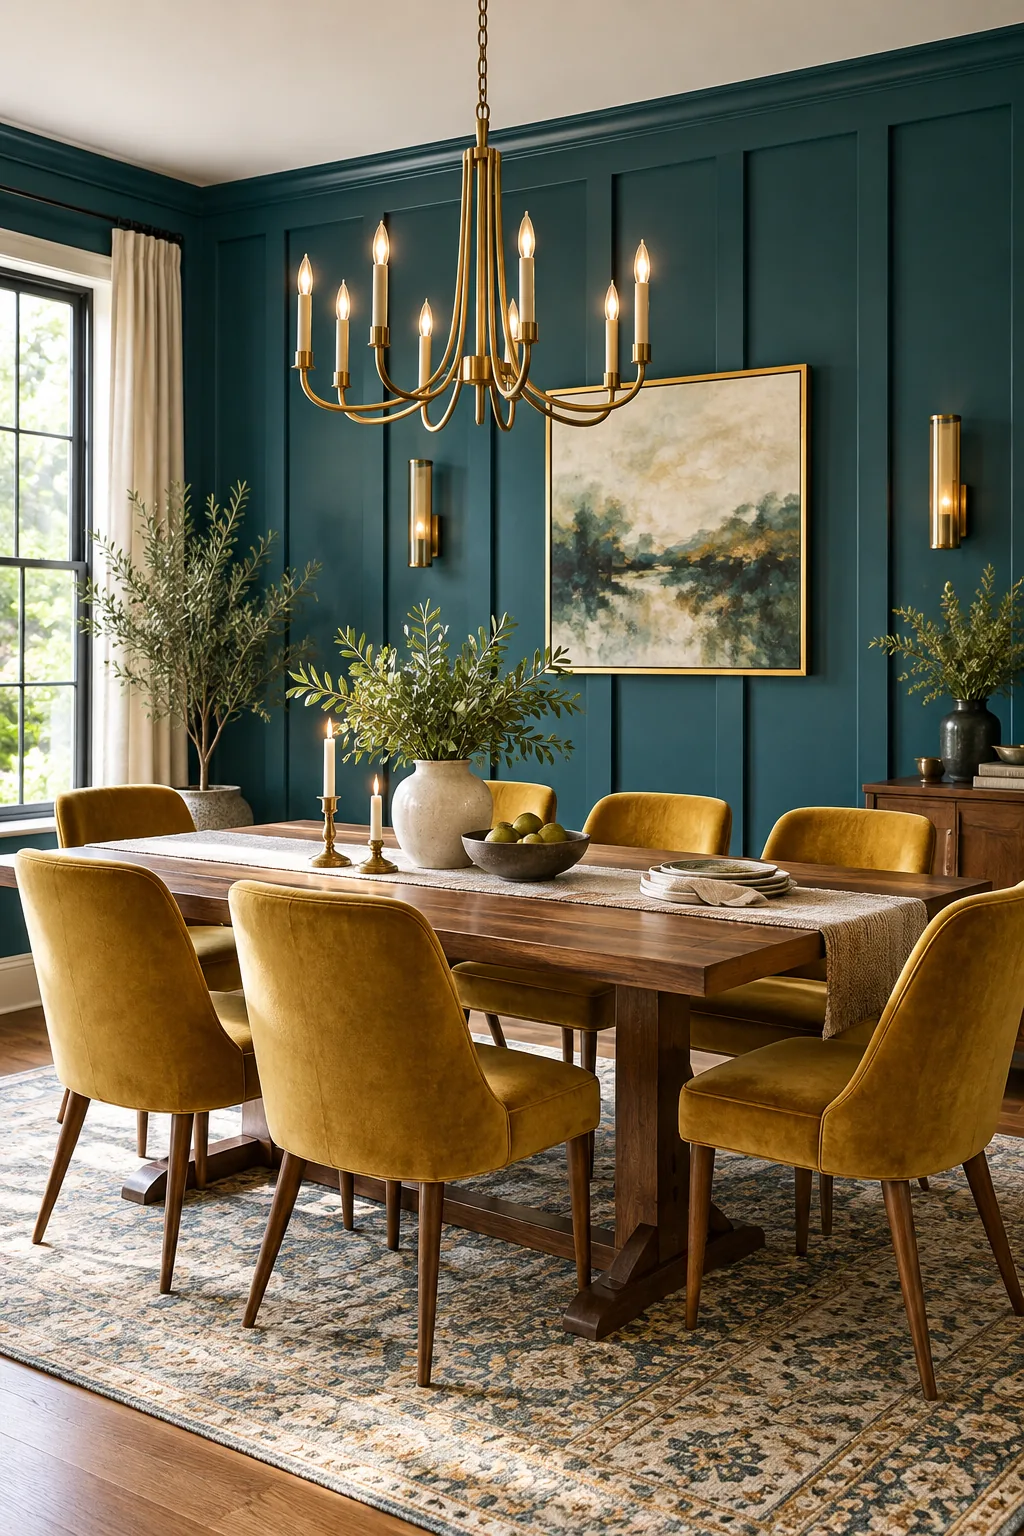
Vibrant Teal Dining Room: A high-gloss teal finish turns standard MDF strips into a glamorous, high-impact statement wall for entertaining.
Choosing an Eggshell Paint Finish
A dramatic, dark green accent wall demands an eggshell finish because it provides a soft, velvety depth that absorbs natural light beautifully without glaring. High-gloss paints tend to highlight every tiny drywall flaw, while flat paints are notoriously difficult to keep clean.

This slightly glossy sheen offers just enough lasting durability to easily wipe away accumulated dust from the horizontal ledges without scrubbing. The rich color transforms the budget-friendly MDF strips into a luxurious, custom-built architectural feature that completely anchors the bedroom.