Two Tone Wall Paint: The Crisp Line Sequence Guide
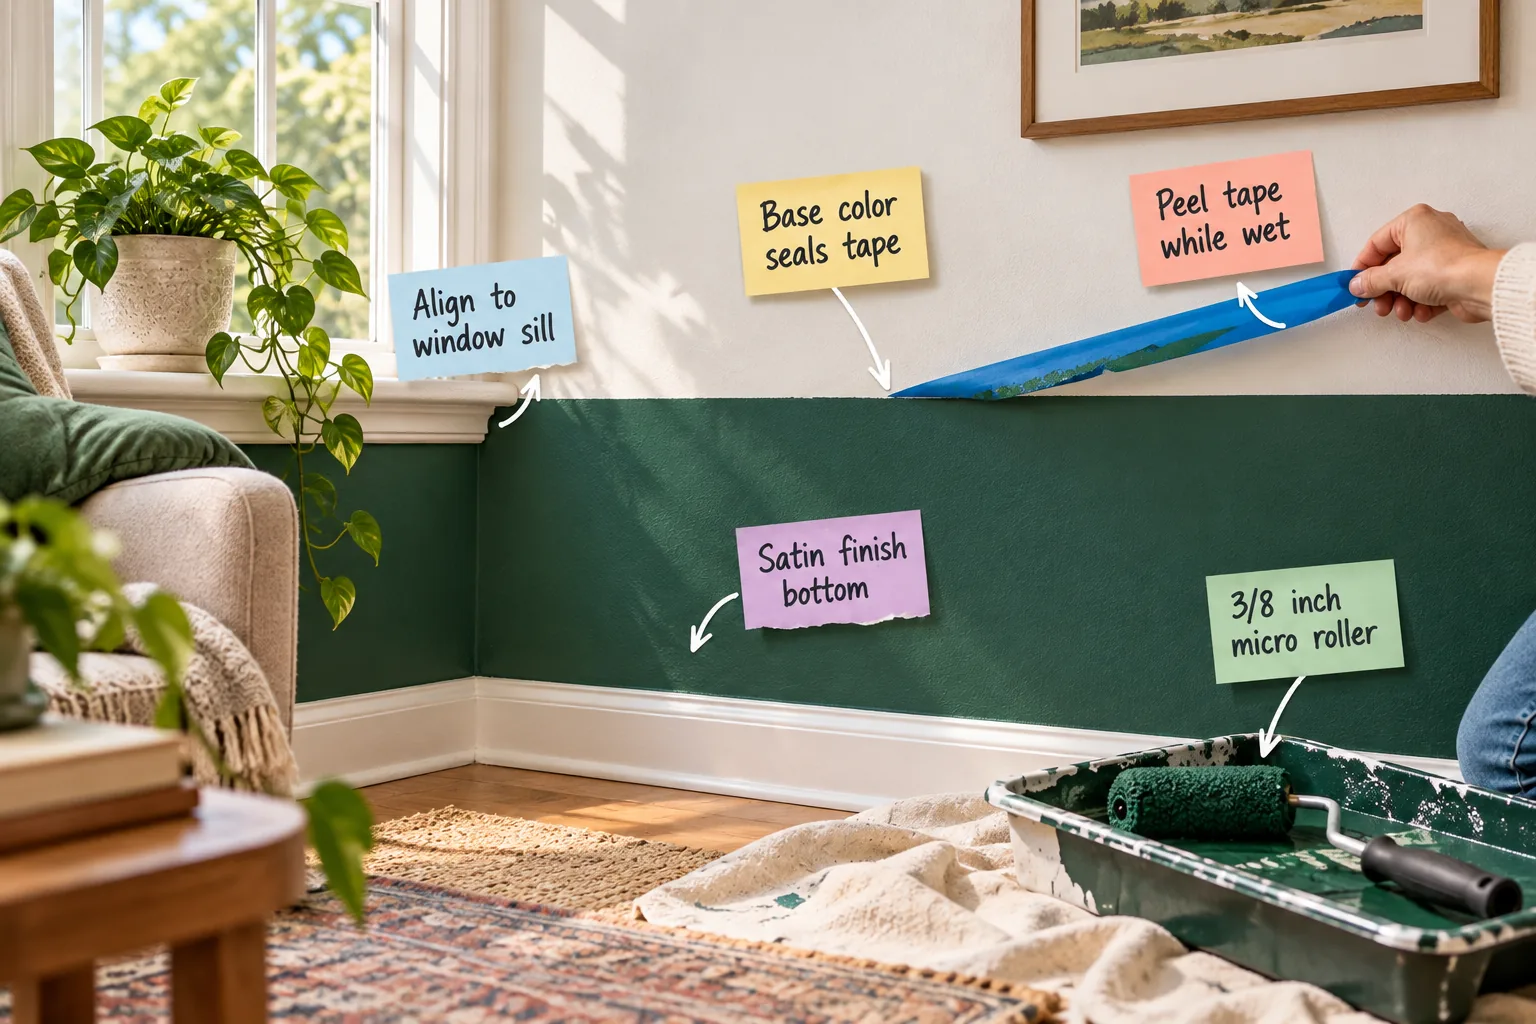
Getting that impossibly crisp, bleed-free line on a two-tone wall doesn’t require magic, just the right method. You will be able to map, tape, seal, and paint a flawless division with zero paint bleed using this pro taping and painting sequence guide.
Finding Your Perfect Horizon Line
Determine the ideal height for your color transition by looking closely at the room’s existing architecture to find a natural break. Mapping this division before you ever touch a roll of tape ensures your finished design feels grounded and completely intentional.
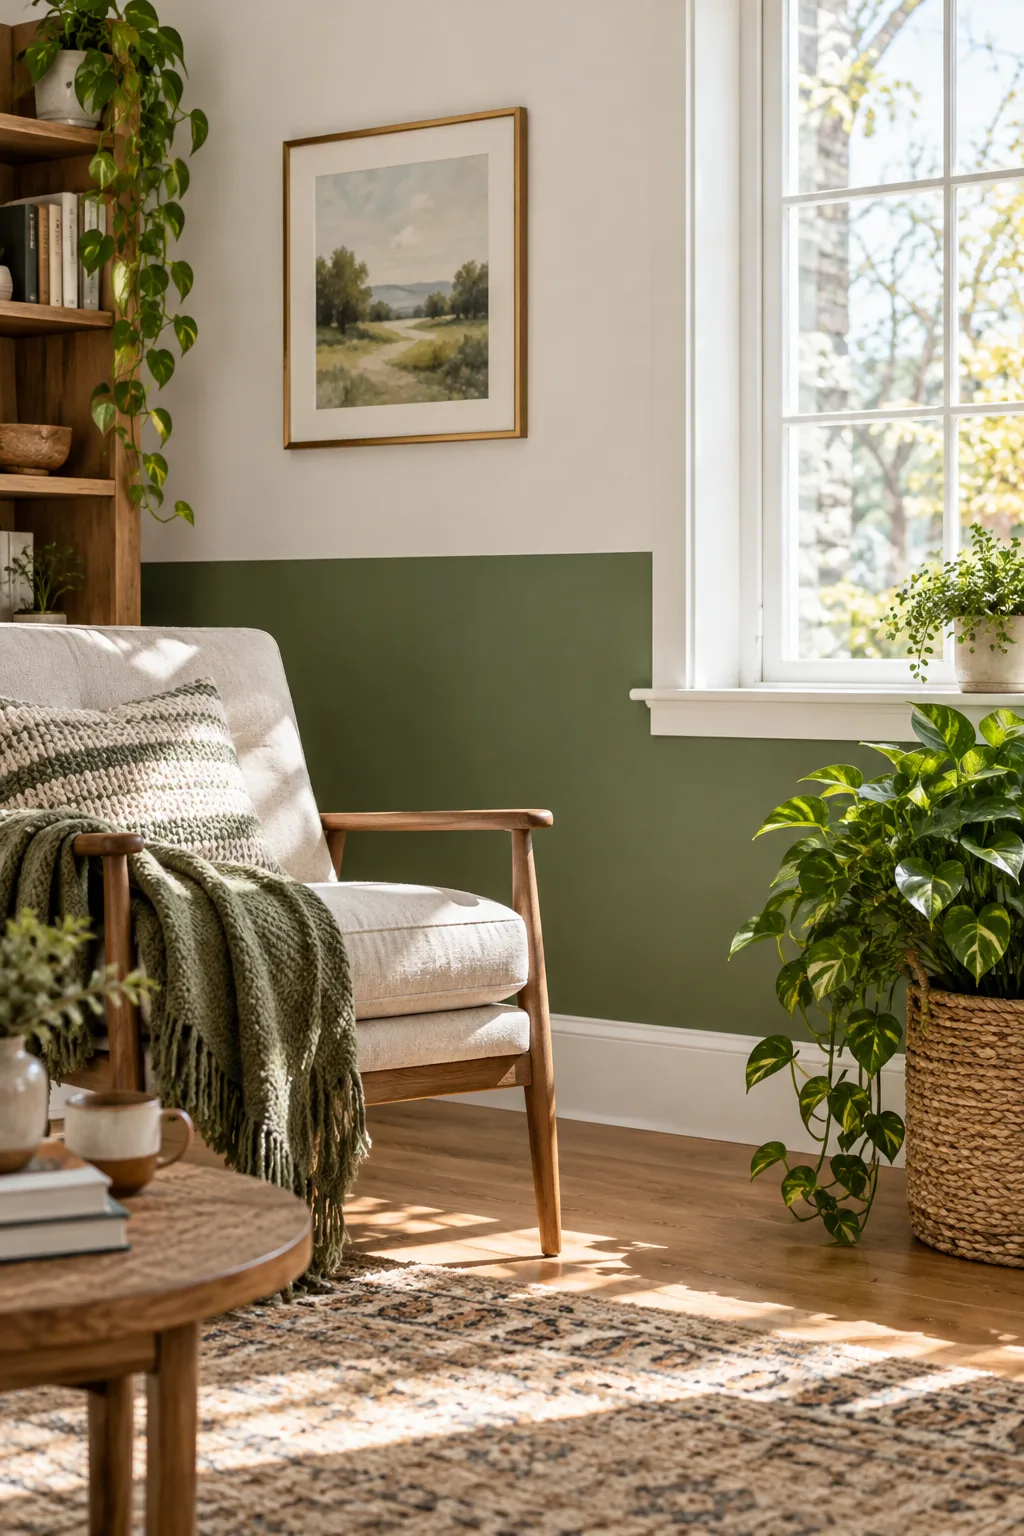
Aligning the division to a prominent feature, such as a standard 36-inch window sill or a fireplace mantel, anchors the space beautifully. This visual trick prevents the color block from feeling arbitrary and integrates your fresh paint directly into the structural framework.
Evaluating Wall Texture Before Taping
Inspect your drywall texture closely, because heavy orange peel or knockdown surfaces require a specialized edge-lock tape rather than standard blue paper. Highly textured walls create deeper valleys that standard tape simply cannot bridge, which drastically increases the risk of severe paint bleed.
Why the Bottom Gets the Satin Finish
Select a satin or eggshell finish for the lower section of the wall, even if you prefer the top half to remain completely matte. Higher gloss levels inherently resist scuffs from daily foot traffic and provide a much harder, more washable acrylic shell.
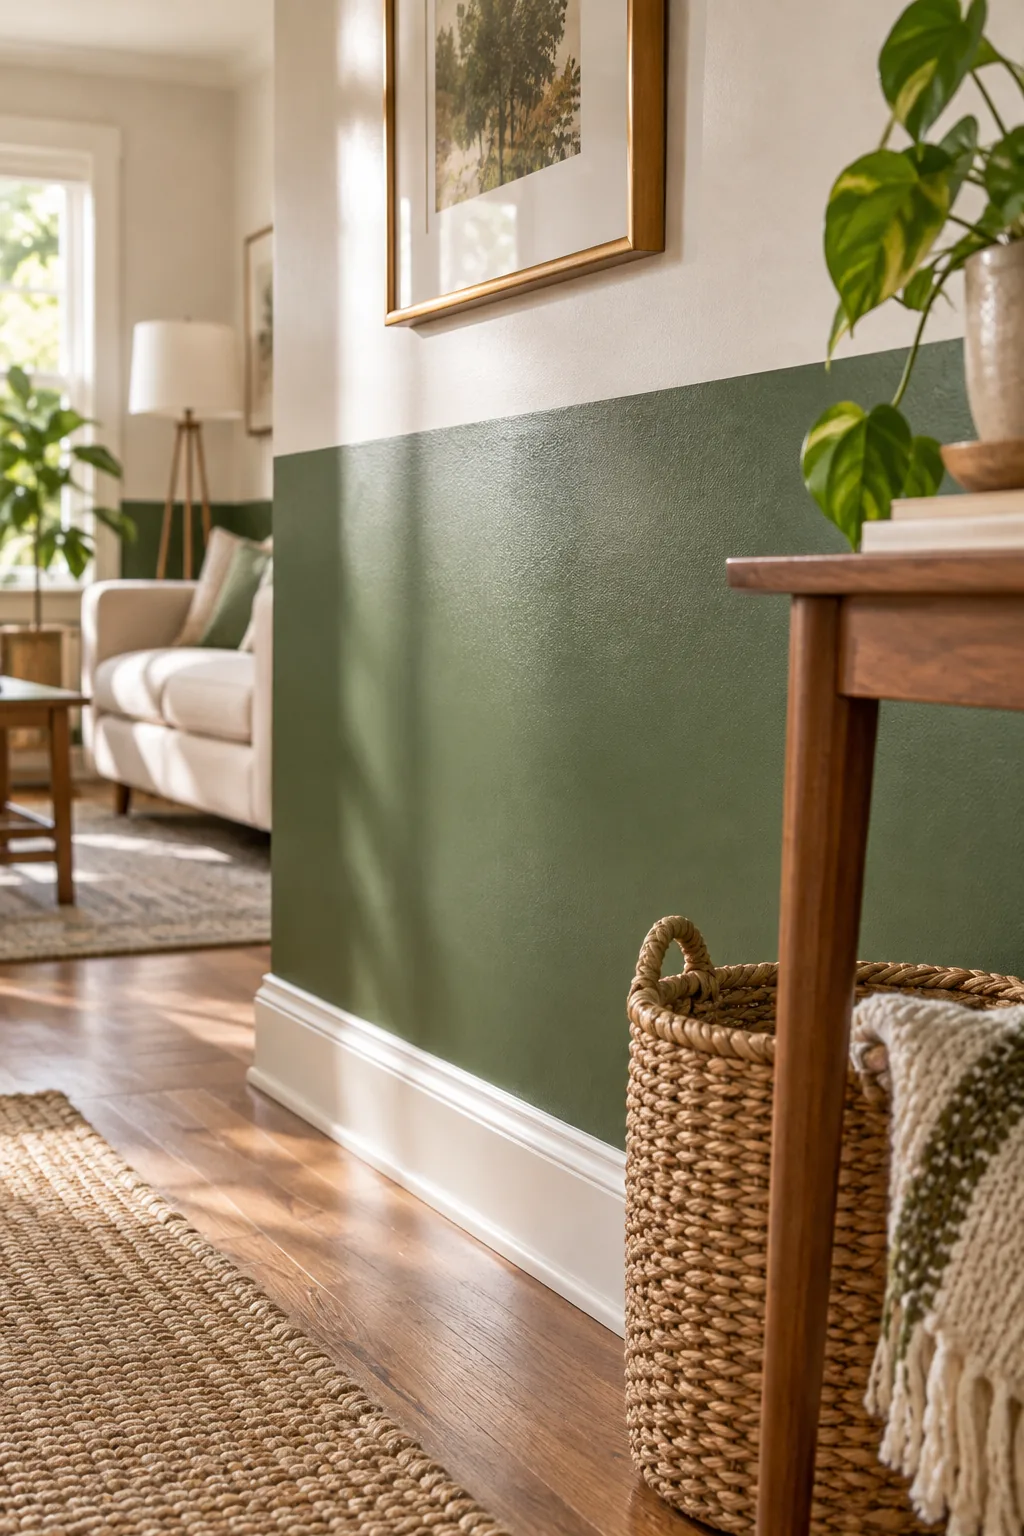
In my own living room, I learned the hard way that matte paint down low just attracts dog nose prints and shoe marks. The bottom half takes the brunt of daily wear, so it requires a sheen you can easily wipe clean without burnishing.
Calculating the Right Paint Quantities
Measure the square footage of each color zone separately to avoid overbuying expensive premium gallons for the smaller upper section. A standard gallon covers approximately four hundred square feet, so a lower wainscoting treatment usually only requires two quarts for complete coverage.
Removing Outlet Covers and Hardware
Take a few minutes to unscrew all outlet covers, switch plates, and window hardware that intersect your planned transition line. Trying to tape perfectly around a bulky plastic switch plate almost always results in messy paint bleeding right at the most visible edges.
Selecting the Best Tape for Sharp Lines
Invest in a premium edge-treated painter’s tape designed specifically for delicate surfaces if your base wall color was painted recently. Standard masking tape features a highly aggressive adhesive that can easily rip chunks of fresh drywall mud or uncured primer right off the wall.
Prepping the Surface for Adhesion
Prepare the wall meticulously before applying any tape to ensure a tight, flush seal across the entire horizontal span. Painter’s tape cannot form a reliable barrier against drywall dust or lingering grease, which creates microscopic tunnels where the new paint will eventually bleed.
Establishing a Perfectly Level Division
Use a high-quality laser level mounted on a tripod to project a continuous, perfectly straight horizontal line across all four walls. Relying on a traditional bubble level and a pencil often leads to slight downward drifting that becomes glaringly obvious once the tape is removed.
The Base Color Sealing Secret
Lock the delicate tape edge down permanently by painting directly over it with the existing base color of the wall. This genius technique leverages the bottom color to plug any remaining microscopic gaps, creating an invisible dam that stops the topcoat from traveling.
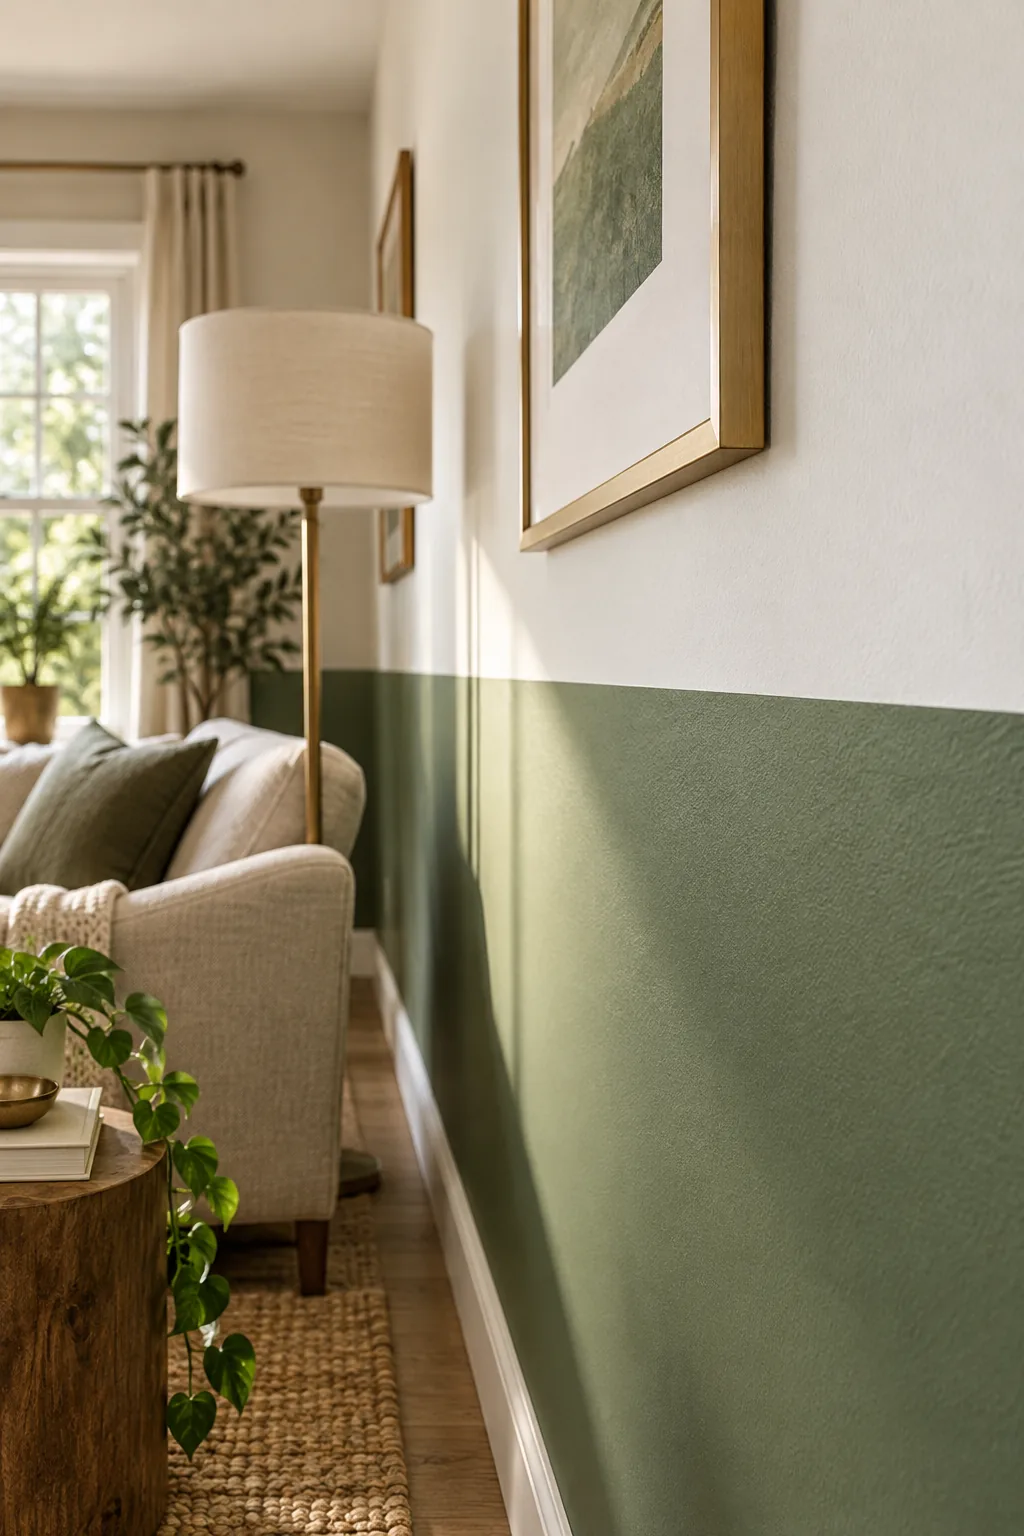
This crucial step fills the tiny valleys under the tape edge, forming a solid, bleed-proof barrier that perfectly blocks the contrasting topcoat. Brushing a light coat of the base color over the seam guarantees that any paint that does seep underneath perfectly matches the wall.
Allowing the Sealant Coat to Dry
Wait at least forty-five minutes for that initial sealing coat of base color to dry completely before applying your contrasting shade. If the sealing layer remains wet, the new topcoat will simply mix with it, creating a muddy, blurred transition instead of a sharp division.
Choosing the 3/8 Inch Micro Roller
Apply the contrasting topcoat paint using a high-density 3/8 inch nap microfiber roller to keep the transition line completely flat. This specific material releases paint smoothly without leaving behind the heavy, orange-peel stippling that thicker woven covers typically deposit along the tape edge.
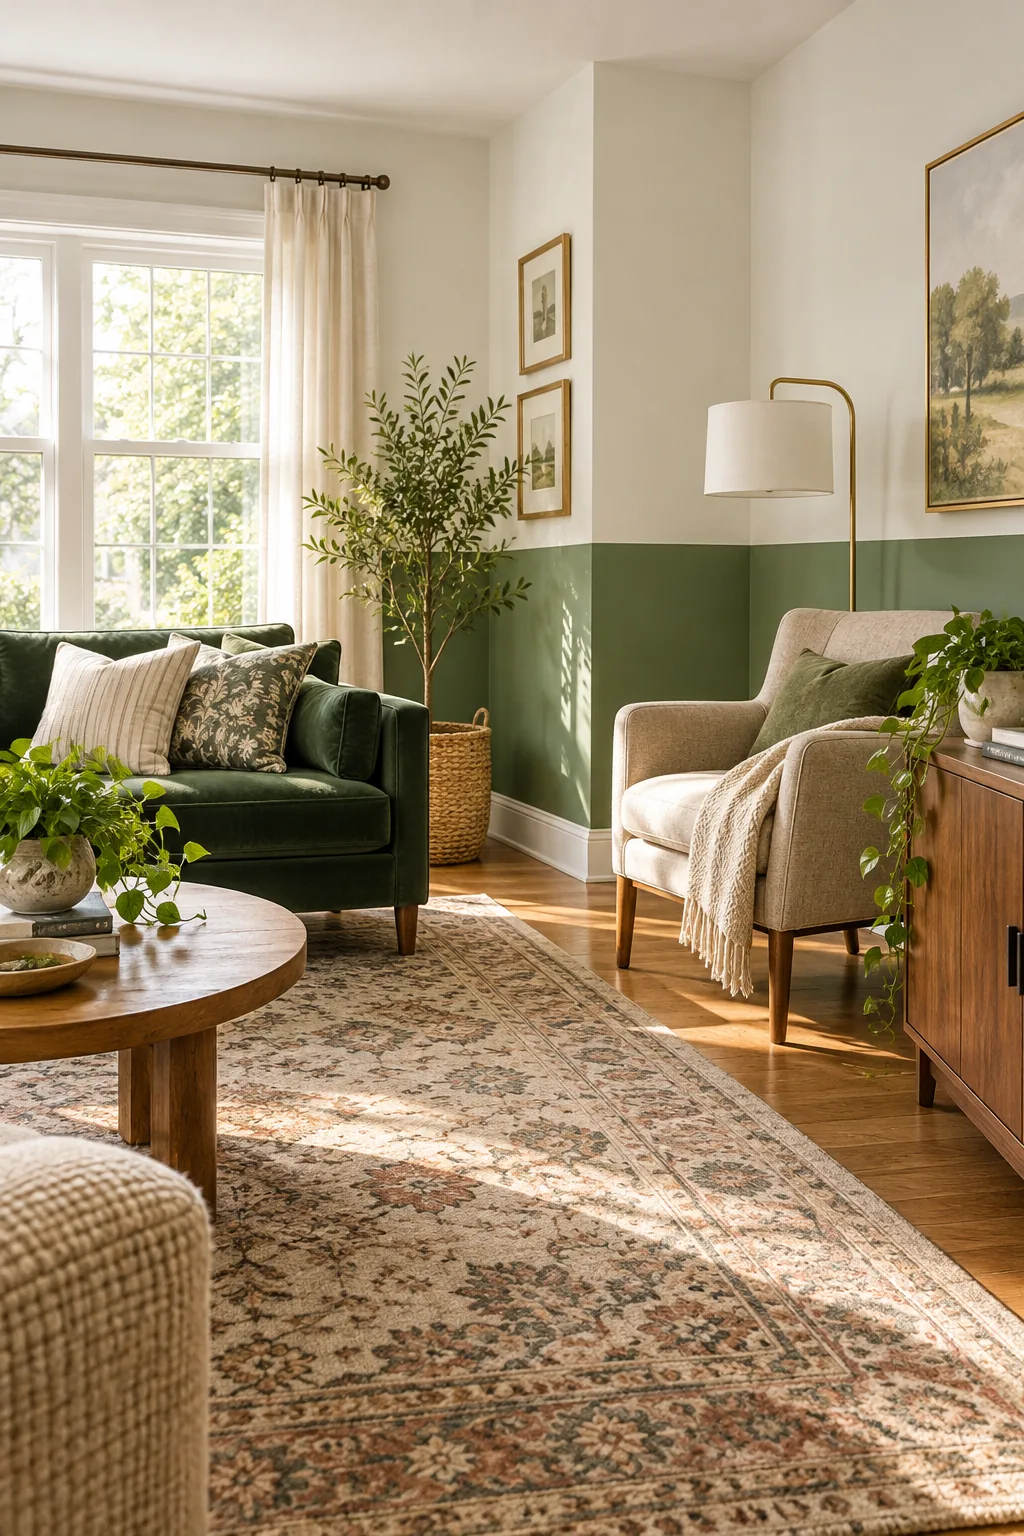
This specific nap length holds exactly enough paint for solid, opaque coverage but remains short enough to prevent thick paint buildup. Keeping the paint film thin along the taped division ensures the final transition feels entirely flush when you run your hand across the wall.
Managing Roller Pressure Along the Seam
Roll parallel to the painter’s tape using light, even pressure to avoid squeezing excess paint underneath the sealed edge. Pushing too hard against the roller frame forces the wet acrylic into the tape adhesive, which can weaken the bond and cause unexpected late-stage bleeding.
Comparing Roller Nap Lengths
Selecting the correct roller nap dictates the final texture of your two-tone transition, so always match the fiber length to your specific wall condition. Thicker covers hold more material for rough surfaces but will inevitably leave a raised, unsightly ridge of heavy paint right at the tape line.
| Nap Length | Wall Texture | Paint Buildup Risk | Best Application |
|---|---|---|---|
| 1/4 Inch | Ultra-smooth drywall | Very Low | High-gloss finishes |
| 3/8 Inch | Standard smooth | Low | Satin two-tone walls |
| 1/2 Inch | Light orange peel | Moderate | Matte upper walls |
| 3/4 Inch | Heavy knockdown | High | Textured ceilings only |
Sticking with the standard three-eighths size provides the perfect middle ground, offering enough capacity to work quickly without compromising the delicate taped seam.
The Wet Peel Timing Rule
Remove the tape while the final coat is still damp to the touch to achieve the sharpest results. I once let a wall dry overnight, and pulling the tape ripped off chunks of fresh paint, so avoid these common peeling errors to protect your line.
Handling Tape Tears and Splintering
Stop pulling immediately if the blue tape begins to tear or splinter into narrow diagonal strips while you are removing it. Use a sharp utility knife to gently score the very edge of the paint line before carefully peeling away the remaining stubborn adhesive fragments.
The Pro Taping & Painting Sequence Guide
Follow this exact sequence to achieve a flawless two-tone wall, making sure to remove the tape at a sharp angle while the final coat is still completely damp. Executing these steps in order guarantees that the base color protects the final contrasting topcoat.

Whenever I skip a step in this process to save time, I always end up doing tedious touch-ups with a tiny artist’s brush later. Here is the foolproof order of operations to get that impossibly crisp line on your very first try.
- Measure and mark your level horizon line across the room.
- Apply the tape and press the edge firmly with a putty knife.
- Seal the bottom edge completely with the base wall color.
- Roll on two even coats of the new contrasting color.
- Peel the tape at an angle immediately after the second coat.
Touching Up Minor Imperfections
Keep a small angled brush and a damp cotton swab nearby to immediately address any tiny smudges that occur during the peeling process. Wiping away a stray drop of wet paint is infinitely easier than trying to sand and paint over a dried, cured mistake tomorrow.
Curing and Styling Your Two-Tone Room
Allow the fresh paint to cure completely for at least two weeks before pushing furniture back against the wall or hanging heavy art. The acrylic surface may feel dry to the touch within hours, but it remains soft and highly susceptible to gouging beneath the surface.
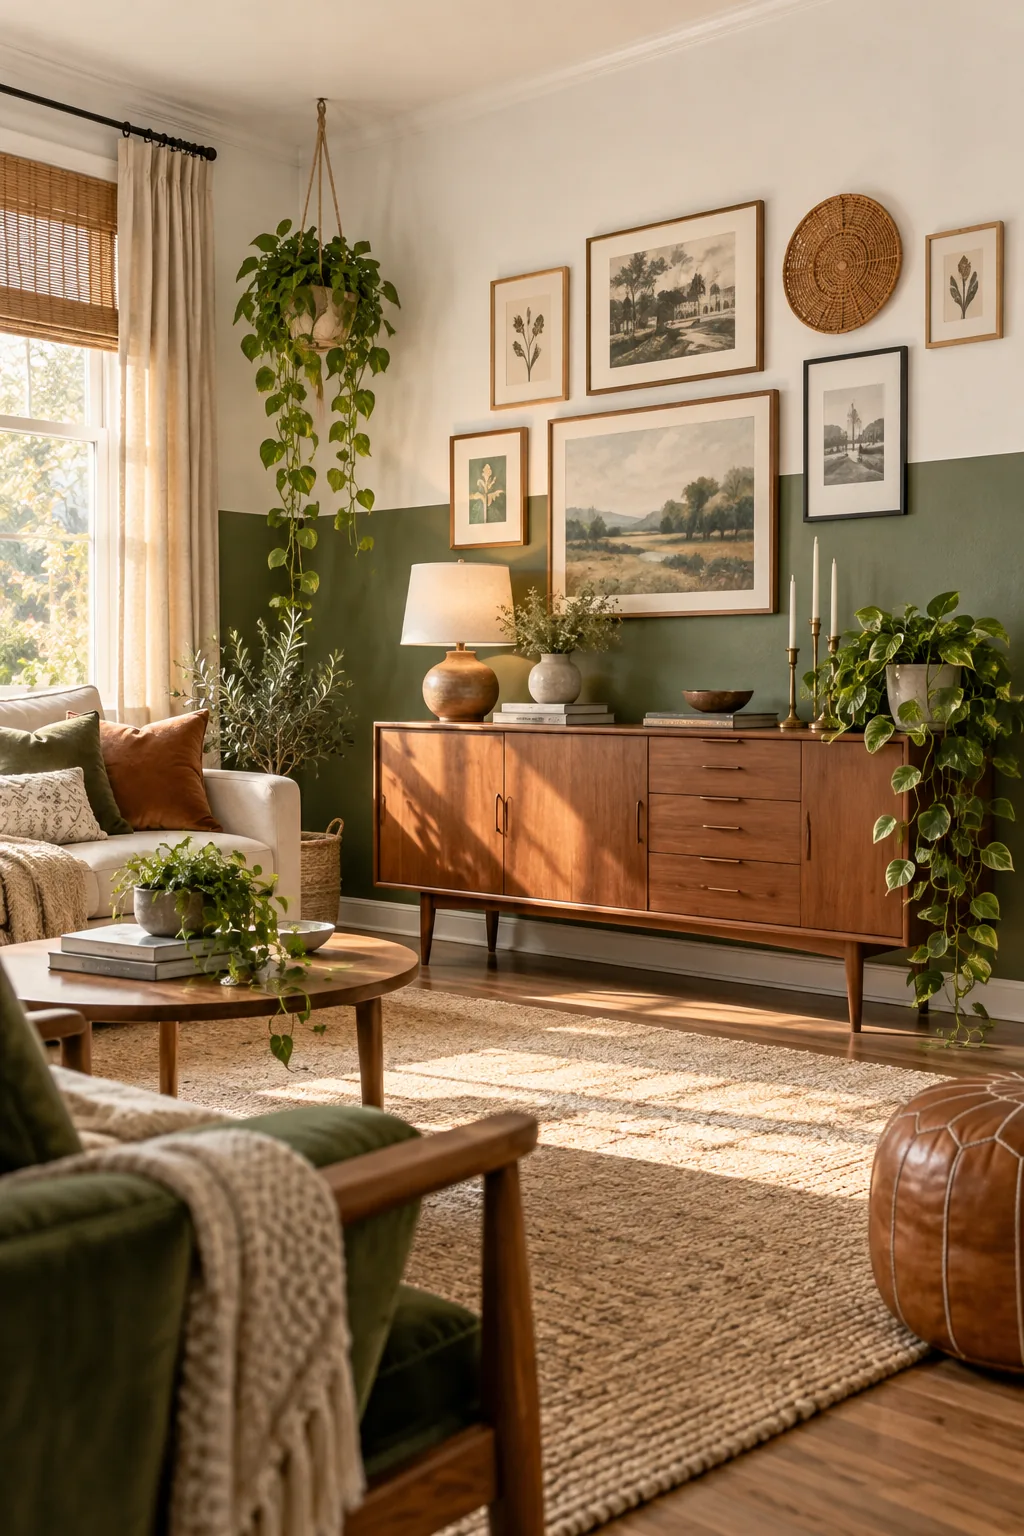
I got impatient in my guest room and scuffed the new transition line with a bookshelf just two days after finishing the project. Once fully cured, use the new color block to frame your favorite decor pieces and beautifully anchor the entire room’s layout.
5 Stunning Two-Tone Wall Ideas to Try
Explore how different color pairings and room settings can completely change the mood of a two-tone space.
Moody Navy Primary Bedroom: Ground a large primary bedroom with deep navy on the bottom half, using brass wall sconces to bridge the transition into the airy white upper section.

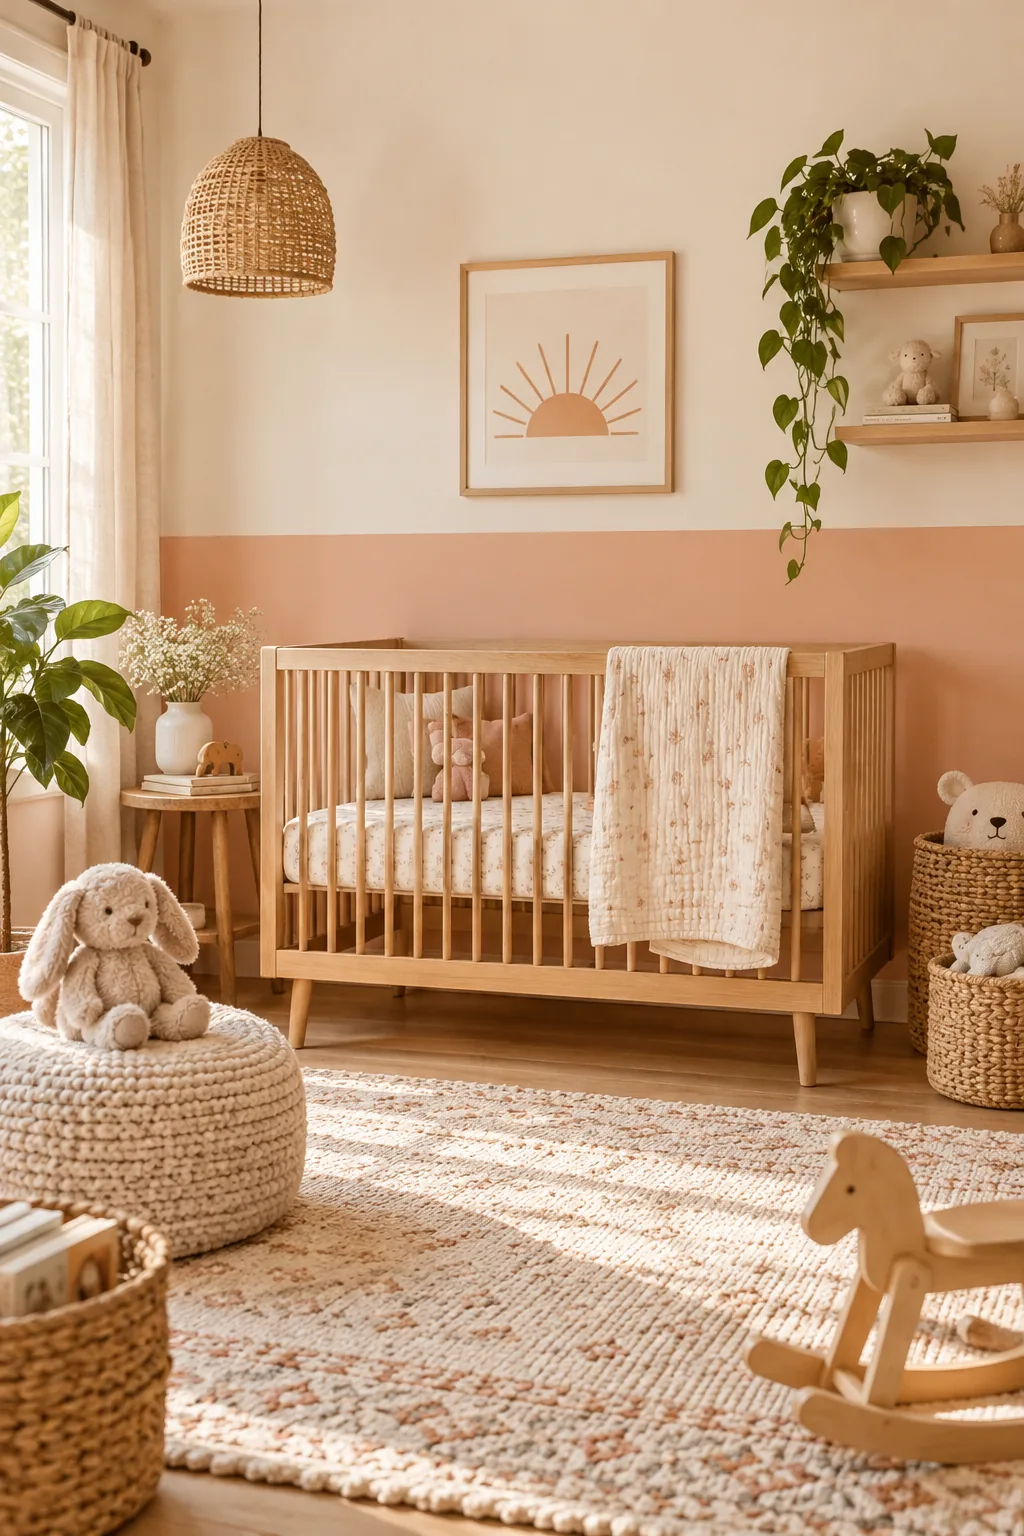
Playful Peach Nursery: Keep a nursery feeling warm but spacious by running a soft peach tone along the lower wall, perfectly framing a natural wood crib and woven baskets.
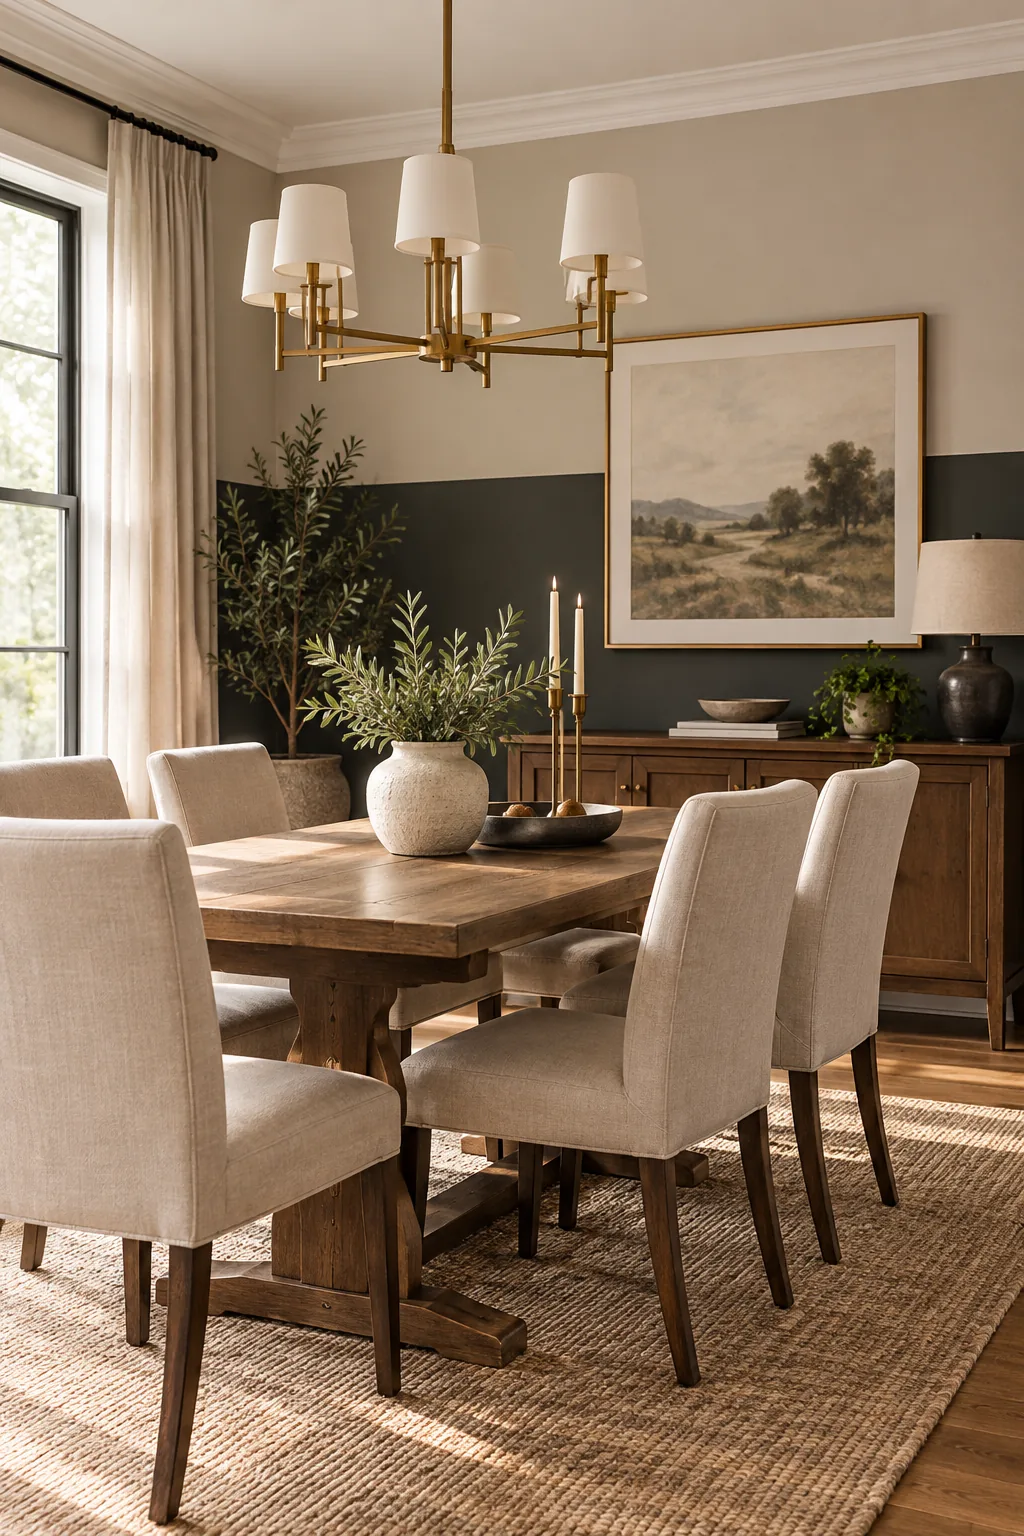
Elegant Charcoal Dining Room: Elevate a formal dining space with a rich charcoal lower section, providing a dramatic backdrop for upholstered linen dining chairs and a modern chandelier.
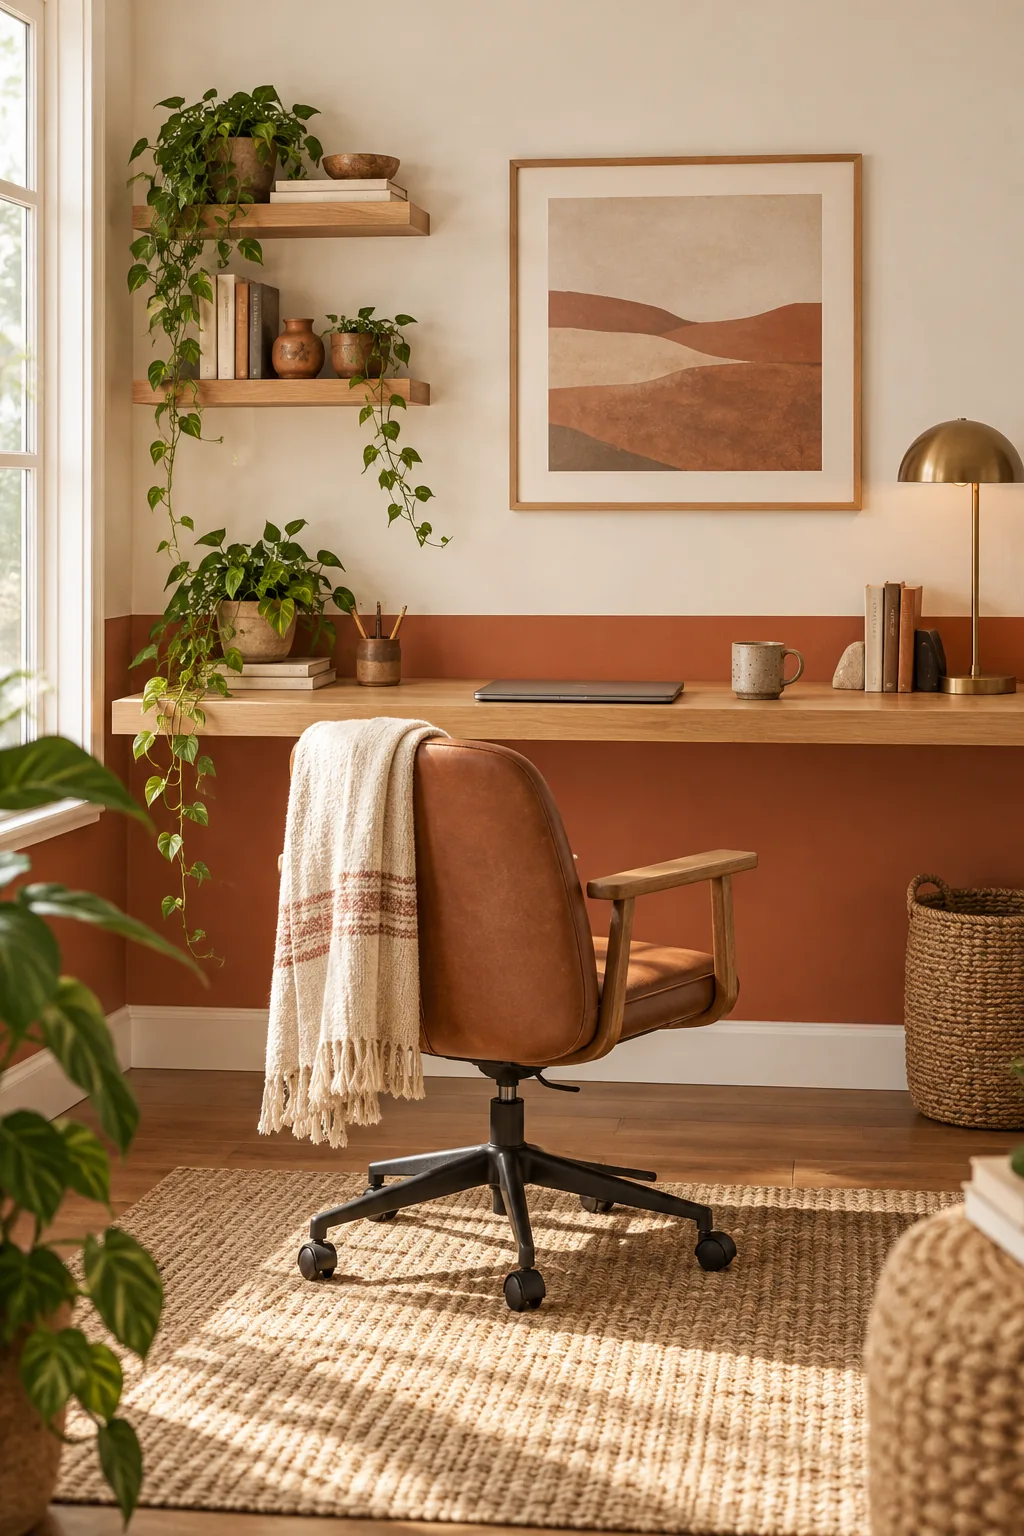
Earthy Terracotta Home Office: Foster focus in a home office with an earthy terracotta base, aligning the color division exactly with the surface of a floating oak desk.
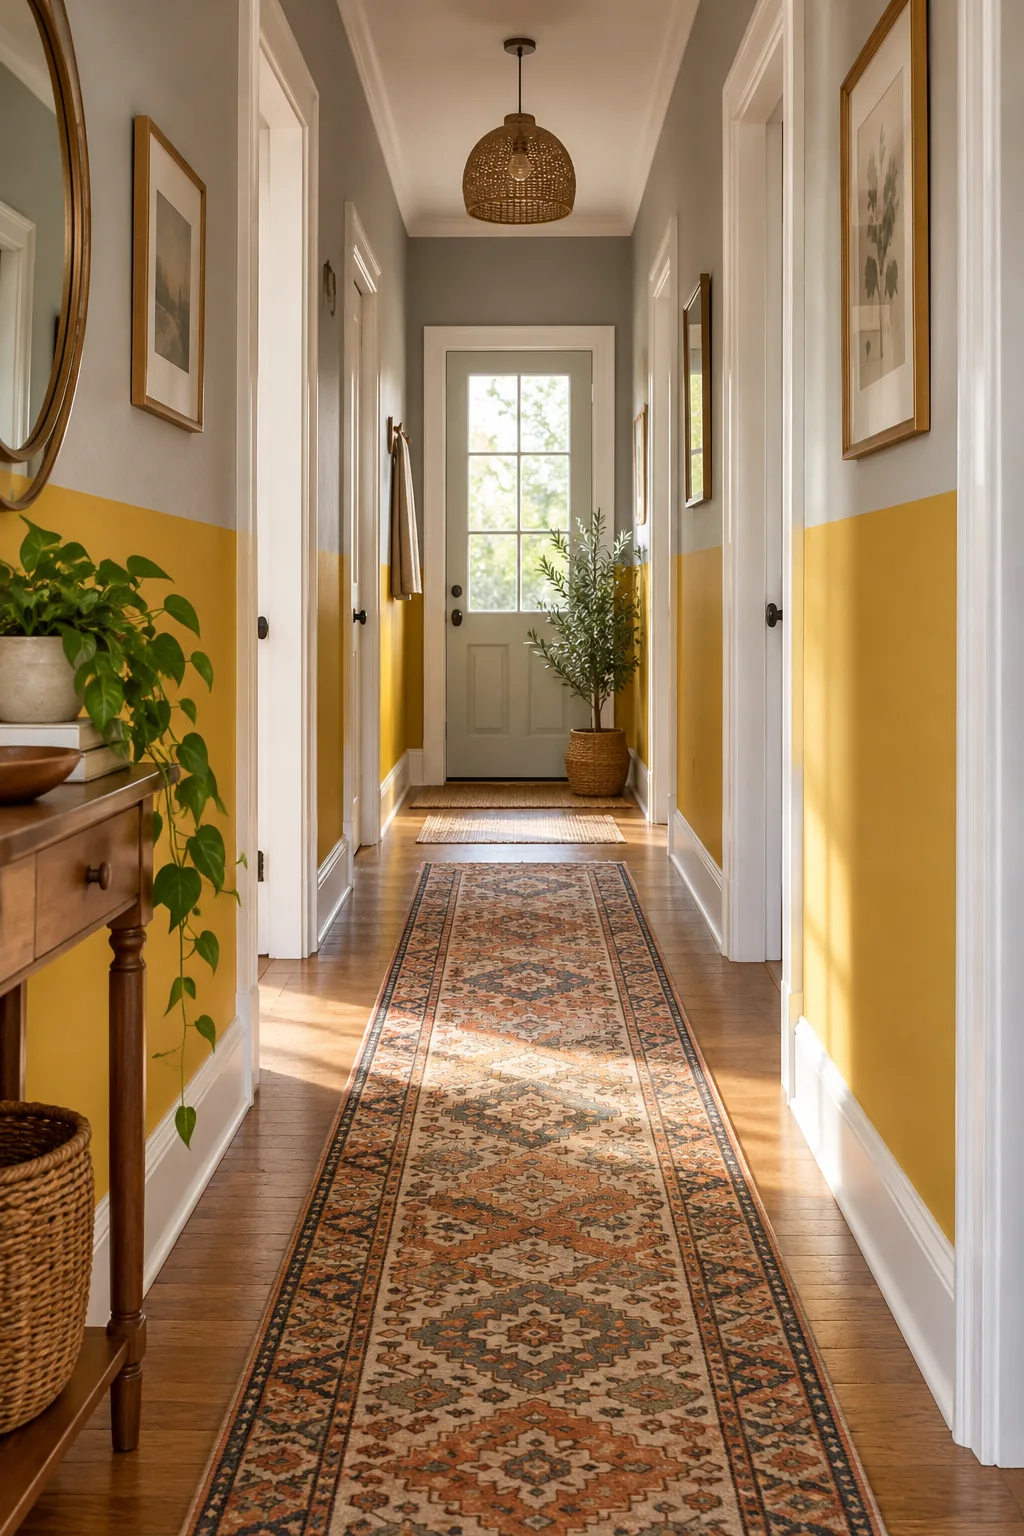
Vibrant Mustard Hallway: Brighten a narrow hallway by applying a vibrant mustard yellow near the floor, drawing the eye down to a patterned vintage runner rug.