How to Paint a Black Wall: The Grey-to-Black Coat Sequence
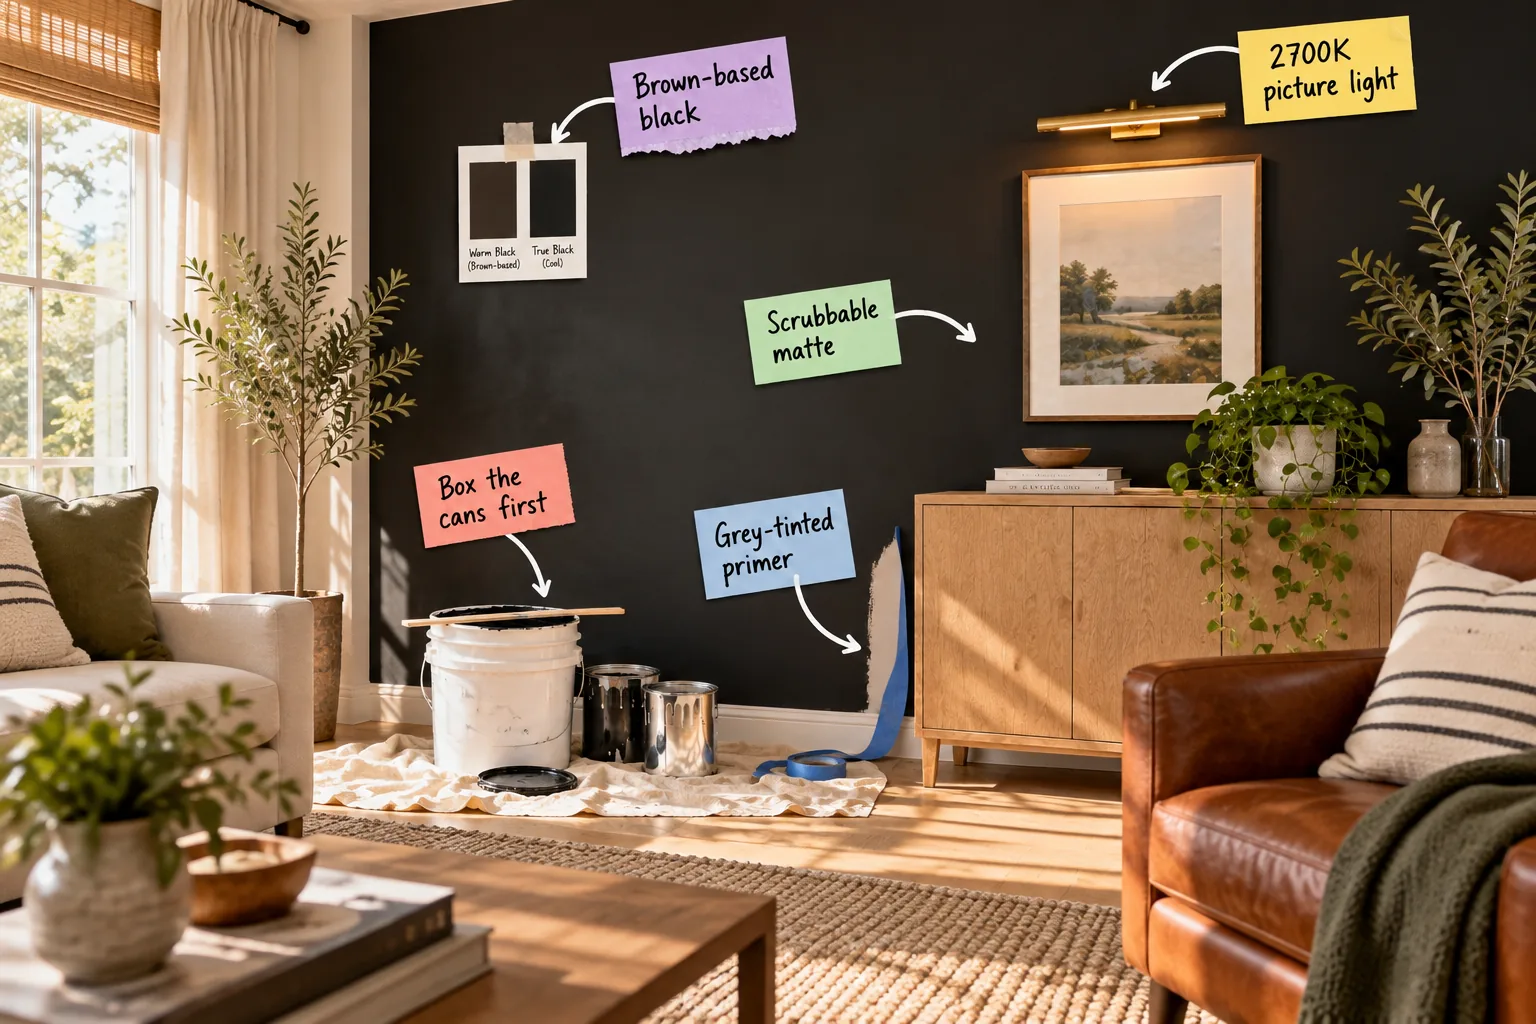
If you are planning a dark feature wall, print our exact grey-to-black coat sequence below to ensure you achieve a flawless, fully opaque finish without streaks or roller marks.
Choosing a Brown-Based Black
A stark, blue-based pure black can easily make a living room feel like a commercial showroom rather than a cozy retreat. Instead, look for a brown-based black with a Light Reflectance Value (LRV) between 4 and 6 to keep the space warm and inviting.
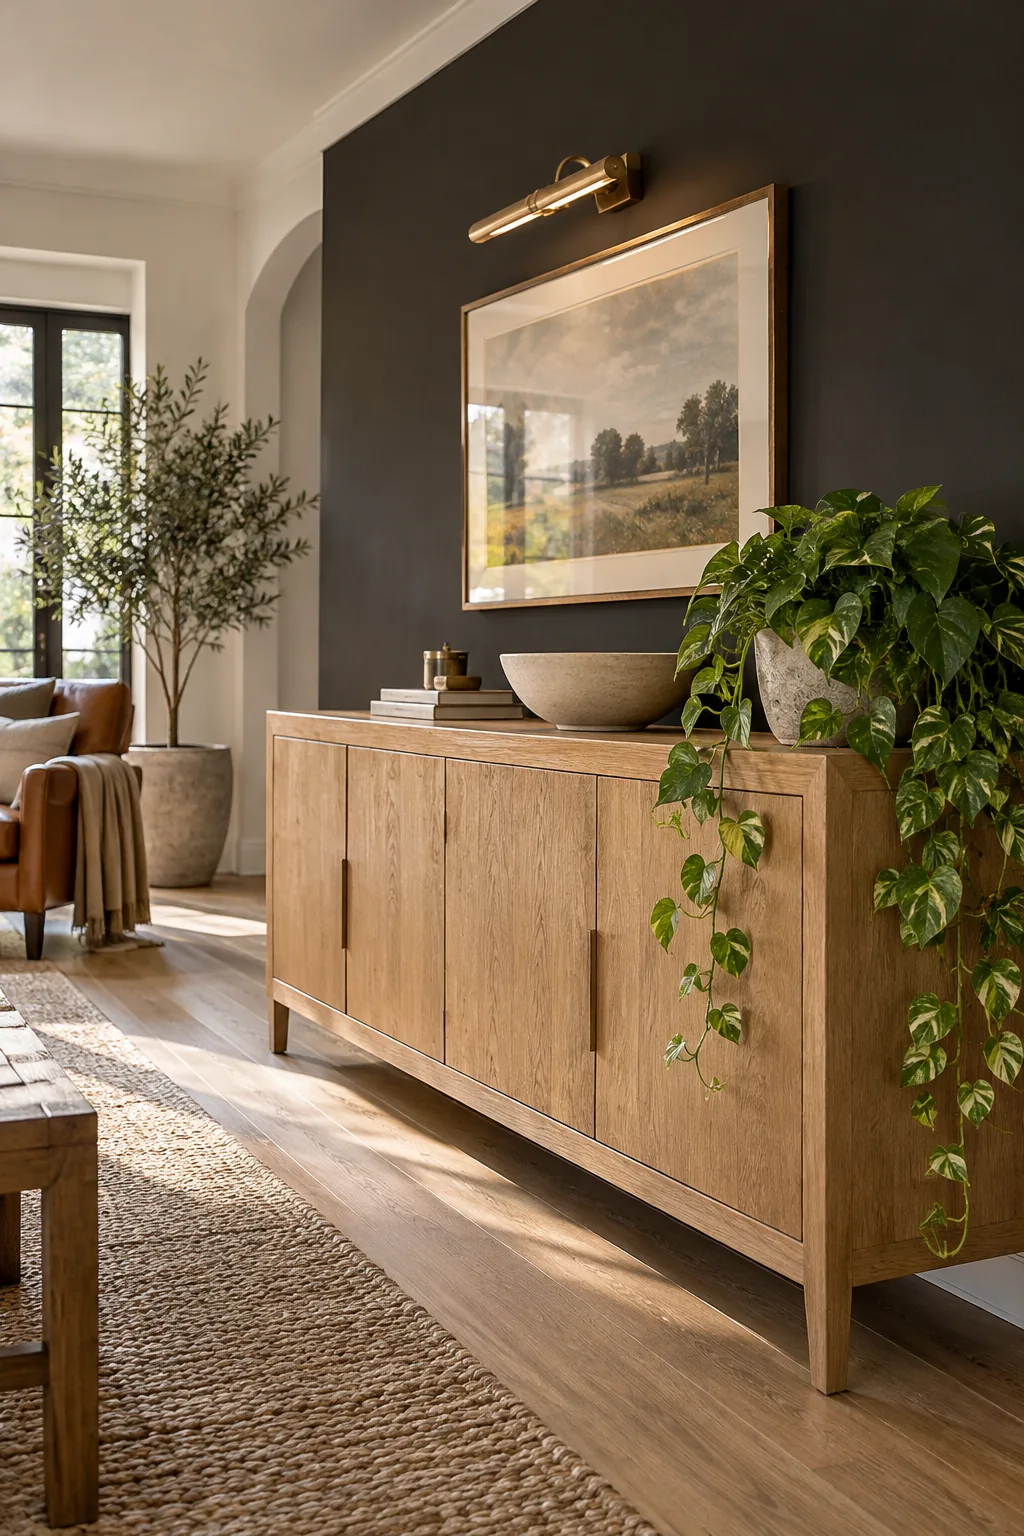
Testing these shades on different walls helps you see how natural light pulls out those subtle, earthy undertones throughout the day.
Starting With a Grey-Tinted Primer
Rolling dark paint over standard white primer usually requires four expensive topcoats to stop the chalky white from glowing through. Having your paint desk mix a mid-grey tinted primer reduces that workload to just two topcoats while ensuring the final color reaches its true depth.
I learned this the hard way in my own Austin dining room, where I skipped the grey primer and spent an entire weekend rolling five frustrating coats just to hide the streaks.
Boxing the Cans for Seamless Color
Even the best paint brands have slight pigment variations from batch to batch that cause visible banding on large walls. Pouring multiple individual gallons into one large 5-gallon bucket—a professional process called boxing—eliminates these subtle differences.
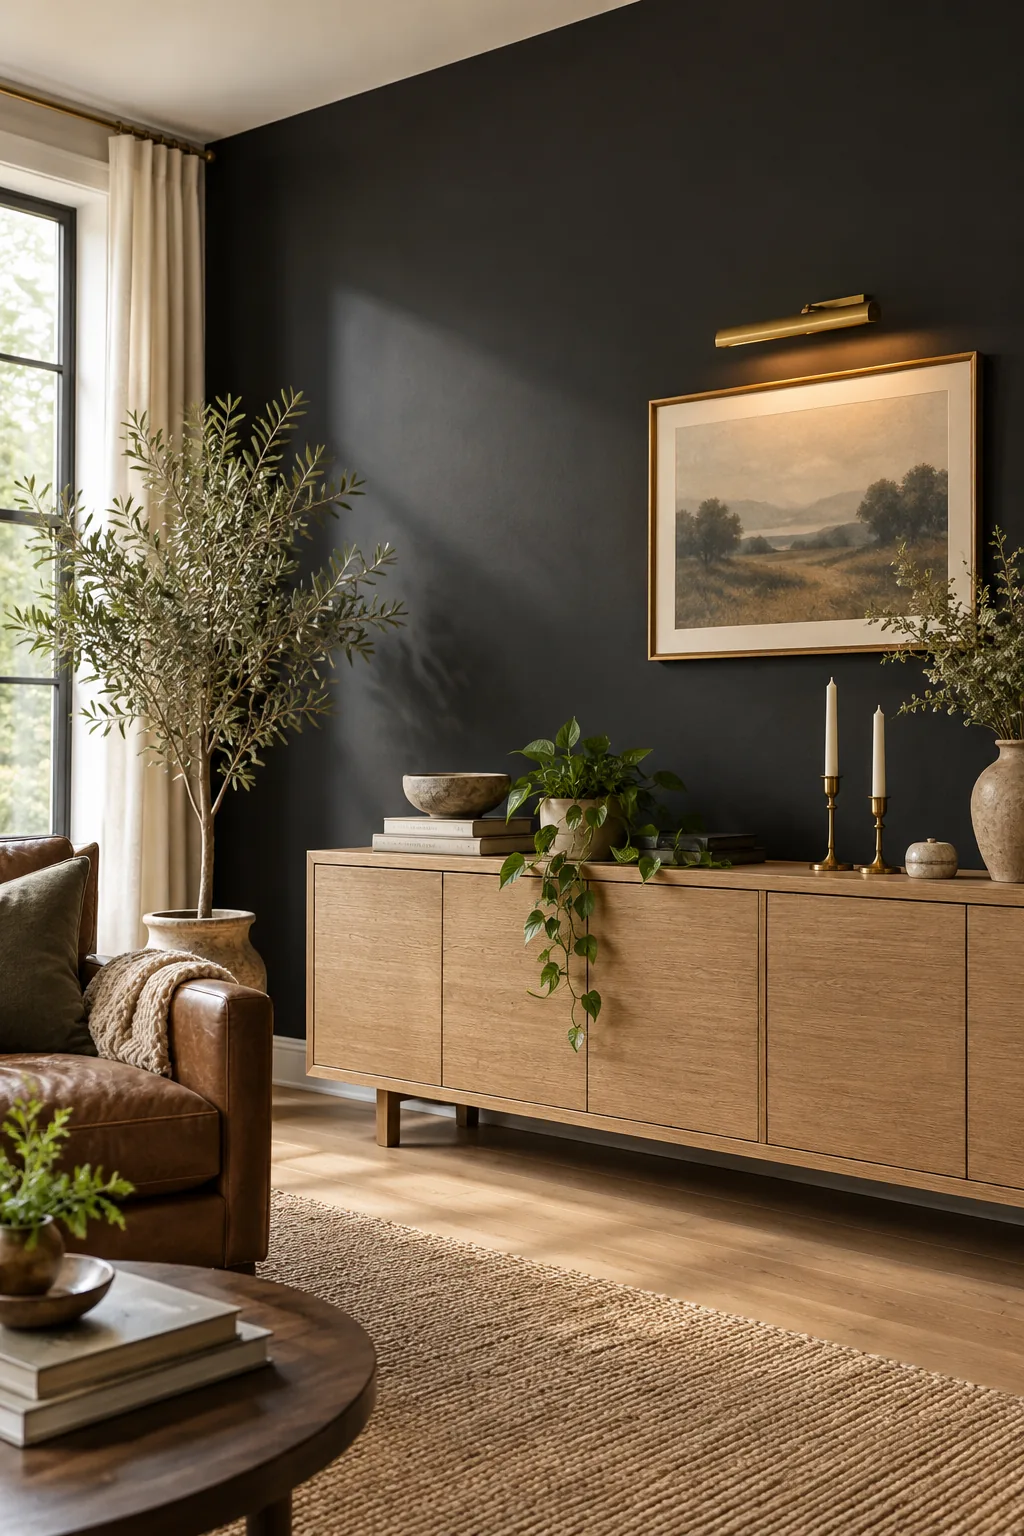
Stir the boxed paint thoroughly with a wooden paddle, lifting from the bottom to ensure the pigments blend into a perfectly uniform shade before you ever dip a brush.
The Grey-to-Black Coat Sequence
Print or screenshot this exact application timeline to ensure your dark wall cures to a flawless, fully opaque finish. I keep this schedule taped to my paint bucket for every dark wall project, because rushing the recoat time guarantees a patchy finish.
Managing Roller Texture
Dark paints reflect light differently than pale colors, making roller texture highly visible if you use the wrong tools. Stick to a 3/8-inch microfiber roller nap to lay down a smooth, stipple-free finish that mimics a sprayed application.
| Roller Material | Nap Length | Best For |
|---|---|---|
| Microfiber | 3/8-inch | Smooth drywall |
| Woven poly | 1/2-inch | Lightly textured walls |
Selecting a Scrubbable Matte Finish
Dark colors naturally amplify every drywall bump and patch, making a light-absorbing matte finish essential for a smooth look. However, you must specify a 100% acrylic scrubbable formula so you can clean the wall without leaving permanent shiny spots.
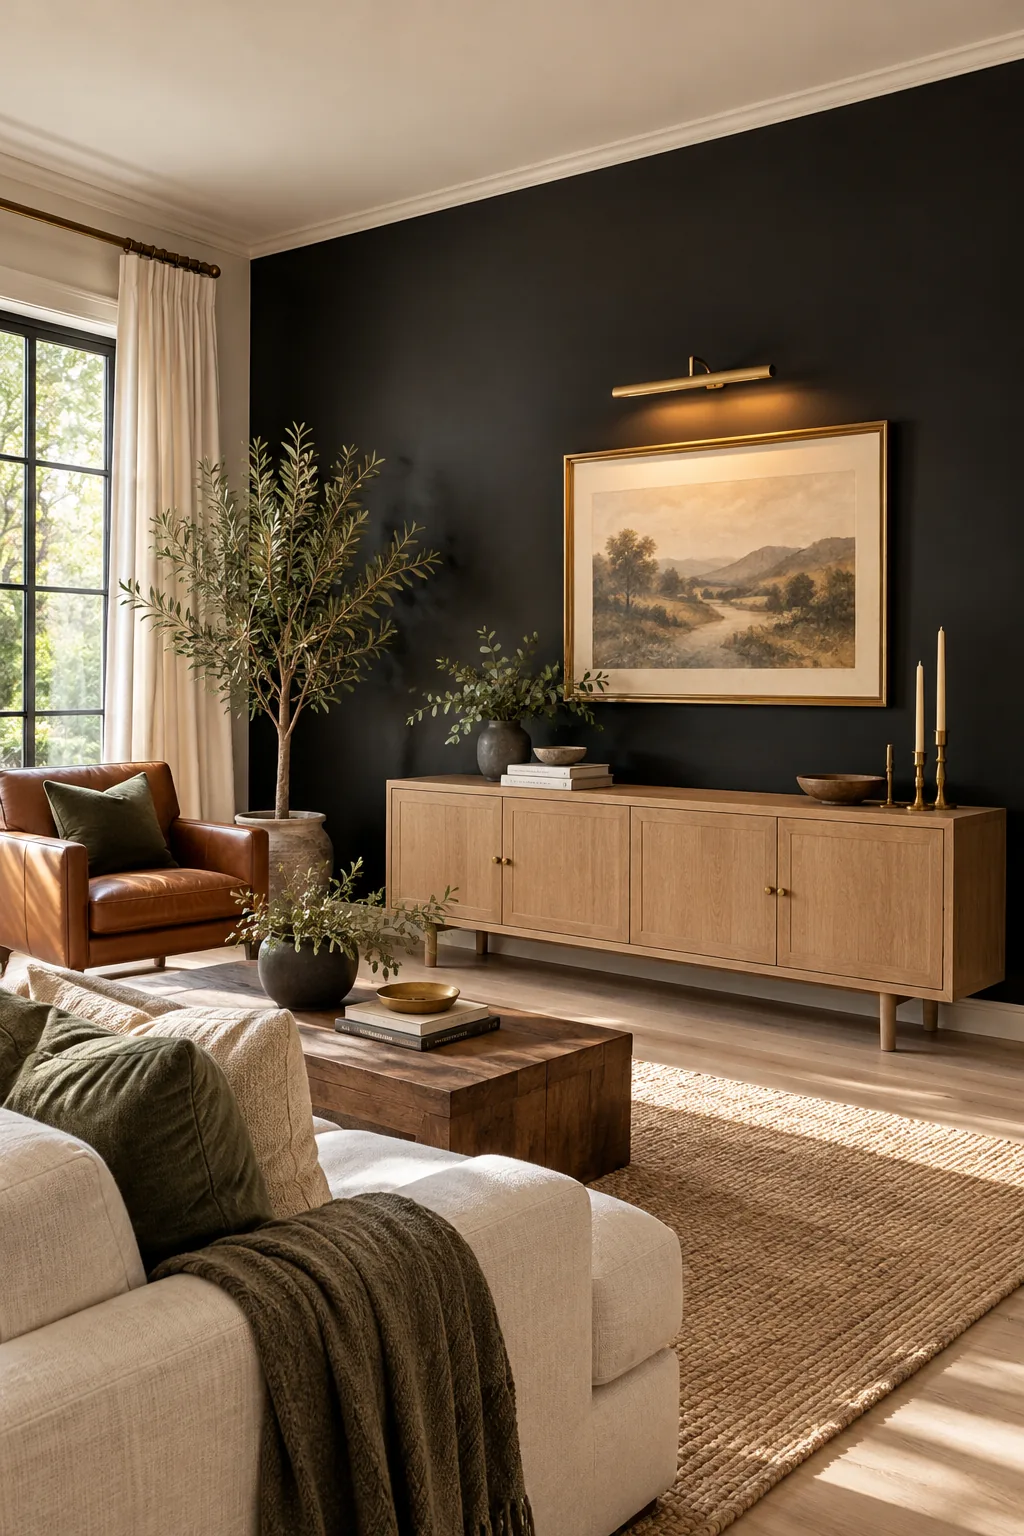
Even the highest-quality acrylic matte requires proper care to maintain its velvety, shine-free appearance over time.
Illuminating with a 2700K Picture Light
The lighting you choose will completely alter how your dark paint reads, and cooler bulbs at 3000K or higher will instantly make a brown-based black look blue and sterile. Specify 2700K LED bulbs in your fixtures to cast a warm, inviting glow.
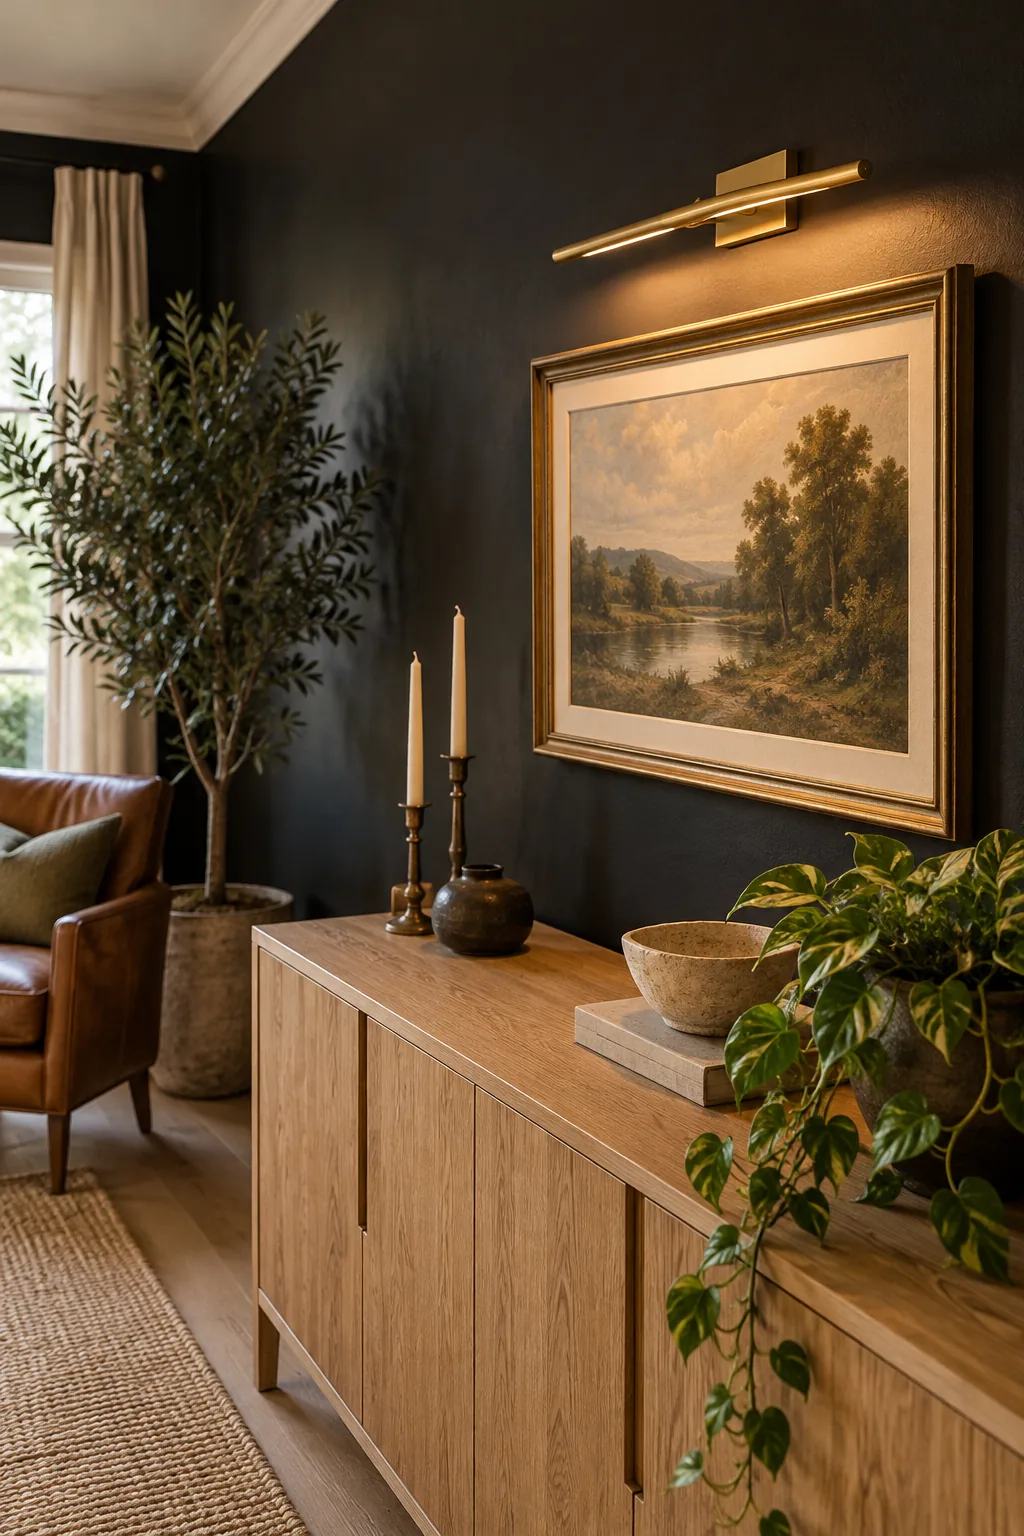
When I finally swapped the harsh daylight bulbs in my own picture lights for 2700K LEDs, the wall instantly transformed from a cold void into the moodiest, most welcoming corner of the house.
Black Wall Inspiration by Room
Explore how different undertones and styling choices bring dark walls to life across the home.
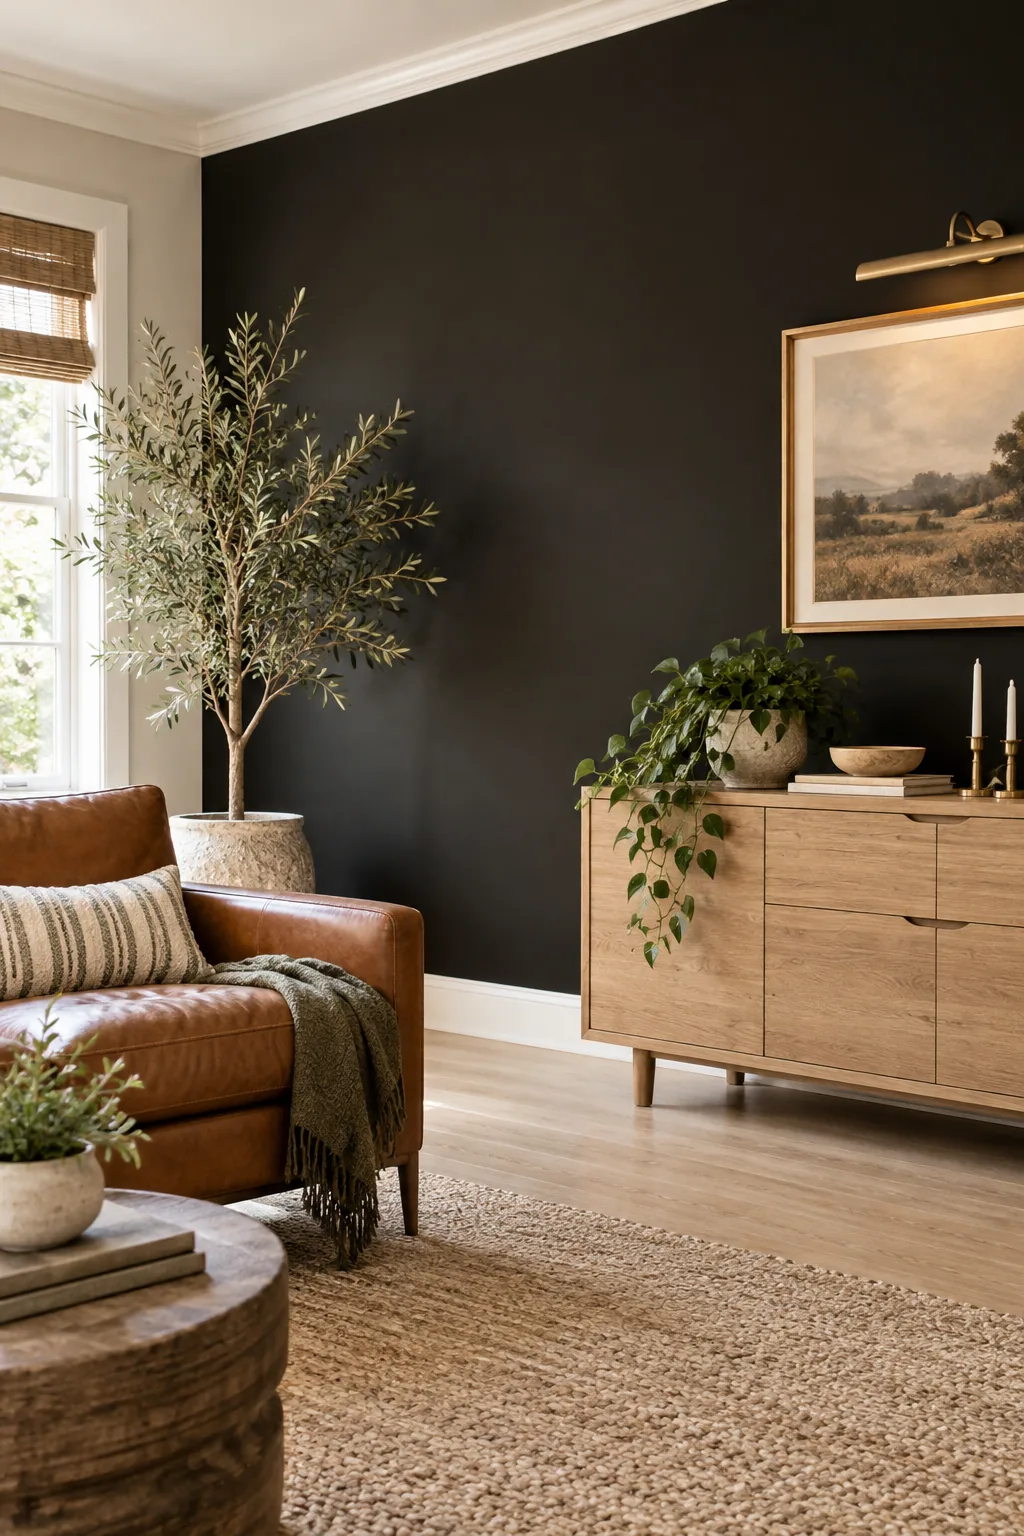
Organic Modern Charcoal: Charcoal black pairs effortlessly with natural textures like rumpled linen and raw wood.
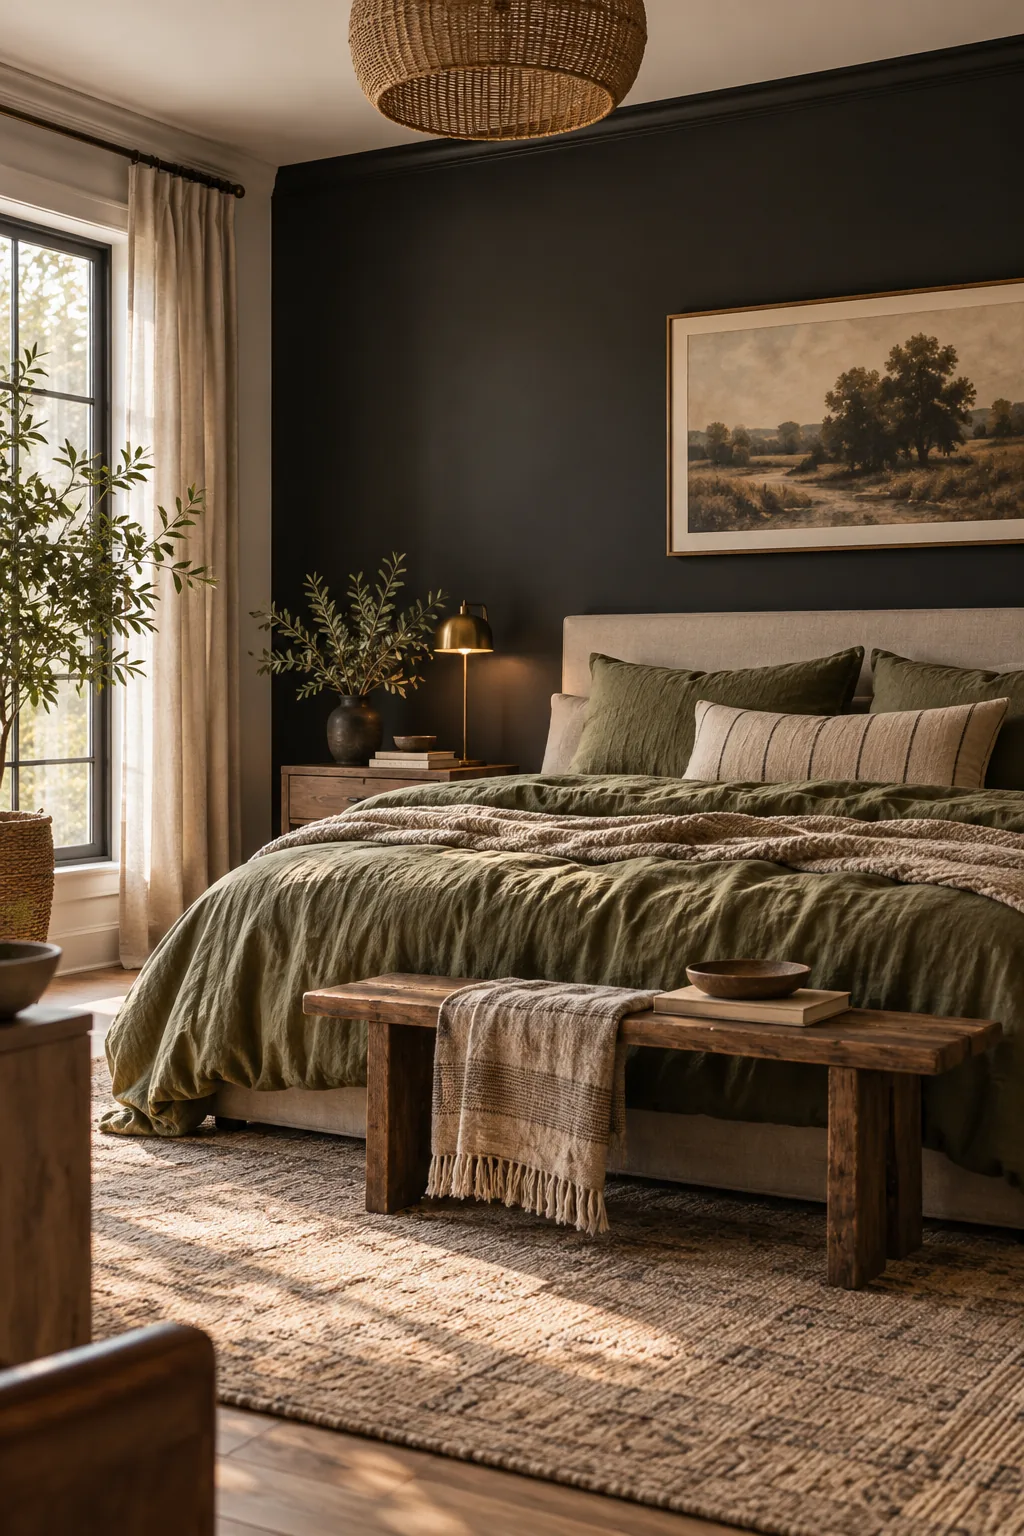
Traditional Ink Black: Balance the heaviness of ink black by installing it strictly above bright white wainscoting.
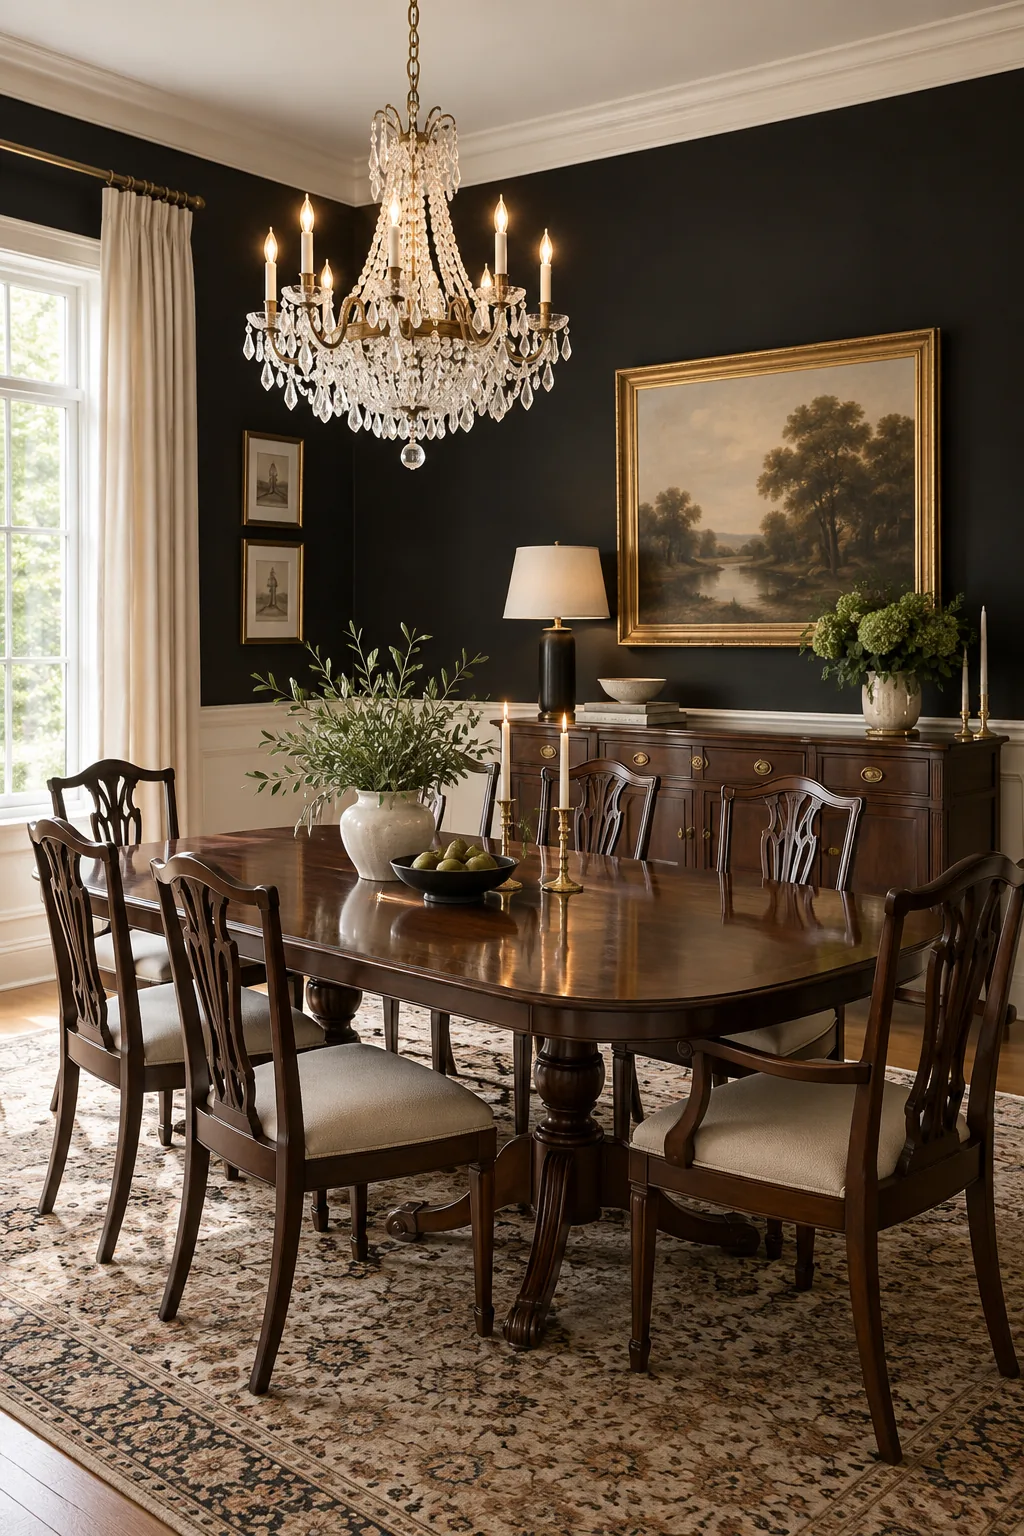
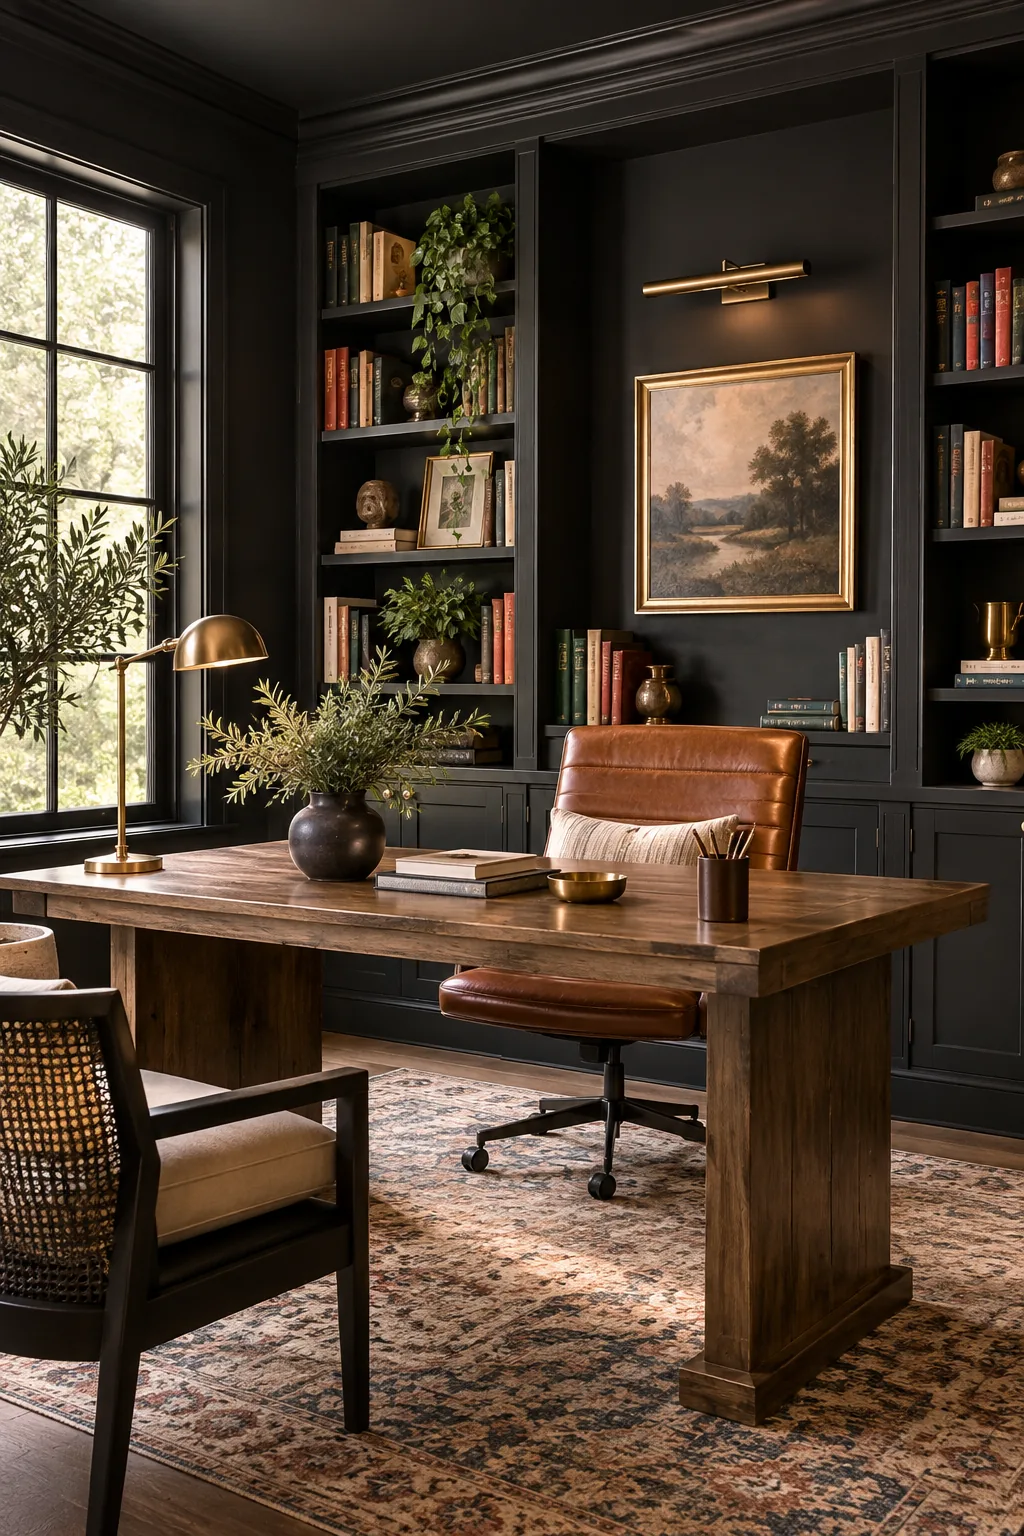
Transitional Iron Black: Color-drenching the trim and bookshelves in the same iron black creates an immersive workspace.
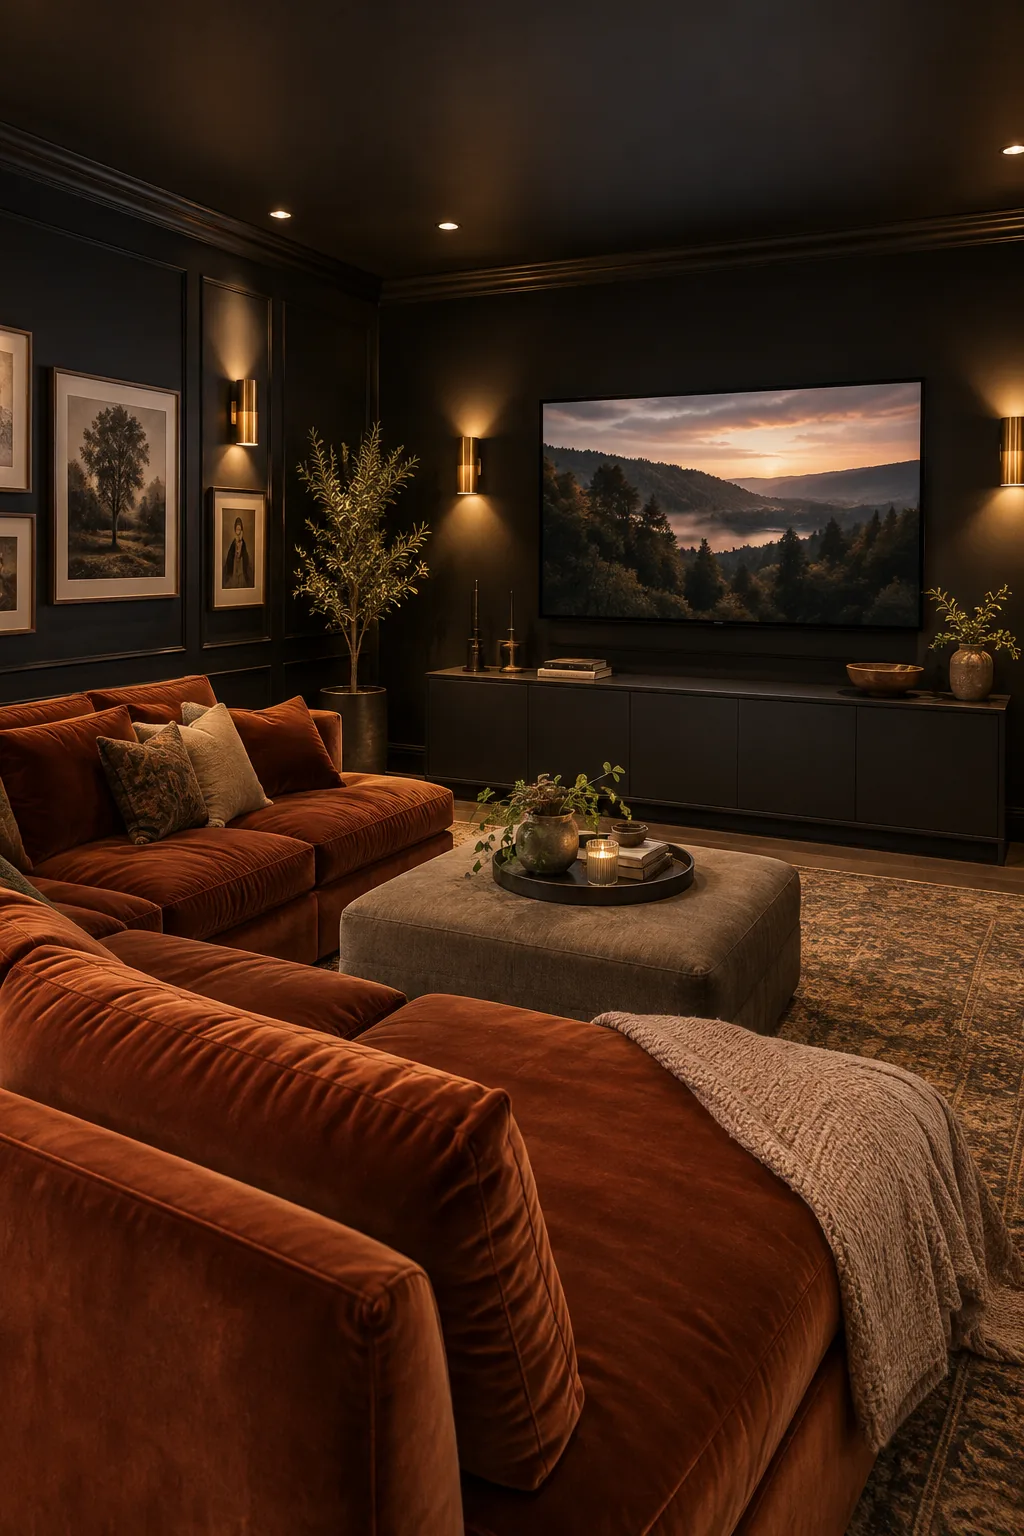
Cinematic Pitch Black: Pitch black walls disappear in low light, making rust velvet seating the focal point.
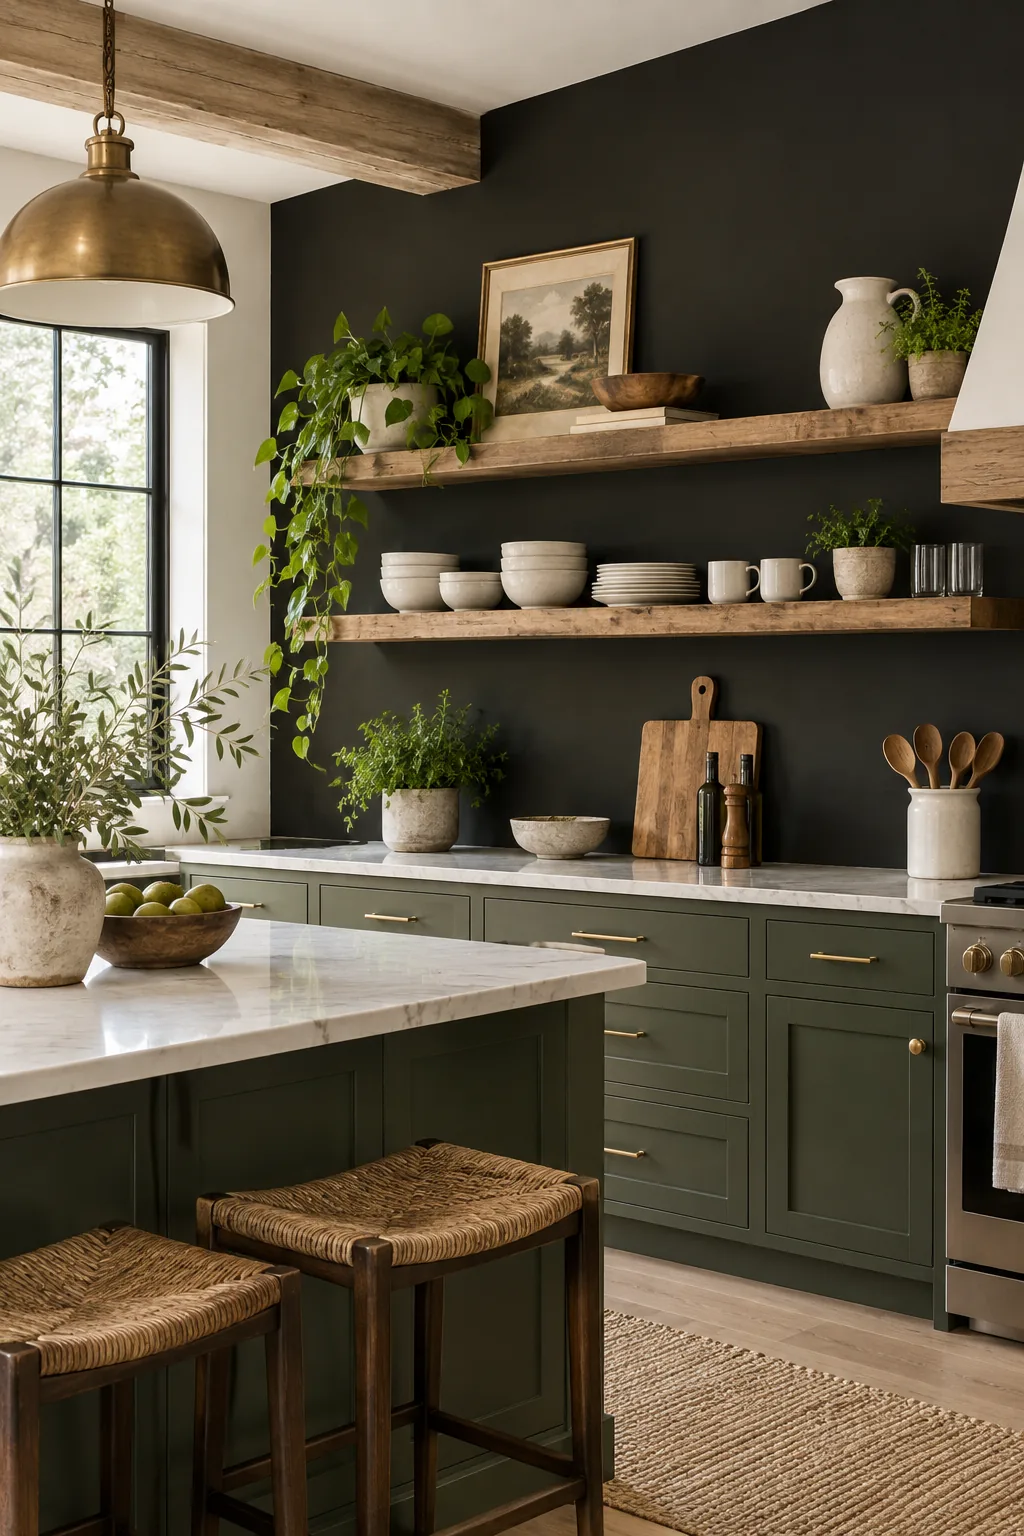
Farmhouse Green-Black: A subtle green undertone softens the black, providing a beautiful backdrop for white ceramics.