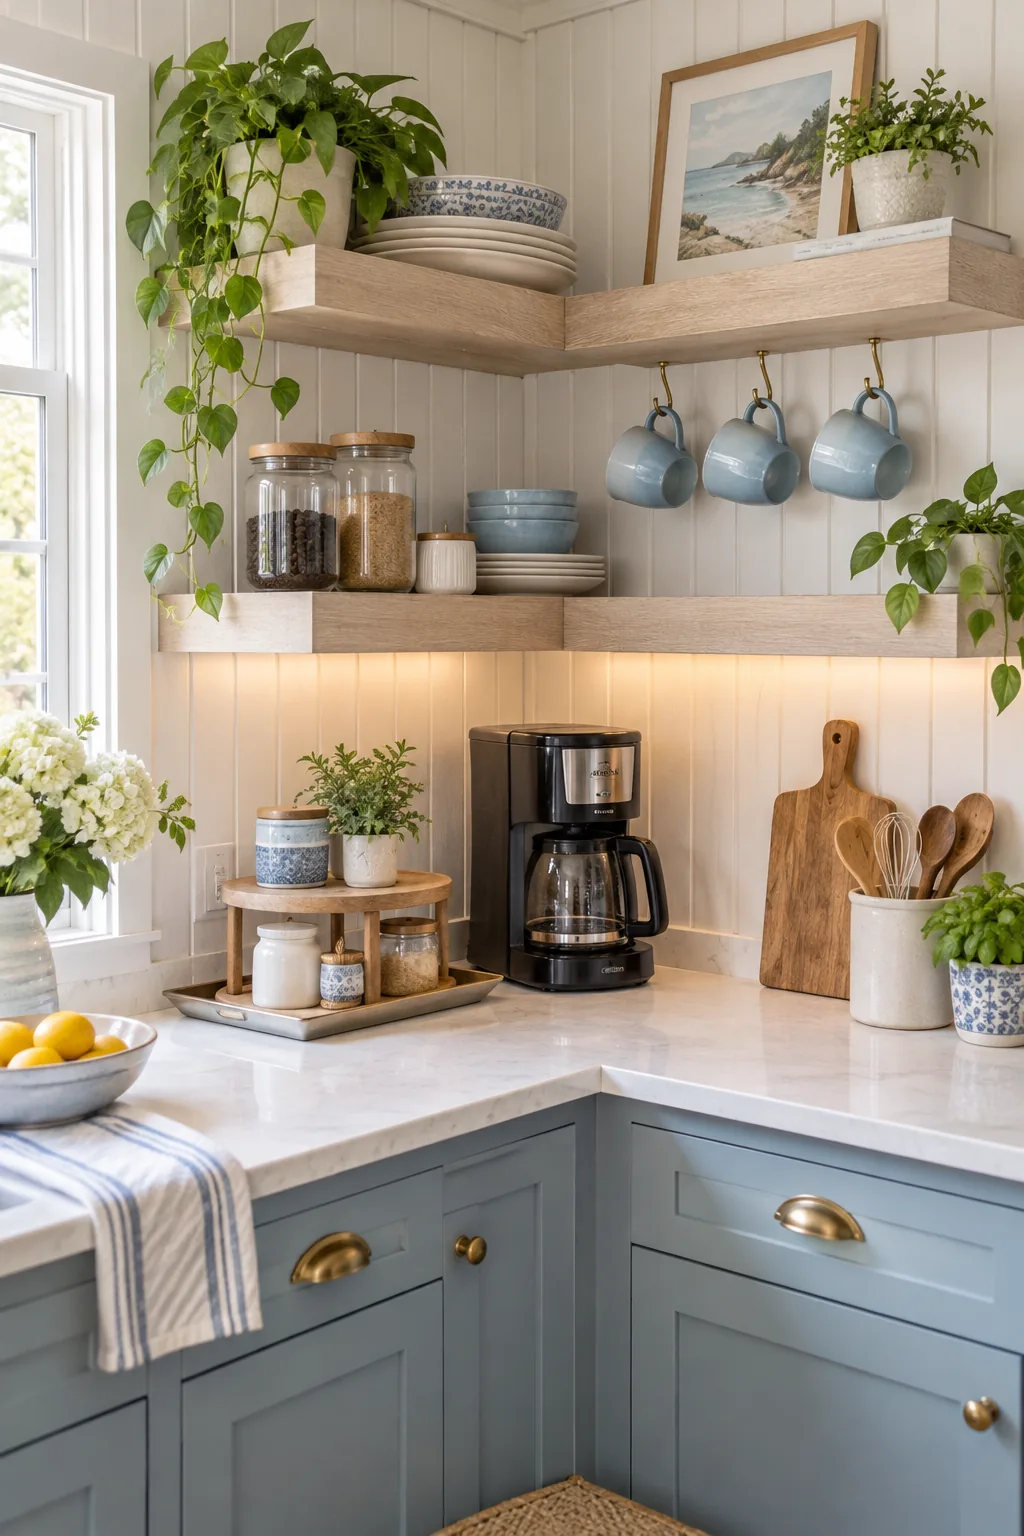
Kitchen Corner Layout Ideas & Counter Measurement Sheet
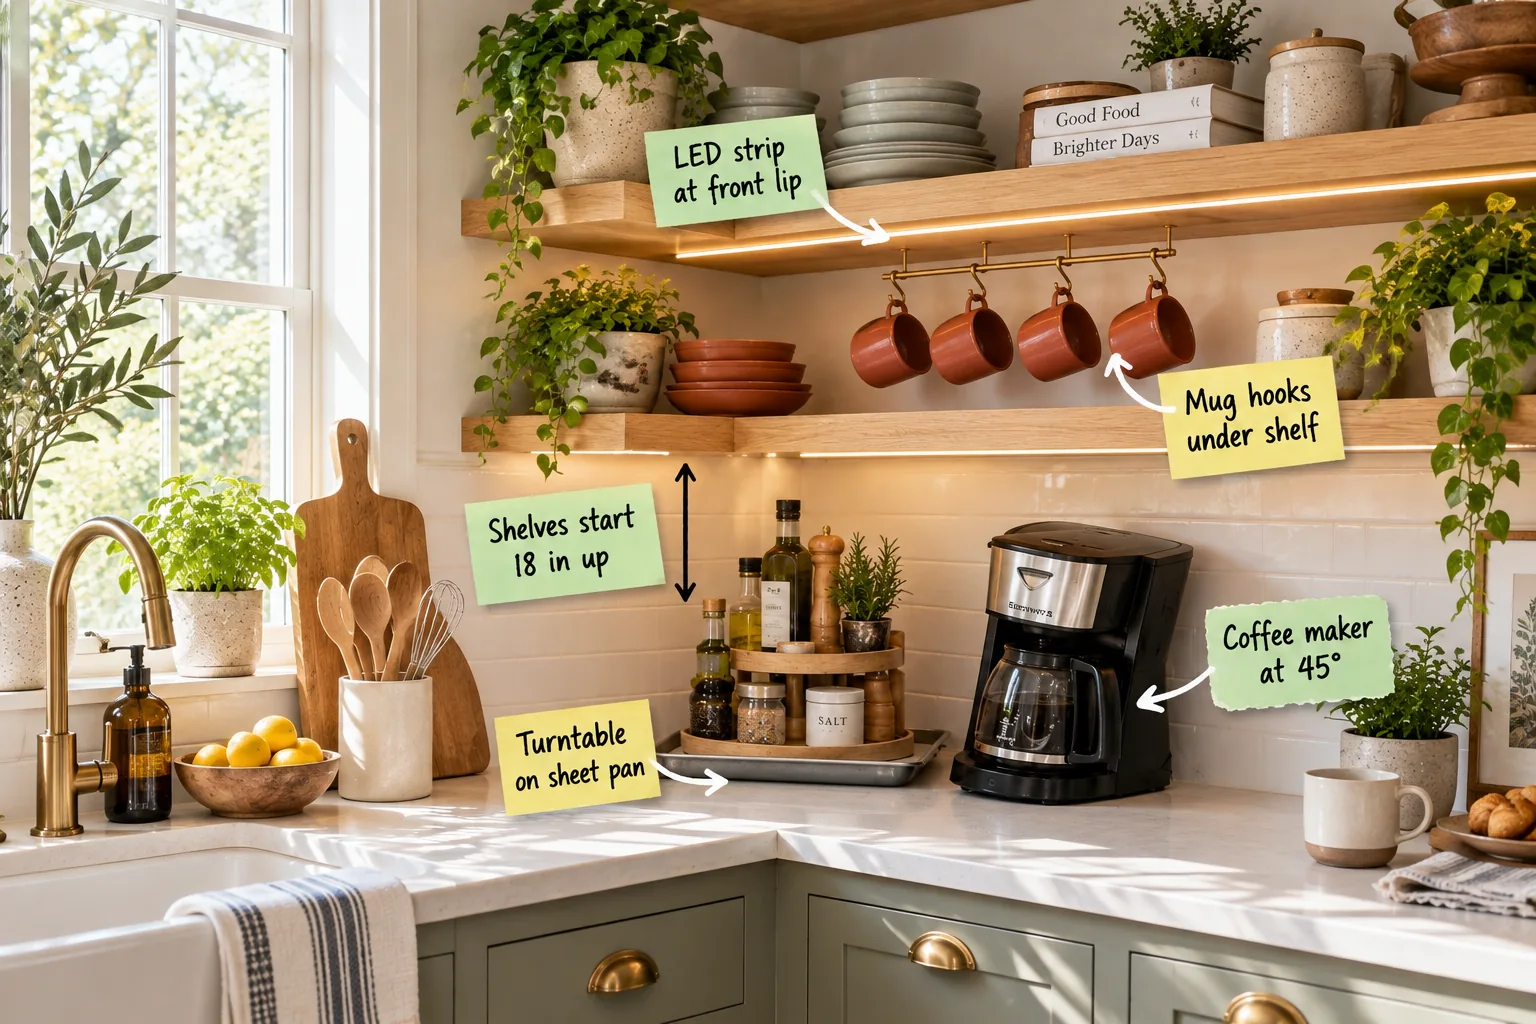
Stop wasting deep counter space and download our free Corner Counter Measurement Sheet to perfectly space your turntable, appliances, and floating shelves. You will be able to arrange your deepest kitchen corner using exact clearances and a printable template.
Angling Appliances at 45 Degrees
Turn your coffee maker exactly 45 degrees to utilize the deepest part of the corner seam. This diagonal placement leaves a hidden 6-inch triangular void behind the machine, keeping the carafe within easy reach.
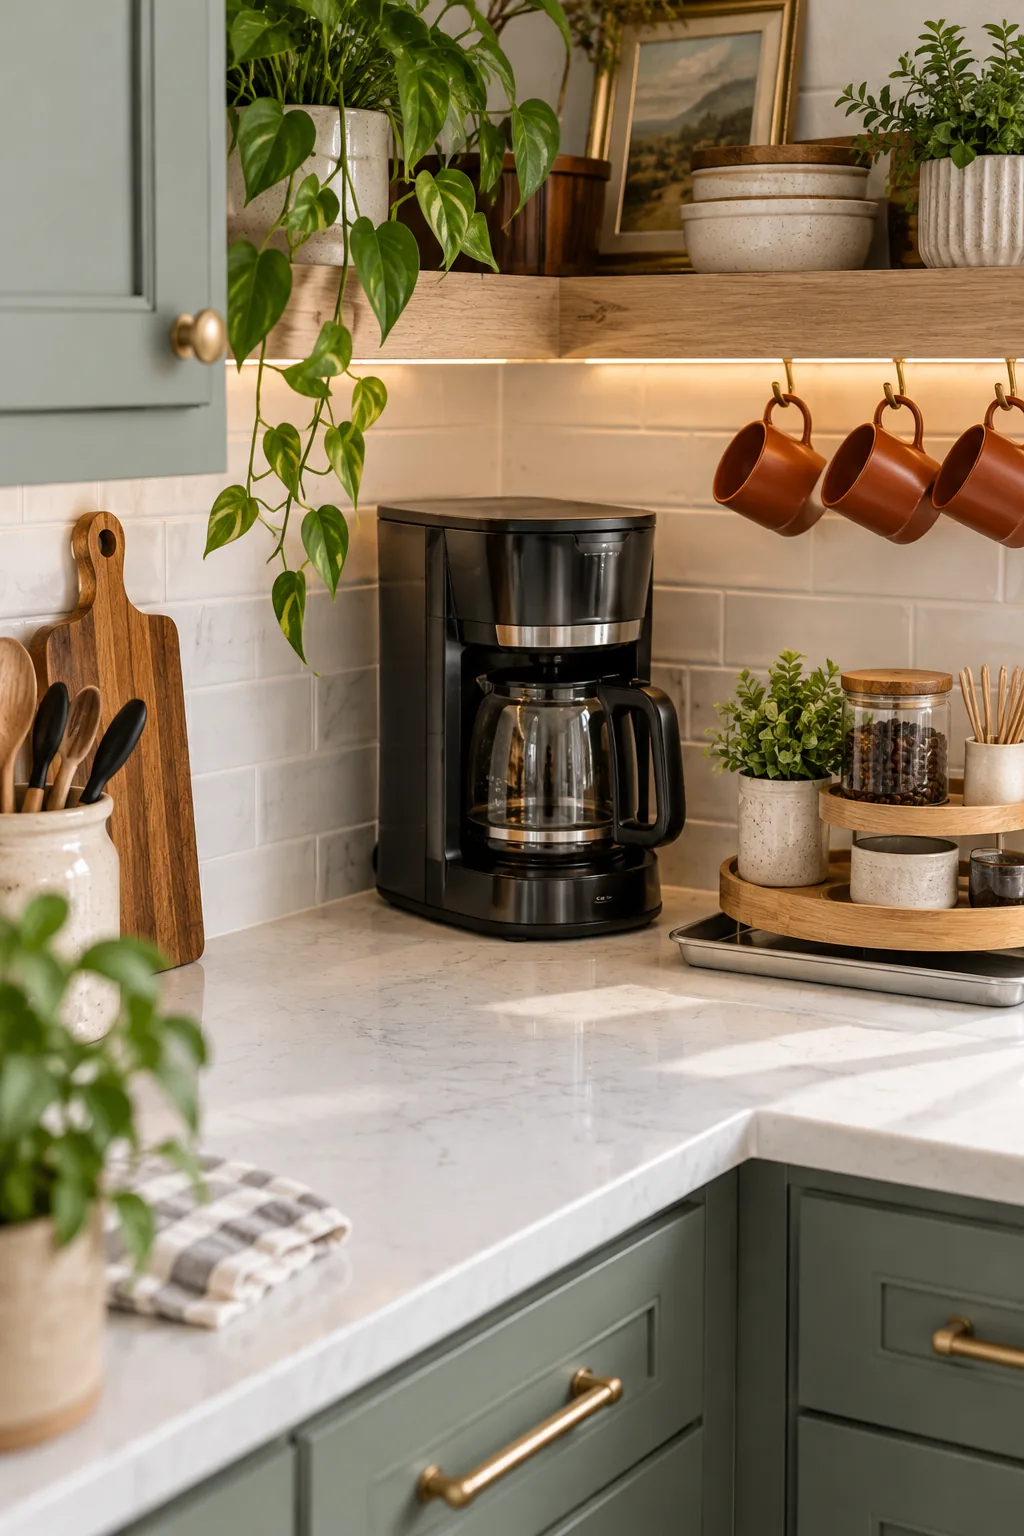
That empty wedge perfectly conceals bulky power cords out of sight while anchoring the entire beverage station.
The Sliding Turntable Trick
Place a 10-inch wooden turntable on top of an aluminum quarter sheet pan in the far back corner. The metal tray allows the entire heavy oil station to slide forward like a drawer.
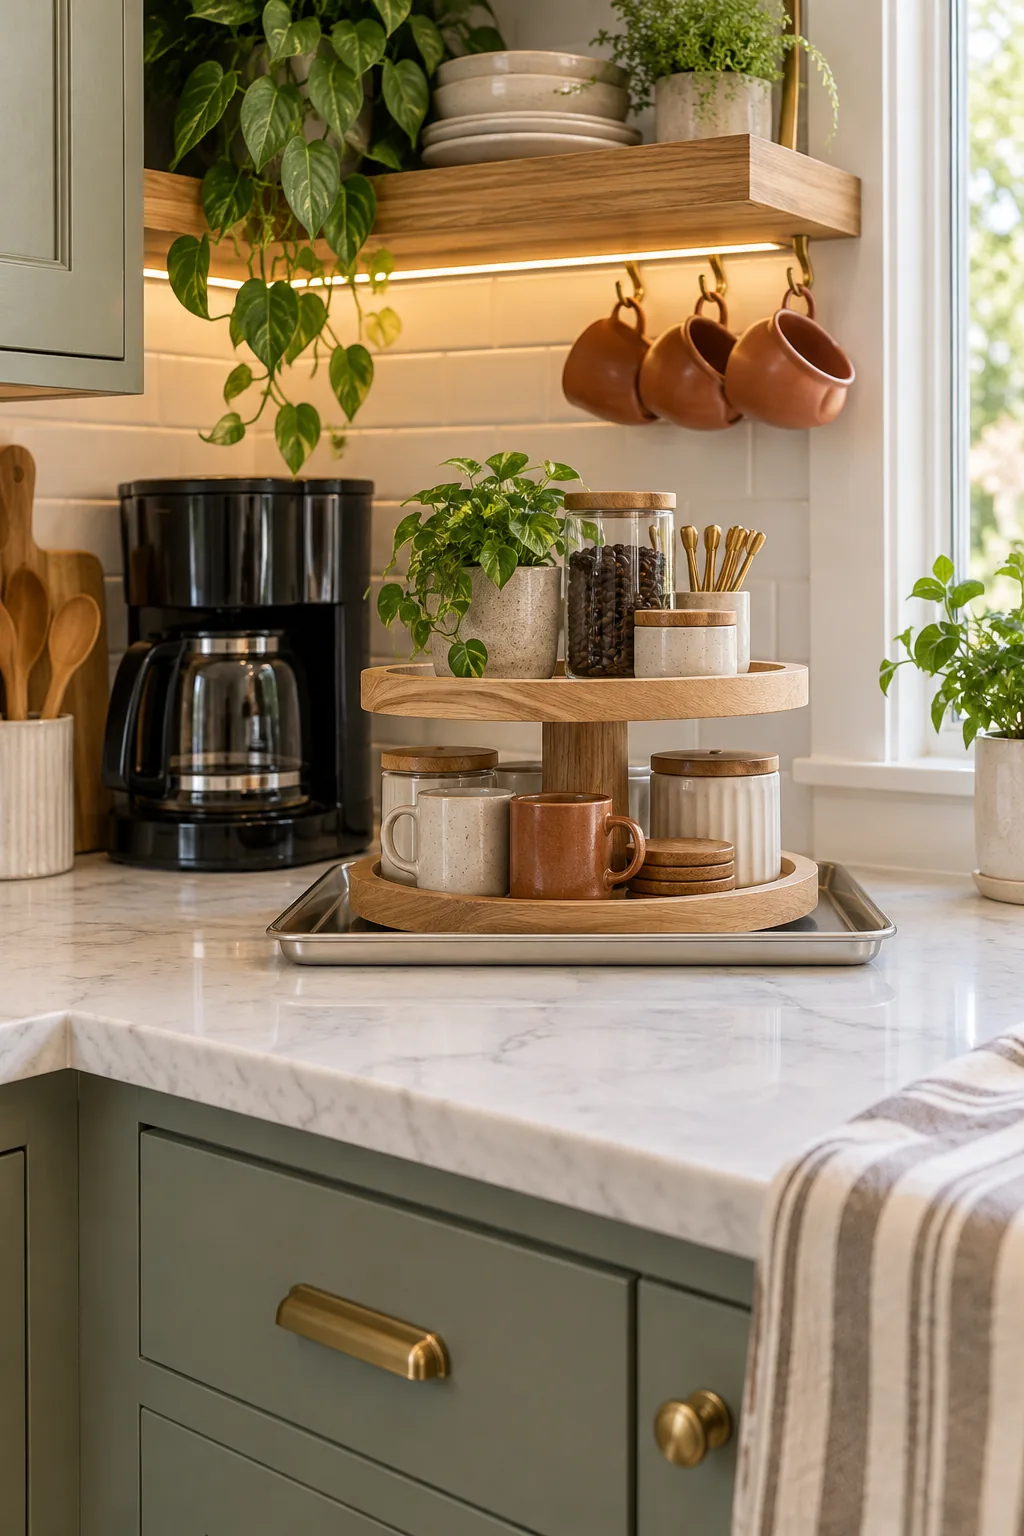
A simple baking staple transforms a static corner organizer into a highly movable tray that catches accidental drips.
Corner Counter Measurement Sheet
Print the corner counter measurement sheet to map out your exact layout before drilling into the wall. When I remodeled my own Denver kitchen, mapping out the 24-inch diagonal appliance depth saved me from misplacing the primary floating shelf.
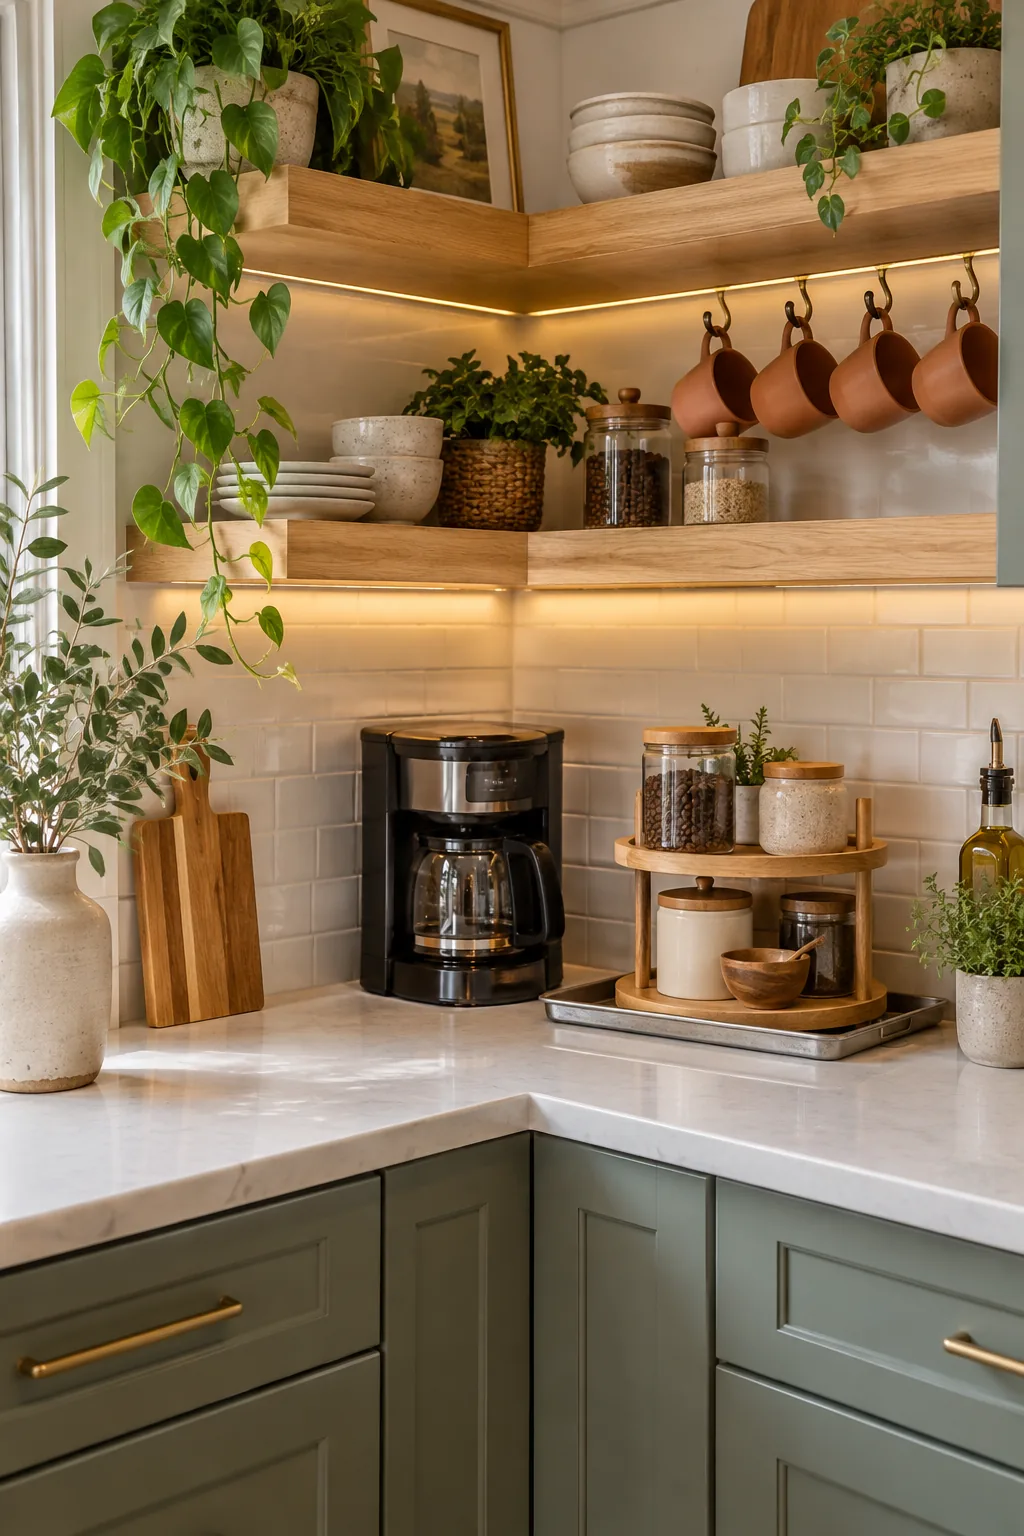
Before downloading the template, take three quick measurements of your existing layout to ensure a perfect fit.
Planning the Utensil Zone
Group tall wooden spoons and whisks in a ceramic crock on the left side of the corner arrangement. Keep this vessel within 12 inches of your primary prep zone so your most-used tools are always ready to grab.
Setting the Base Shelf Clearance
Mount the lowest floating shelf exactly 18 inches above the countertop surface. This standard clearance ensures tall coffee makers, stand mixers, and large olive oil bottles fit comfortably underneath.
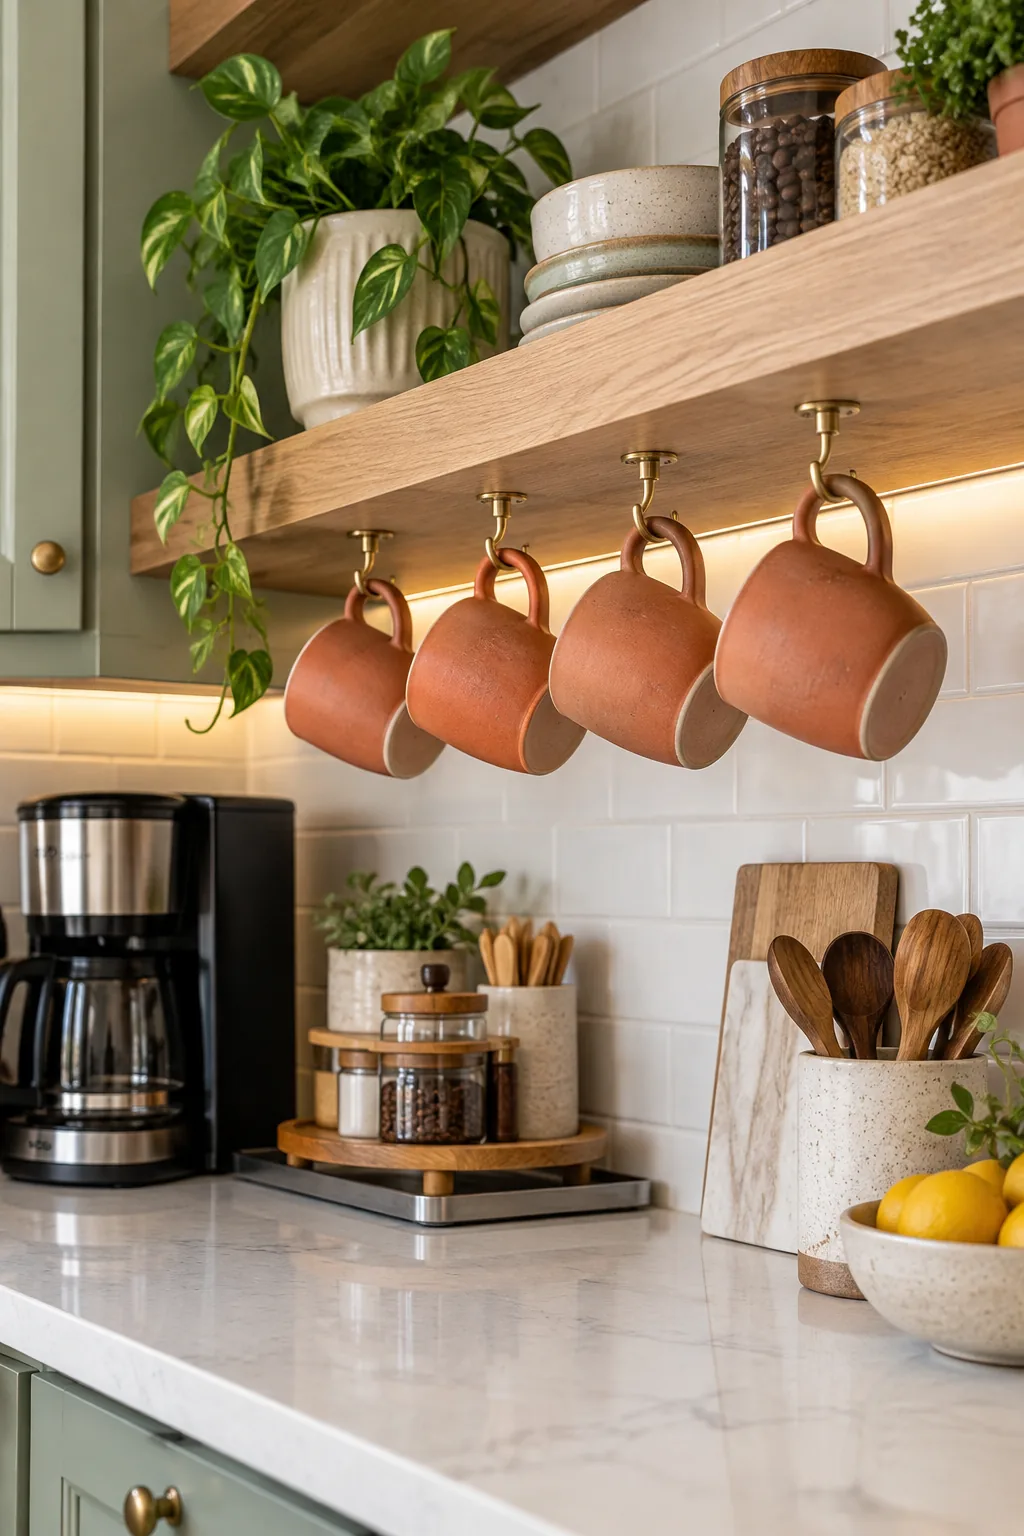
Leaving this precise gap prevents heavy appliances from scraping the bottom of the wood when you pull them forward.
Hanging Mugs on Brass Hooks
Install a brass rail or individual cup hooks beneath the lowest shelf to maximize vertical storage. I space the hooks exactly 4 inches apart in my own home so standard terracotta mugs hang freely.
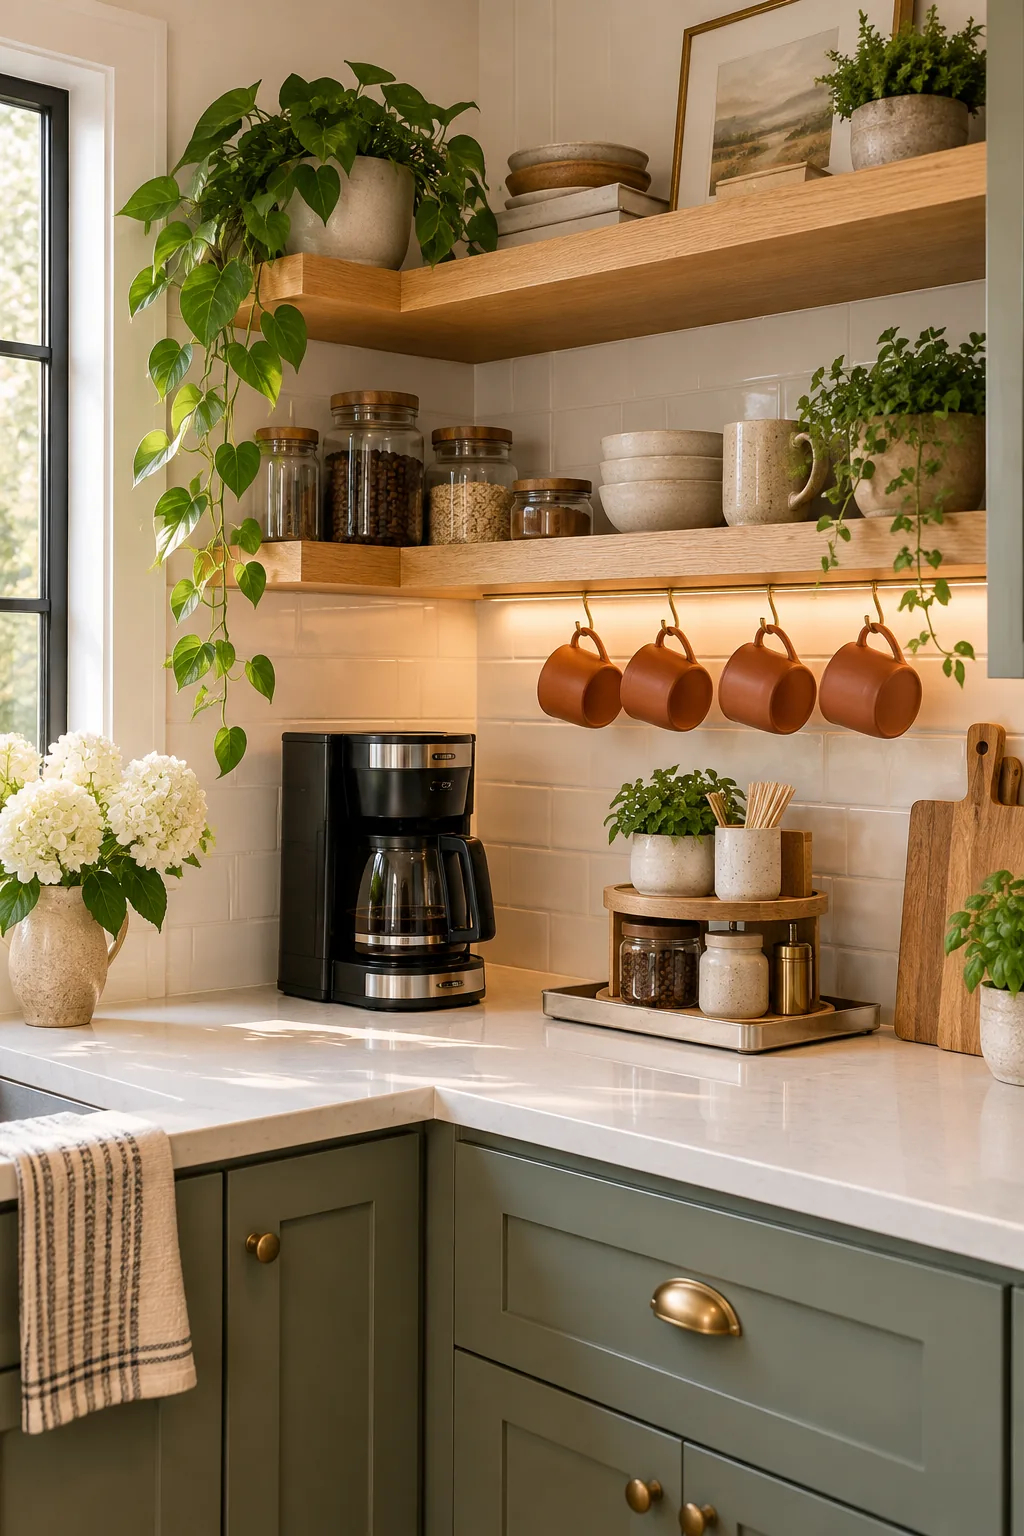
This exact spacing ensures cups never clink together when I reach for one during a busy morning.
Positioning the Task Lighting
Mount a slim LED light strip along the front underside lip of the lowest shelf. I learned on a recent client project that pointing the light downward from the front edge illuminates the entire work surface.
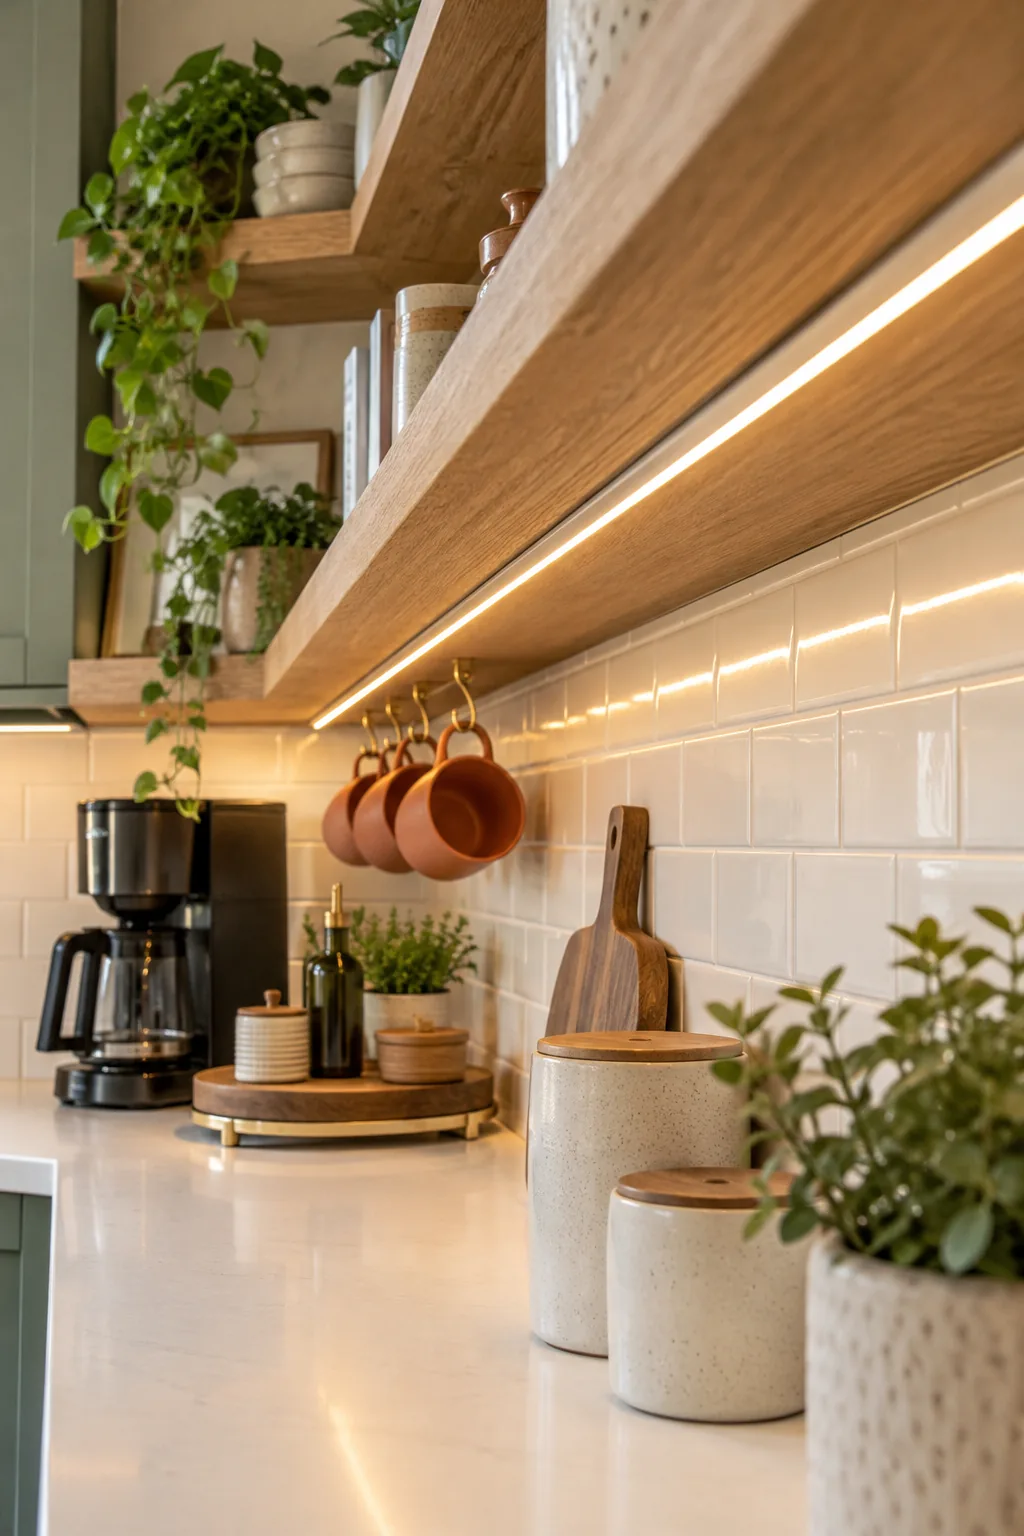
This forward placement effectively prevents harsh glare from bouncing off a glossy tile backsplash.
Spacing the Upper Display Tiers
Leave 12 to 14 inches of vertical space between the first and second floating shelves. I reserve this upper tier in my kitchen for decorative ceramic bowls, stacked cookbooks, and trailing plants.
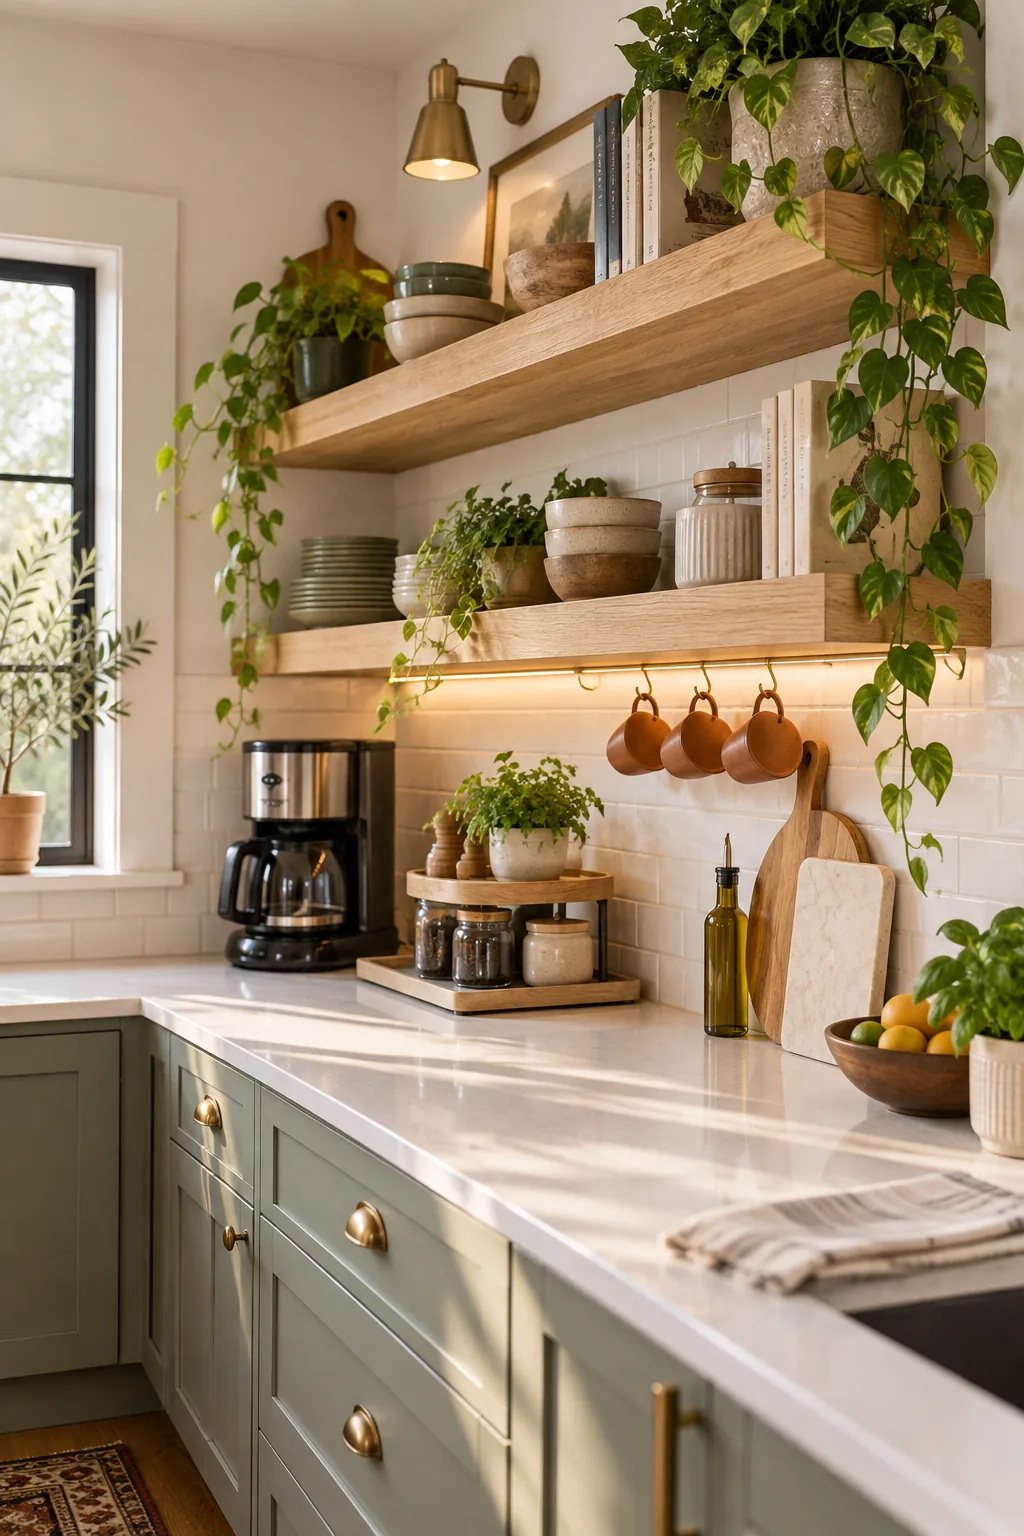
Keeping these items higher up ensures your primary work zones remain clear while still adding personality to the room.
Corner Styling Variations
Find the perfect material palette to match your kitchen's unique style.
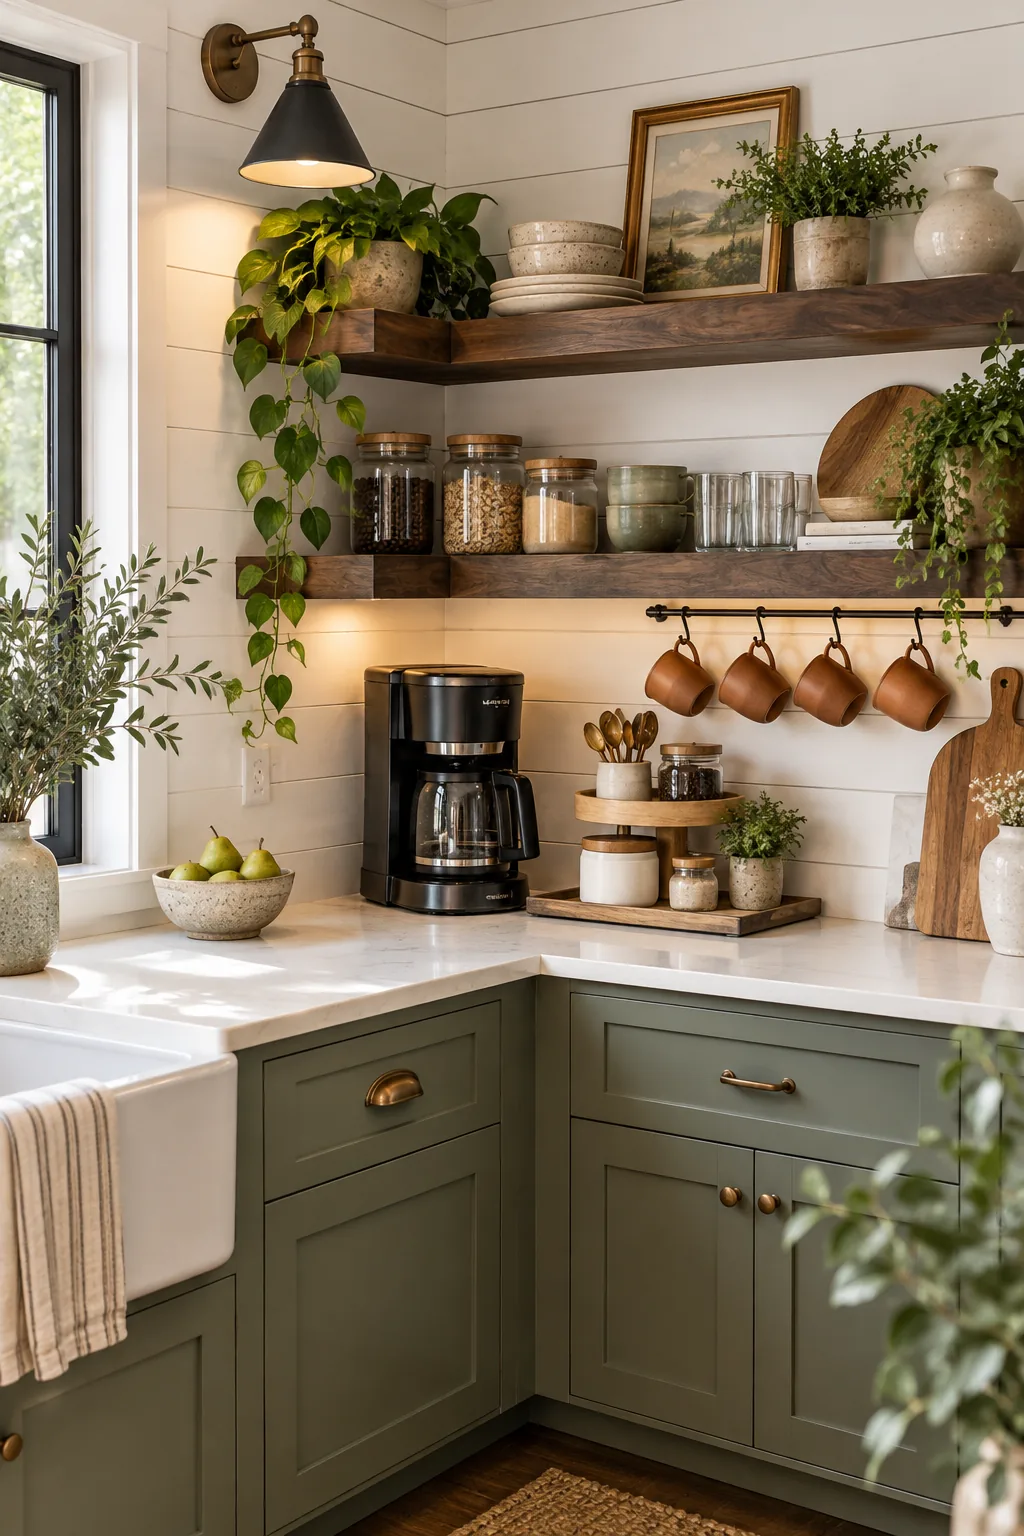
Modern Farmhouse: Dark walnut shelving pops against crisp white shiplap walls for a high-contrast farmhouse aesthetic.
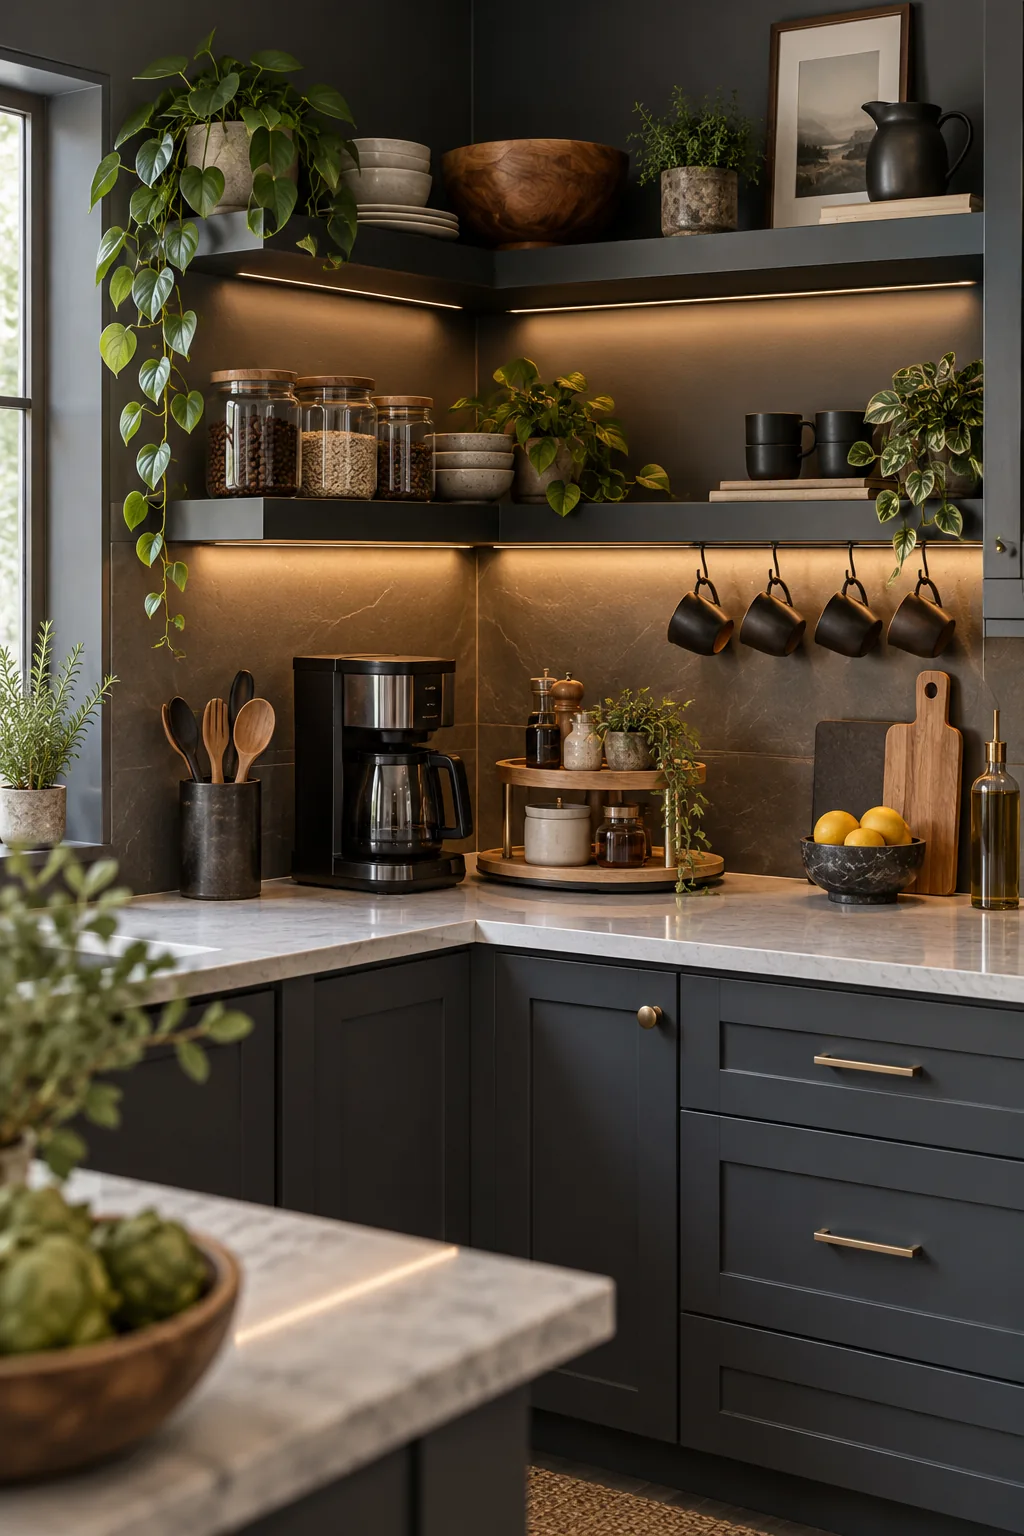
Moody Minimalist: Matte black metal shelves blend seamlessly into charcoal cabinetry to create a sleek, uninterrupted corner profile.
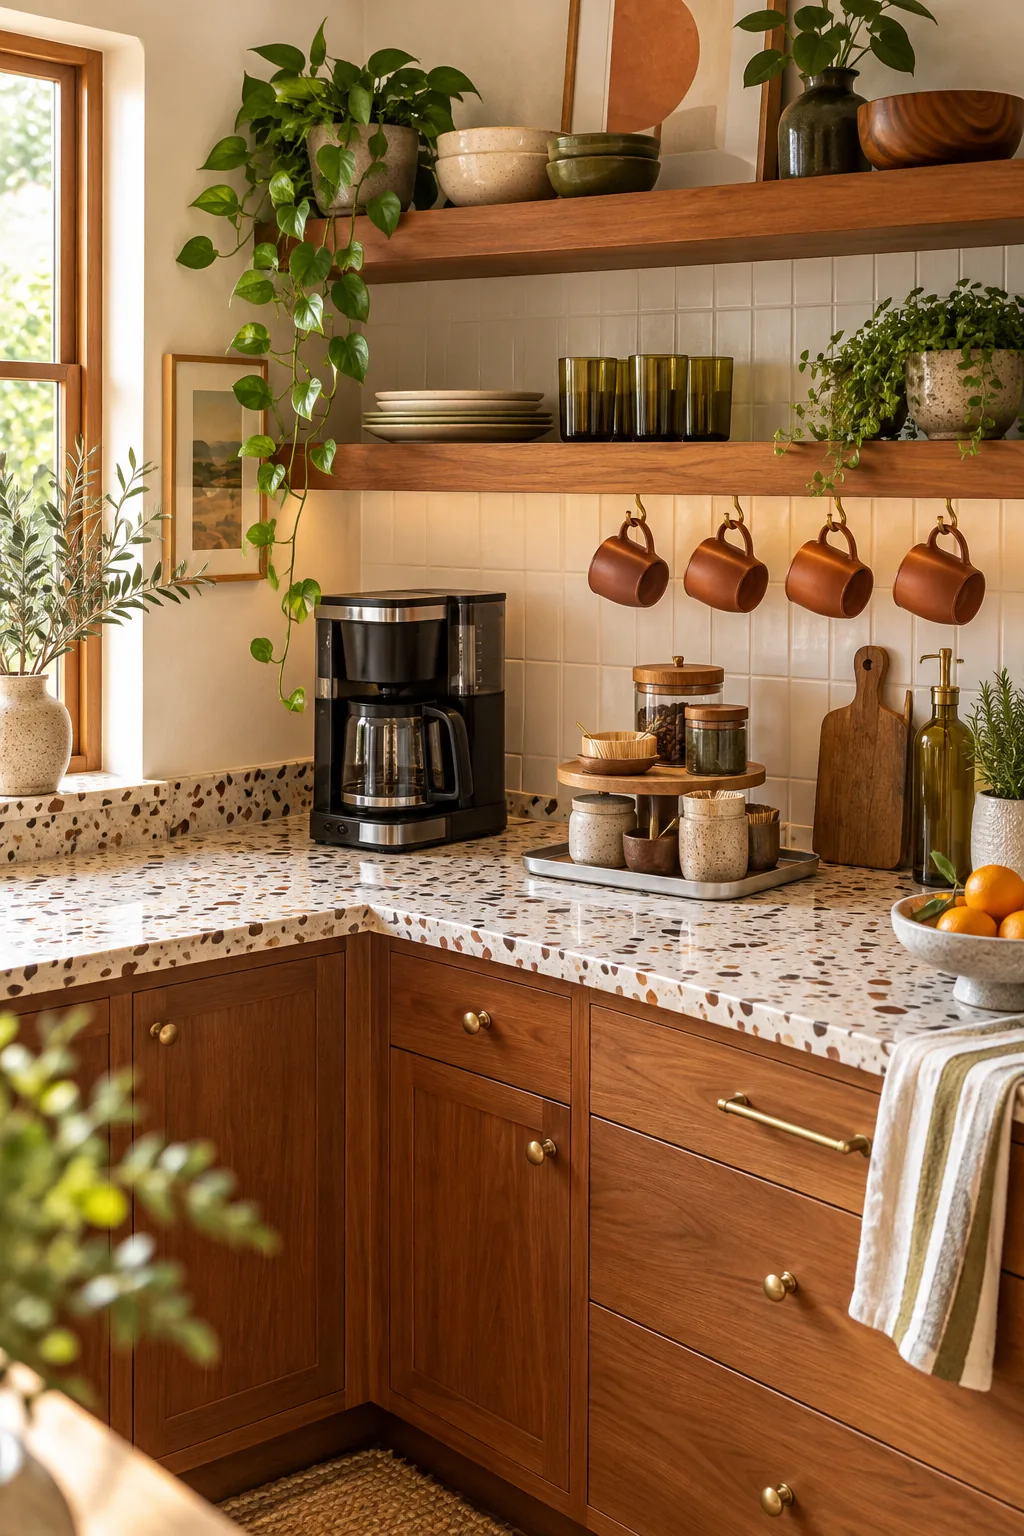
Warm Mid-Century: Solid teak wood and unlacquered brass hardware bring distinct mid-century warmth to a playful terrazzo countertop.
Coastal Cottage: Whitewashed oak and classic beadboard paneling provide a breezy, textured backdrop for pastel blue ceramics.