
14+ Stunning Modern Wall Trim Ideas for Your Home
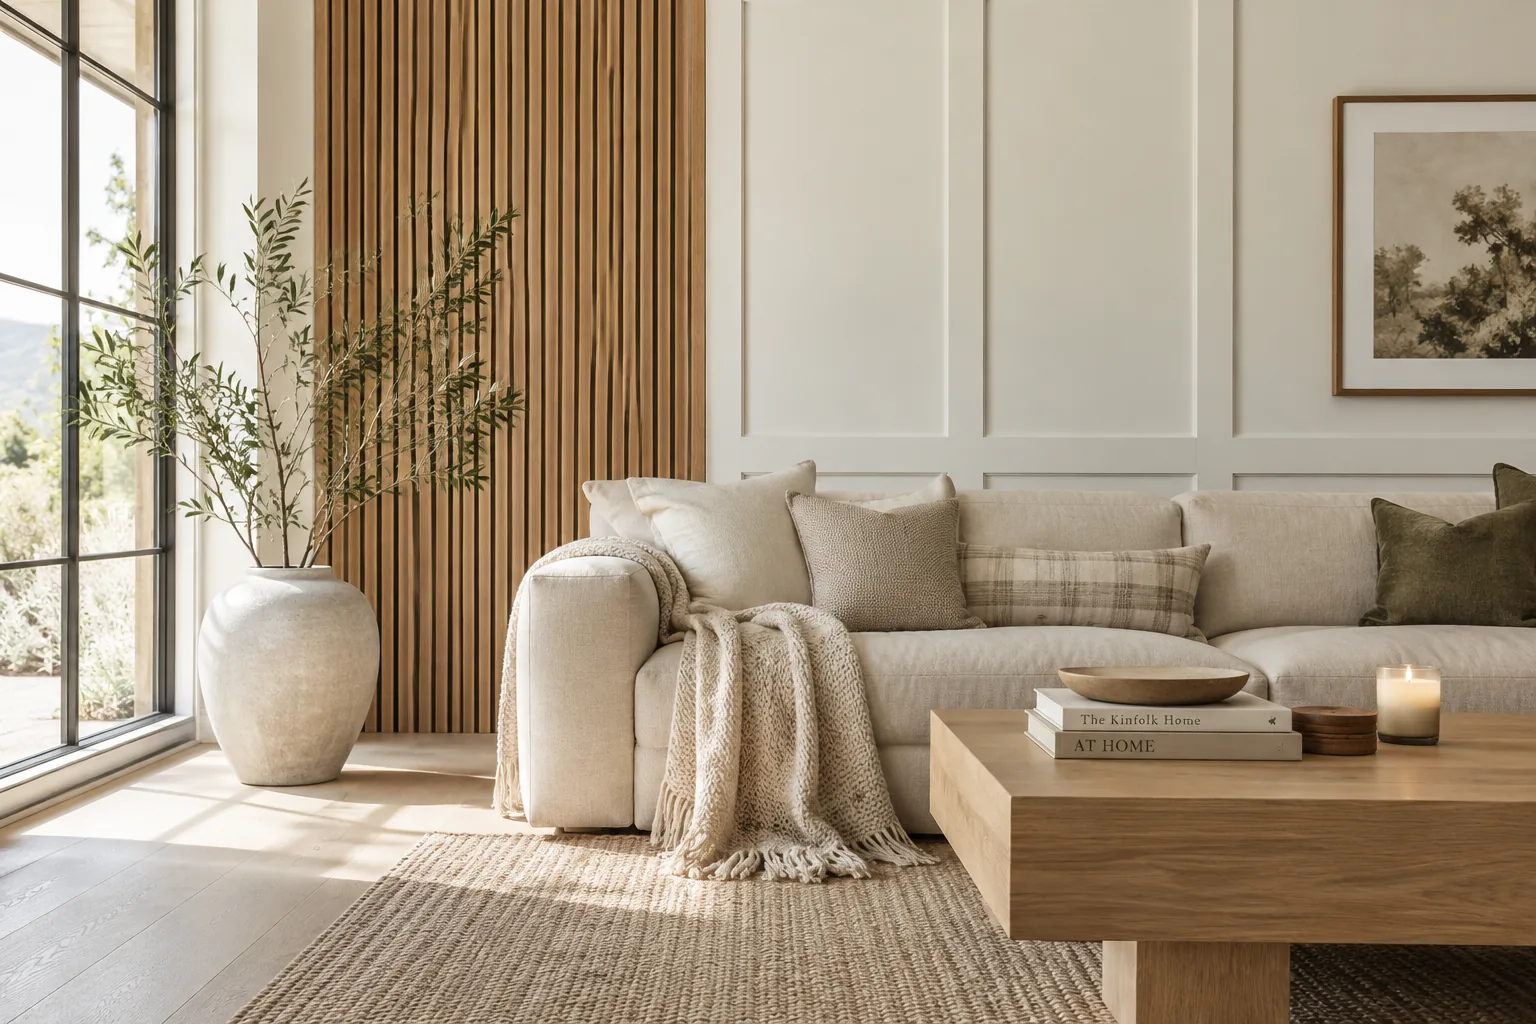
Plain, flat walls are a missed opportunity when you want a home that feels custom and finished. Adding modern wall trim is the easiest way to give any room architectural weight without tearing down drywall.
1. Vertical Slat Walls
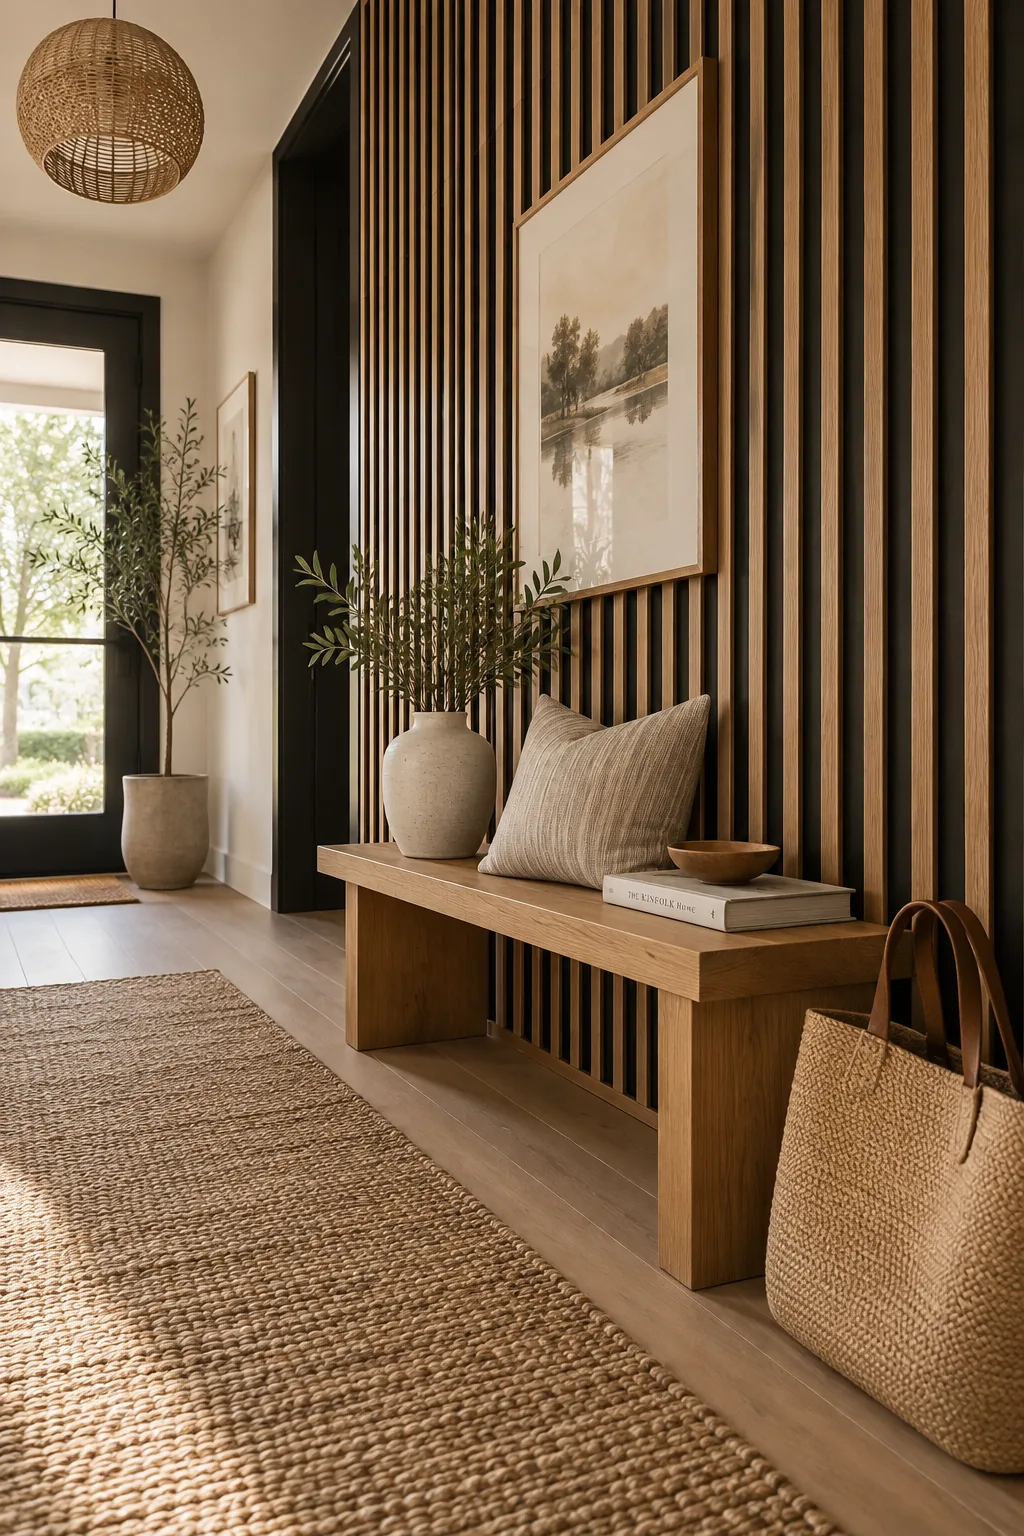
I just installed this in my own entryway last weekend. Thin vertical wood strips instantly draw the eye up to the ceiling.
You keep the gaps between the boards exactly the same width as the boards themselves. This creates a clean, uniform texture that feels incredibly high-end.
Paint the wall behind the slats black before attaching the wood. The deep shadow lines make the natural oak trim pop beautifully.
2. Oversized Picture Molding
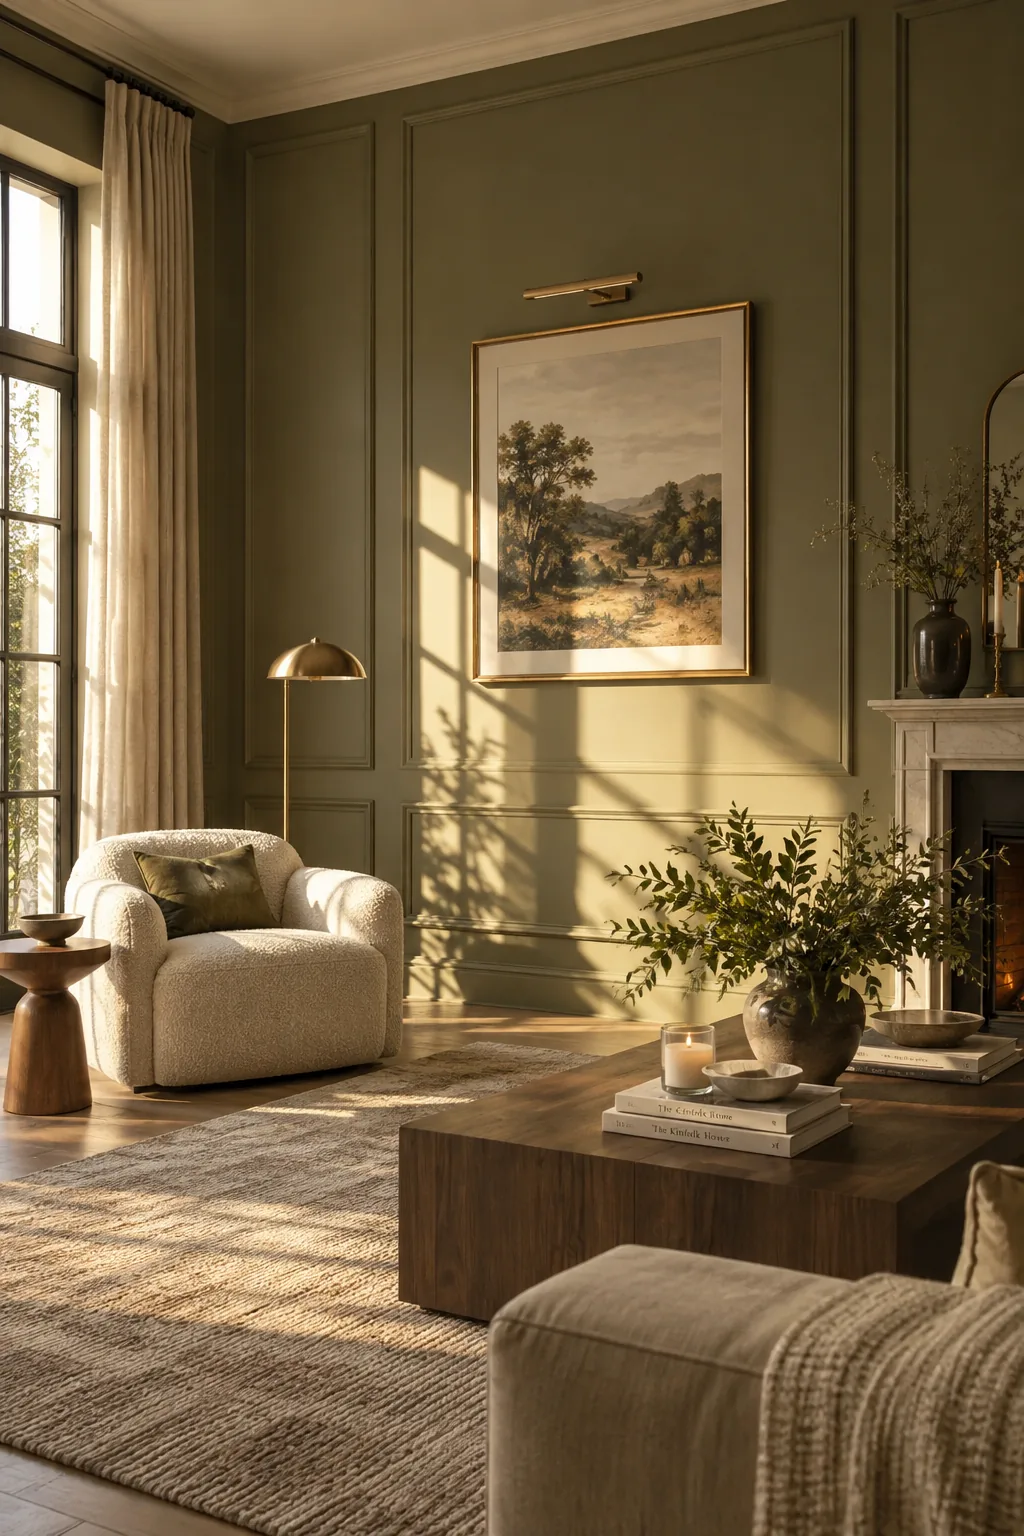
The secret to modernizing traditional molding is scaling it way up. Instead of small, busy boxes, you build massive rectangles that stretch from the baseboard almost to the ceiling. This dramatic scale strips away the fussy, historic vibe and leaves you with crisp architectural lines. To get this exact look, you only need a few basic materials:
- Primed pine base cap molding
- A brad nailer
- Paintable acrylic caulk
Why it works: Scaling up traditional molding to massive proportions strips away the fussy, historic vibe and leaves crisp architectural lines.
3. Asymmetric Geometric Patterns
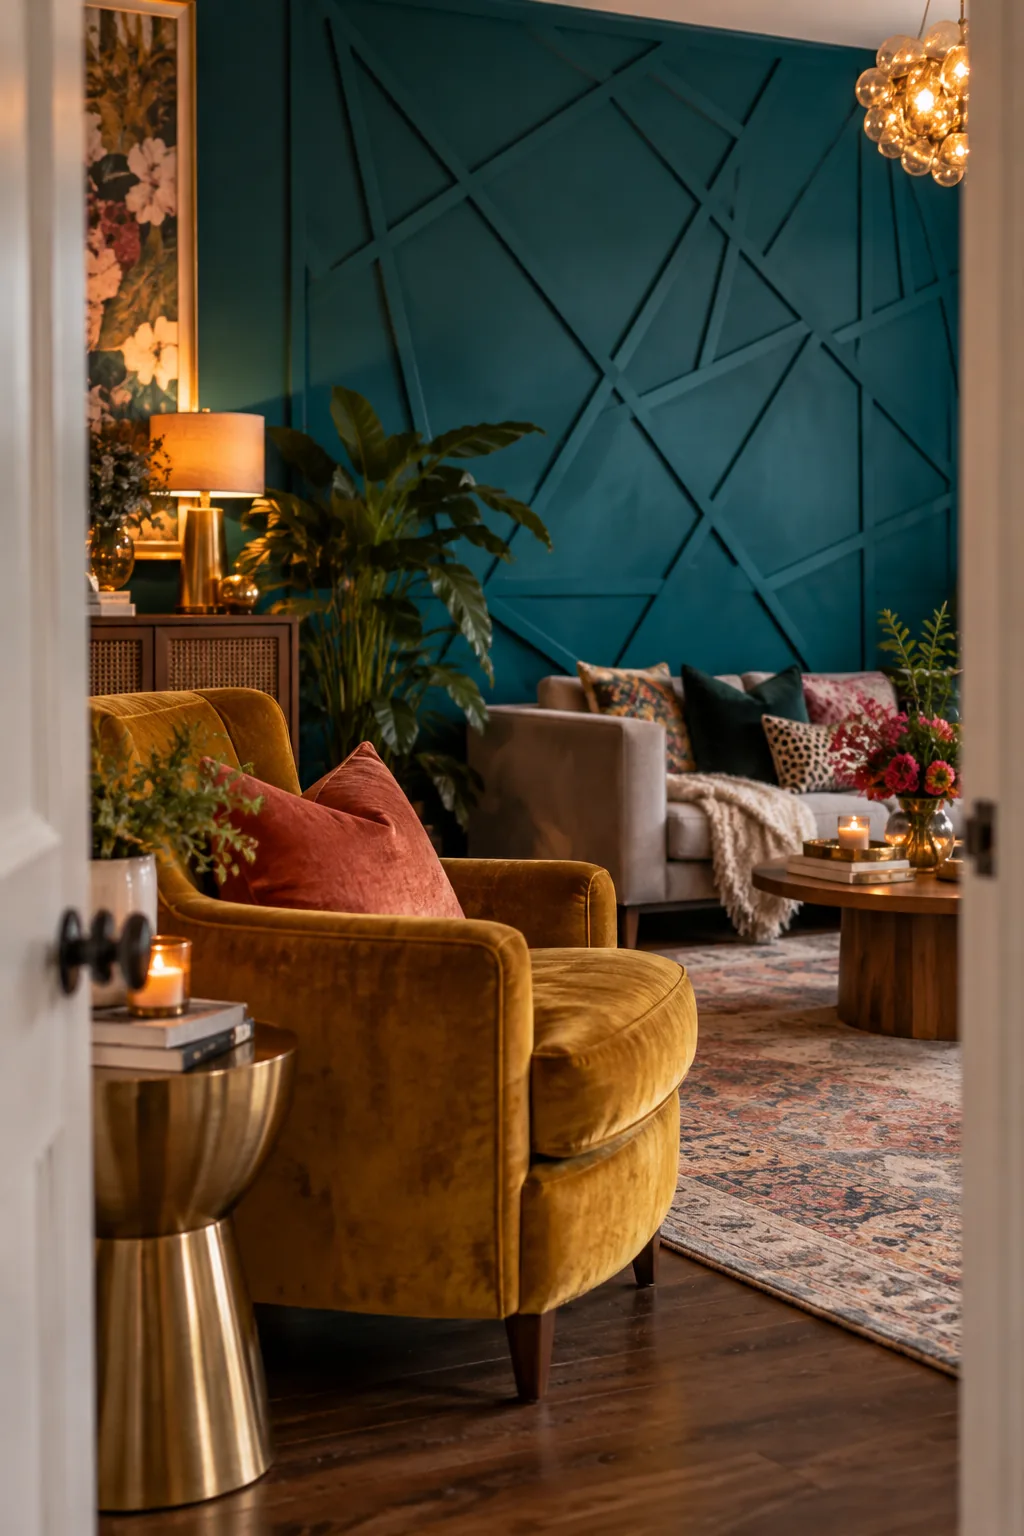
This design creates a sharp, dynamic focal point that feels like modern art. You cut MDF strips at various angles and arrange them in a random, intersecting web across a single accent wall. Painting the entire wall and the trim in one dark, moody color keeps the chaotic pattern feeling grounded and sophisticated.
4. Grid Board and Batten
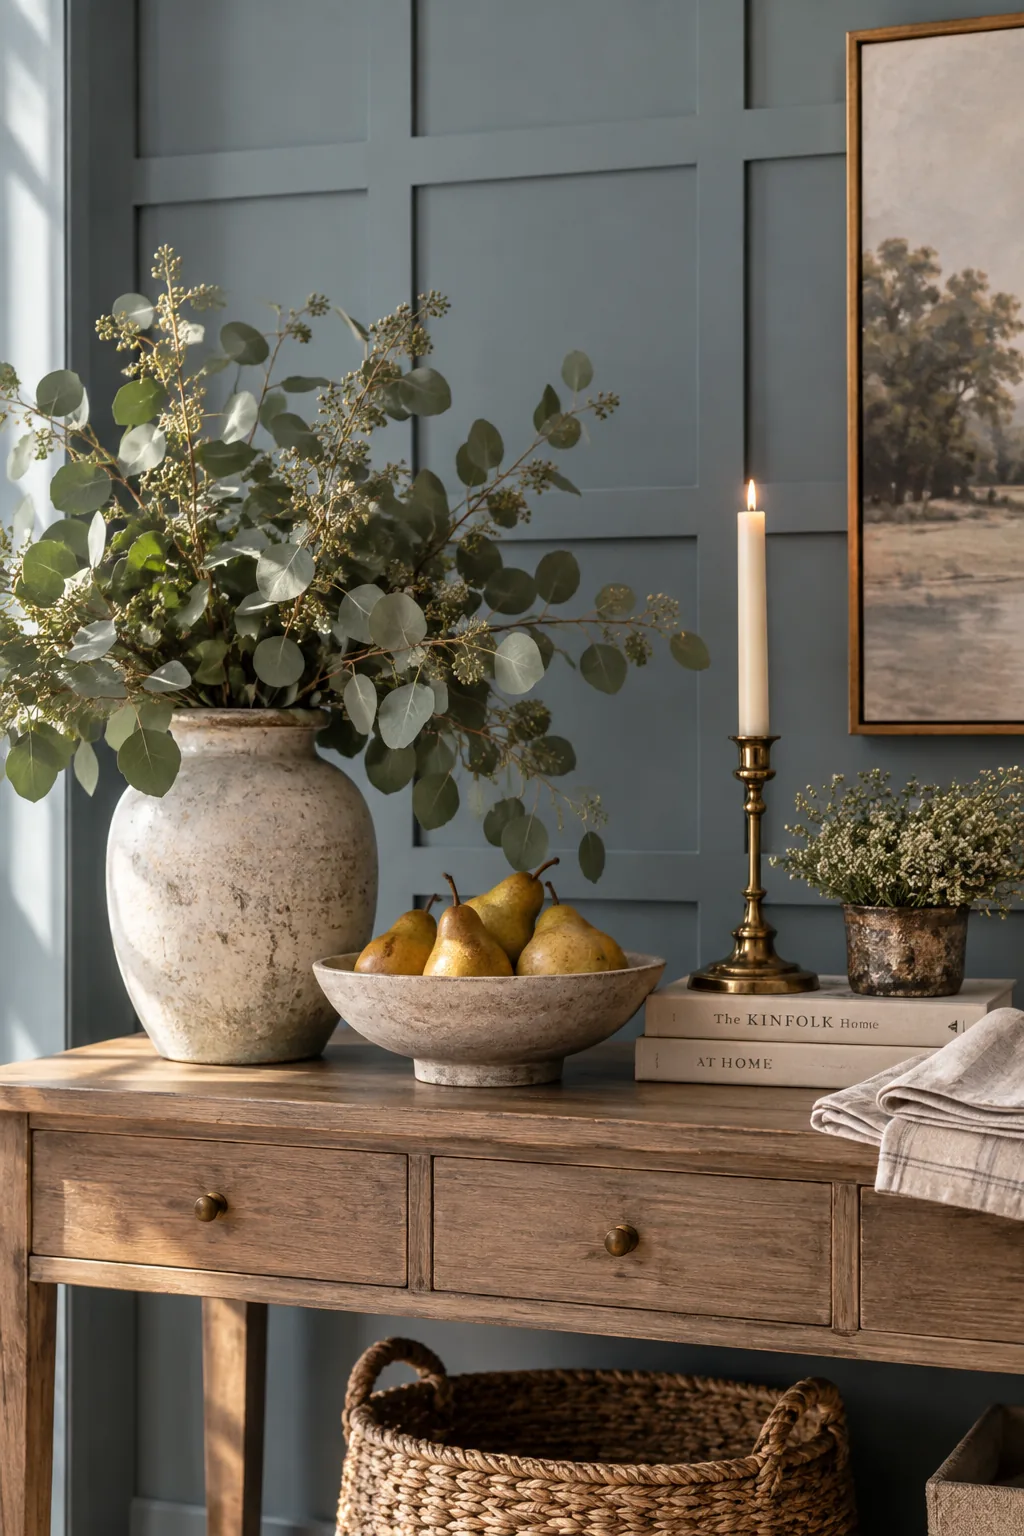
A perfect square grid requires exactly three inches of spacing between every batten.
This precise mathematical layout transforms a basic dining room into a structured, tailored space. You just map out your wall dimensions and divide by your desired square size to find your layout. Filling every single nail hole before painting is the only way to get a flawless seamless finish.
5. Half-Wall Fluted Trim
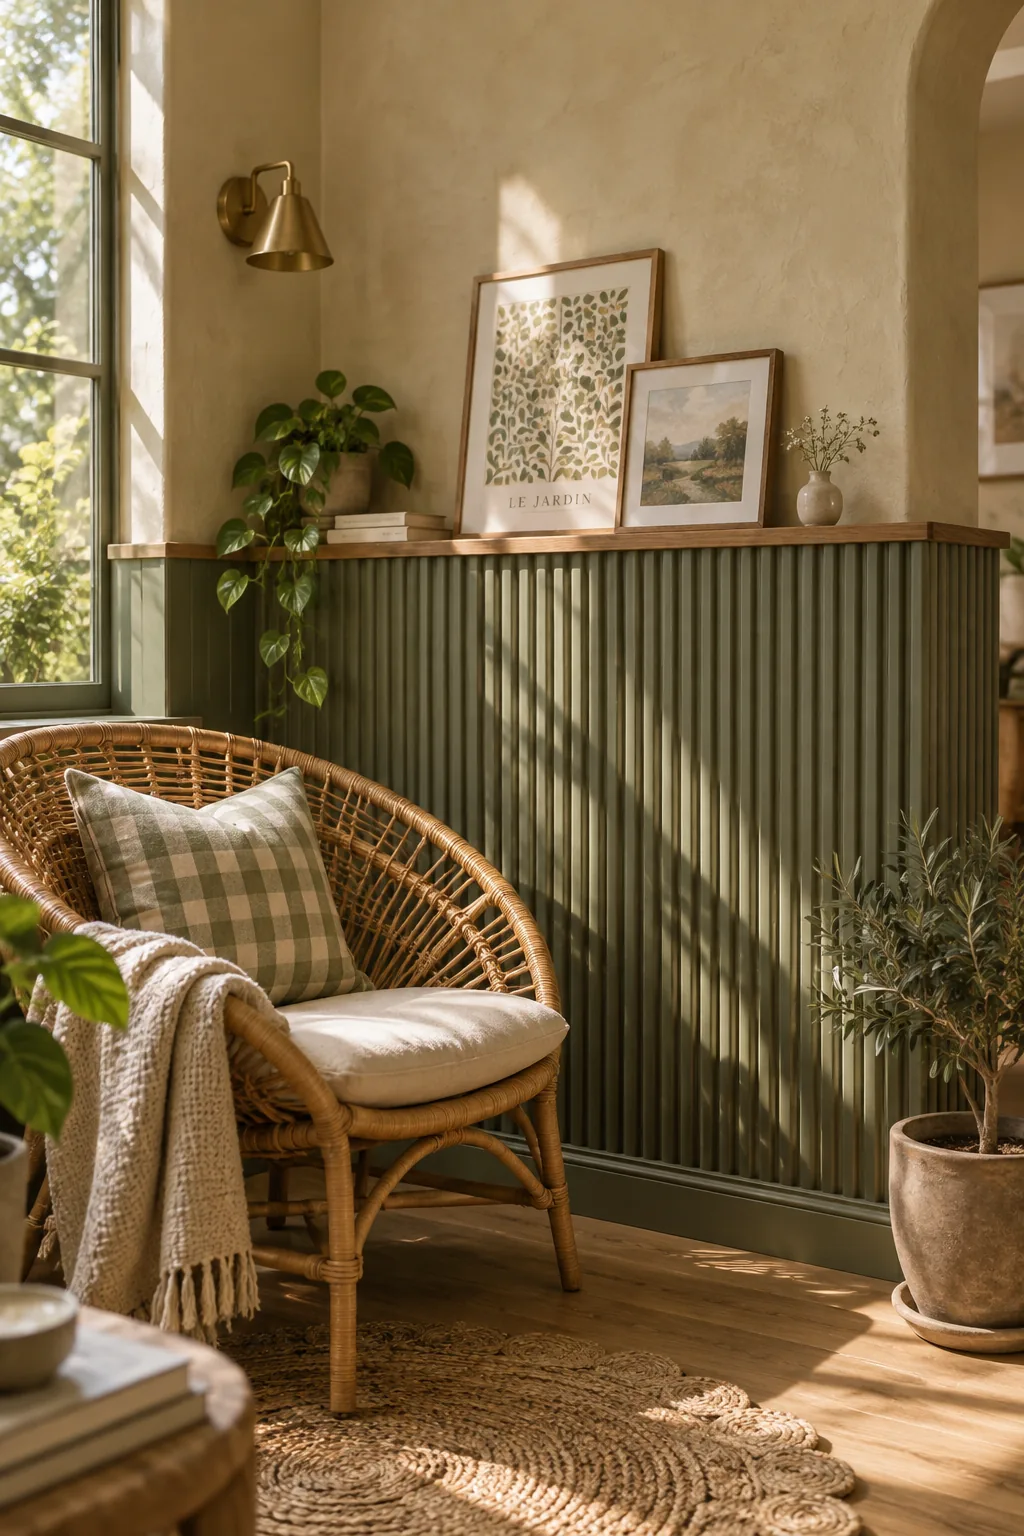
The tight, repeating curves of fluted casing soften the harsh angles of a modern room.
Running this trim only halfway up the wall gives you a beautiful wainscoting effect without overwhelming the space. You cap the top edge with a flat piece of finished wood to create a tiny display ledge for small frames.
Why it works: The tight, repeating curves of fluted casing soften the harsh angles of a modern room.
6. Tonal Baseboards and Casings
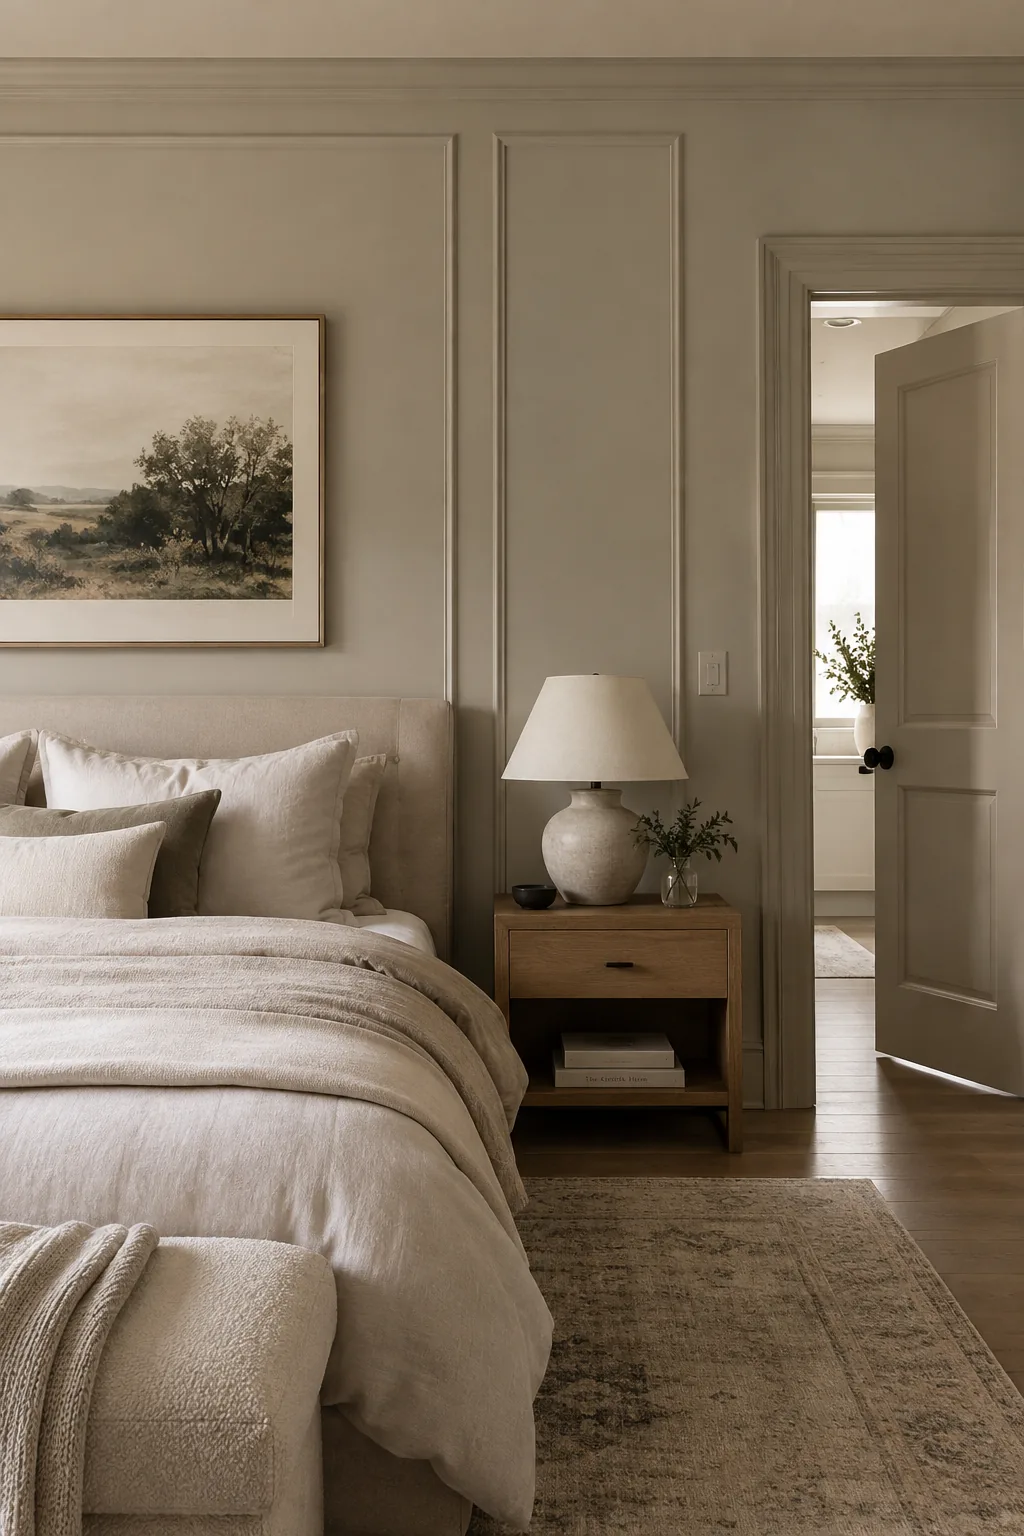
Most builders install standard white trim regardless of the wall color. Painting your baseboards and door casings the exact same color as your walls completely changes the room's energy.
It is a subtle shift that immediately makes a standard bedroom look like a boutique hotel. The eye glides right over the transitions.
Use a satin or semi-gloss finish on the wood trim while keeping the walls flat. This gives you a slight sheen contrast that looks incredibly rich.
7. Floor-to-Ceiling Vertical Shiplap
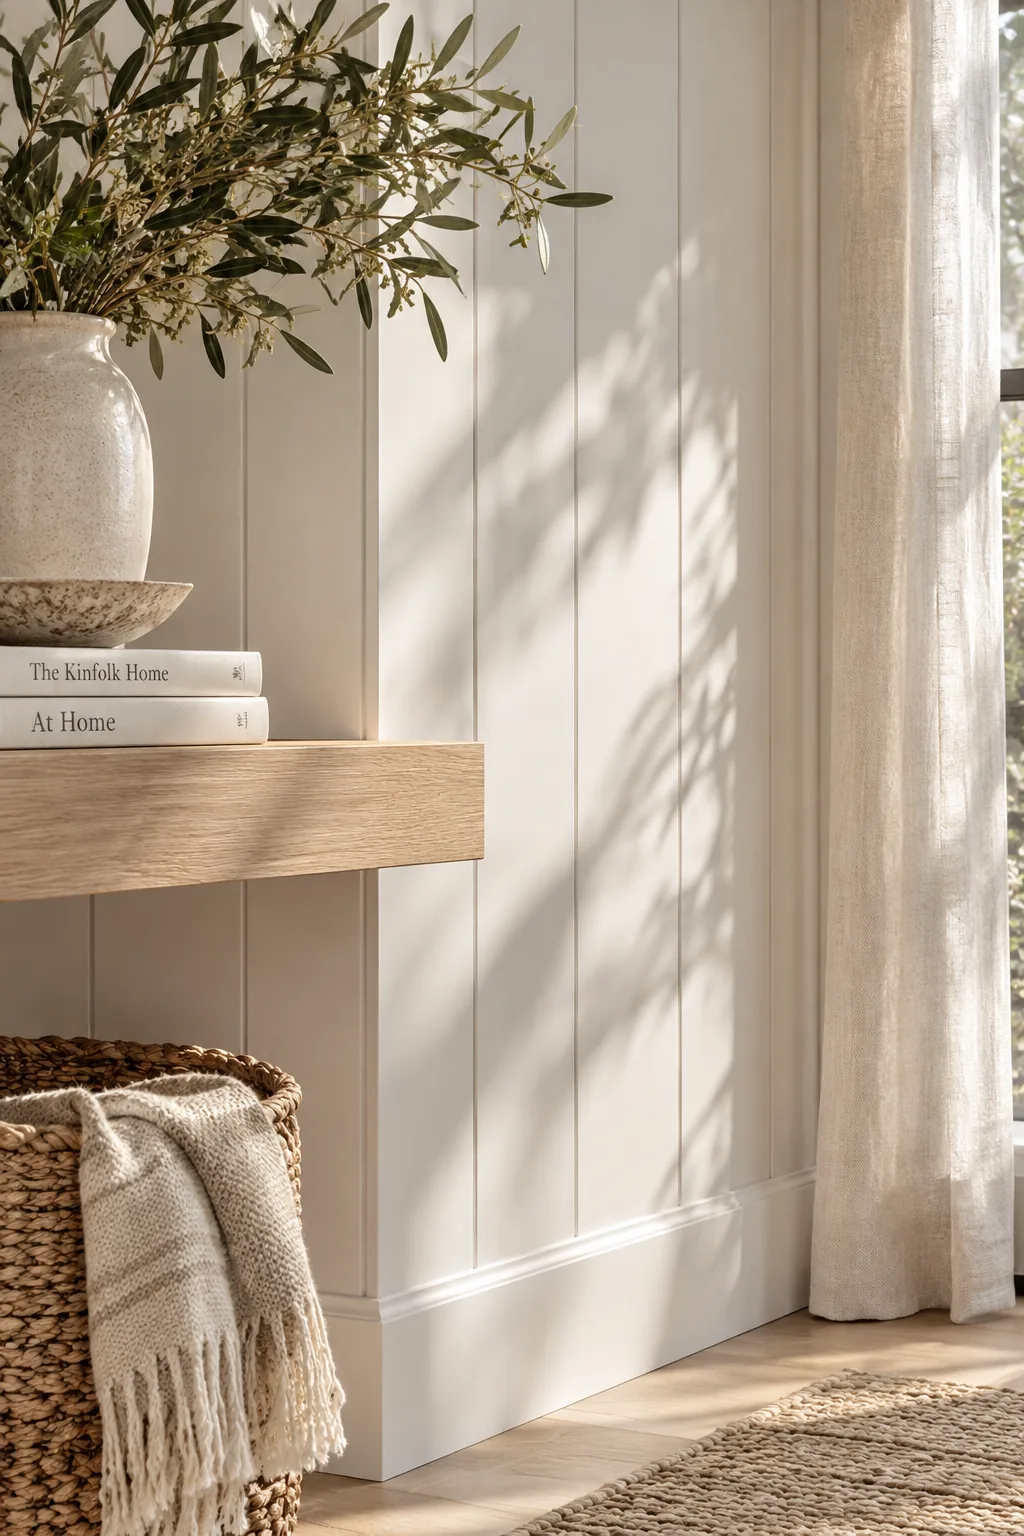
Installing boards vertically adds visual height to rooms with standard eight-foot ceilings. The long, continuous lines trick your brain into thinking the ceiling is much higher.
Modern shiplap ditches the rustic farmhouse gap for a sleek, V-groove joint. It feels crisp and intentional.
You can buy pre-primed boards that lock together effortlessly. Just secure them straight into the studs for a permanent hold.
8. Minimalist Picture Ledge Trim
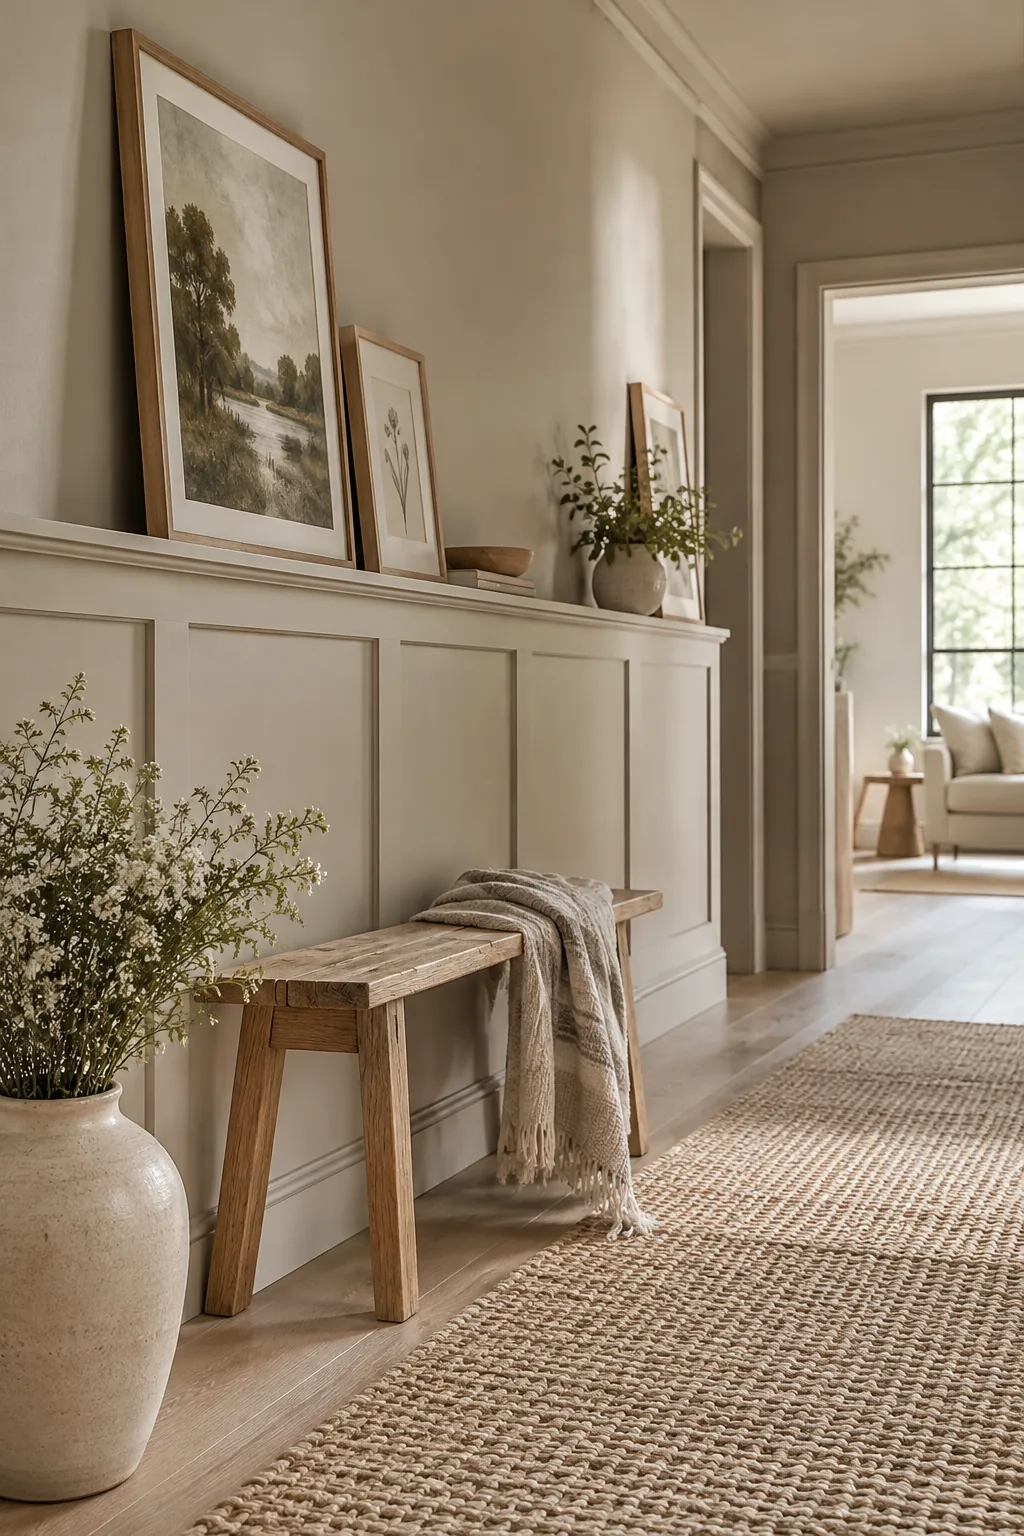
Blending a functional shelf directly into your wall molding maximizes both style and utility. The ledge acts as the top cap of your lower wainscoting.
You paint the shelf, the trim, and the lower wall in a single unified shade. This anchors the room and gives you a dedicated spot for rotating art.
Building this requires just a few standard lumber pieces:
- A 1×4 pine board for the base
- A 1×2 board for the front lip
- Cove molding for under-support
Why it works: Blending a functional shelf directly into your wall molding maximizes both style and utility.
9. Picture Frame Molding with Wallpaper
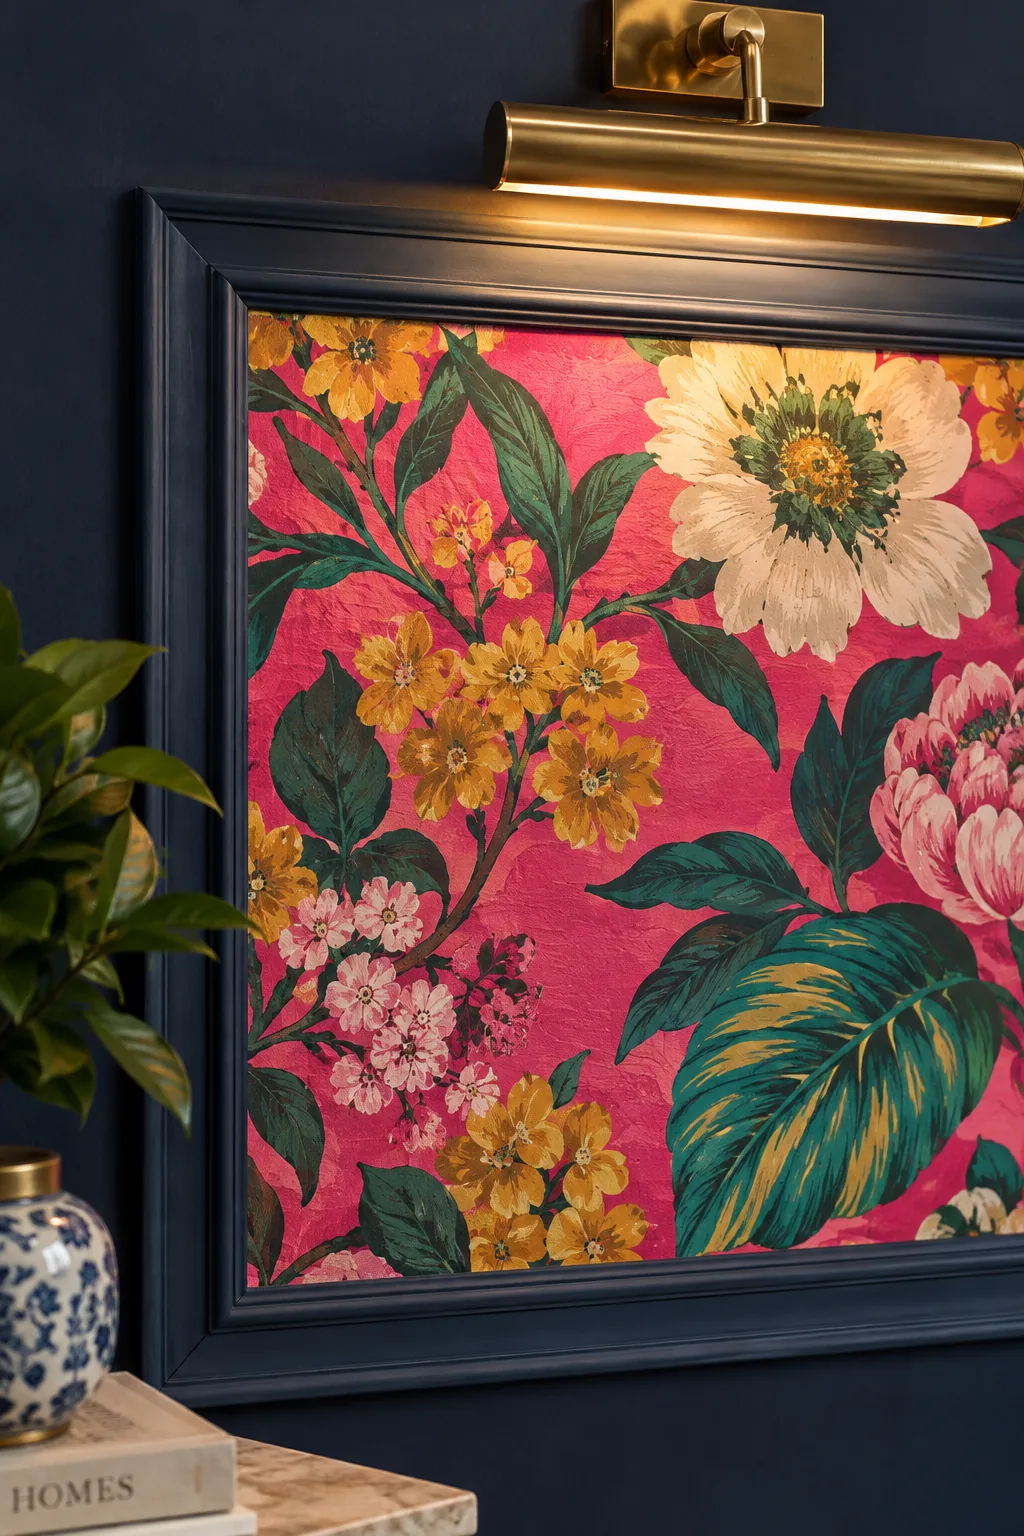
I always use this technique when a client wants bold wallpaper but is afraid it will overwhelm the space. You build large, traditional picture molding boxes on the wall and only install the wallpaper inside those frames. The surrounding painted drywall acts as a visual mat, calming the loud print down. It treats the wallpaper like a giant piece of custom art rather than a dizzying background. This approach also saves you a ton of money on expensive boutique paper.
10. Asymmetrical Slat Divider
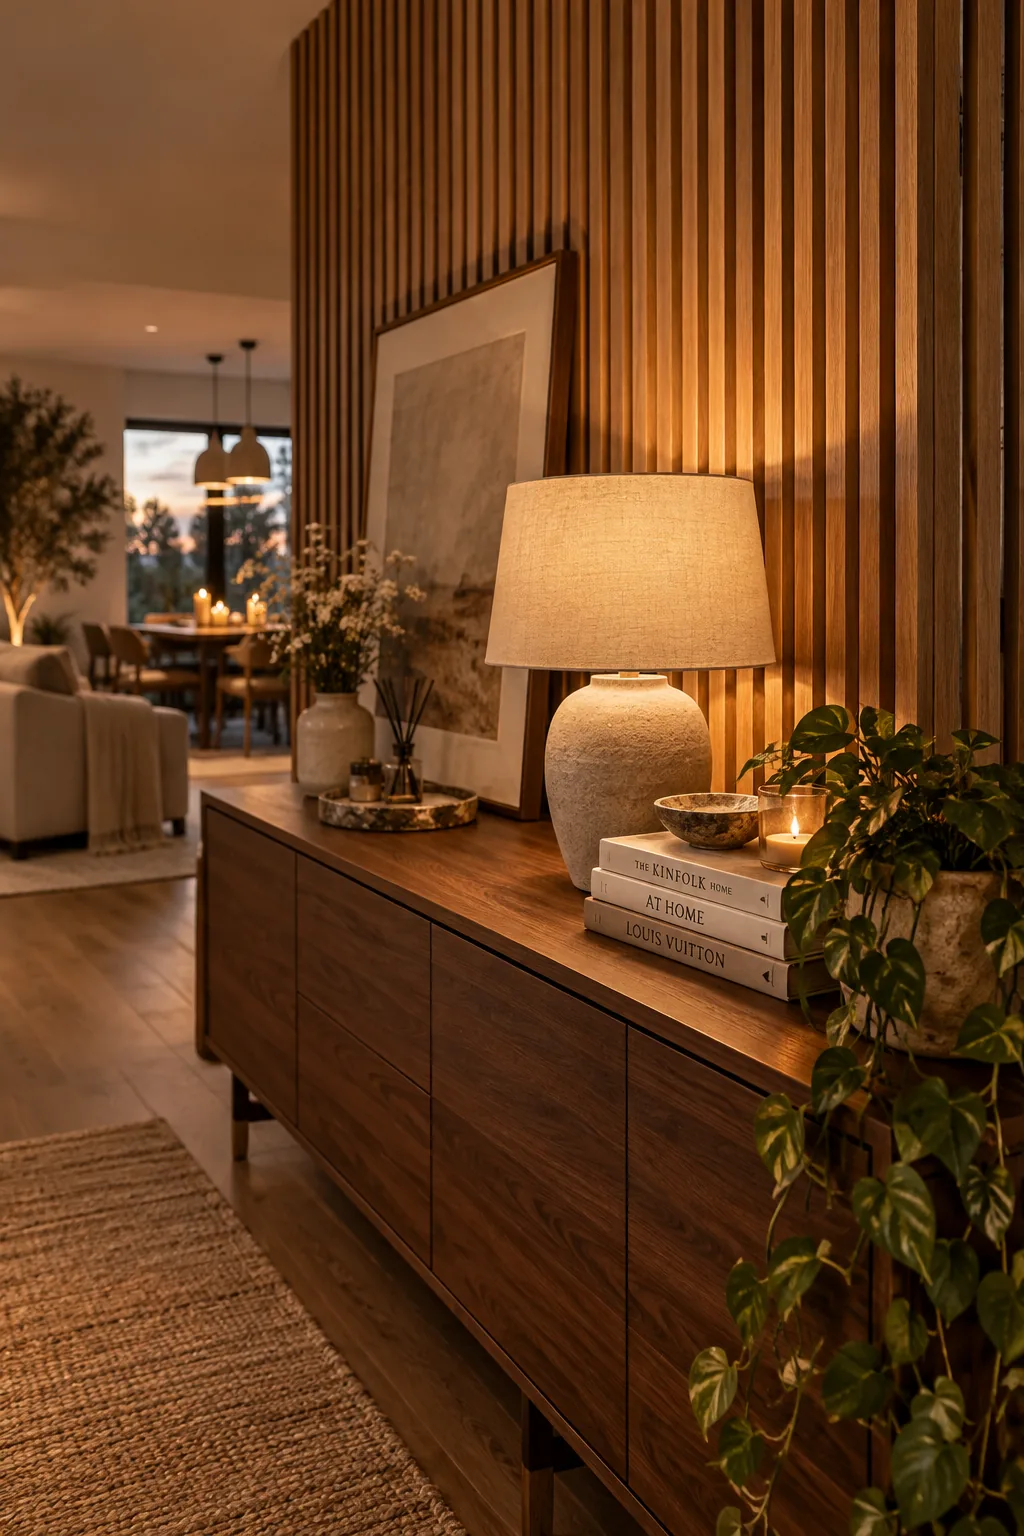
This application creates a breathable room divider that defines open-concept spaces without blocking natural light. You install thick oak slats vertically on just one third of a living room wall, letting them extend slightly past a corner. The abrupt stop in the wood pattern feels incredibly architectural and modern.
11. Chunky Modern Baseboards
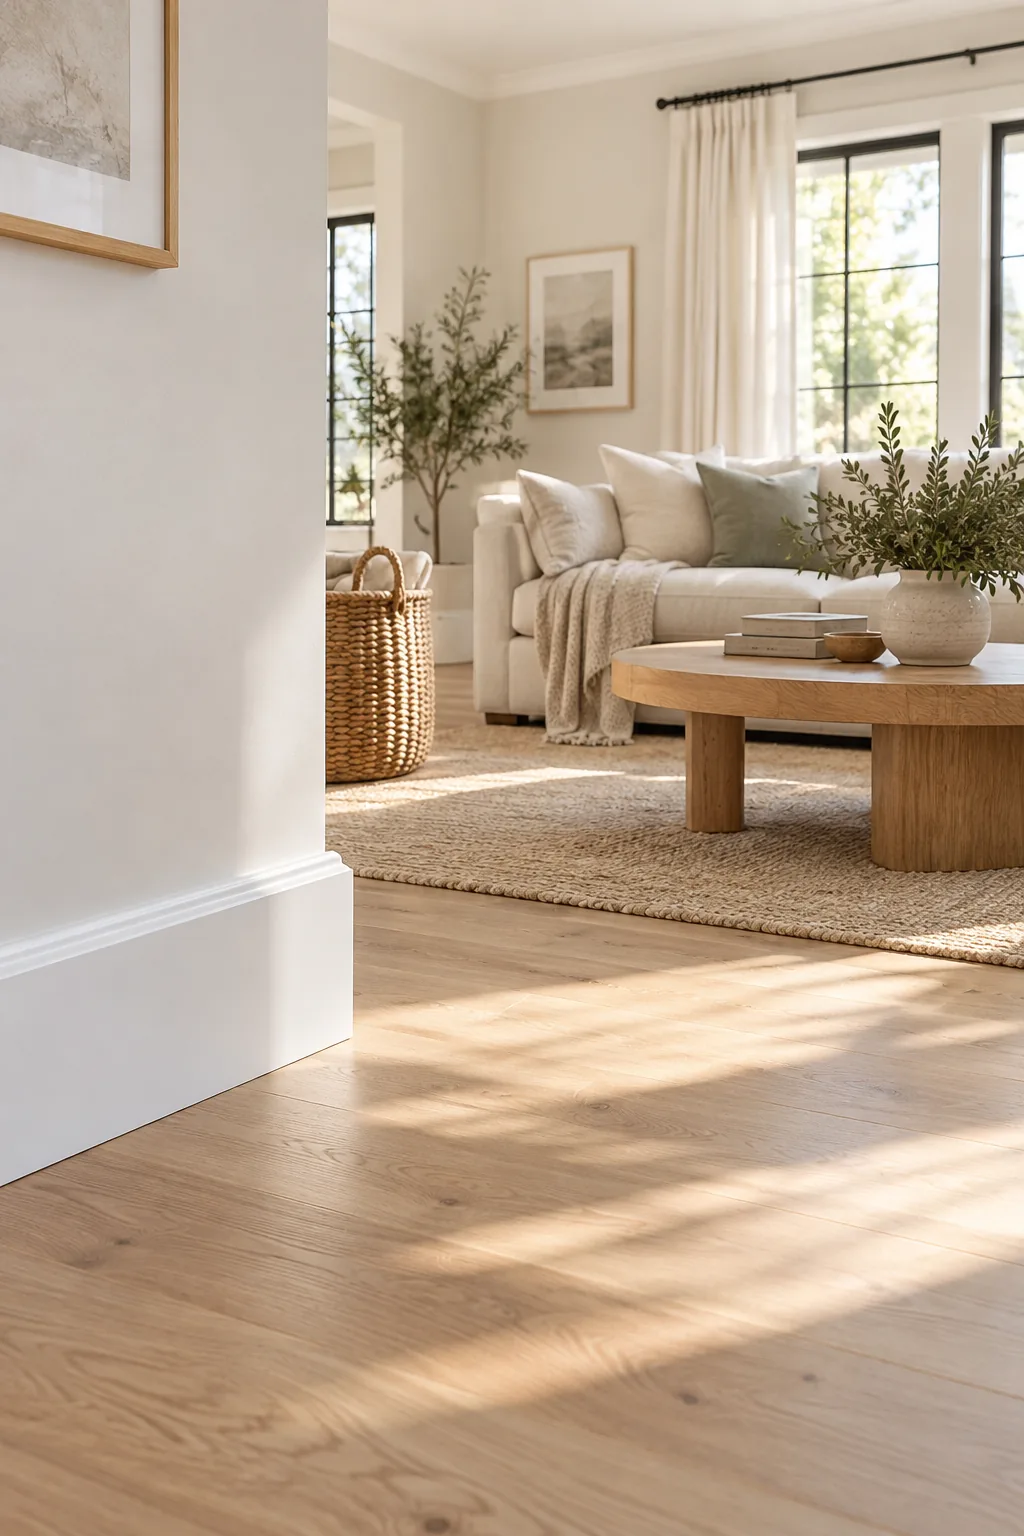
I rip out those curvy, builder-grade baseboards in almost every house I renovate. Replacing them with flat, six-inch square stock MDF instantly gives the floorline a heavy, modern foundation.
12. Angled Staircase Batten
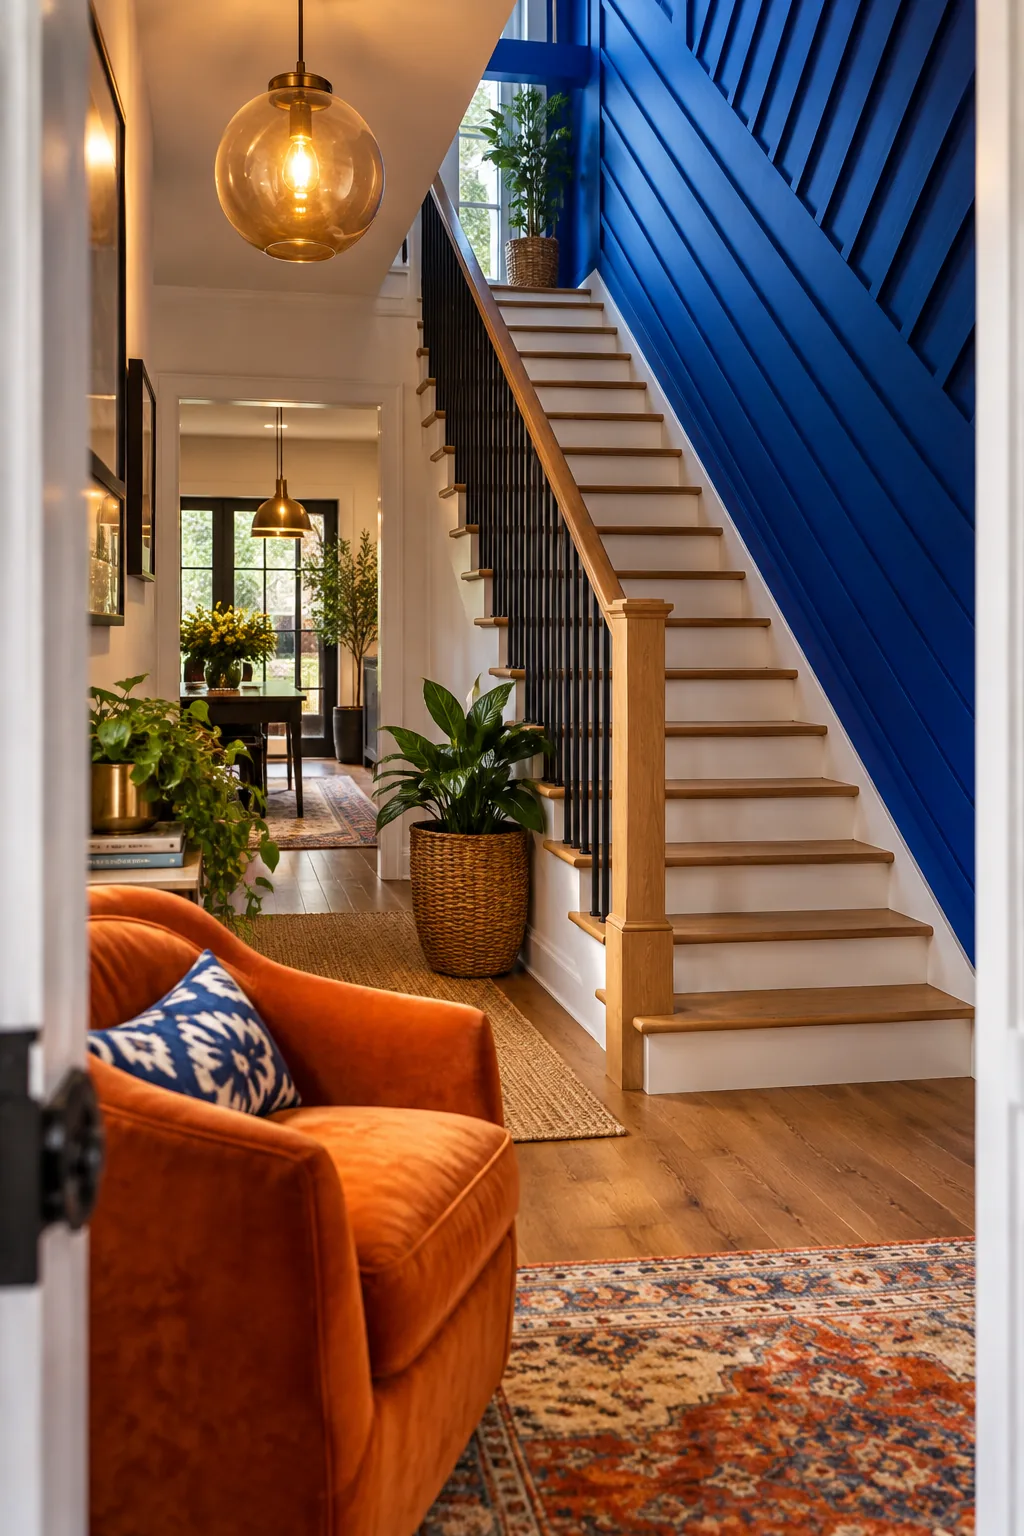
This treatment creates a sweeping sense of motion that carries you right up the stairs.
Instead of installing vertical battens, you run the wood strips parallel to the angle of the staircase stringer. Spacing them tightly together forms a striking, modern texture that completely replaces the need for a gallery wall.
13. Floating Ceiling Trim
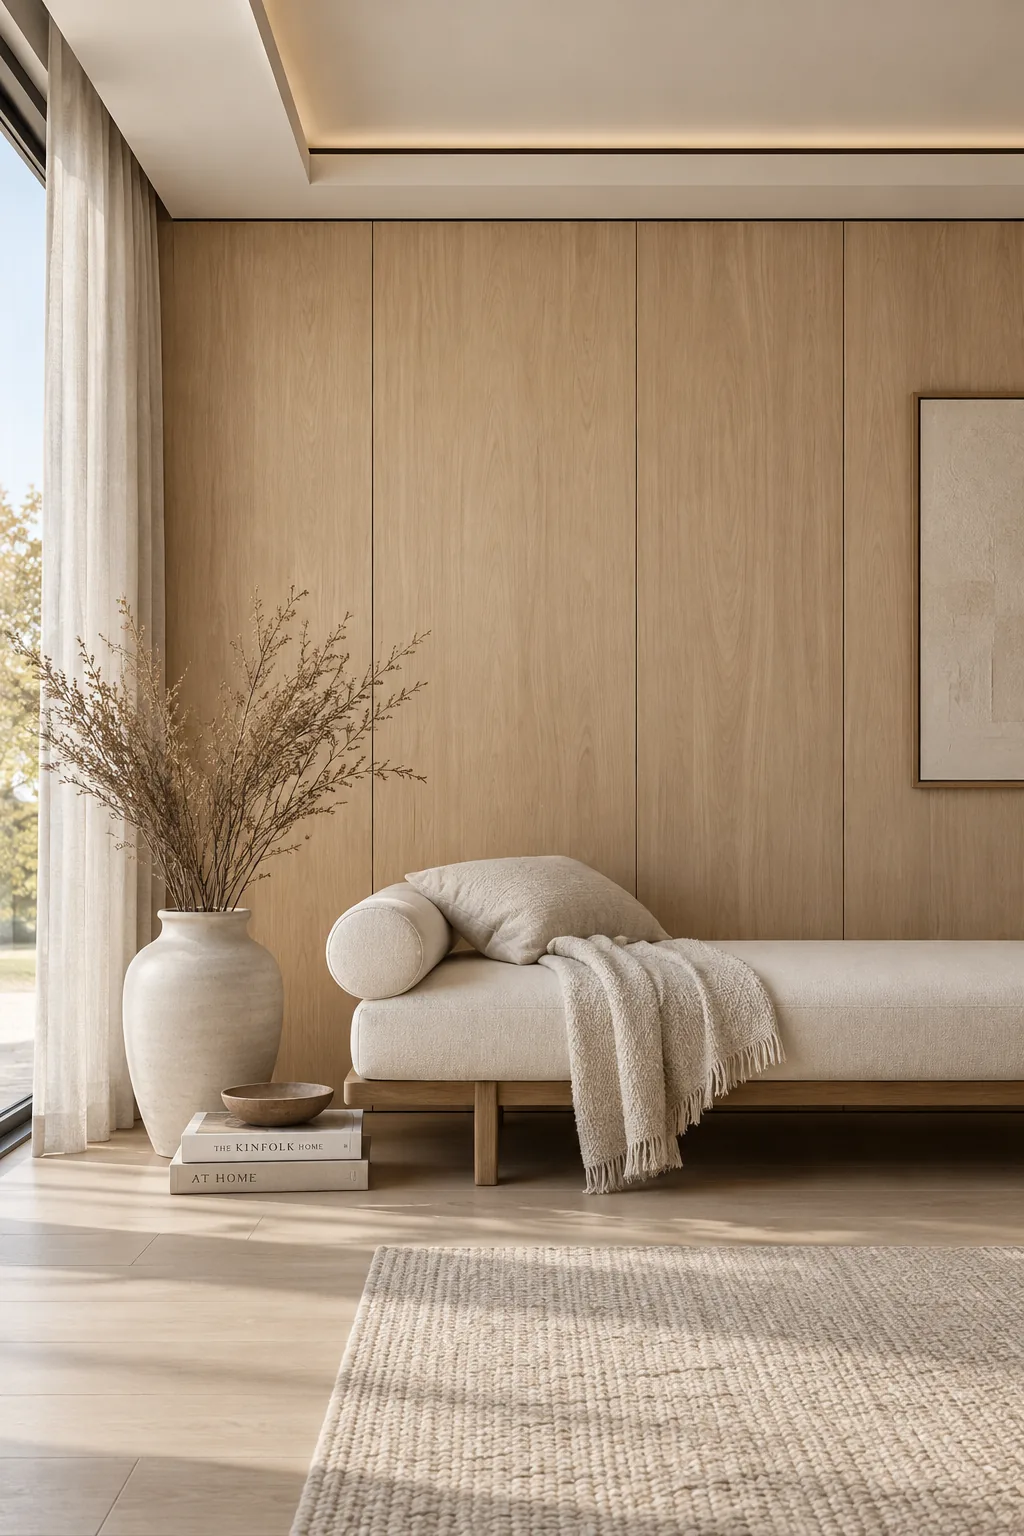
Leaving a crisp, half-inch shadow gap between the top of your wall trim and the ceiling creates the illusion that the walls are floating. You achieve this by stopping your wood paneling just shy of the ceiling line and painting the gap dark black. It is a subtle, high-end architectural detail that modernizes even the most traditional wood paneling.
Why it works: Leaving a crisp shadow gap between the trim and the ceiling creates the illusion that the walls are floating.
14. Horizontal Channel Grooves
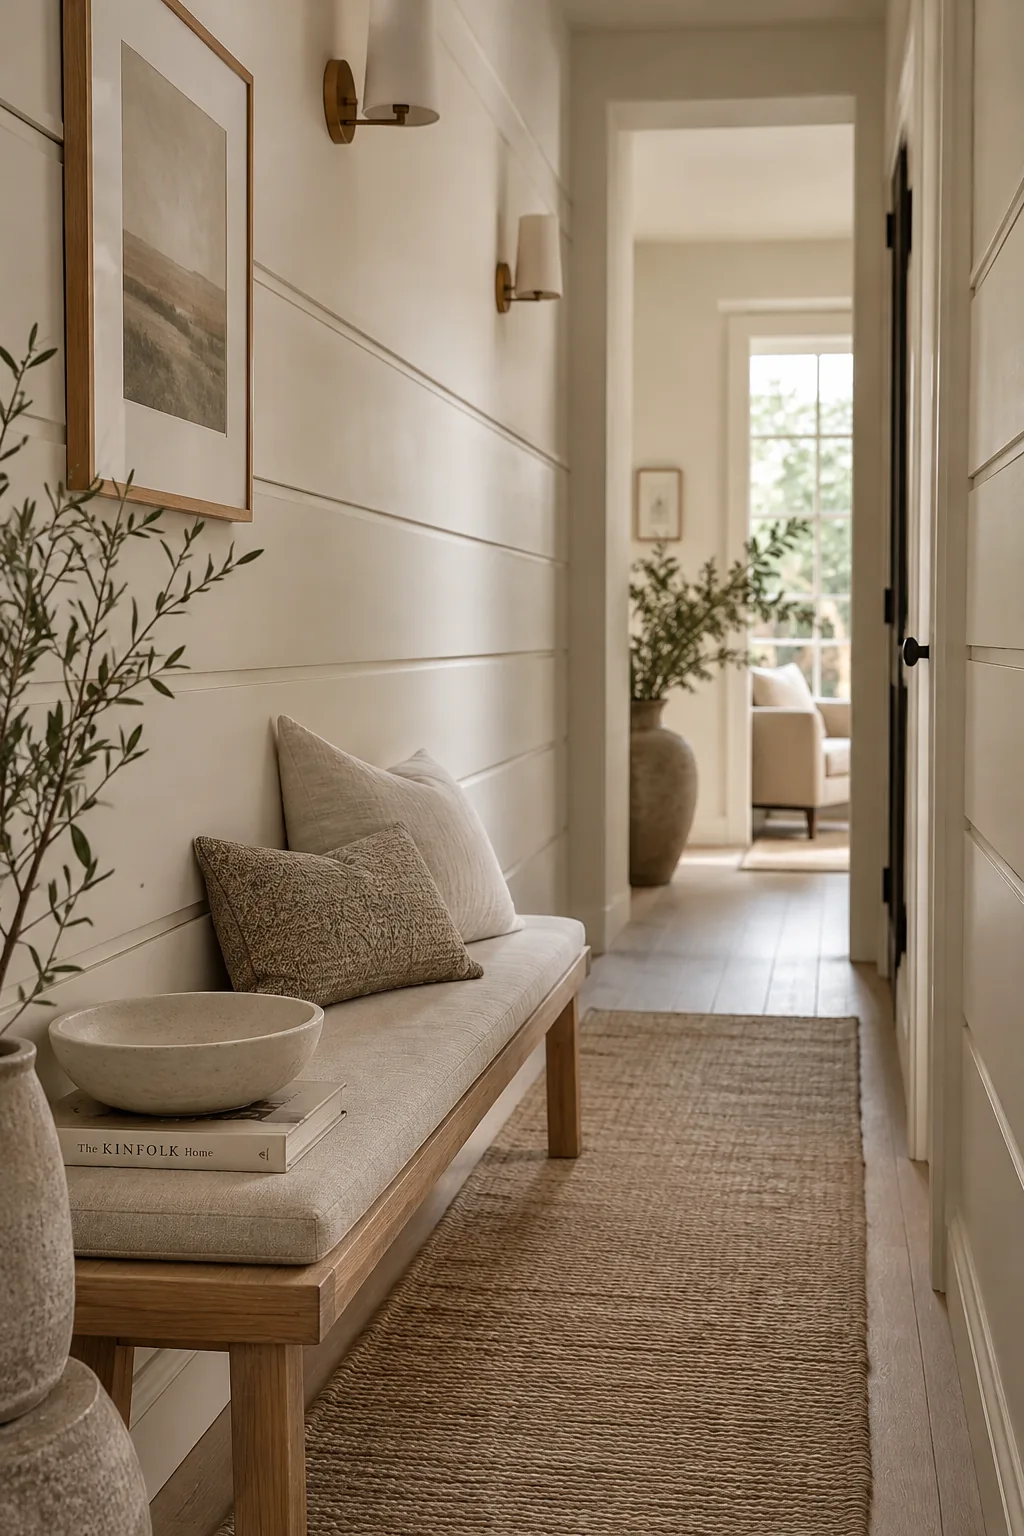
Most people think of vertical lines when adding trim, but horizontal lines actually make a narrow room feel significantly wider. The eye naturally tracks the lines from left to right.
You can router deep, horizontal channels into flat MDF panels before mounting them to the wall. This mimics the look of high-end commercial interiors.
Keep the spacing wide, about eighteen inches apart, to maintain a minimalist aesthetic. A matte finish hides any slight imperfections in the grooves.
15. Color-Blocked Corner Trim
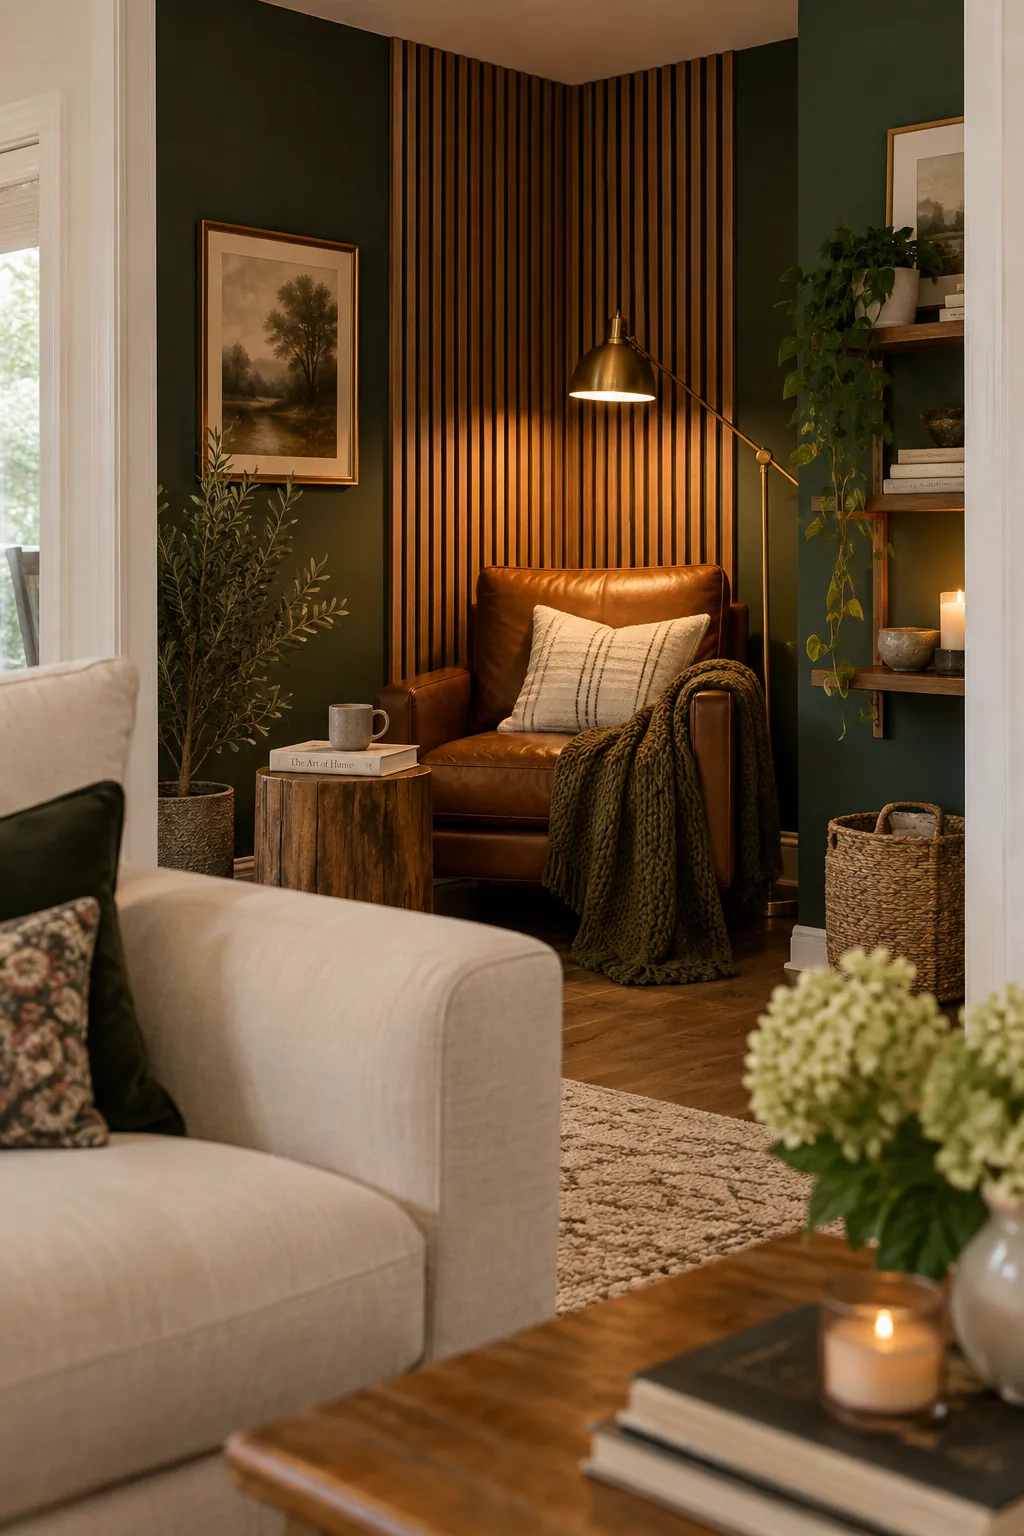
Wrap your wall trim right around an outside corner to define a specific zone in a large room. You install the slat wood on both adjoining walls and paint that entire corner section a deep, contrasting color. This instantly carves out a cozy reading nook or a distinct dining area.
It is the easiest way to create a room within a room.