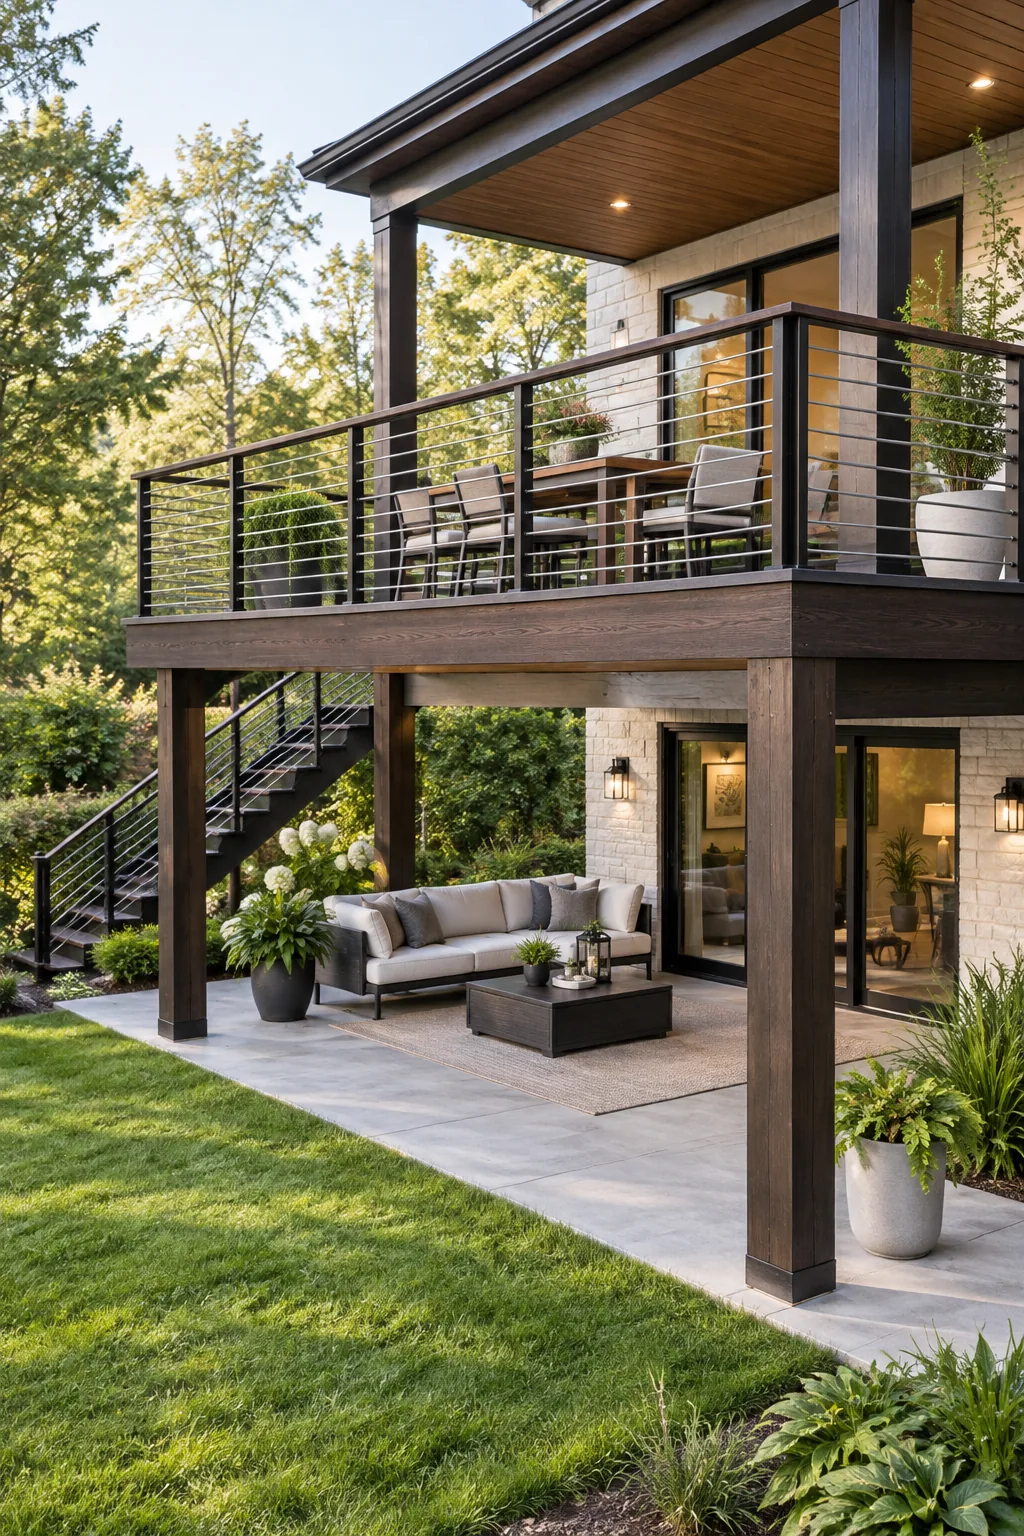
Elevated Second Story Deck Plans & Material Checklist
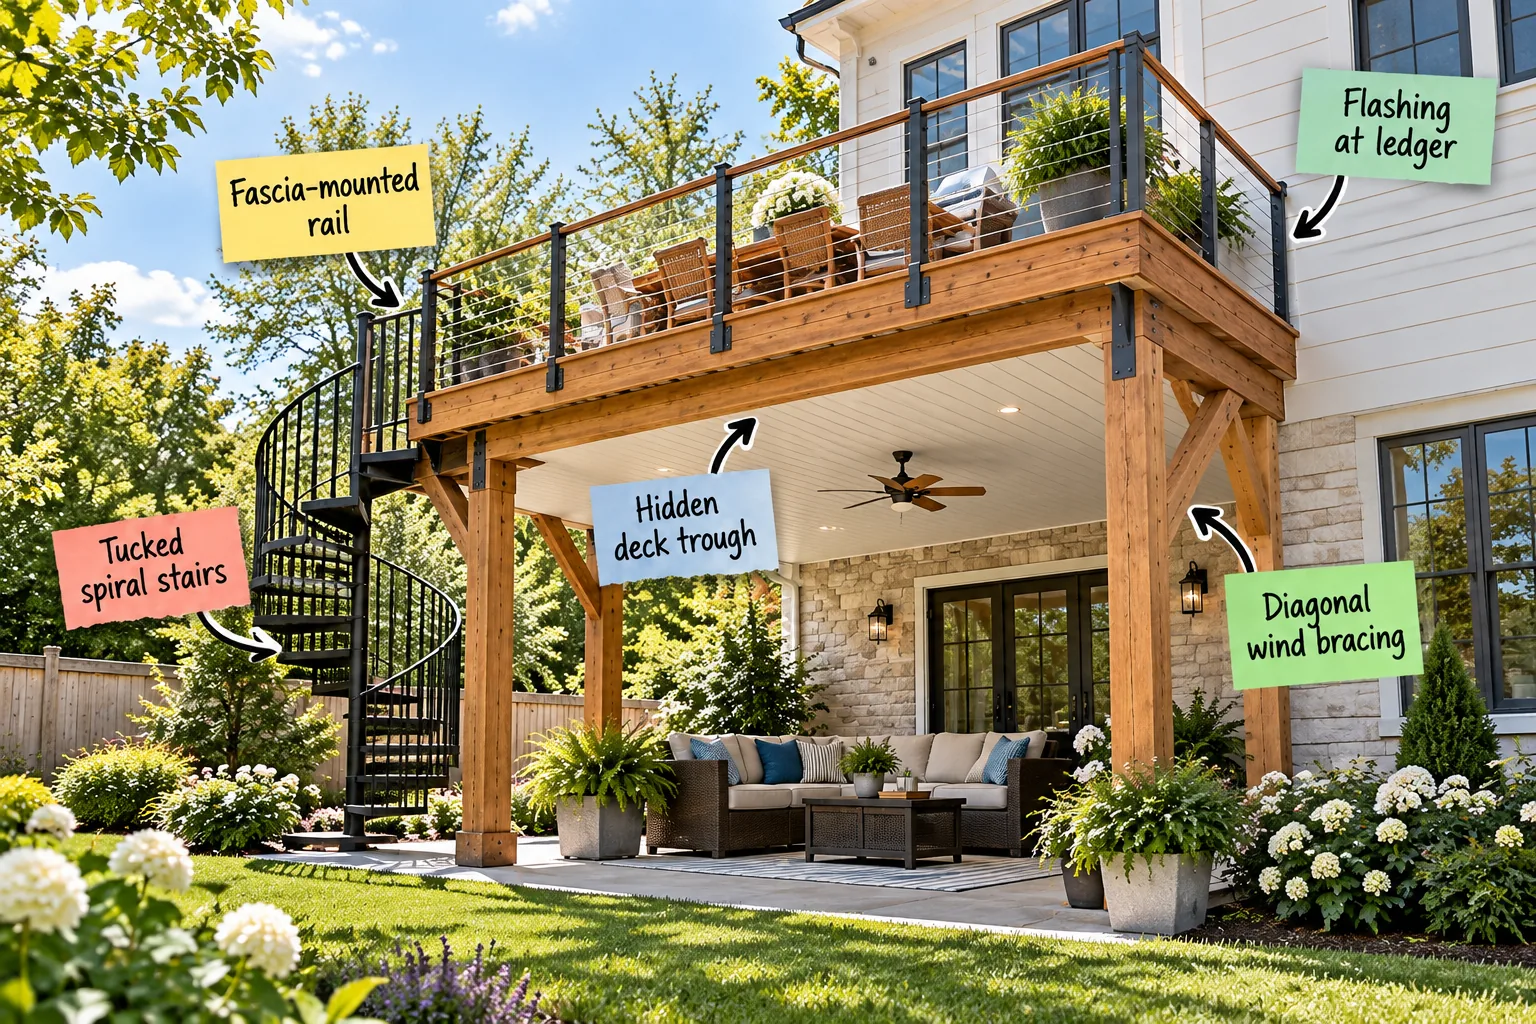
If you are planning an elevated outdoor space, you can finally finalize your structural layout and gather the exact materials needed for a dry, usable space above and below. This complete second story deck plans guide and material checklist will walk you through every critical step of the build.
Securing the Ledger Board
The structural integrity of any attached deck begins right at the house wall, where proper ledger attachment is critical. When we replaced our rotted Austin deck, I was shocked to see the old ledger had no flashing at all.
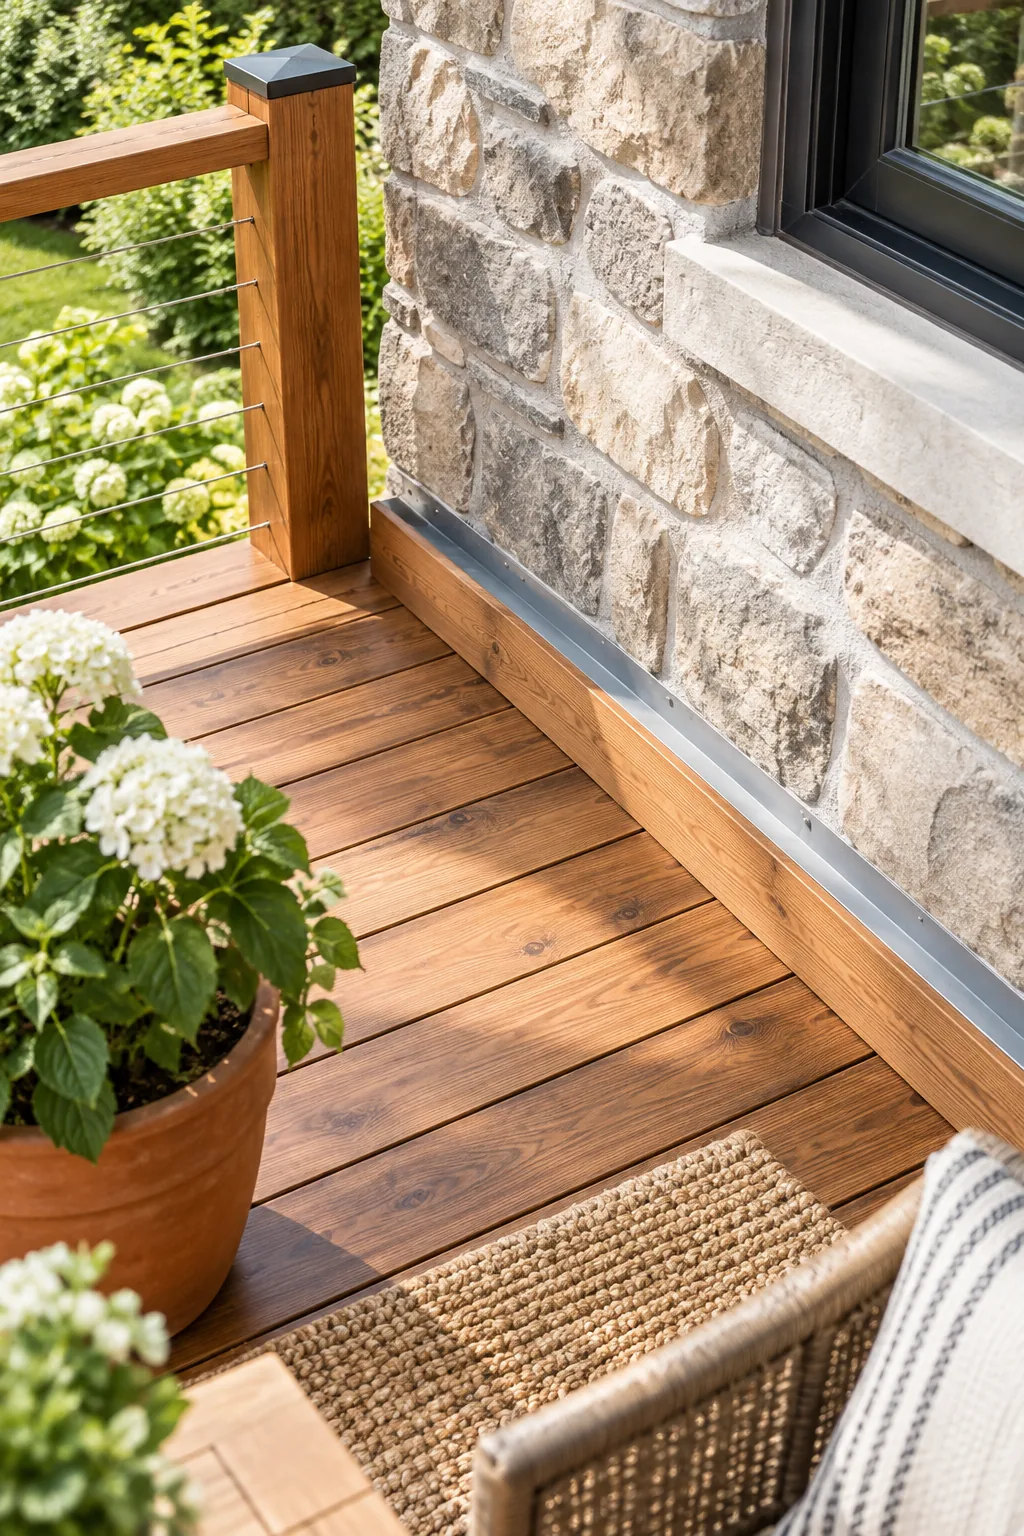
You must install standard Z-flashing tucked under the siding, leaving a 1/2-inch gap using spacers so water flows freely behind the board. Even a perfectly leveled ledger board will fail if water gets trapped behind it, so avoid these common flashing errors to protect your home’s framing.
Marking the Ledger Layout
Before drilling a single hole into your home’s exterior, you must map out exactly where the deck frame meets the house. Snapping a highly visible, level chalk line ensures your entire outdoor living space will sit perfectly flat, preventing awkward slopes in your final dining area.
Spacing the Ledger Fasteners
Once your flashing is secure, you need to space your structural lag screws correctly to bear the massive weight of the deck. Following standard guidelines for a 1/2-inch lag screw ensures your ledger board will never pull away from the house under heavy loads.
| Joist Span | Fastener Spacing | Edge Distance |
|---|---|---|
| Up to 6 feet | 30 inches | 2 inches |
| Up to 8 feet | 23 inches | 2 inches |
| Up to 10 feet | 18 inches | 2 inches |
| Up to 12 feet | 15 inches | 2 inches |
Waterproofing the Bolt Penetrations
Every hole you drill for a ledger fastener becomes a potential entry point for hidden moisture. Squeeze a generous bead of exterior-grade silicone caulk into each pilot hole before driving the lag screws to seal the vulnerable wood fibers completely against the elements.
Sizing the Structural Posts
Supporting a second-story load requires substantial vertical framing to prevent dangerous sagging over the years. Always upgrade to solid 6×6 treated posts rather than standard 4x4s, as they provide significantly more bearing surface for your heavy main carrying beams to rest upon.
Installing the Main Carrying Beam
The massive wooden beam resting on your tall posts carries the bulk of the upper deck’s weight. Bolting together triple 2×10 treated boards creates a rock-solid structural header that prevents the floor from bouncing when you host large backyard gatherings.
Adding Diagonal Wind Bracing
Tall posts require lateral stability to prevent the entire structure from swaying during heavy storms. You must install 45-degree angled wood braces connecting the tall 6×6 posts to the main beam, typically requiring 2 to 3 feet of length for optimal shear strength.
Hanging the Deck Joists
With the ledger and beam securely in place, you can begin dropping the floor joists into the framework. Using galvanized steel joist hangers at every connection point guarantees the framing will never twist or pull away under the heavy load of your chosen decking material.
Blocking for the Drainage Slope
Before installing any waterproofing, you have to create a rigid framework that prevents the long joists from twisting. Installing staggered solid blocking every 4 to 6 feet keeps the framing perfectly square so your drainage membranes will lay completely flat without pooling water.
Applying Joist Tape
Water sitting on top of your wooden framing will eventually cause the fasteners to rust and the wood to rot. Rolling a protective layer of butyl joist tape over every exposed board completely seals the timber against relentless rain and melting snow.
Installing the Hidden Deck Trough
To create a usable patio underneath, water from the upper deck must be caught by a hidden deck trough system installed between the joists. You need a critical 1/4-inch per foot slope to ensure rain flows smoothly toward the hidden gutter.
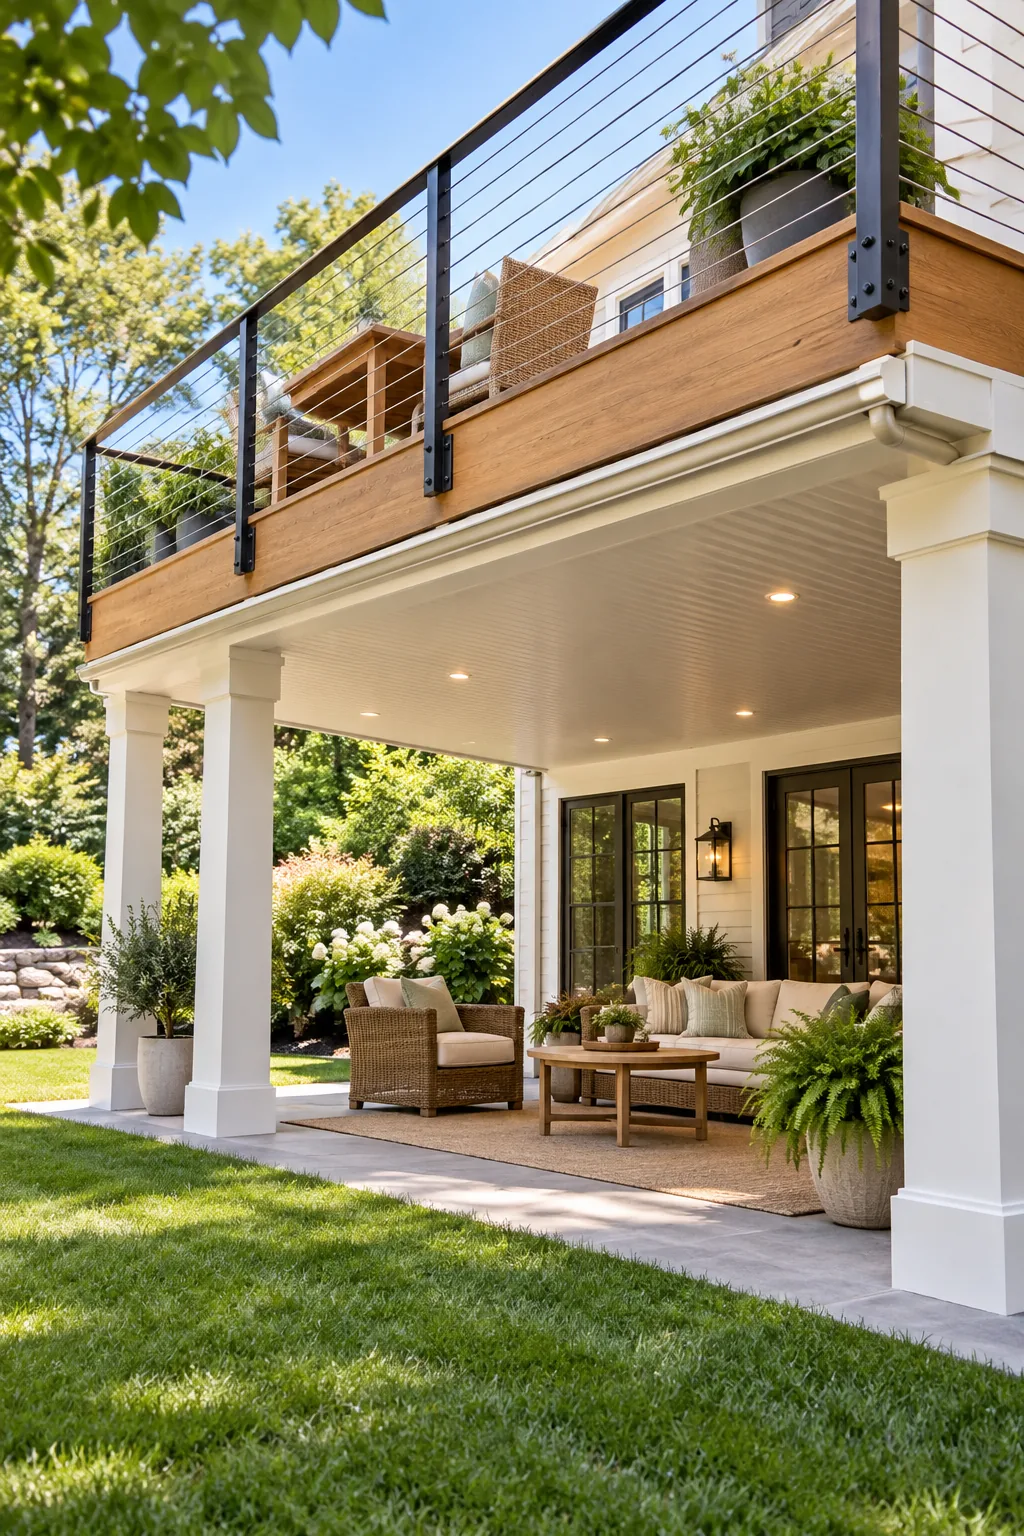
A hidden drainage system is highly effective at keeping your lower furniture completely dry, but it still requires occasional maintenance to prevent clogs. Adding a clever clean-out point will save you from major headaches when autumn arrives and leaves begin to fall.
Routing the Downspouts Discreetly
Once the trough collects the water, you need to direct it away from your foundation without ruining the patio’s aesthetic. Painting the necessary PVC downspouts to match your structural posts helps them blend seamlessly into the background of your outdoor living room.
Finishing the Under-Deck Ceiling
Once the drainage is completely secure, the lower area is ready for finishing to hide the structural joists. I chose bright white PVC beadboard for our ceiling, and it completely transformed the dark patio into my absolute favorite reading spot.
Adding Recessed Lighting Safely
A finished ceiling provides the perfect opportunity to wire outdoor-rated recessed lights for beautiful evening ambiance. Always use wet-rated LED fixtures and ensure all electrical boxes are sealed against the high humidity naturally found in covered outdoor living spaces.
Selecting Composite Deck Boards
For a truly low-maintenance second story, upgrading from traditional wood to modern composite decking is a brilliant long-term investment. These manufactured boards naturally resist fading and splintering, meaning you will never have to spend your summer weekends sanding or staining the floor.
Using Hidden Fasteners
Nothing ruins the sleek look of a brand-new deck faster than thousands of visible, rusting screw heads. Slipping hidden plastic fasteners into the grooved edges of your composite boards creates a perfectly smooth, barefoot-friendly surface across the entire upper level.
Picture-Framing the Deck Edge
Exposed composite board ends look unfinished and can absorb unwanted moisture over time. Running a darker, contrasting border board perfectly flush around the outer perimeter—a technique called picture-framing—gives your elevated deck a highly customized, professional appearance.
Maximizing Space with Fascia-Mounted Rails
Surface-mounted railing posts eat into your usable deck floor, so I always recommend a fascia-mounted rail bolted directly to the outer rim joist. Moving our rail posts to the outside gave us just enough room to squeeze in a six-person dining table.
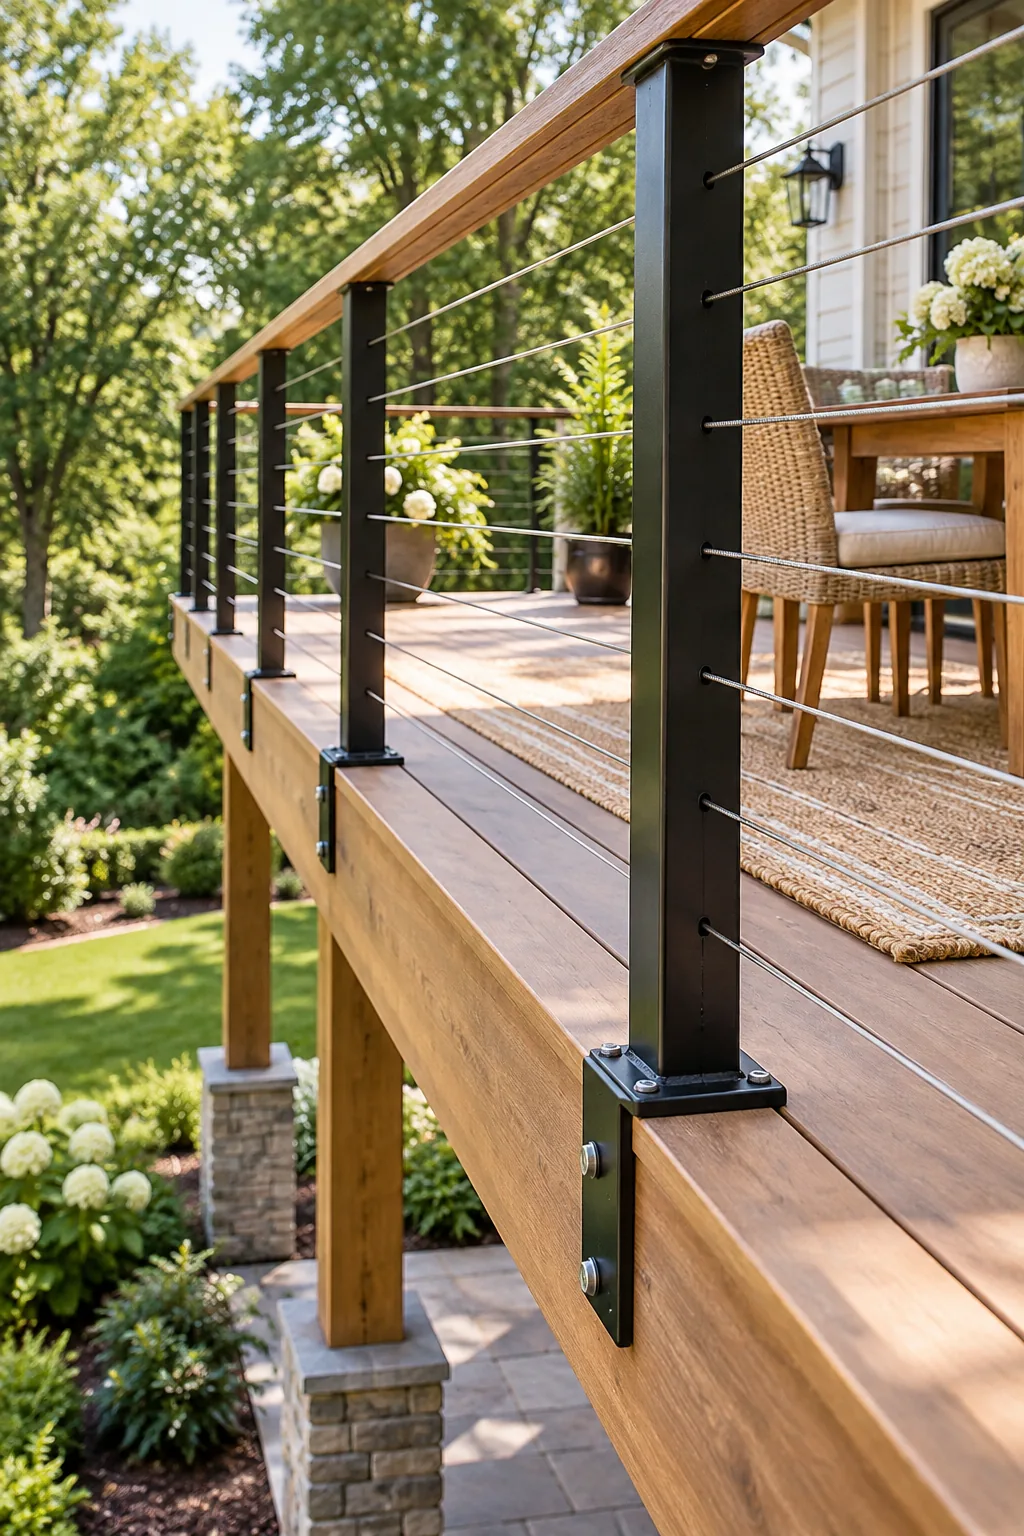
This clever mounting technique typically saves 3 to 4 inches around the entire deck perimeter. Reclaiming that valuable square footage makes a massive difference when you are trying to arrange comfortable seating and spacious dining layouts.
Reinforcing the Rim Joist
Because fascia-mounted posts act as levers against the outer frame, the rim joist needs extra reinforcement to meet modern safety codes. Installing heavy-duty metal tension ties inside the framing connects the rim directly to the deck joists for unwavering structural strength.
Choosing Cable Railing Materials
Sleek cable railings preserve your beautiful backyard view while providing necessary safety for your family. You will need specialized tensioning hardware and marine-grade stainless steel cables spaced no more than 4 inches apart to meet strict residential safety codes.
- Install the rigid stainless steel corner posts first to establish your exact perimeter.
- Drill perfectly aligned pass-through holes in all intermediate wooden posts.
- Thread the cables carefully through the posts, starting from the bottom run.
- Tighten the tensioning turnbuckles until the cables deflect less than a quarter inch.
Tensioning the Stainless Cables
Even the highest quality metal cables will stretch slightly during their first few months in the hot sun. Plan to revisit every turnbuckle with a wrench about six weeks after installation to restore the required tension and keep the entire system code-compliant.
Placing the Tucked Spiral Stairs
Traditional straight stairs consume massive amounts of yard space, making a tucked spiral stairs design the perfect alternative. I was hesitant about a metal spiral stair, but it saved so much of our small backyard that I now recommend it to everyone.
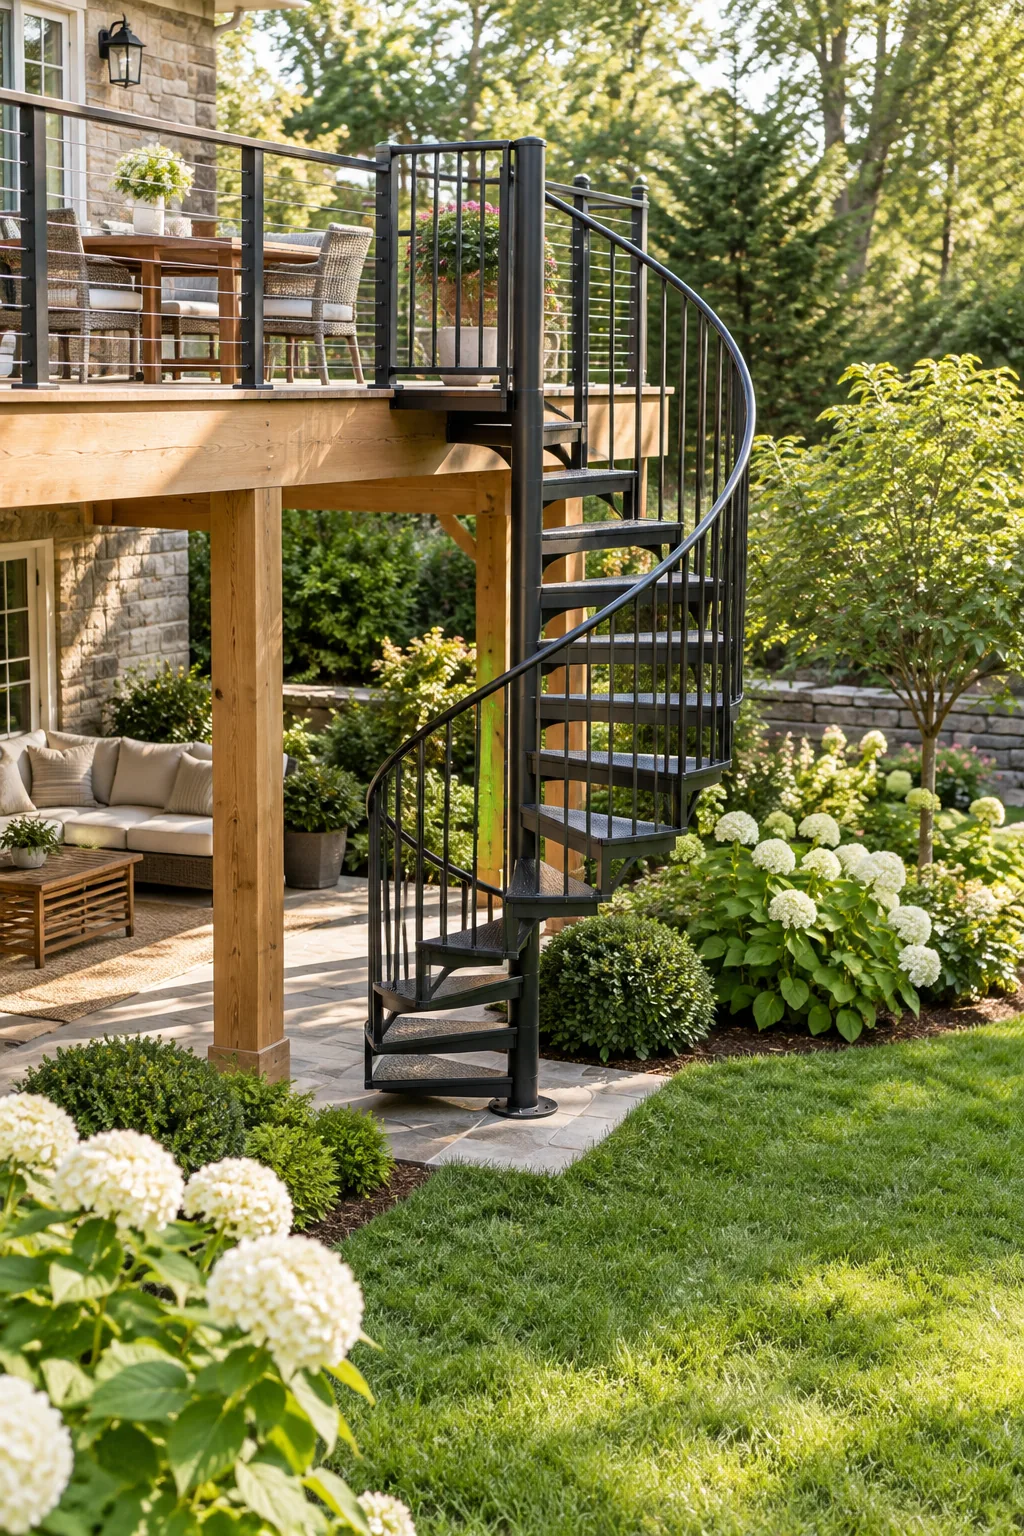
A standard spiral stair requires roughly a 5×5 foot footprint, compared to the 12 or more feet needed for a standard straight run. This compact metal staircase provides elegant, immediate access down to the lawn without dominating your landscape.
Pouring the Stair Footing
Your new spiral staircase needs a solid concrete pad to bear the concentrated weight safely. Digging a frost-depth concrete footing ensures the heavy metal structure will never heave or settle dangerously during freezing winter temperatures.
Furnishing the Dry Patio Below
With a waterproof ceiling above, the lower patio becomes a true outdoor living room ready for plush, comfortable seating. I recommend maintaining an 8-to-9 foot clearance to comfortably accommodate spinning ceiling fans and tall guests moving through the space.
Selecting Outdoor Rugs and Fabrics
Even though the space is protected from direct rain, ambient humidity will still affect your textiles. Choosing solution-dyed acrylic fabrics and polypropylene outdoor rugs guarantees your cozy setup will resist mold and fading all year round.
Layout Guide & Material Checklist
Bringing this entire elevated plan together requires highly organized purchasing to avoid frustrating mid-project delays. Use this checklist to verify your lumber counts and hardware quantities before you ever place an order at the local lumberyard.
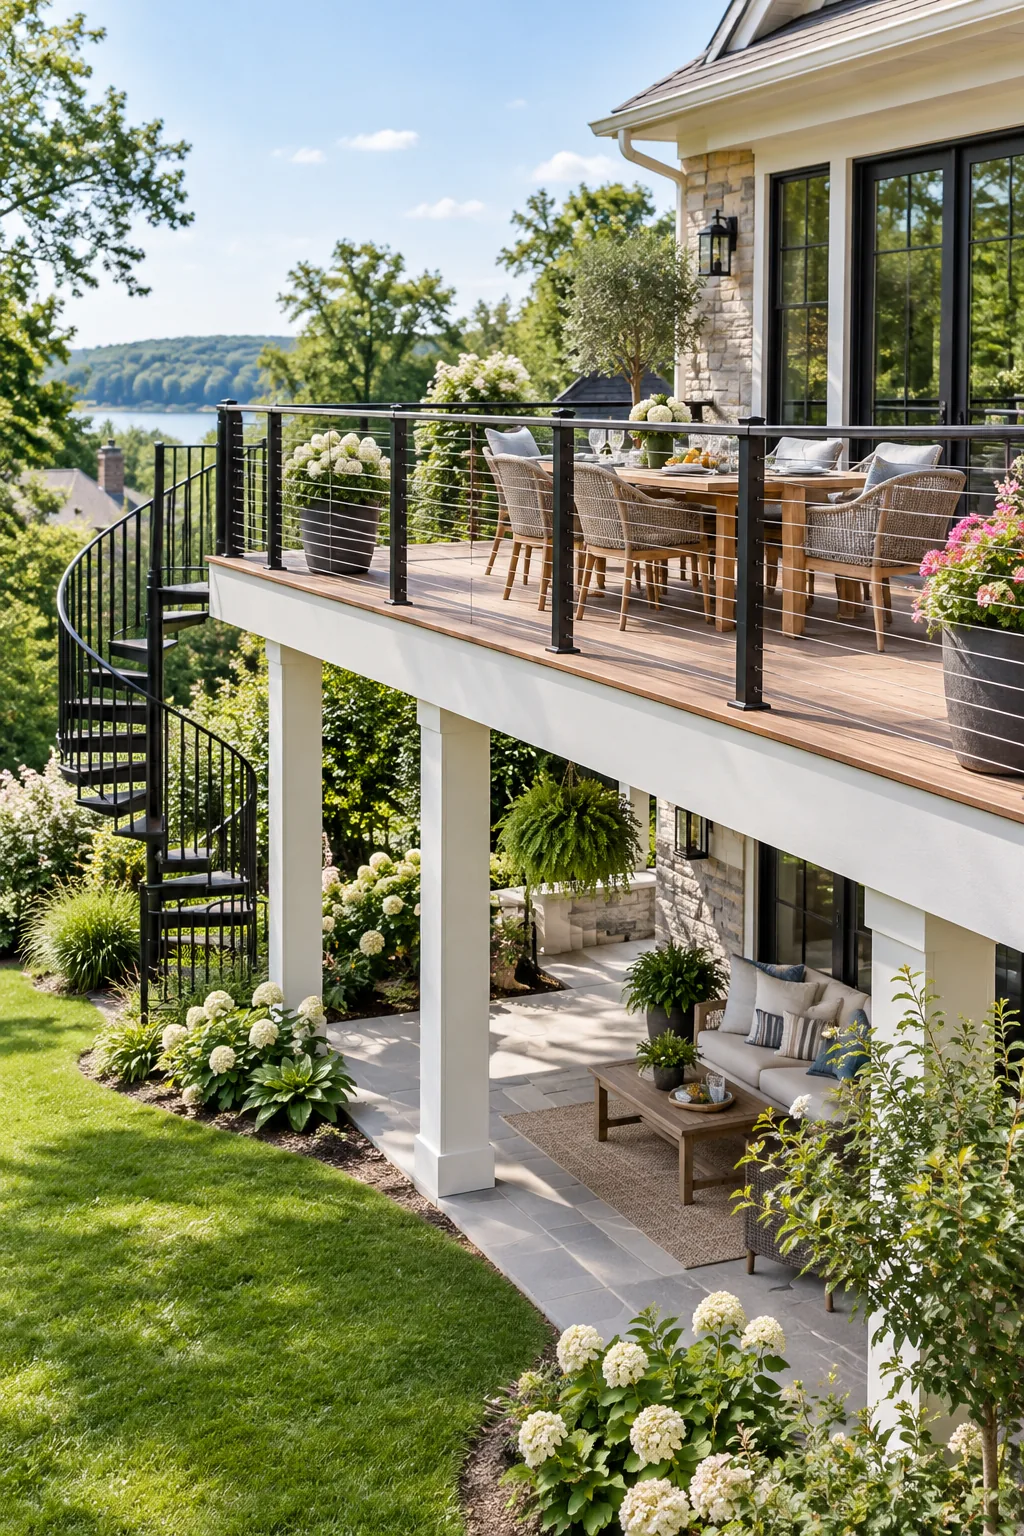
Having all your structural and finishing materials on site ensures a smooth, uninterrupted building process from start to finish. Check off these essential supplies as you review your finalized second-story deck plans.
- Z-flashing and exterior-grade silicone caulk for the ledger board.
- Solid 6×6 treated posts and 45-degree angled wind braces.
- EPDM membrane or rigid troughs for the under-deck drainage.
- PVC beadboard panels and wet-rated recessed LED lights.
- Fascia-mounting brackets and marine-grade stainless steel cables.
- Prefabricated metal spiral staircase kit and concrete mix.
Second Story Deck Styles
Explore how different material palettes can completely change the atmosphere of your elevated outdoor space.
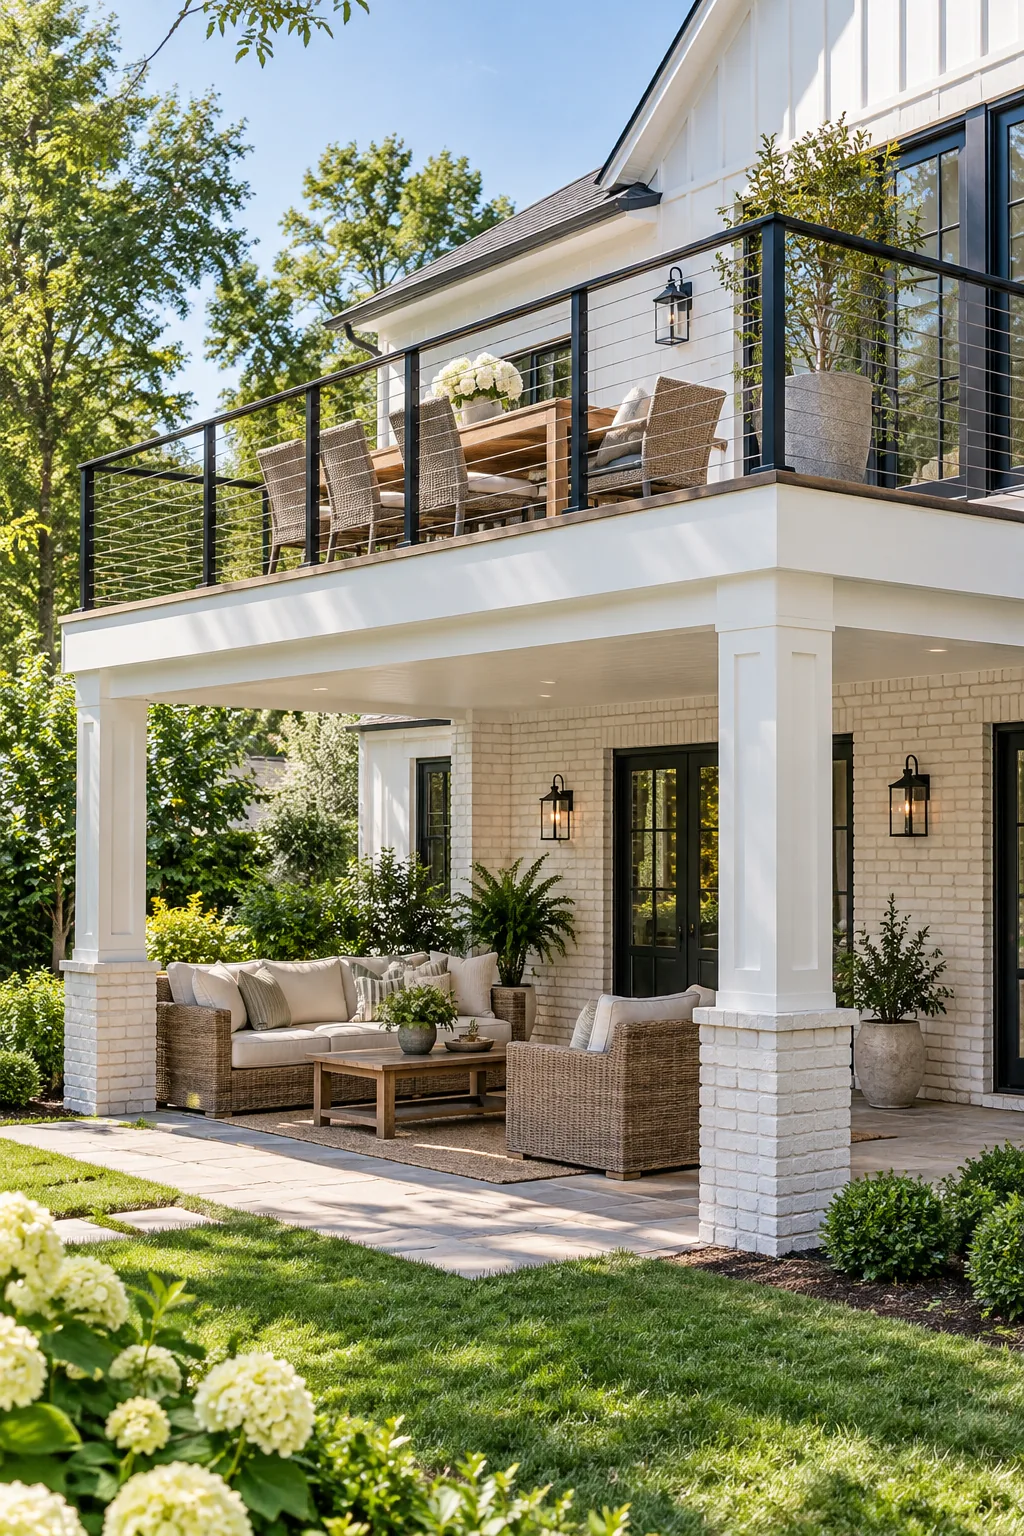
Modern Farmhouse Contrast: Crisp white framing paired with black metal accents creates a striking, updated farmhouse aesthetic.
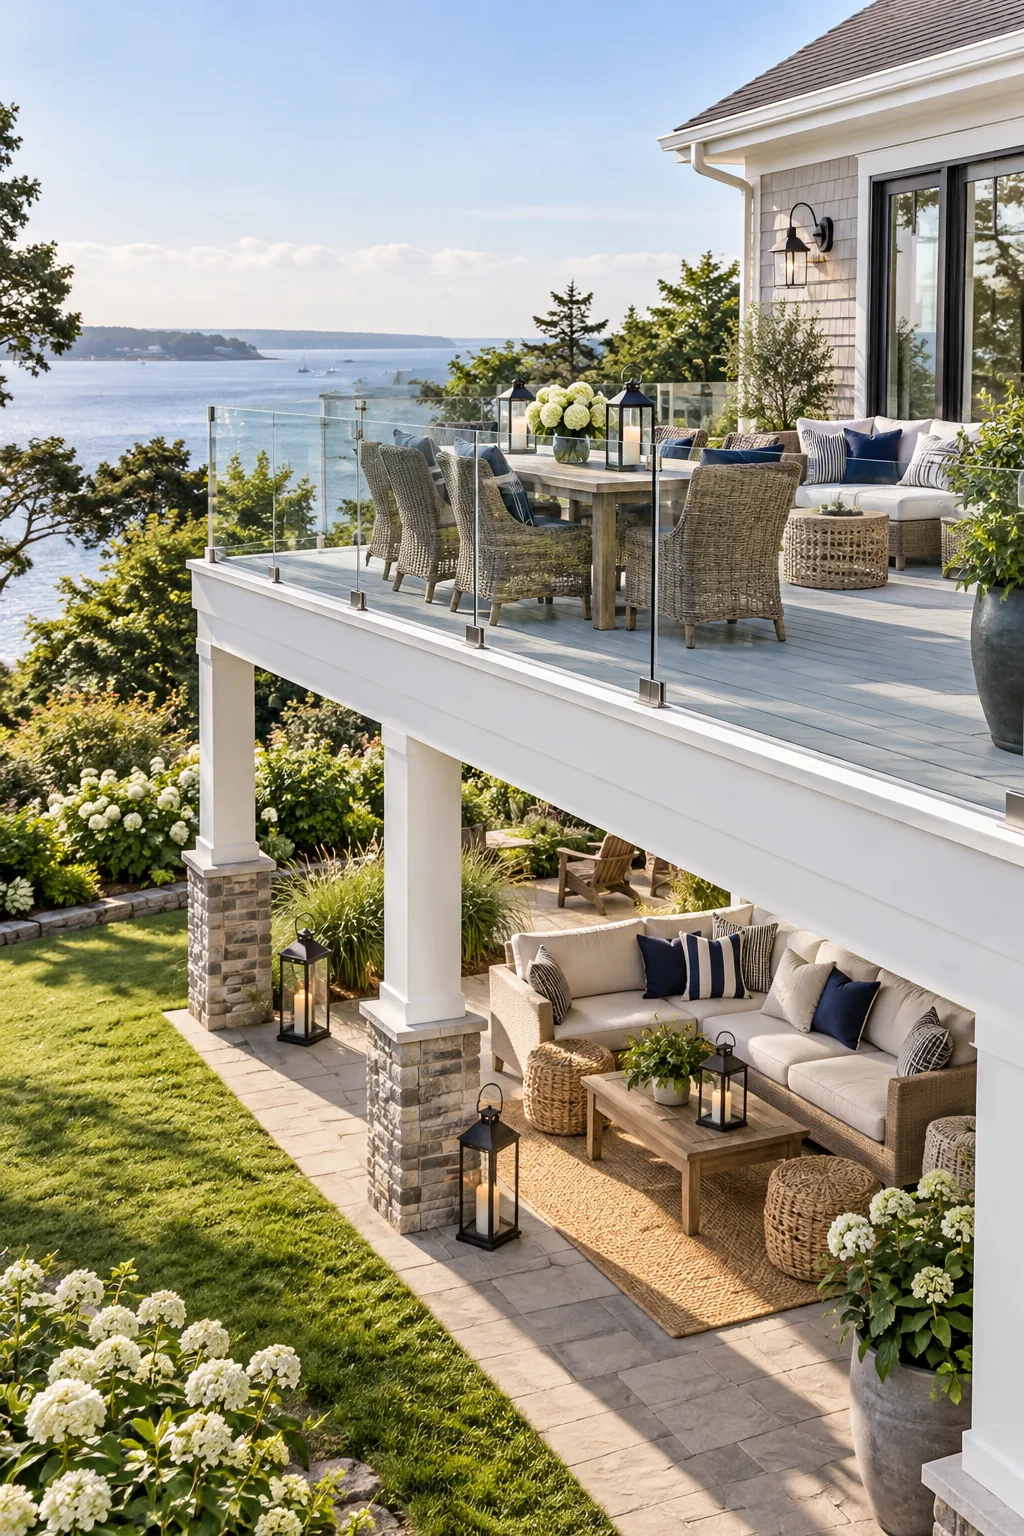
Breezy Coastal Glass: Glass panel railings offer an uninterrupted view of the landscape while blocking coastal breezes.
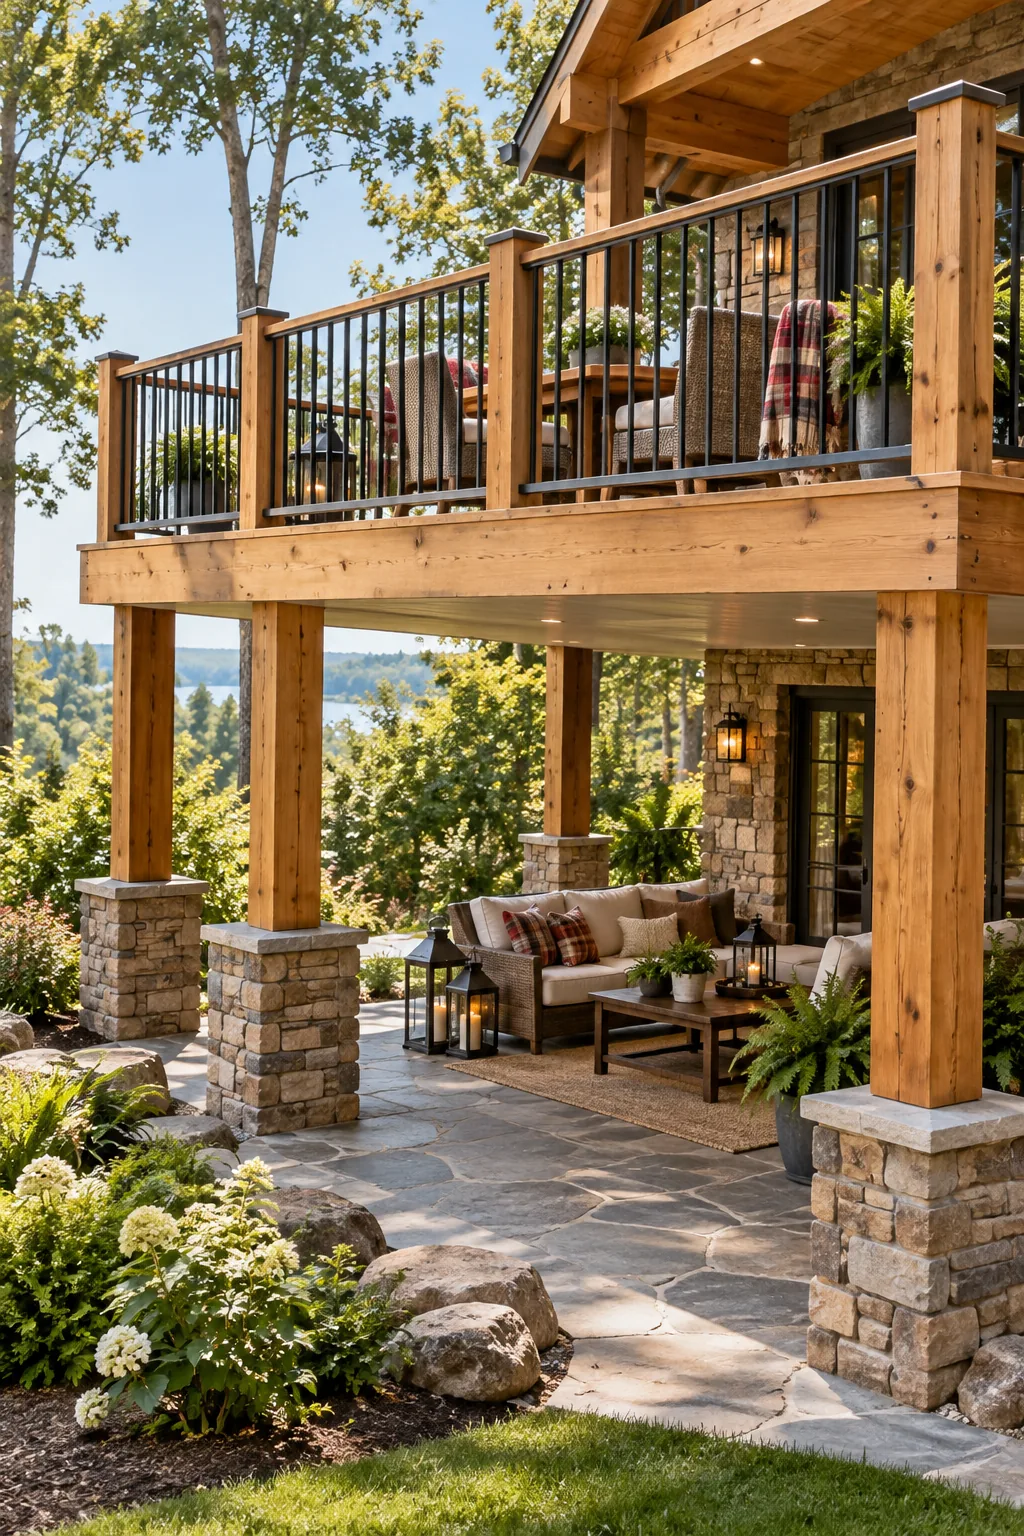
Rustic Cedar Charm: Chunky raw timber and heavy iron details ground the structure beautifully in a wooded setting.
Sleek Contemporary Lines: Horizontal steel rods and dark stained wood deliver a highly polished, architectural finish.