Simple Platform Deck: The Material and Framing Cheat Sheet
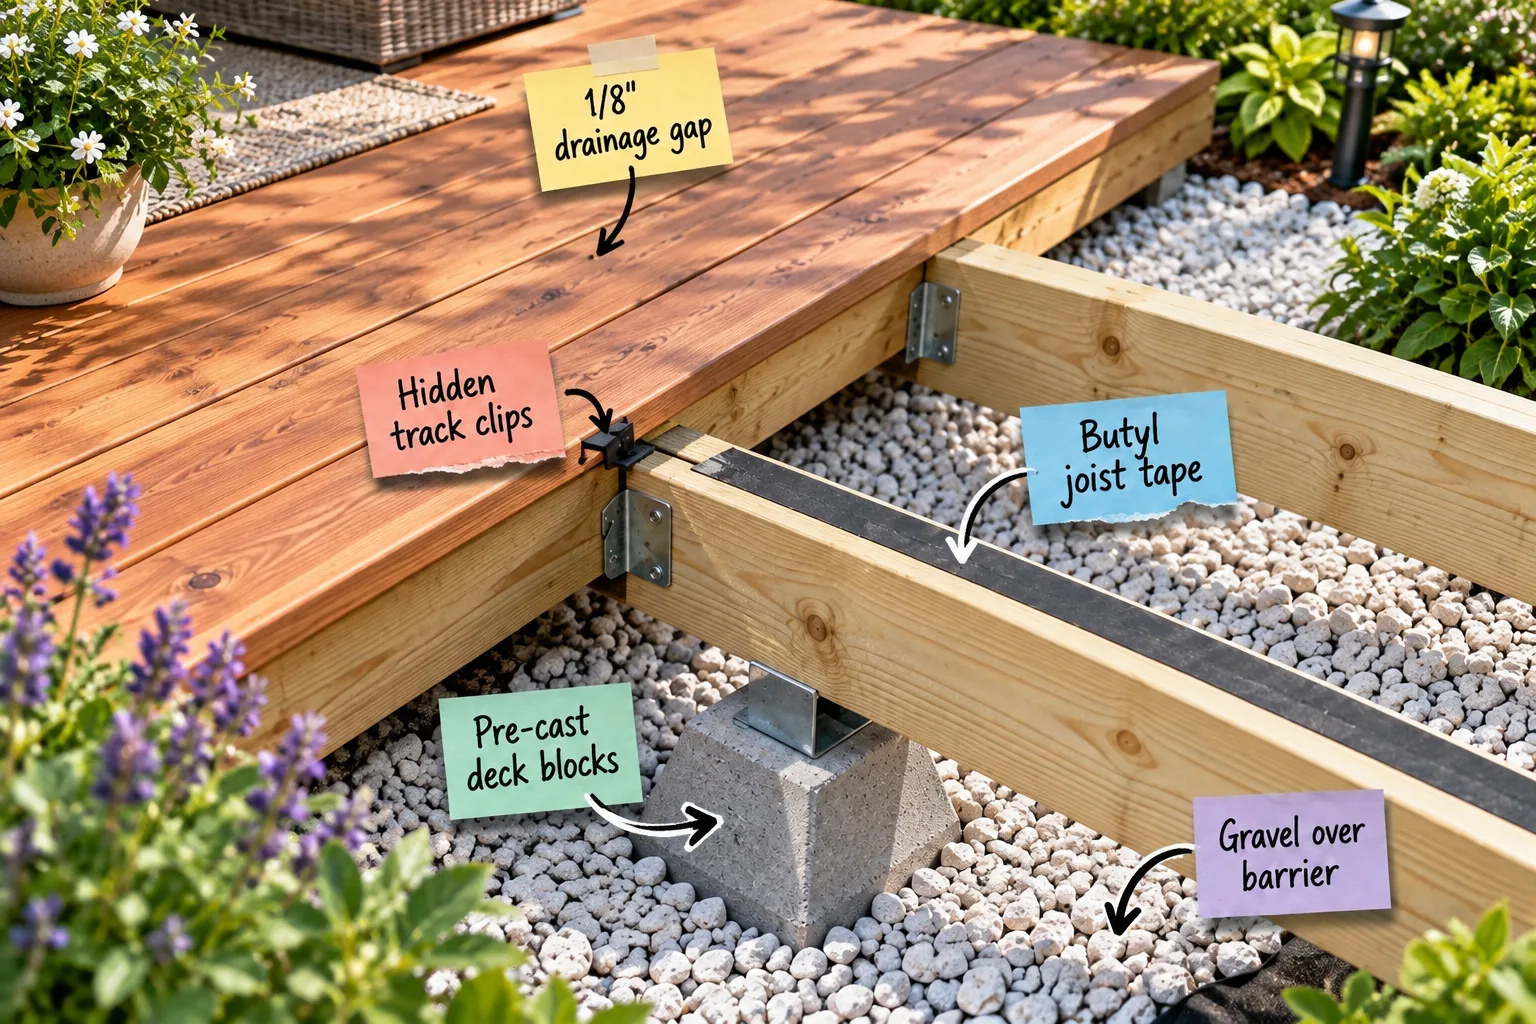
You can confidently select the right foundation blocks, protective tapes, and hidden fasteners for a long-lasting platform deck using this complete material and framing cheat sheet. We will build this deck from the ground up, starting with the gravel base and finishing with the top cedar boards.
Ground Preparation and Weed Barrier
Before framing begins, laying professional-grade landscape fabric and covering it with a 2 to 3-inch layer of crushed gravel prevents weed growth while managing drainage. This simple step creates a clean visual transition between the finished deck edge and the functional gravel drainage perimeter.
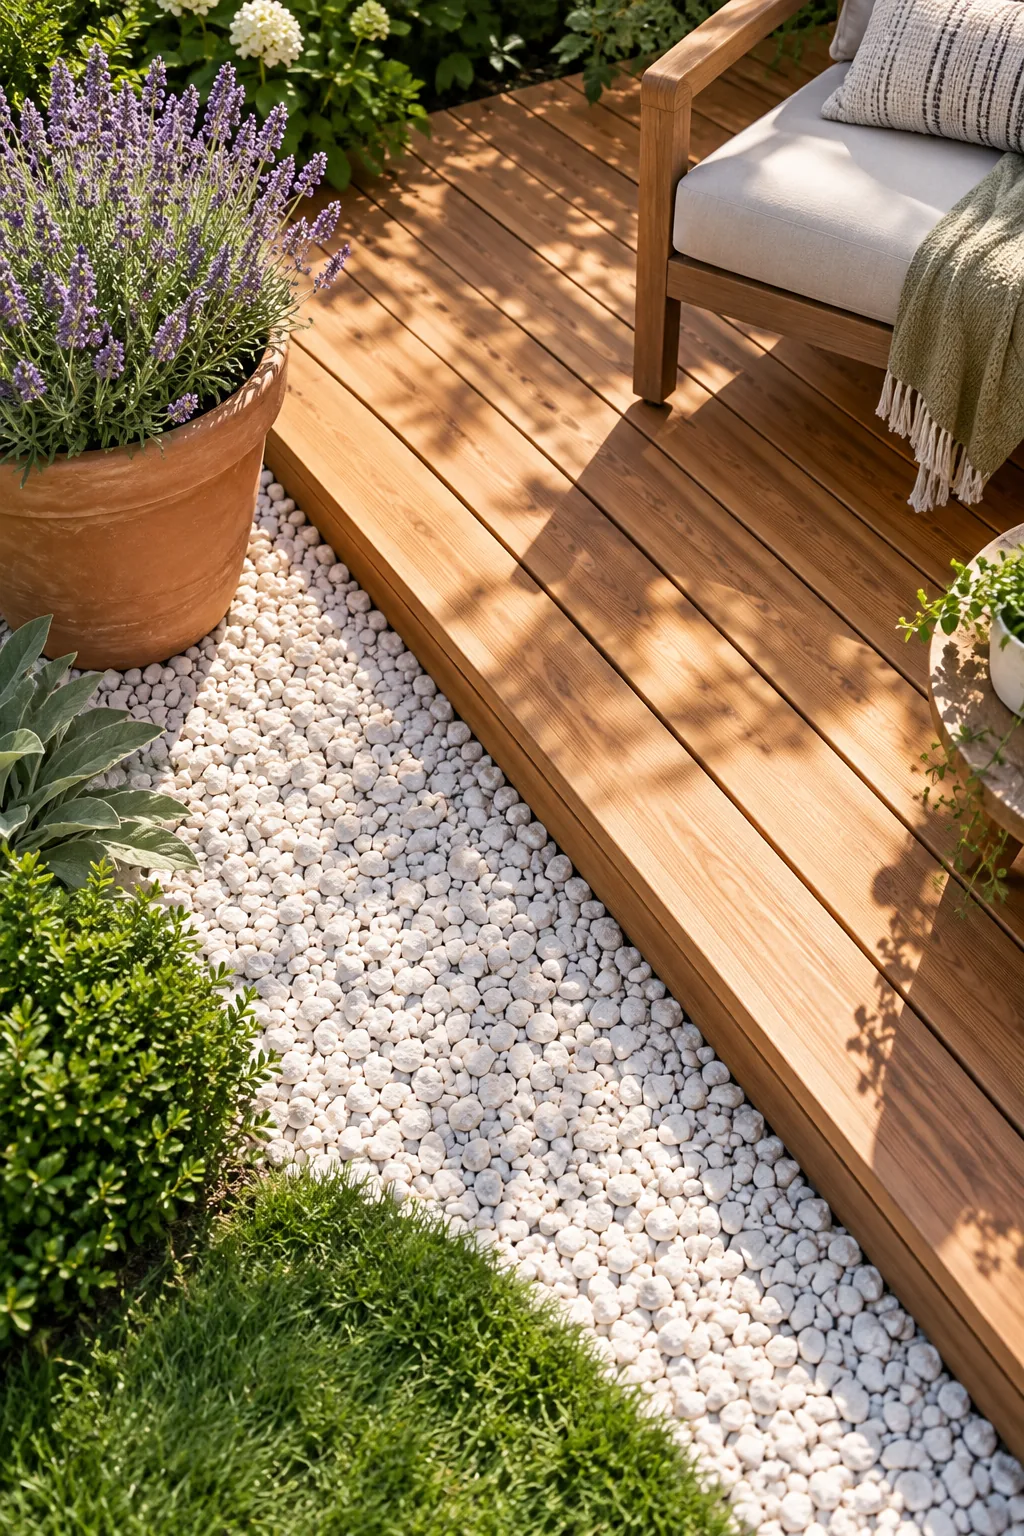
Keeping this stone border slightly wider than your deck footprint guarantees that rainwater runoff will never pool around your new wooden foundation.
Clearing the Topsoil Layer
Removing the organic topsoil removes the spongy layer that holds excess moisture right against your framing lumber. Dig down about four to six inches until you hit firm, undisturbed subsoil to create a highly stable, reliable base for your entire outdoor project.
Grading for Proper Water Runoff
Shape the exposed dirt so it slopes gently away from your house foundation, aiming for a drop of one inch every four feet. This subtle angle acts as an invisible slide, directing heavy storm water safely into your yard instead of pooling.
Leveling the Crushed Gravel Base
Spread your crushed stone evenly across the fabric barrier using a heavy steel garden rake to achieve a uniform depth. The jagged edges of crushed gravel lock together securely under pressure, creating a much firmer walking surface than smooth river rock ever could.
Tamping Down the Stone Perimeter
Running a heavy steel hand tamper over the entire gravel bed compacts the loose stones and prevents future settling under your heavy framing. A solid hour of meticulous tamping now saves you from a frustrating, wobbly deck surface next summer.
Setting Pre-Cast Deck Blocks
Pre-cast concrete deck blocks allow you to support the framing without pouring deep concrete footings, saving days of heavy labor. When I built my first floating deck here in Austin, skipping the post-hole digger saved my back and an entire weekend of work, while still delivering the low-level, floating appearance of the deck made possible by the block foundation.
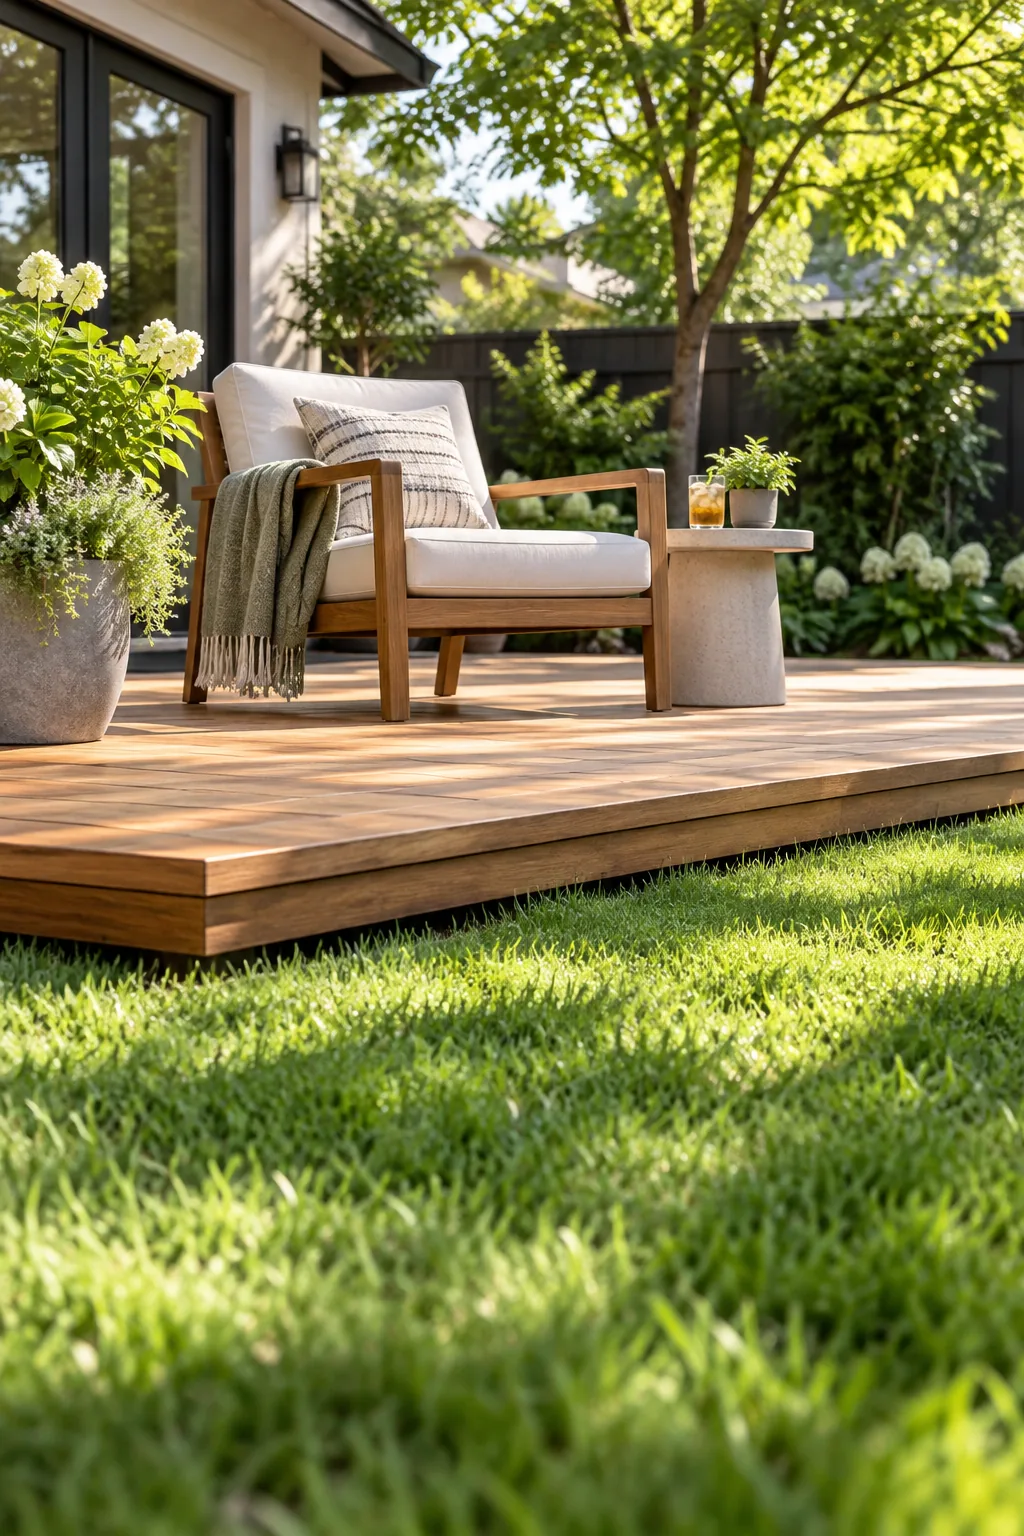
Before you place a single concrete block, ensure your site is properly prepped to prevent the foundation from shifting over time.
Measuring for Foundation Spacing
Space your concrete blocks exactly 16 inches on center to provide maximum structural support for standard residential deck joists. This consistent, tightly measured spacing prevents the final cedar boards from bouncing or sagging when you walk heavily across the middle of the platform.
Aligning the Corner Footings
Place your four corner blocks first and stretch a high-visibility mason line tightly between them to establish your perfect outer boundaries. This simple, brightly colored string line becomes your ultimate guide for keeping every internal support block perfectly straight and aligned.
Checking the Diagonal Measurements
Measure the distance between opposite corners with a long tape measure to guarantee your foundation is perfectly square before cutting any wood. If the two diagonal numbers match exactly down to the fraction, you are ready to start building your wooden frame.
Selecting Pressure-Treated Joists
Always purchase lumber rated specifically for ground contact when building a low-profile platform directly in your backyard. Standard interior framing lumber will absorb ground moisture like a sponge and decay rapidly when placed this close to the damp, humid soil.
| Lumber Type | Best Application | Lifespan | Cost Impact |
|---|---|---|---|
| Standard Pine | Interior walls | Low outdoors | Budget |
| Pressure-Treated | Hidden joists | 15+ years | Moderate |
| Cedar | Visible decking | 20+ years | Premium |
Sizing the Perimeter Beams
Using sturdy 2×6 pressure-treated boards for your outer frame provides the perfect balance of structural strength and a sleek, low profile. These thicker outer boards firmly anchor the entire structure and give your hidden edge fasteners something substantial to bite into.
Cutting the Framing Lumber
Treat the raw cut ends of your pressure-treated boards with a brush-on copper naphthenate preservative to fully restore their chemical protection. Factory edges are fully treated, but every fresh saw cut exposes vulnerable untreated wood grain directly to the harsh outdoor elements.
Crown Direction for Floor Joists
Sight down the narrow edge of every joist and mark the natural upward curve, known as the crown, so you can install it facing the sky. Gravity and the heavy weight of your furniture will eventually push this subtle arch down into a perfectly flat floor.
Assembling the Outer Deck Frame
Drive three heavy-duty structural exterior screws into every single corner joint to lock the outer frame tightly and securely together. Avoid using standard black drywall screws, which are highly brittle and will easily snap under the natural seasonal shifting of heavy outdoor lumber.
Installing the Interior Joist Hangers
Secure every internal floor joist with a galvanized steel hanger to prevent the heavy boards from twisting or dropping over time. Fill every single prepunched hole in the metal hanger with a specialized structural nail to achieve its absolute maximum weight rating.
Protecting Wood with Butyl Joist Tape
Applying a strip of black butyl tape along the top edge of every joist seals around screw holes and prevents standing water from rotting the wooden substructure. I used to skip this step until I saw how quickly untreated framing rots, but this tape guarantees the flawless, long-lasting surface that results from protected, rot-free joists below.
Press the tape down firmly with a small rubber roller to activate the powerful adhesive and completely eliminate any trapped air bubbles.
Wrapping the Exposed Beam Ends
Fold the black protective tape carefully over the exposed ends of your joists to completely block moisture from wicking into the end grain. The end grain acts exactly like a sponge, making it the absolute most vulnerable point on your entire deck frame.
Choosing Your Cedar Decking
Select premium 5/4-inch thick cedar boards for a gorgeous walking surface that naturally resists rot and harmful insect damage without harsh chemicals. Cedar stays noticeably cooler under bare feet than synthetic composite decking during our blistering, sun-drenched summer afternoons.
Acclimating Wood Before Installation
Stack your new cedar boards flat in the backyard for at least three full days before driving the very first screw. Letting the raw wood adjust to your local yard humidity prevents extreme shrinking, cracking, or warping right after you finish building.
Securing Boards with Hidden Track Clips
Instead of driving screws through the top, use hidden track clips that tuck neatly into the grooved edges of the deck boards. My dog loves sunbathing on our deck, and I love knowing she enjoys the smooth, splinter-free safety of a deck built with hidden fasteners.

Slide the plastic clips completely into the side groove before tightening the screw to ensure the board is locked down tight.
Starting the First Deck Board
Fasten the very first deck board securely by driving exterior screws straight through the outer edge, then cover those visible screw heads with matching wood plugs. This establishes a rigid, immovable anchor point for the rest of your hidden track system to push against.
Working with Grooved Board Edges
Inspect the side grooves of every single cedar board and clear out any hidden sawdust or wood splinters before inserting your plastic clips. Even a tiny piece of trapped debris can throw off your delicate spacing and create a noticeably crooked deck surface.
Driving the Stainless Steel Fasteners
Use a cordless drill with an adjustable clutch setting to sink your hidden clip screws perfectly flush without cracking the delicate plastic track. Over-tightening the metal fasteners can easily strip the soft wood beneath, leaving your beautiful cedar boards loose and prone to rattling.
Maintaining the 1/8-Inch Drainage Gap
A precise 1/8-inch gap between every cedar board is critical for allowing rainwater to escape and giving the wood room to expand. High-quality hidden clips automatically space the boards to this exact measurement, ensuring the functional drainage happening through the precisely spaced boards.

Keeping these narrow channels completely clear of fallen leaves and dirt throughout the year prevents destructive mold from growing on the hidden edges.
Managing Natural Wood Expansion
Natural wood swells significantly during humid rainy seasons and shrinks back down considerably during dry, hot summer months. Forcing wet boards tightly together without any breathing room guarantees they will eventually buckle, warp, and pop completely off the wooden frame under pressure.
Checking Alignment Every Five Boards
Measure the exact distance from your current board back to the house foundation every few rows to ensure your deck is staying perfectly parallel. Small variations in natural wood width can quickly compound, leaving you with a noticeably crooked and frustrating final row.
Trimming the Final Board Overhang
Let your deck boards run wild over the front edge during installation, then snap a blue chalk line and cut them all at once with a circular saw. This professional carpentry technique guarantees a perfectly straight, crisp edge across the entire front of your deck.
Sanding the Rough End Cuts
Run a medium-grit sanding block firmly over the freshly cut board ends to remove sharp wood splinters and soften the hard right angles. A slightly rounded board edge holds oil stain much better and feels significantly softer against bare ankles and feet.
Sealing the Cedar Surface
Apply a penetrating UV-blocking oil sealer as soon as your new cedar has fully dried out from its time at the damp lumberyard. Unprotected cedar quickly turns a weathered silver-gray, but a high-quality oil keeps that rich, warm natural wood tone vibrant for years.
Planning Your Backyard Layout
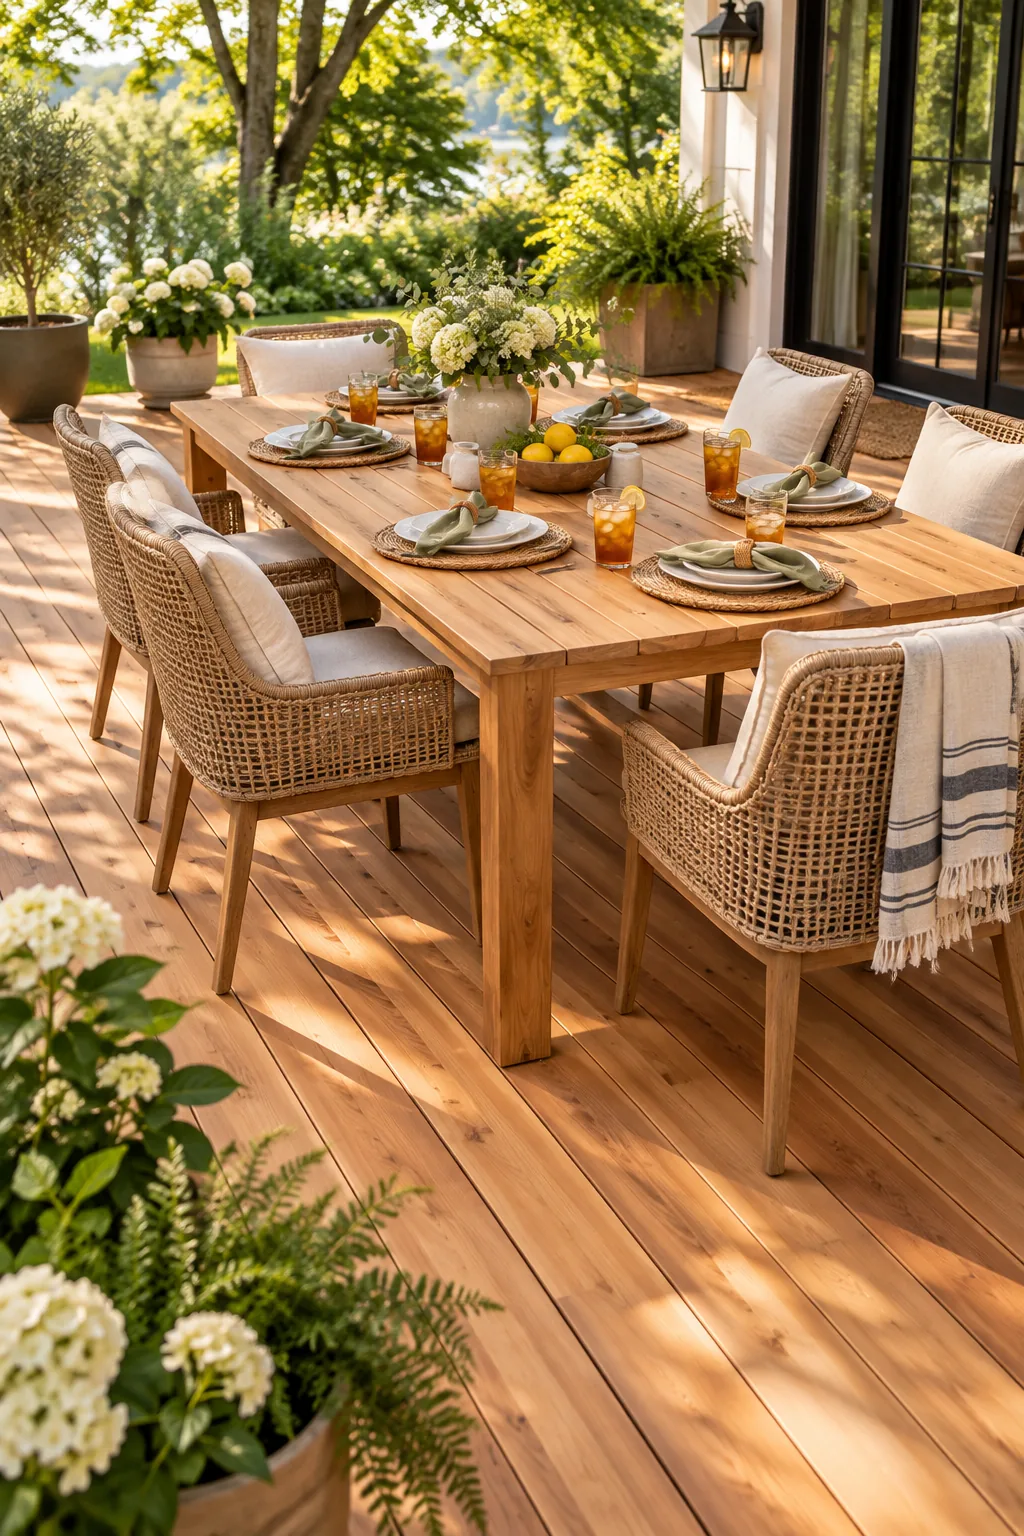
Position your heavy outdoor lounge furniture directly over the internal joists rather than letting thin metal legs rest directly over the narrow drainage gaps. Distributing the heavy weight properly prevents the soft cedar boards from bowing under the intense pressure of a crowded summer dinner party.
Your Material and Framing Cheat Sheet
To build this exact low-level platform, you will need pre-cast concrete blocks, pressure-treated 2×6 joists, 1-5/8 inch butyl joist tape, hidden track clips, and grooved 5/4-inch cedar decking boards. Gathering these components creates the complete, beautiful backyard destination that the cheat sheet helps build.

When ordering your supplies, a simple calculation mistake can stall your entire weekend project.
Platform Deck Style Inspiration
Once you understand the framing, you can adapt the finished surface to match any backyard aesthetic.
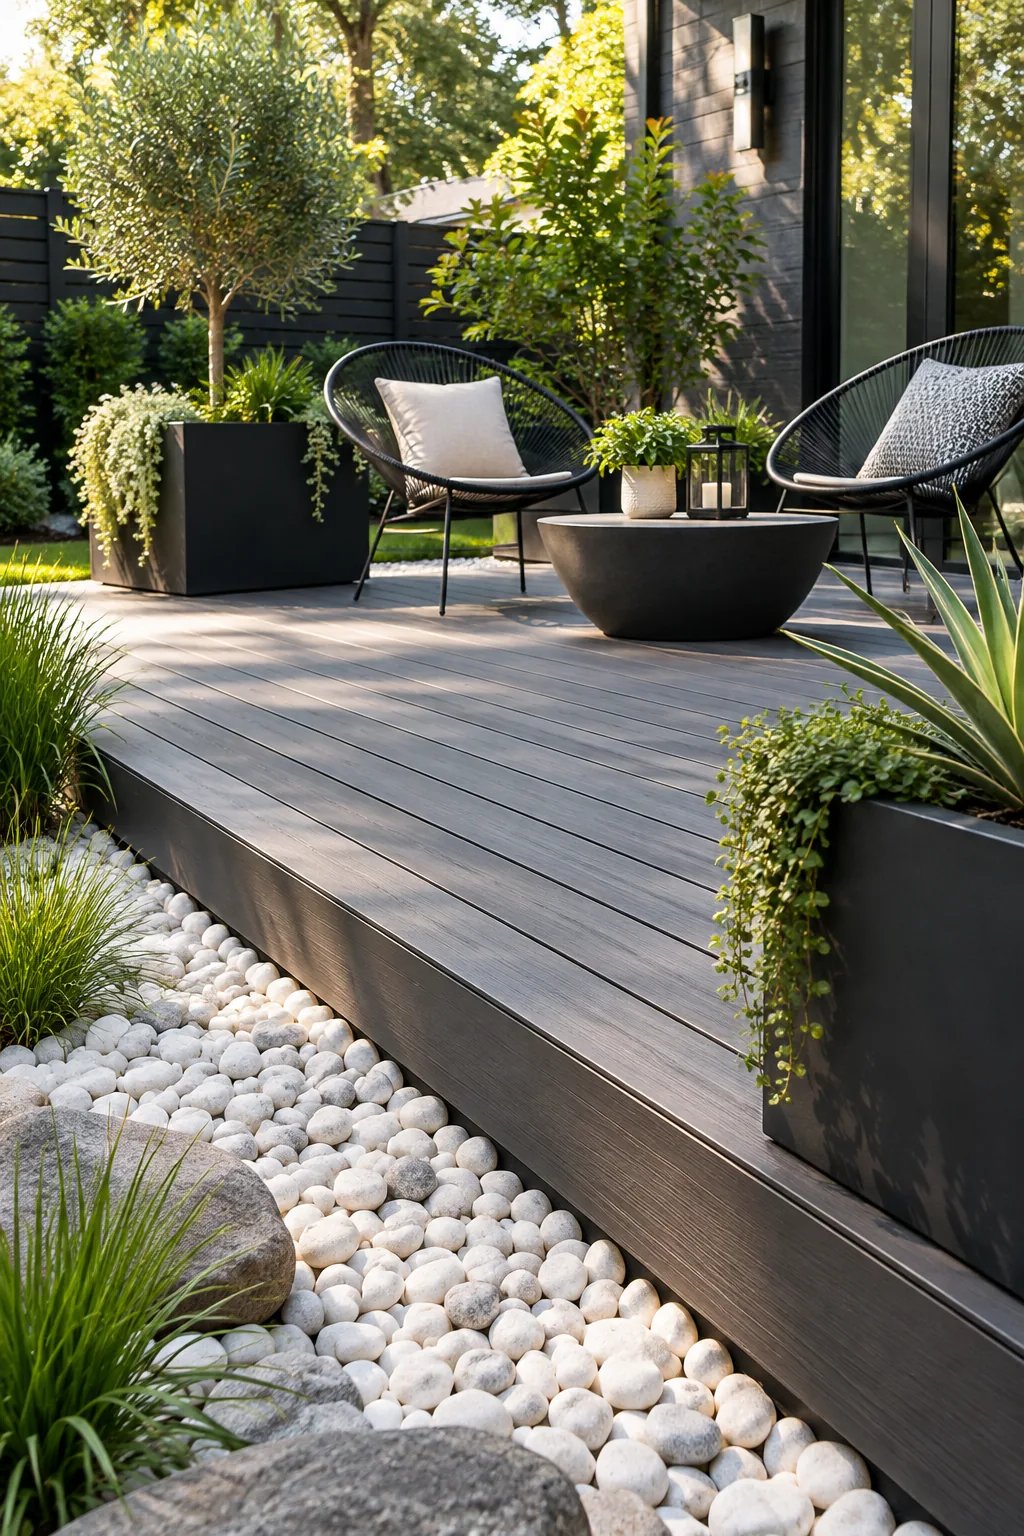
Modern Minimalist: Dark composite boards and sleek metal accents create a striking contrast against white stone.
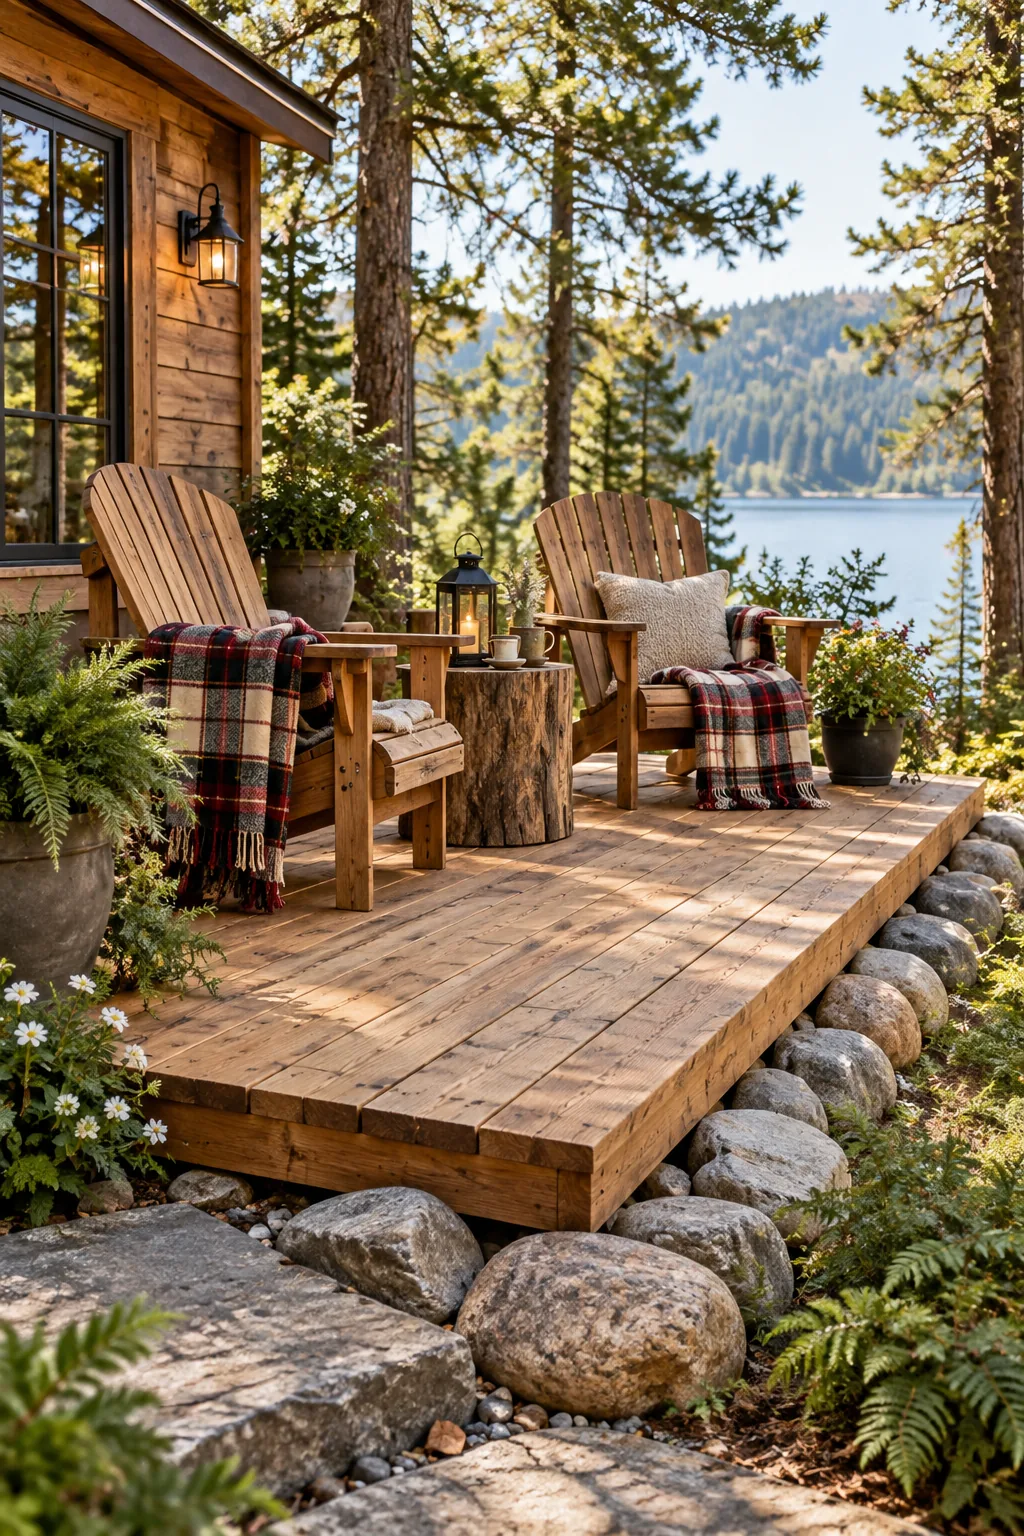
Rustic Cabin: Natural rough-sawn cedar and classic wooden seating blend seamlessly into a wooded backyard setting.
Boho Oasis: Bleached wood tones and abundant tropical greenery turn a simple platform into a relaxing retreat.