End of Driveway Landscaping: The High-Survival Layout Guide
You will be able to measure, layer, and plant a durable driveway border that withstands street traffic, stray tires, and harsh winter weather. This complete Driveway Edge Plant & Layout Guide delivers the exact formula for a resilient, low-maintenance landscape.
The High-Survival Driveway Edge Strategy
When I first moved to Austin, I lost three sets of delicate border flowers to the brutal combination of radiant asphalt heat and stray delivery trucks. The end of any driveway is a literal death zone for traditional landscaping due to salt, tires, and snow plows.
To solve this, you need a layered defense strategy that absorbs physical impact and chemical runoff long before it ever reaches the vegetation. By intentionally designing sacrificial zones, you protect the vulnerable root systems and keep your curb appeal perfectly intact year-round.
Understanding the Three-Zone Defense
Building a resilient border requires dividing your available space into three distinct functional zones that work seamlessly together. Each specific layer handles a different environmental stressor, ensuring that the final planted area remains completely undisturbed by daily street-side chaos.
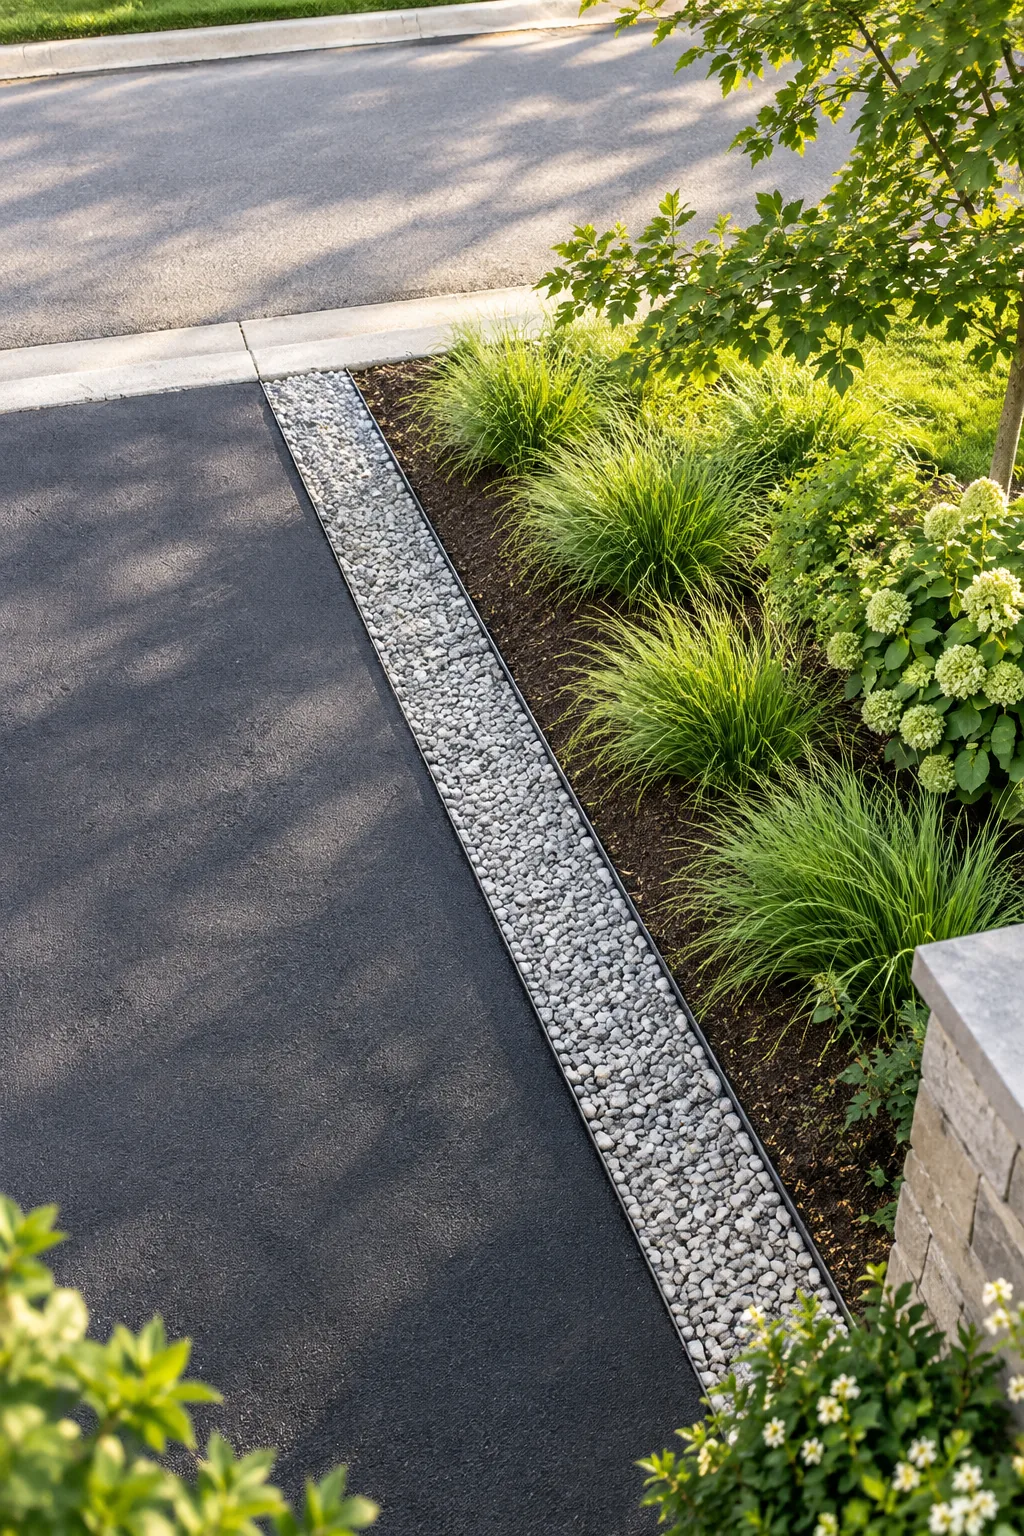
- The impact buffer: A robust strip of gravel directly beside the asphalt safely catches stray vehicle tires and provides a dedicated drop zone for heavy plowed snow.
- The rigid barrier: A flush line of heavy-duty steel holds the loose stone firmly in place while blocking aggressive weed roots from creeping into clean beds.
- The elevated sanctuary: A subtly raised mound of quality soil lifts sensitive plant crowns high above toxic salt puddles and promotes rapid drainage during spring storms.
Implementing these three zones in strict sequence guarantees that your landscaping investment survives its first brutal winter. The most critical component of this entire system is the outermost layer, which constantly takes the heaviest daily abuse from passing traffic.
Preparing the Subsoil Foundation
Before laying any gravel, excavate the dirt to a depth of six inches and tamp the subsoil firmly until it feels as hard as concrete. Removing this organic matter prevents settling and stops the heavy crushed stone from slowly sinking into the mud.
Measuring the 12-Inch Gravel Buffer
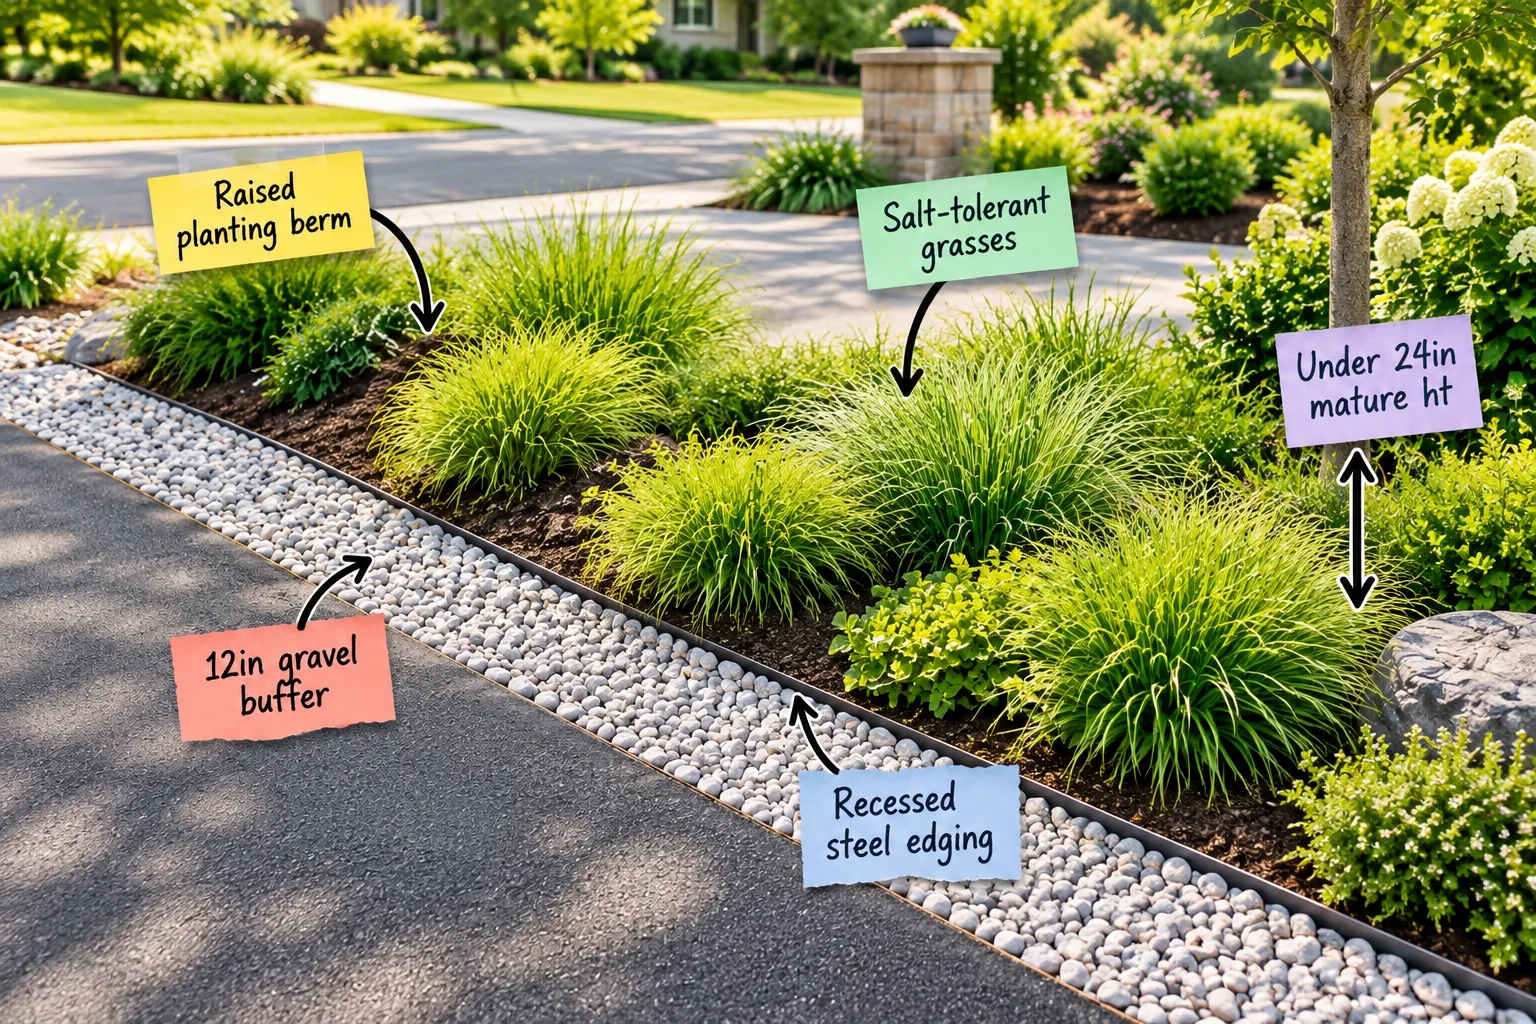
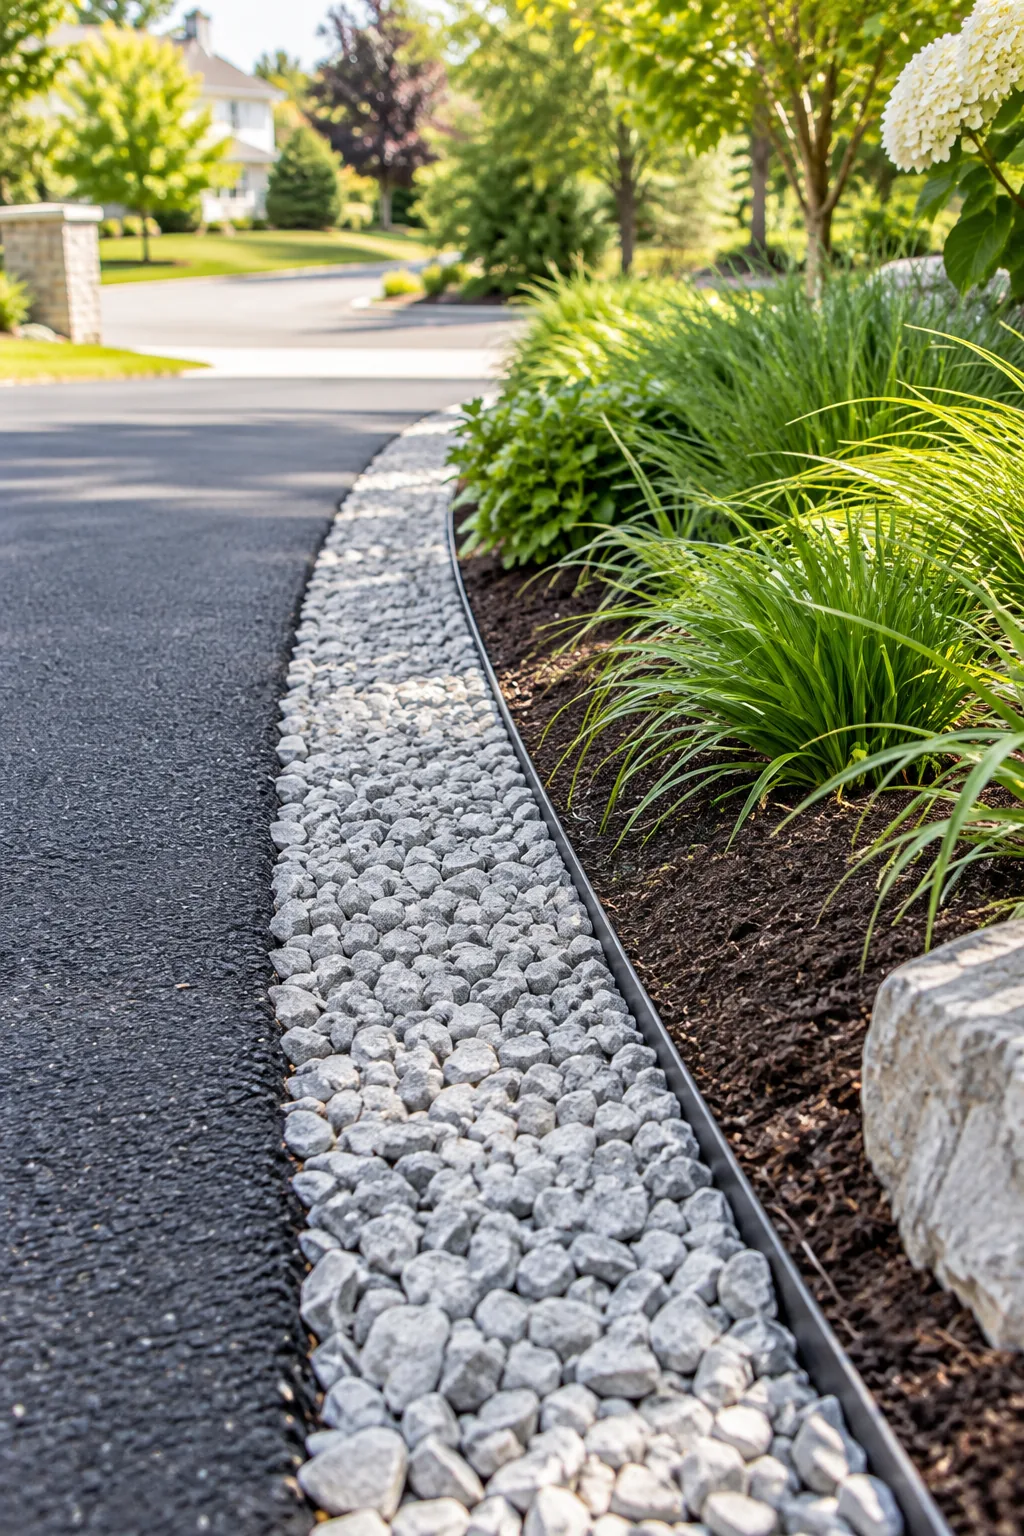
The 12in gravel buffer is the neat strip of crushed stone bordering the asphalt that acts as your primary shield. You must maintain a 12-inch minimum width to safely absorb stray tires and provide a drop zone for snow without crushing roots.
A protective buffer only works if it stays exactly in place under immense physical pressure from vehicles and weather. Avoid these common installation errors that cause your expensive border materials to wash directly into the street after a heavy rainstorm.
Choosing the Right Crushed Stone
Selecting the correct aggregate material dictates whether your buffer zone locks together like concrete or scatters dangerously across the pavement. Always source angular crushed stone rather than smooth river rock, as the jagged edges naturally bind together under heavy vehicle weight.
| Material Type | Impact Absorption | Washout Risk | Best Application |
|---|---|---|---|
| Angular Crushed Stone | Excellent | Very Low | High-traffic street borders |
| Smooth River Rock | Poor (shifts easily) | Moderate | Decorative garden paths |
| Shredded Bark Mulch | None | Extremely High | Protected interior beds |
| Washed Pea Gravel | Fair | High | Pedestrian walkways only |
Once your heavy crushed stone is properly compacted into the buffer zone, it requires a rigid boundary to keep it from migrating into the soil. This strict separation is vital for maintaining clean, professional lines throughout the changing seasons.
Installing Recessed Steel Edging
The recessed steel edging is the thin metal border set flush between the gravel and the soil. Keeping this heavy-duty steel completely recessed prevents it from becoming a dangerous tripping hazard for pedestrians walking near the street.
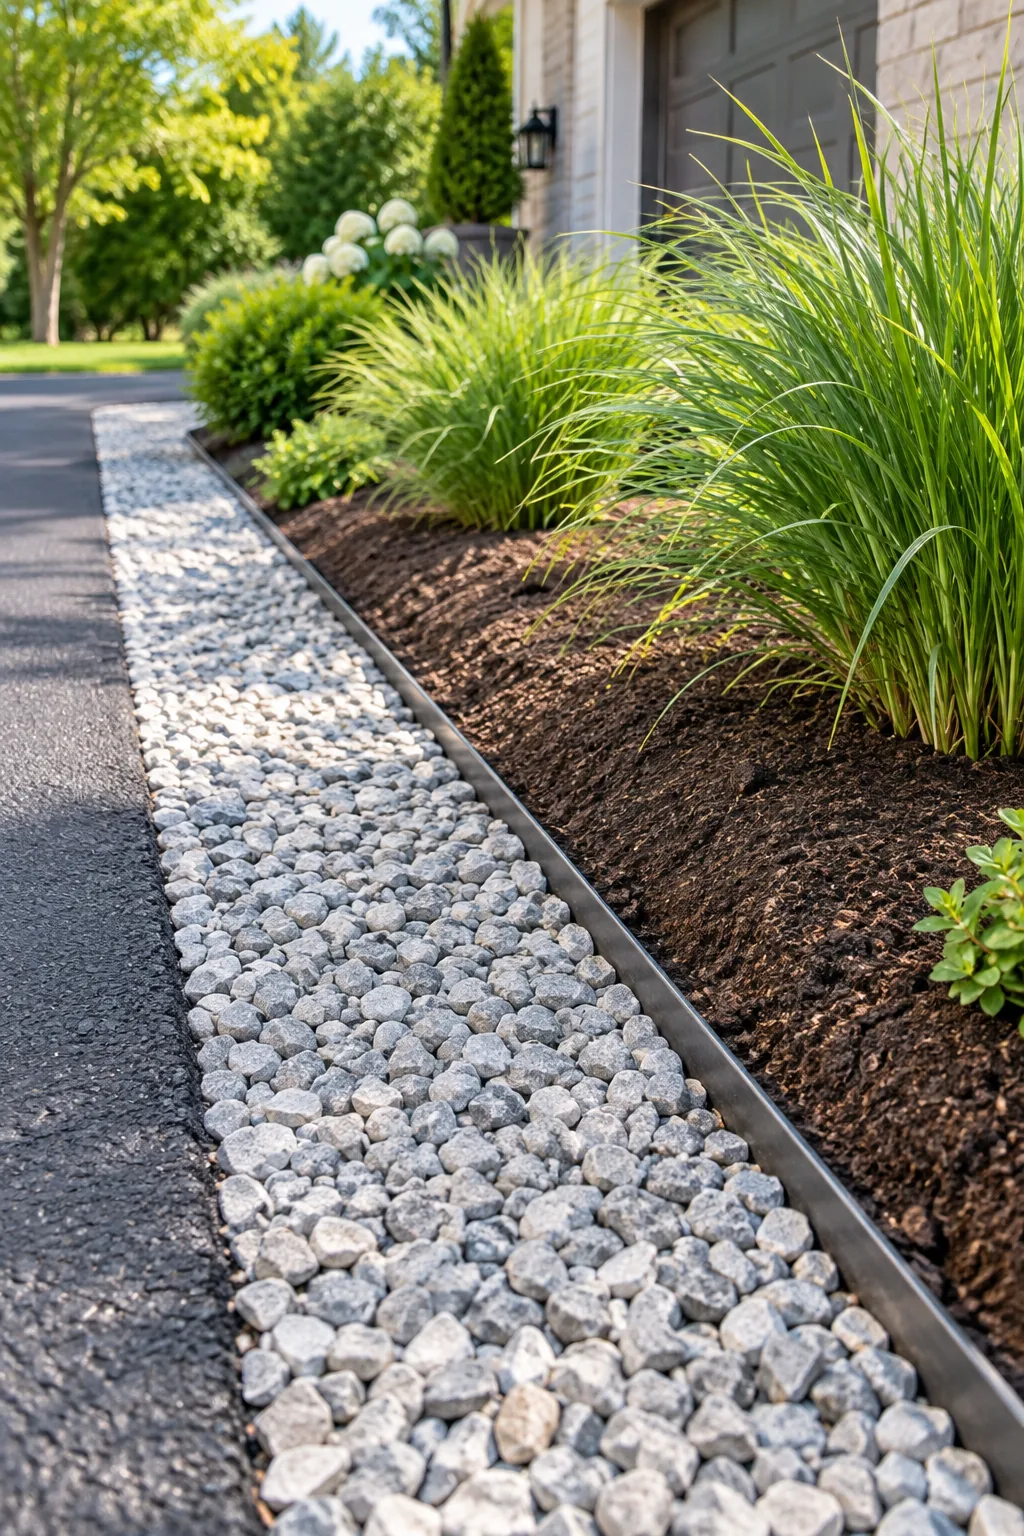
A perfectly flush installation also ensures the metal never catches the sharp edge of a snow shovel or a municipal plow blade. This subtle detail separates amateur landscaping from a truly permanent, professional-grade driveway border that requires zero winter repairs.
Anchoring the Metal Border Securely
You must drive heavy steel anchoring stakes at least 10 inches deep into the subsoil to prevent severe frost heave from pushing the edging upward. Space these stakes every three feet along the border to guarantee the metal never warps under pressure.
With the protective buffer and rigid steel barrier firmly established, you can finally focus on preparing the actual growing environment. Elevating the root zone is the ultimate secret to keeping sensitive foliage alive near a heavily salted roadway.
Building the Raised Planting Berm
The raised planting berm is the subtly elevated mound of soil lifting the plants above the surrounding grade. Raising the bed by just 4 to 6 inches improves drainage dramatically and prevents stagnant water from rotting the roots.
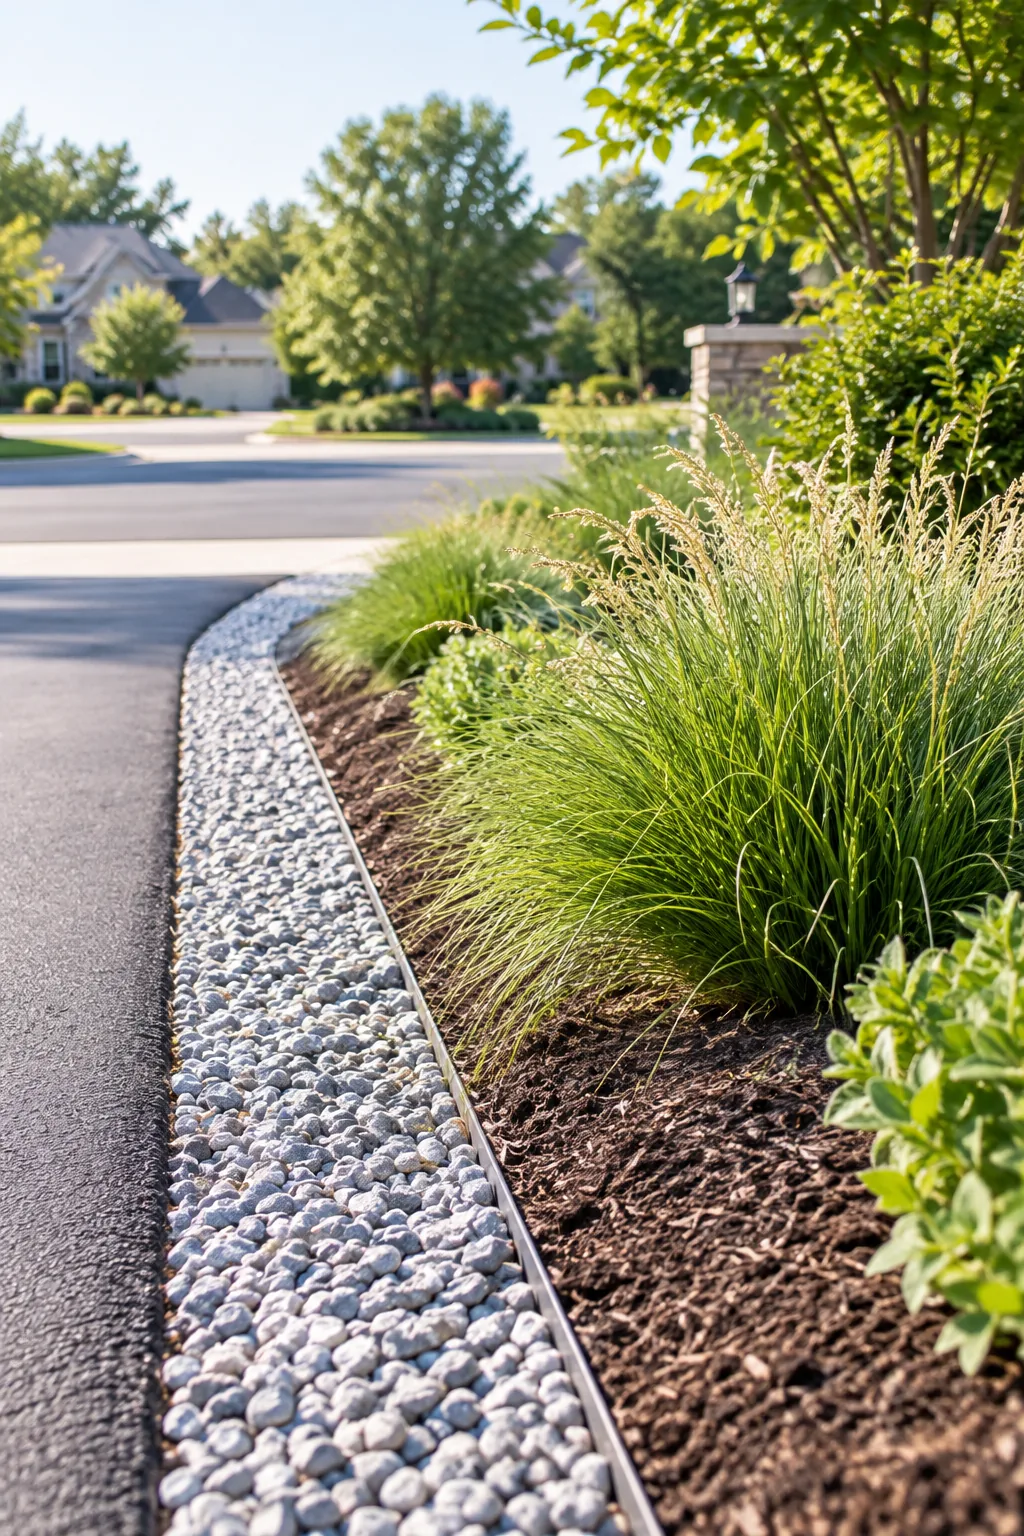
This modest elevation keeps sensitive root crowns safely above toxic street runoff and highly concentrated winter salt puddles. By controlling the exact slope of the berm, you force harmful chemicals to wash back toward the street rather than soaking into the soil.
Selecting Salt-Tolerant Grasses
Your border relies entirely on salt-tolerant grasses, which are the lush, low-growing green ornamental plants anchoring the design. Salt tolerance is an absolutely non-negotiable trait for any vegetation planted near a street that experiences winter chemical treatments or heavy coastal spray.
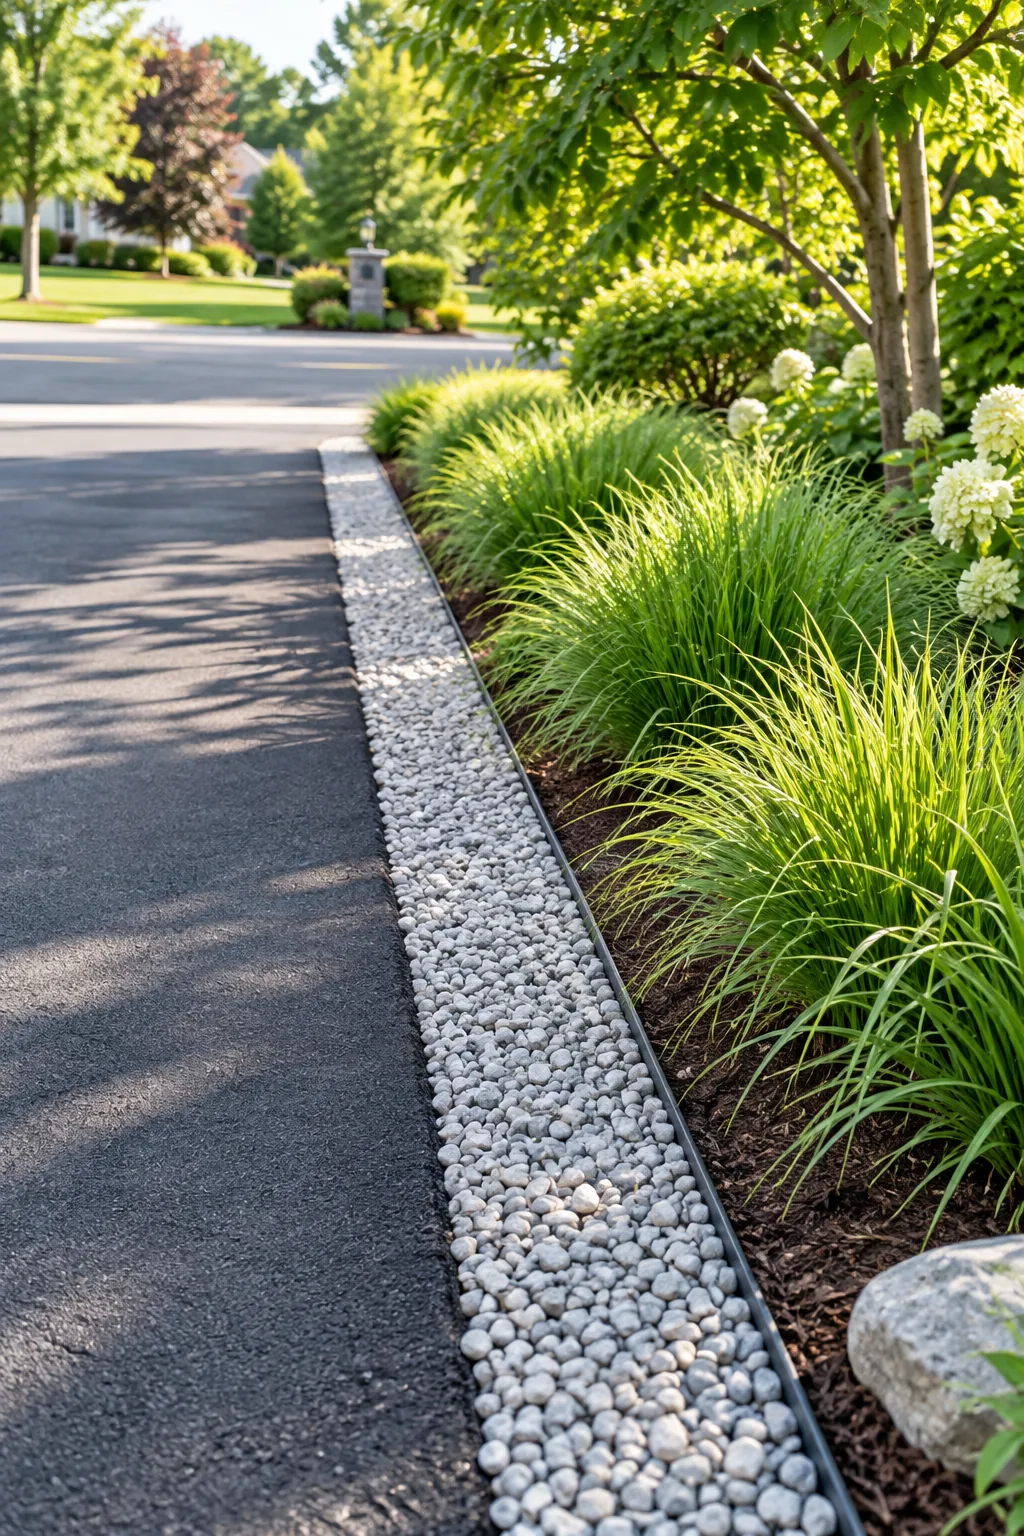
These specialized ornamental varieties possess deep, resilient root systems that simply ignore the harsh sodium levels that would instantly scorch traditional flowers. Their tough, flexible foliage easily bounces back even if a careless delivery driver accidentally steps on the outer edges.
Maintaining the Under 24-Inch Height Limit
I once had to rip out a beautiful row of mature shrubs at my own house because I could not safely back my truck out of the driveway. You must enforce a strict under 24in mature ht rule for the entire planting bed to guarantee safety.
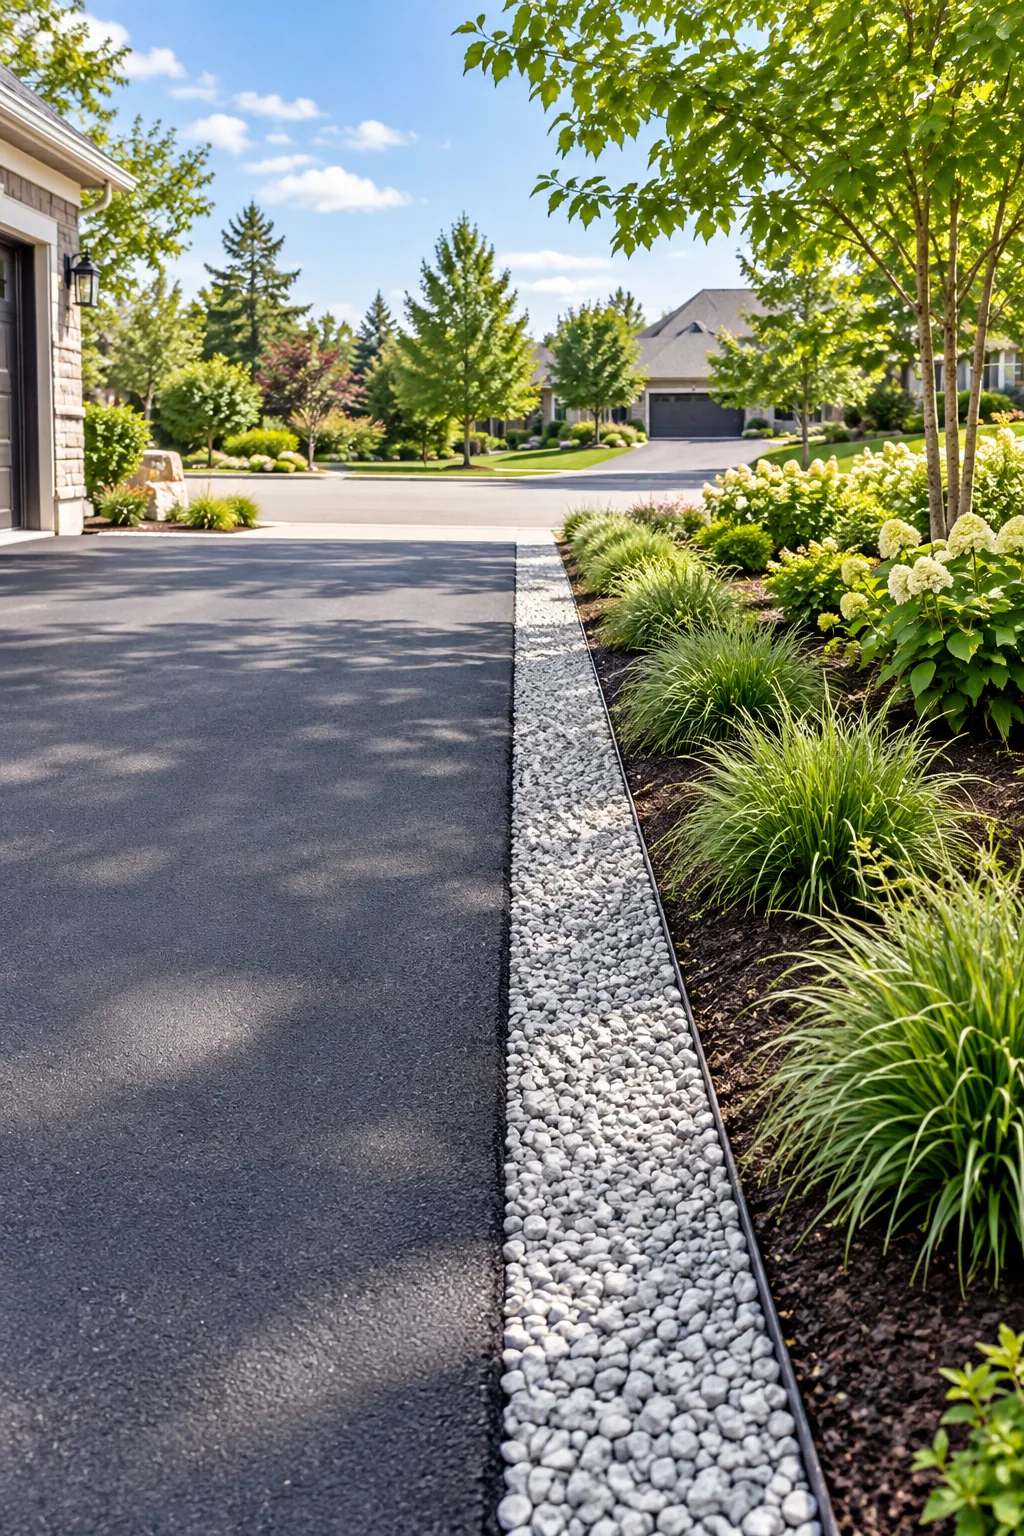
Keeping the mature plant height strictly under 24 inches ensures drivers always have a completely unobstructed line of sight when backing into the street. This rigid vertical limit protects neighborhood children, passing cyclists, and your own vehicles from blind-spot collisions.
The Driveway Edge Plant & Layout Guide
This proven layout requires a 12-inch gravel strip, flush steel edging, a 6-inch high berm, and a staggered zig-zag planting pattern. I use this exact geometric formula on every Austin driveway project because it creates an instantly lush appearance while protecting every fragile root.
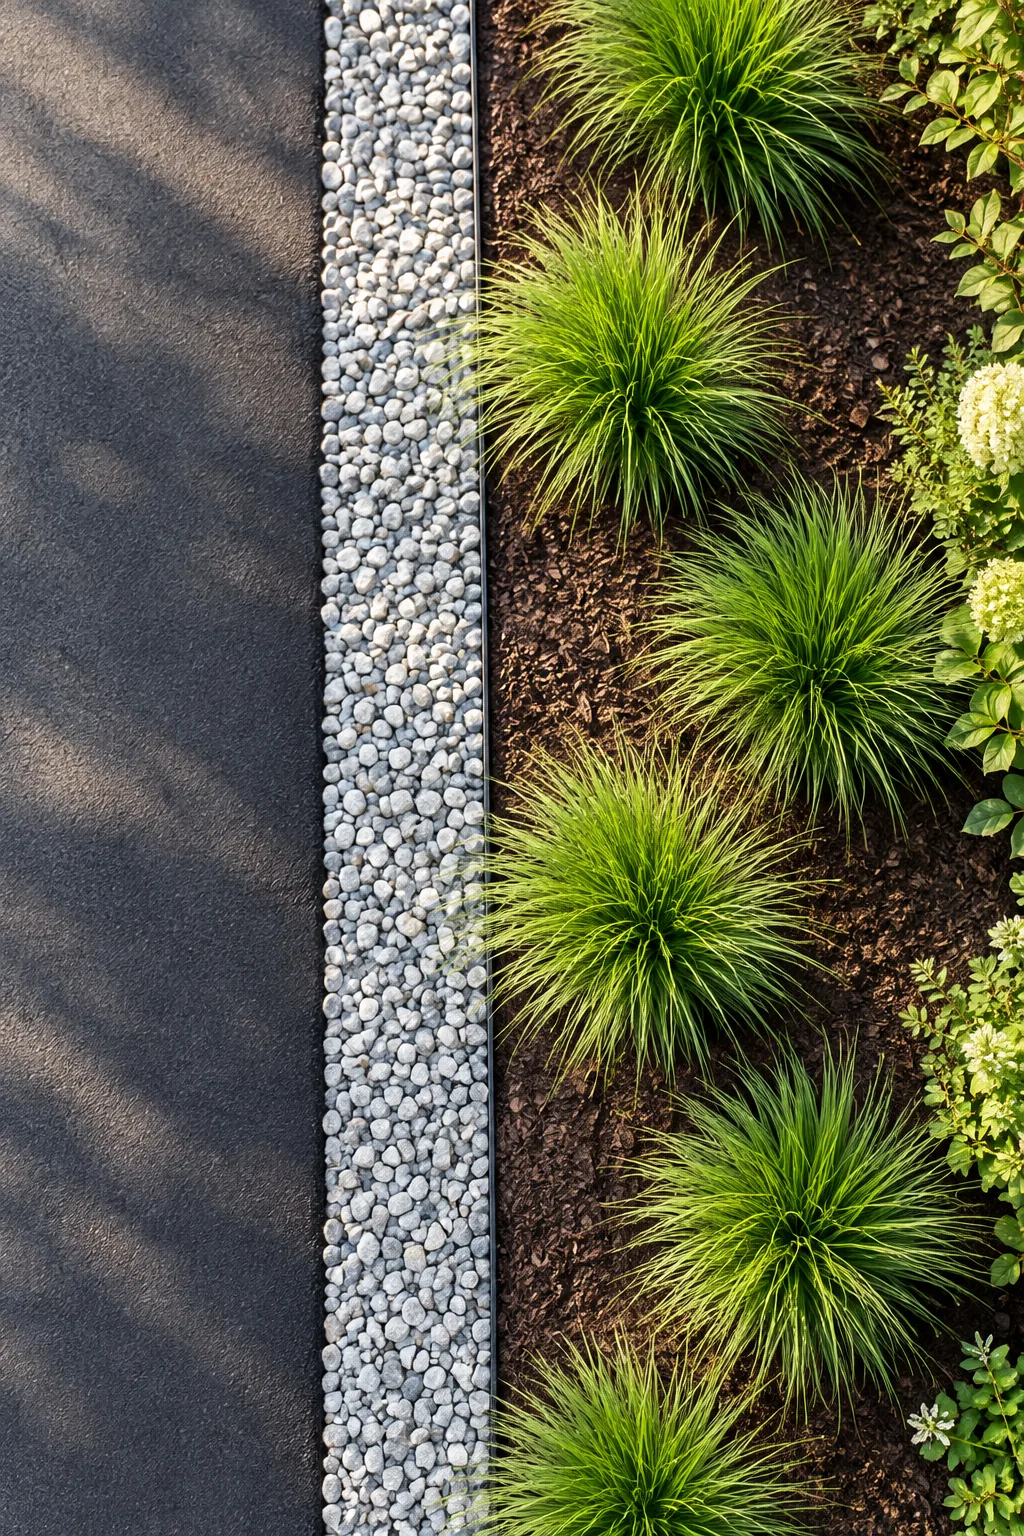
Before you start digging into the hardpan, run through this quick layout checklist to ensure your measurements, materials, and spacing are perfectly aligned. Double-checking these precise dimensions now prevents frustrating rework after the heavy stone is already dumped on site.
Spacing Your Ornamental Grasses
I highly recommend spacing small ornamental grasses exactly 18 inches apart on center to create a beautifully full look without causing root competition. This specific measurement allows enough breathing room for healthy air circulation while still achieving a dense, continuous green border by late summer.
Seasonal Care for High-Traffic Borders
This resilient layout demands only a simple, ten-minute maintenance routine to keep it looking pristine year after year. The primary task involves cutting back the dead grass foliage to a height of three inches in late winter before the new shoots emerge.
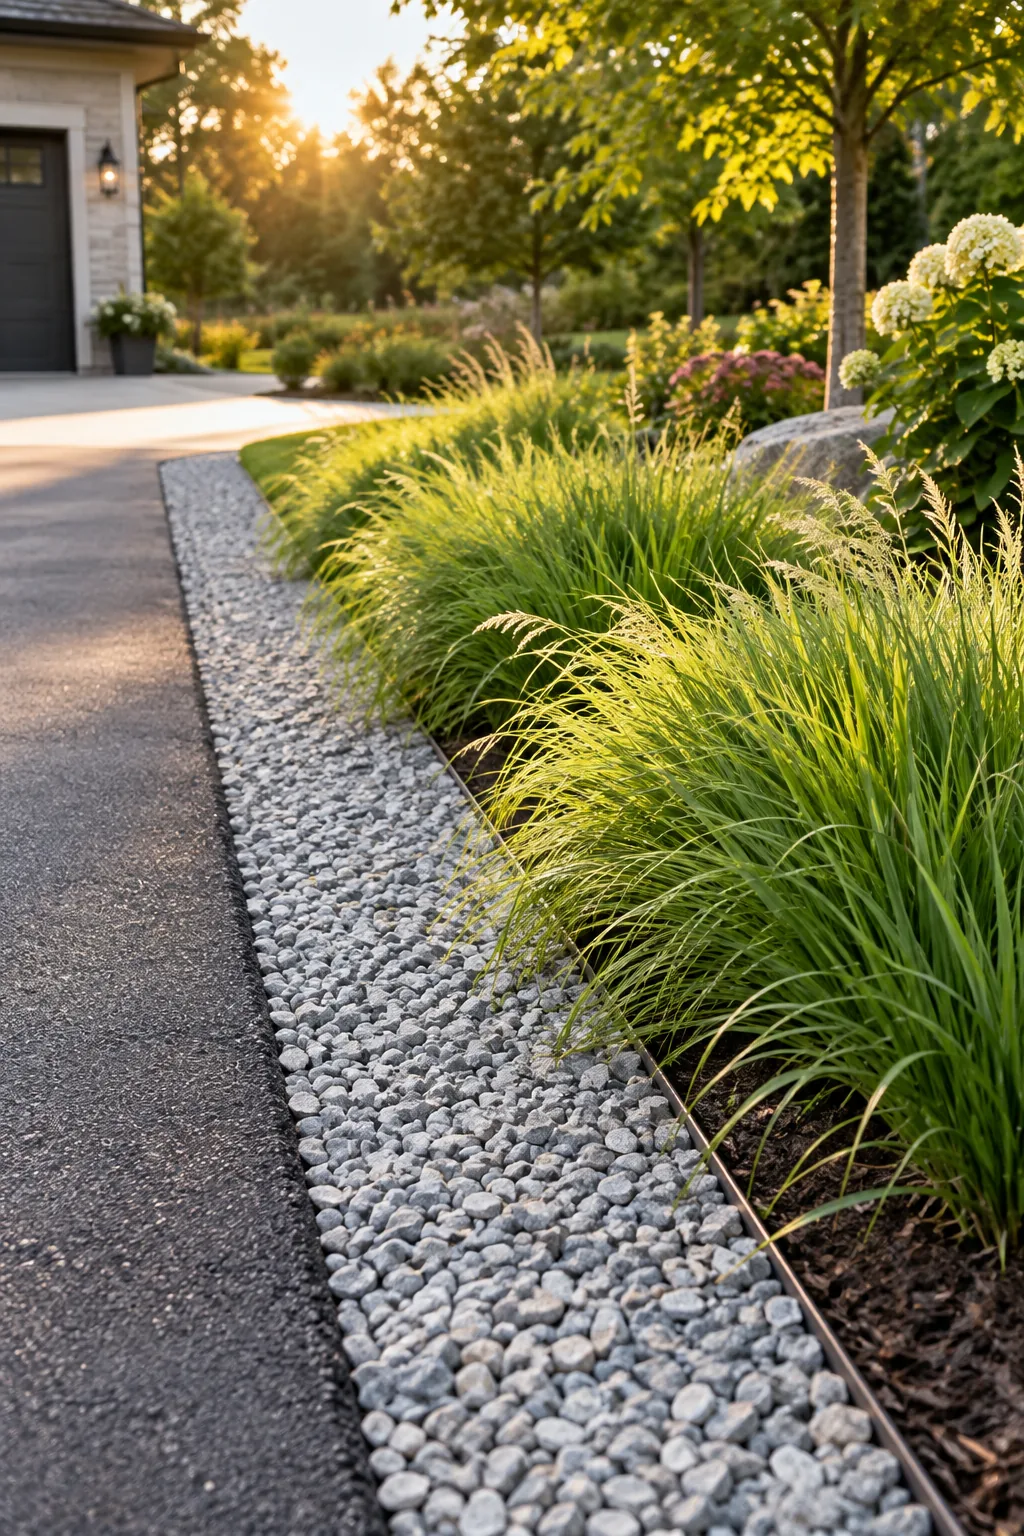
Once the heavy snow finally melts, simply rake any stray gravel back into the dedicated 12-inch buffer zone to restore the crisp lines. This minimal spring cleanup instantly refreshes the entire driveway entrance and prepares your hardy border for another season of growth.
3 Ways to Style Your Driveway Edge
Adapt this high-survival layout to match your home's exterior with these distinct material combinations.
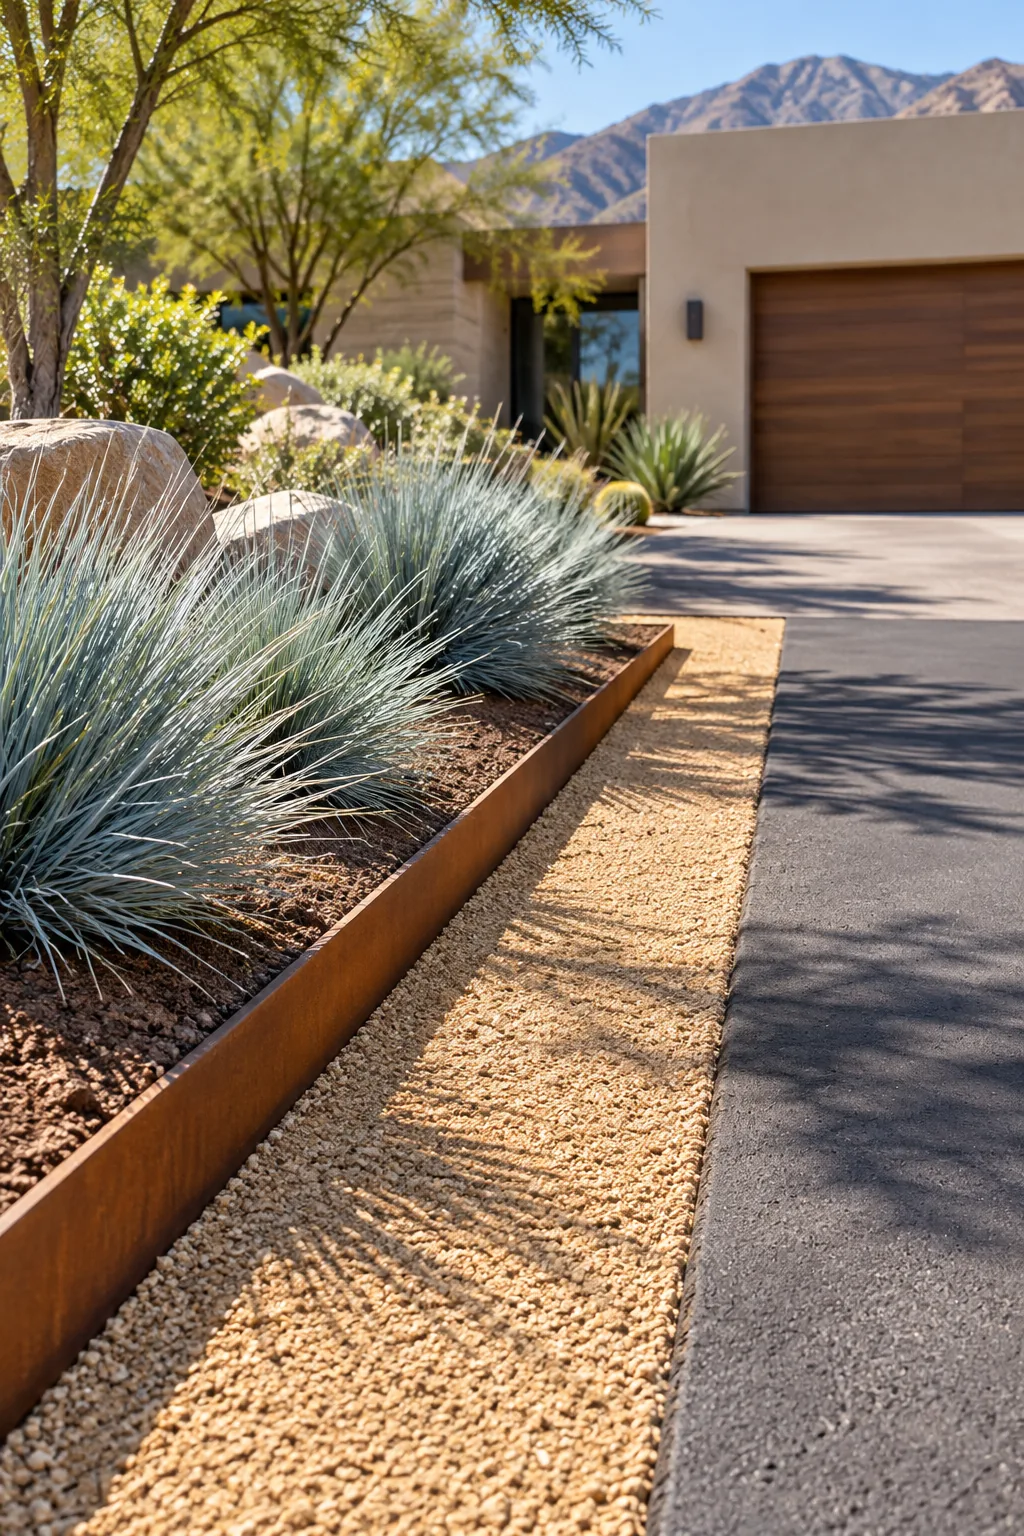
Modern Desert Edge: Swap traditional grey stone for warm decomposed granite and corten steel to complement arid architectural styles.
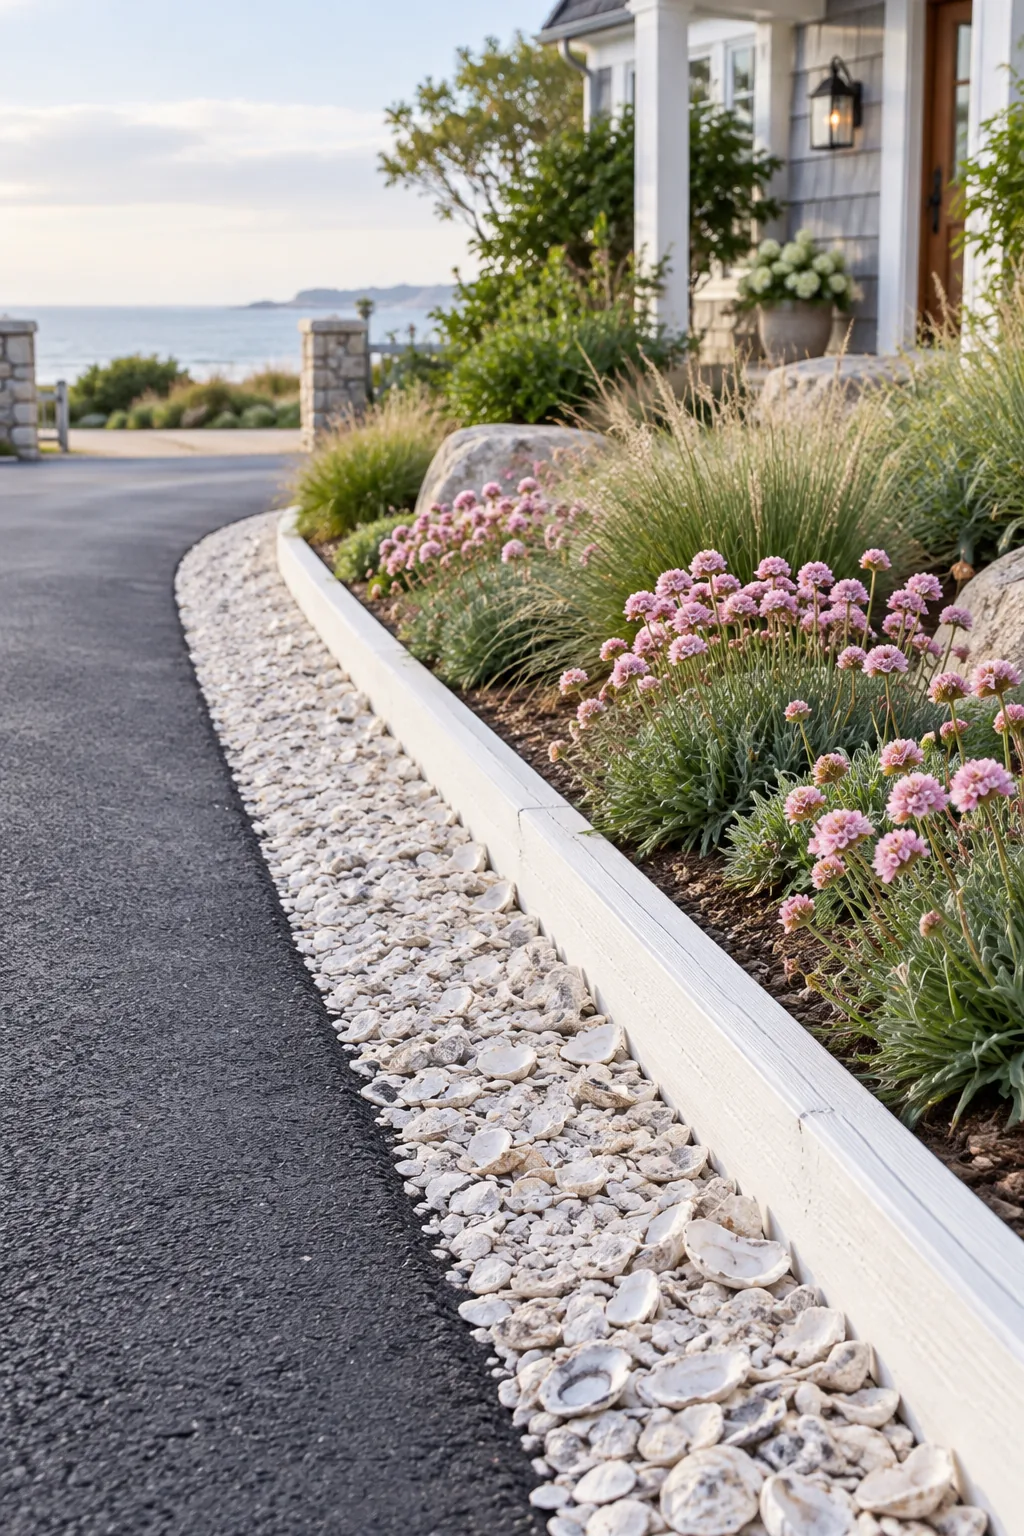
Coastal Cottage Border: Use crushed oyster shells in the buffer zone and plant hardy sea thrift for a charming, salt-spray resistant coastal look.
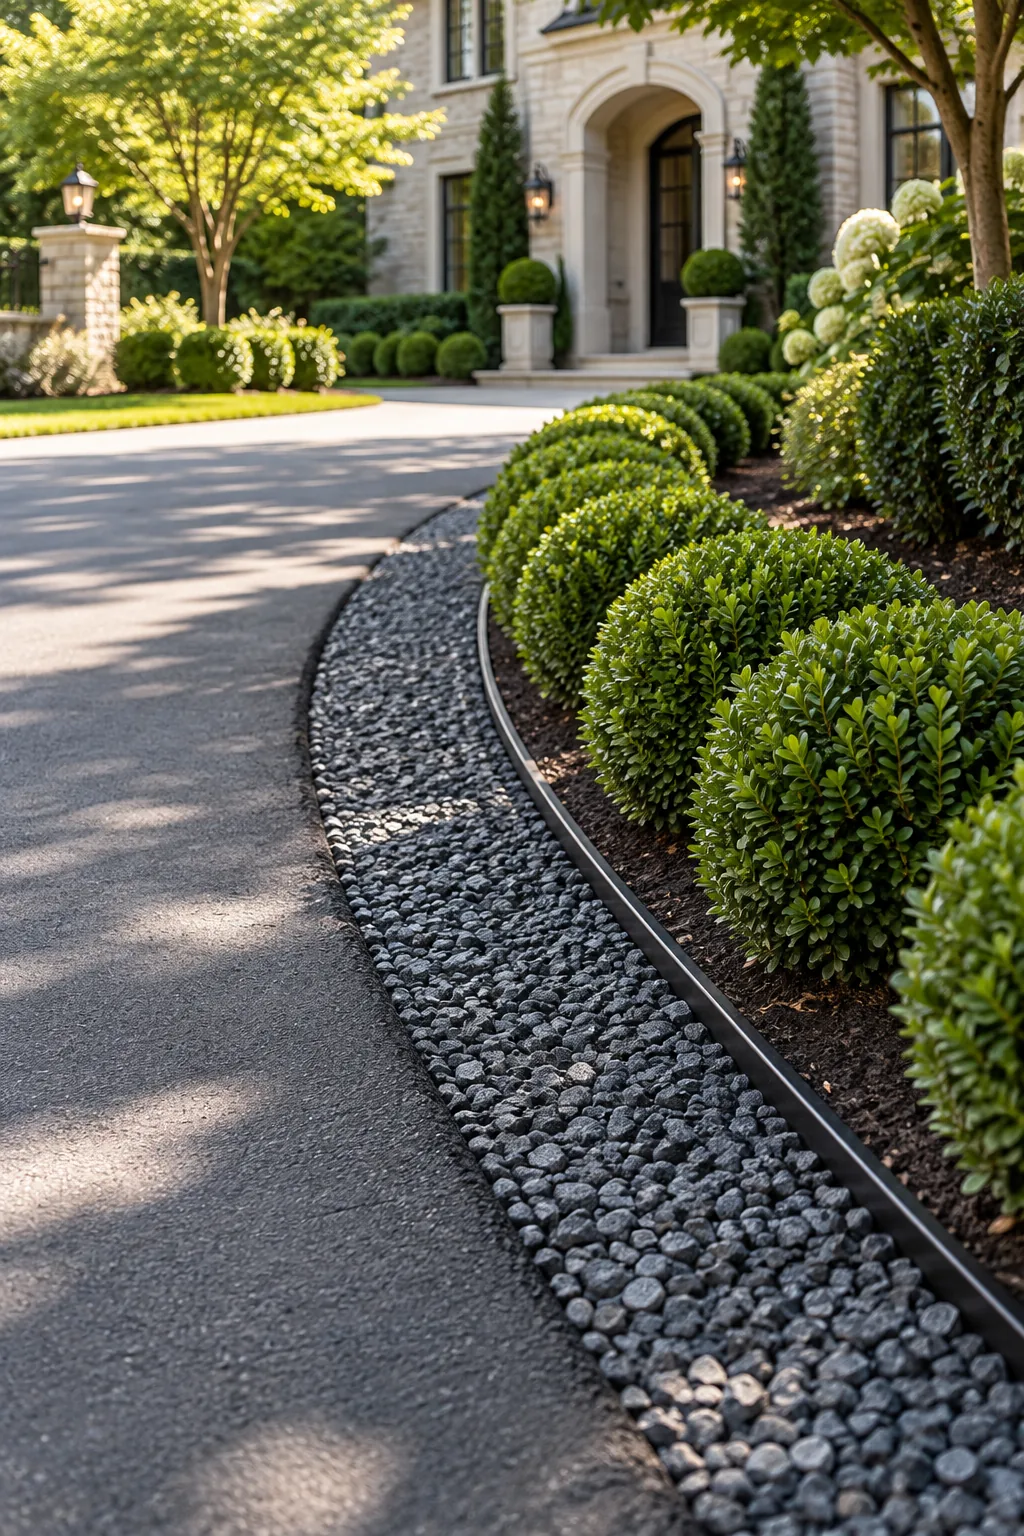
Formal Estate Entrance: Anchor a traditional exterior with dark basalt gravel, black aluminum edging, and perfectly manicured dwarf boxwoods.