
9+ Brilliant Backsplash Edge Trim Ideas for Your Home
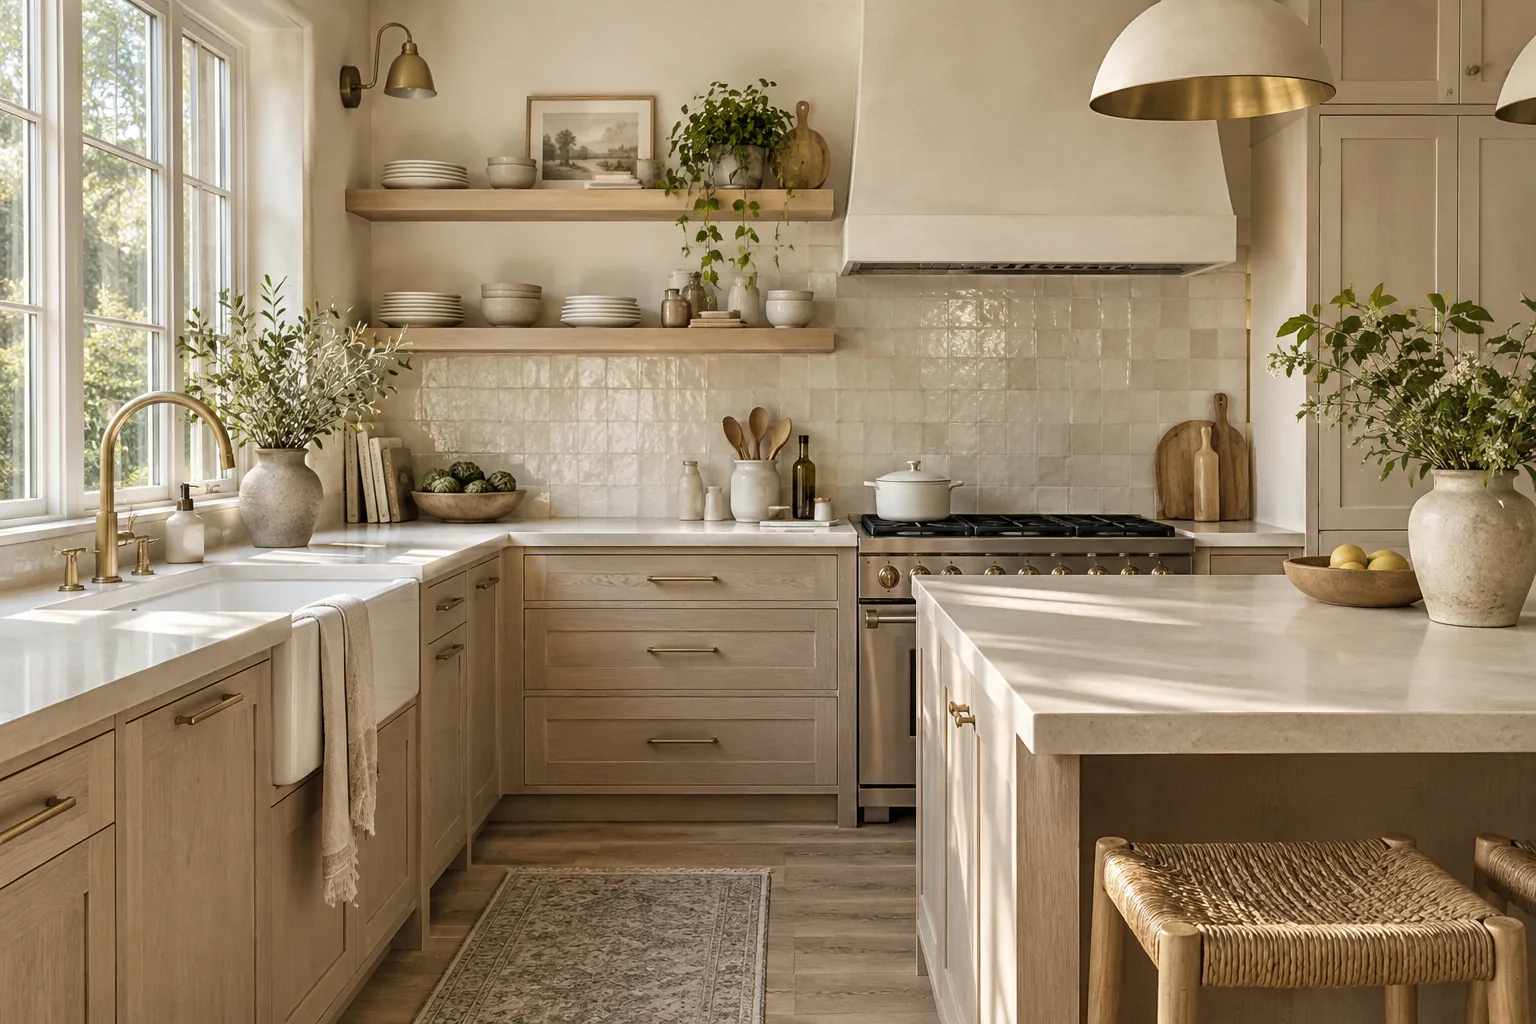
Finishing the raw edge of your tile is what separates a DIY-looking project from a professional installation. These simple edging profiles and trim pieces give your kitchen walls a clean, finished boundary.
1. Sleek Metal Profiles
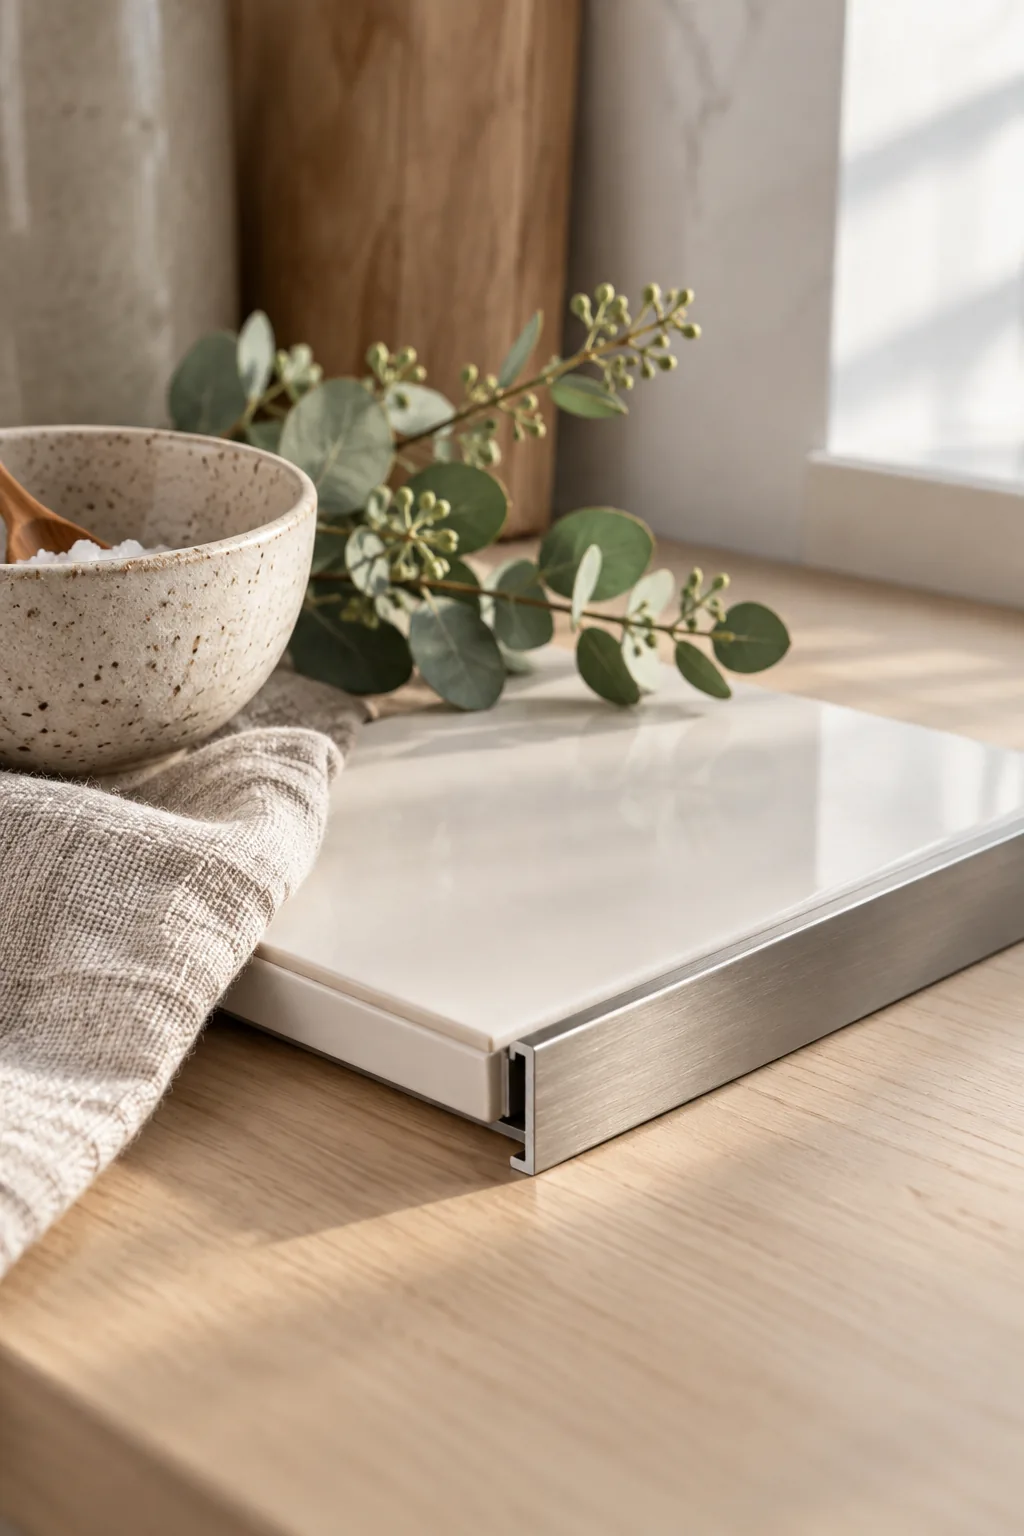
A solid metal edge profile measures just an eighth of an inch thick. You just tuck the anchoring leg behind the last row of tile before the mortar dries to create a crisp, indestructible border.
2. Matching Bullnose Tile
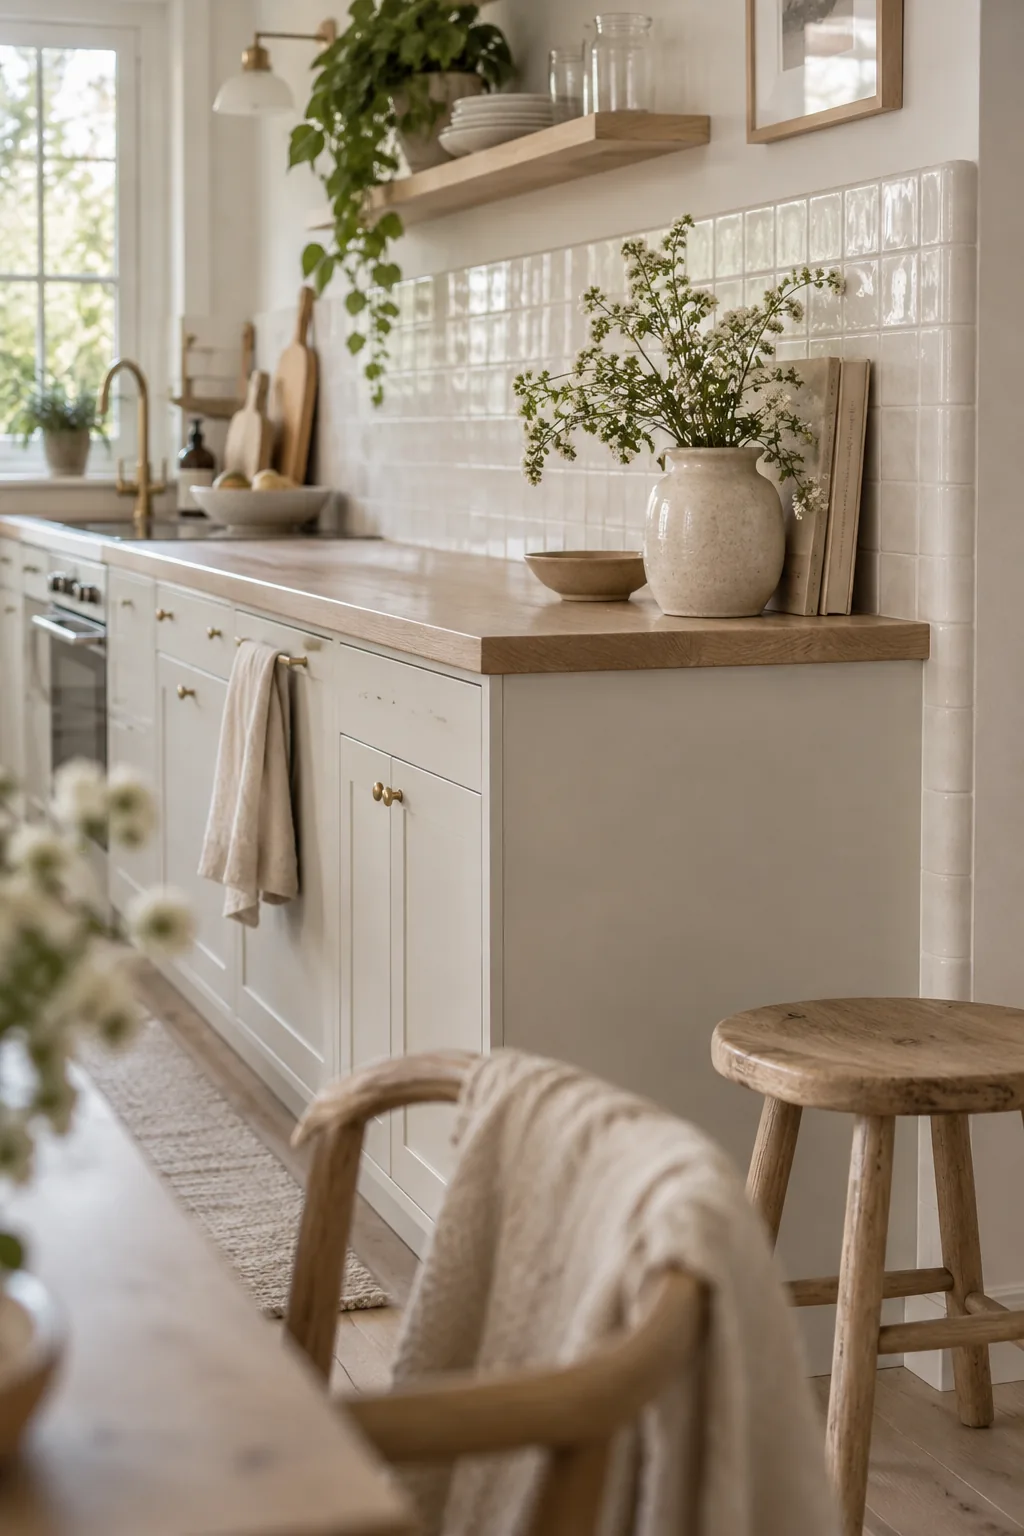
Standard field tiles almost always have an unfinished, chalky side that looks terrible when exposed.
A matching bullnose tile solves this by wrapping the surface glaze right around the rounded edge.
You simply stack these along the open ends of your backsplash run.
Why it works: The continuous glaze creates a seamless transition that fades right into the drywall.
3. Classic Pencil Liners
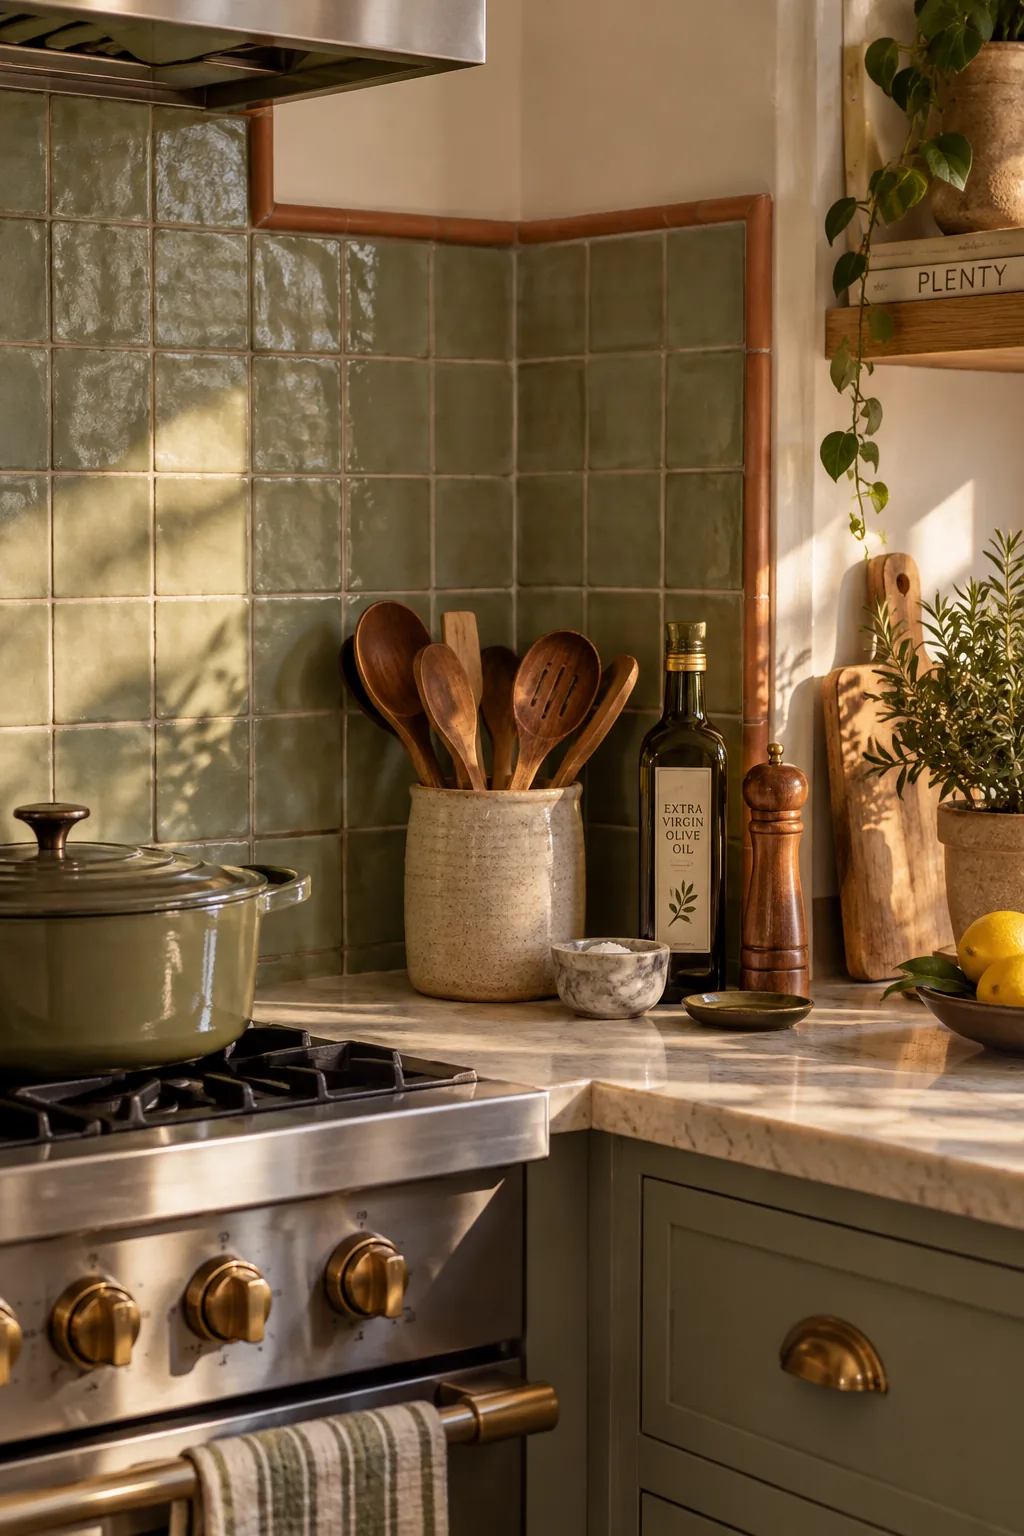
The rounded, raised profile of a pencil liner creates a distinct physical barrier at the end of your backsplash.
This slight protrusion stops the eye naturally. It frames out the cooking zone like a piece of art.
I love using these in a contrasting color to really emphasize the boundary.
4. Sharp Mitered Corners
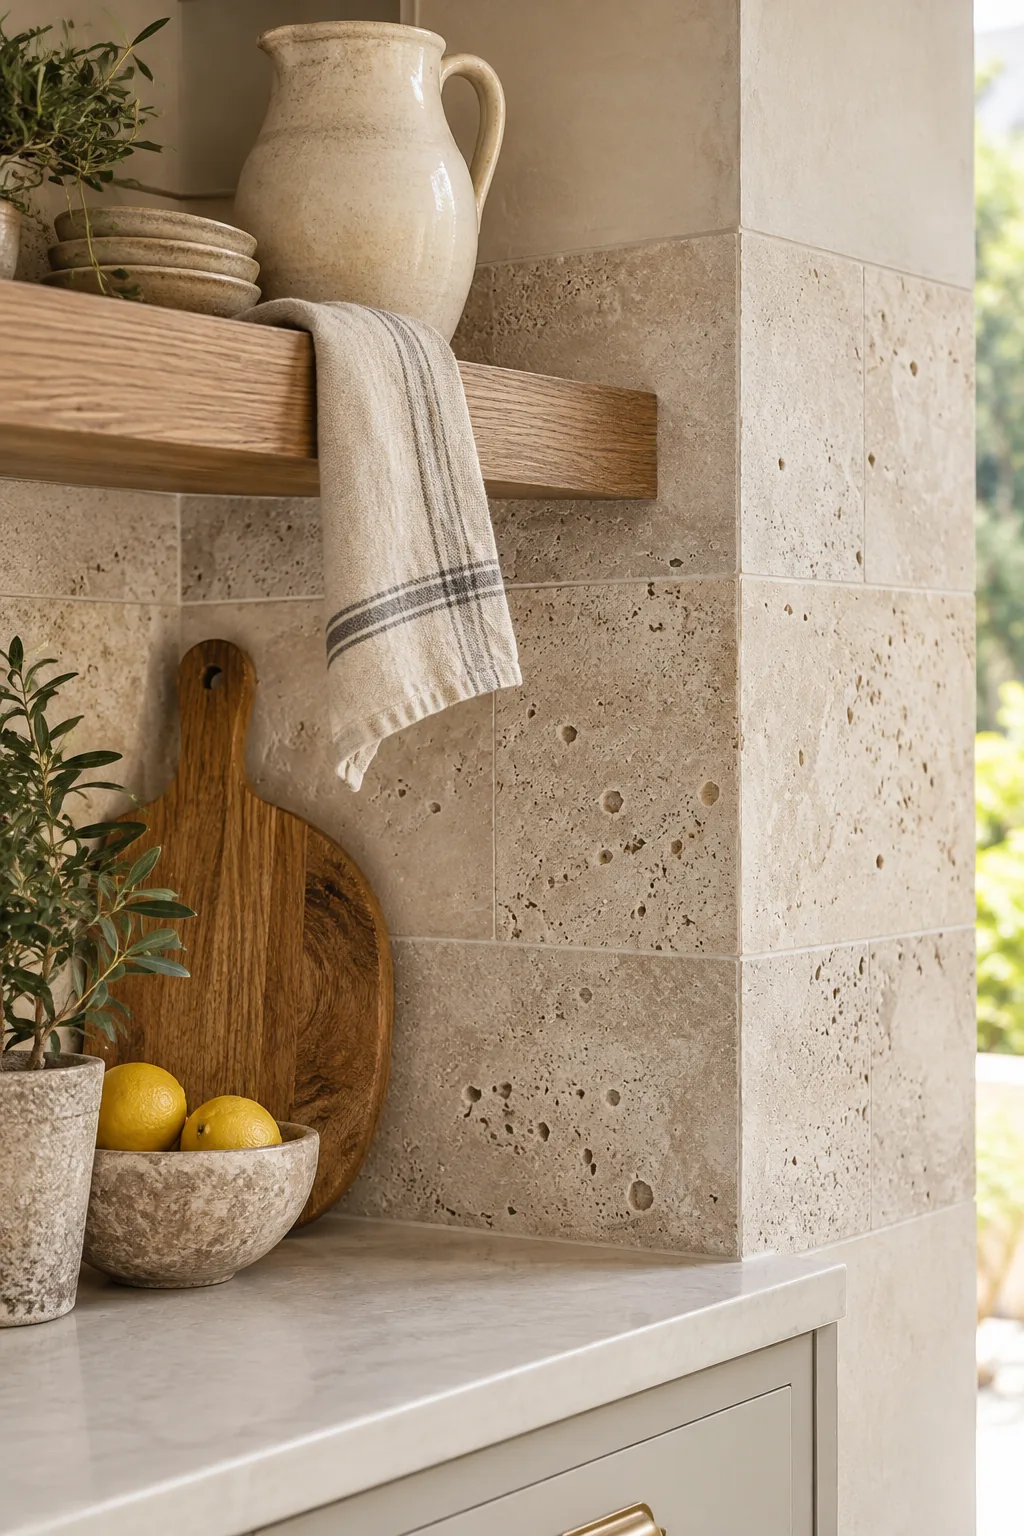
Thick stone tiles look incredibly heavy when you leave the side profile exposed.
Cutting a 45-degree miter into the edge of two meeting tiles hides the raw body completely.
The two angled cuts meet to form a perfect, sharp corner. This takes some serious wet saw skills but costs nothing in extra materials.
5. Painted Wood Trim
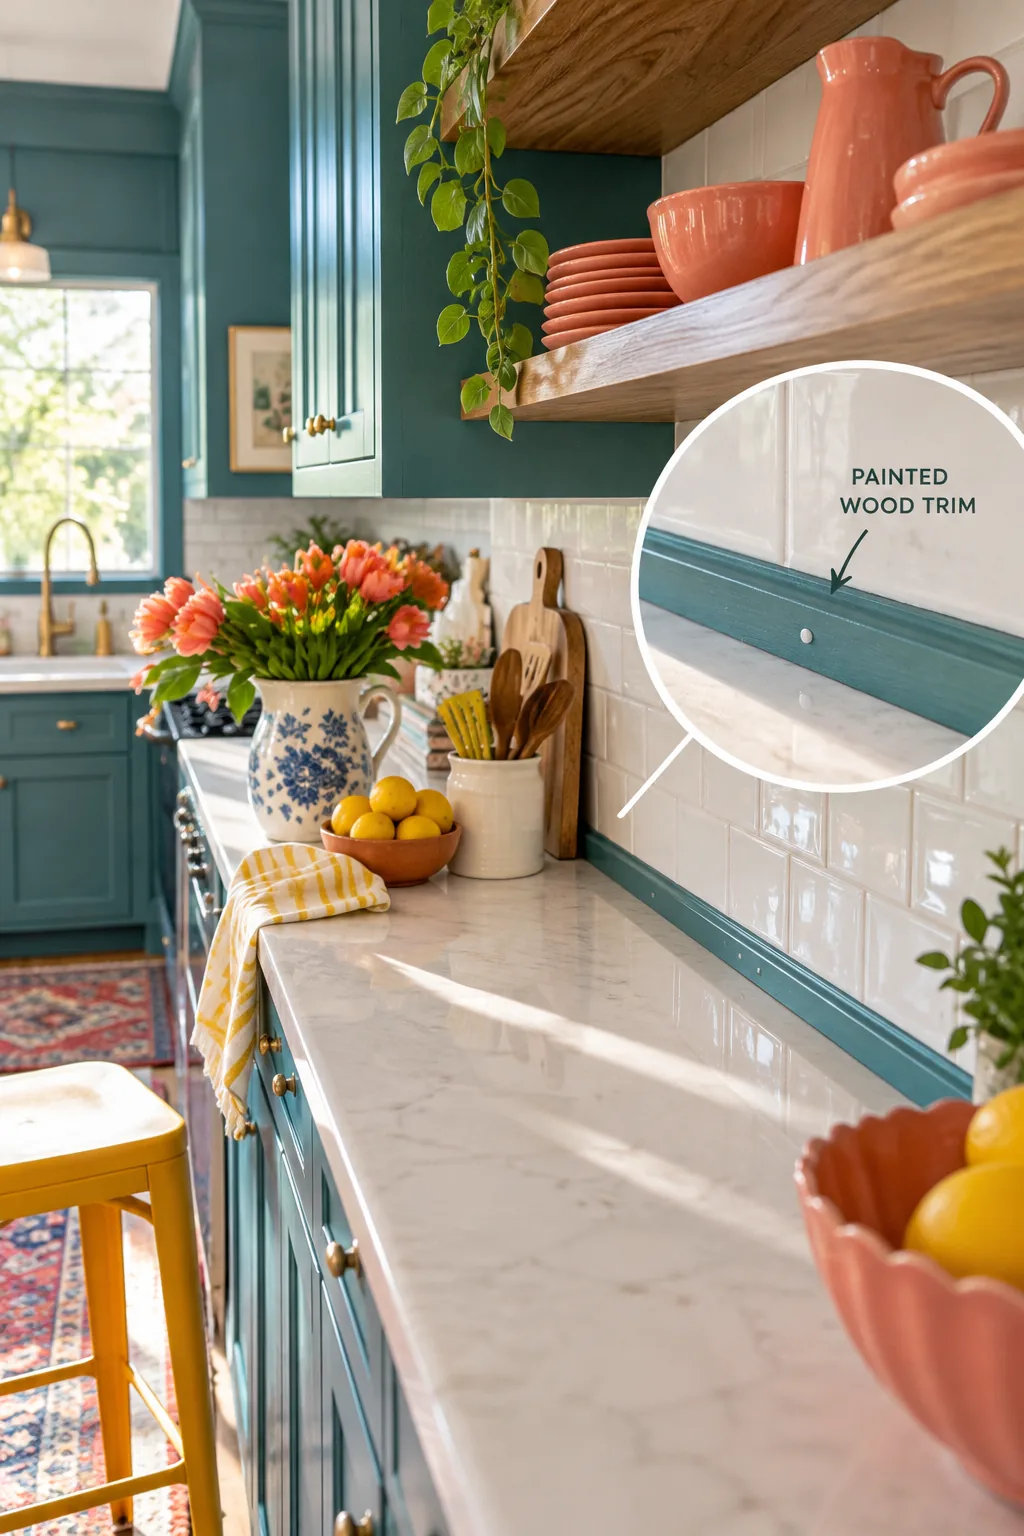
A standard piece of quarter-round wood trim costs less than five dollars.
You can paint it to match your cabinets or stain it to tie into your open shelving. It mounts directly over the gap between the tile and the wall with just a few brad nails. This is the absolute easiest fix if your tile is already set and dried.
6. Polished Glass Edges
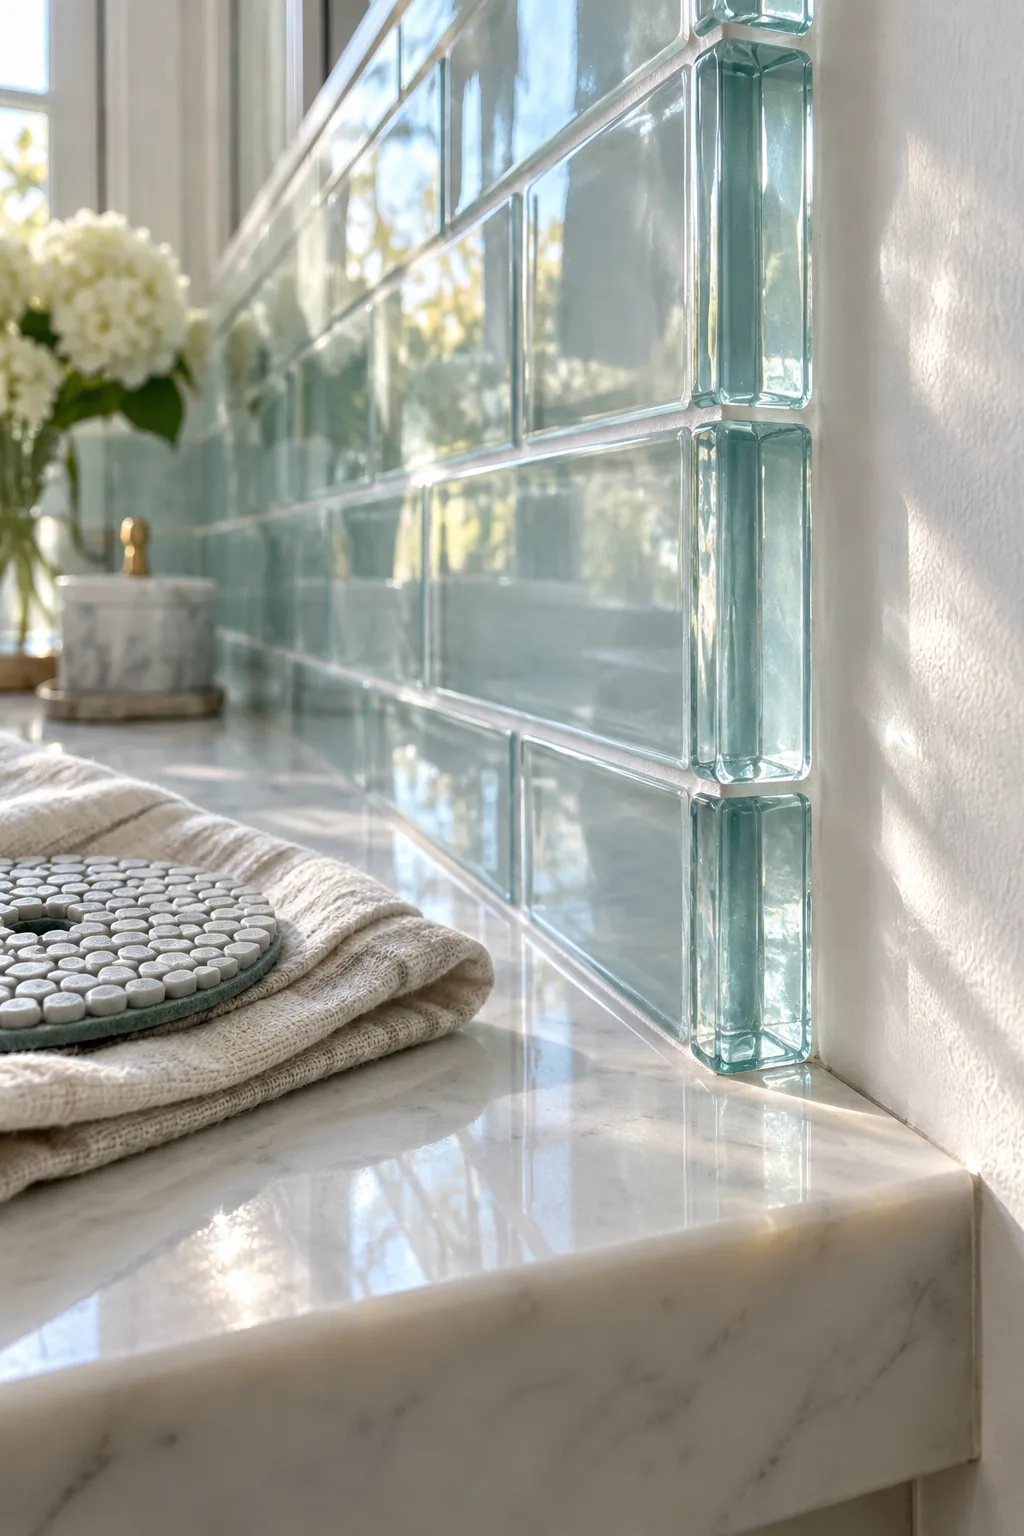
A polished edge gives glass subway tile a luminous, jewel-like finish that catches the light.
Instead of adding a separate trim piece, you literally grind the edge of the glass smooth.
A diamond polishing pad takes off the sharp factory cut. You are left with a translucent border that feels incredibly modern.
7. Chunky V-Cap Edging
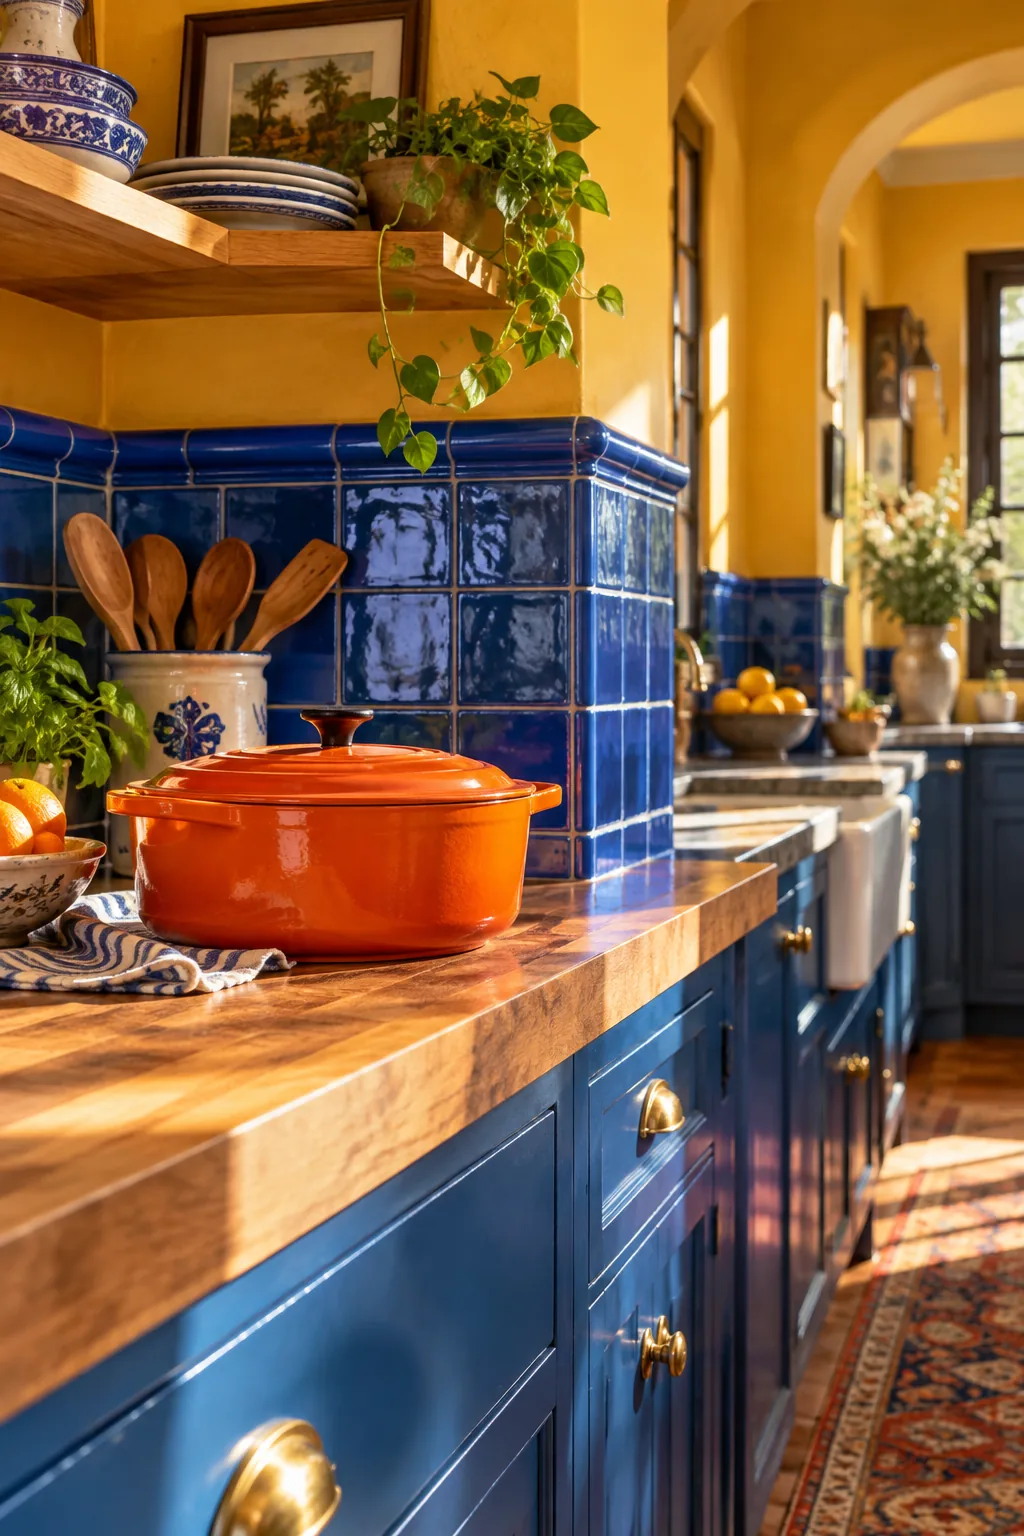
I always specify a V-cap tile trim when working with thick, handmade ceramics. This specialized piece drops a 90-degree lip down to cover the entire side profile of the standard tile. It hugs the corner. This prevents water from sneaking behind the installation and causing damage. The chunky profile looks very traditional and adds beautiful architectural weight to the kitchen.
8. Stone Threshold Caps
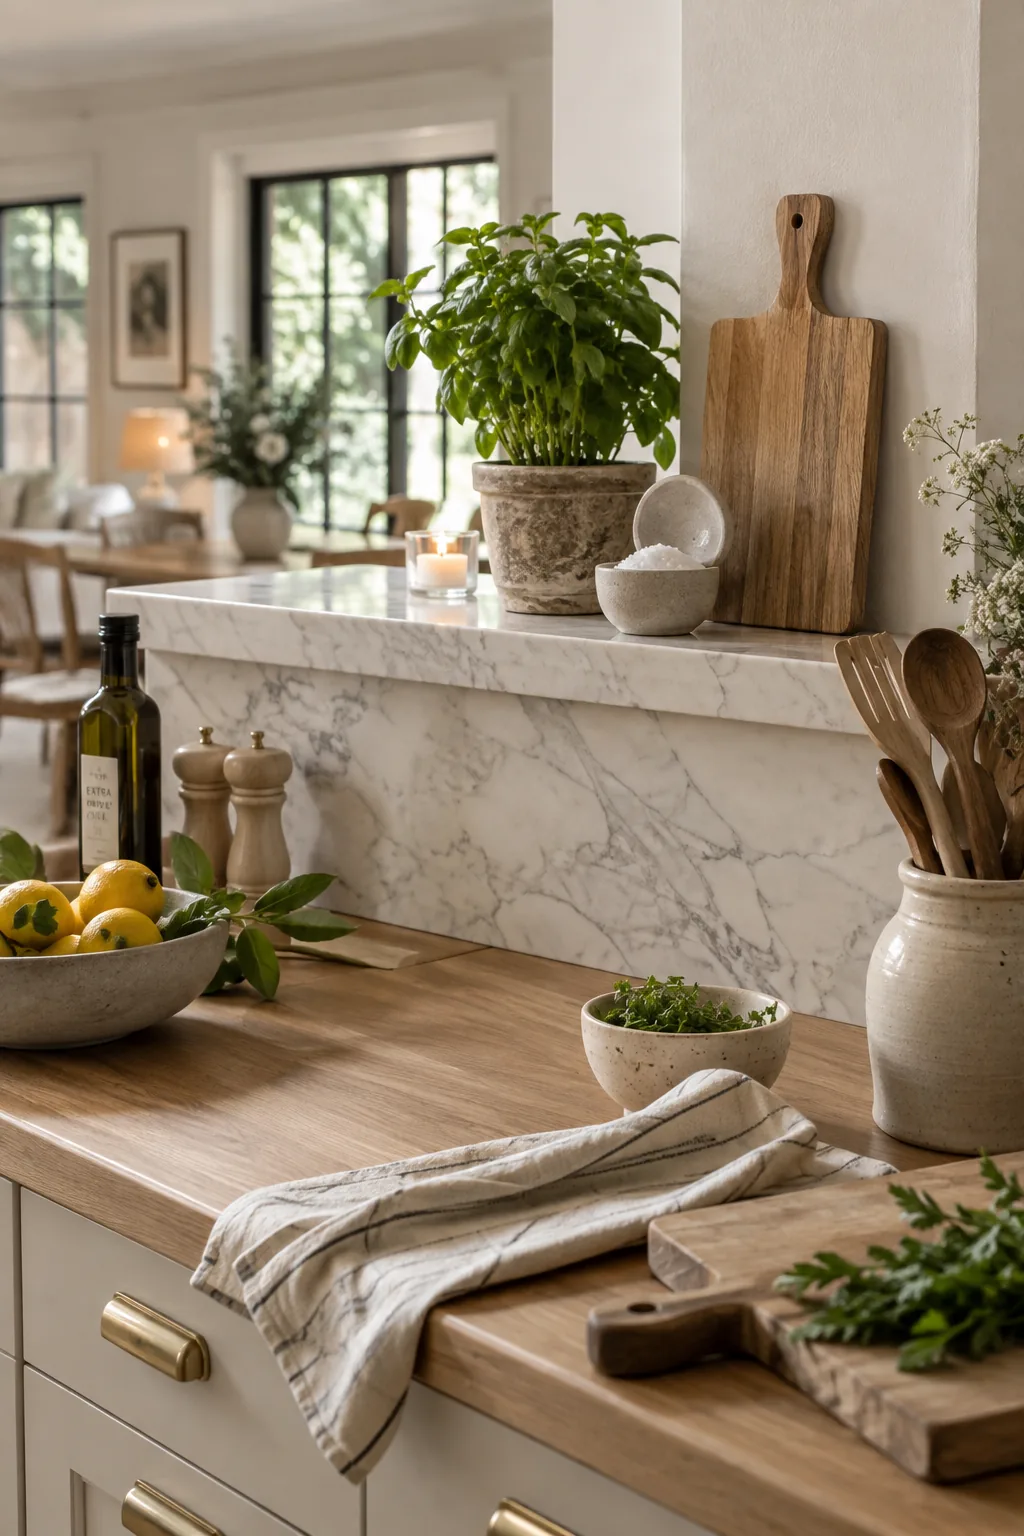
The sheer density of a marble threshold piece provides a highly durable cap for half-wall backsplashes. You can buy these long stone strips in the flooring aisle and cut them to length. They create a little ledge that is perfect for resting small items.
It acts just like a tiny windowsill for your kitchen prep zone.
- Olive oil bottles
- Small herb pots
- Salt cellars
9. Factory Glazed Edges
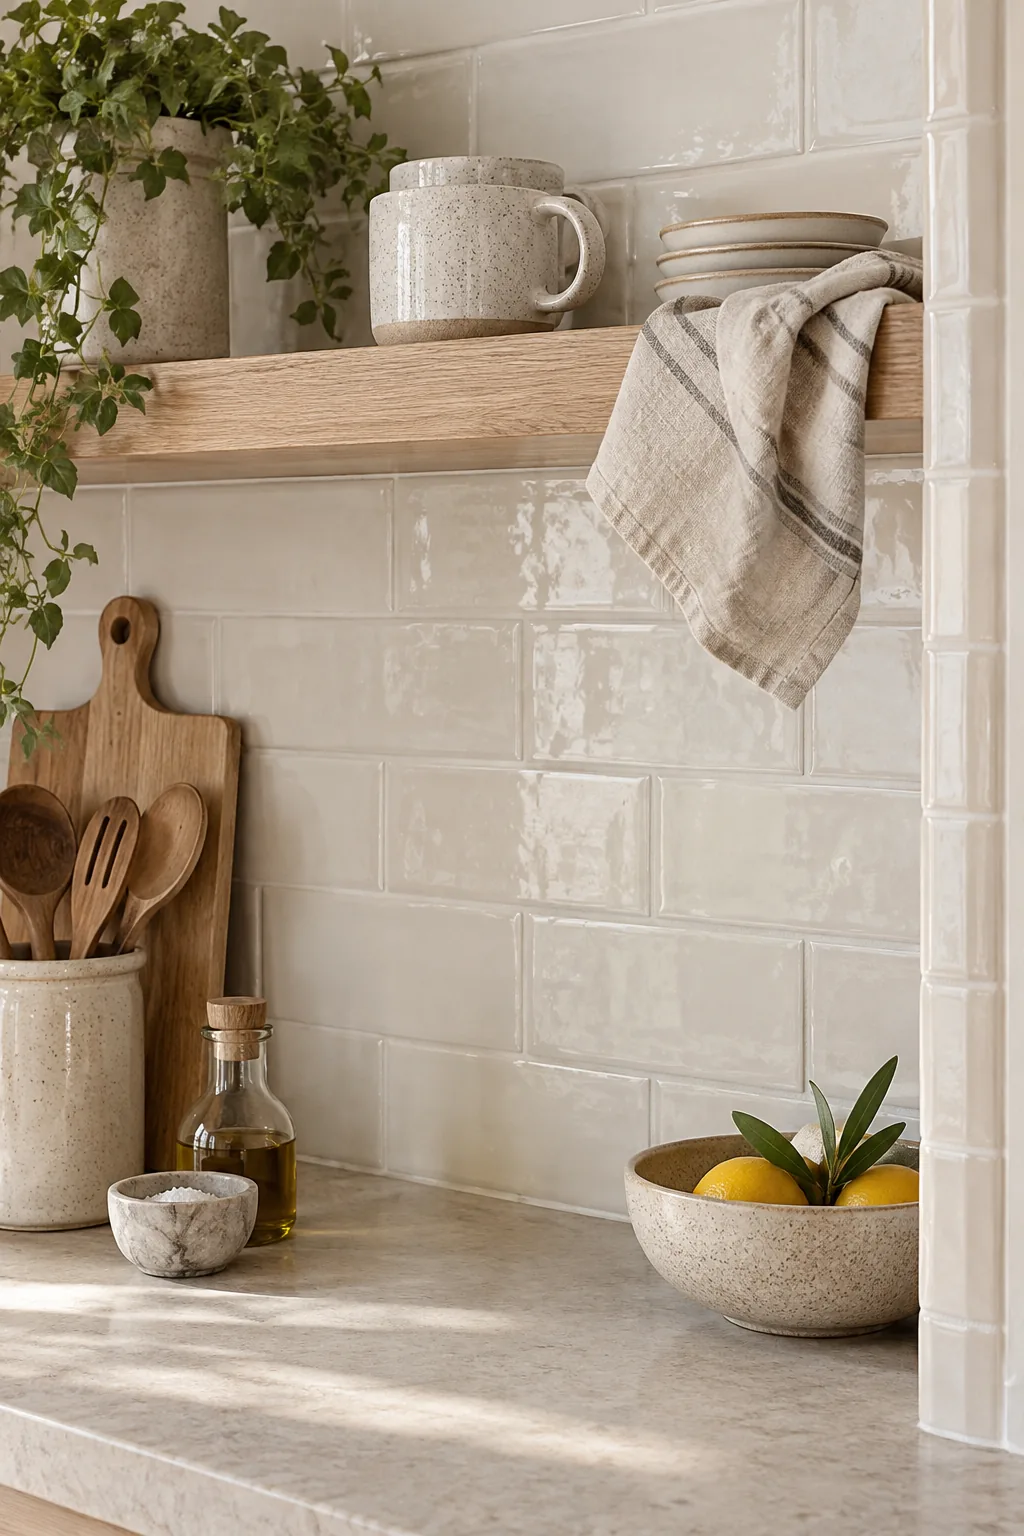
I recently discovered that some manufacturers actually bake a finished edge onto their standard field tiles. You just sort through your boxes to find the glazed edge tiles and install them at the very end of your rows.
10. Paintable Caulk Lines
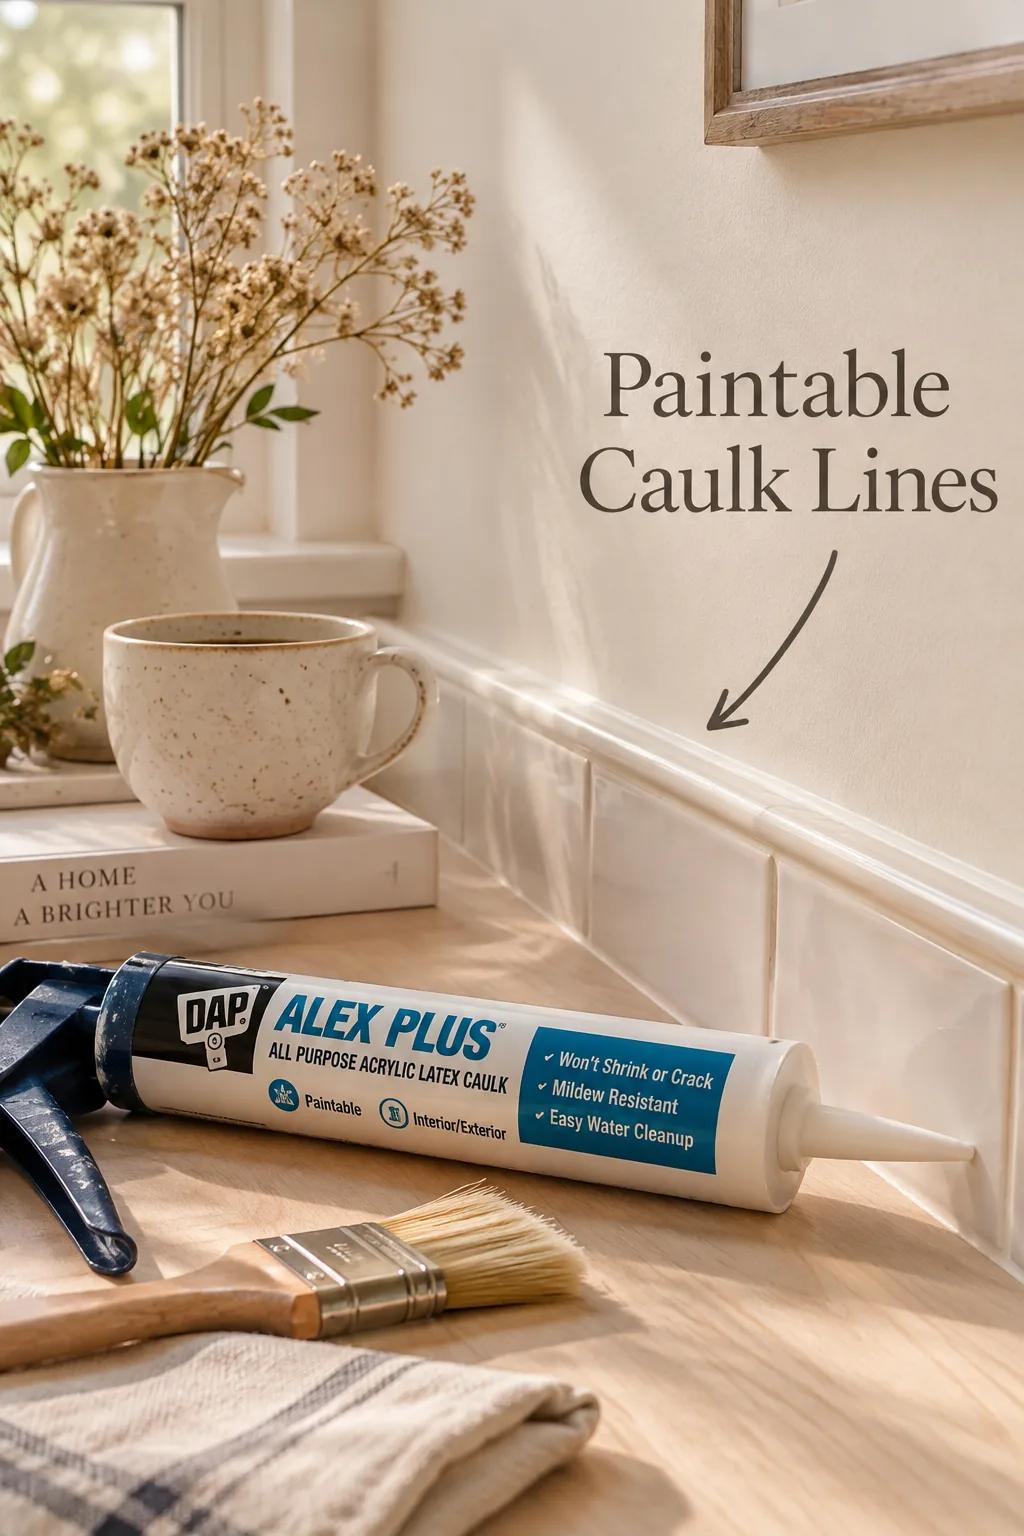
A jagged tile cut leaves an uneven shadow line against the drywall. Running a smooth bead of paintable acrylic caulk fills that gap perfectly. You then paint right over the caulk with your wall color to make the transition disappear.
It is the ultimate budget trick for a seamless finish.