Green Kitchen Makeover: The Paint & Hardware Pairing Guide
You can completely transform your kitchen on a paint-only budget, and I am sharing my exact steps plus a downloadable cheat sheet for matching sage cabinets with aged brass. By the end of this guide, you will be able to prep, paint, and protect your surfaces while perfectly pairing your new cabinet color with the right hardware.
Tinting Your Cabinet Primer
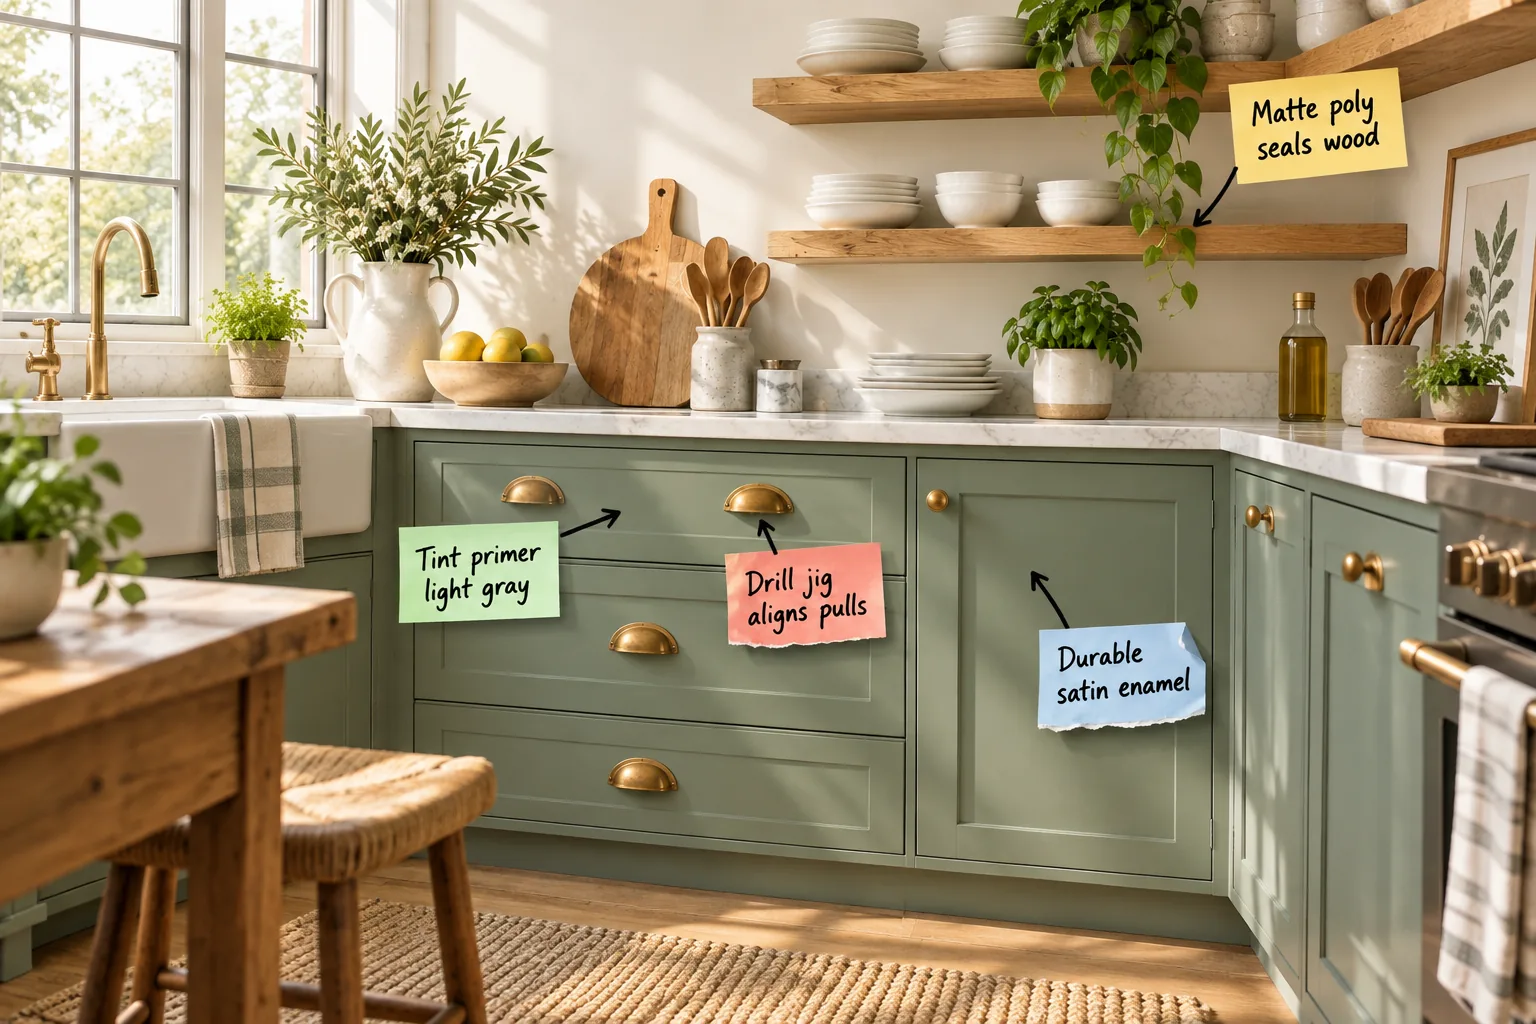
Start your transformation by asking the paint counter to tint your primer light gray. A gray base provides a neutral foundation that requires fewer topcoats of sage green to achieve full opacity compared to a stark white base.
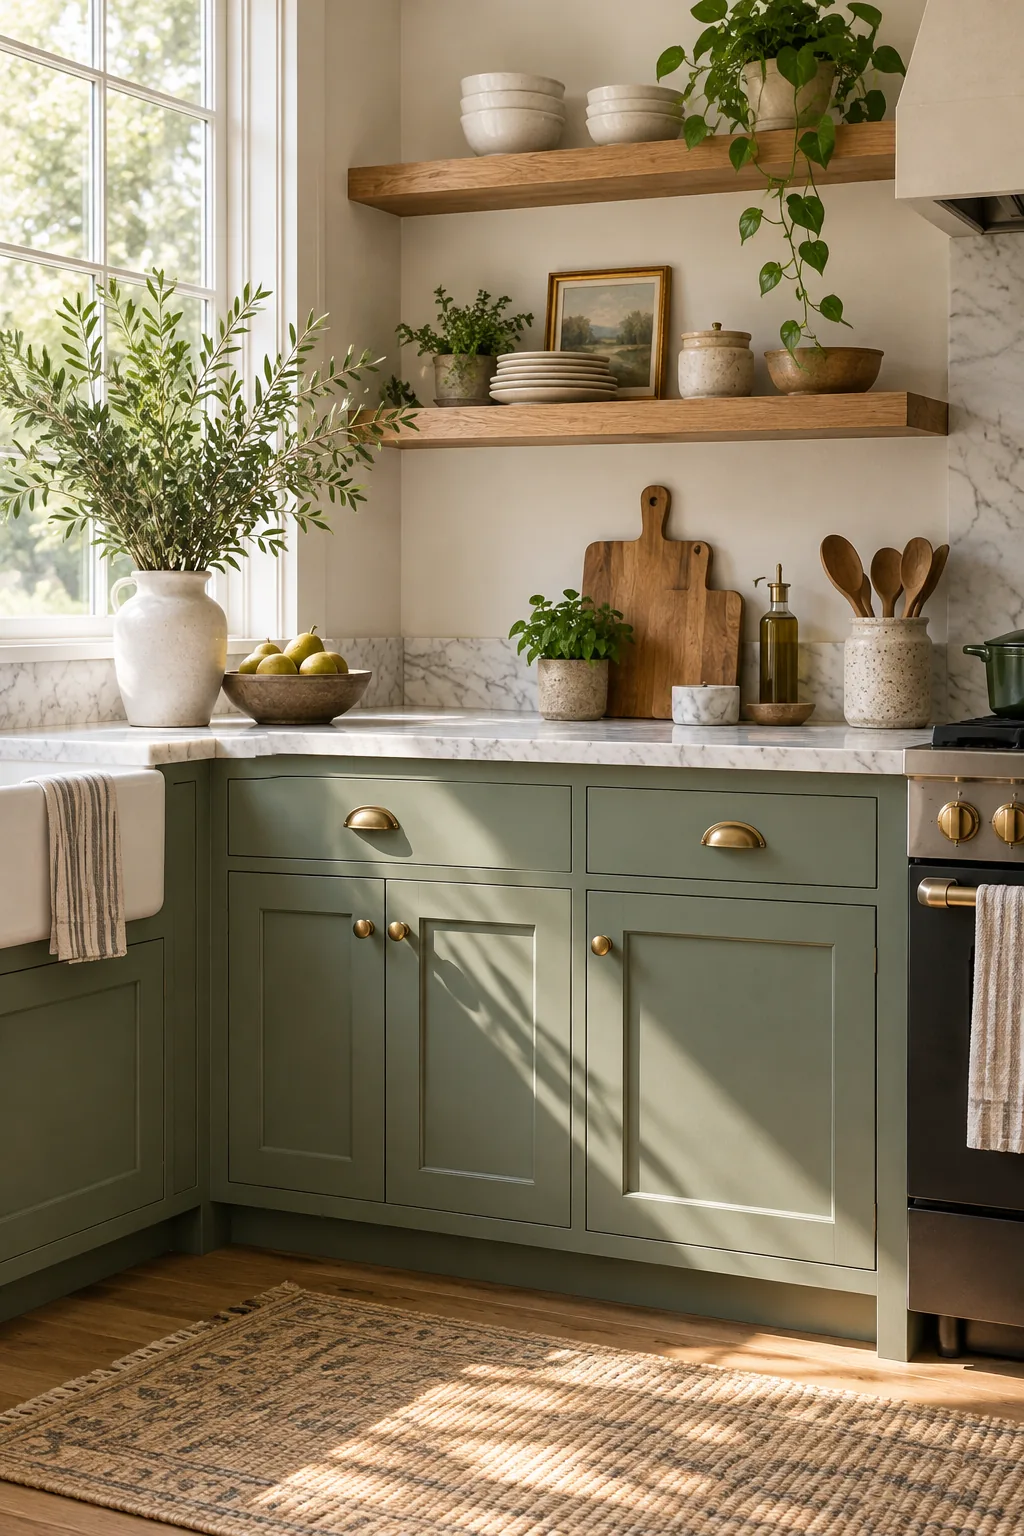
In my own Austin kitchen, skipping the bright white primer and using a customized gray tint saved me from having to apply a third coat of expensive green paint! Apply one even coat of primer and let it dry completely before moving on to color.
Removing the Cabinet Doors
Never attempt to paint your cabinets while they are still hanging on their hinges in the kitchen. Taking the doors down and laying them completely flat on a worktable prevents gravity from pulling the wet enamel into unsightly drips and runs along the bottom edges.
Labeling Your Hardware and Hinges
As you remove the cabinet doors, place every hinge and screw into a numbered plastic bag that corresponds to the cabinet box. This simple organizational step saves hours of frustrating trial and error during the final reassembly phase when hinges need to align perfectly.
Prepping the Cabinet Surface
Before any primer touches the wood, you have to remove years of invisible kitchen grease. I always follow a strict prep sequence to guarantee the new finish actually bonds to the old doors without peeling or chipping later.
- Degrease thoroughly: Scrub every surface with a TSP substitute to cut through stubborn cooking oils.
- Rinse and dry: Wipe the wood with clean water so no chemical residue blocks the primer.
- Scuff sand: Lightly rough up the old clear coat with 150-grit sandpaper for mechanical adhesion.
- Remove dust: Vacuum the crevices and wipe everything down with a tacky cloth.
Selecting a Durable Satin Enamel
Kitchen cabinets endure constant daily wear, making a durable satin enamel the absolute ideal choice for your topcoat. Satin provides a subtle, wipeable sheen that resists fingerprints without the harsh glare of a traditional semi-gloss finish.
Brushing the Cabinet Frames
While the doors dry flat on your worktable, tackle the cabinet frames attached to the walls. Use a high-quality angled sash brush to carefully cut in around the countertops and appliances without needing to apply miles of expensive painter’s tape.
Achieving a Flawless Paint Finish
For a professional look on a DIY budget, use a high-density foam roller on the flat fronts and a soft angled brush for the recessed shaker details. Two thin coats will always yield a smoother, more durable surface than one thick coat.
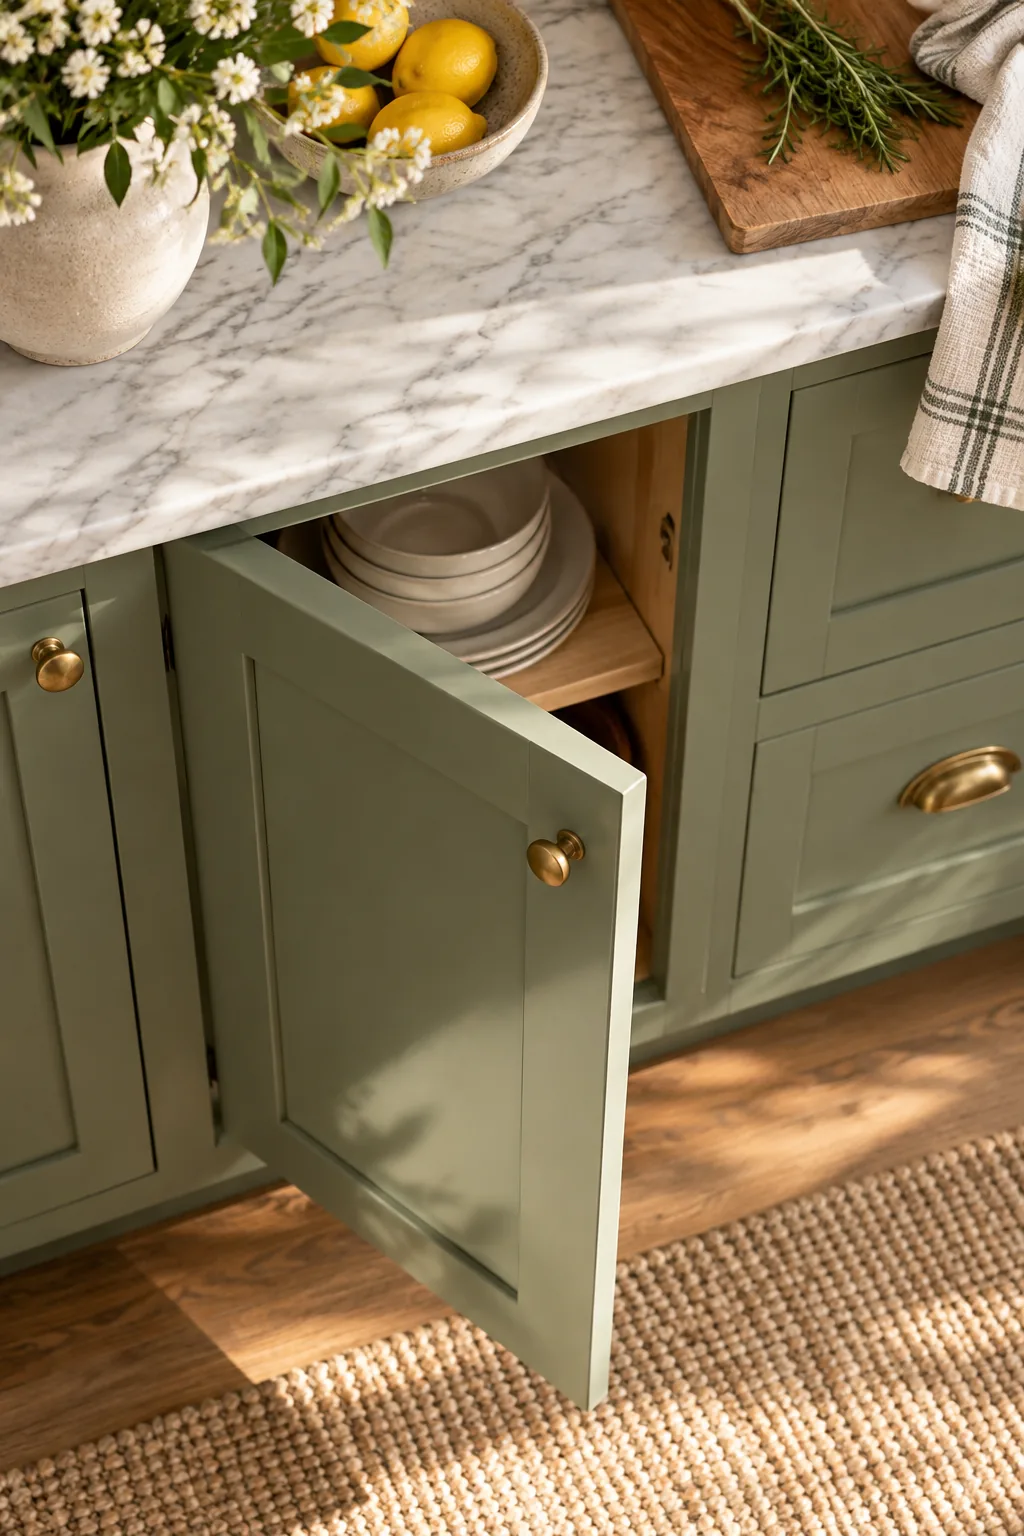
Lightly sand the flat surfaces with 220-grit paper between your color coats to eliminate tiny dust bumps. Wipe away the dust completely, and your final coat will level out beautifully to mimic a flawless factory finish.
Managing Cure Times Between Coats
Understanding the critical difference between dry time and cure time is the secret to a paint job that never chips. Use this timeline to plan your kitchen painting weekend and protect your hard work from premature damage.
| Coating Phase | Touch Dry | Recoat Time | Full Cure |
|---|---|---|---|
| Bonding Primer | 1 hour | 4 hours | 7 days |
| Satin Enamel (Coat 1) | 2 hours | 24 hours | 14 days |
| Satin Enamel (Coat 2) | 2 hours | 48 hours | 21 days |
| Matte Polyurethane | 30 mins | 2 hours | 7 days |
Filling Old Hardware Holes
If you are switching from single-hole knobs to wider cup pulls, you absolutely must fill the original holes before priming. Overfill each hole slightly with a two-part wood epoxy, then sand it perfectly flush with the wood once it cures completely hard.
Aligning Hardware with a Drill Jig
A cabinet hardware drill jig is the secret to perfectly centered pulls across every single drawer. Set the jig’s measurements once for your aged brass cup pulls, and you can drill every identical drawer front without ever measuring twice.
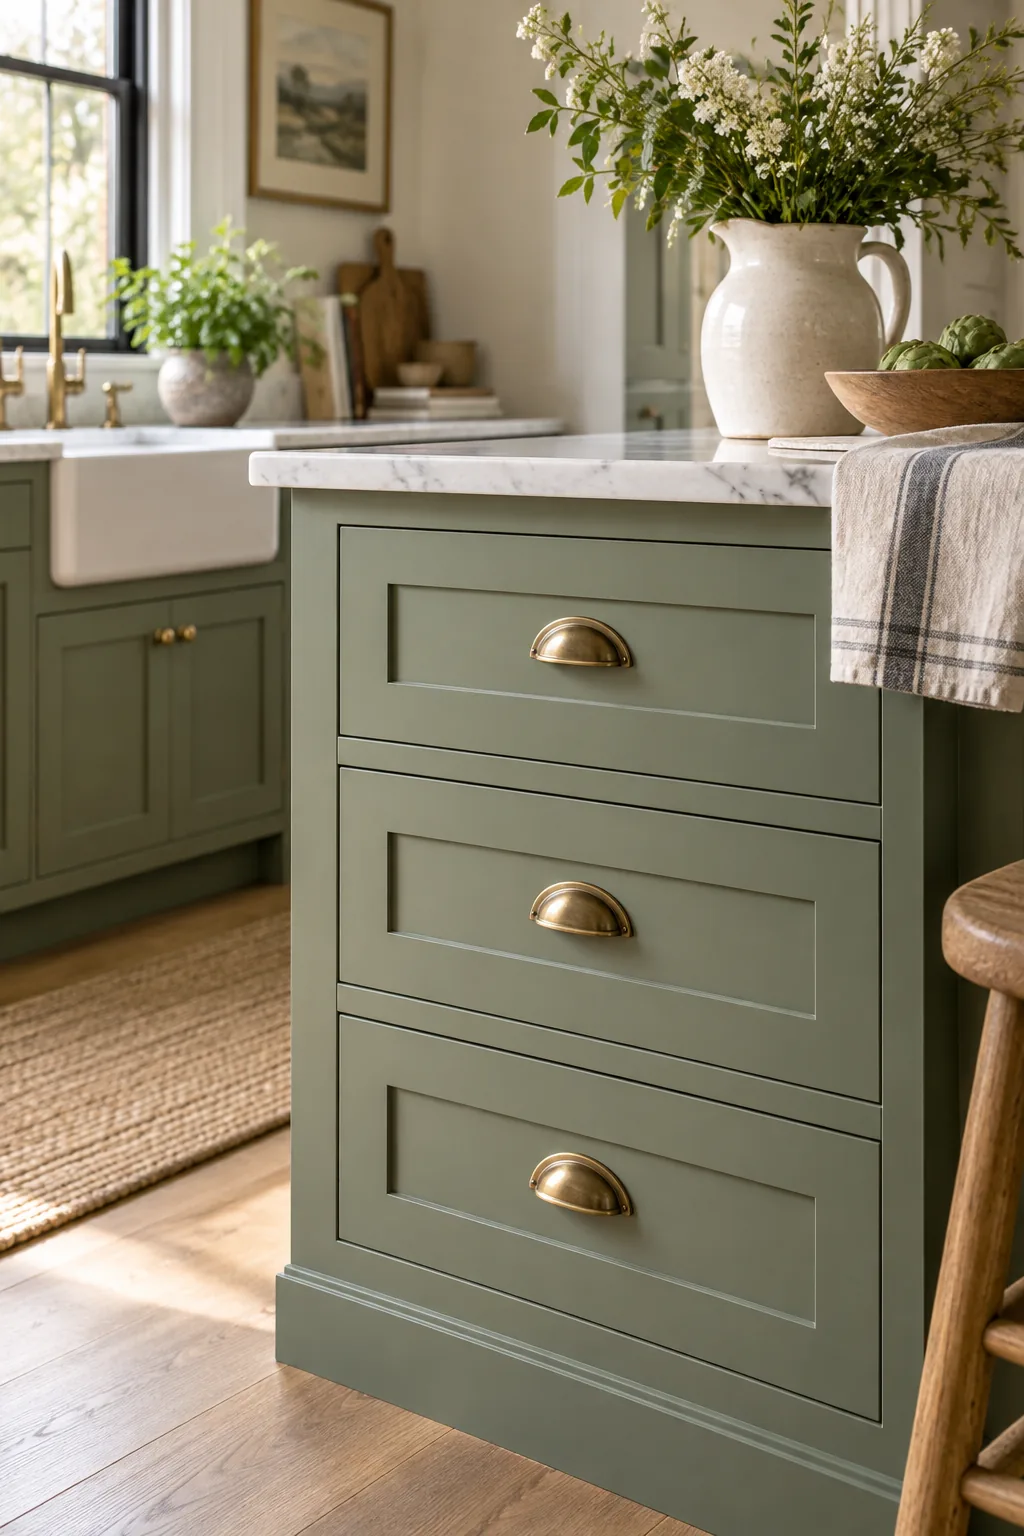
This simple tool guarantees a uniform look that instantly elevates the entire kitchen design. Always clamp the jig firmly in place before drilling so the bit doesn’t wander off your mark and ruin the painted wood.
Choosing the Right Pull Profile
The shape of your hardware dramatically changes the mood of a green kitchen. I love to mix different profiles across the upper and lower cabinets for a custom, collected feel that looks intentionally designed.
- Bin or cup pulls: Install these on lower drawers for a classic, vintage farmhouse aesthetic that naturally hides fingerprints.
- Round knobs: Use simple mushroom knobs on upper cabinet doors to keep the sightlines clean and beautifully uncluttered.
- Long bar pulls: Mount these vertically on tall pantry doors to provide enough leverage for heavy sliding storage mechanisms.
Measuring for Cabinet Pulls
Finding the perfect placement for your new hardware requires a few simple calculations before you ever pick up a drill. You want the pulls to feel ergonomically comfortable for daily use while looking visually balanced and proportional on the drawer face.
Selecting the Right Drill Bit
Always use a brad-point drill bit when making holes for your new hardware. The sharp center point bites into the wood immediately, preventing the bit from skating across your freshly painted cabinet doors and causing expensive, hard-to-fix scratches.
Sourcing White Oak Lumber
For the most authentic organic look, visit a local lumberyard instead of a big-box home improvement store. Ask for quarter-sawn white oak boards, which feature a beautiful straight grain pattern that naturally resists warping in warm, humid kitchen environments.
Sealing Wood with Matte Polyurethane
Warm white oak floating shelves beautifully offset sage green cabinets, but raw wood in a kitchen easily absorbs grease and steam. Apply three thin coats of water-based matte polyurethane to fully seal the wood.
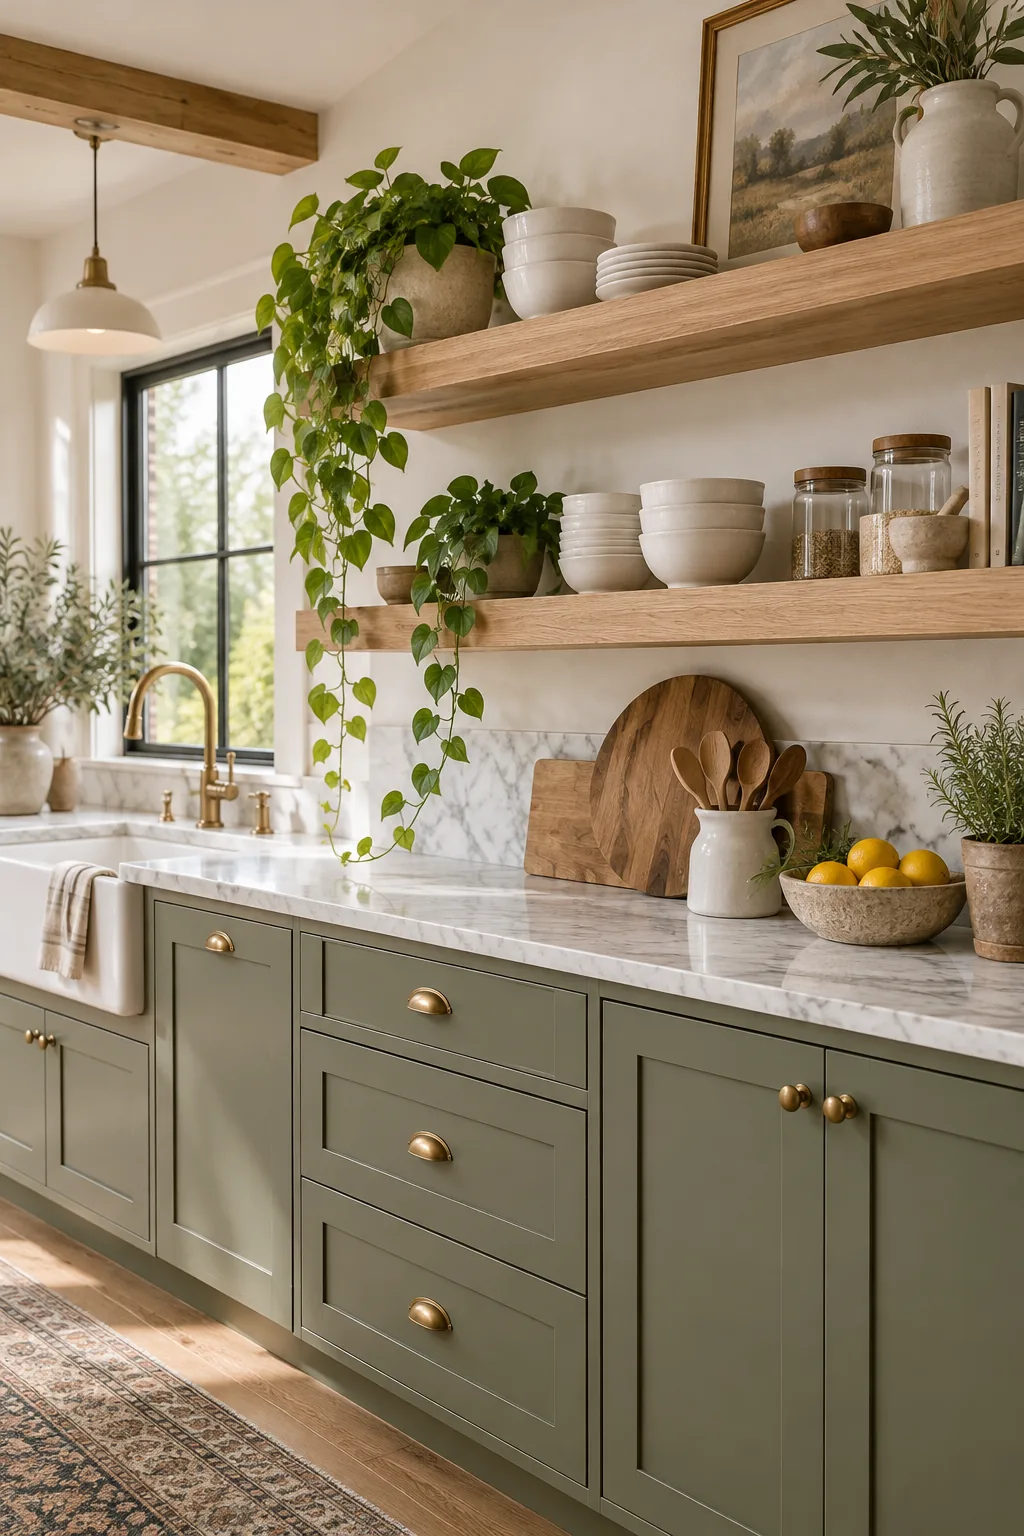
The matte finish protects the shelves from moisture while maintaining the organic, unvarnished look of the raw oak. Sand lightly with 320-grit paper between each coat for an incredibly smooth, professional surface.
Installing Hidden Bracket Supports
To achieve that magical floating effect, you need heavy-duty steel brackets mounted directly into your wall studs. I always route out the back of the oak shelf so the metal backplate sits completely flush against the drywall.
Styling the Open Shelving
Once the shelves are sealed and cured, layer them with everyday items that are both beautiful and highly functional. In my home, storing my wooden spoons in a vintage stone crock on the middle shelf completely transformed the bare wall.
Adding Greenery to the Shelves
Live plants beautifully bridge the gap between the natural wood shelves and the earthy sage cabinets. Trailing pothos or delicate string of pearls thrive in the warm, humid environment of a kitchen while softening the hard lines of your stacked ceramics.
Lighting the Floating Shelves
Adding a warm glow under your new oak shelves beautifully highlights the sage green cabinets below. Hardwired brass picture lights mounted directly above the top shelf draw the eye upward and dramatically emphasize the overall ceiling height of the room.
Your Paint and Hardware Pairing Guide
Finding the exact brass tone to complement your specific shade of green can easily make or break the design. I spent weeks testing samples in my own kitchen just to find the perfect aged brass that didn’t look too yellow against the sage!
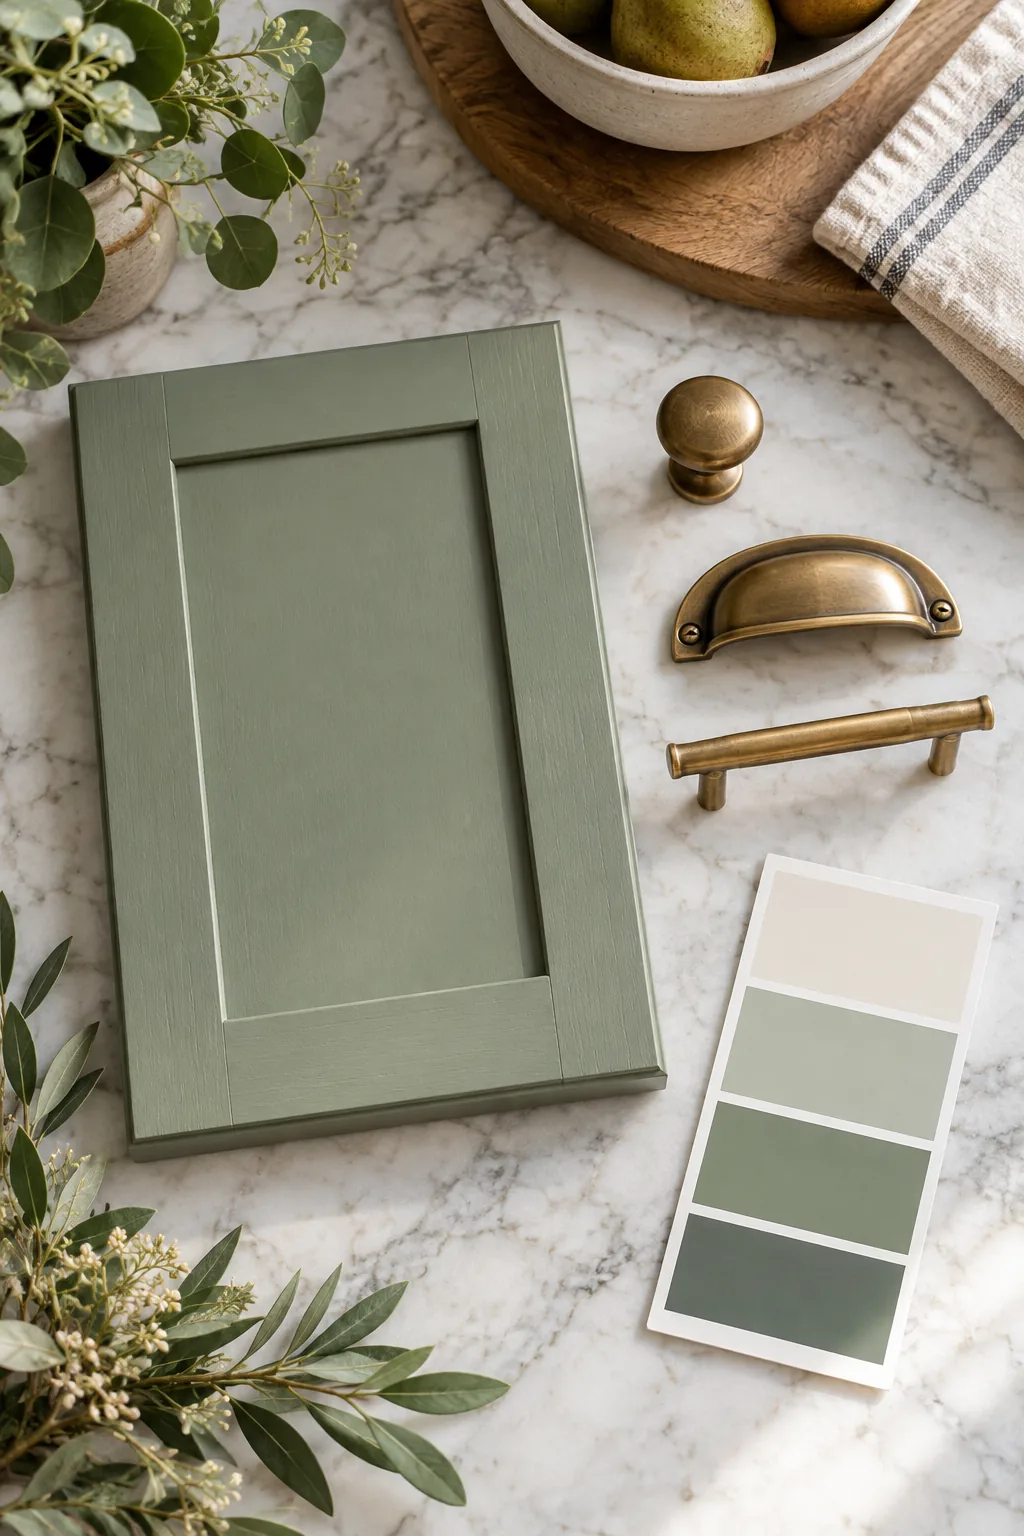
Download our paint and hardware pairing cheat sheet to see exactly which finishes work best together. The guide includes our favorite combinations of sage, olive, and mint paints perfectly matched with aged brass, matte black, and polished nickel hardware.
More Green Cabinet Color Pairings
Explore four different ways to style green kitchen cabinets with unique hardware and finishes.
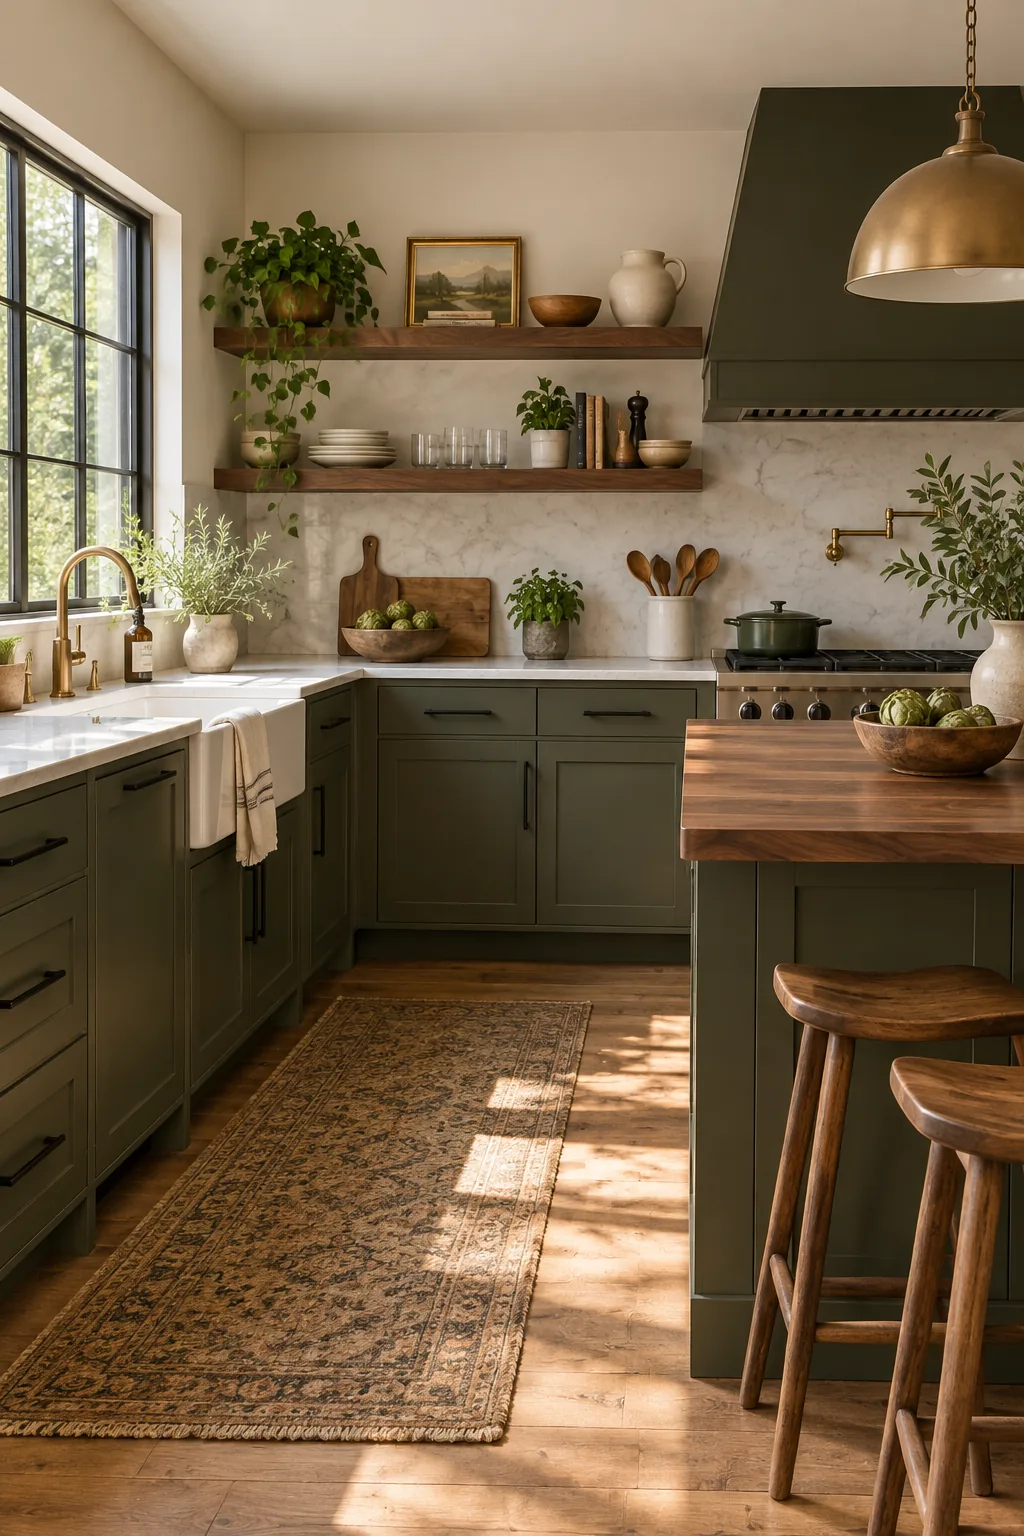
Olive Green & Matte Black: Dark olive grounds a rustic space, while matte black hardware adds a crisp, modern edge.
Mint & Polished Nickel: Soft mint beadboard feels instantly coastal when paired with the cool shine of polished nickel.
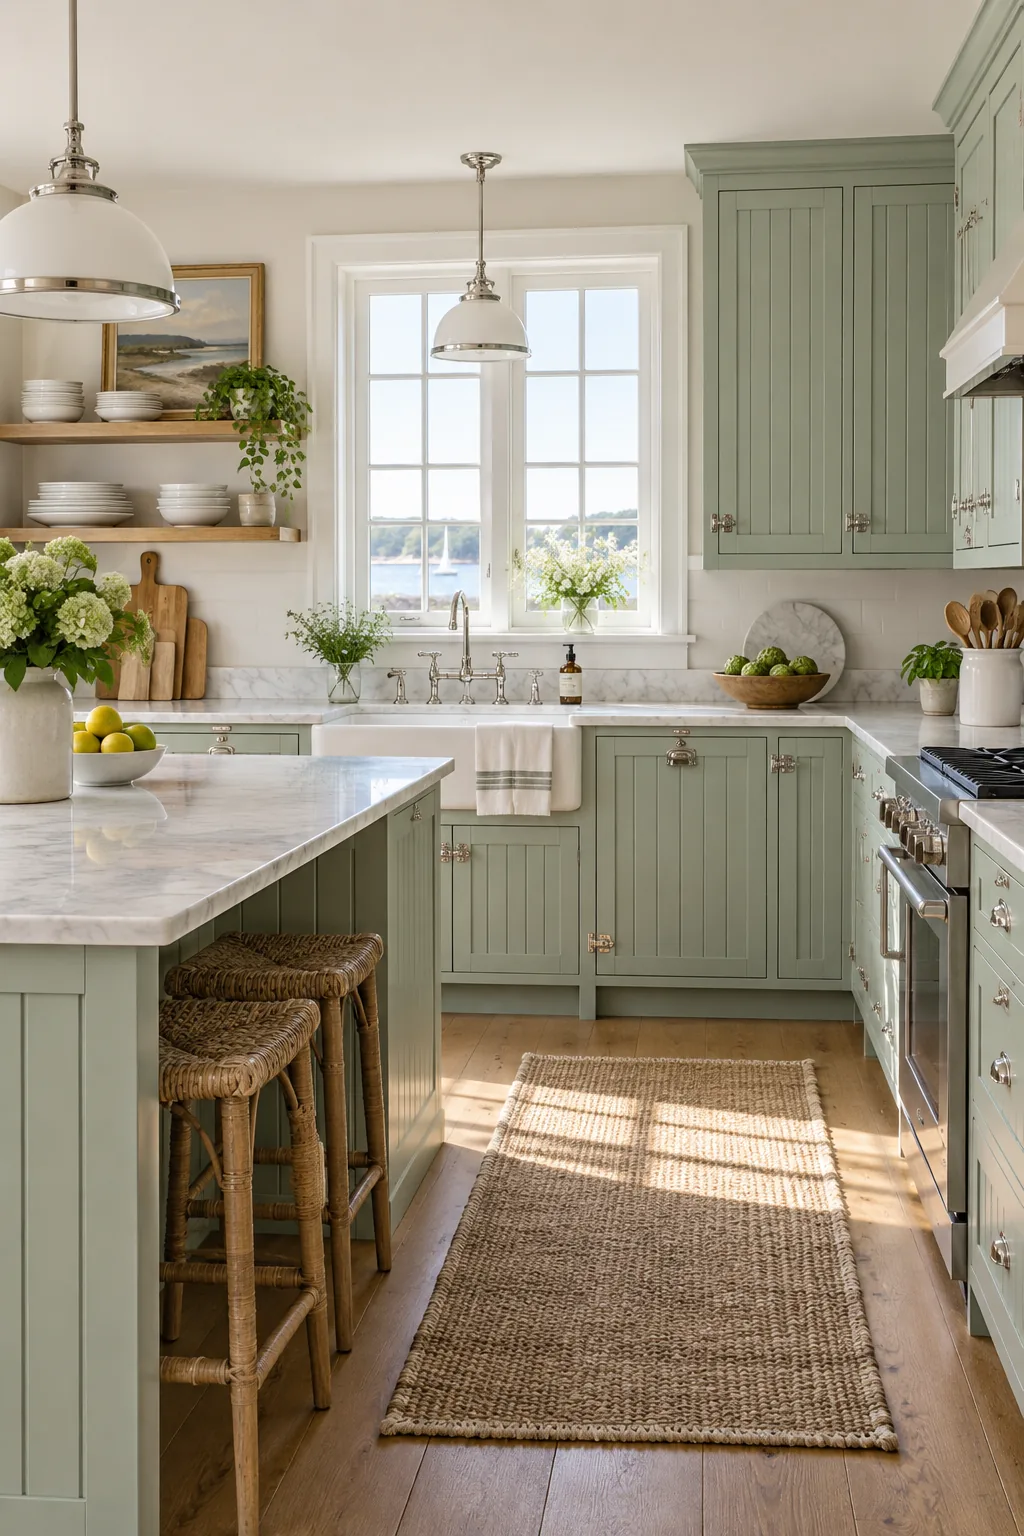
Forest Green & Unlacquered Brass: Deep forest green creates a moody, historic feel that perfectly complements aging unlacquered brass.
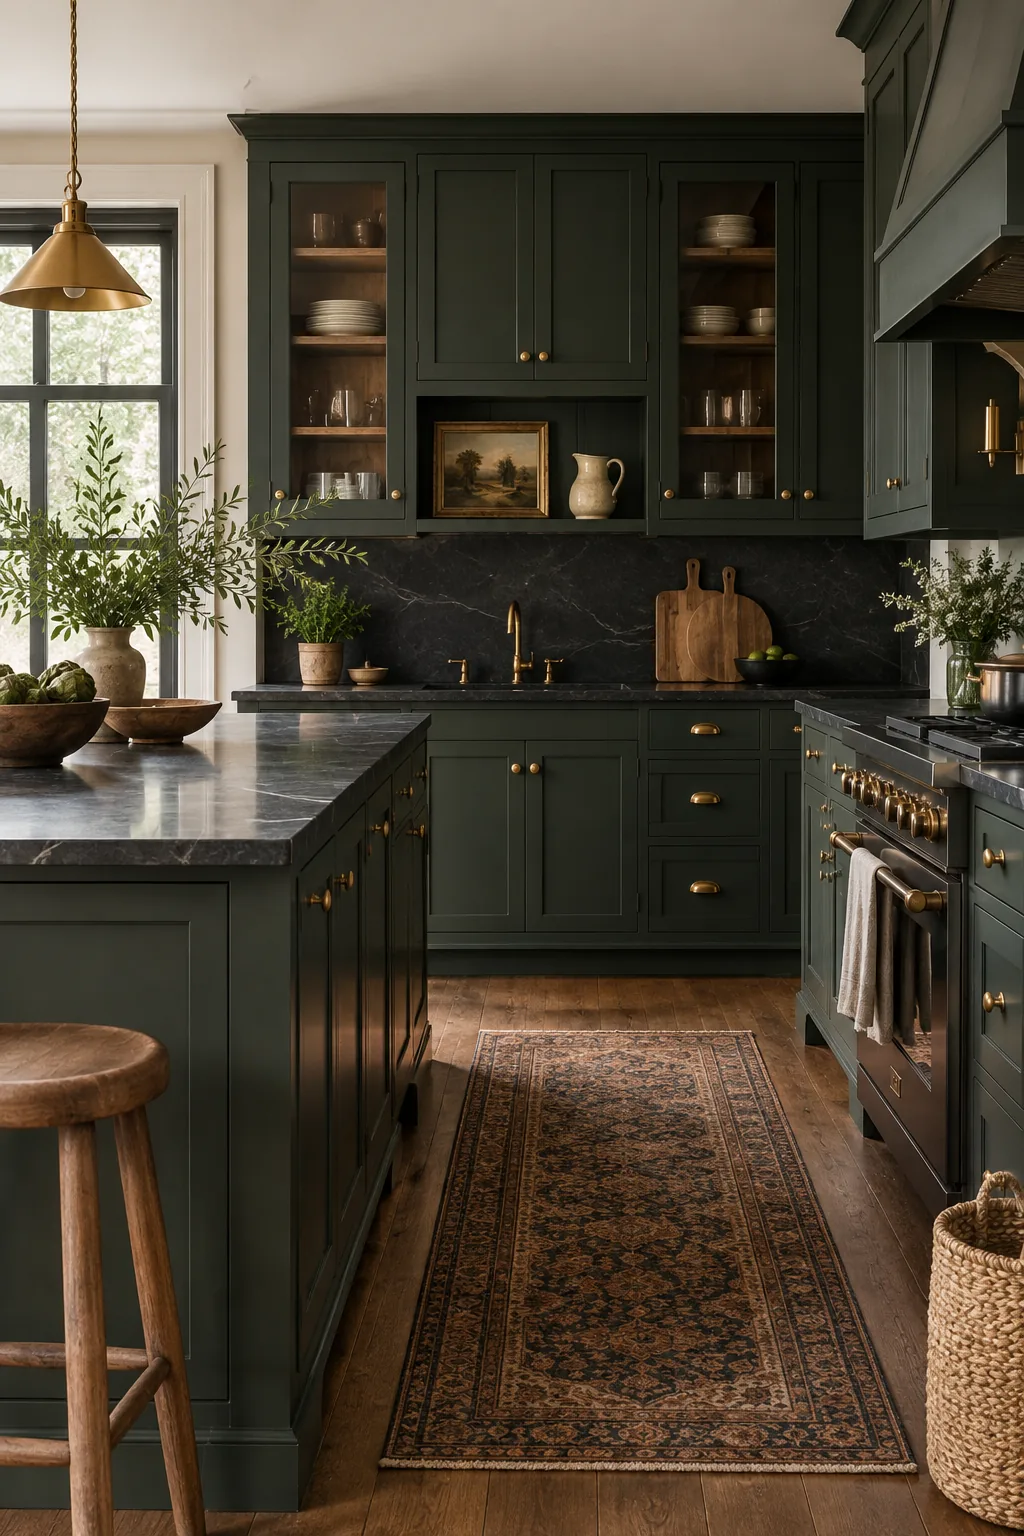
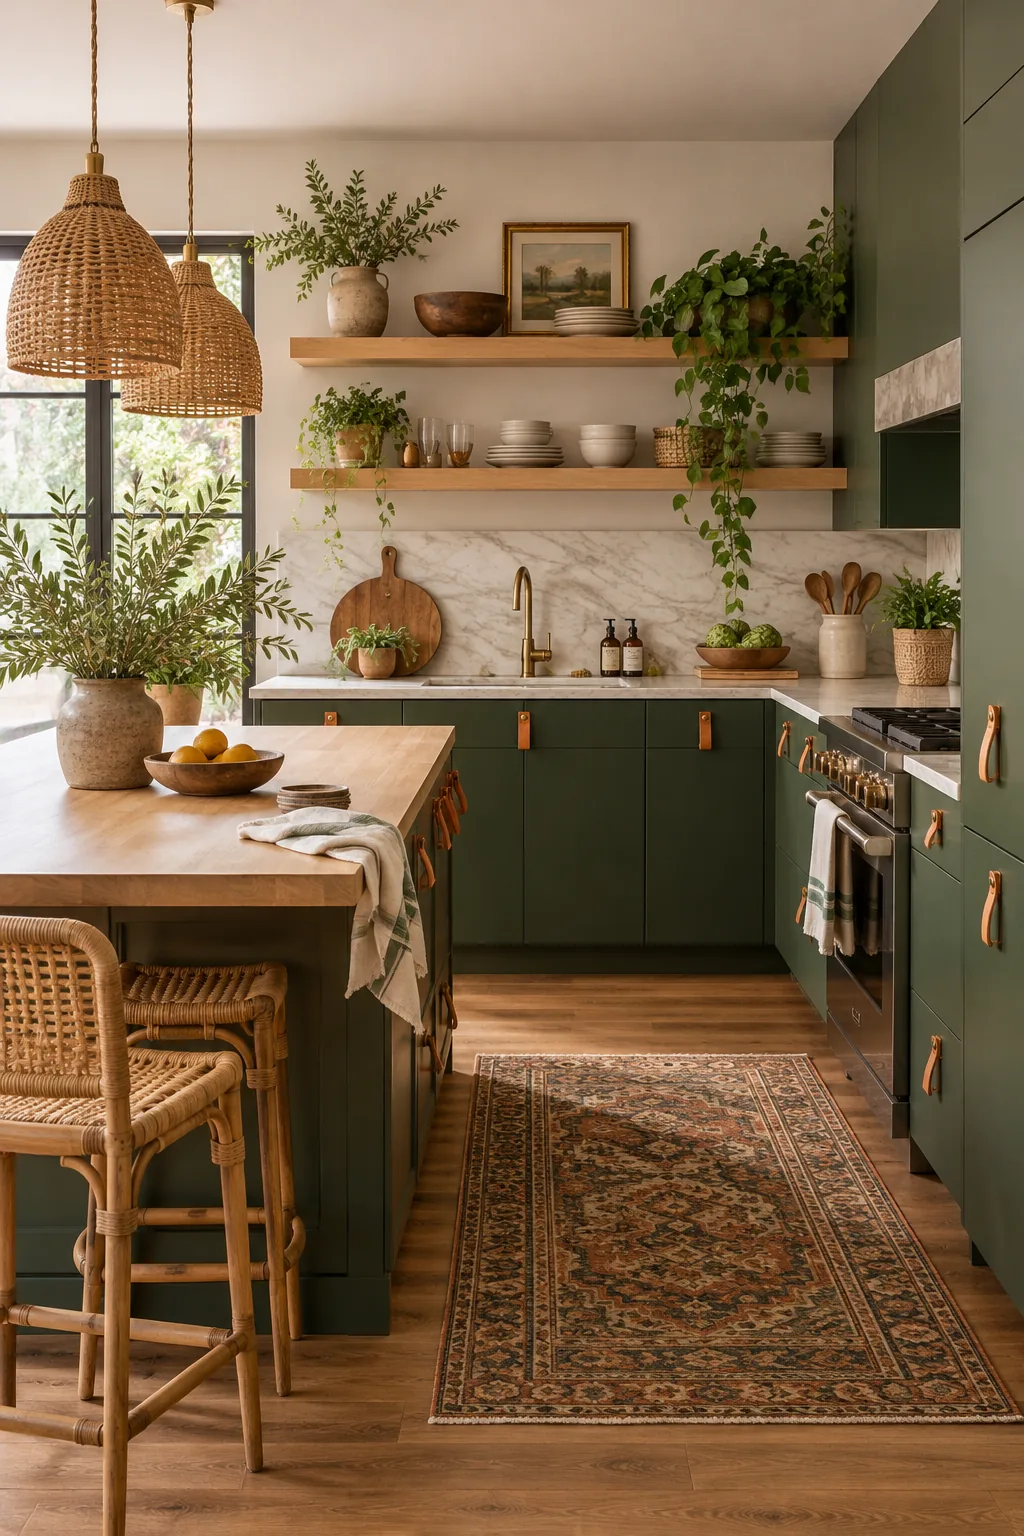
Hunter Green & Leather: Hunter green flat panels gain a relaxed, bohemian vibe when finished with tactile leather pulls.