Yard Art Staging: How to Build a Backyard Sculpture Garden
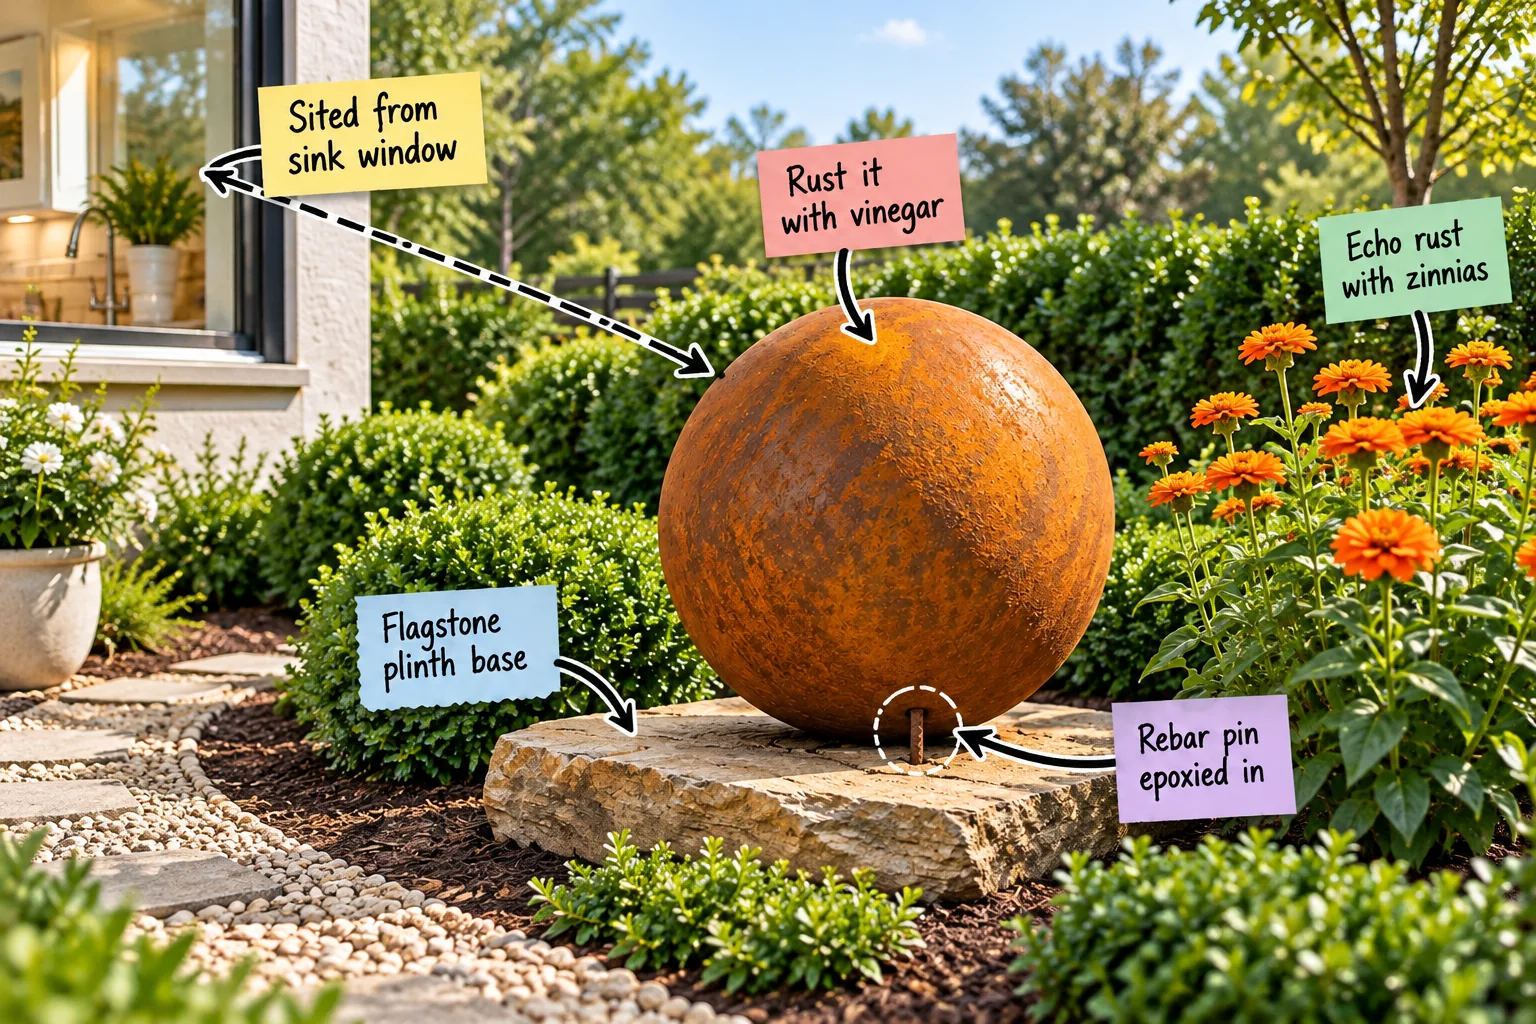
You can confidently place, anchor, and naturally weather a steel garden sculpture using our step-by-step installation sequence. Grab our printable sculpture-garden siting and install checklist below to properly position your outdoor art, size the plinth, and mix the perfect rust patina.
Find the Perfect Sightline
Start by looking out your most-used window, which is typically the kitchen sink, to ensure the sculpture will be perfectly framed and visible from inside before you dig.
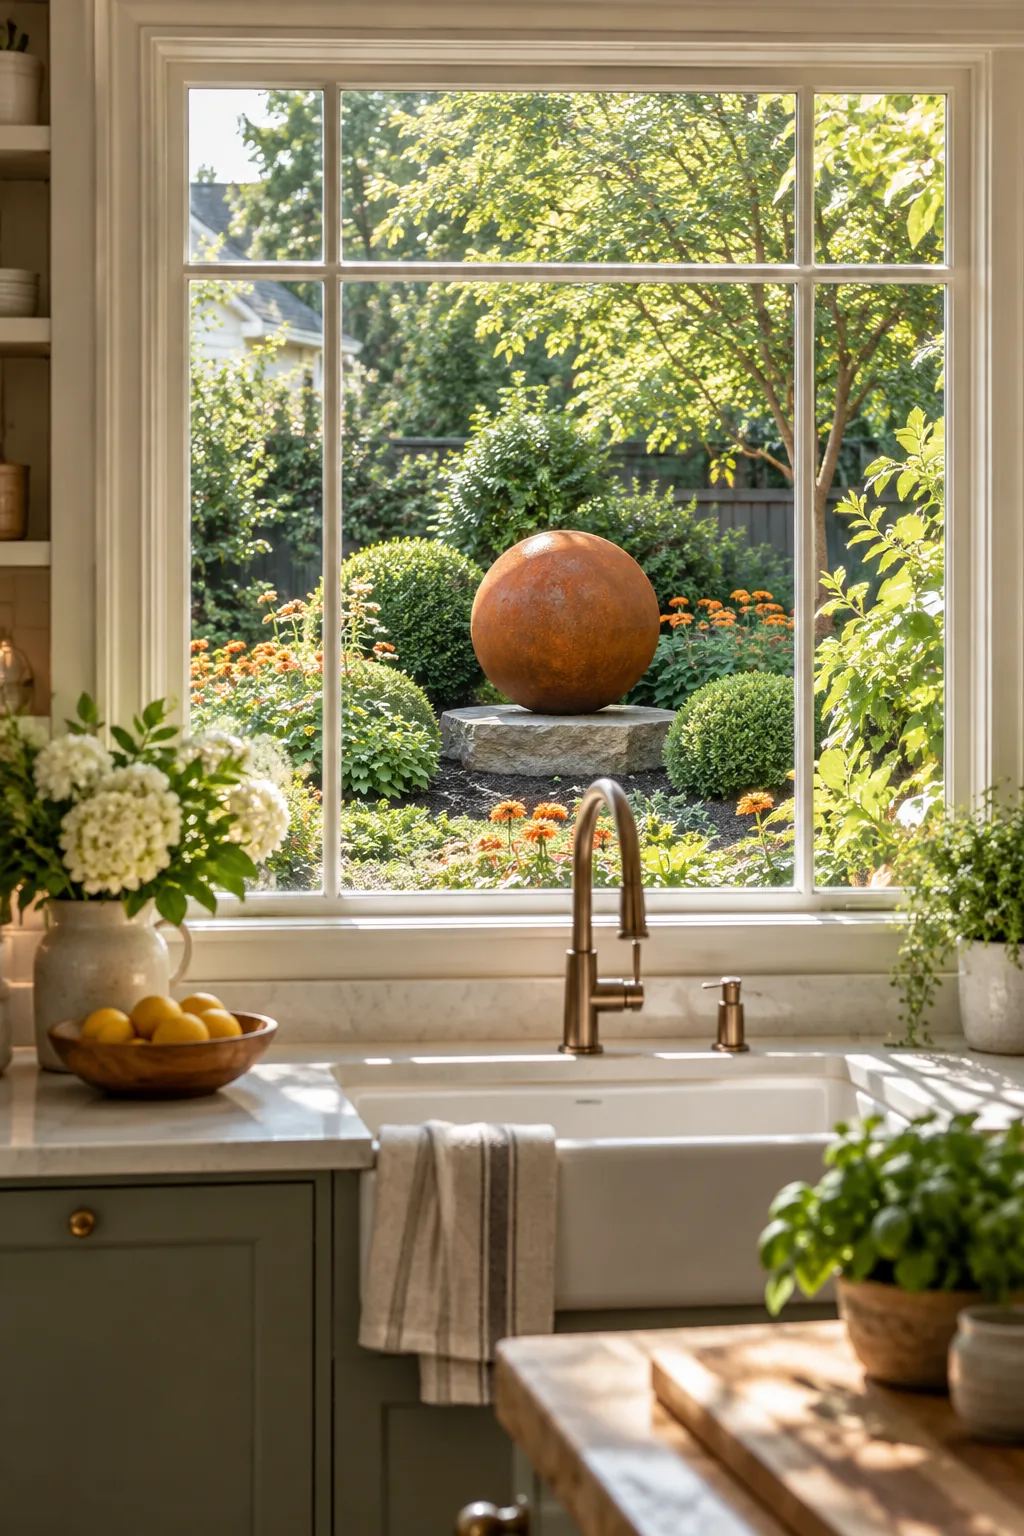
Place a temporary marker in the yard and walk back inside to check the view, adjusting the position until it sits dead center in the glass.
Size the Flagstone Plinth Base
Elevate the piece on a heavy flagstone plinth to prevent the metal from sinking into the soil and getting lost in the surrounding mulch.
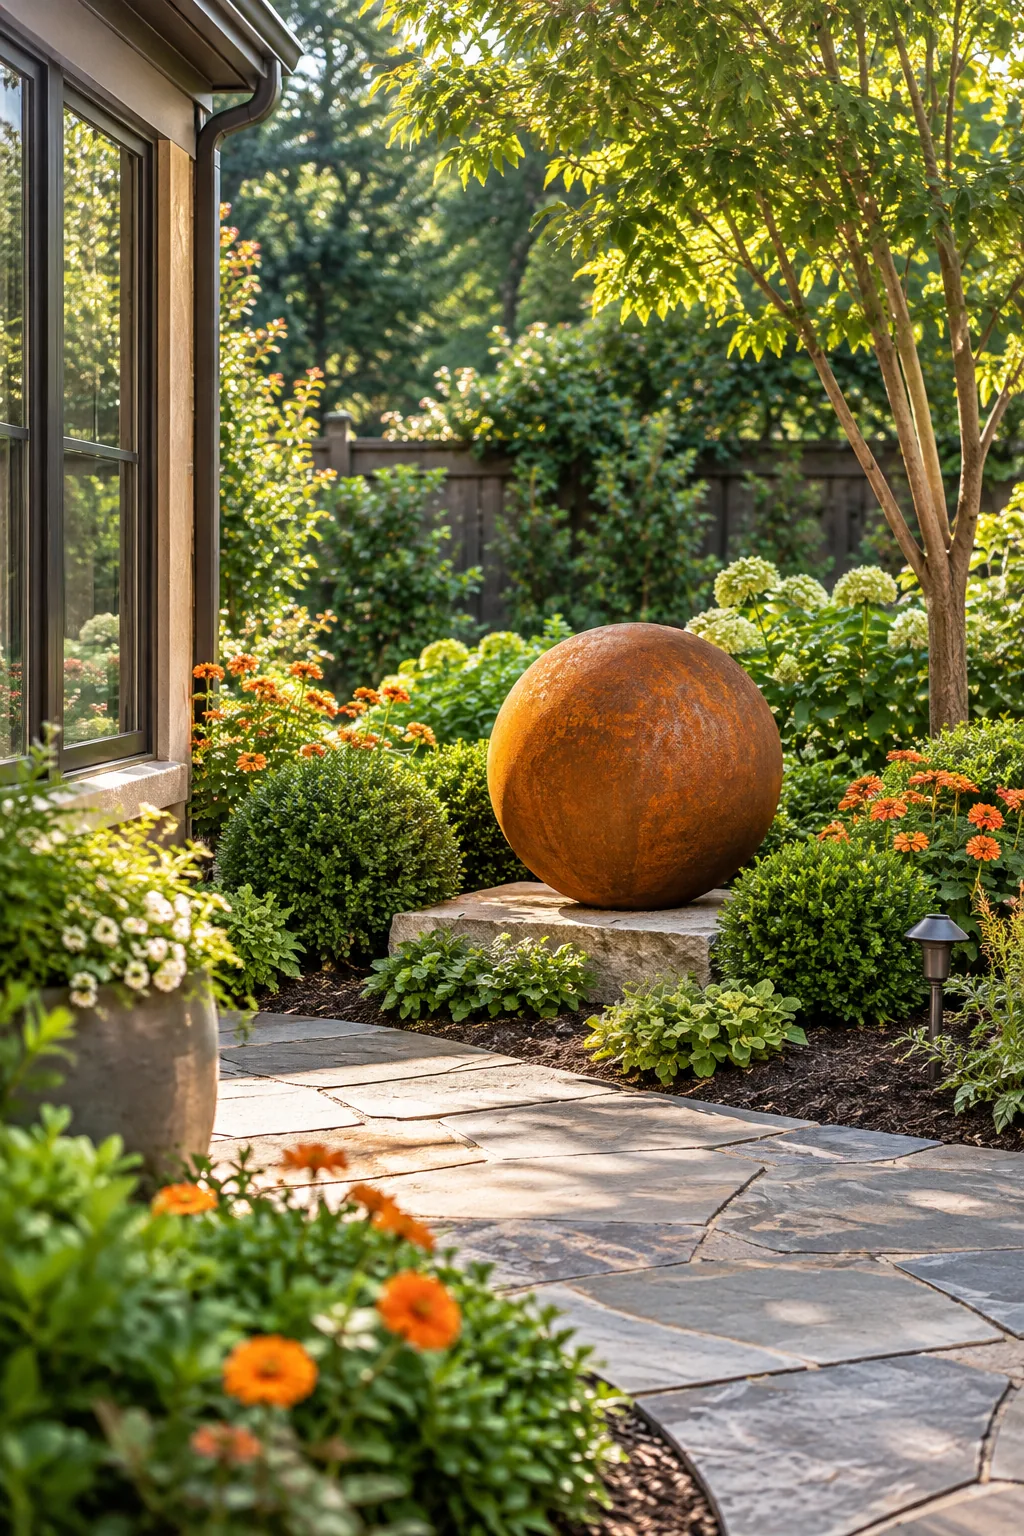
For proper visual balance and physical stability, source a stone that is exactly one-third wider than the base of your sculpture.
| Sculpture Base | Minimum Plinth Width | Stone Thickness |
|---|---|---|
| 12 inches | 16 inches | 2 inches |
| 18 inches | 24 inches | 2.5 inches |
| 24 inches | 32 inches | 3 inches |
Anchor with Rebar and Epoxy
Secure the hollow art piece against heavy wind and accidental bumps by slipping it over a hidden 6-inch length of rebar.
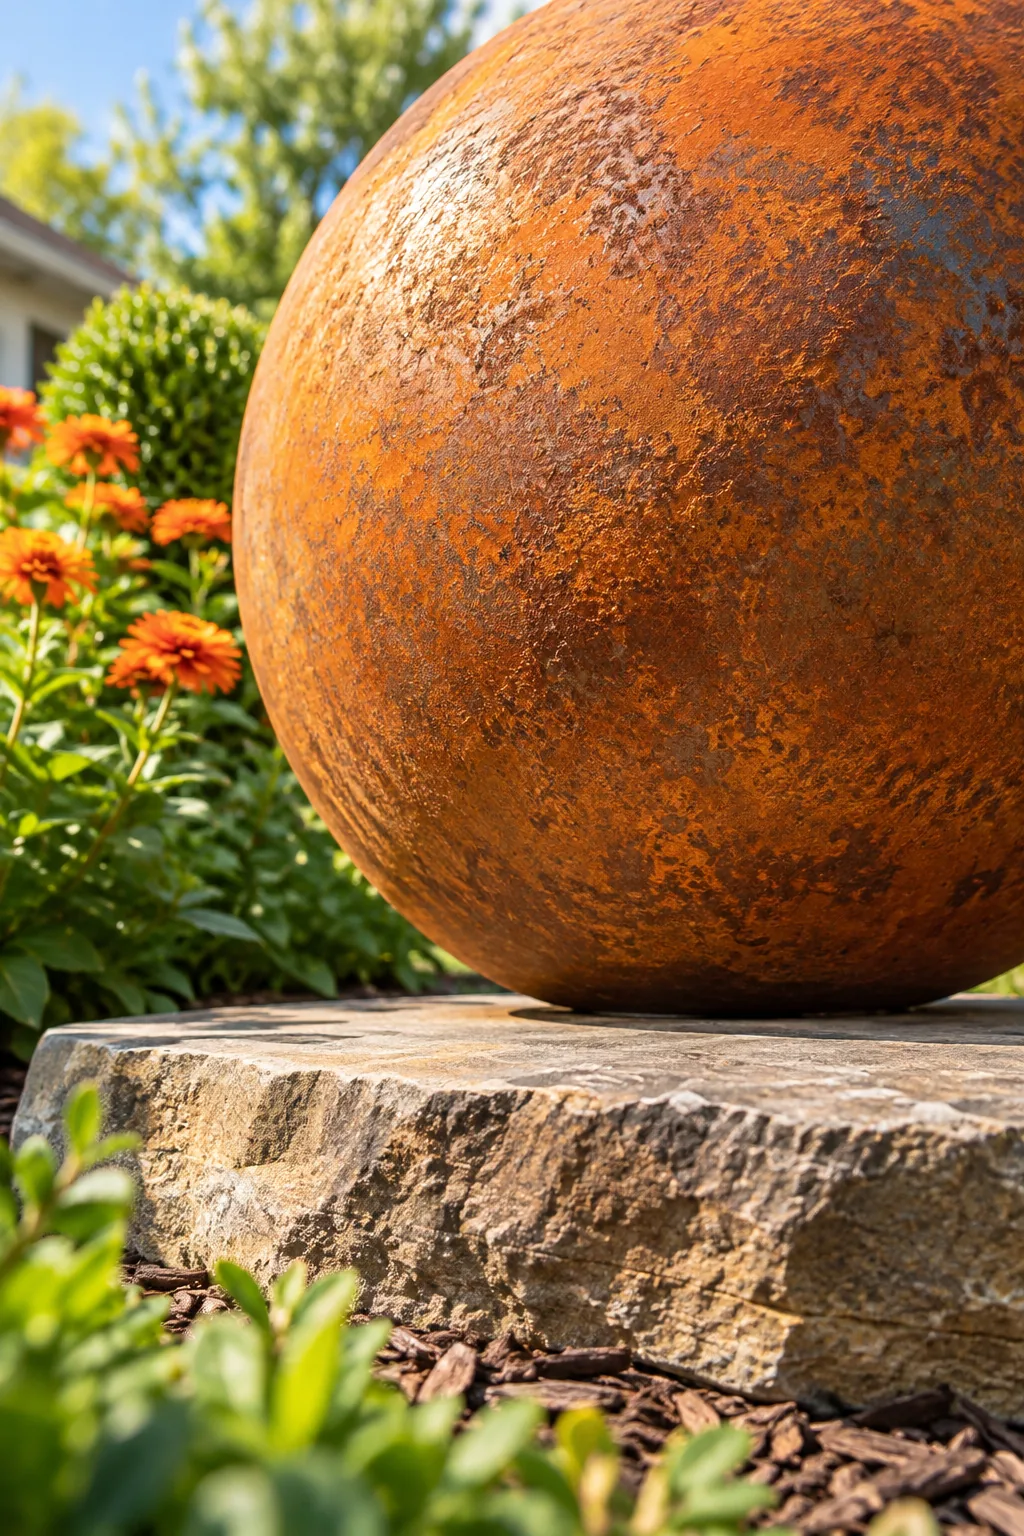
When I installed my first sphere, a runaway wheelbarrow knocked it totally off-kilter, so now I always drill into the flagstone and secure the metal pin with outdoor epoxy.
Accelerate the Rust Patina
Create an instant aged look by spraying the raw steel daily for three days to achieve a rich, glowing orange rust that protects the underlying metal.
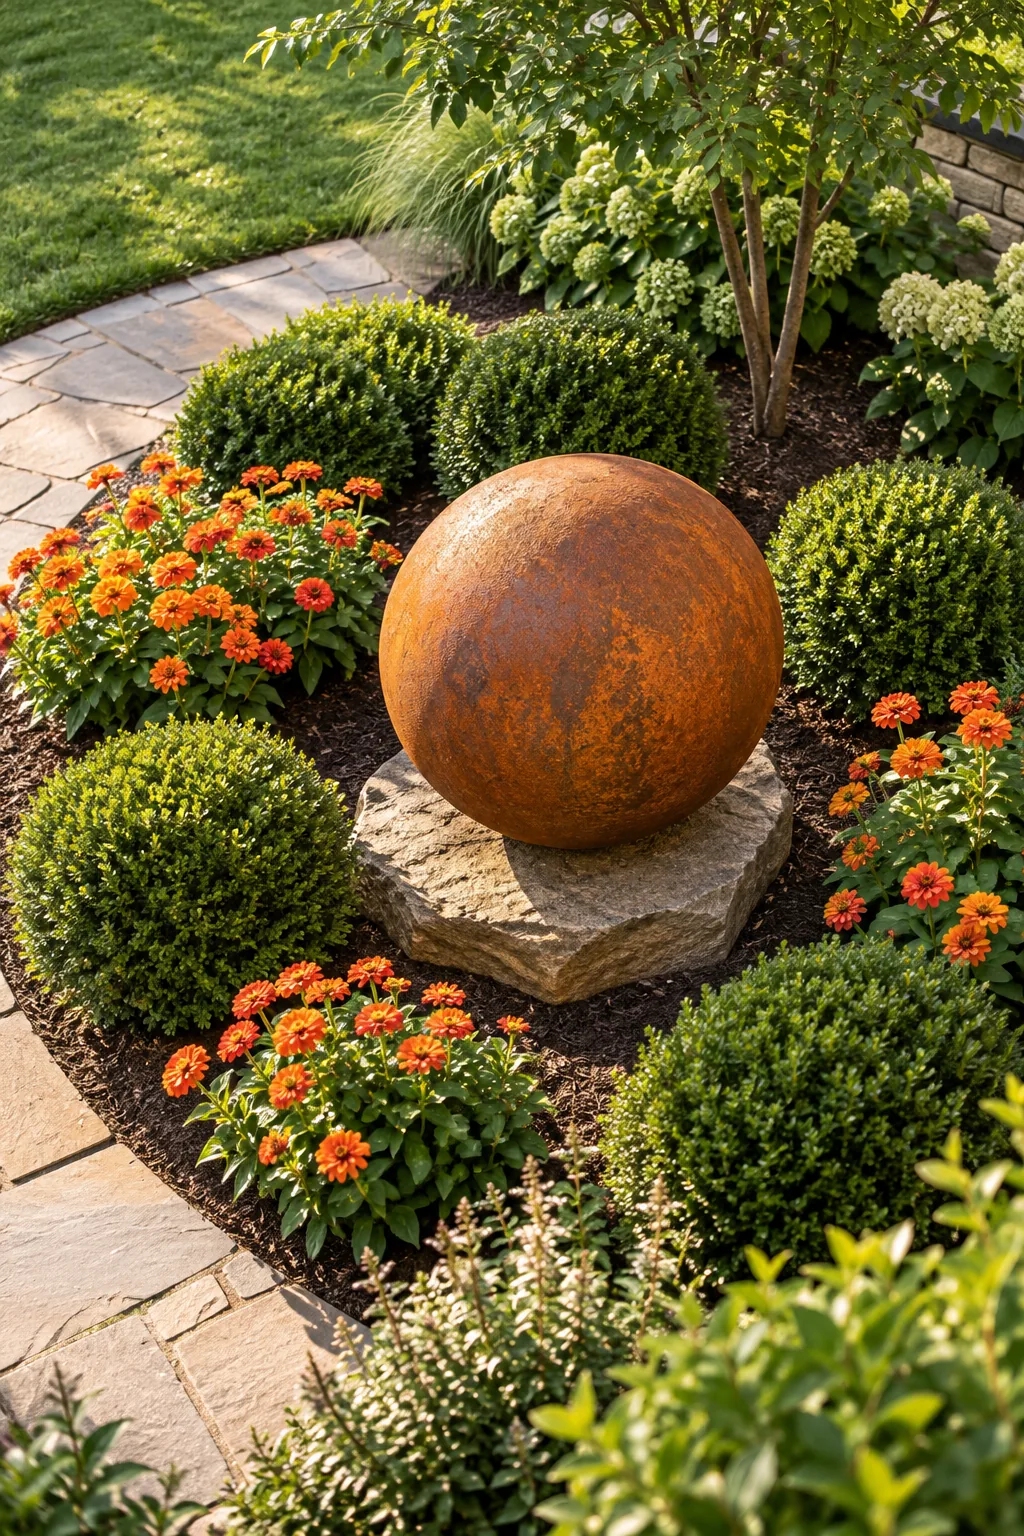
Instead of waiting months for natural oxidation, you can force a beautiful patina using simple items straight from your pantry.
Echo the Color with Plants
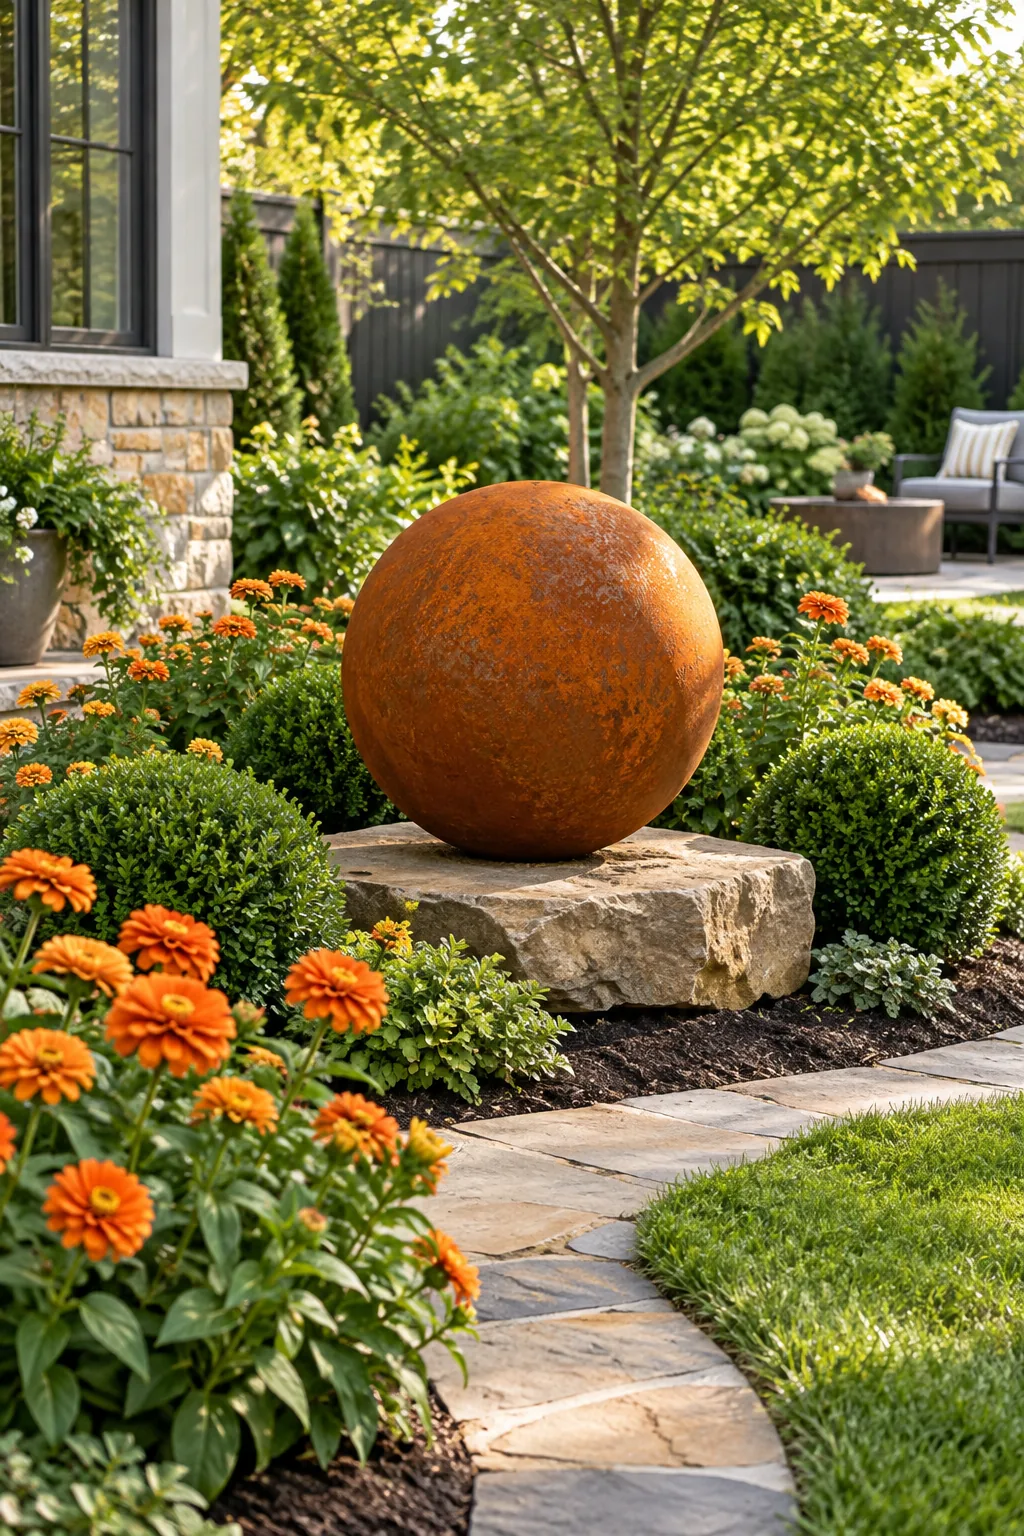
Surround the heavy base with plants that share the sculpture’s color palette to seamlessly integrate the bold metal into your soft landscape.
- Orange zinnias: Plant these bright annuals up front to perfectly highlight the warm rust tones.
- Blue fescue: Tuck this cool-toned grass around the sides for incredible contrast against the metal.
- Clipped boxwoods: Place these dense evergreen shrubs behind the art to provide a solid green backdrop.
I used to just drop art into empty mulch beds, but adding a thick collar of matching zinnias completely transformed my yard from a basic lawn into a curated gallery space.
The Sculpture Garden Install Checklist
Download the complete one-page sequence for siting, sizing, anchoring, and planting your yard art, including the exact patina recipe and a color-echo plant list.
Run through these final checks before you mix the epoxy and permanently set your sculpture in the garden.
More Ways to Style Garden Sculptures
Find the perfect material and planting combination for your specific landscape style.
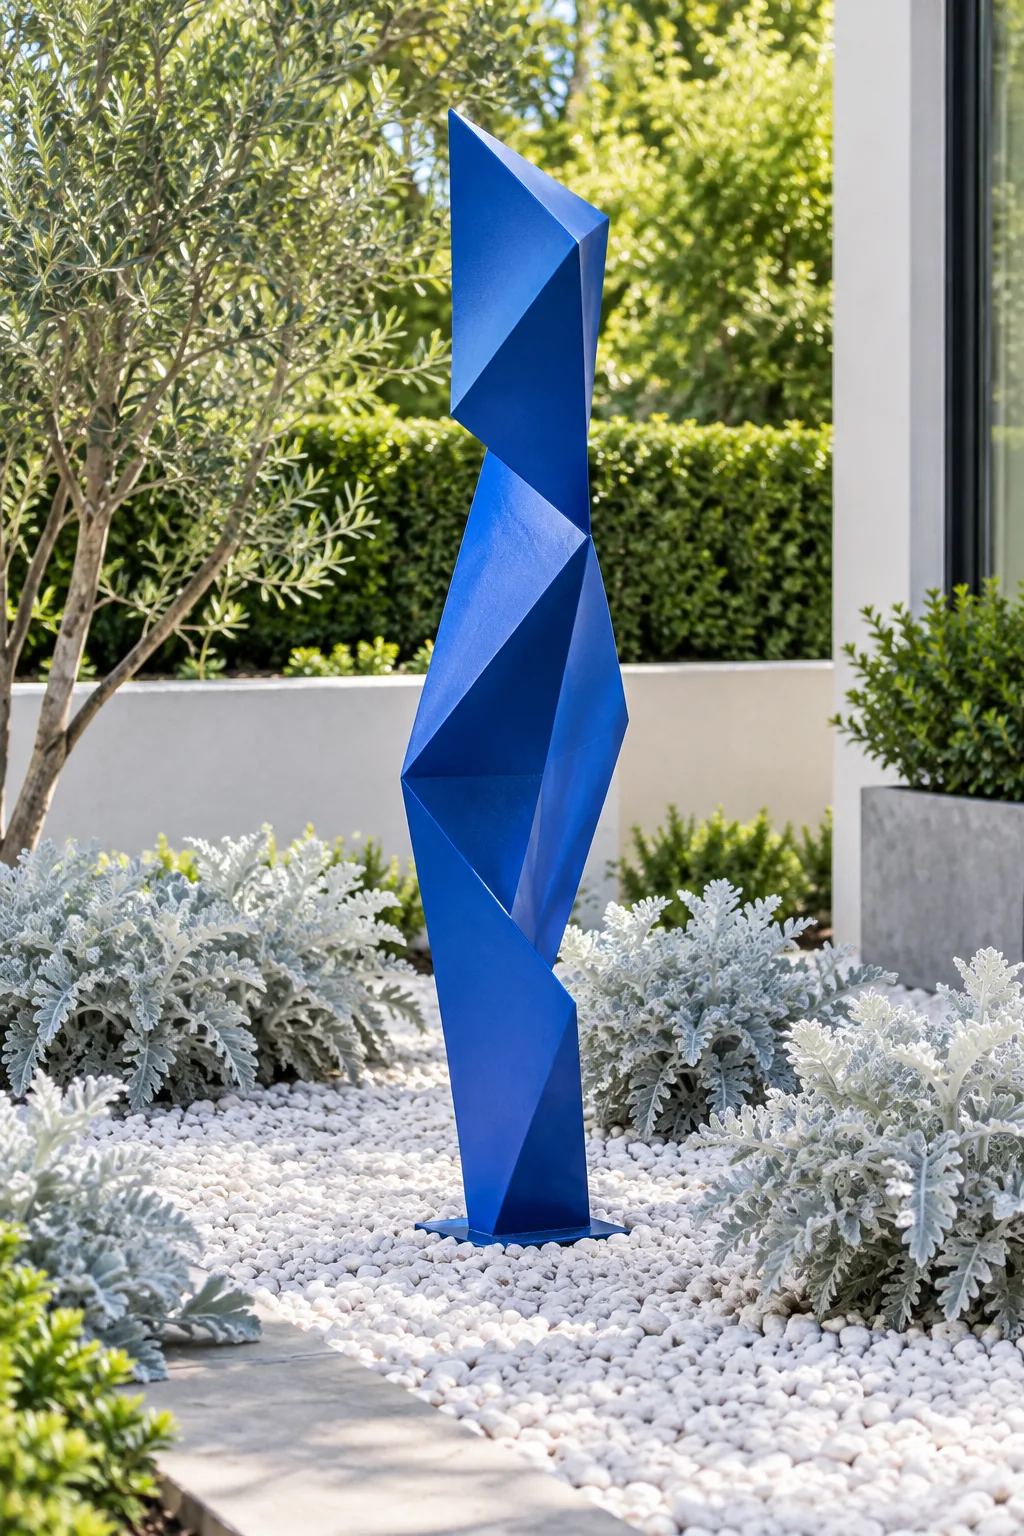
Cobalt Blue Geometric: Pair a striking cobalt blue piece with silvery foliage like dusty miller and white gravel for a crisp, modern aesthetic.
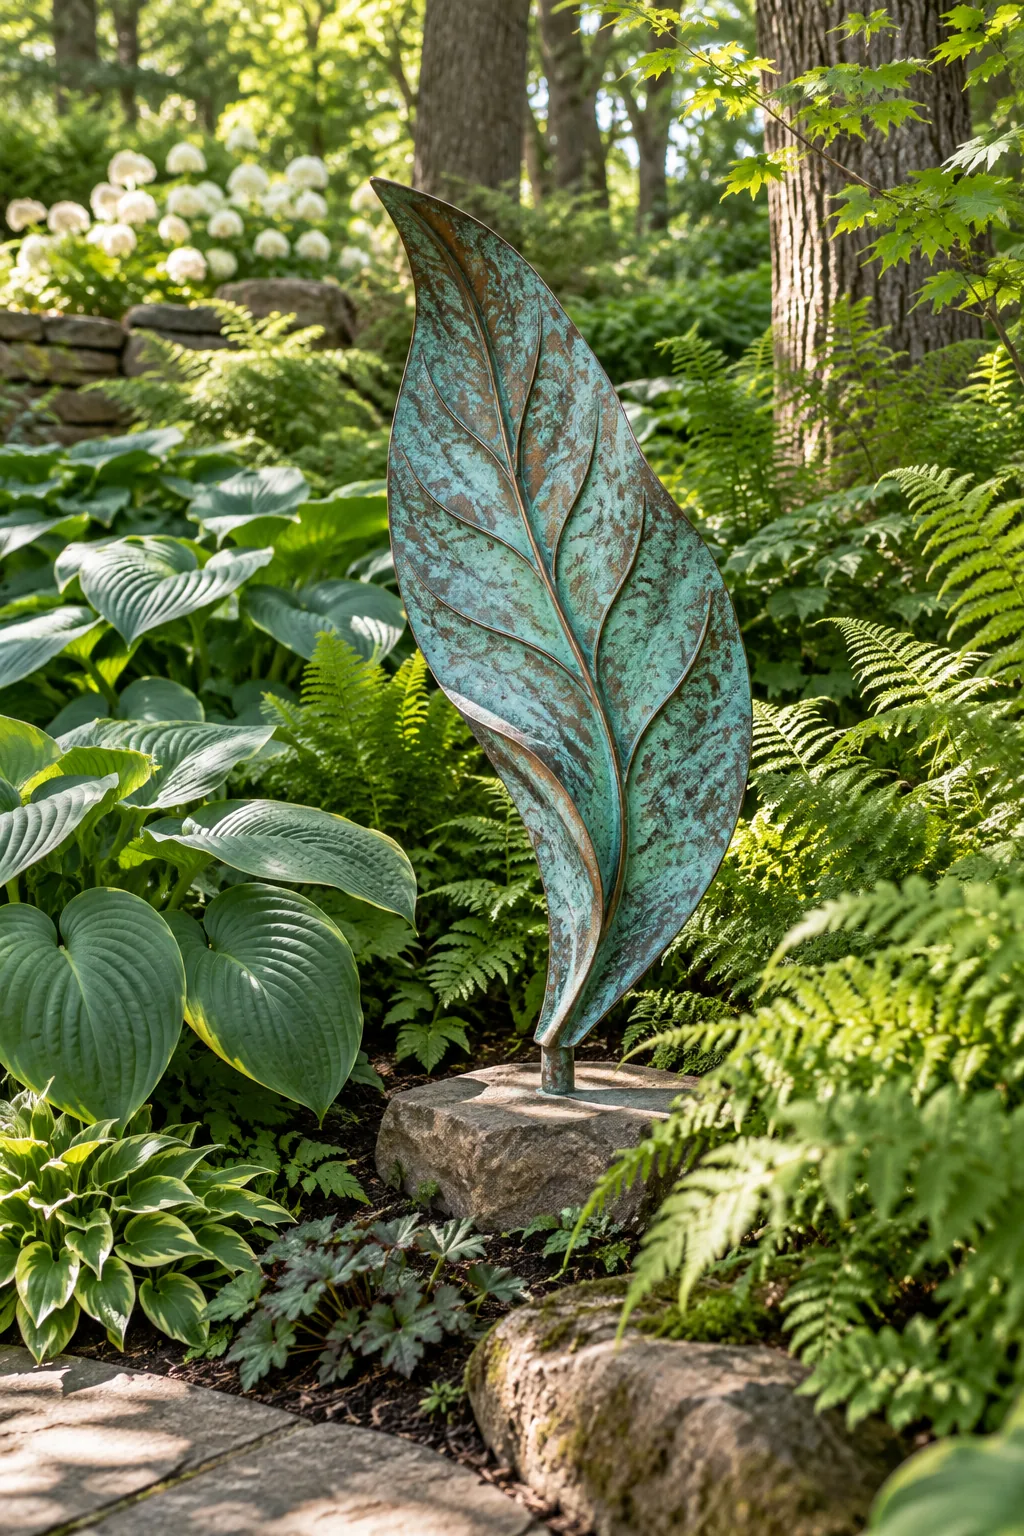
Weathered Copper Organic: Tuck a weathered copper sculpture into a shaded woodland bed, echoing its verdigris patina with lush green ferns and hostas.
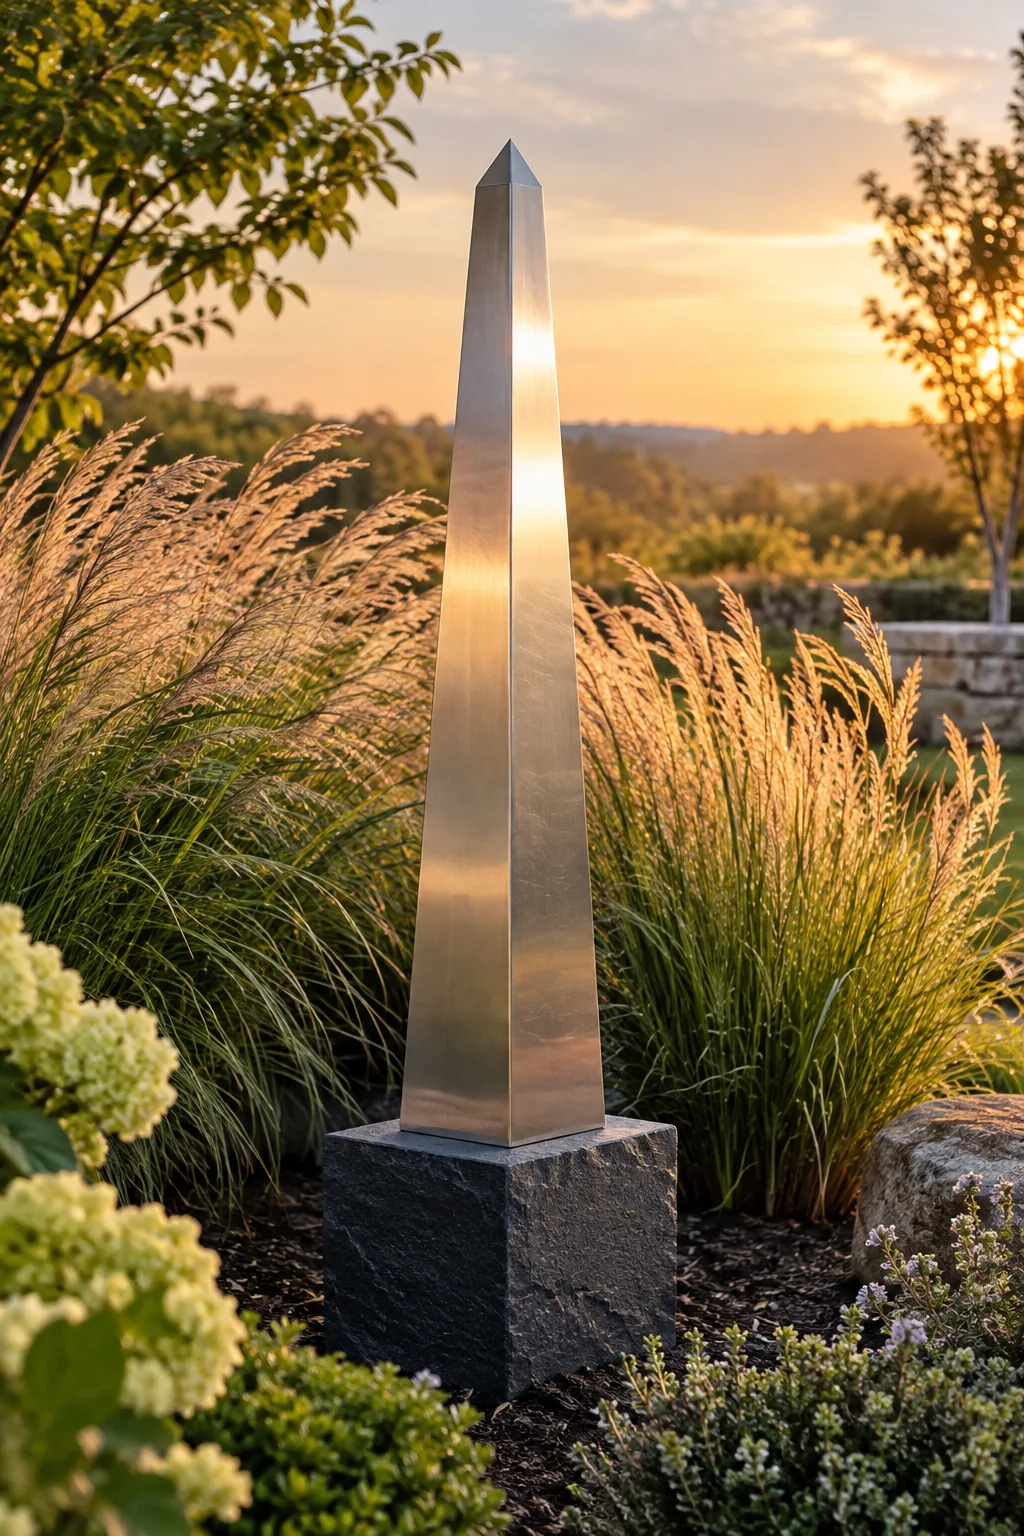
Brushed Steel Minimalist: Set a sleek brushed steel obelisk against tall ornamental grasses that soften the hard metallic edges in the breeze.