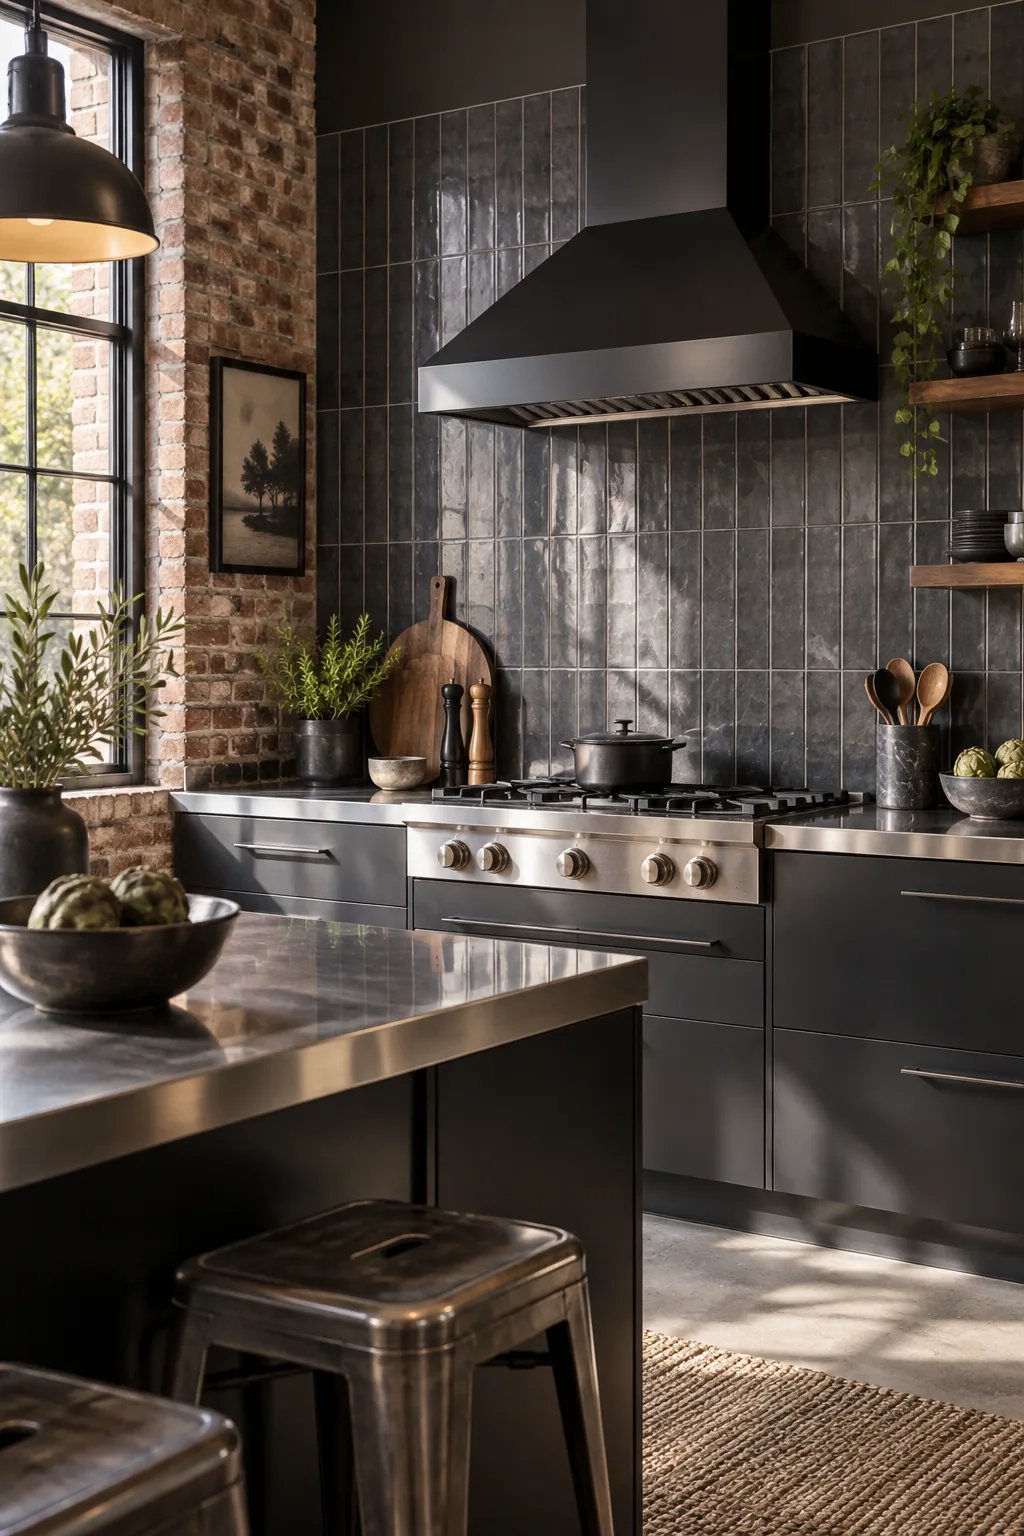
Vertical Stack Bond Backsplash: A Smarter Tile Layout Guide
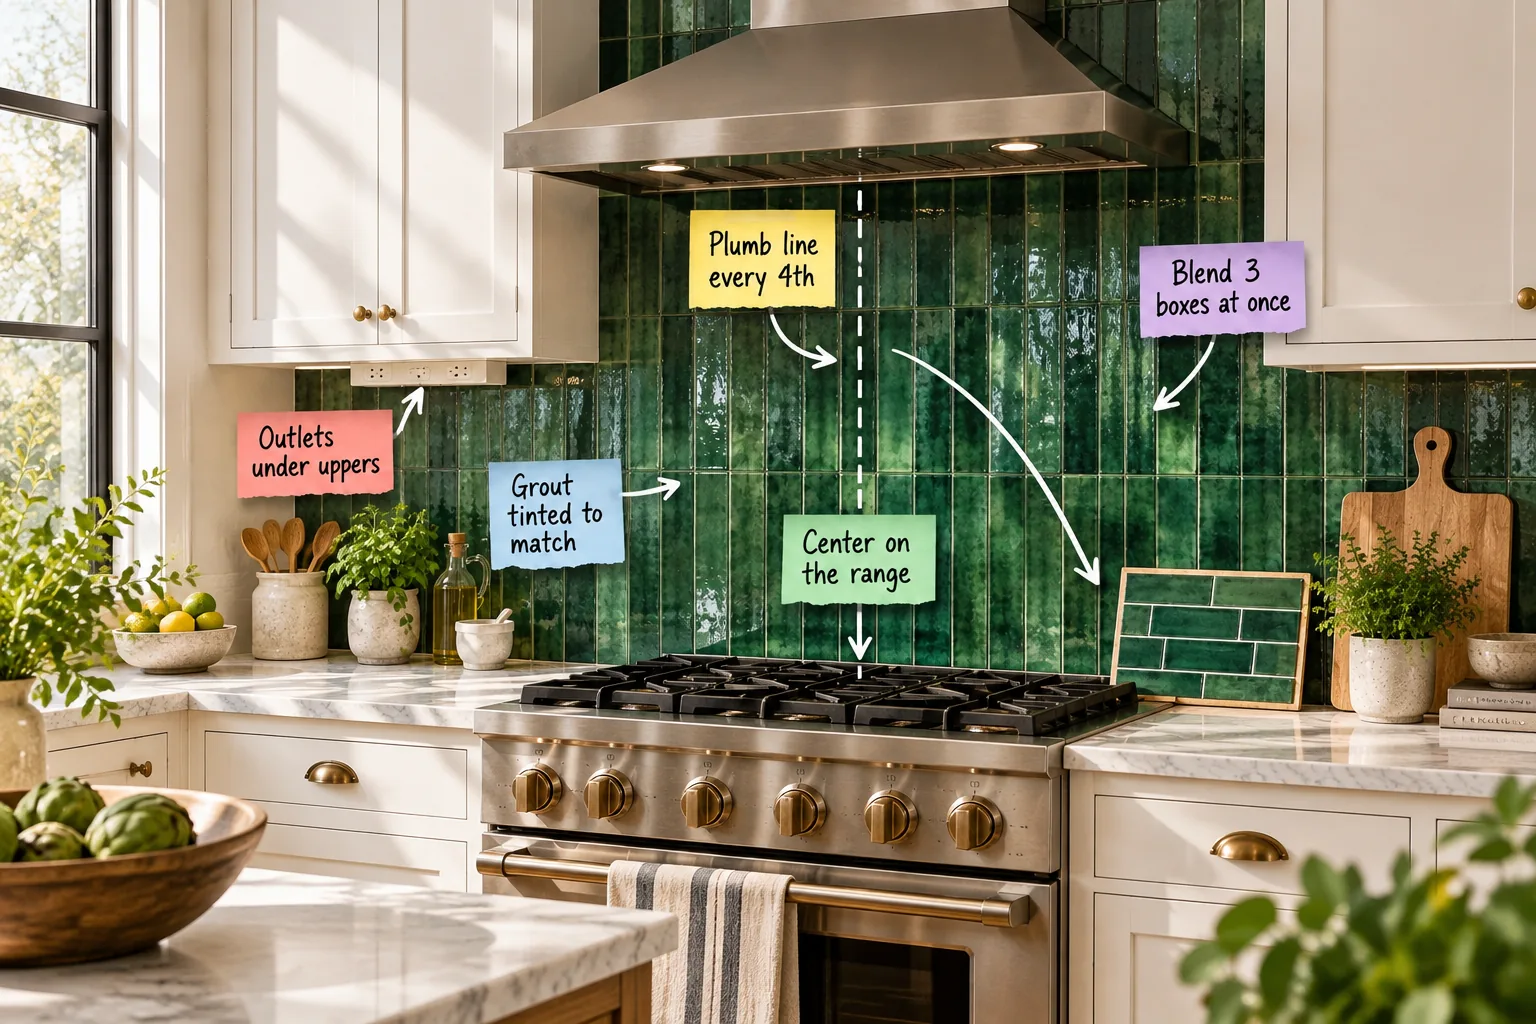
You will be able to confidently plan, measure, and direct the installation of a perfectly symmetrical vertical stack-bond backsplash using our free printable setting-out sheet. This comprehensive guide covers everything from the initial centerline layout and material blending to the final grout and hidden electrical details.
Why Vertical Stack Bond Changes Everything
Turning a standard 2×8 tile ninety degrees instantly modernizes a kitchen by drawing the eye up and exaggerating the ceiling height, a spatial trick I use constantly in older Denver bungalows with low clearances.
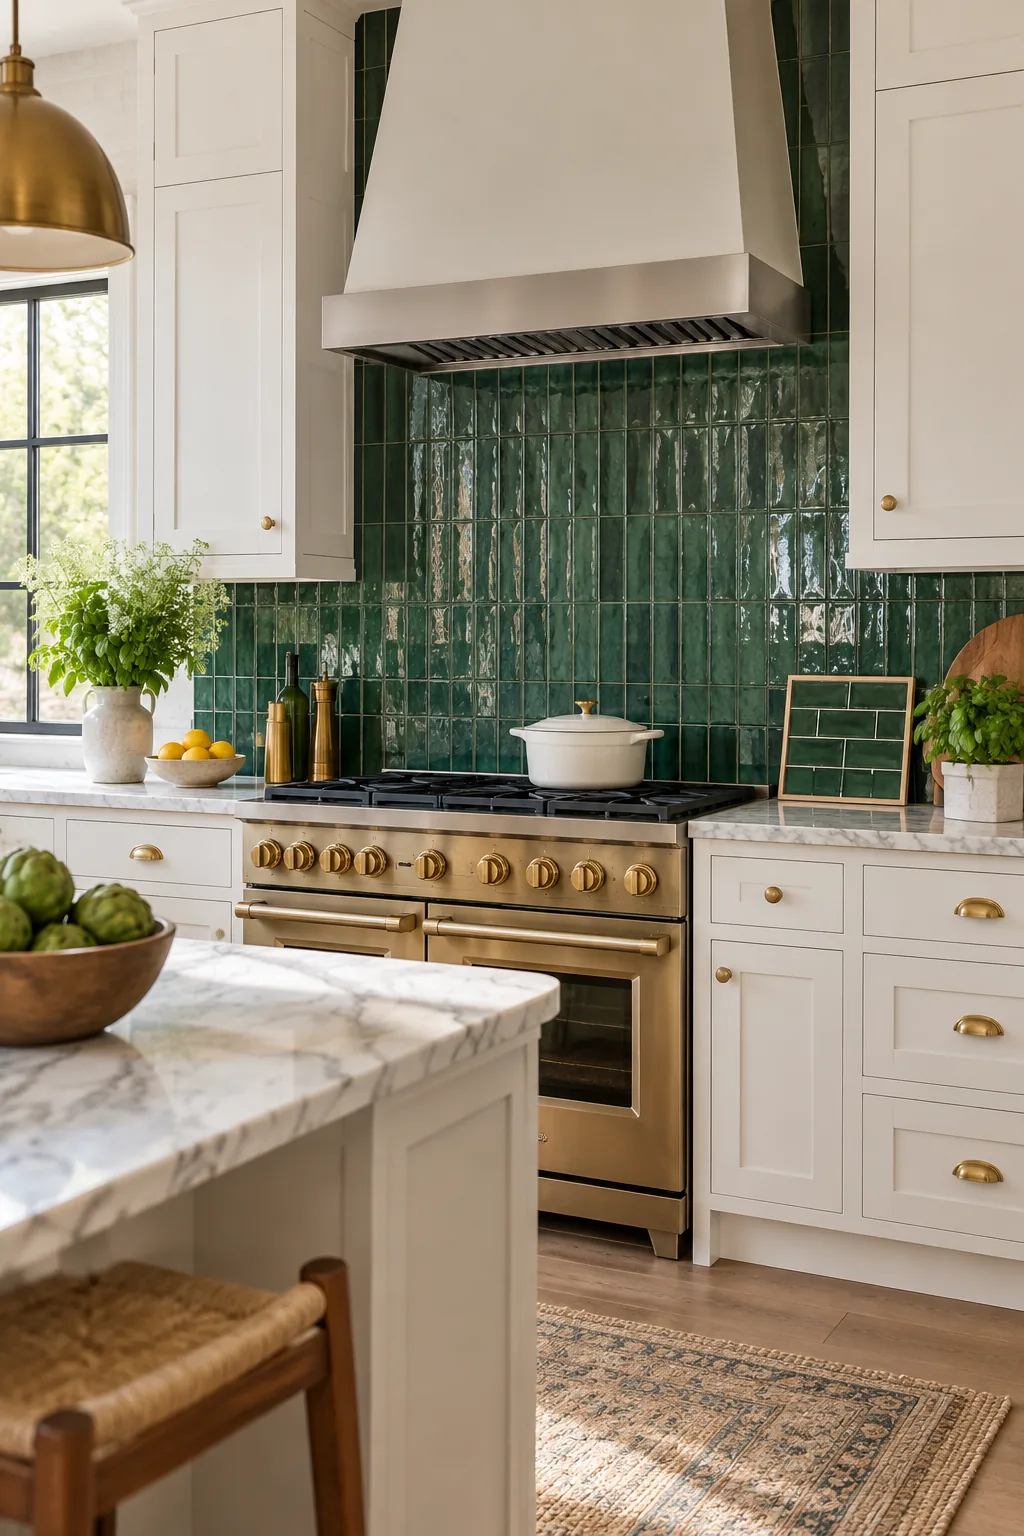
The clean, contemporary lines of the vertical stack create a striking, deliberate contrast against the traditional, staggered look of a horizontal brick-bond sample board resting on the counter.
Calculate the Vertical Tile Overage
Ordering materials for a strict geometric grid requires adding a full fifteen percent overage to your total square footage, as the unforgiving pattern yields significantly fewer usable offcuts than a traditional staggered horizontal installation.
Anchor the Layout on the Range Centerline
You must find the exact center of the range and hood, and align either the center of the first tile or the first vertical joint directly on this mark to anchor the entire room, a crucial step I learned after a botched layout in my own home.
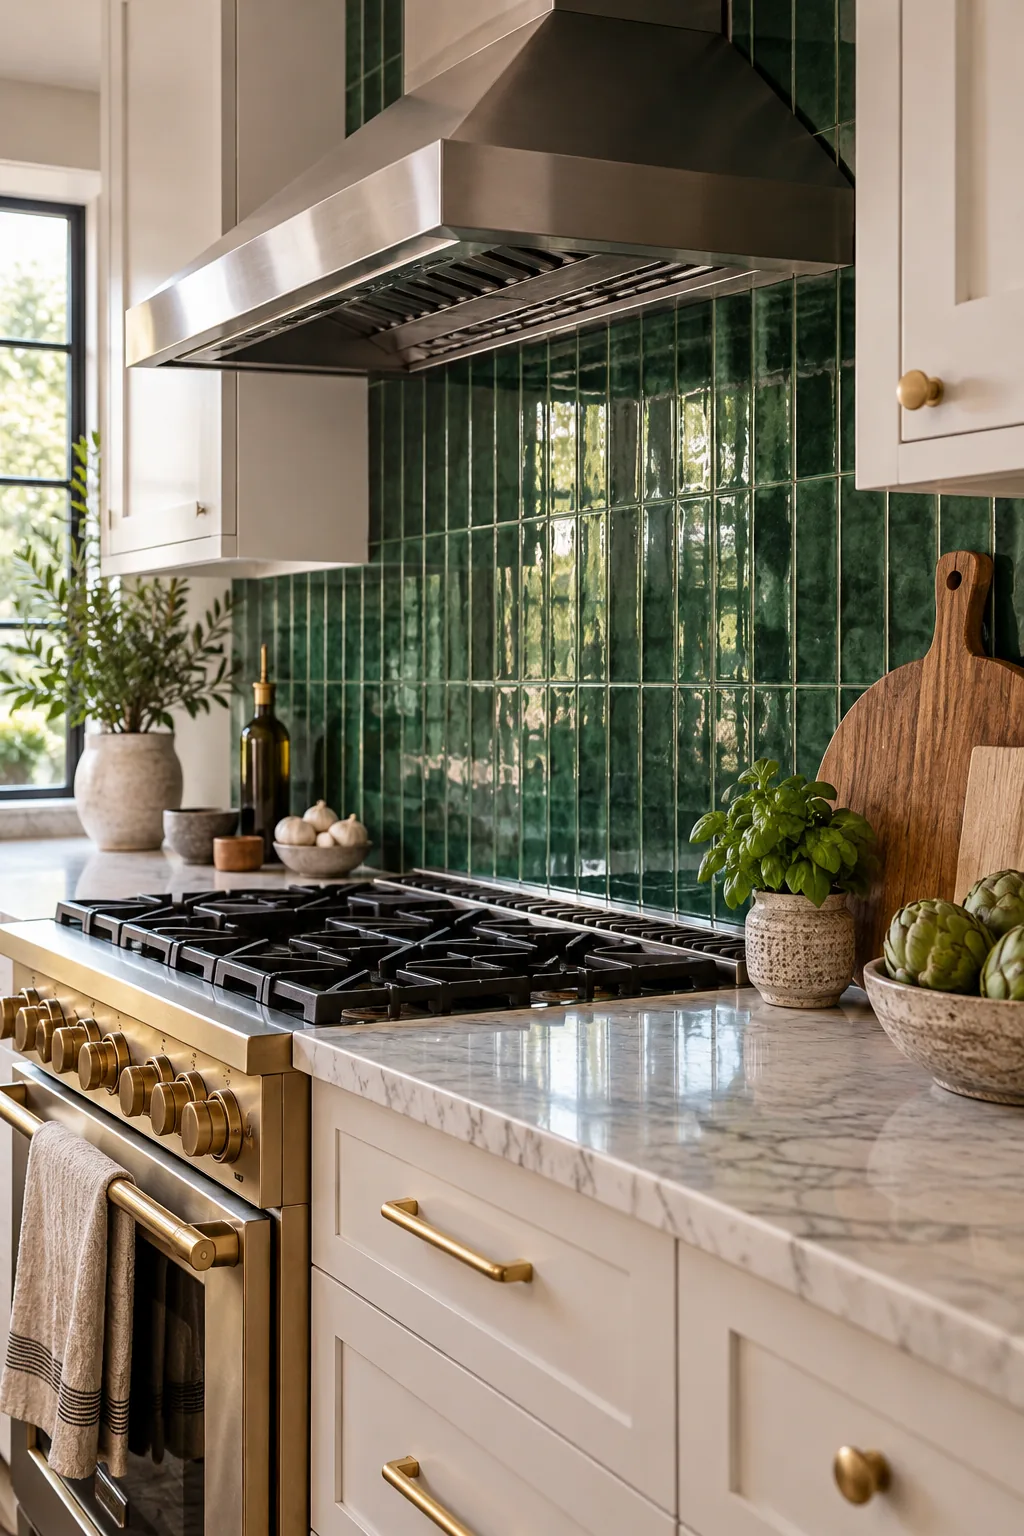
- Measure the total width of the wall space between the flanking cabinets to establish your boundaries.
- Mark the exact centerline of the cooking zone using a highly visible laser level.
- Dry-lay several tiles outward from this mark to verify the resulting end cuts are acceptable.
Because vertical layouts heavily exaggerate leaning tiles over long horizontal runs, you must establish a perfectly straight vertical grout joint running up the wall directly behind the stainless steel hood.
A stacked grid is unforgiving, and starting your tile run in the wrong spot will make the entire wall feel visually off-balance.
Account for Wall Imperfections
Older homes rarely feature perfectly flat drywall, meaning your installer will need to float the wall with additional thinset to prevent the rigid vertical tiles from lipping or casting harsh shadows under the cabinet lighting.
Mark a Plumb Line Every Fourth Tile
Even with a perfectly centered starting point, vertical layouts will rapidly exaggerate leaning tiles over long horizontal runs if you rely solely on standard plastic tile spacers.
| Tile Width Dimension | Required Plumb Line Frequency | Total Horizontal Span |
|---|---|---|
| 2 inches | Every 4th tile | 8 inches |
| 3 inches | Every 3rd tile | 9 inches |
| 4 inches | Every 2nd tile | 8 inches |
Advise your setter to draw a laser or marker plumb line every 4th tile—roughly every eight inches—to keep the vertical grout joints perfectly straight all the way to the ceiling.
Select the Right Spacer Size
Choosing a one-sixteenth-inch spacer creates the tightest possible joint for a modern aesthetic, but it requires incredibly precise cuts and perfectly uniform handmade tiles to prevent the grid from wandering off its established plumb lines.
Pull From Three Boxes to Blend Variation
Handmade-look tiles feature beautiful natural color variation that can easily create accidental, heavy color blocking if not managed carefully during the installation process.

Instruct the installer to blend 3 boxes at once to distribute the light and dark emerald shades evenly across the entire surface of the wall.
Taking the time to dry-lay and mix these shades prevents heavy color pooling, giving the finished wall a beautifully organic, cohesive texture that feels intentional.
Seal the Glaze Before Grouting
Applying a high-quality penetrating sealer to the tile surface before mixing your grout prevents the rich green pigments from permanently staining the delicate crackle glaze or settling into the microscopic pores of the ceramic face.
Tint the Grout to Match the Glaze
High-contrast white grout heavily highlights the rigid geometry of the grid, so specify using a custom-tinted emerald green grout to melt seamlessly into the glossy tile edges.
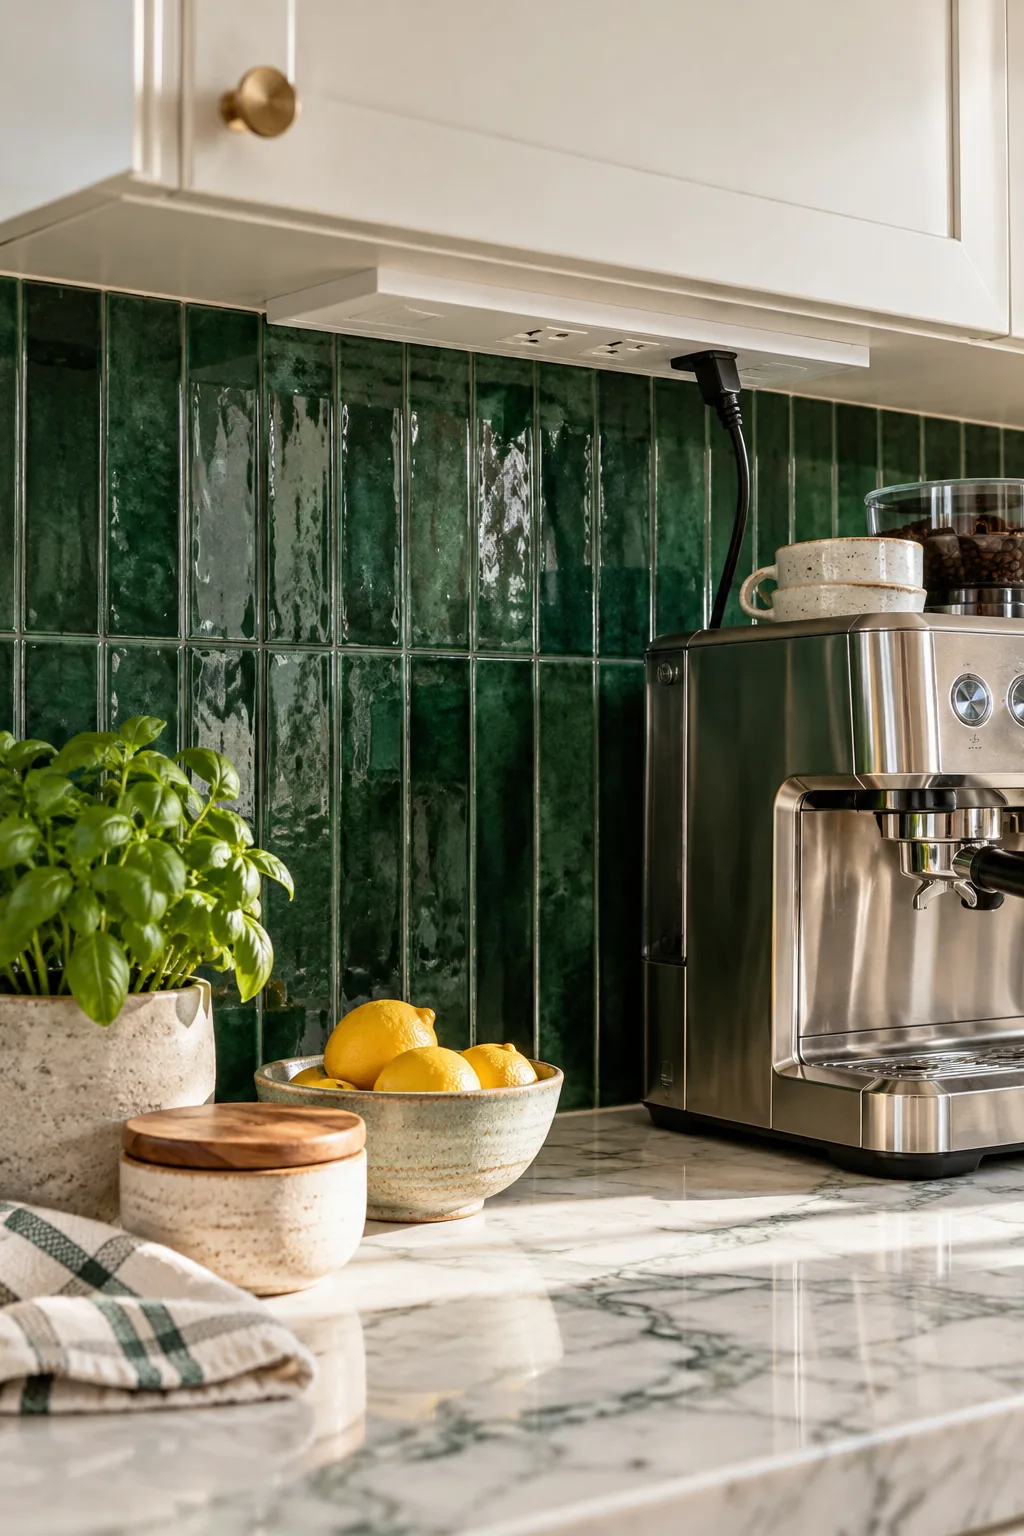
When the grout tinted to match fully cures, the individual tiles recede slightly, allowing the beautiful reflective glaze to take center stage under your under-cabinet lighting.
Manage the Final Grout Haze
Removing the residual cementitious grout haze within the first twenty-four hours is critical, as the dark emerald pigments will quickly harden into a stubborn film that dulls the glossy finish of your new backsplash.
Relocate Outlets Beneath the Upper Cabinets
A continuous vertical grid is easily ruined by standard white plastic wall outlets, so installing slim plug strips tucked tightly under the upper cabinets keeps the backsplash completely uninterrupted and visually clean.
Coordinate the Under-Cabinet Lighting
Positioning your LED tape channels toward the front edge of the upper cabinets casts a smooth, even wash of light down the vertical tile face, highlighting the subtle glaze variations without emphasizing minor installation lippage.
Download the Stack-Bond Layout Sheet
The provided layout sheet features a dedicated checklist for your electrician, ensuring you maintain a visually clean grid by hiding outlets under uppers to prevent standard plastic plates from breaking the continuous grout lines.
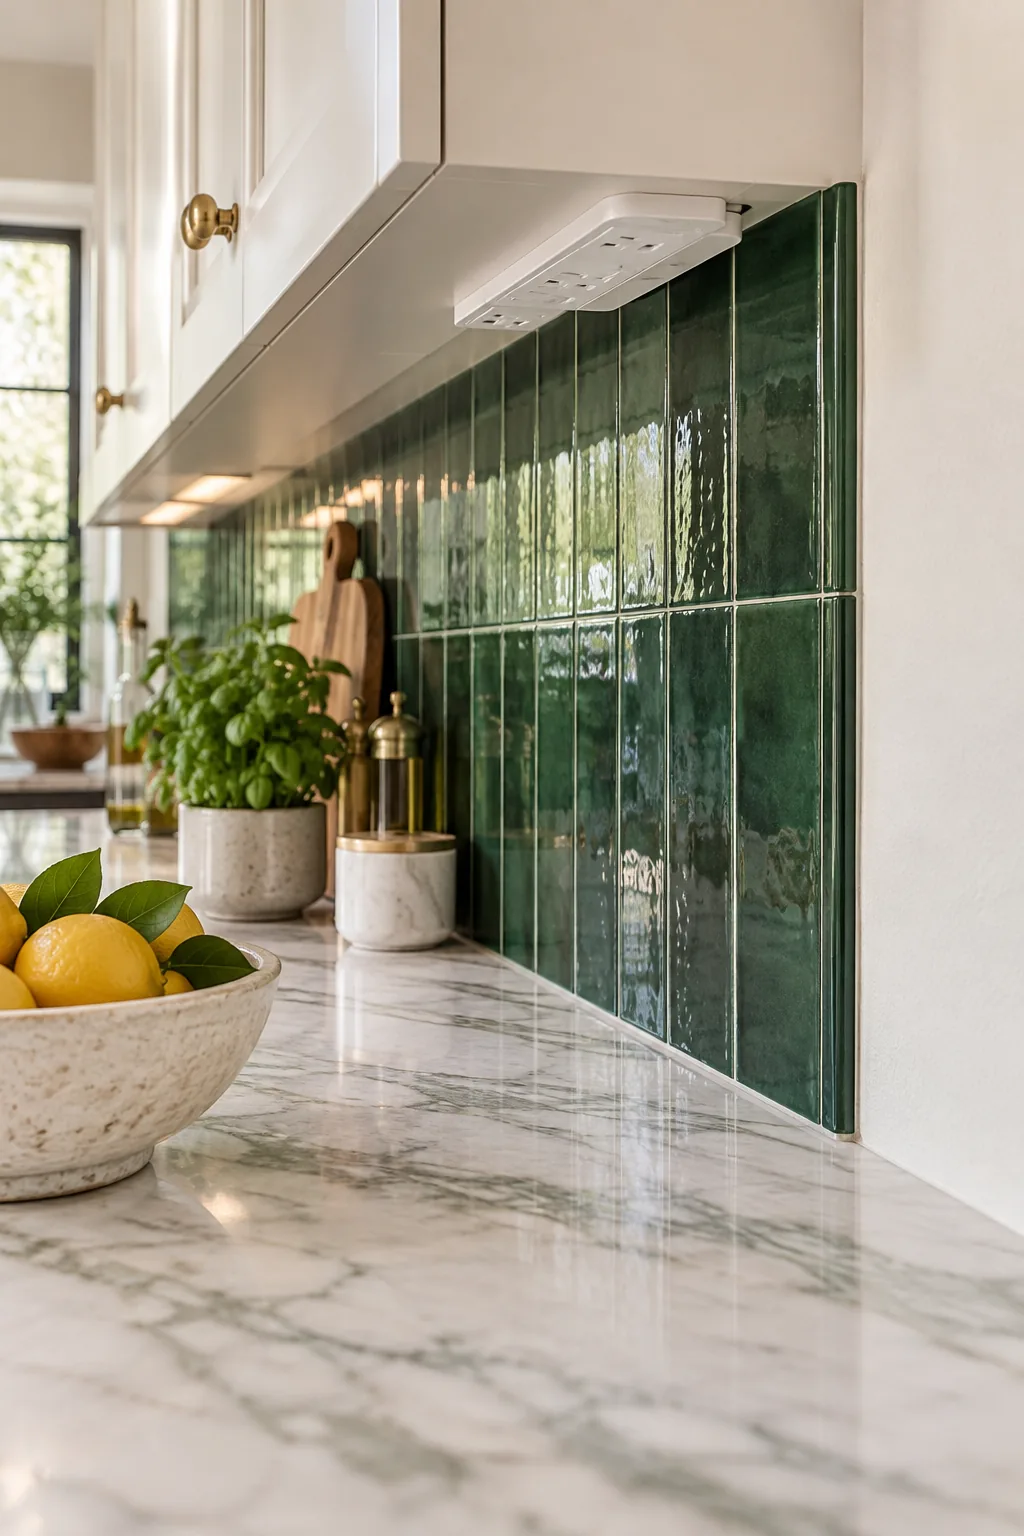
Before your tile setter and electrician arrive on site, gather these three crucial items in a dedicated project folder.
Handing this complete package to your installation team eliminates guesswork and locks in the precise details that make a stack-bond layout successful.
Caulk the Countertop Transition
Filling the bottom joint where the tile meets the marble counter with a color-matched silicone caulk instead of rigid grout prevents unsightly cracking as the lower base cabinets naturally settle and shift over the seasons.
Plan Equal Cuts for the Outside Edges
Because the layout starts perfectly centered on the range, you must measure the remaining space to ensure the final tiles at the ends of the run are equal, half-width cuts.
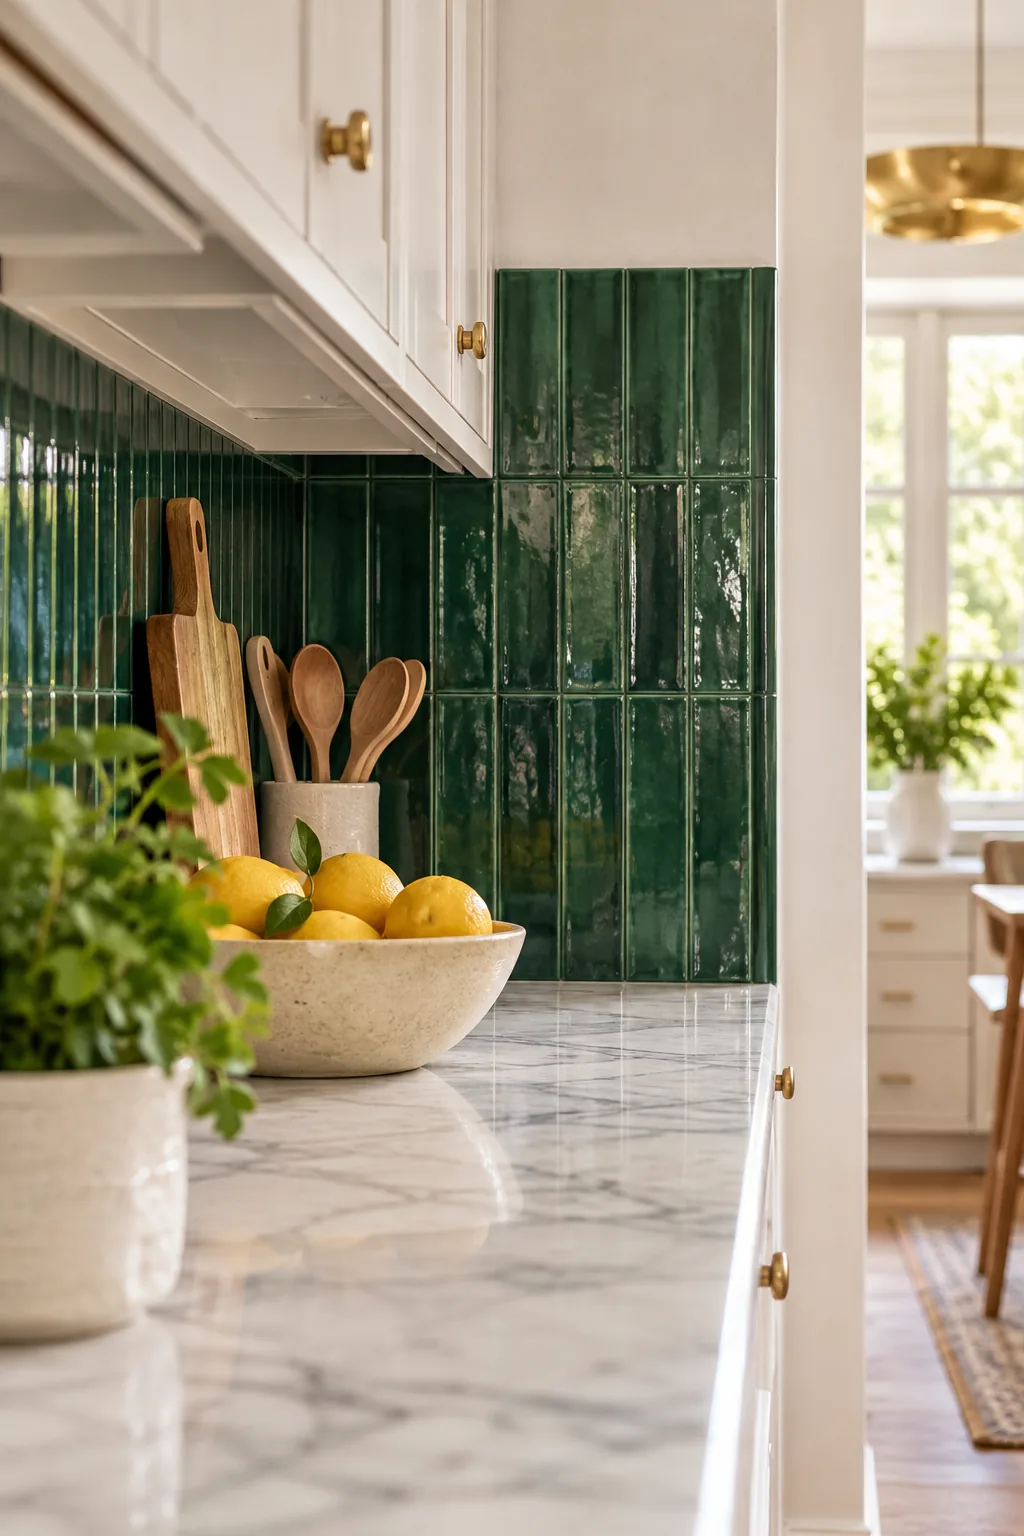
Planning these symmetrical end cuts guarantees a highly professional finish, making the entire installation feel perfectly balanced and intentional from corner to corner.
More Vertical Stack Bond Looks to Try
Explore how changing the tile material and color completely shifts the mood of a vertical layout.
Matte Terracotta Warm Minimalism: Earthy terracotta tiles laid vertically add subtle architectural height while keeping the kitchen feeling grounded and warm.
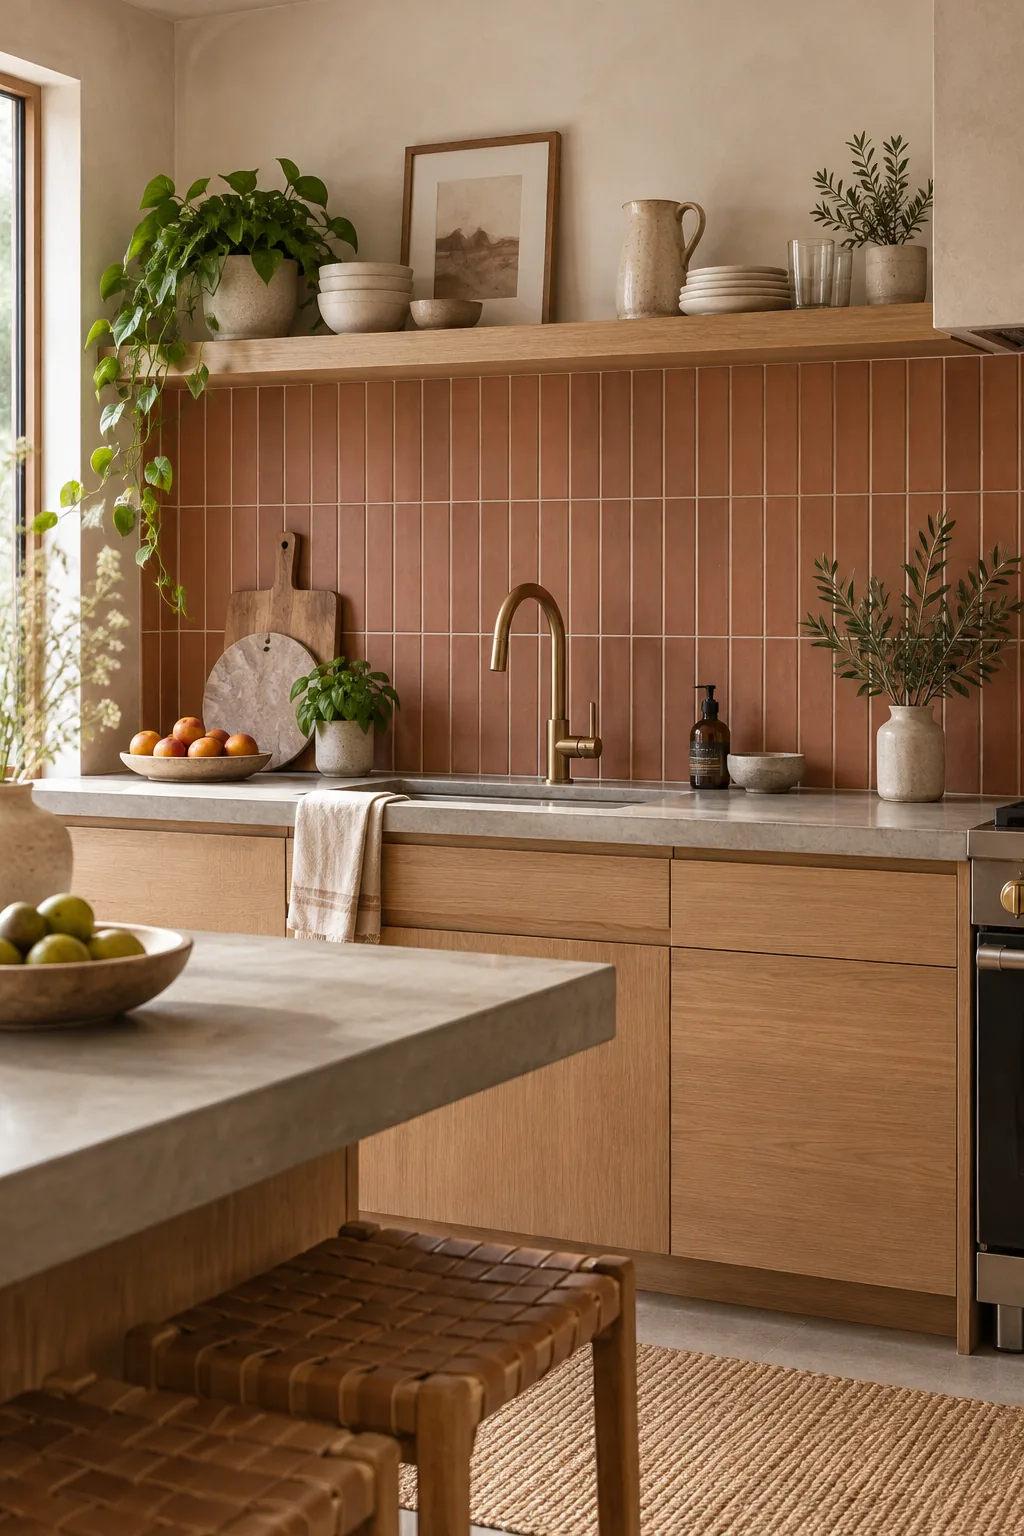
Glossy Navy Moody Bar: Deep navy glazes reflect ambient light beautifully, making a tight vertical grid feel luxurious rather than strictly utilitarian.

Blush Pink Airy Scandinavian: A pastel vertical stack feels distinctly modern and playful, especially when paired with light ash wood and white countertops.
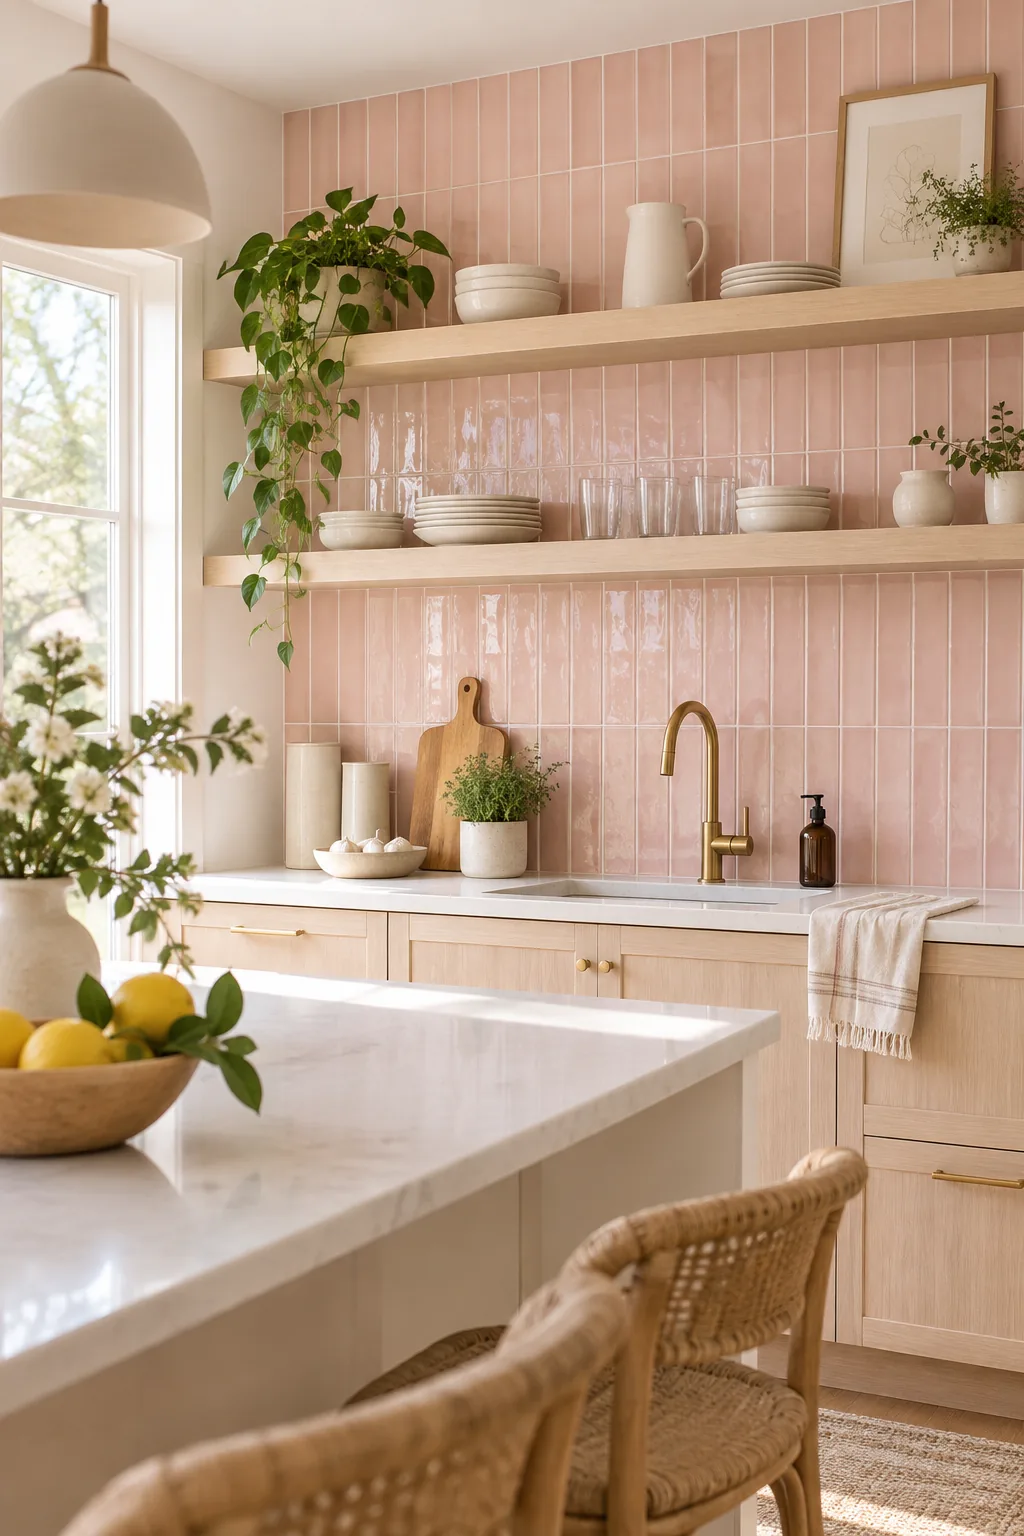
Charcoal Slate Industrial Modern: Wider slate tiles turned vertically emphasize the rugged, structural feel of an industrial space without looking heavy.