
Pantry Door Storage: The Clearance & Weight Guide
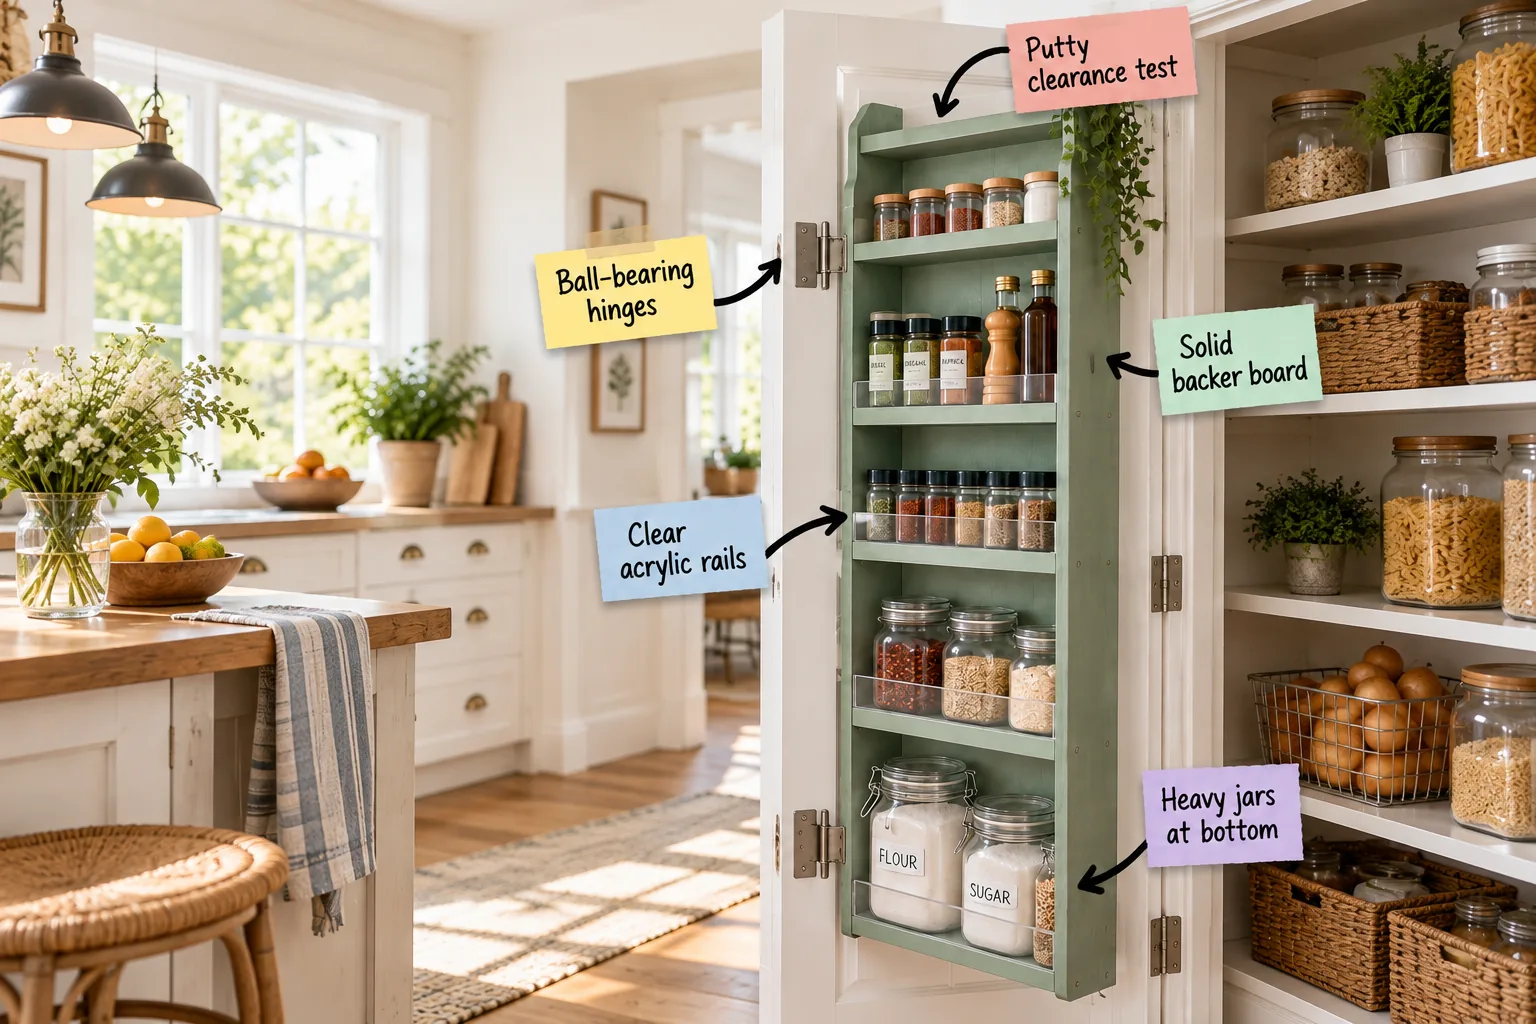
You will be able to measure your exact shelf clearance and confidently build a door rack that won’t sag. Grab my complete Door Clearance & Weight Guide to maximize your tight kitchen with custom, heavy-duty pantry storage.
Assessing Your Pantry Door
Begin by confirming your pantry door is a solid core rather than a hollow build. A solid wood door can safely support up to 60 pounds of added storage, while a hollow-core frame will quickly strip its mounting screws.
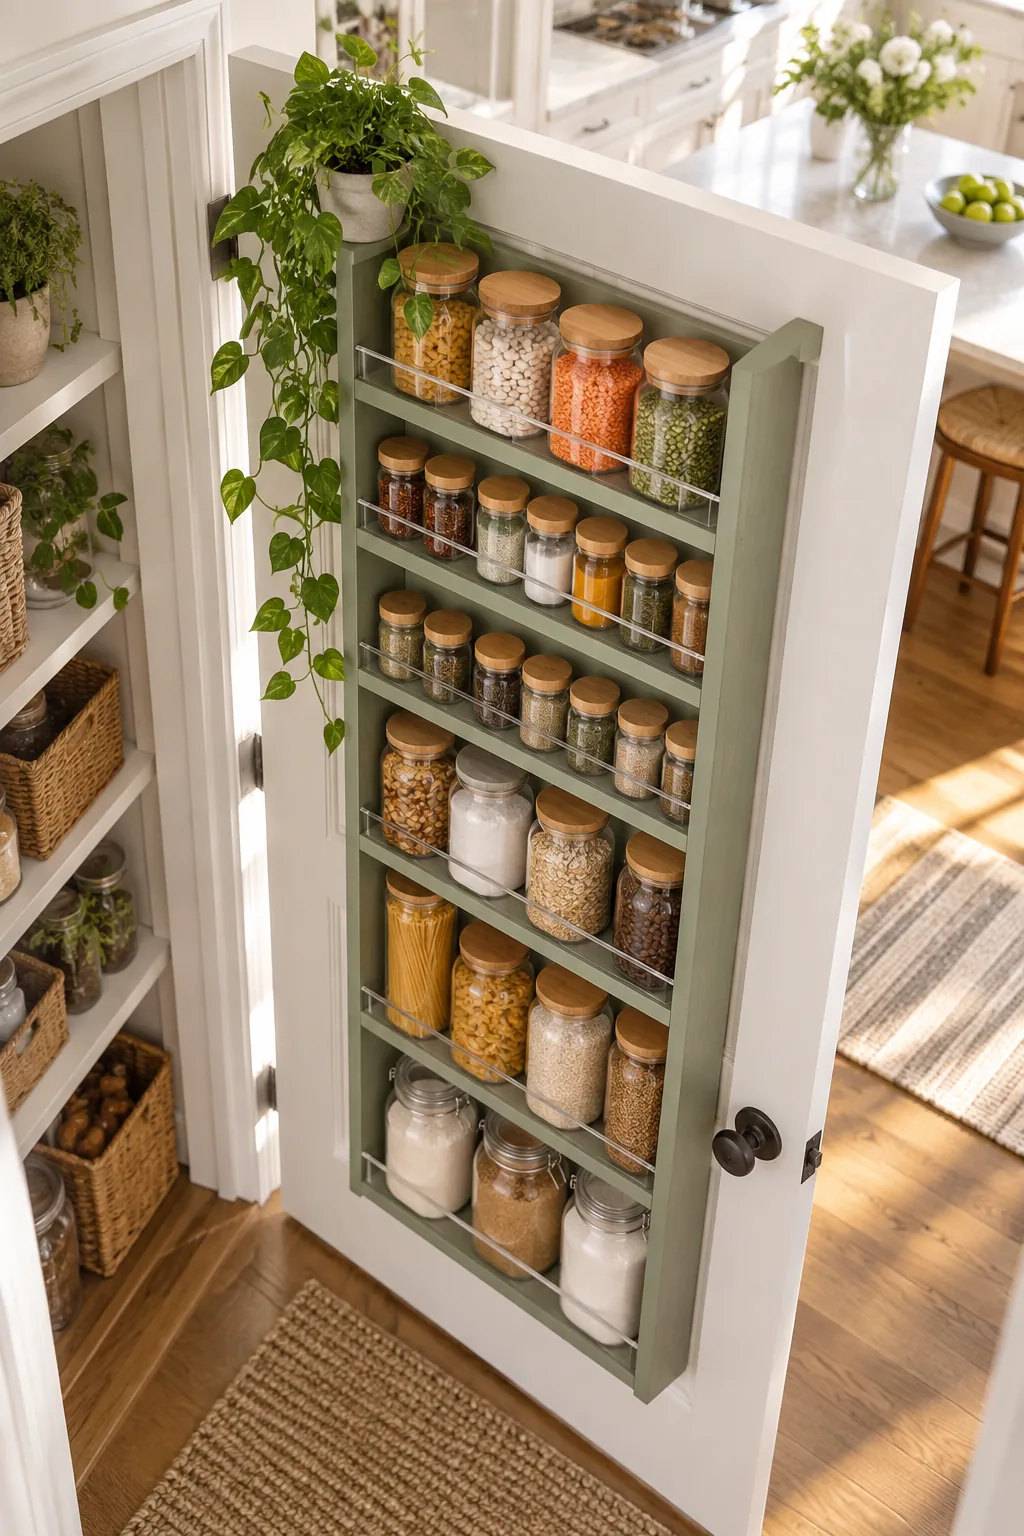
Giving your hardware a thick, reliable anchor point is absolutely essential for heavy loads. Knock firmly on the center panel; a sharp, echoing sound indicates a hollow interior that will crack under the weight of a loaded rack.
Identifying Hollow Versus Solid Cores
If you are still unsure about your door’s construction, remove one hinge screw and inspect the exposed material. Finding dense, continuous wood fibers means you are cleared to build, while pulling out cardboard honeycomb means you need a new door first.
Upgrading to Ball-Bearing Hinges
I learned the hard way in my own Austin kitchen that standard builder-grade hinges will bend and squeak under the added mass. Swap your existing hardware for three heavy-duty ball-bearing hinges to ensure the door swings smoothly and remains perfectly plumb.
Removing the Existing Hardware
Take down the old door by tapping out the hinge pins with a hammer and a small nail punch. Work from the bottom hinge to the top so the door remains stable and does not twist out of the frame unexpectedly.
Reinforcing the Hinge Mortises
Fill any stripped screw holes in the door jamb with wooden toothpicks coated in strong carpenter’s glue. Once the glue dries flush, you can drive your new 3-inch mounting screws directly into the reinforced wood for a permanent hold.
The Putty Clearance Test
To find your maximum shelf depth, stick a 4-inch ball of play putty to the inside of the pantry door and close it completely. This simple trick reveals exactly how much empty space exists between the door and your interior shelves.
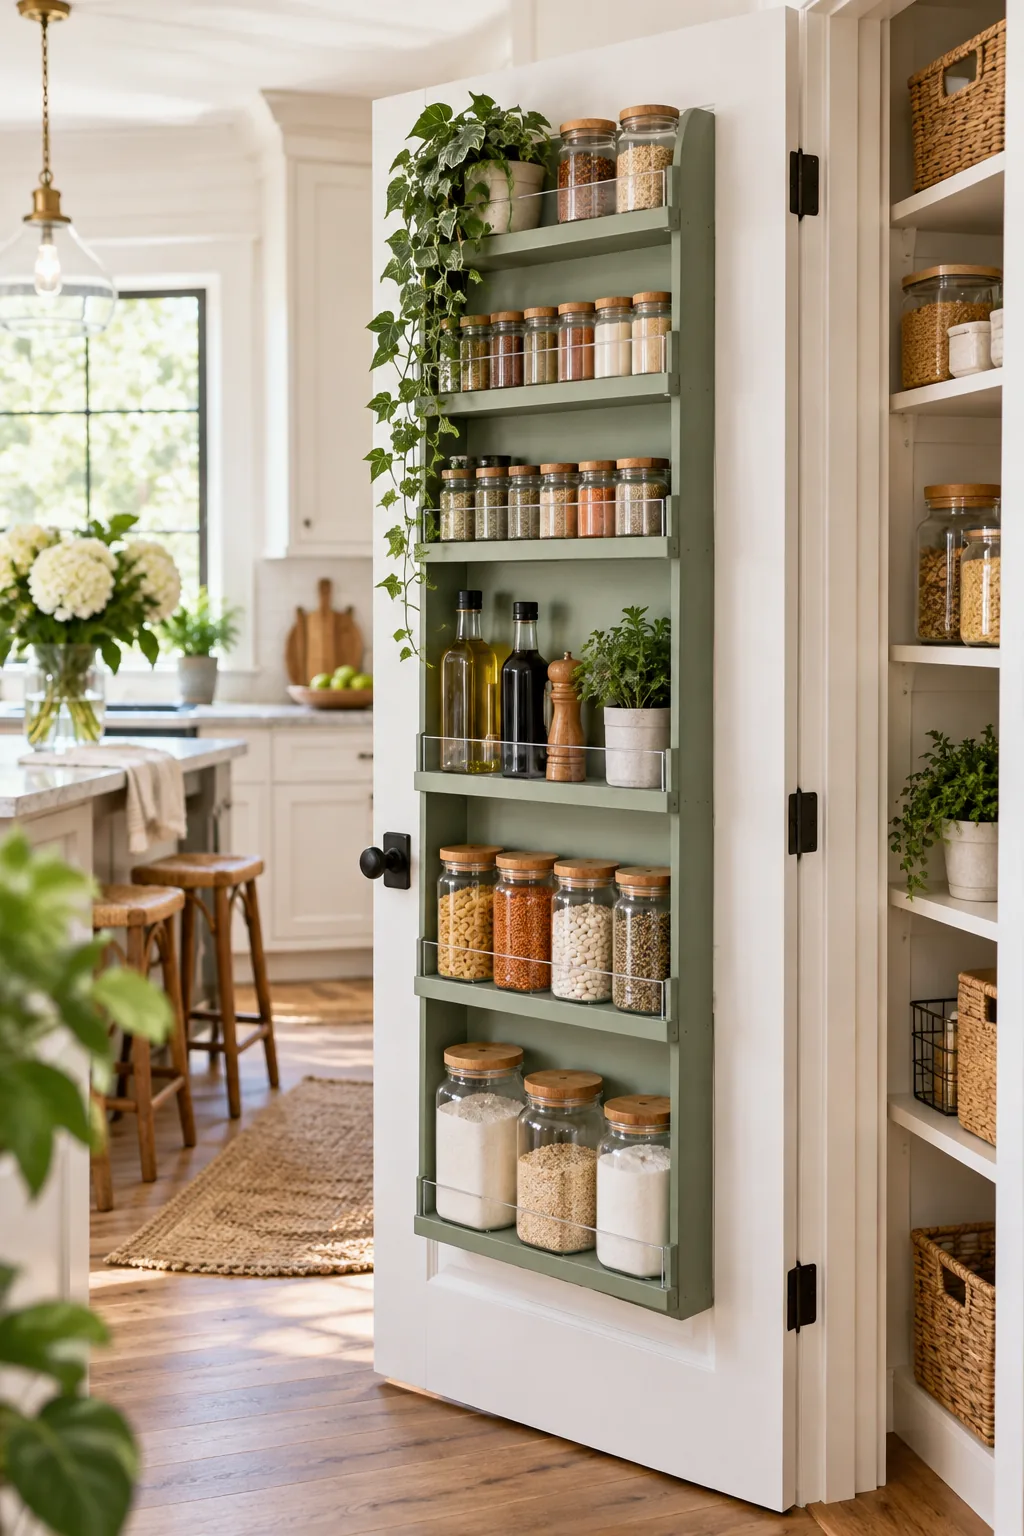
Open the door, measure the thickest part of the squished putty, and subtract half an inch from that number to get your safe rack depth. This small reduction guarantees your new shelves will never smash into the cabinet framing.
Mapping the Interior Obstructions
Perform the putty test at three different heights to account for uneven cabinet shelves or bulky internal storage baskets. Use the smallest measurement you find as the universal depth limit for your entire custom door rack.
Accounting for Doorknob Hardware
Measure the distance from the doorknob spindle to the edge of the door panel before designing your wooden frame. You must leave a clear 4-inch vertical channel around the handle so you can comfortably open the pantry without scraping your knuckles.
Door Clearance & Weight Guide
Keep the total loaded weight under 60 pounds for a solid door equipped with three ball-bearing hinges. Reference these standard clearances to ensure your custom build operates safely within residential limits.
| Storage Item | Required Depth | Max Weight Limit | Clearance Gap |
|---|---|---|---|
| Standard Spices | 2.5 inches | 15 lbs per tier | 0.5 inches |
| Canned Goods | 3.5 inches | 20 lbs per tier | 0.5 inches |
| Glass Mason Jars | 4.0 inches | 25 lbs per tier | 0.5 inches |
| Bulk Baking Staples | 5.0 inches | 30 lbs per tier | 0.5 inches |
Run through this final specification check to ensure your planned rack falls safely within those structural limits. Maintaining a strict 0.5-inch clearance gap prevents annoying scraping noises when the door swings shut.
Selecting the Frame Material
Build your rack’s outer frame using 1×4 clear pine boards for a lightweight yet incredibly rigid structure. Pine is easy to cut, takes paint beautifully, and will not add unnecessary dead weight to your pantry hinges.
Choosing the Right Fasteners
Assemble the wooden frame using 1.5-inch pocket hole screws and a generous bead of premium wood glue. This hidden joinery technique creates rock-solid corners that will easily withstand the daily vibration of heavy usage.
Building with a Solid Backer Board
Construct the rack with a 1/4-inch plywood backer board rather than leaving the back completely open. In my last workshop project, adding this simple panel stopped the entire wooden frame from racking out of square over time.
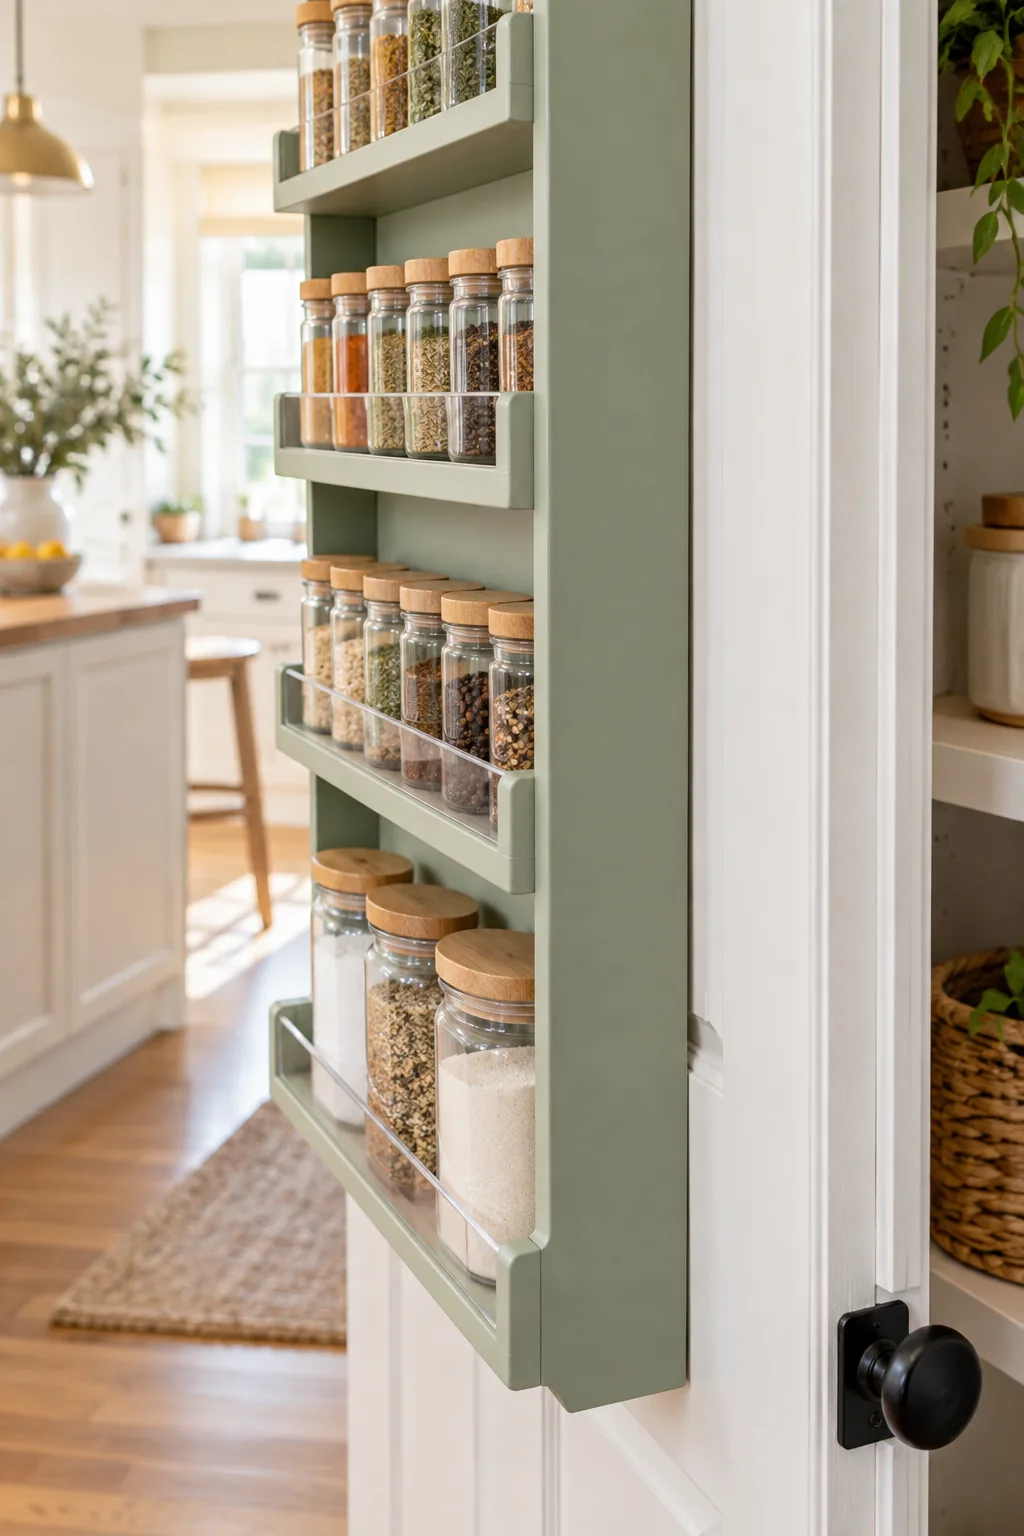
Drive your wood screws directly through this solid painted panel into the thickest parts of the door. The continuous surface creates an incredibly rigid structure that easily withstands the daily vibration of opening and closing.
Gluing and Nailing the Frame
Apply a thin, even layer of wood glue along the entire back edge of your pine frame before attaching the plywood. Secure the backer board with 1-inch brad nails spaced every six inches to lock the structure perfectly square.
Sanding the Rough Edges
Smooth the entire assembled frame with 120-grit sandpaper to remove any sharp corners that might snag your hands. Paying special attention to the front edges ensures your finished storage rack looks completely built-in and professional.
Applying a Durable Finish
Prime the raw wood and apply two coats of high-gloss enamel paint to protect the surface from kitchen moisture and grease. A hard, glossy finish makes it incredibly easy to wipe away spilled spices or sticky syrup rings.
Sizing the Shelf Depths
Design your internal shelf depths based on your putty test results and your intended daily cargo. Standard spice jars require only 2.5 inches of depth to sit securely without wasting valuable clearance space.
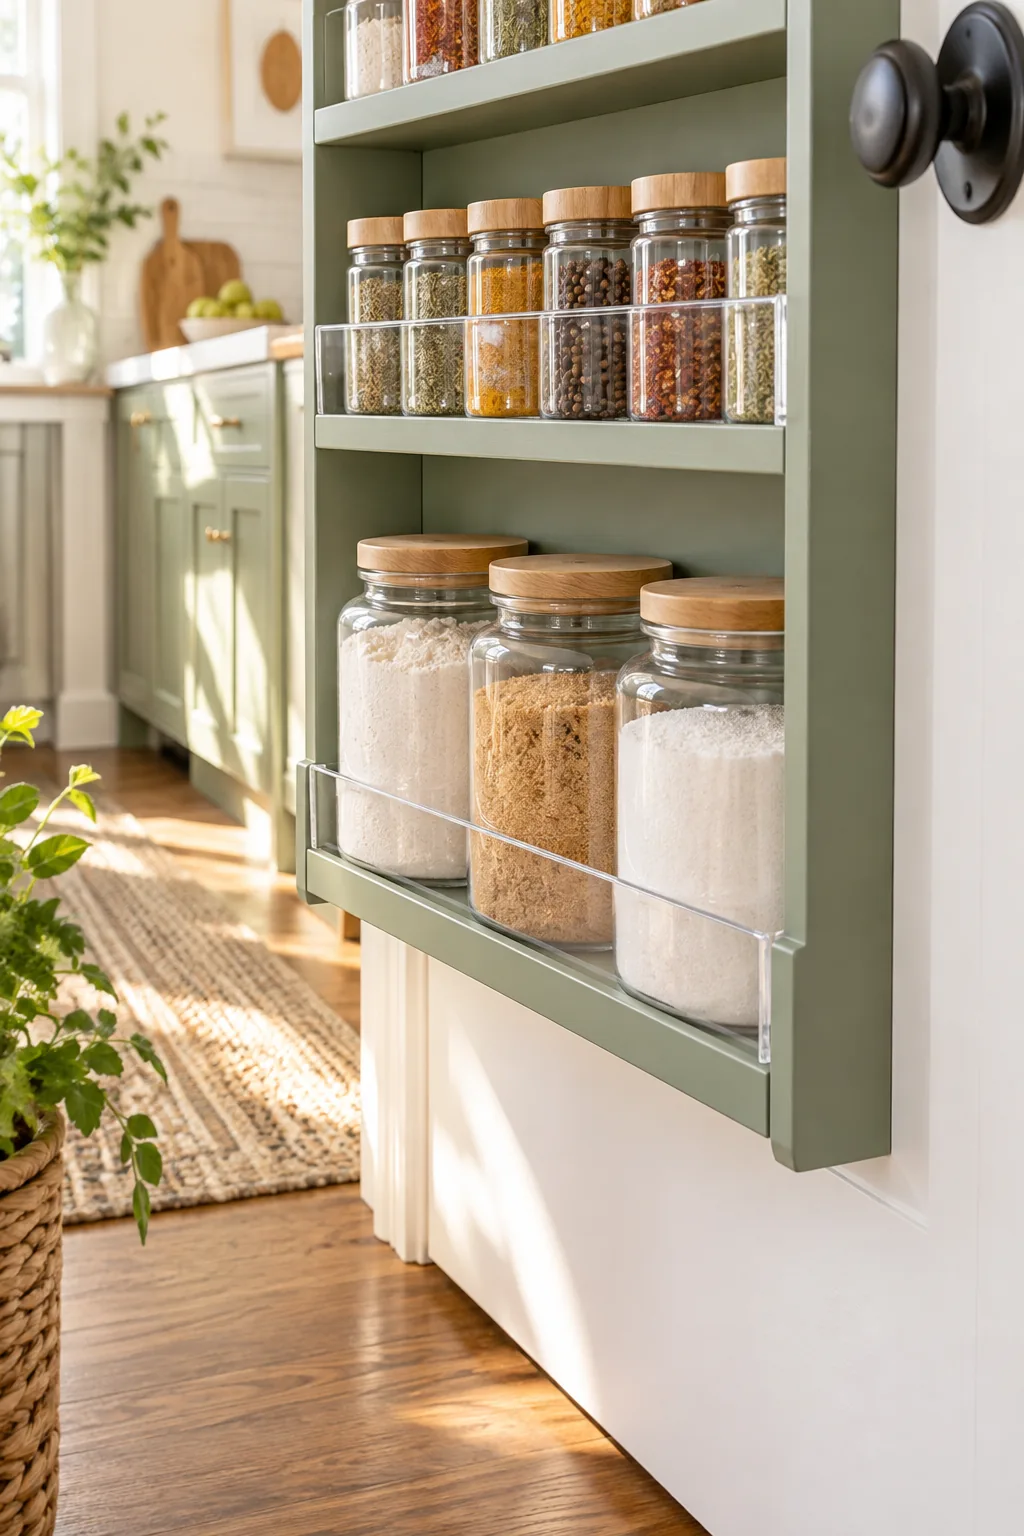
Bulk mason jars and heavy canned goods need a minimum of 4 inches to rest safely without overhanging the wooden edge. Measuring your specific containers before assembly guarantees every item fits snugly against the back panel.
Planning the Vertical Spacing
Measure your tallest olive oil bottles and cereal boxes before permanently attaching the horizontal shelf tiers. Leave at least two inches of top clearance above your tallest item so you can easily lift it over the front rail.
Securing Items with Clear Acrylic Rails
Install 2-inch tall clear acrylic strips across the front of the upper shelves to keep small items contained. The transparent material prevents round jars from toppling while keeping every colorful spice label fully visible from across the kitchen.
- Measure the exact internal width of each shelf tier.
- Score the acrylic sheet deeply with a specialized plastic cutting tool.
- Snap the acrylic cleanly over a sharp, straight table edge.
- Sand the cut edges smooth with fine-grit sandpaper.
Using clear rails instead of wooden dowels immediately modernizes the rack and makes finding the right ingredient effortless. The sleek plastic profile also maximizes your usable shelf space by sitting completely flush against the front frame.
Pre-Drilling the Transparent Lips
Always pre-drill your acrylic strips with a stepped drill bit to prevent the brittle plastic from cracking. Attach the rails to the wooden frame using small, flat-head brass screws tightened gently by hand.
Anchoring the Unit Safely
Lift the finished rack onto the door and secure the top corners first with 2-inch cabinet screws. Check the entire assembly with a bubble level before driving the remaining fasteners through the backer board every twelve inches.
Placing Heavy Jars at the Bottom
Always store your heaviest items, such as 5-pound glass jars of flour and sugar, on the lowest possible shelf. I reorganized my own pantry this way, and it completely stopped the door from swinging wildly out of my hand.
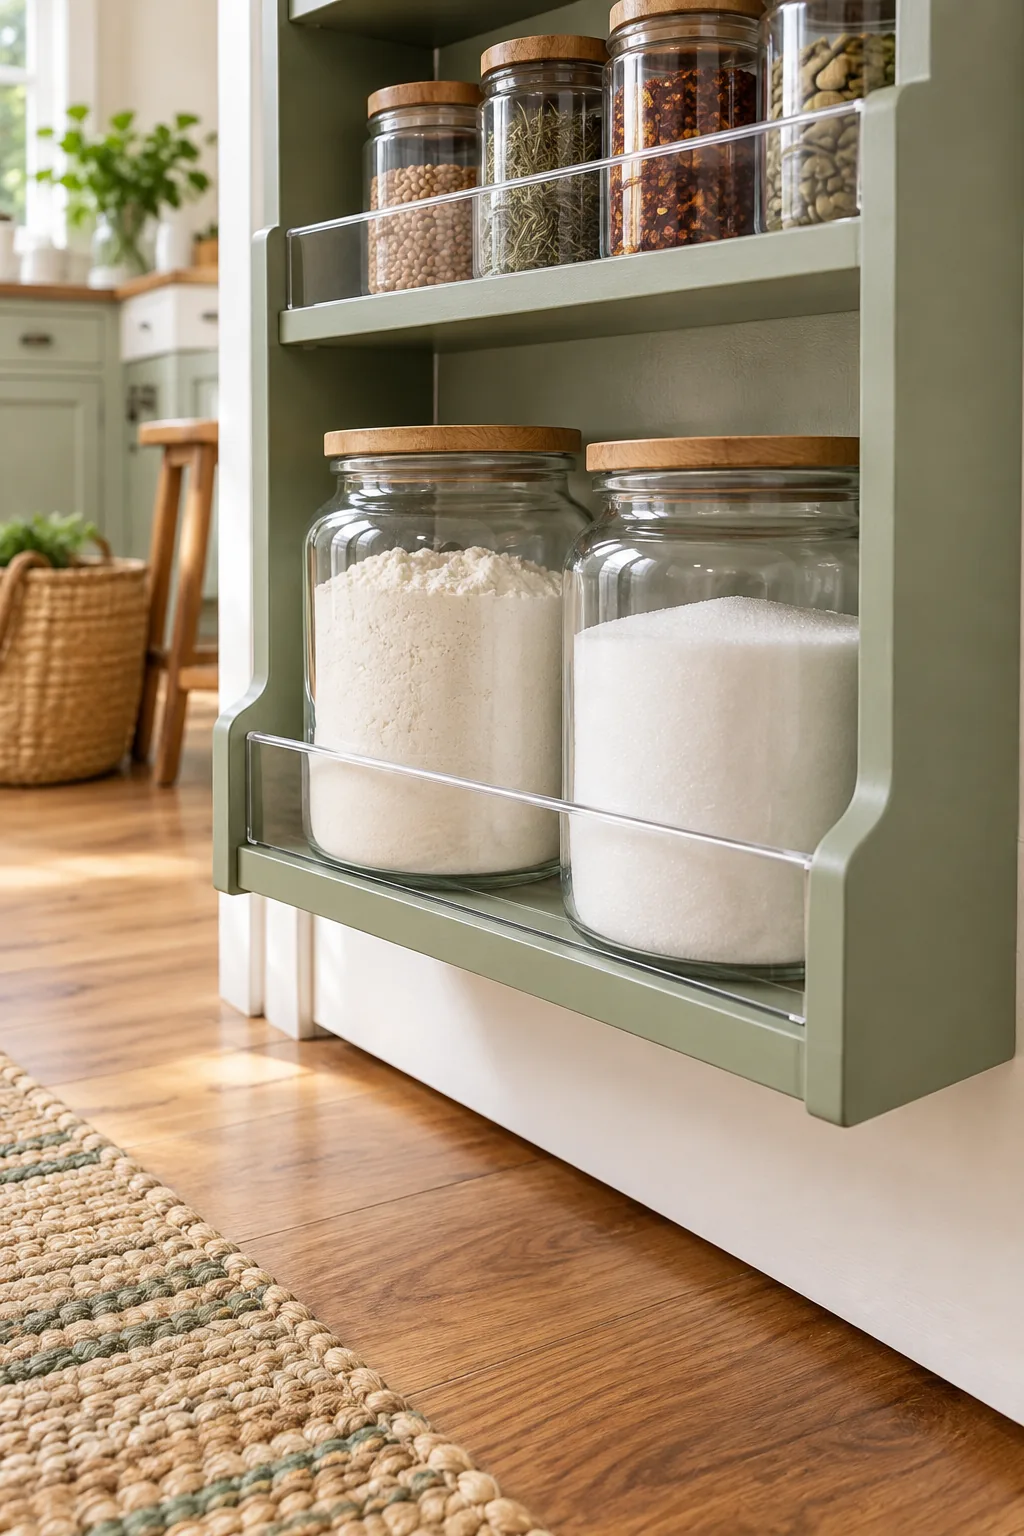
Keeping dense baking staples near the floor protects your hardware and makes lifting heavy glass containers much safer. This simple arrangement dramatically reduces the outward pulling force on the top hinge over time.
Organizing Spices at Eye Level
Arrange your most frequently used cooking spices on the middle tiers right at natural eye level. Grouping them alphabetically or by flavor profile turns your new custom door rack into a highly efficient, professional prep station.
Installing Decorative Hardware
Finish the project by adding a sleek, low-profile handle to the outside of the pantry door. Choose a pull that matches your existing kitchen hardware while ensuring it does not interfere with the newly reinforced hinges.
Maintaining the Hinge Pins
Lubricate the ball-bearing hinges with a drop of white lithium grease every six months to keep the heavy door swinging silently. A quick wipe with a microfiber cloth prevents dust from settling into the moving metal parts.
5 Ways to Style a Pantry Door Rack
Find the perfect finish and hardware combination to match your kitchen's unique aesthetic.
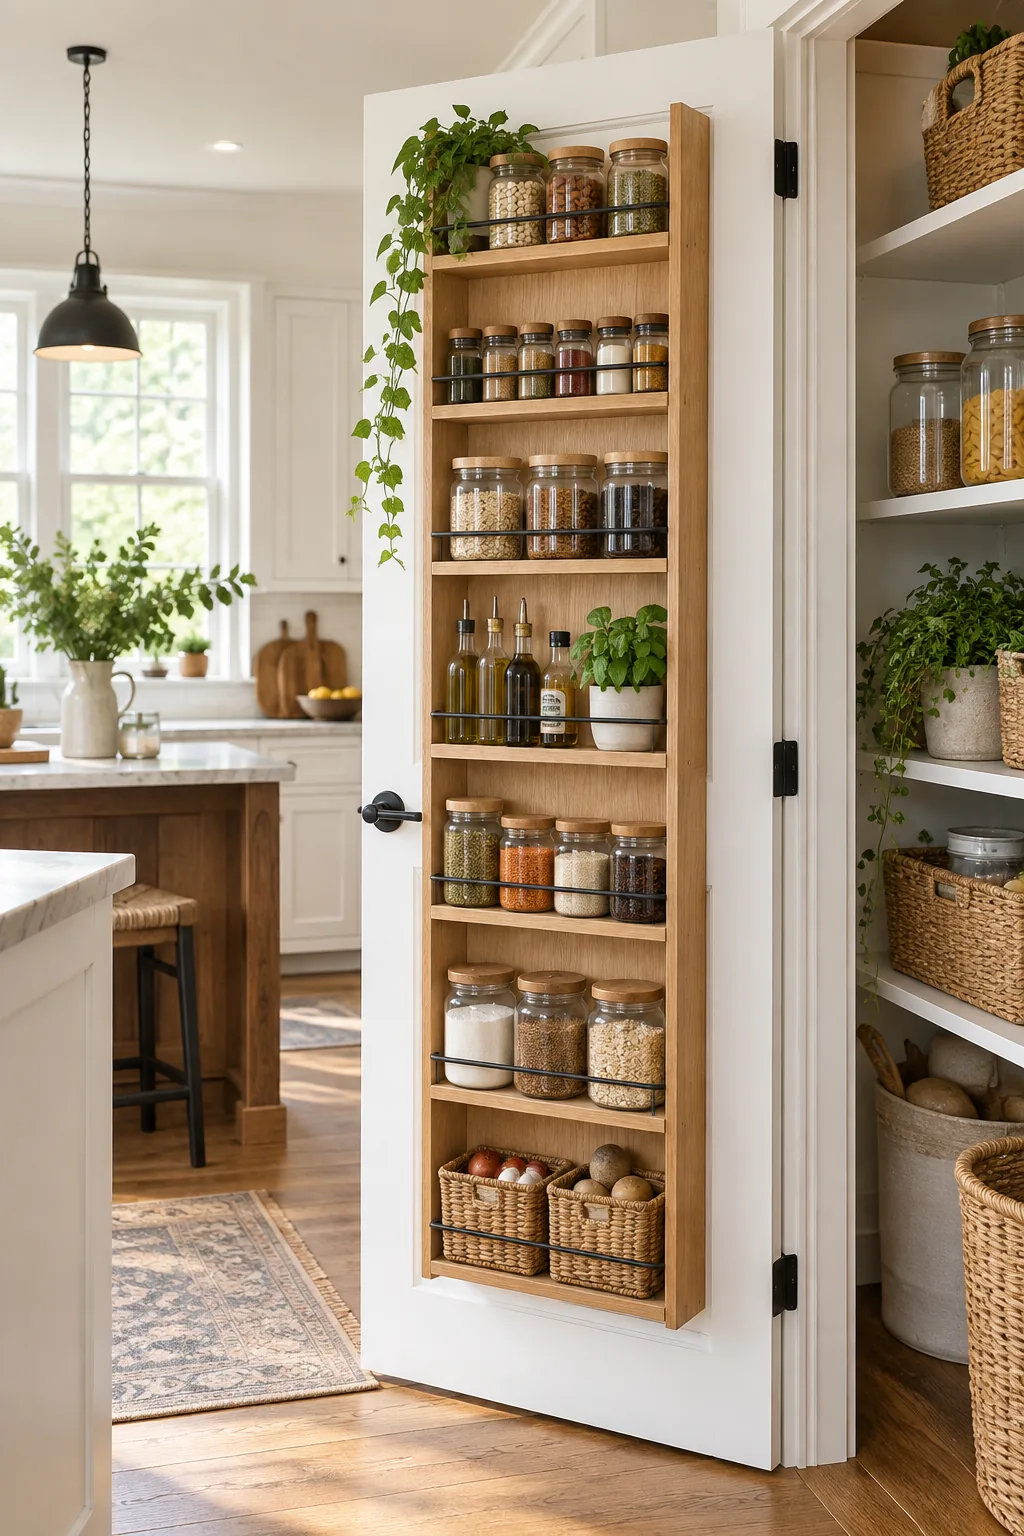
Modern Farmhouse Wood: Natural oak wood warms up a crisp white door, while matte black hardware adds a perfect farmhouse contrast.
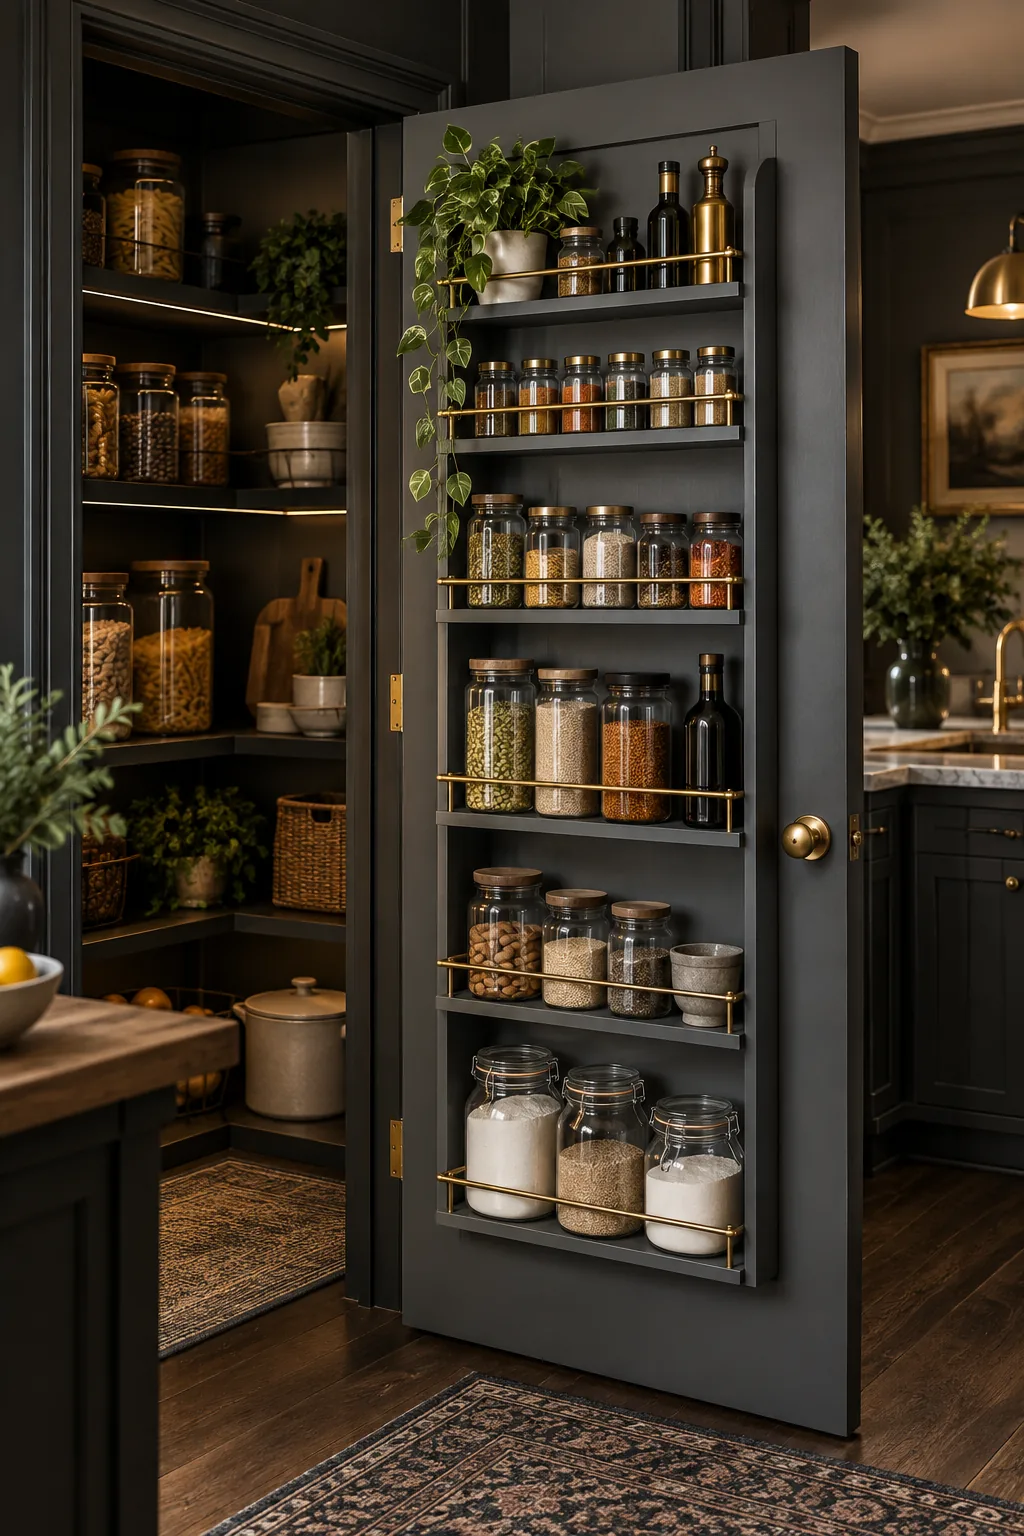
Moody Slate Grey: Deep grey paint paired with polished brass rails creates a dramatic, high-end atmosphere inside a dark pantry.
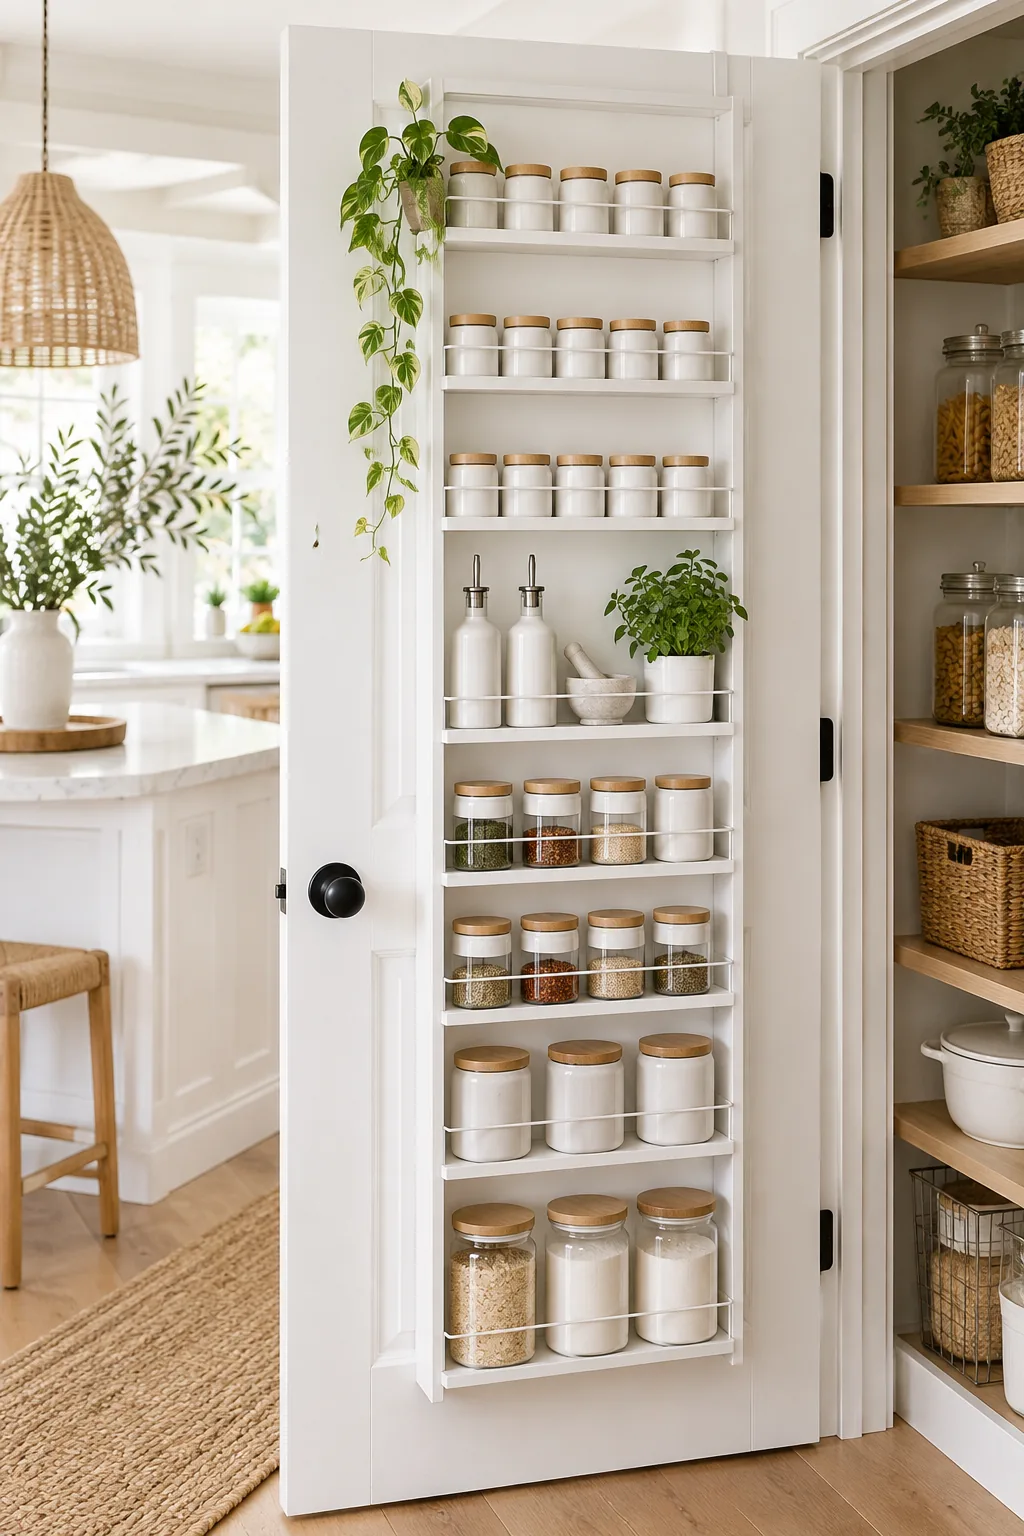
Minimalist White: Painting the rack the exact same white as the door creates a seamless, built-in look that feels completely uncluttered.
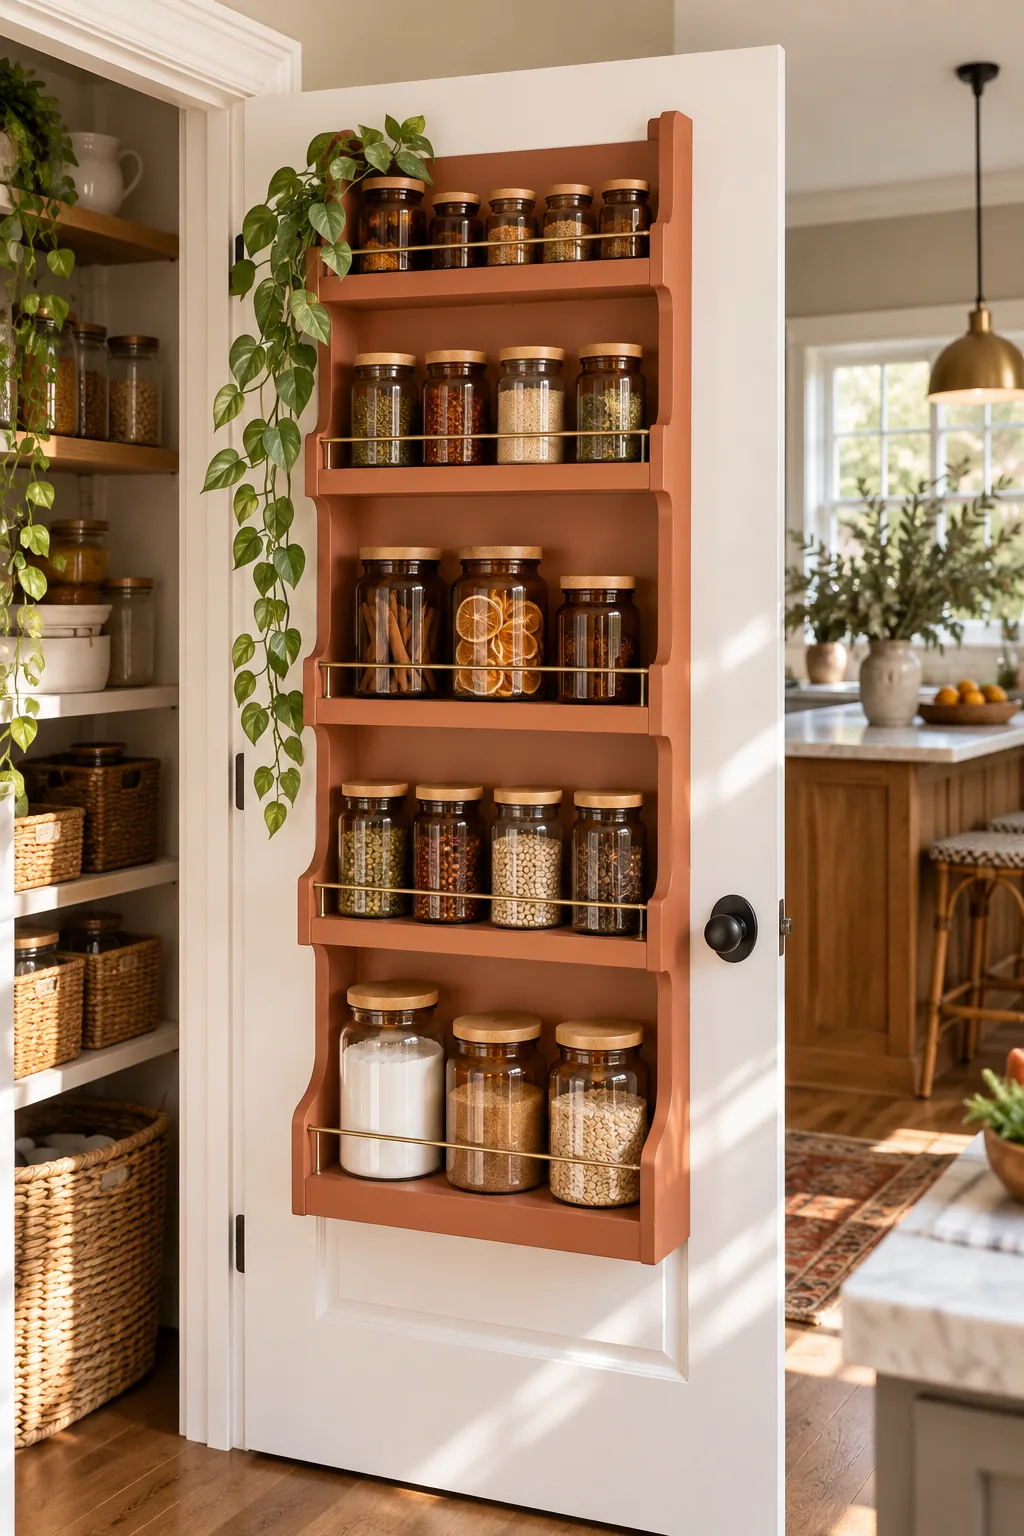
Warm Clay Tones: Earthy terracotta paint turns a simple storage solution into a beautiful focal point that complements natural wood floors.
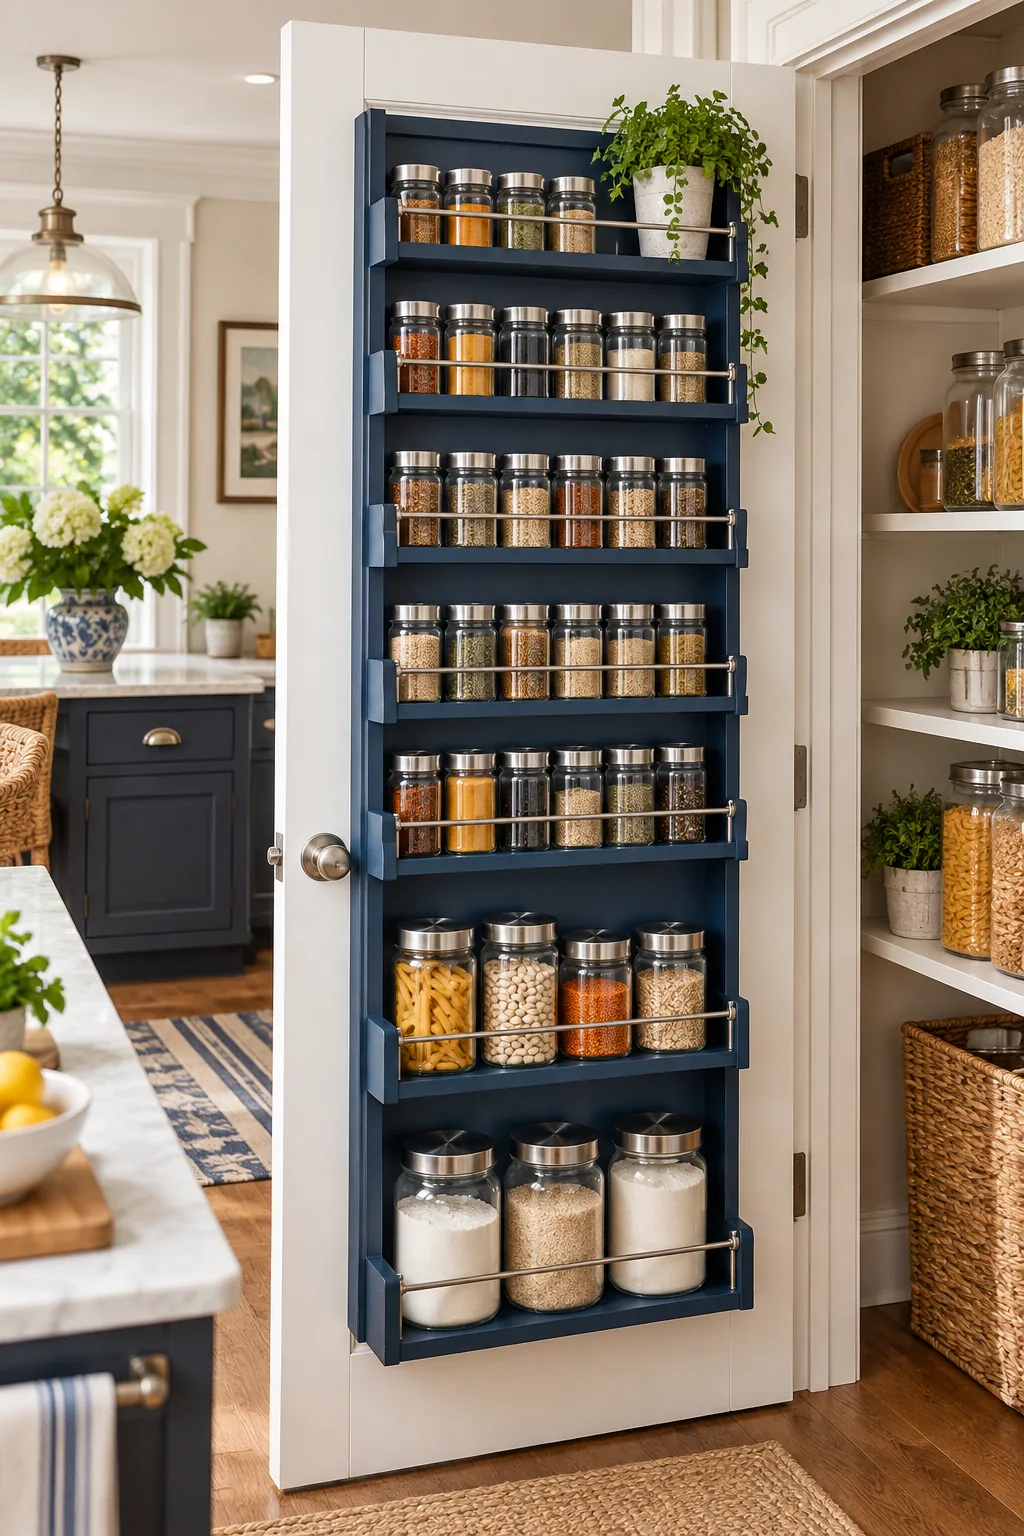
Classic Navy Blue: Rich navy blue offers a timeless pop of color that makes uniform glass spice jars and silver hardware stand out.
Adjusting the Door Catch
Install a heavy-duty magnetic catch at the top of the door frame to hold the loaded pantry firmly closed. This final touch prevents the added weight from causing the door to drift open slightly when you walk past.