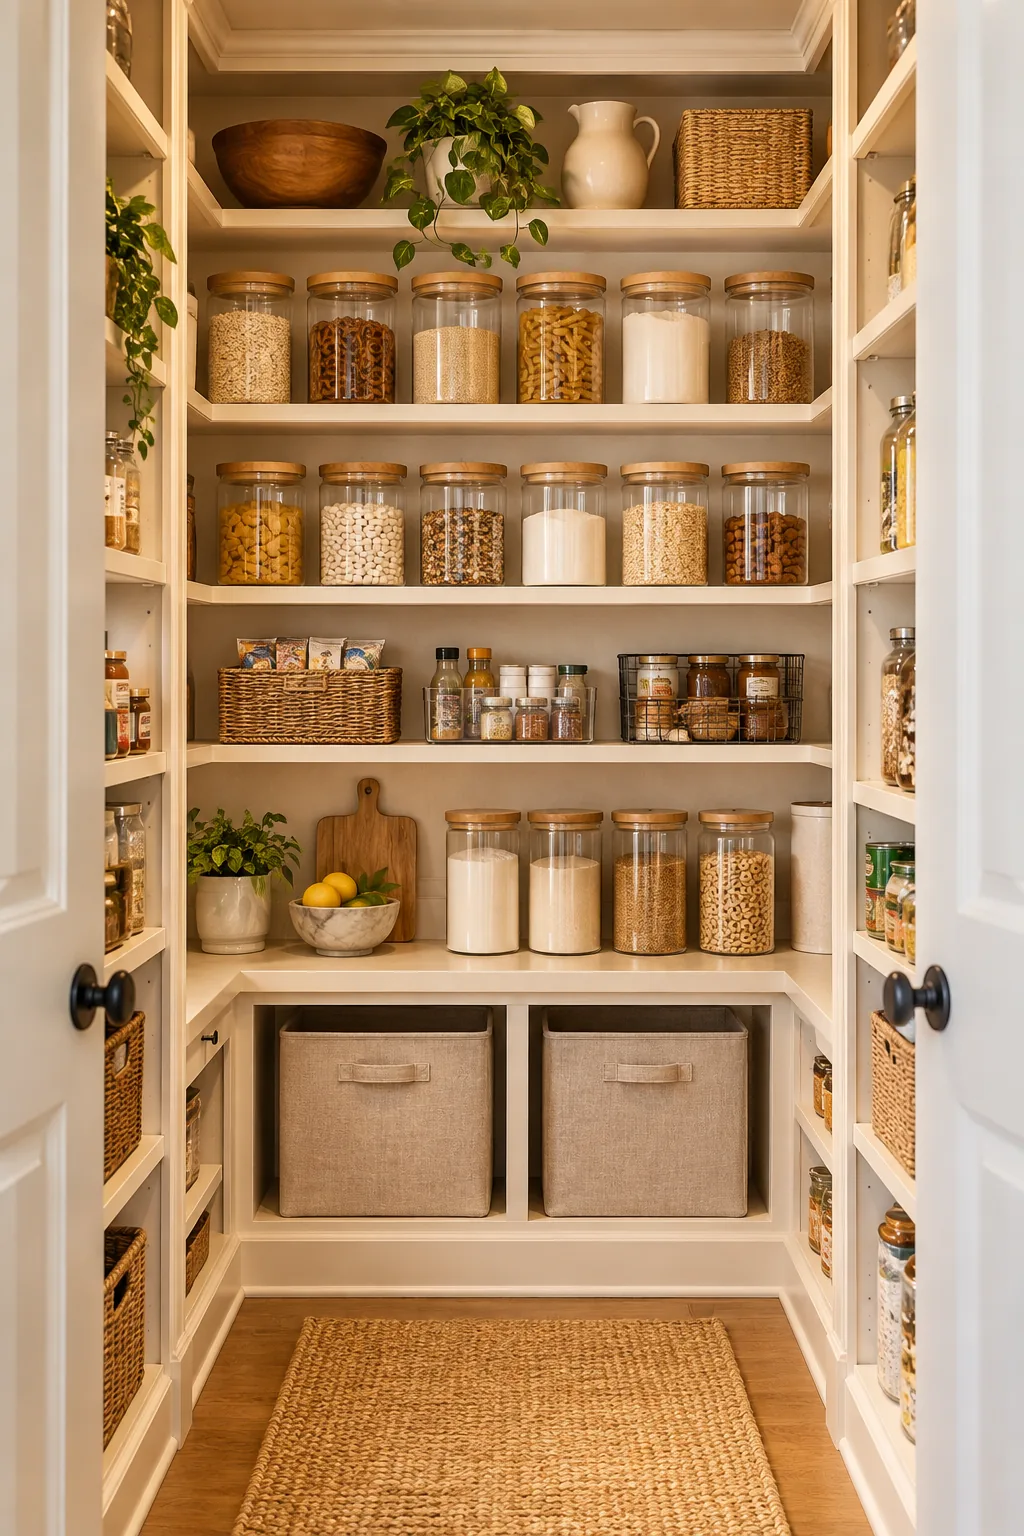
Pantry Organization: The Jar-to-Bag Canister Size Chart
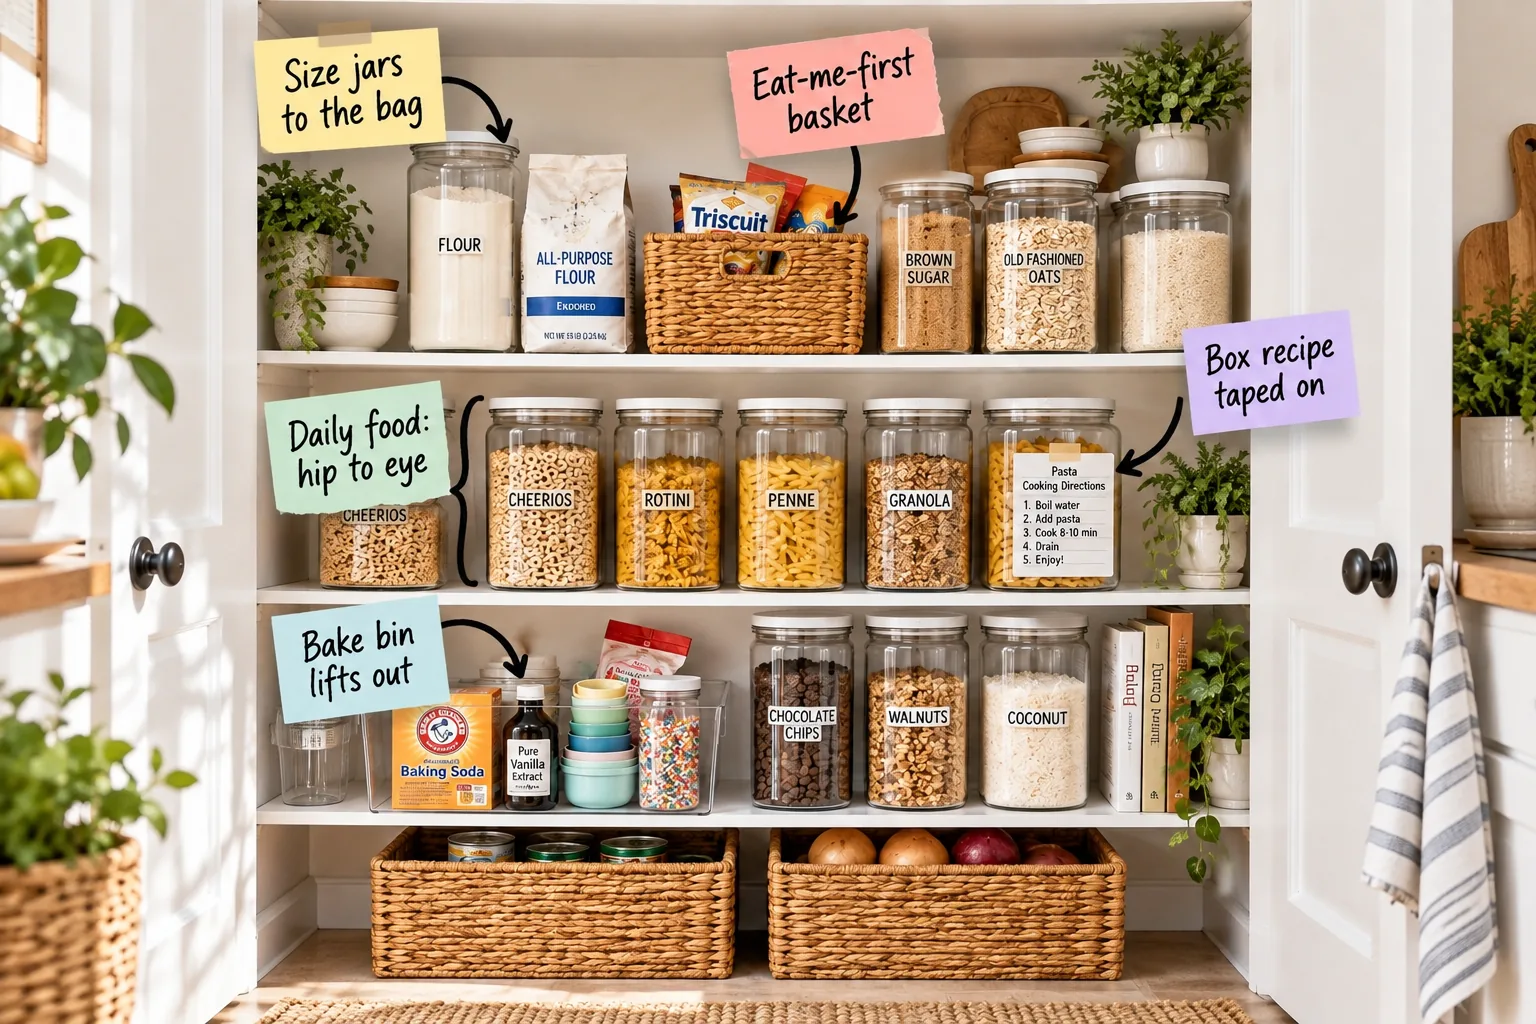
Master your kitchen storage by downloading our printable Jar-to-Bag Canister Size Chart to transfer groceries into perfectly sized containers without leftovers. You will finally map your shelves from floor to ceiling, arranging your daily staples for truly effortless cooking.
Assess Your Current Pantry Inventory
Before purchasing a single acrylic bin, take a hard look at exactly what your family consumes during an average week. Documenting your specific volume of dry goods dictates the exact container ratios you will need to build a balanced, functional system.
Empty the Space Completely Before Starting
Pull absolutely everything out of the closet and wipe down the bare shelves to establish a clean slate. This physical reset allows you to visualize the architecture of the space and apply Eastern principles of spatial harmony without visual clutter blocking your perspective.
Map Your Daily Food to the Hip-to-Eye Zone
I always start pantry design by defining the prime real estate sitting strictly between 36 and 60 inches off the floor.
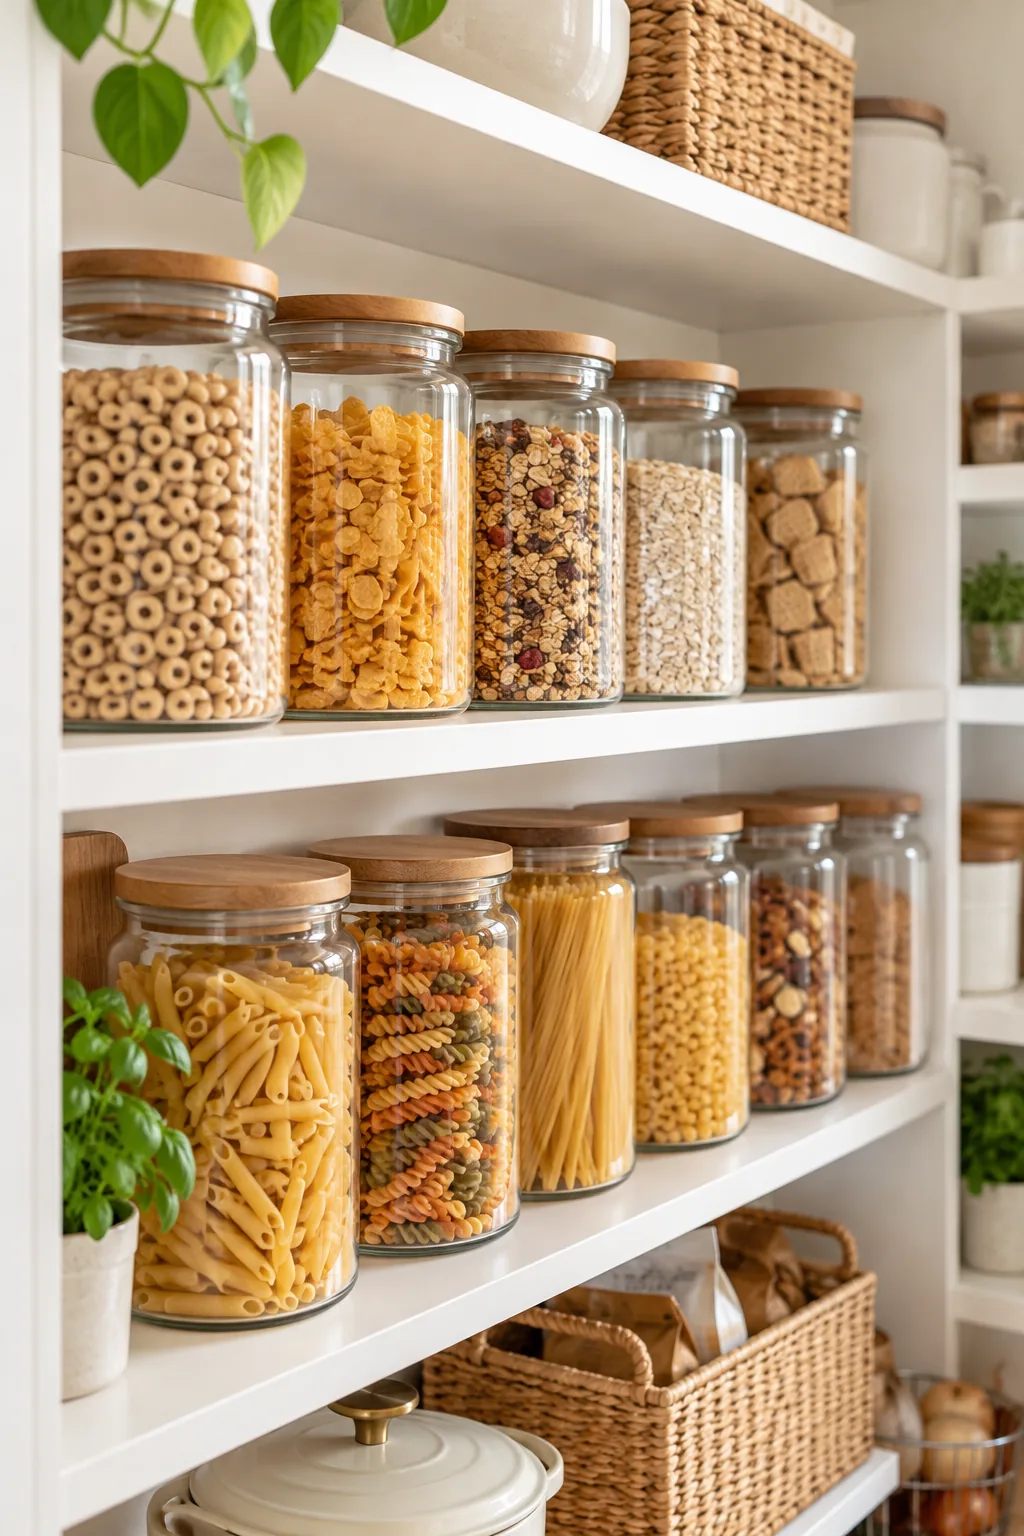
Reserve these two middle shelves exclusively for daily cereal, pasta, and high-turnover snacks so the whole family can easily reach their daily food: hip to eye without needing a step stool.
Reserve the Upper Shelves for Lightweight Extras
Once your daily zone is firmly established, shift your focus to the upper shelves sitting safely above that 60-inch mark. Dedicate this harder-to-reach vertical space to lightweight paper goods and extra empty jars to maintain structural balance.
Designate the Floor Level for Heavy Bulk Items
Grounding the bottom of your pantry creates a solid visual foundation that anchors the entire room. Reserve the floor space strictly for oversized water bottles, bulk paper towels, and heavy backup stock that would otherwise warp your wooden shelving.
Size Every Canister to the Standard Bag
Always buy containers based on the grocery bag volume rather than visual appeal, ensuring a 5-pound bag of flour fits completely into a 4-quart canister.
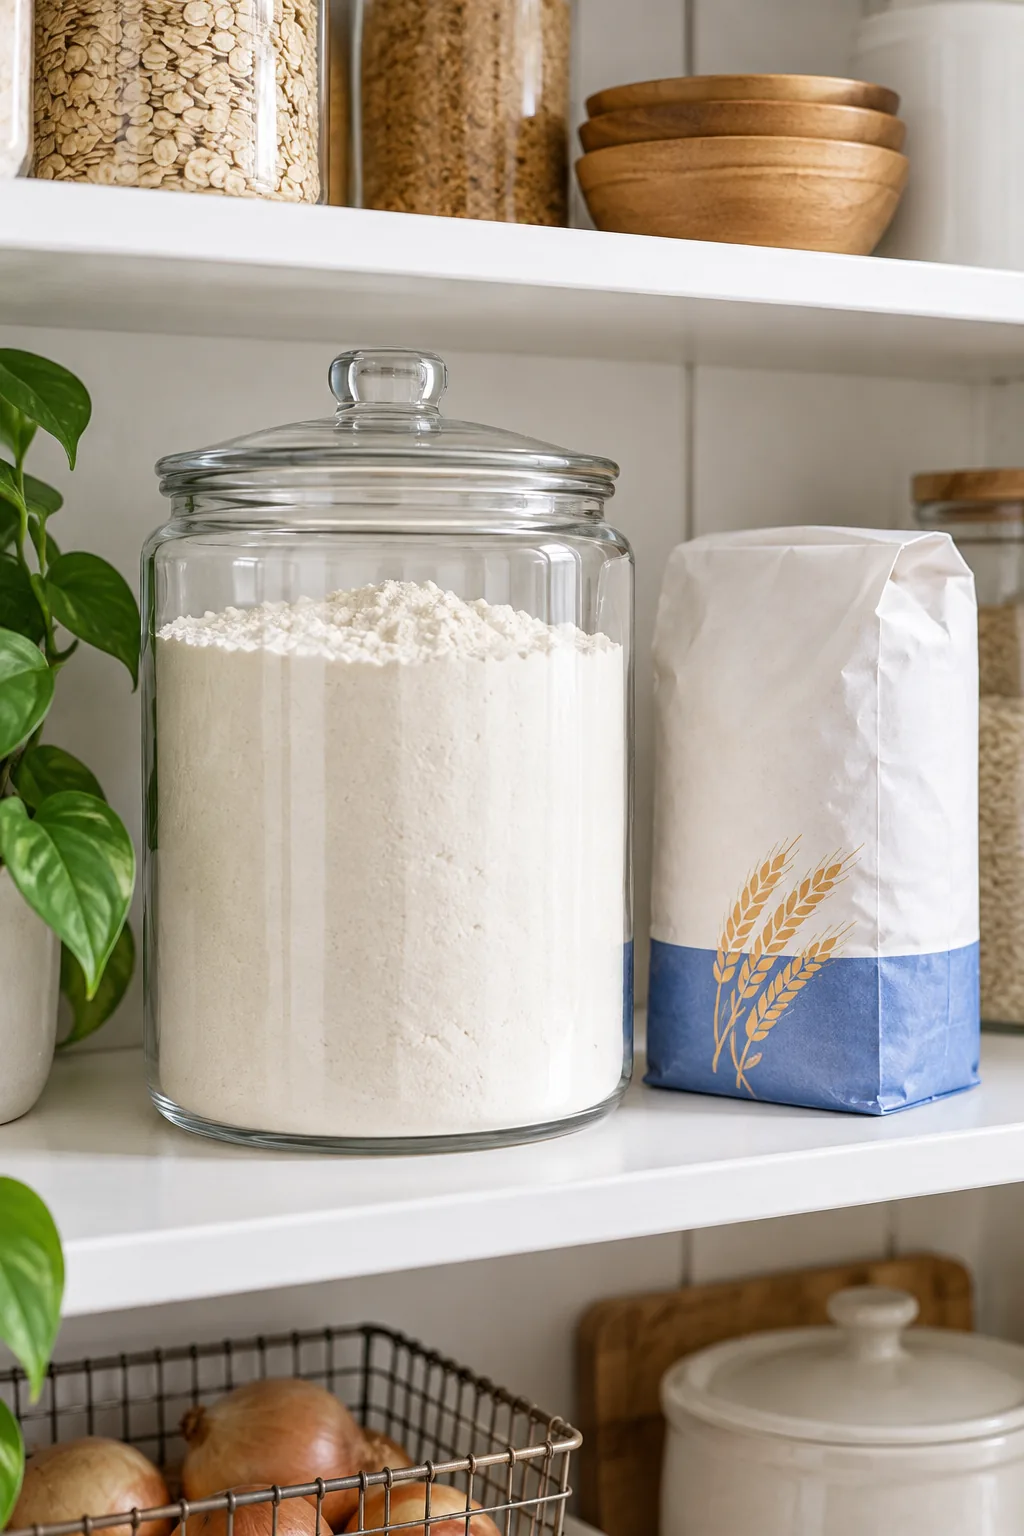
When you size jars to the bag, you eliminate the frustrating clutter of half-empty paper sacks rolling around your pristine shelves. Buying a pre-boxed set of assorted containers often leaves you with awkward sizes that don’t match how food is actually sold.
Wash and Dry All Glassware Thoroughly
Before transferring any fresh groceries, run every new glass jar through a high-heat dishwasher cycle to remove manufacturing residues. Allow the containers to air dry overnight, as even a microscopic drop of trapped moisture will instantly clump your baking powders.
Print the Jar-to-Bag Canister Size Chart
To take the guesswork out of decanting, use our comprehensive guide detailing the exact container volumes required for 20 common household staples.
| Shelf Zone | Height Range | Ideal Pantry Items |
|---|---|---|
| Top | 72+ inches | Paper goods, seasonal pieces |
| Upper | 60-72 inches | Baking staples, backup jars |
| Middle | 36-60 inches | Daily snacks, cereal, pasta |
| Lower | 18-36 inches | Task bins, heavy liquids |
| Floor | 0-18 inches | Bulk baskets, root vegetables |
For perfect decanting, use a 4-quart jar for flour and sugar, a 2-quart jar for lentils and brown sugar, a 1.5-quart jar for coffee beans and pasta, and a 1-quart jar for baking soda and chia seeds.
Decant Baking Staples into Four-Quart Jars
Standard five-pound bags of all-purpose flour, granulated sugar, and rolled oats demand the largest standard kitchen containers. Filling a 4-quart glass jar right to its shoulder creates a beautifully satisfying visual weight that anchors your baking shelf.
Store Grains and Rice in Two-Quart Containers
Mid-sized grocery items like two-pound bags of jasmine rice, quinoa, and split peas fit flawlessly into 2-quart canisters. This specific volume prevents the common error of buying containers that are far too large for specialty grains.
Use One-Quart Jars for Seeds and Powders
Reserve your smallest airtight containers for potent ingredients that you use in minor, precise quantities. A 1-quart jar perfectly houses standard bags of chia seeds, flaxseed, cocoa powder, and coarse sea salt while keeping them incredibly fresh.
Catch Open Snacks in an Eat-Me-First Basket
Moving back to the prime middle shelf, dedicate a small woven basket front and center to catch opened crackers and half-used snack packs.
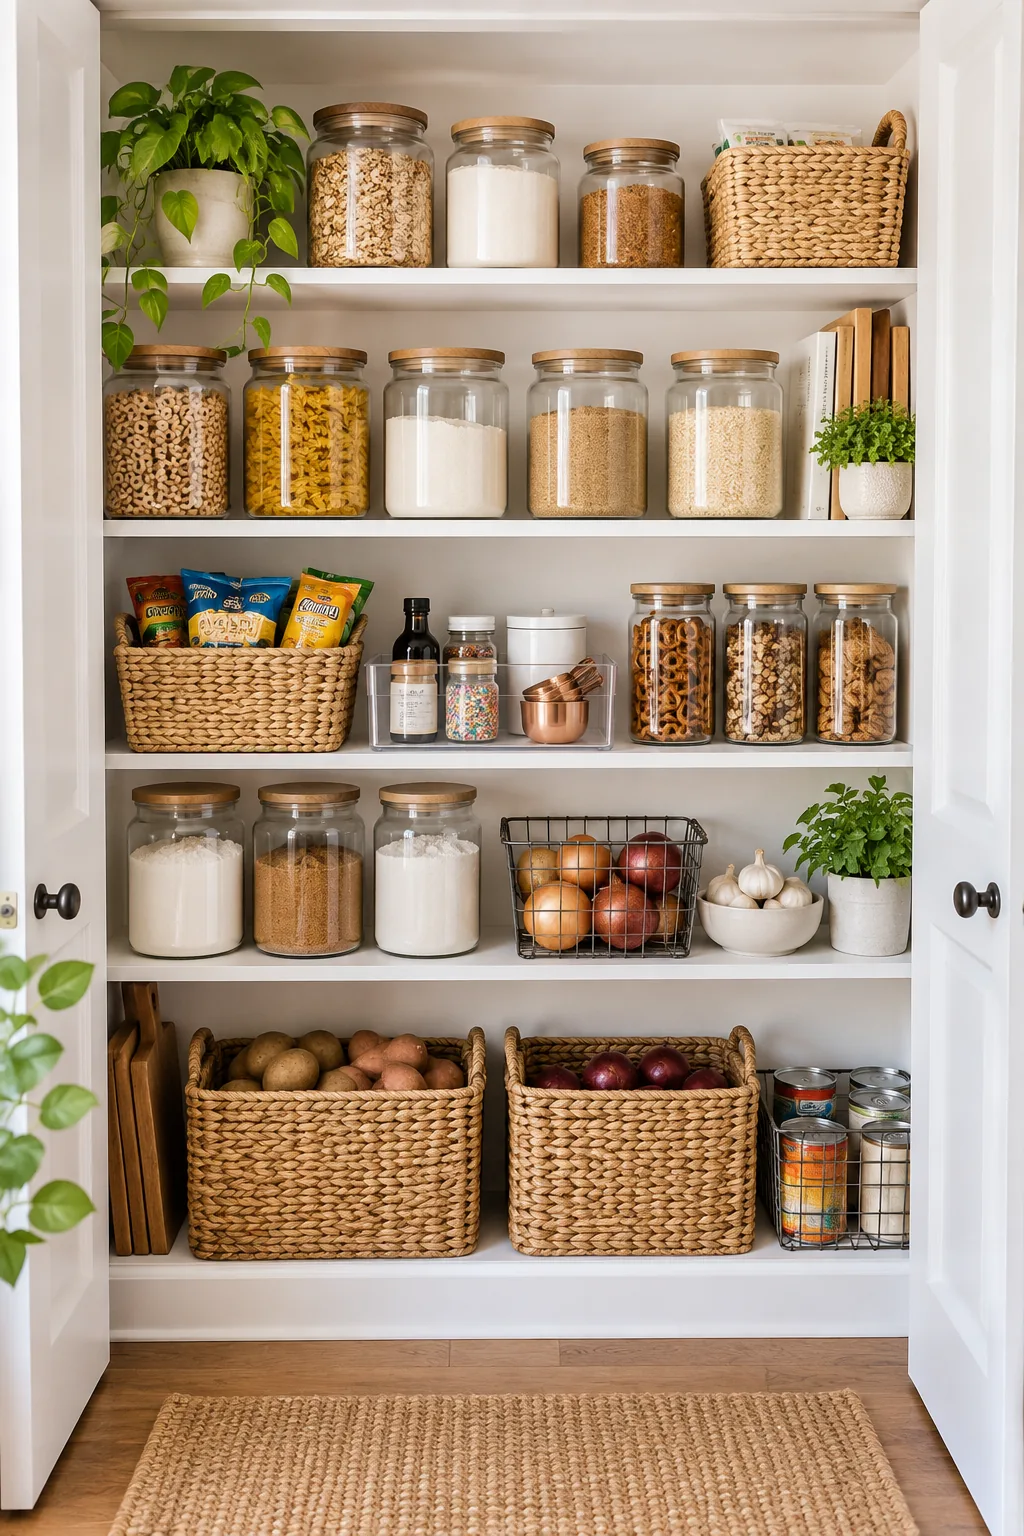
This simple visual cue acts as an eat-me-first basket, effectively preventing stale food and drastically reducing your weekly grocery waste.
Group Ingredients in Lift-Out Task Bins
Just below your daily snacks, use clear handled bins for category-specific routines so related items stay tightly corralled.
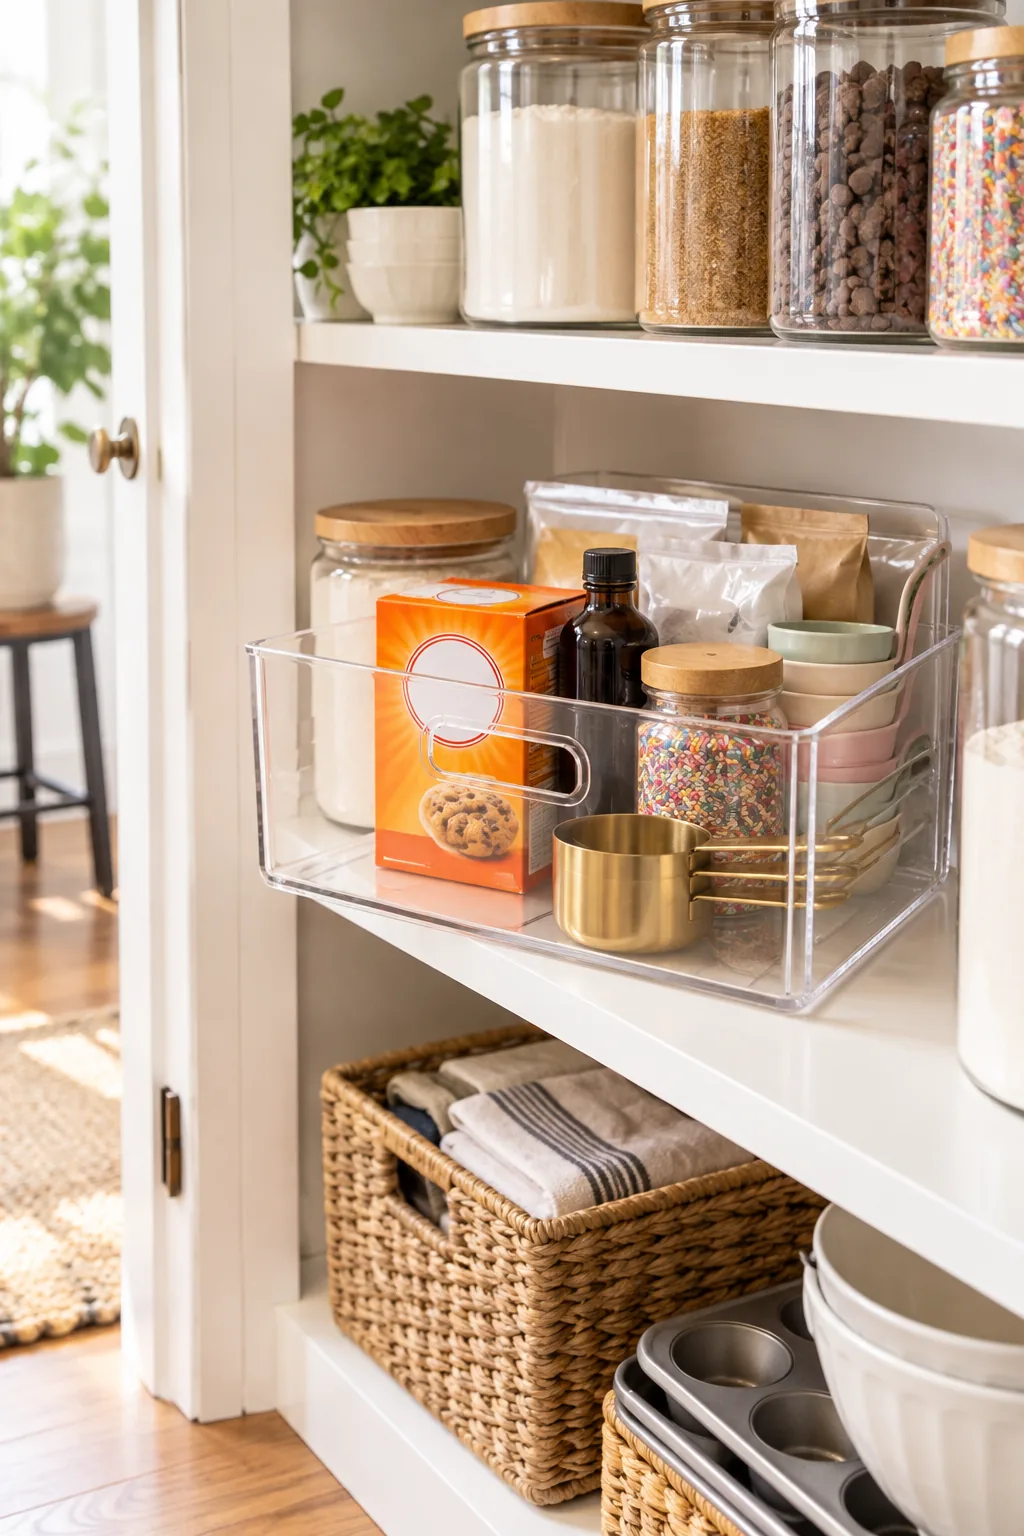
Store baking soda, vanilla, sprinkles, and measuring cups together so the entire bake bin lifts out and travels to the kitchen counter as one complete workstation.
Create a Dedicated Breakfast Prep Station
Apply that same modular logic to your morning routine by grouping peanut butter, honey, and bread into a single acrylic tray. Pulling one breakfast task bin out onto the counter streamlines the chaotic morning rush for the entire family.
Save Essential Box Recipes and Instructions
Before recycling bulky cardboard packaging, always cut out the specific cooking directions from pasta or specialty grain boxes.
In my own kitchen, I simply ensure the box recipe taped on the back of the clear canister remains perfectly visible through the glass to save vital water ratios.
Label Every Jar with a Waterproof Marker
Once your dry goods are decanted and the cooking times are saved, clearly mark the expiration date on the bottom of the glass. Using a white waterproof paint pen ensures the date survives routine handling but easily washes off during a hot scrub.
Anchor the Space with Heavy Bulk Baskets
Utilize the floor or lowest shelf for oversized items like potatoes, onions, or back-stock cans to anchor the visual weight of the pantry.
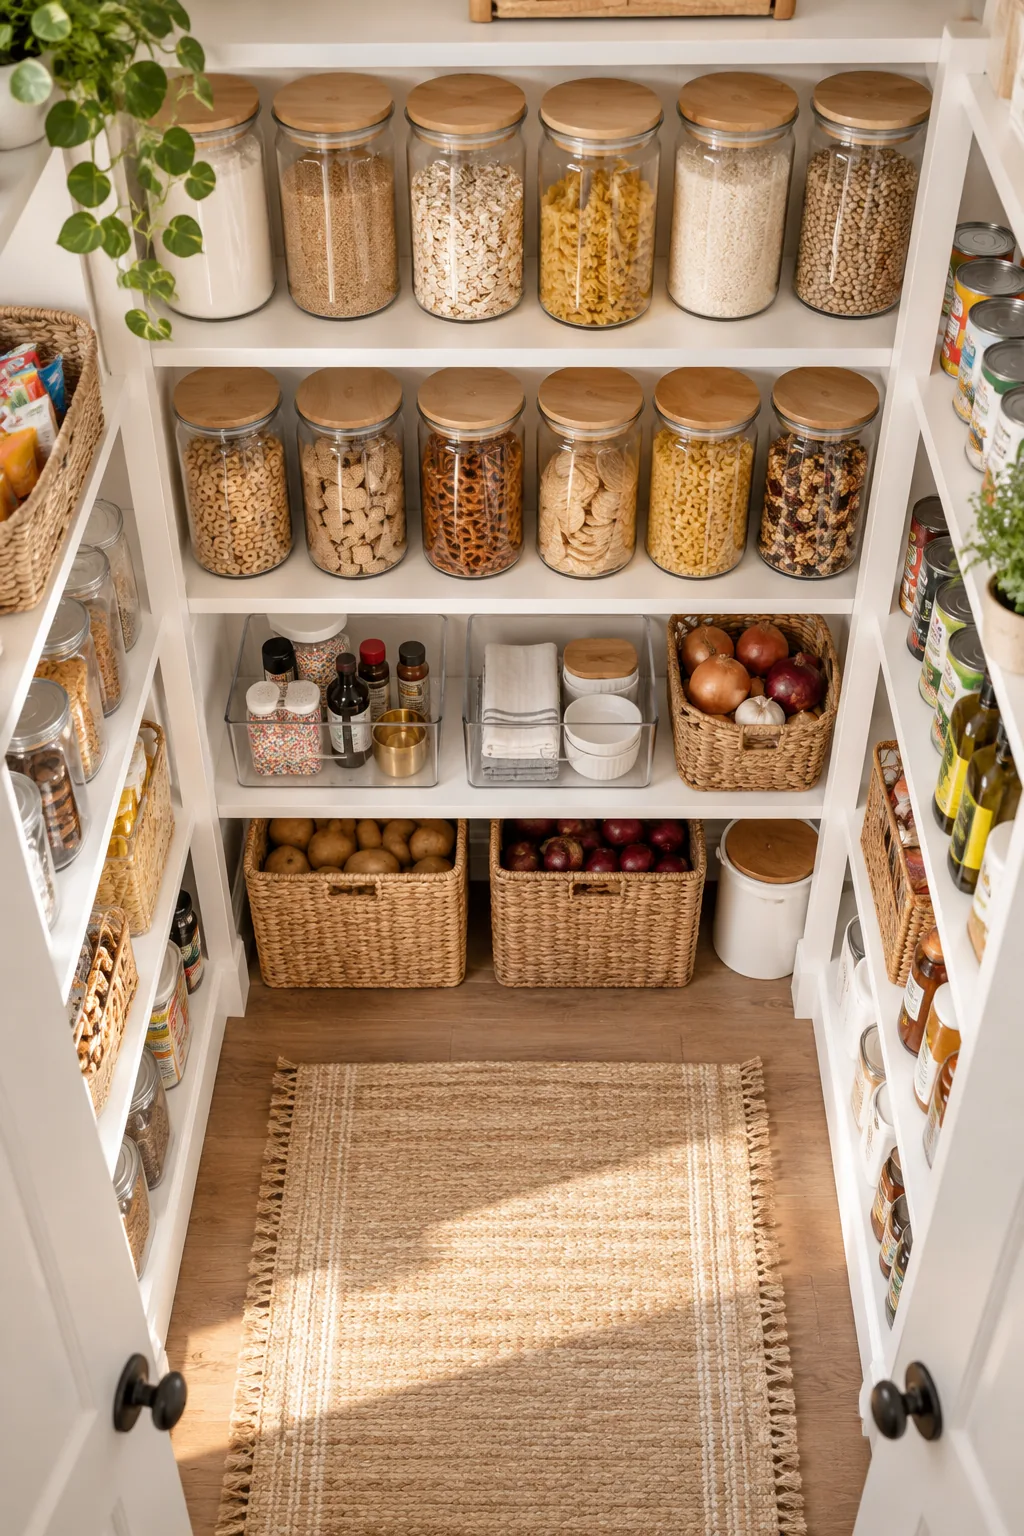
- Use large woven baskets to instantly conceal visual clutter.
- Maintain necessary airflow to prevent root vegetables from spoiling.
- Keep heavy items low so you never strain your back lifting them.
In my Denver projects, I always specify natural rattan baskets here because their grounding, earthy texture perfectly balances the clinical look of the acrylic bins above.
Ensure Proper Airflow for Root Vegetables
Never store onions and potatoes in sealed plastic or tight acrylic boxes, as the trapped moisture accelerates rotting. The open weave of a floor basket provides the crucial cross-ventilation required to keep your root vegetables firm and dry.
Maintain the System with a Monthly Reset
A predictable layout makes daily maintenance easy, but a quick 15-minute monthly check is essential to keep the pantry highly functional.
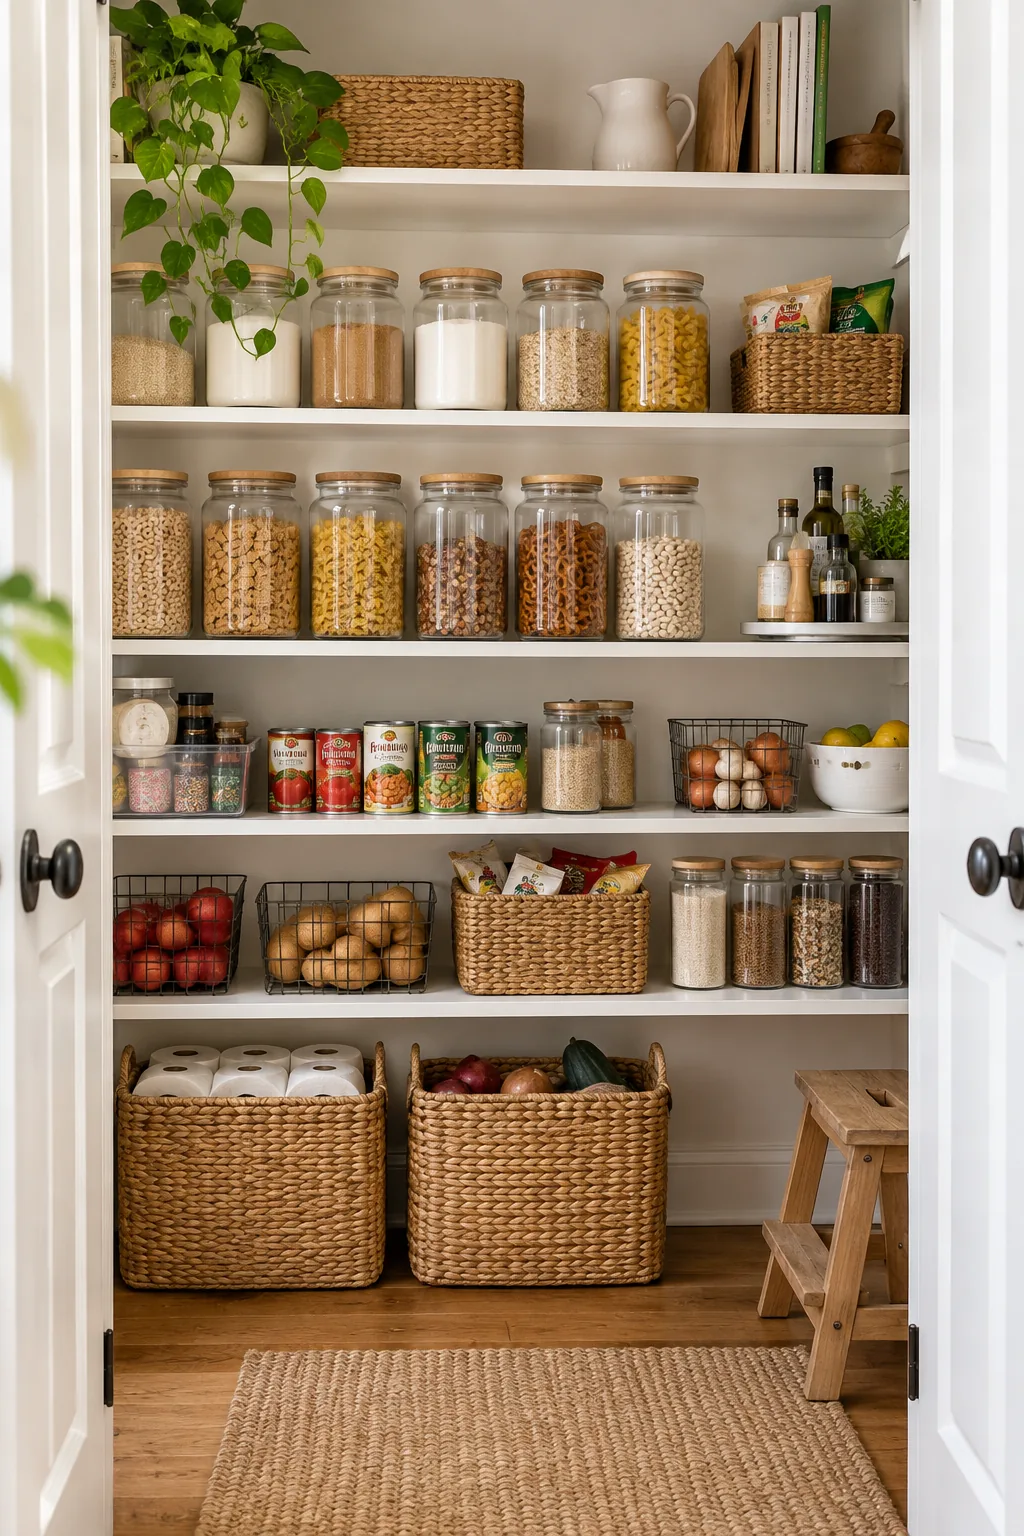
Even the most disciplined decanting system requires a little maintenance to stay pristine, a routine I personally tackle on the first Sunday of every month.
5 Ways to Style Your Pantry Shelves
Whether you prefer warm woods or sleek modern lines, here is how to adapt this organization system to your home's unique style.
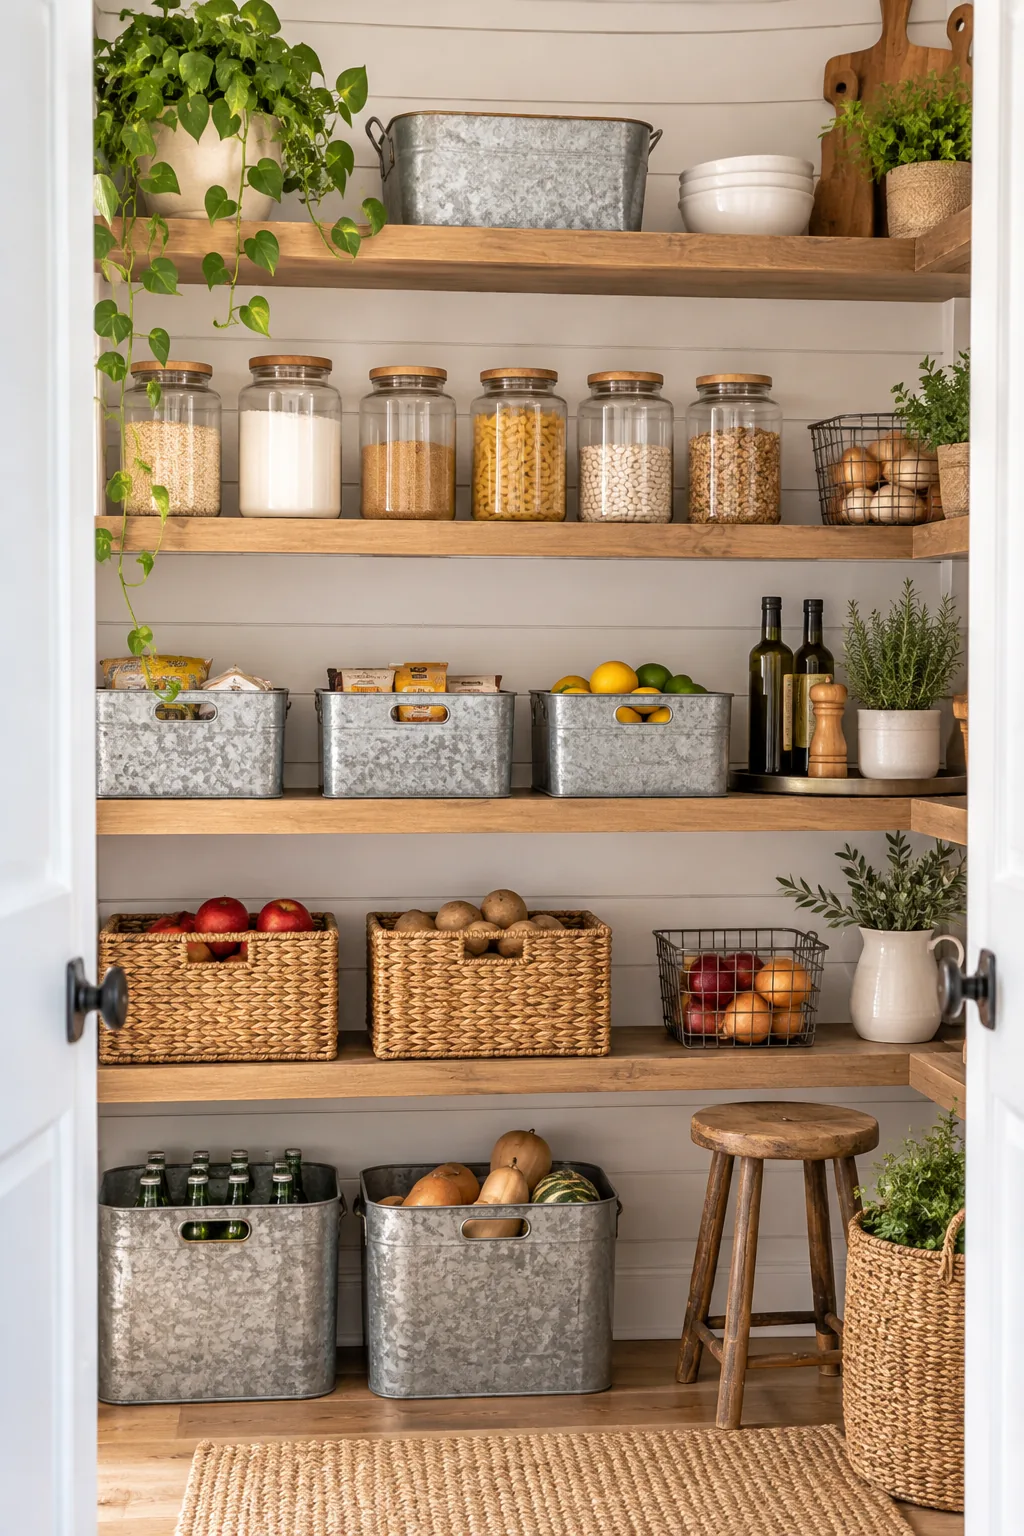
Modern Farmhouse Pantry: Warm wood shelves and galvanized metal bins bring rustic charm to this highly functional shiplap-lined space.
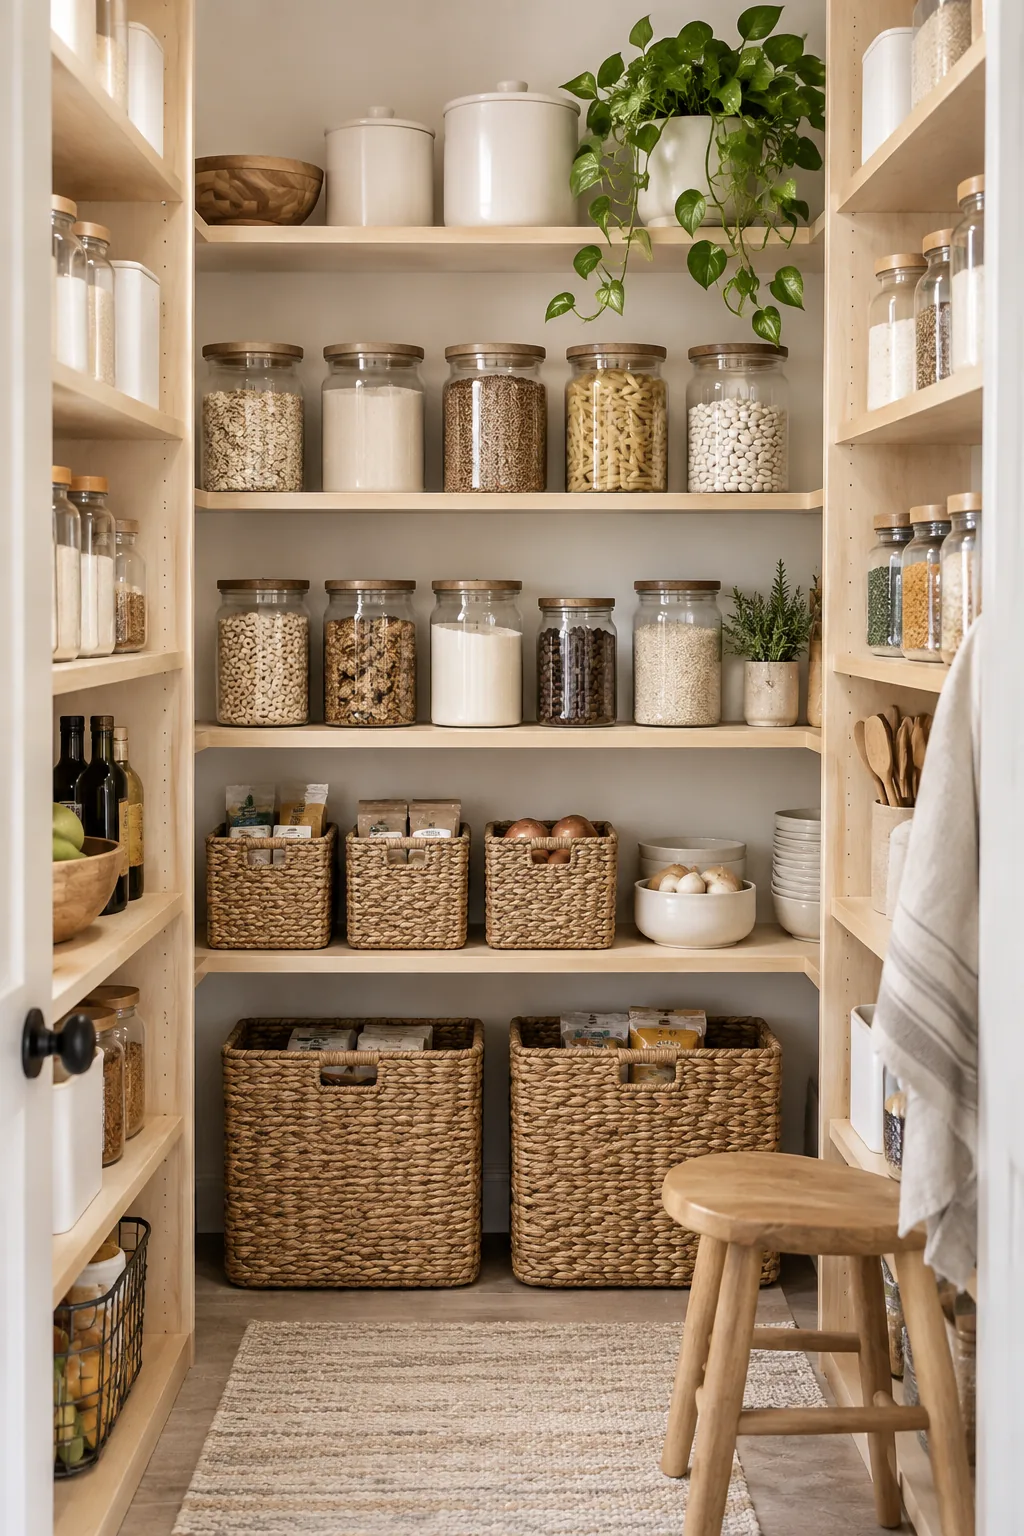
Minimalist Scandi Storage: Pale birch plywood and matte white ceramics create a visually quiet, clutter-free storage environment.
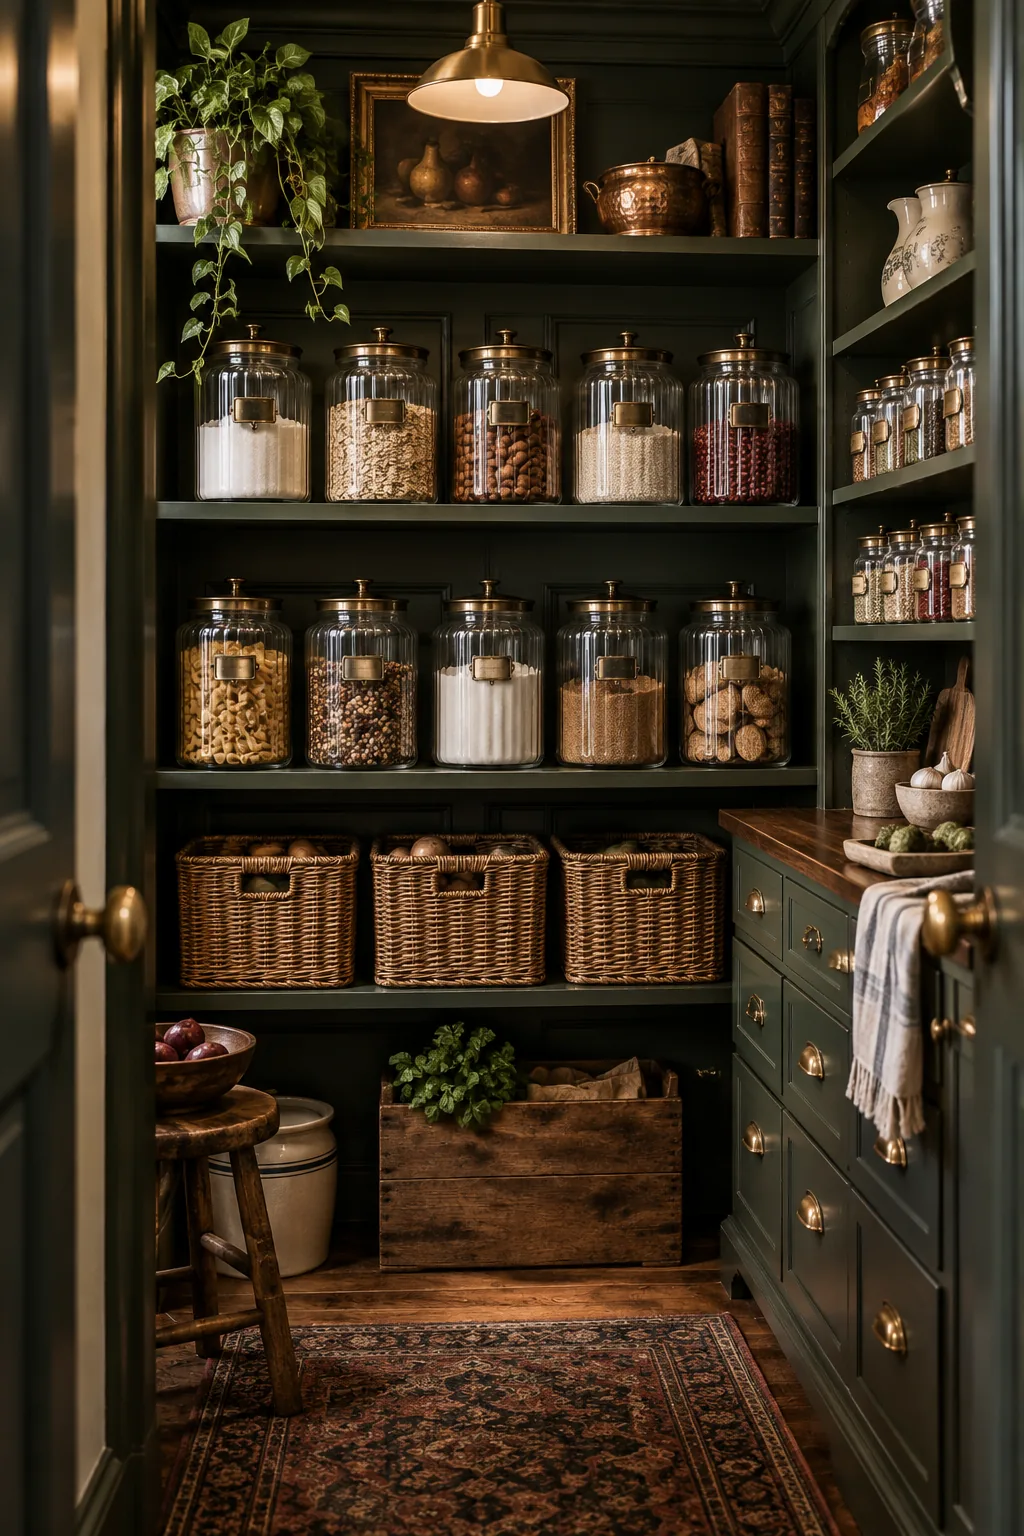
Moody Victorian Cupboard: Dark painted woodwork paired with antique brass hardware gives everyday groceries an elegant, historic feel.
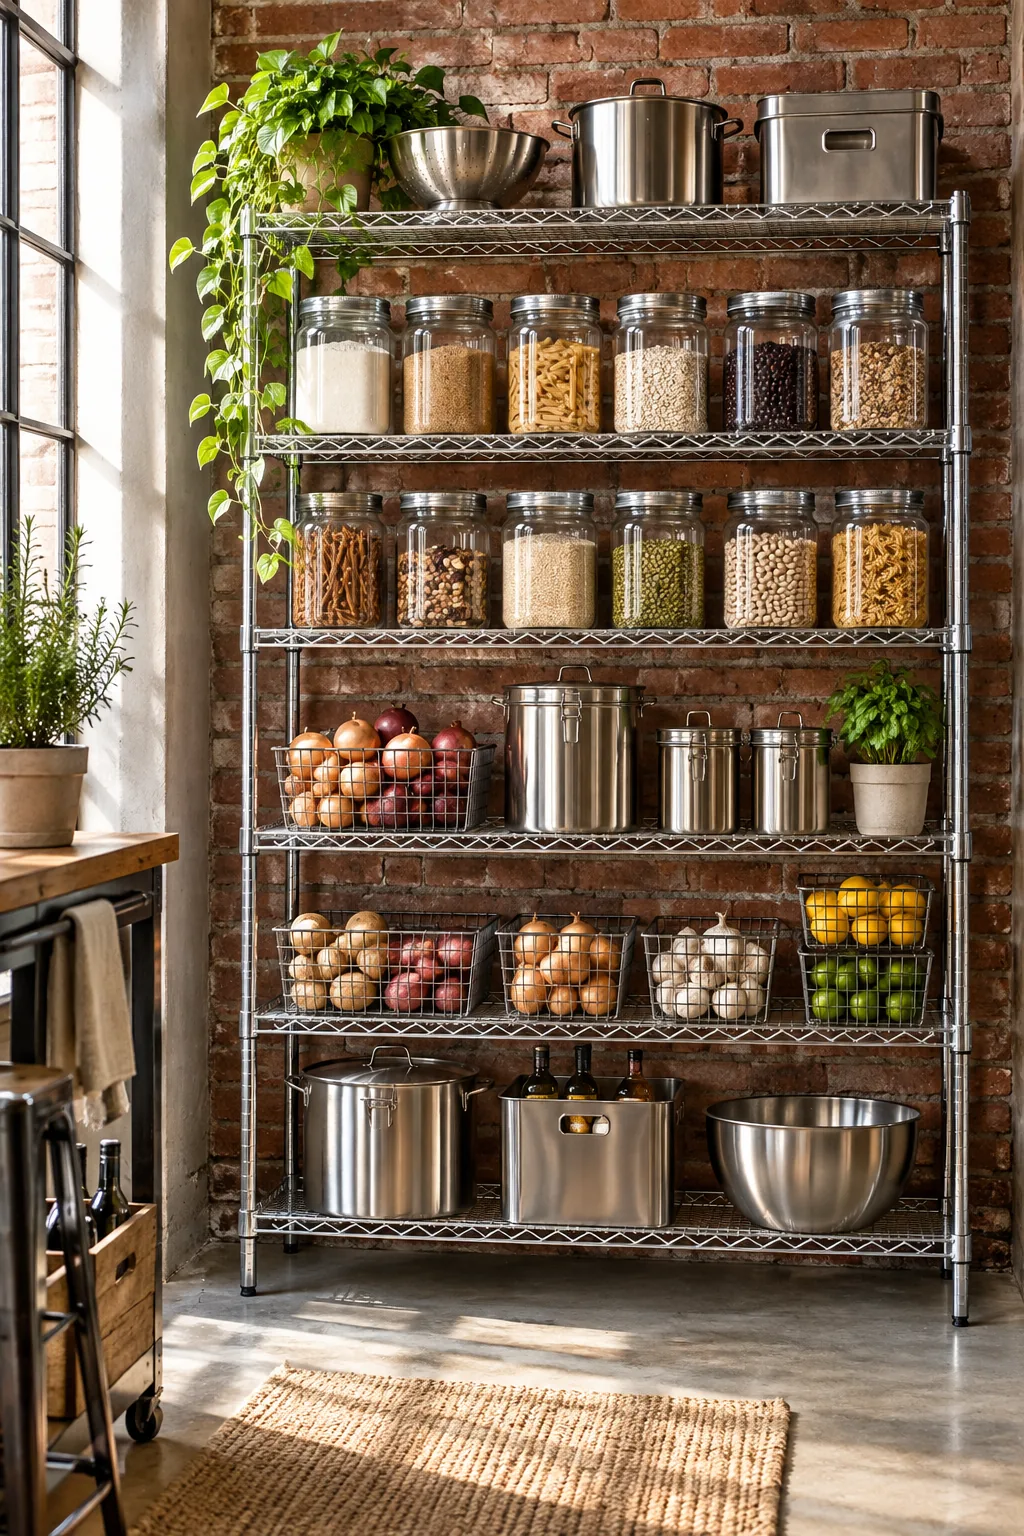
Industrial Loft Shelving: Durable wire racks and stainless steel containers offer a rugged, restaurant-inspired approach to home storage.
Warm Transitional Closet: Soft linen baskets and natural bamboo lids soften the look of a structured, custom-built cream closet.