
Small Kitchen Remodel Tricks & Spatial Clearance Cheat Sheet
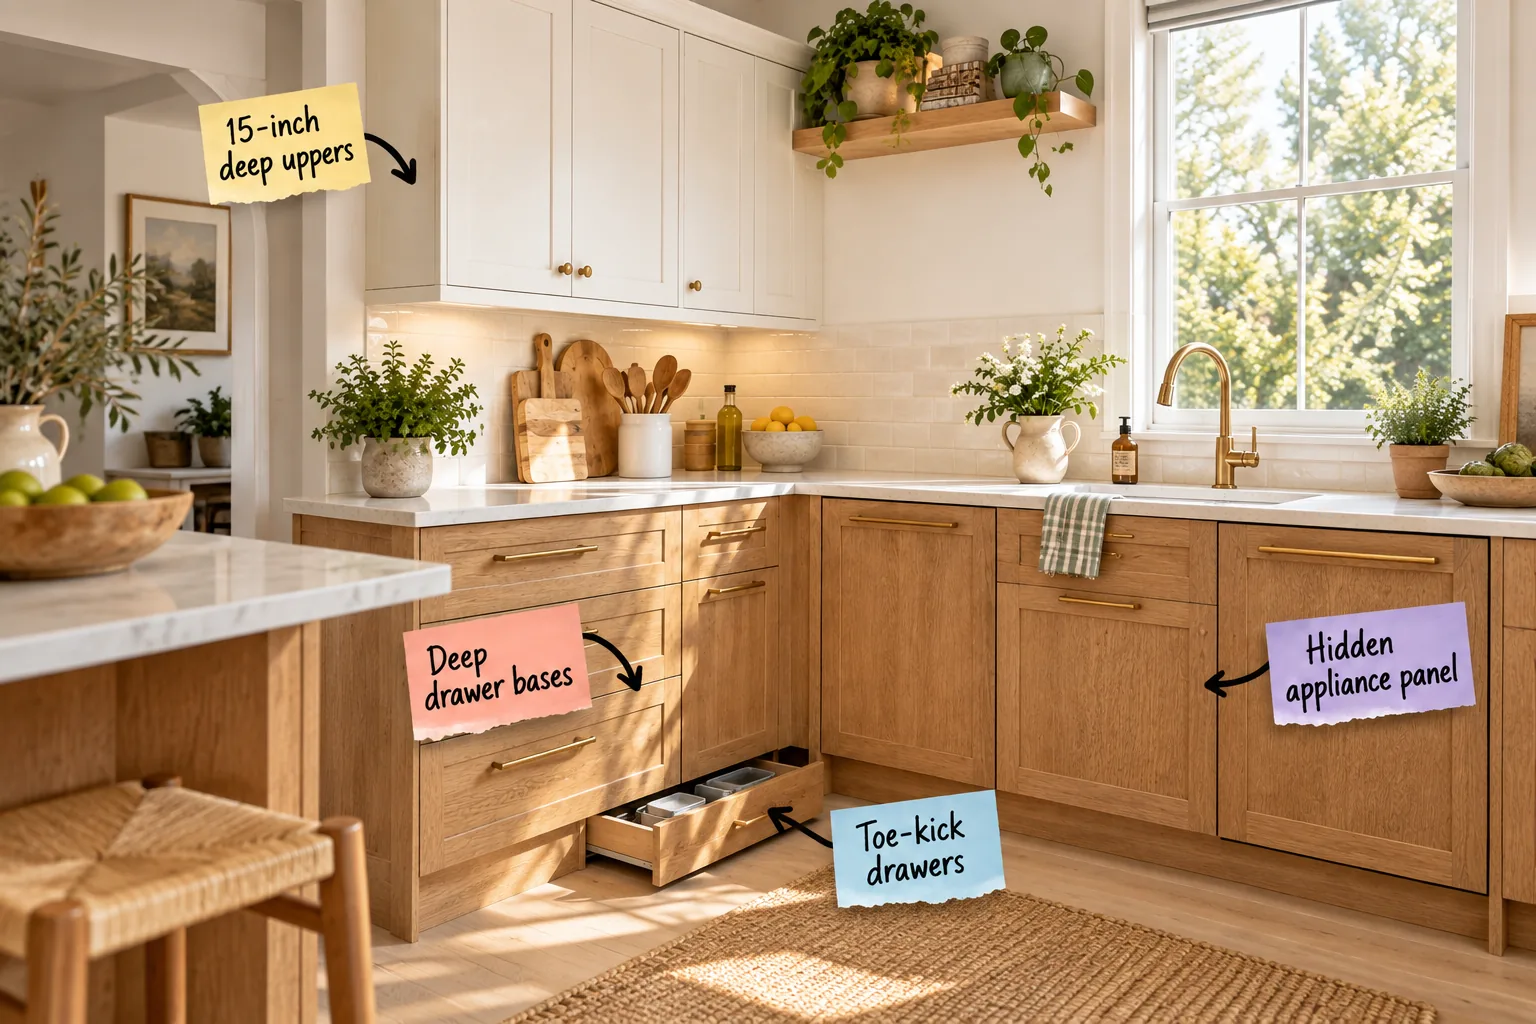
You can completely transform a cramped cooking zone when you learn how to measure your aisles, size your cabinets, and finalize your storage layout using our precise Small Kitchen Spatial Clearance Cheat Sheet. Mastering these tight spaces requires a strategic approach to vertical storage and strict adherence to functional clearances.
Evaluating Your Small Kitchen Footprint
Assess the baseline L-shape footprint before committing to new cabinetry or moving plumbing lines. The standard 24-inch base cabinet depth dictates your remaining usable floor space, so you must establish this perimeter first.
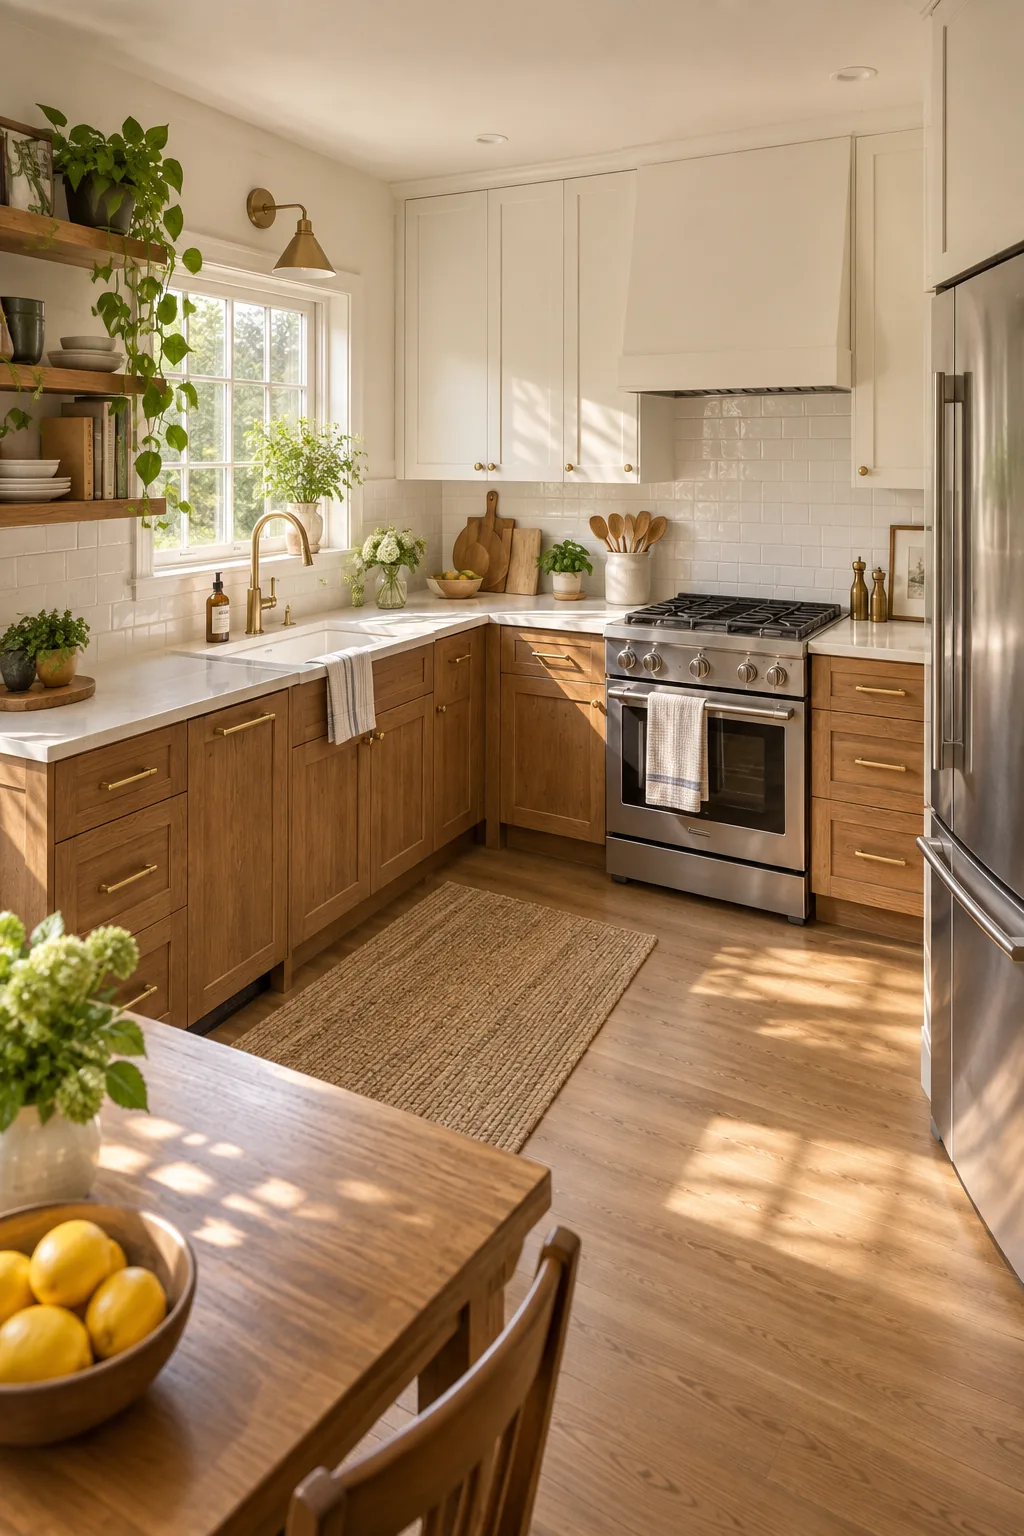
Once you map the outer boundary, you can clearly see whether your central floor area can support an island or if a peninsula is the only viable structural option.
Mapping the Primary Work Triangle
A highly functional layout relies on an unobstructed path between your sink, stove, and refrigerator. Keep the total distance of these three legs between 13 and 26 feet to maintain an efficient balance of movement.
Measuring the Total Room Width
Measure the total room width from drywall to drywall to determine your true working dimensions. Subtracting the 48 inches required for two opposing cabinet runs reveals exactly how much breathing room remains for your central walkway.
Upgrading to 15-Inch Deep Uppers
Standard upper cabinets are typically 12 inches deep, which often leaves large dinner plates protruding awkwardly. Specifying 15-inch deep uppers adds 25 percent more volume, allowing you to store oversized platters securely behind closed doors.
- Measure your largest dinner plate diameter to confirm the required internal cabinet depth.
- Verify that your ceiling height can accommodate the visual weight of deeper upper boxes without feeling oppressive.
- Check the alignment of your overhead lighting to prevent the deeper cabinets from casting shadows on the counter.
In my own Denver bungalow, upgrading to 15-inch uppers meant my oversized serving bowls finally fit seamlessly on the second shelf.
Organizing the Upper Cabinet Interiors
With that extra depth secured, you can implement vertical dividers to keep cutting boards and baking sheets upright. This simple internal adjustment prevents a chaotic stack of flat items from collapsing every time you reach for a pan.
Selecting Space-Saving Hardware
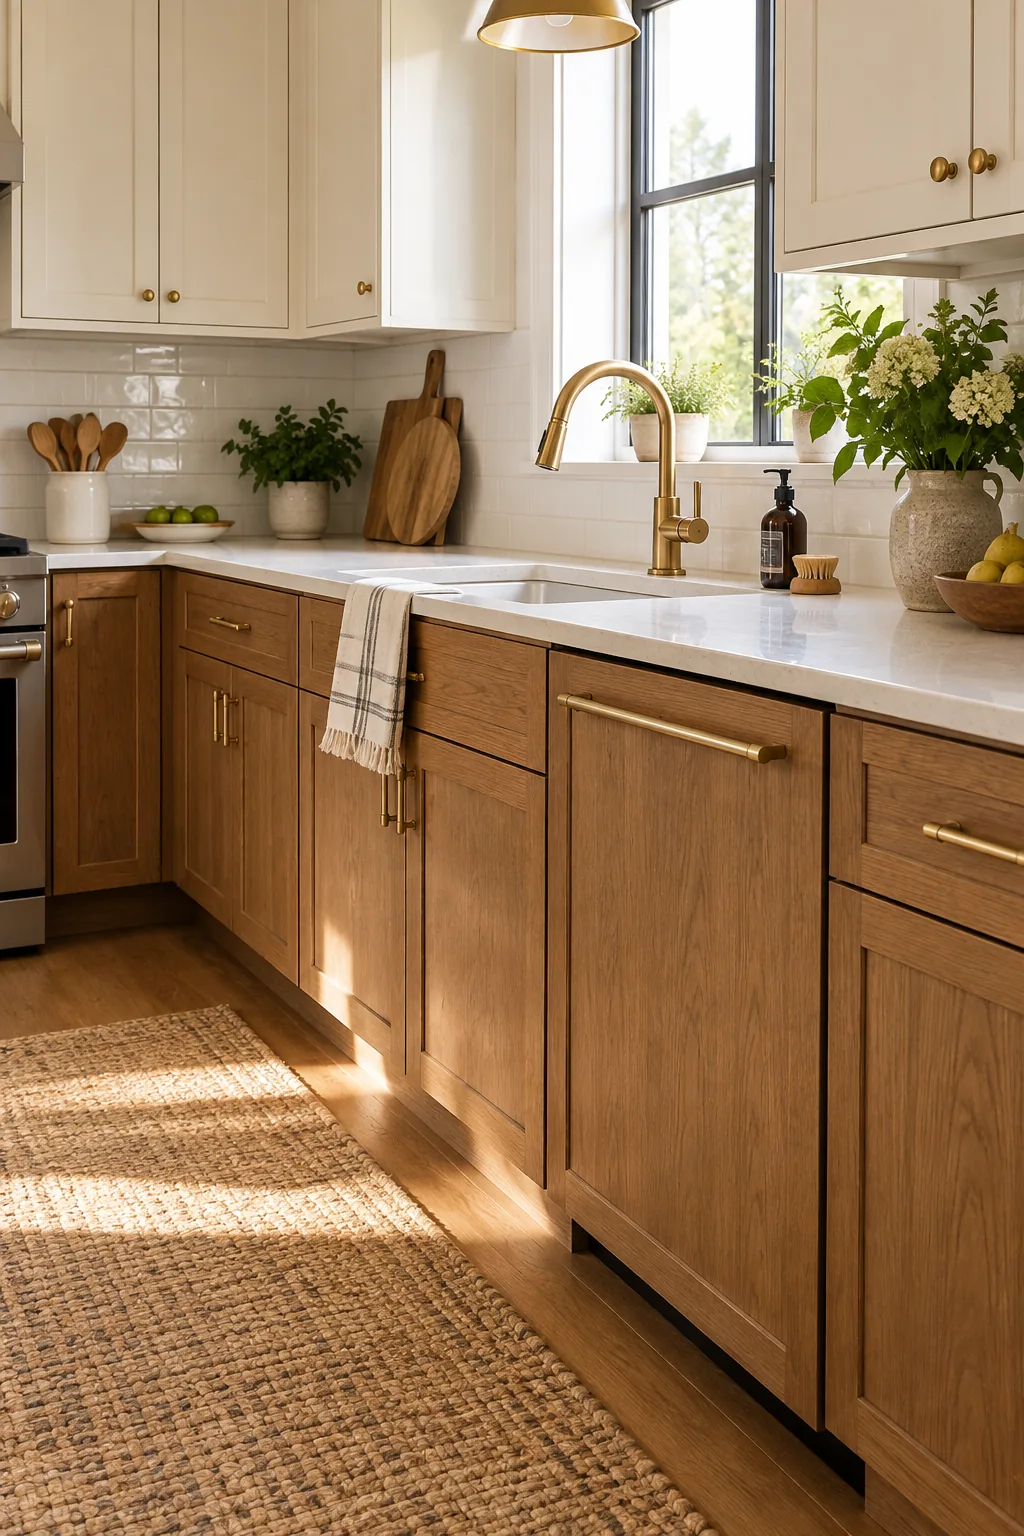
Low-profile cabinet hardware prevents bruised hips in a narrow cooking space. Opt for recessed pulls or sleek edge pulls that sit flush against the drawer faces, keeping the primary walkways completely free of dangerous metal snags.
Maximizing Deep Drawer Bases
Replace standard lower door cabinets with 3-drawer stacks ranging from 30 to 36 inches wide. Deep drawer bases bring heavy items directly to you, eliminating the need to dig blindly into dark lower shelves.
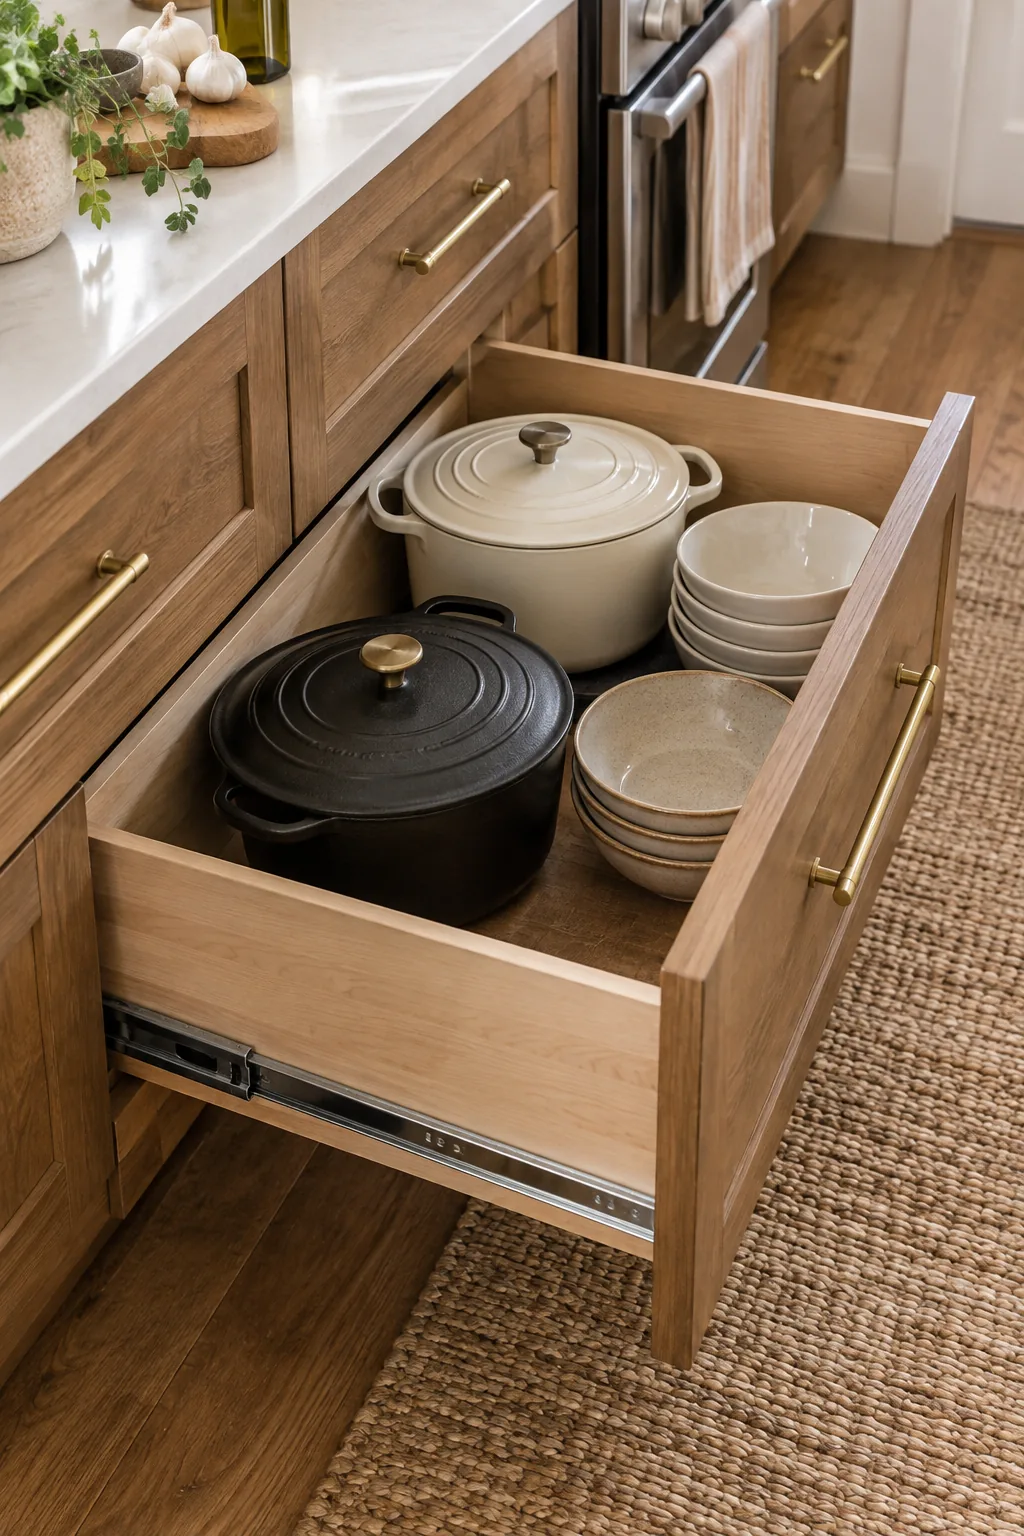
While deep drawers are incredibly efficient, they introduce significant weight to the cabinet hardware. I learned this the hard way when my heavy cast iron collection bowed a standard track in my first kitchen remodel.
Specifying Heavy-Duty Drawer Glides
Standard soft-close mechanisms will fail quickly if forced to control the momentum of a fully loaded pot drawer. Upgrading the internal track hardware guarantees a smooth, silent closure regardless of how much stoneware you pack inside.
Integrating Hidden Appliance Panels
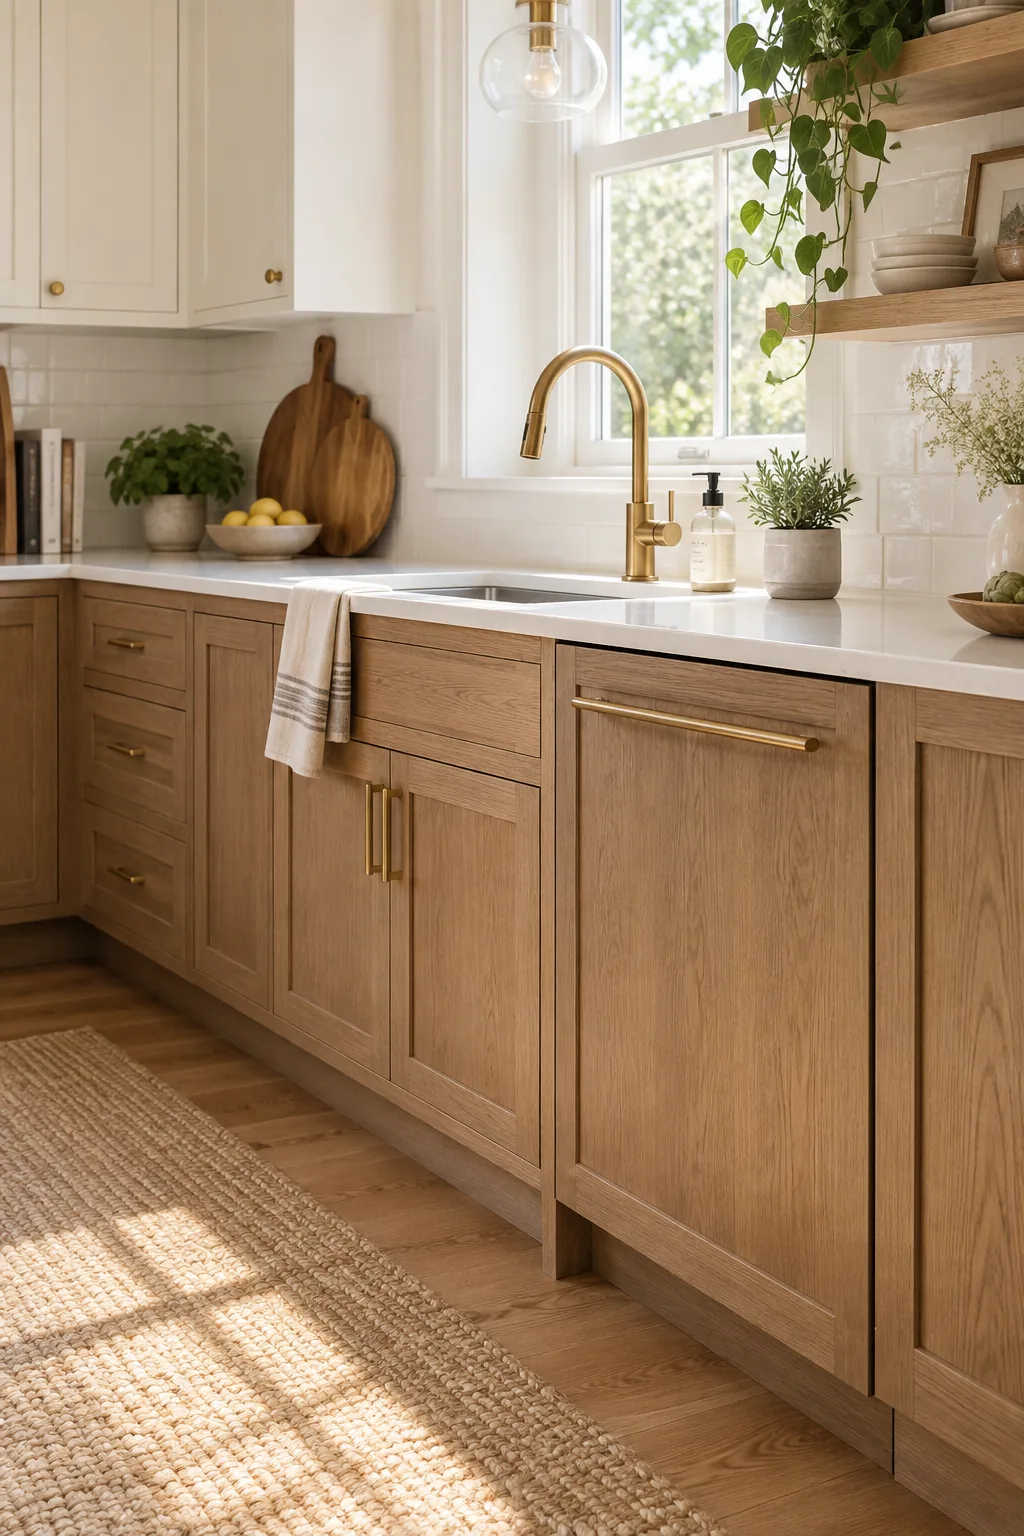
Visual clutter shrinks a room faster than physical walls ever could. Wrapping a standard 24-inch dishwasher in a hidden appliance panel that perfectly matches your wood cabinetry creates an unbroken visual line across the lower perimeter.
Selecting Panel-Ready Pulls
A heavy panel-ready refrigerator requires substantial leverage to break the magnetic seal. Install an oversized appliance pull that measures at least 12 inches long to provide a comfortable, secure grip for daily use.
Unlocking Storage with Toe-Kick Drawers
The standard 4.5-inch high baseboard area is usually abandoned as dead space. Installing toe-kick drawers reclaims this gap, providing the perfect shallow footprint for baking sheets, cutting boards, and seasonal platters.
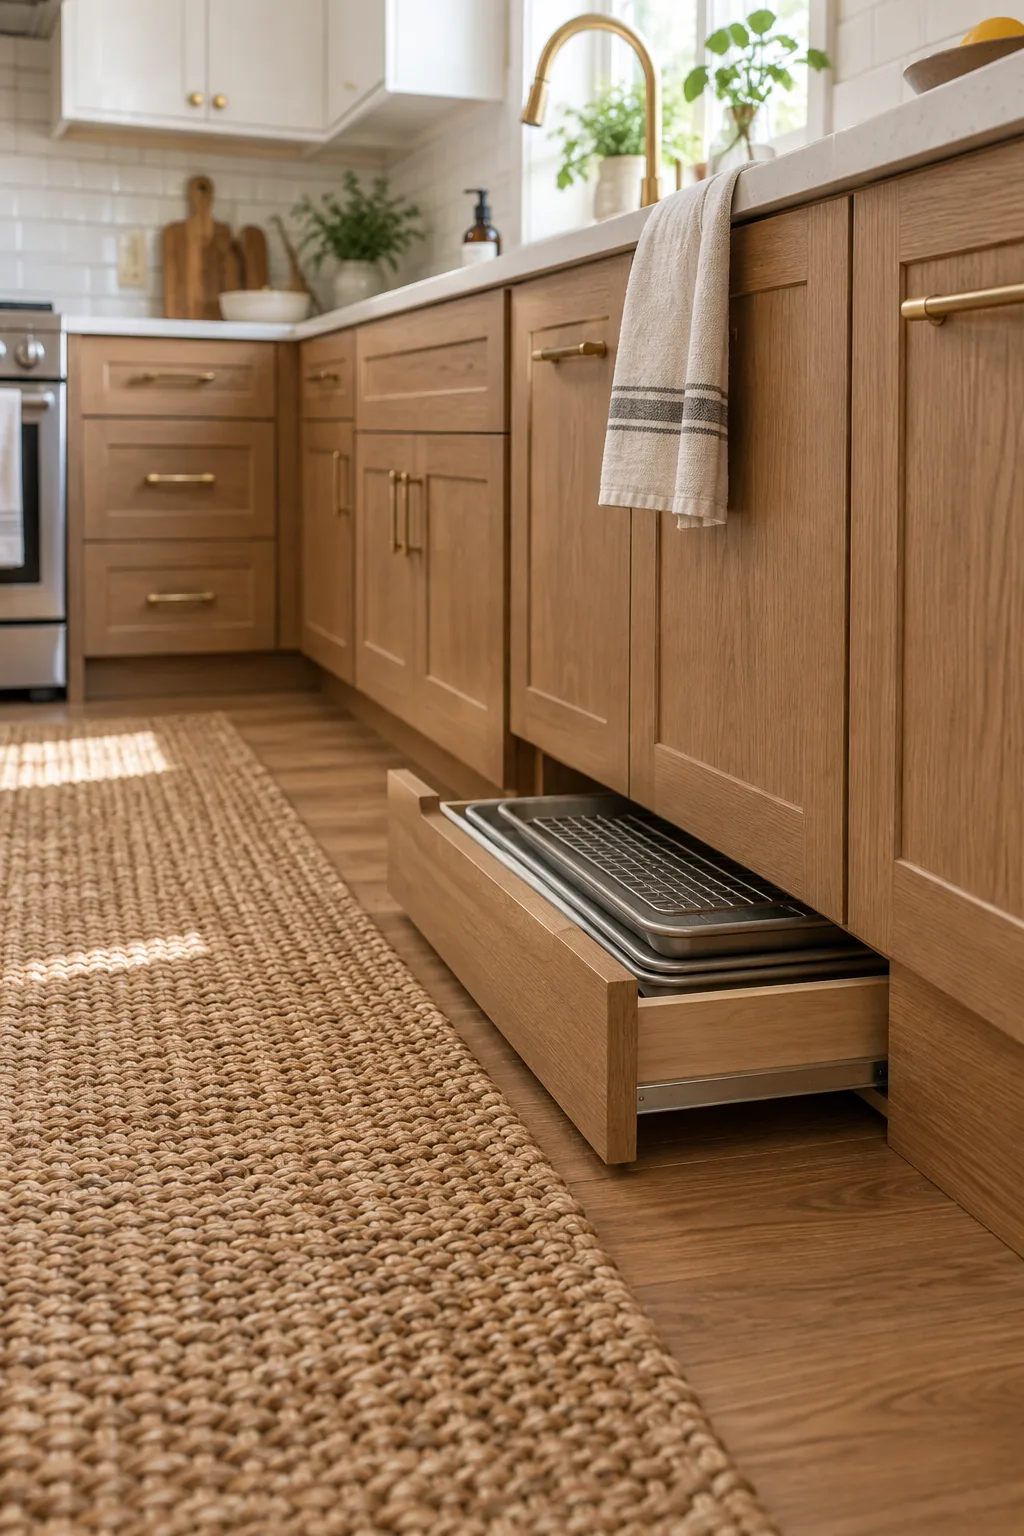
Capturing this floor-level zone frees up your easily accessible middle drawers for daily utensils and crucial prep tools.
Installing Push-to-Open Mechanisms
Floor-level storage must remain completely flush to avoid tripping hazards in a busy work zone. Equip your baseboard storage with mechanical push-to-open latches so you can access your baking sheets with a simple tap of your foot.
Maximizing Vertical Pantry Storage
A narrow pull-out pantry can hold an astonishing amount of dry goods if properly engineered. Specify a 9-inch or 12-inch wide full-height pull-out next to the refrigerator to capture every available inch of the floorplan.
Managing Countertop Appliance Zones
Keep the L-shaped corner completely clear of daily appliances to maximize your usable prep space. Designate a specific 15-inch wide landing zone near the stove exclusively for your coffee maker or stand mixer.
Utilizing Under-Cabinet Rail Systems
Free up your limited drawer space by moving frequently used utensils to the backsplash. A sleek brass rail system mounted just below the upper cabinets keeps spatulas and whisks within arm’s reach while preserving the countertop below.
Designing the Corner Dead Space
Blind corners notorious for swallowing plastic containers can be optimized with an articulated kidney pull-out. This specialized hardware swings entirely out of the cabinet box, granting full visibility to your least accessible storage zone.
The Small Kitchen Spatial Clearance Cheat Sheet
A beautiful layout completely fails if you cannot comfortably open the oven door. Use this compact spatial clearance cheat sheet to guarantee a safe, walkable flow between your counters and appliances.
In a recent tight galley project, ignoring these crucial numbers nearly meant the refrigerator door collided with the opposite counter during installation.
| Clearance Zone | Minimum Distance | Ideal Distance | Primary Function |
|---|---|---|---|
| Single-Cook Aisle | 36 inches | 42 inches | Basic thoroughfare |
| Multi-Cook Aisle | 42 inches | 48 inches | Passing space |
| Prep Landing Zone | 15 inches | 24 inches | Beside the stove |
| Sink Landing Zone | 18 inches | 24 inches | Dish staging area |
| Work Triangle Leg | 4 feet | 5 to 9 feet | Step efficiency |
Designing for Traffic Flow
Route non-cooking household traffic away from the primary prep zone to prevent dangerous collisions. Positioning the refrigerator at the outer edge of the layout allows family members to grab drinks without crossing the hot stove area.
Verifying Appliance Door Swings
Measure the full open arc of your oven and dishwasher doors to ensure they do not overlap when lowered simultaneously. You must leave a minimum of 21 inches of standing room in front of a fully extended appliance door.
Lighting the Work Triangle
Proper illumination makes tight spaces feel expansive and much safer for knife work. Install continuous LED strip lighting directly beneath the uppers to flood the primary work triangle with shadow-free task lighting.
Balancing Ambient and Task Lighting
Wire your overhead recessed cans and your under-cabinet strips on completely separate dimmer switches. This electrical separation allows you to dial up the bright task lighting for chopping while keeping the ceiling ambient glow soft.
Small Kitchen Style Inspiration
Find the perfect aesthetic for your compact layout with these distinct looks.
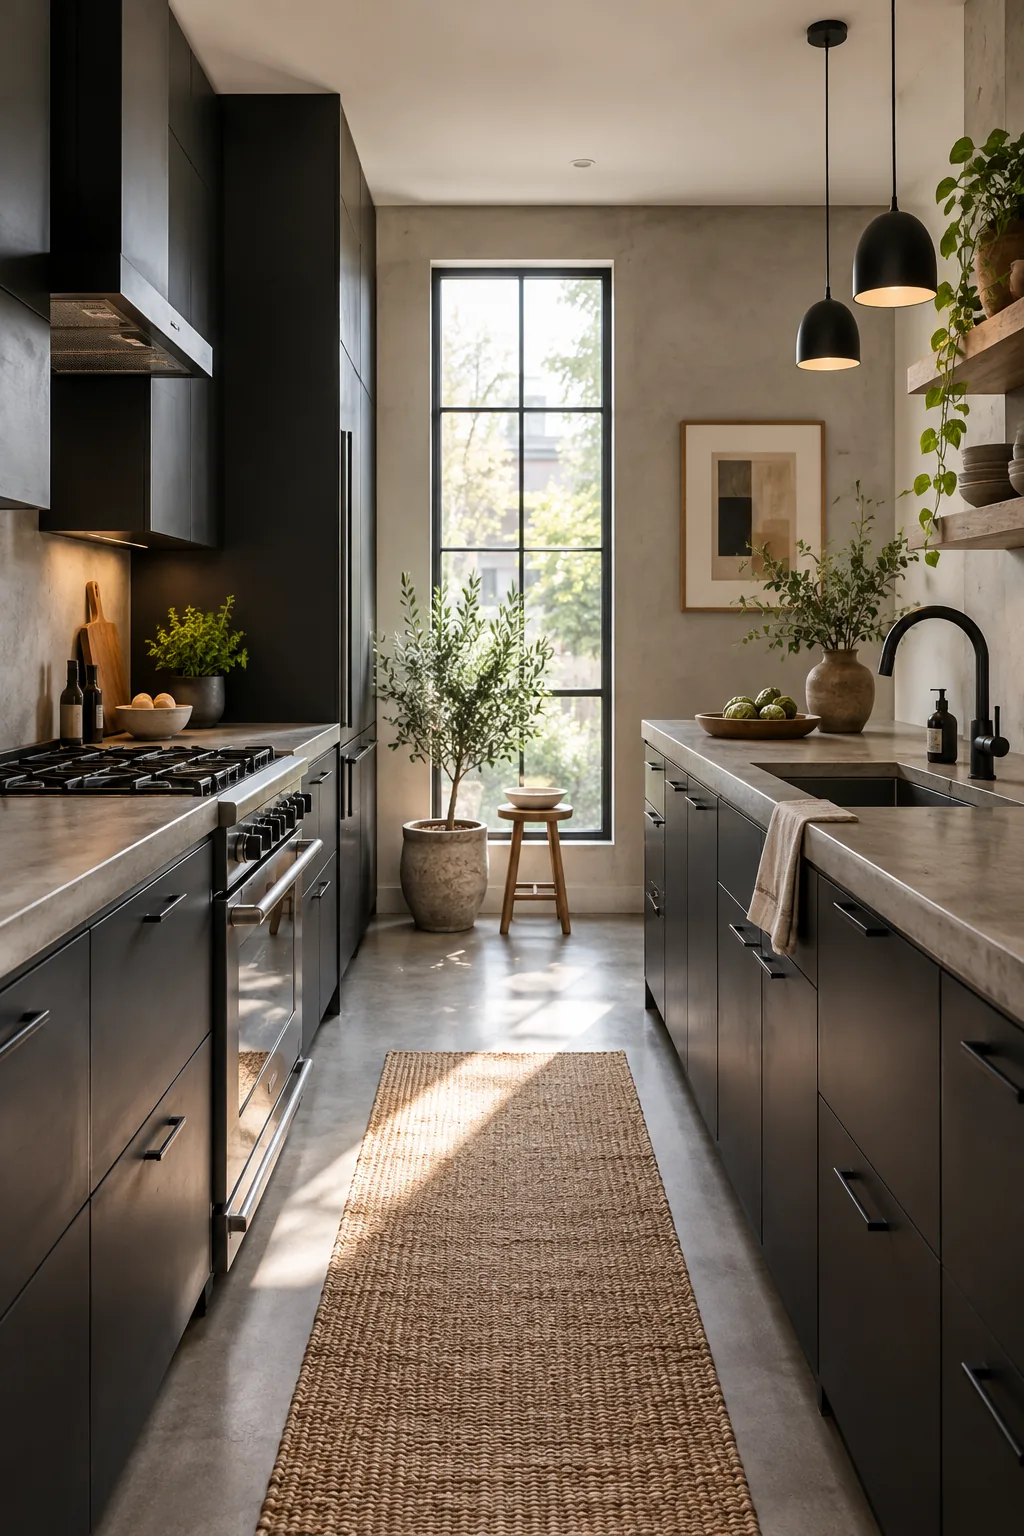
Modern Matte Black Galley: Sleek flat-panel doors in matte black create a moody, streamlined look that visually recedes.
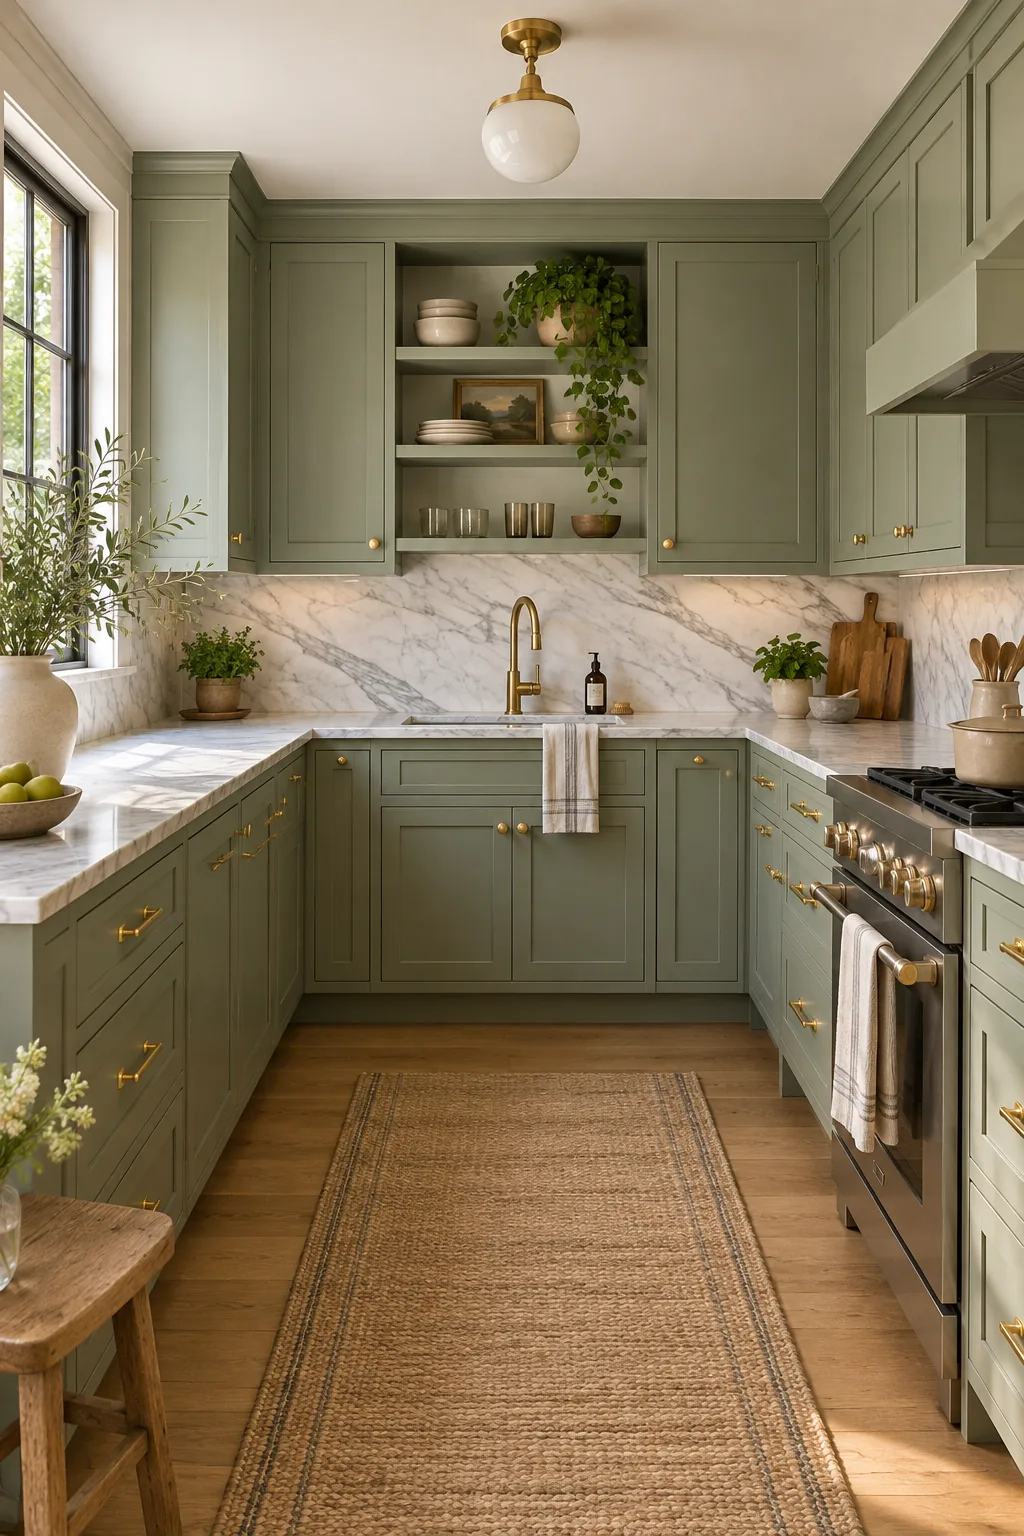
Classic English Shaker Space: Traditional shaker profiles painted in soft sage green bring timeless warmth to a compact layout.
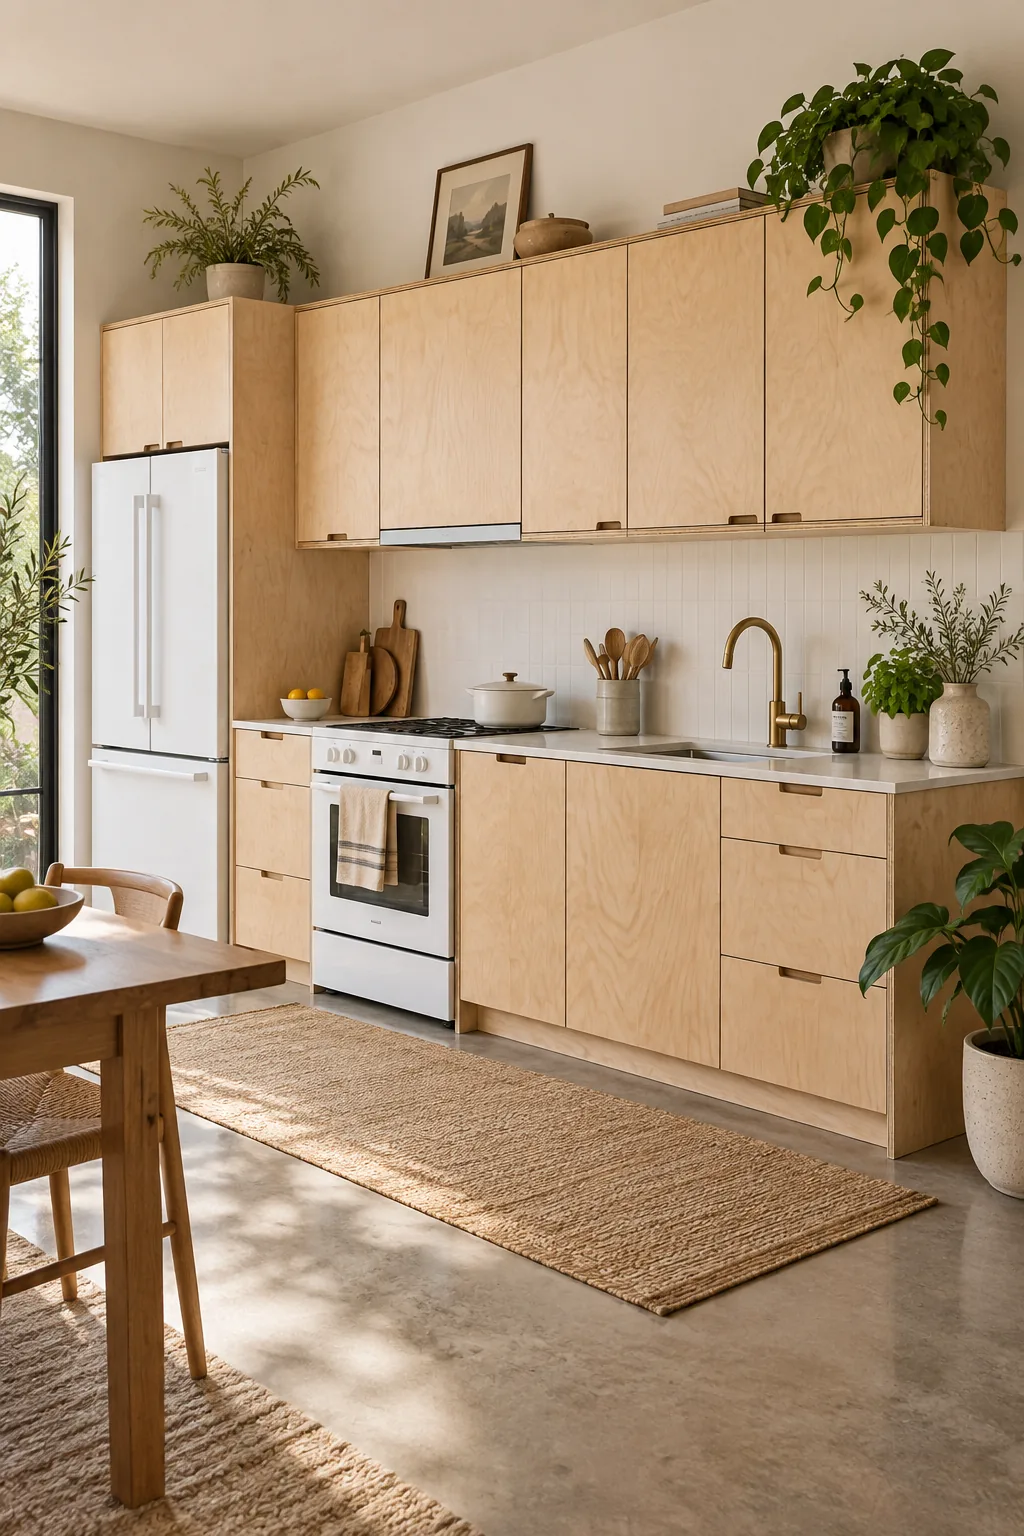
Warm Minimalist Plywood Wall: Exposed plywood edges and flat fronts offer an organic, budget-friendly approach to custom storage.
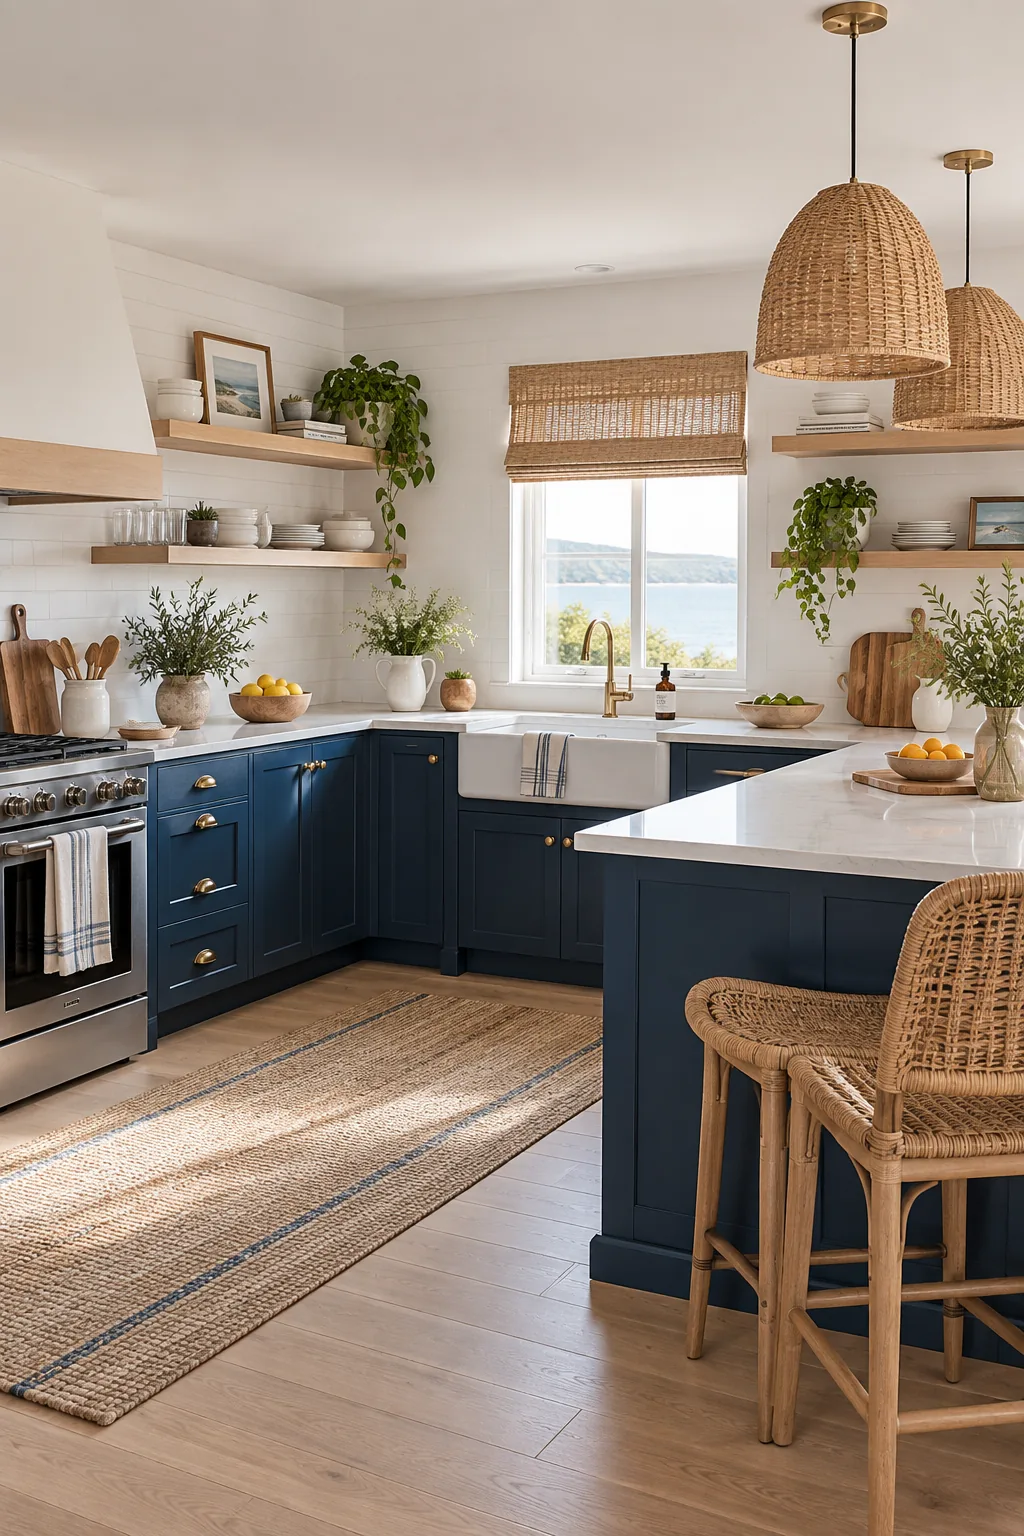
Coastal Navy Blue Corner: Replacing upper cabinets with floating white oak shelves keeps the sightlines open and airy.
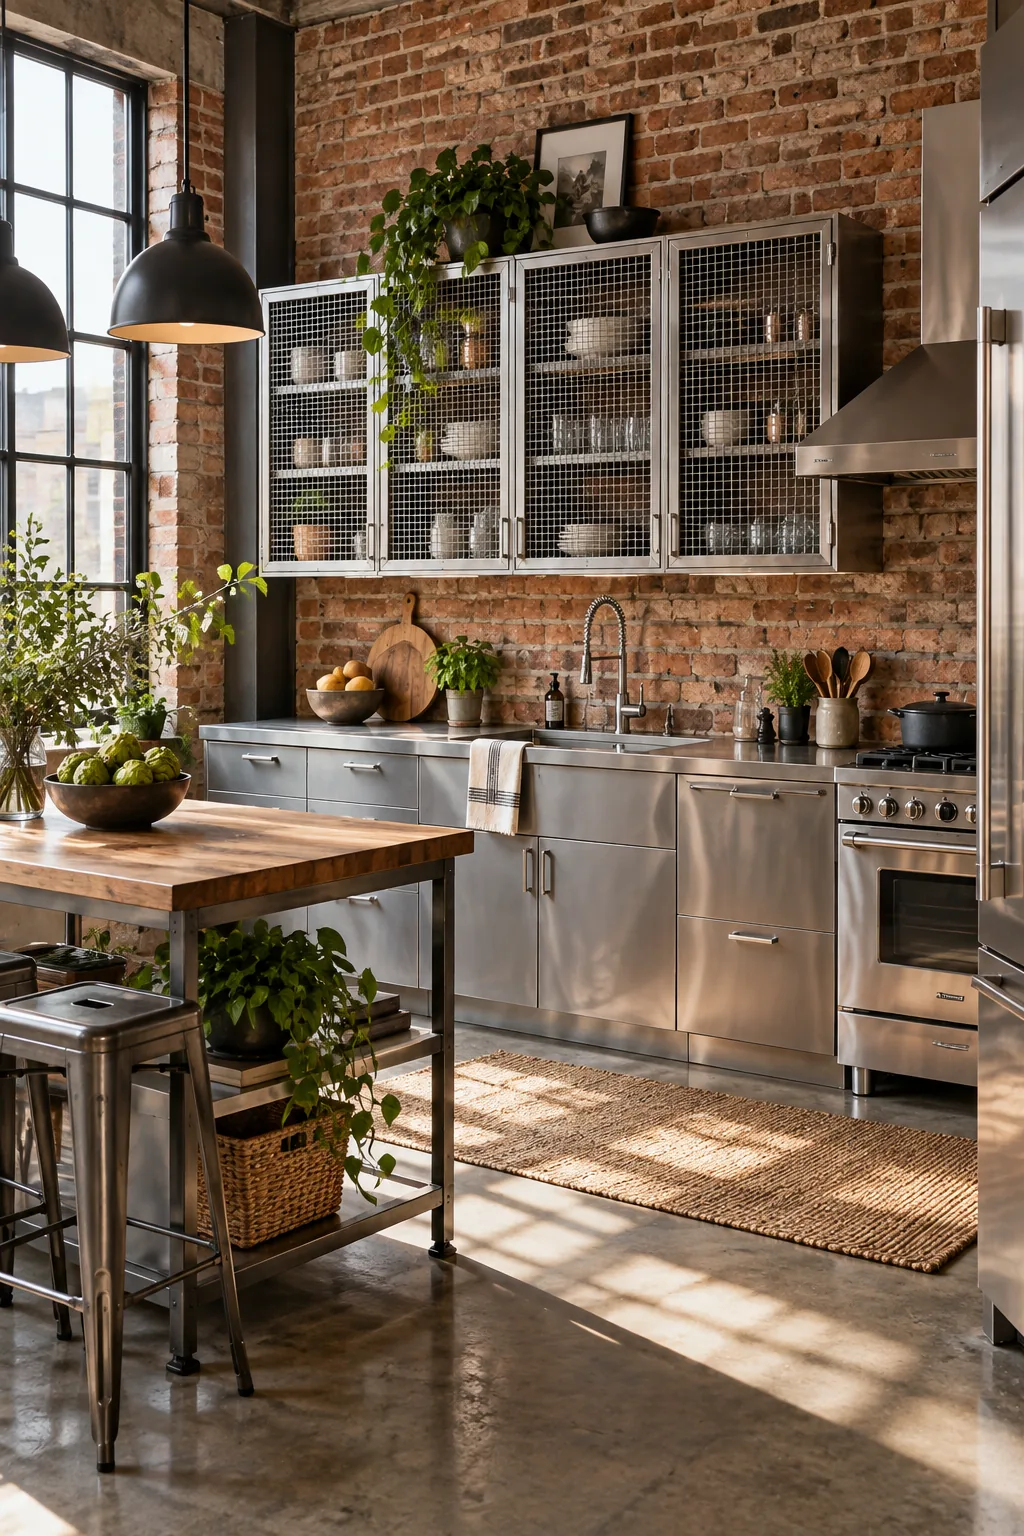
Industrial Stainless Steel Loft: Durable stainless steel fronts reflect light beautifully, making a dark industrial corner feel larger.
Finalizing Your Remodel Layout
Review your spatial clearances and storage upgrades together before submitting the final cabinet order. Ensure that every drawer stack and custom panel fits seamlessly into the established floorplan.
Before signing off on the final millwork invoice, walk through the empty space with a tape measure one last time to catch costly oversights.