
Narrow Kitchen Clearance Math: The Layout Measurement Cheat Sheet
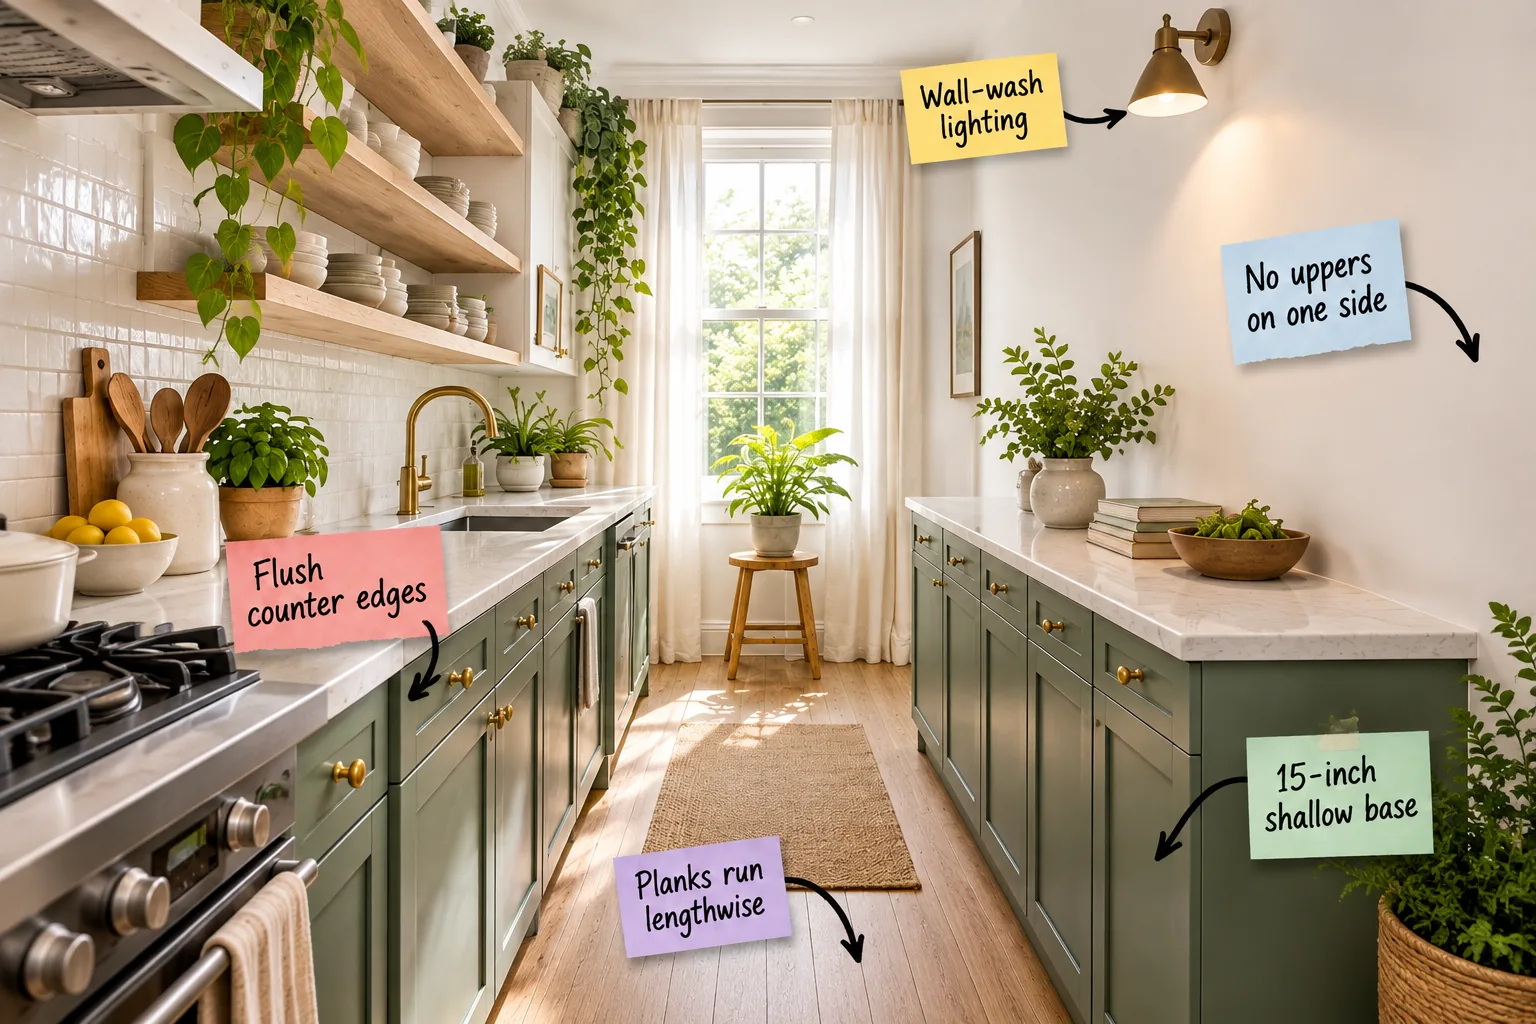
Stop guessing your galley dimensions and use this exact layout measurement cheat sheet to map out your floor plan with perfect clearances. You will walk away knowing the precise math for aisles, cabinets, and walkways to keep your narrow kitchen feeling wide open.
The Essential Aisle Clearance Cheat Sheet
The foundation of a highly functional galley relies on strict spatial math, starting with a 36-inch minimum aisle for a single-cook kitchen. If two people regularly cook together, you must expand that central walkway to between 42 and 48 inches for comfortable passing room.
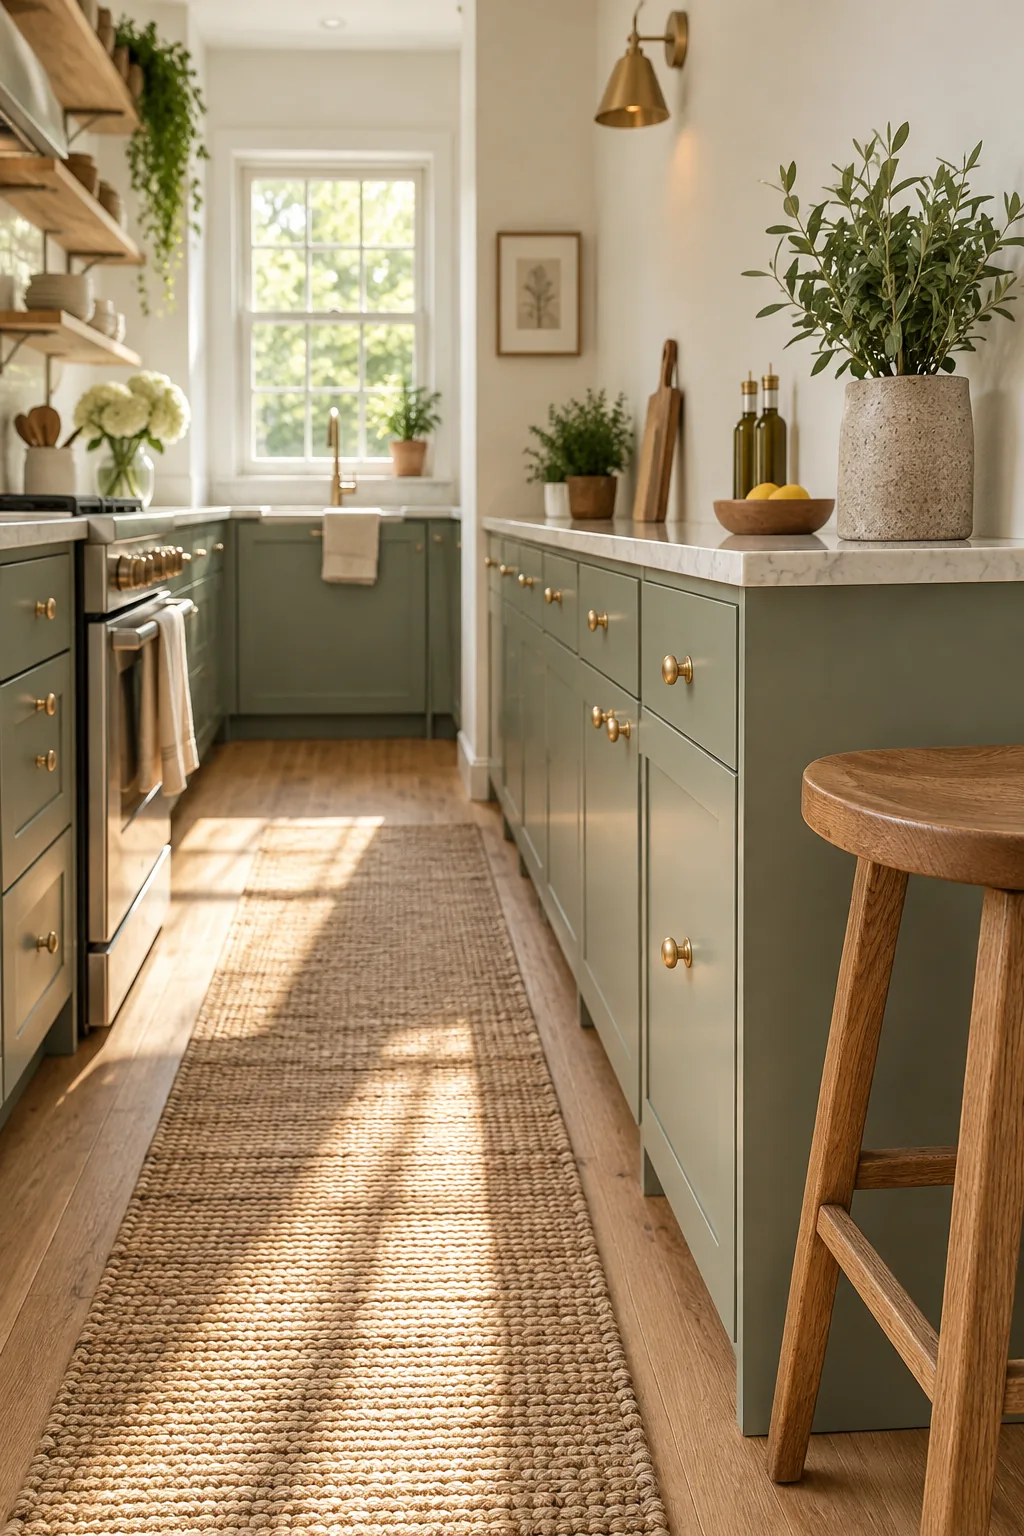
Before committing to a final cabinet order, walk through your taped-out floor plan and verify these three critical spatial relationships to ensure a smooth workflow.
Establishing the Optimal Work Triangle
Once your aisle width is locked in, you must map the distance between your sink, stove, and refrigerator to maintain peak cooking efficiency. A well-planned layout ensures no single leg of this operational triangle stretches further than nine feet across the galley.
| Work Triangle Leg | Minimum Distance | Maximum Distance | Primary Function |
|---|---|---|---|
| Sink to Stove | 48 inches | 108 inches | Food prep and cooking transfer |
| Sink to Fridge | 48 inches | 108 inches | Washing fresh produce |
| Stove to Fridge | 48 inches | 108 inches | Retrieving ingredients quickly |
Keeping these three primary workstations tightly clustered prevents exhausting cross-kitchen sprints while ensuring multiple cooks can navigate the central thoroughfare without constantly colliding. This mathematical discipline forms the invisible backbone of every successfully designed narrow kitchen.
Reclaiming Space With 15-Inch Shallow Base Cabinets
Dropping from the standard 24-inch cabinet depth to a 15-inch shallow base on the non-working side instantly saves 9 crucial inches of aisle space. I used this exact footprint reduction in my own Denver galley to keep the room feeling incredibly open and airy.
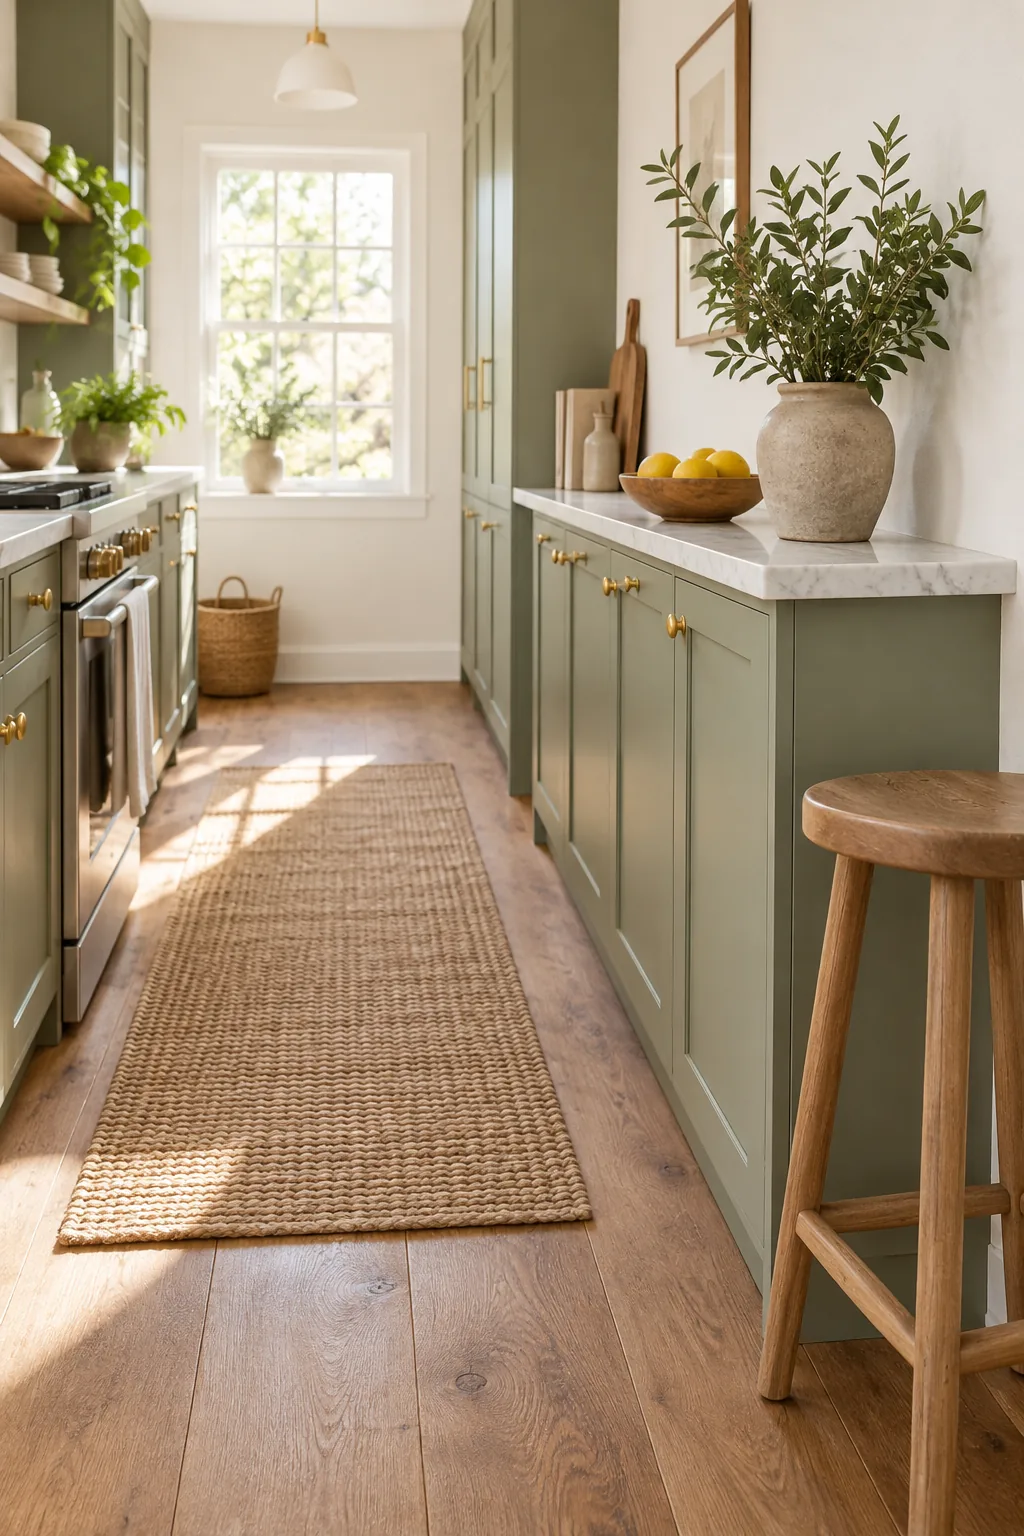
This shallower lower dimension remains perfectly sized for organizing pantry cans, cereal boxes, and everyday glassware. You can effectively maximize your necessary storage capacity along that wall without sacrificing a single inch of your precious standing room in the main thoroughfare.
Specifying Flush Counter Edges
Standard countertops typically overhang the cabinet boxes by 1 to 1.5 inches, quietly eating into your available walkway on both sides of the room. In a tight space, these minor protrusions add up to create unnecessary pinch points along your main path.
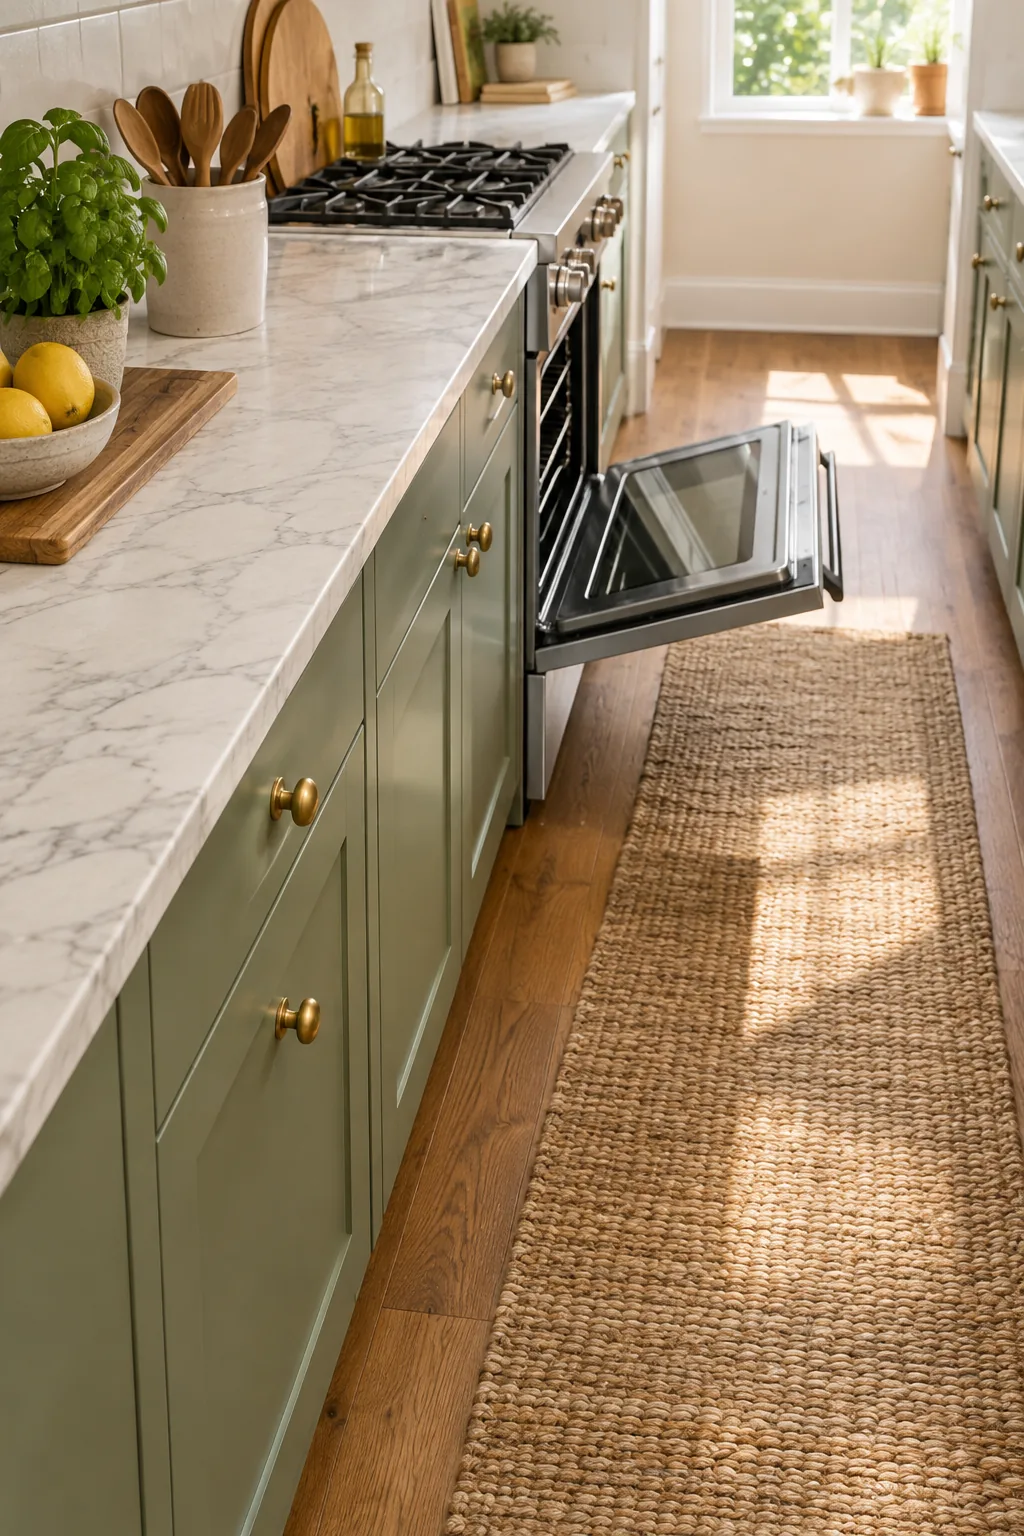
Instruct your stone fabricator to specify completely flush counter edges along both walls to instantly win back up to 3 inches of functional standing room. This subtle customization maintains your full work surface while visually streamlining the entire cabinet run.
Selecting Low-Profile Hardware
Cabinet pulls that jut out into a narrow aisle easily catch on clothing and visually clutter the tight walkway. Swapping bulky traditional handles for sleek, low-profile alternatives immediately smooths out the physical boundaries of your working environment.
- Install edge pulls that mount hidden along the top rim of base drawers.
- Choose recessed finger grooves routed directly into the wooden door frames.
- Select shallow cup pulls that protrude no more than half an inch.
Eliminating these small metallic obstacles ensures you can slide smoothly past the counters during a busy dinner service without snagging your apron on a protruding knob. Every fraction of an inch matters when designing for maximum mobility.
Calculating Appliance Door Swing Zones
A standard oven door requires about 20 to 24 inches of drop-down clearance, which dictates exactly where you can safely stand while baking. Calculating this swing zone prevents the open appliance from pinning the chef directly against the opposite counter.
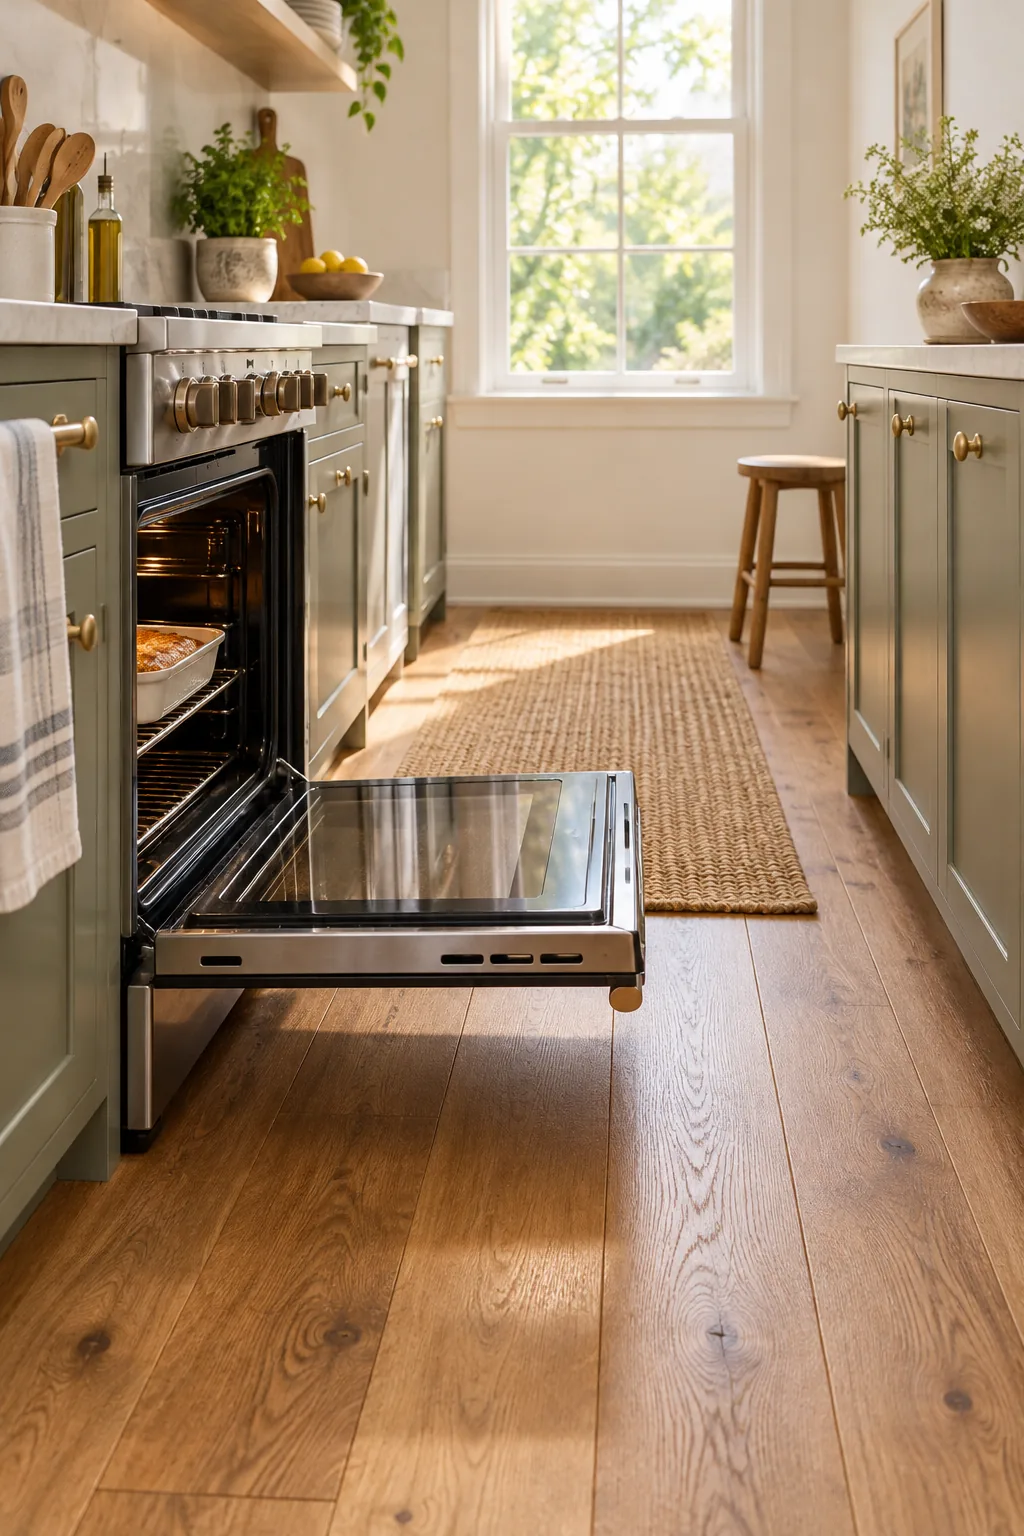
Even with a perfectly measured 42-inch aisle, failing to map out how your appliances open can quickly create a frustrating bottleneck during meal prep. Taking the time to stagger these drop-down zones ensures multiple people can navigate the kitchen safely.
Running Flooring Planks Lengthwise
Transitioning to visual expansion techniques, ensuring that your wood planks run lengthwise parallel to the longest walls draws the eye straight down the aisle. In my recent bungalow project, this simple optical illusion elongated the entire room beautifully.
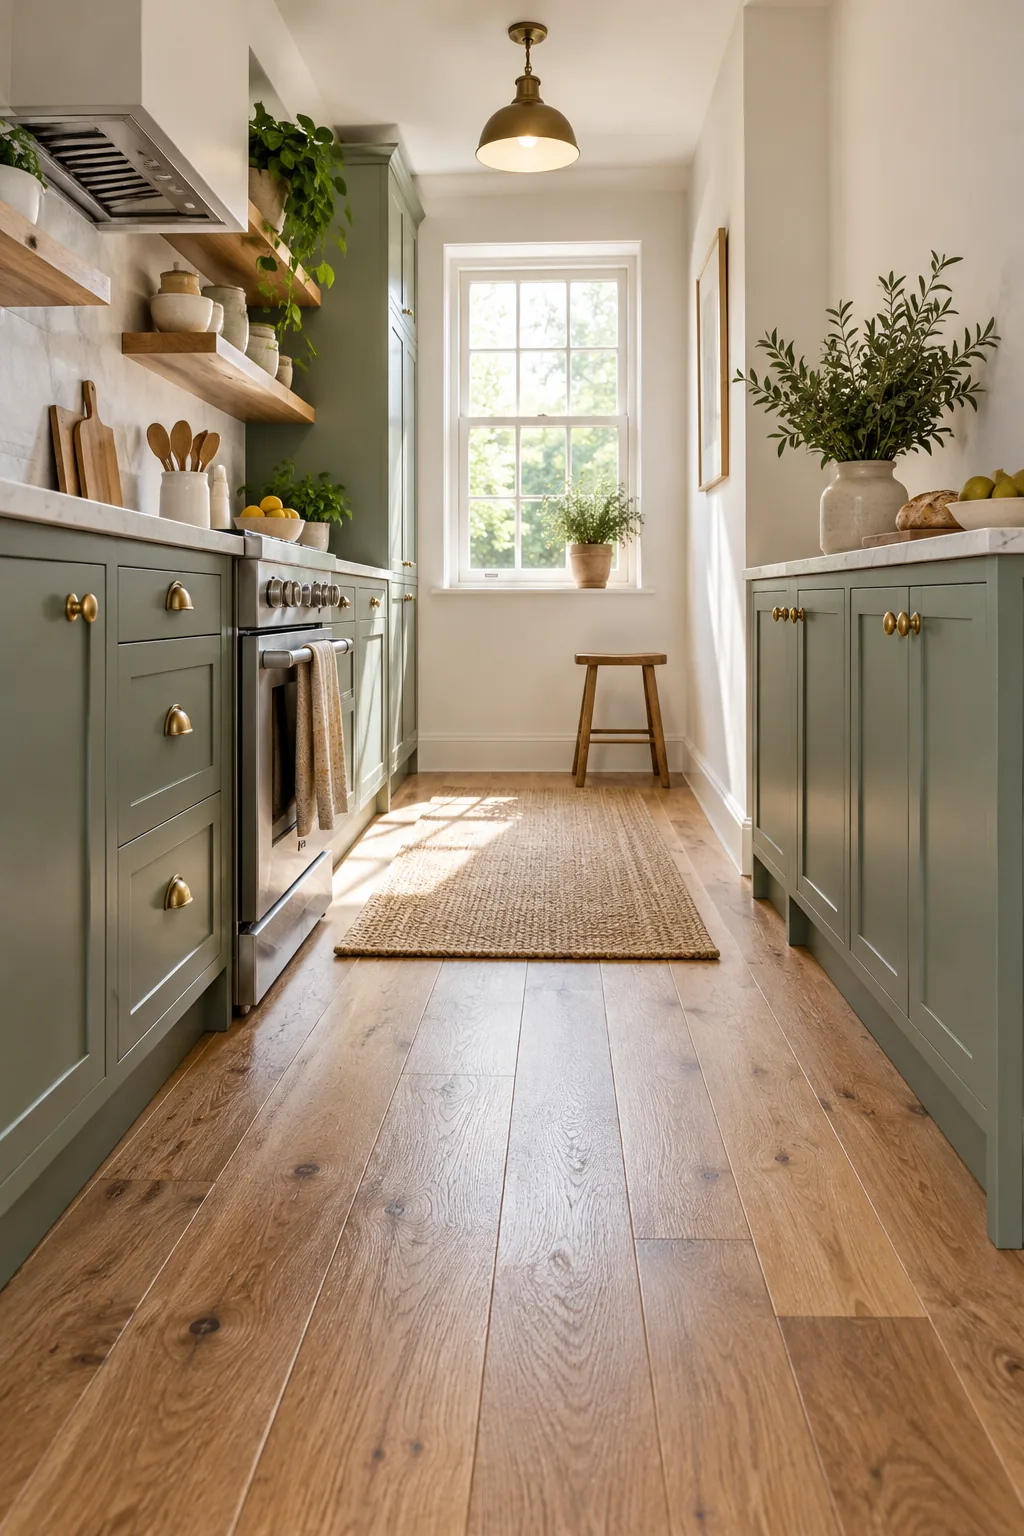
By minimizing visual interruptions across the floor plane, the narrow space feels intentionally streamlined rather than cramped or segmented. This directional flooring strategy works exceptionally well when pulling natural sunlight from a far window deep into the interior footprint.
Minimizing Visual Clutter on Counters
Keeping your flush countertops completely clear of small appliances and utensil crocks prevents the narrow aisle from feeling crowded. Stowing the toaster and blender inside your shallow base cabinets maintains a clean, unbroken horizontal line that visually stretches the room.
Skipping Upper Cabinets on One Side
A narrow footprint quickly feels like a claustrophobic tunnel if both walls are packed heavily to the ceiling with solid upper cabinetry. Removing visual weight at eye level is the most effective way to counteract those tight physical dimensions.
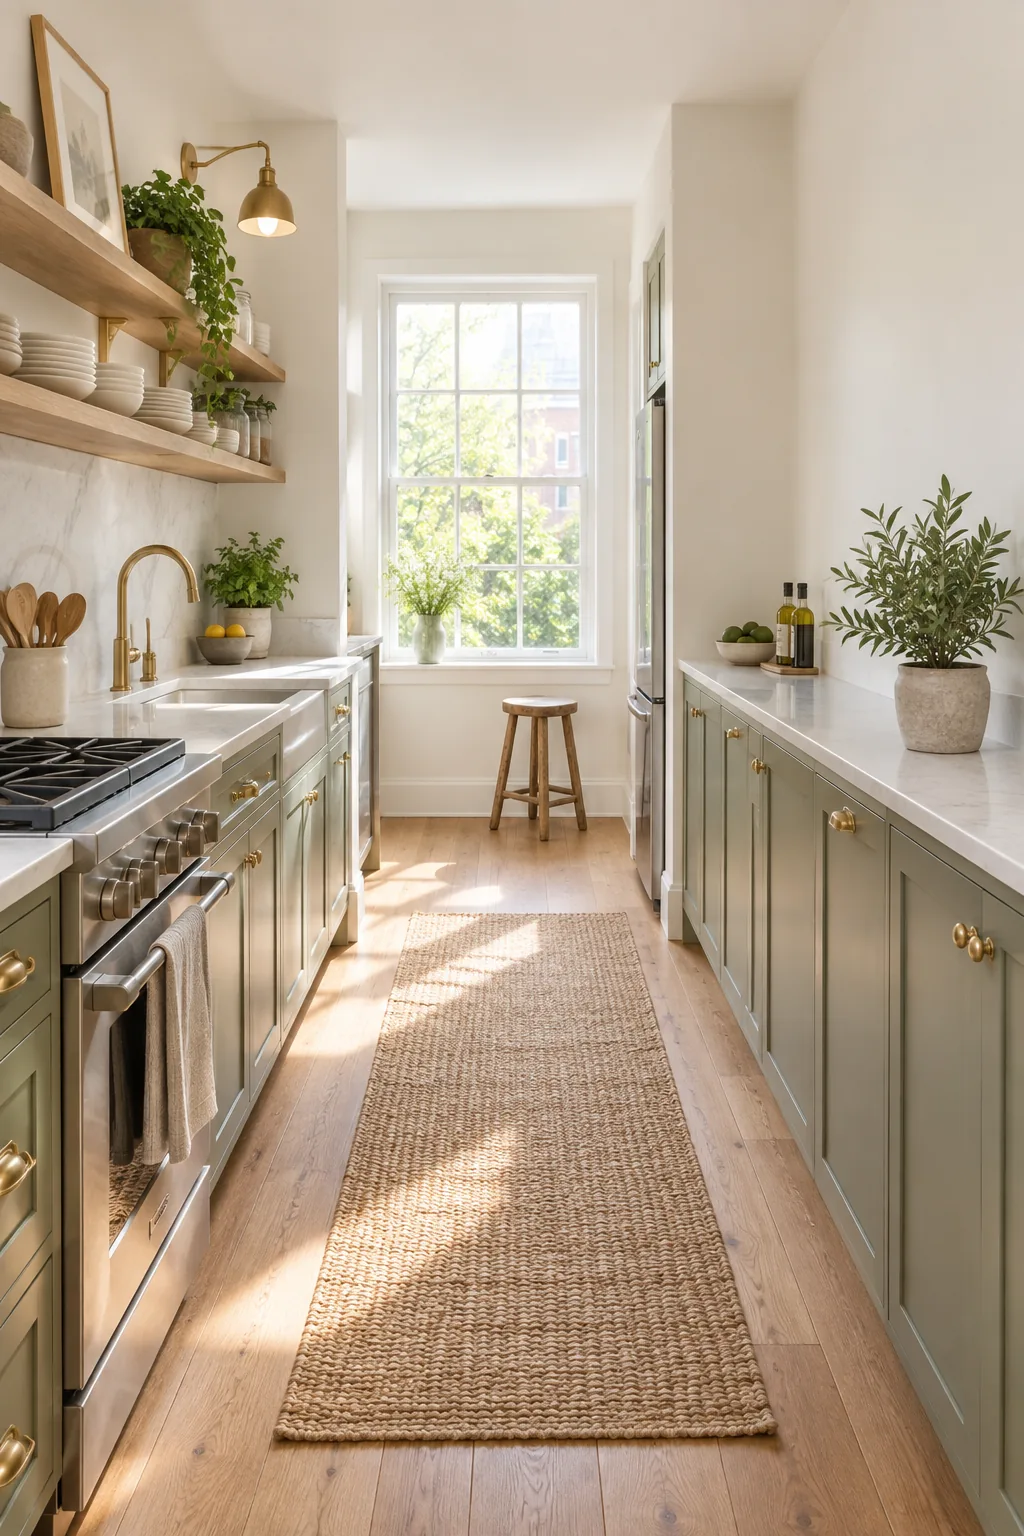
Leaving the wall above the shallow base cabinets completely bare lets the room breathe and reflects natural light, enforcing the essential rule of no uppers on one side. This strategic blank space transforms a strictly utilitarian galley into a balanced, inviting architectural feature.
Setting Open Shelving Depth Limits
If the working side requires open shelving instead of closed uppers, keep those floating shelves strictly between 10 and 12 inches deep. I learned in my own kitchen that deeper shelves quickly loom aggressively over the primary prep zone.
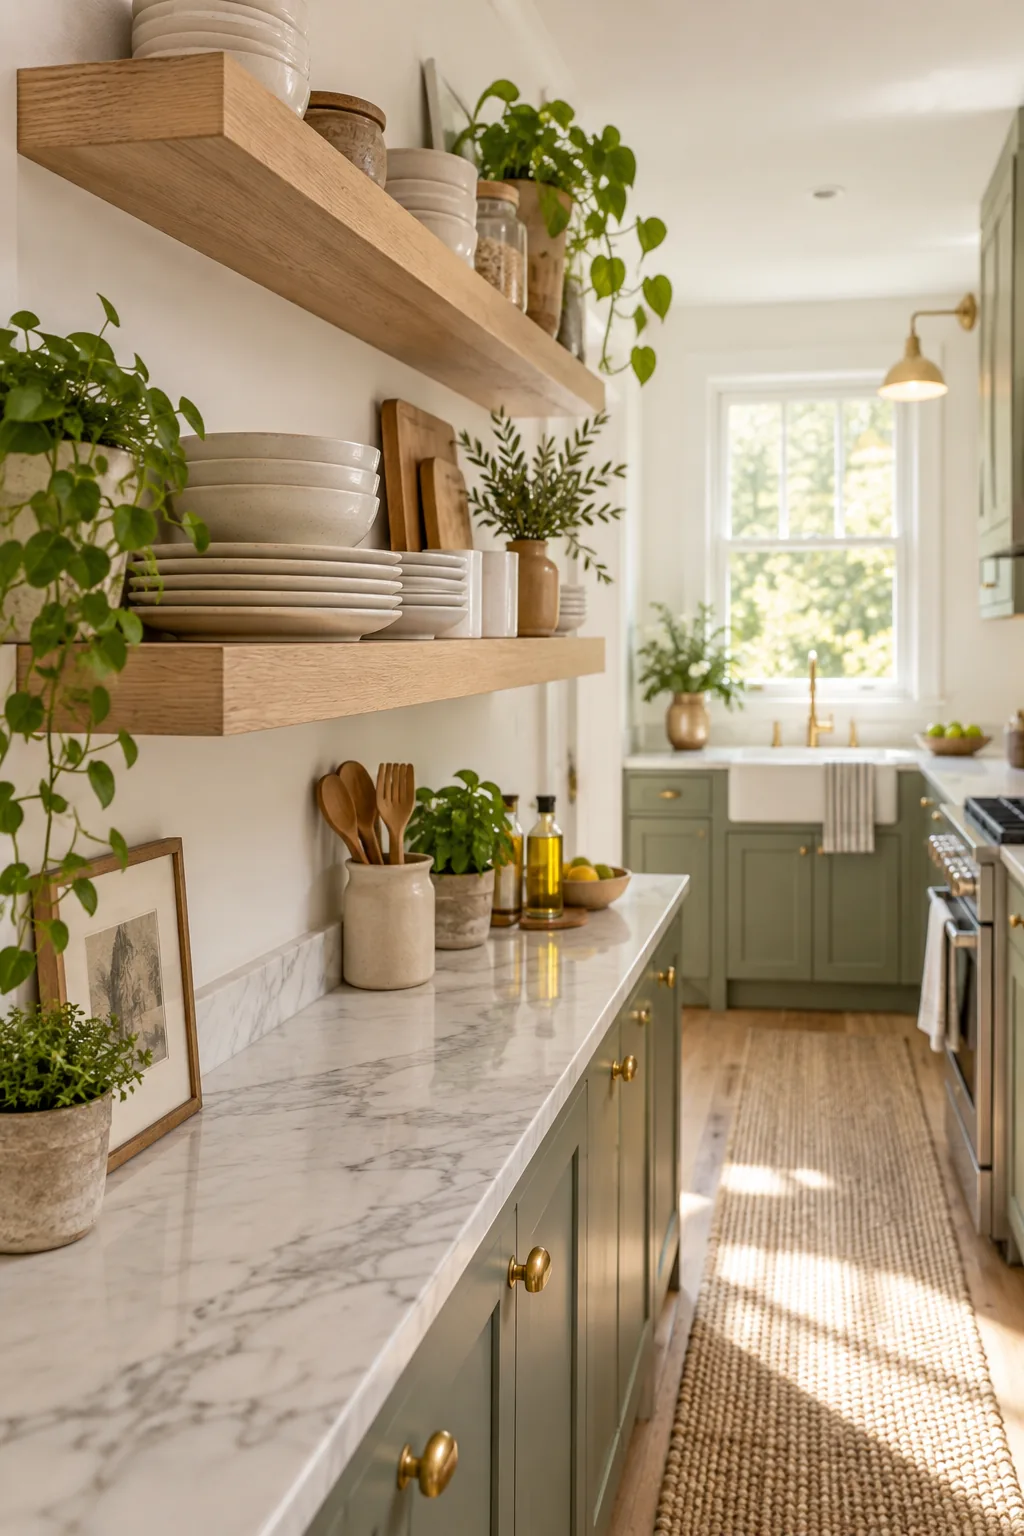
This exact depth ensures the shelves easily hold standard dinner plates and stacking bowls while keeping the vertical airspace above your cutting board completely unobstructed. You gain accessible everyday storage without constantly bumping your forehead while chopping vegetables on the counter.
Painting Ceilings to Lift the Room
Applying a coat of ultra-flat, brilliant white paint to the ceiling instantly raises the perceived height of a narrow kitchen. This highly reflective surface bounces ambient light back down onto your countertops, preventing the upper perimeter from feeling heavy or shadowed.
5 Brilliant Narrow Kitchen Looks
Choose a style and color palette that turns your tight galley into a stunning architectural feature.
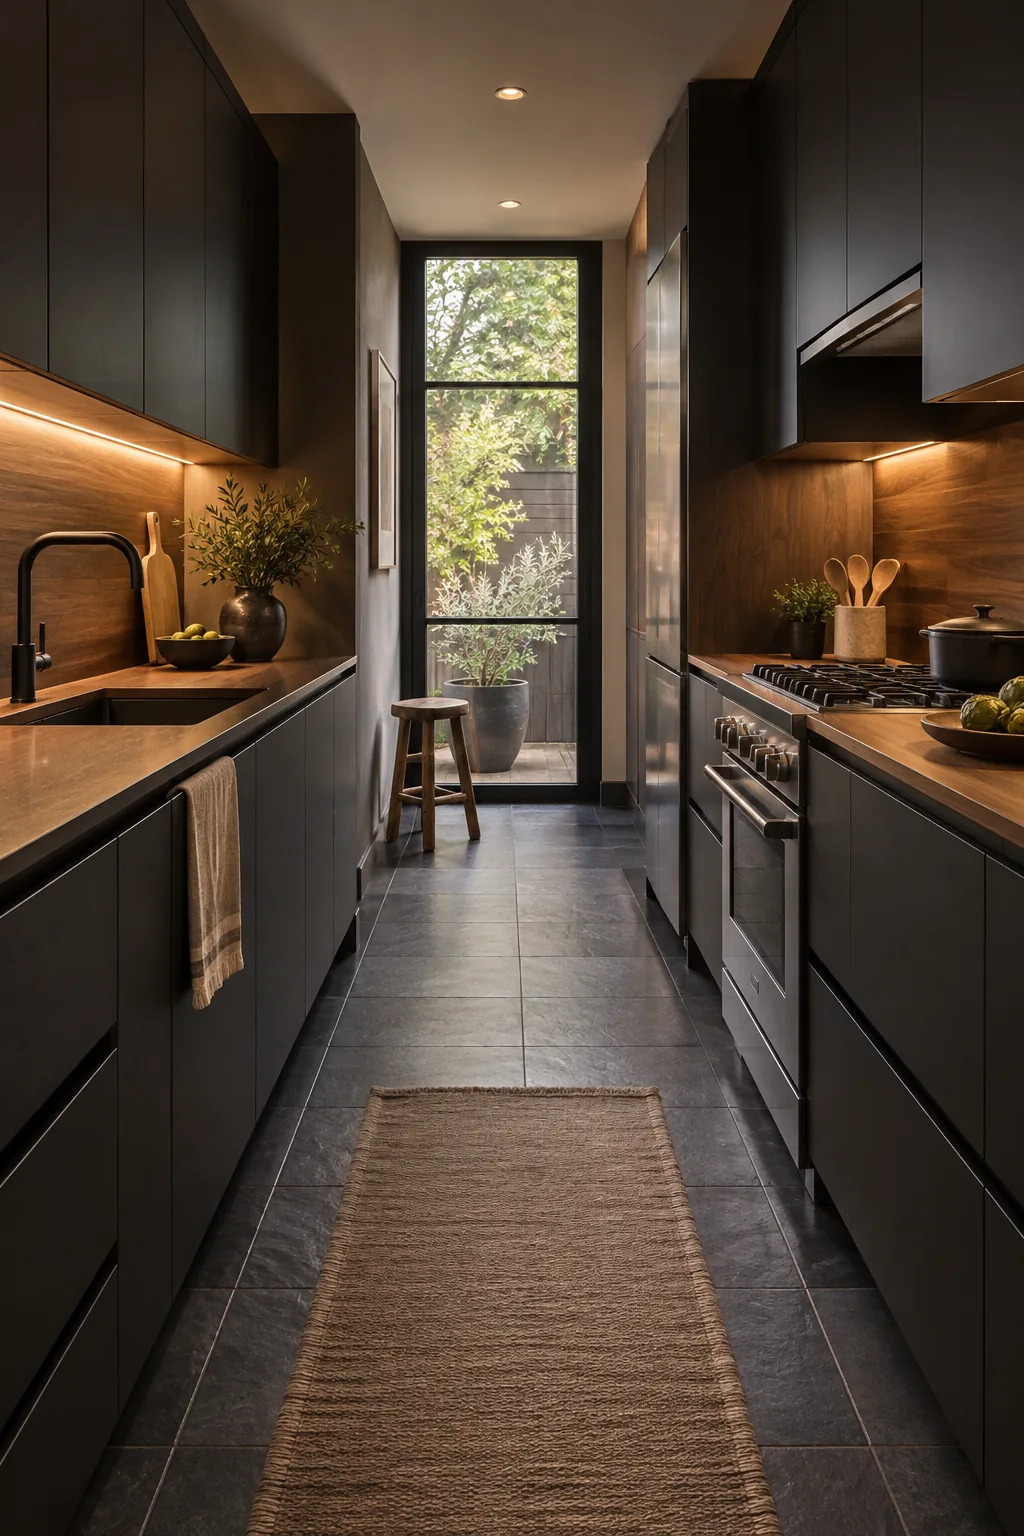
Moody Charcoal and Walnut: Dark cabinets recede visually, making this sophisticated charcoal and walnut layout feel surprisingly expansive.
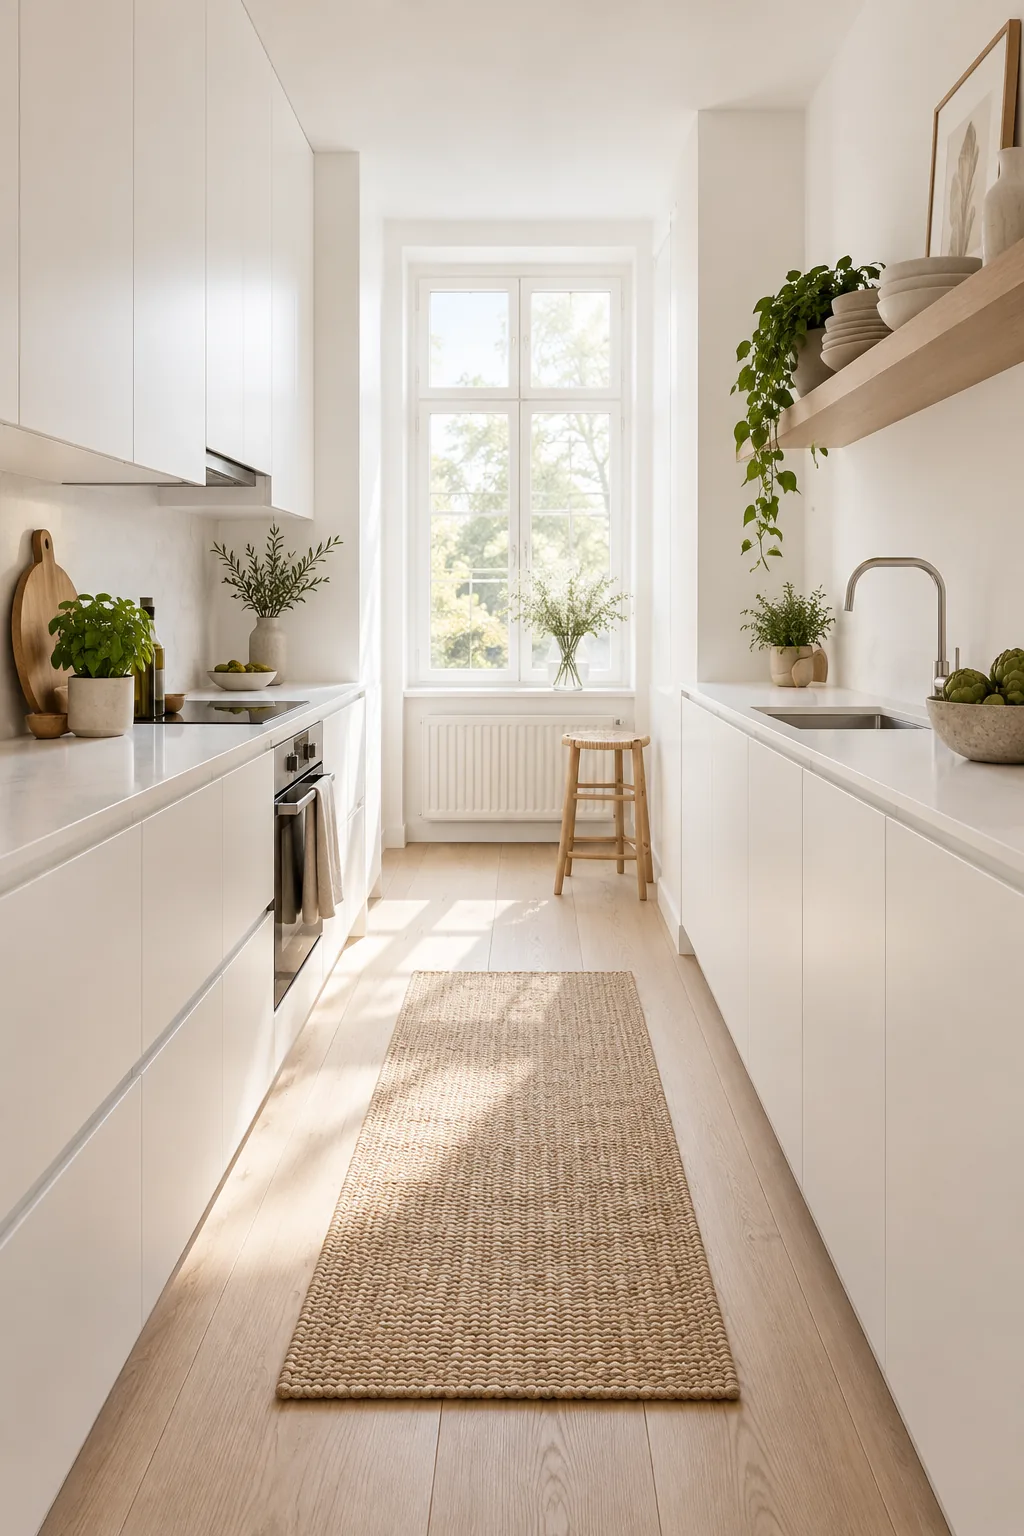
Crisp Minimalist Scandinavian: Handleless white cabinetry creates a seamless visual flow that prevents any snagging in tight aisles.
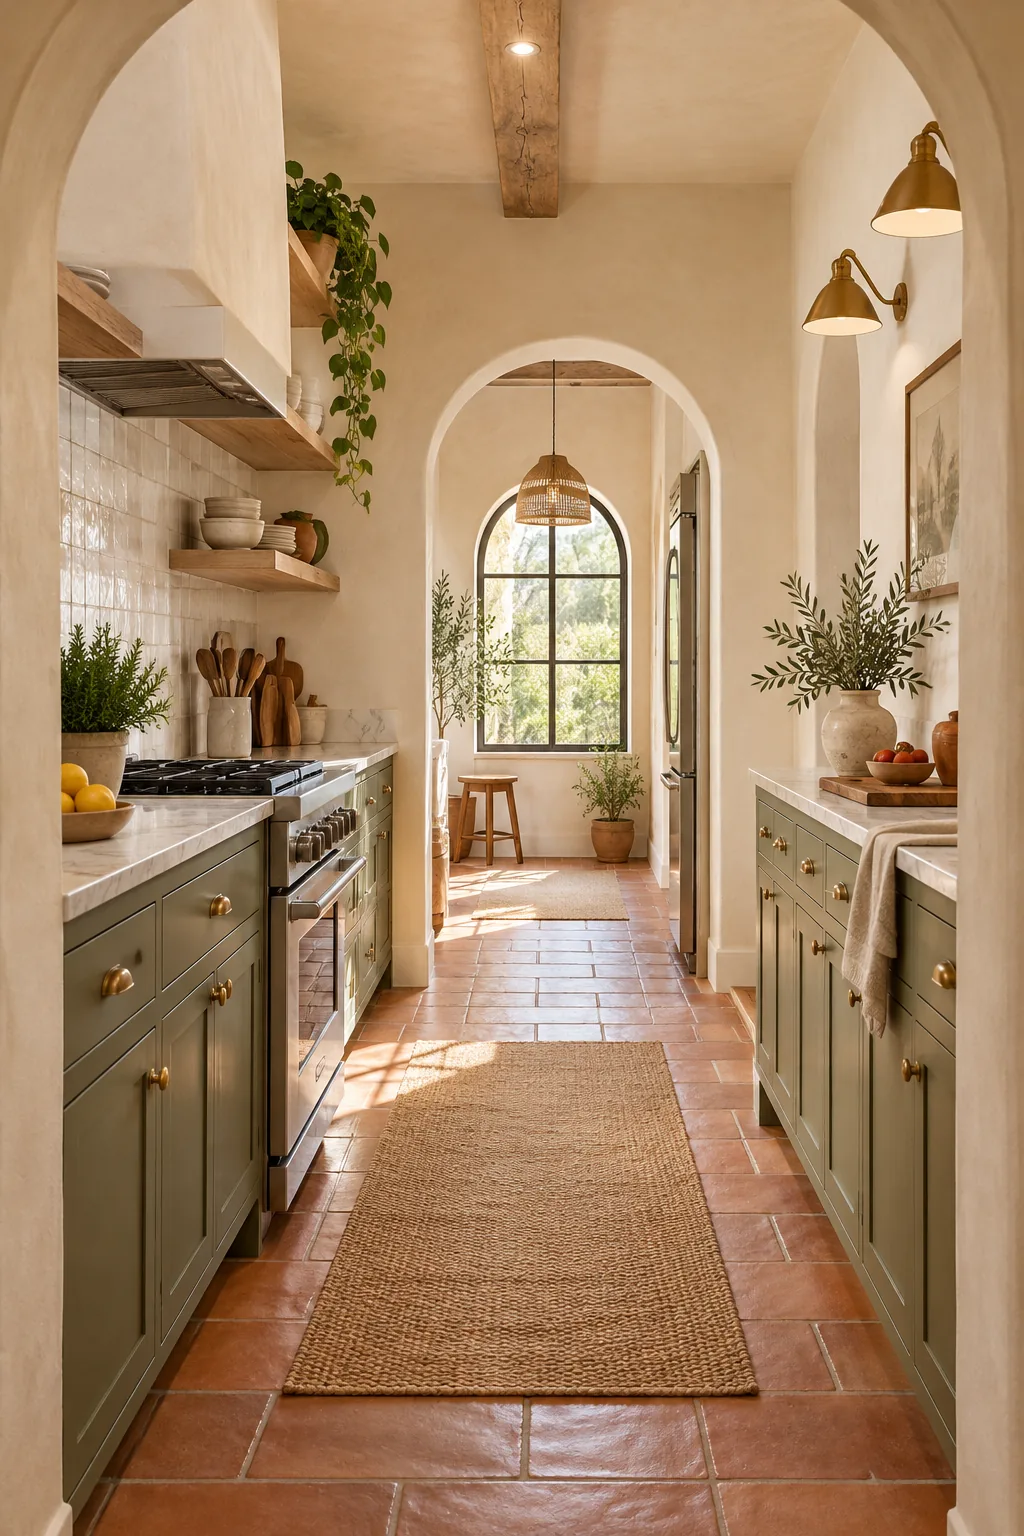
Warm Terracotta and Cream: Textured plaster walls and warm terracotta floor tiles bring an inviting, sun-baked atmosphere to this narrow footprint.
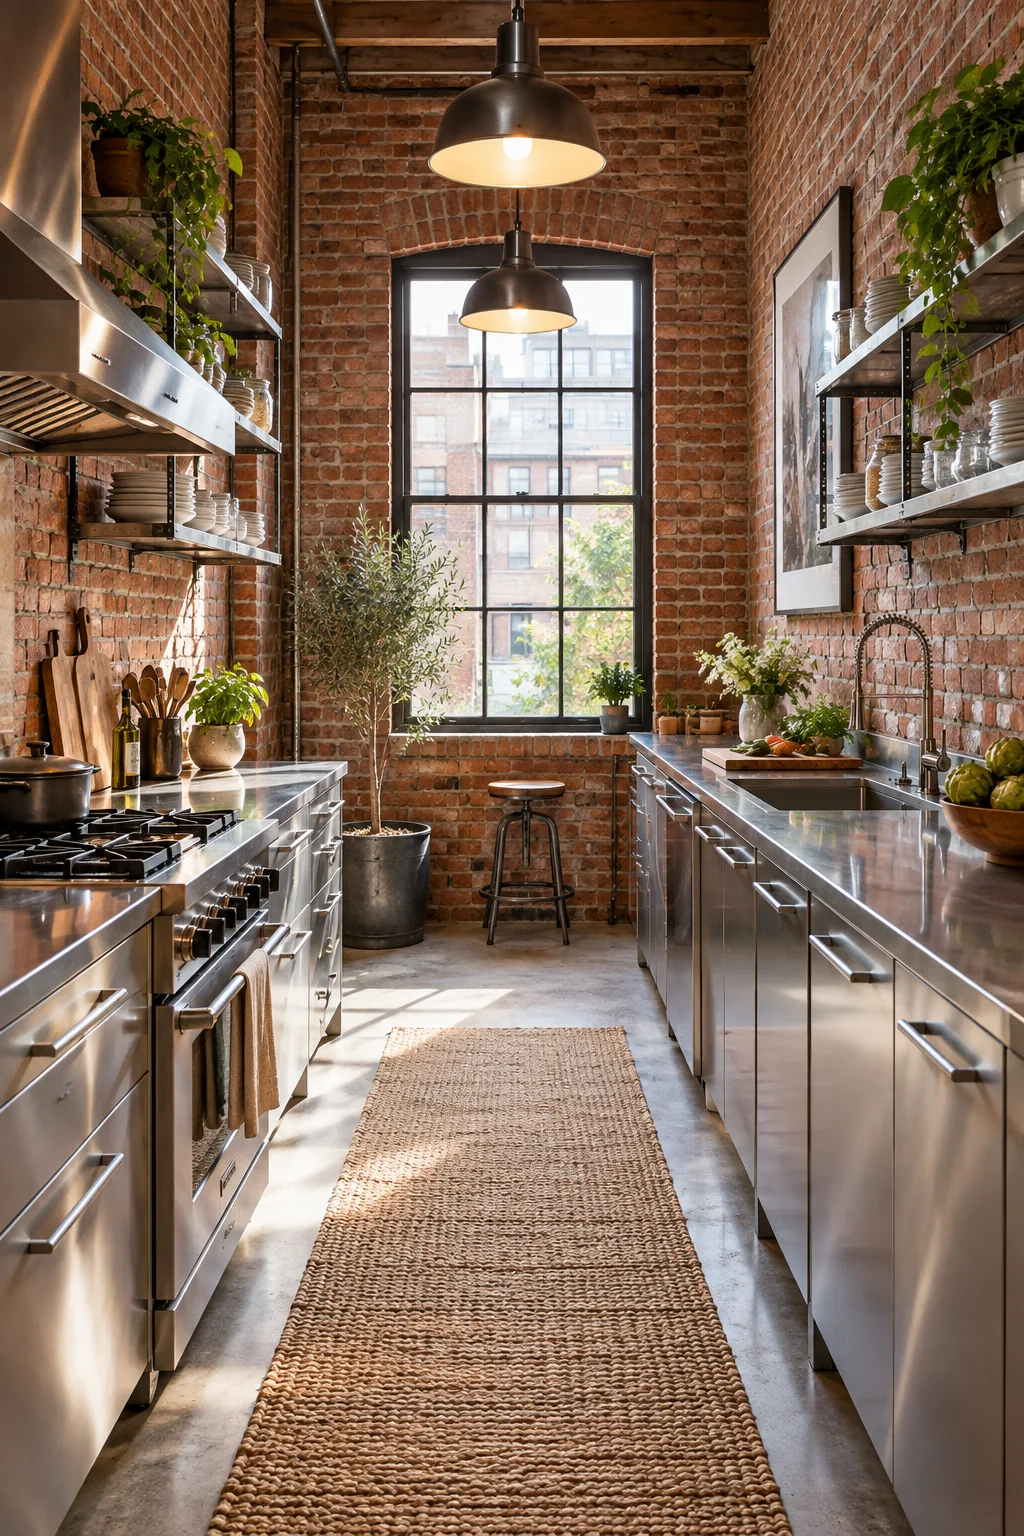
Industrial Brick and Steel: Commercial stainless steel surfaces bounce ambient light around the room, brightening the heavy exposed brick walls.
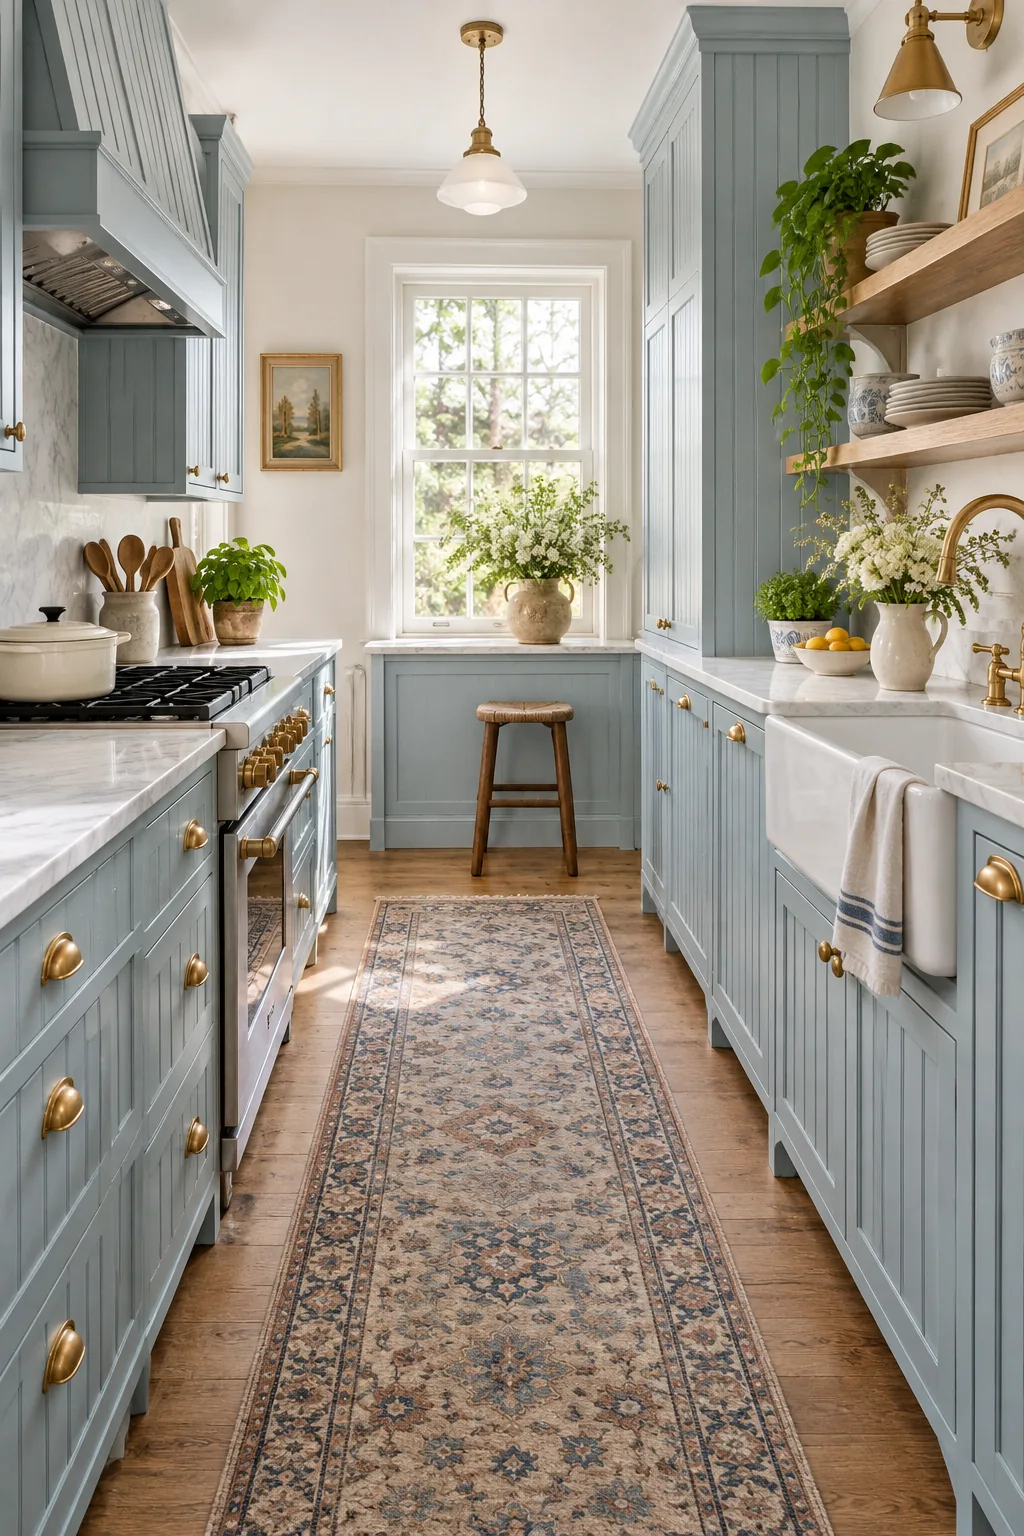
Pastel Blue Cottage Style: A patterned vintage runner draws the eye straight down the aisle, anchoring the soft pastel blue cabinetry perfectly.
Expanding the Room With Wall-Wash Lighting
Aiming a ceiling sconce or directional recessed light to create wall-wash lighting on a blank surface visually pushes the architectural boundary outward. I always use this lighting trick to make tight physical dimensions feel significantly wider and more welcoming.
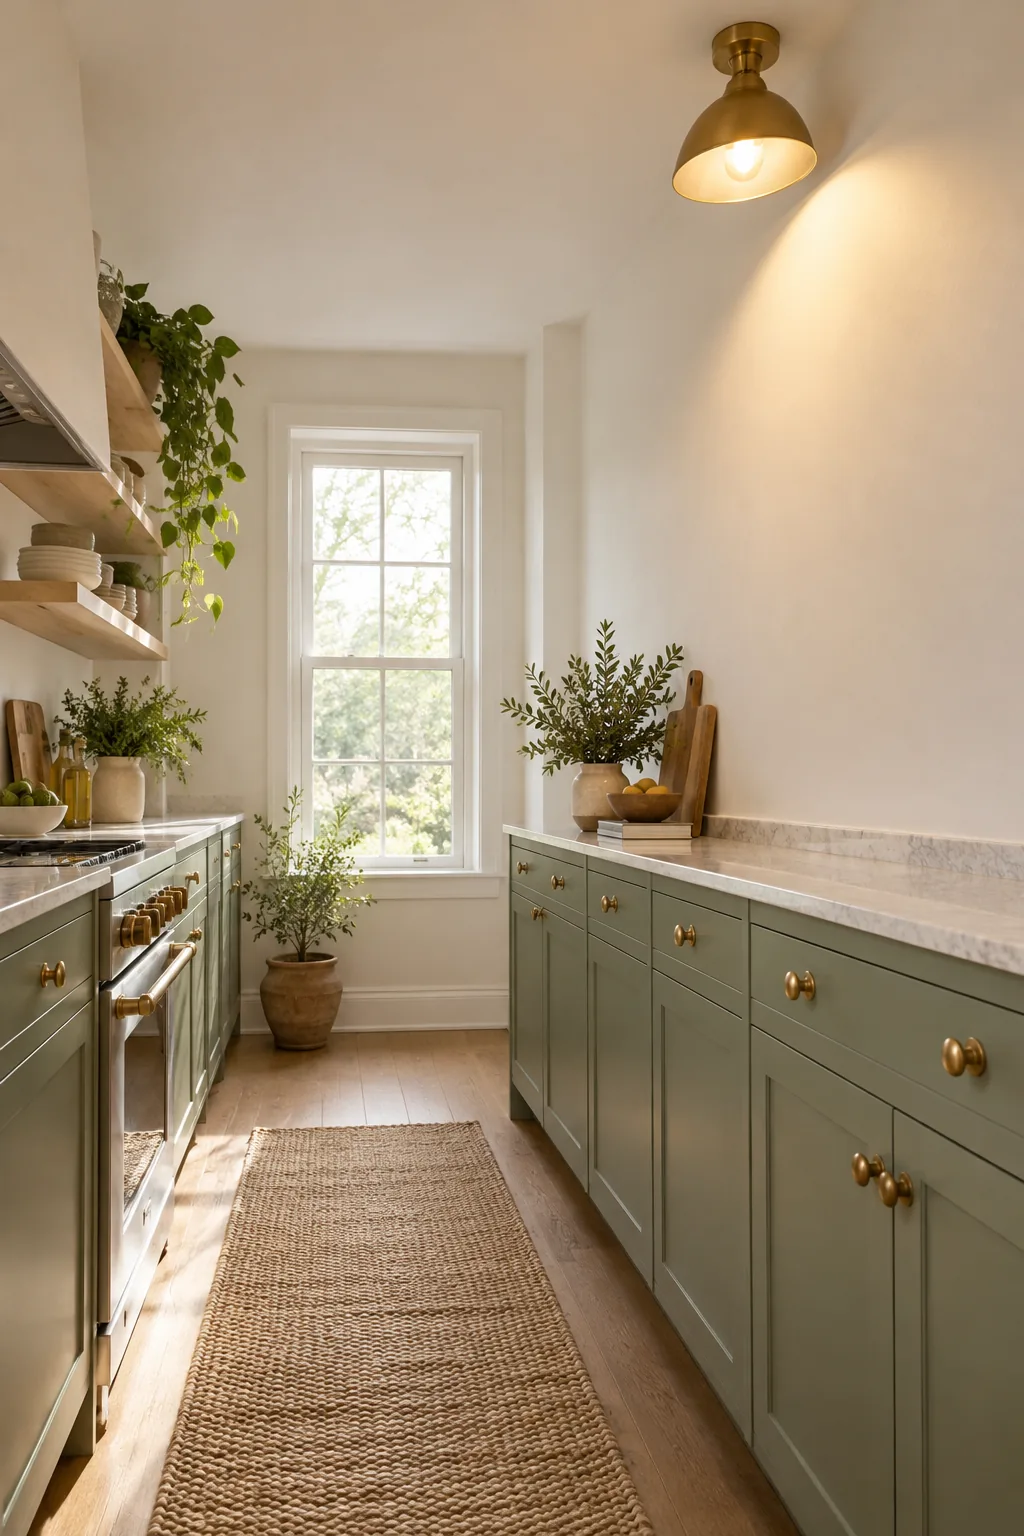
Spacing these directional fixtures about 36 inches apart guarantees an even pool of light that eliminates dark shadows in the upper corners of your galley. This final ceiling-level detail completes the spatial illusion, proving that smart measurements matter just as much as square footage.